Are you looking to take your landscape photography to the next level? Do you want to know the landscape photography settings that will really revolutionize your photos?
Don’t worry.
Because I’m going to share with you the five landscape photography settings that you can use all the time – including my favorite shooting modes, the best apertures, and more – so that your landscape photography looks consistently stunning.
Use Manual Mode to Bracket Your Photos for Perfect Exposures
Good landscape photography settings start with a spot-on exposure.
In other words:
If you want to capture great landscape images, you’ve got to get the brightness right so that every area of the photo has detail.
The darkest shadows should have detail.
The brightest highlights should have detail.
And in landscape photography, this is often a challenge. Because you’re often shooting dark foregrounds with brilliant skies, and the brilliant skies are so much brighter that your camera can’t capture detail in both the shadows and the bright skies.
So what do you do?
You bracket your exposures – using Manual mode.
That is, instead of capturing a single shot that exposes for everything in the photo, you capture several shots, spanning the range of very dark to very bright.
I recommend doing this in Manual mode because it gives you the most control over the entire image.
However, you can do this in Aperture Priority mode with exposure compensation, or you can even use your camera’s auto-bracketing function.
Here’s how it works:
First, set your exposure for a middle value in the scene – an area that’s neither too dark nor too light. Then raise the shutter speed by a stop, so the shot is underexposed, and take a photo.
Next, drop the shutter speed back to the original exposure value, and take another photo.
Finally, drop the shutter speed down even further, so that your shot is underexposed by about a stop, and take a third photo.
Note that if your scene has an unusually extreme dynamic range, you may want to extend this bracketing further, capturing shots that are two stops underexposed and two stops overexposed (along with the shots I’ve already discussed). Checking the histogram on your camera LCD can help you determine whether this is necessary, as can Live View.
Once you’ve captured your set of bracketed exposures, you’ll need to blend them together using a photo editing program. Lightroom allows you to merge bracketed exposures, as does Photoshop. Though you can also purchase software that’s designed specifically for photo bracketing, such as Aurora HDR.
And then…
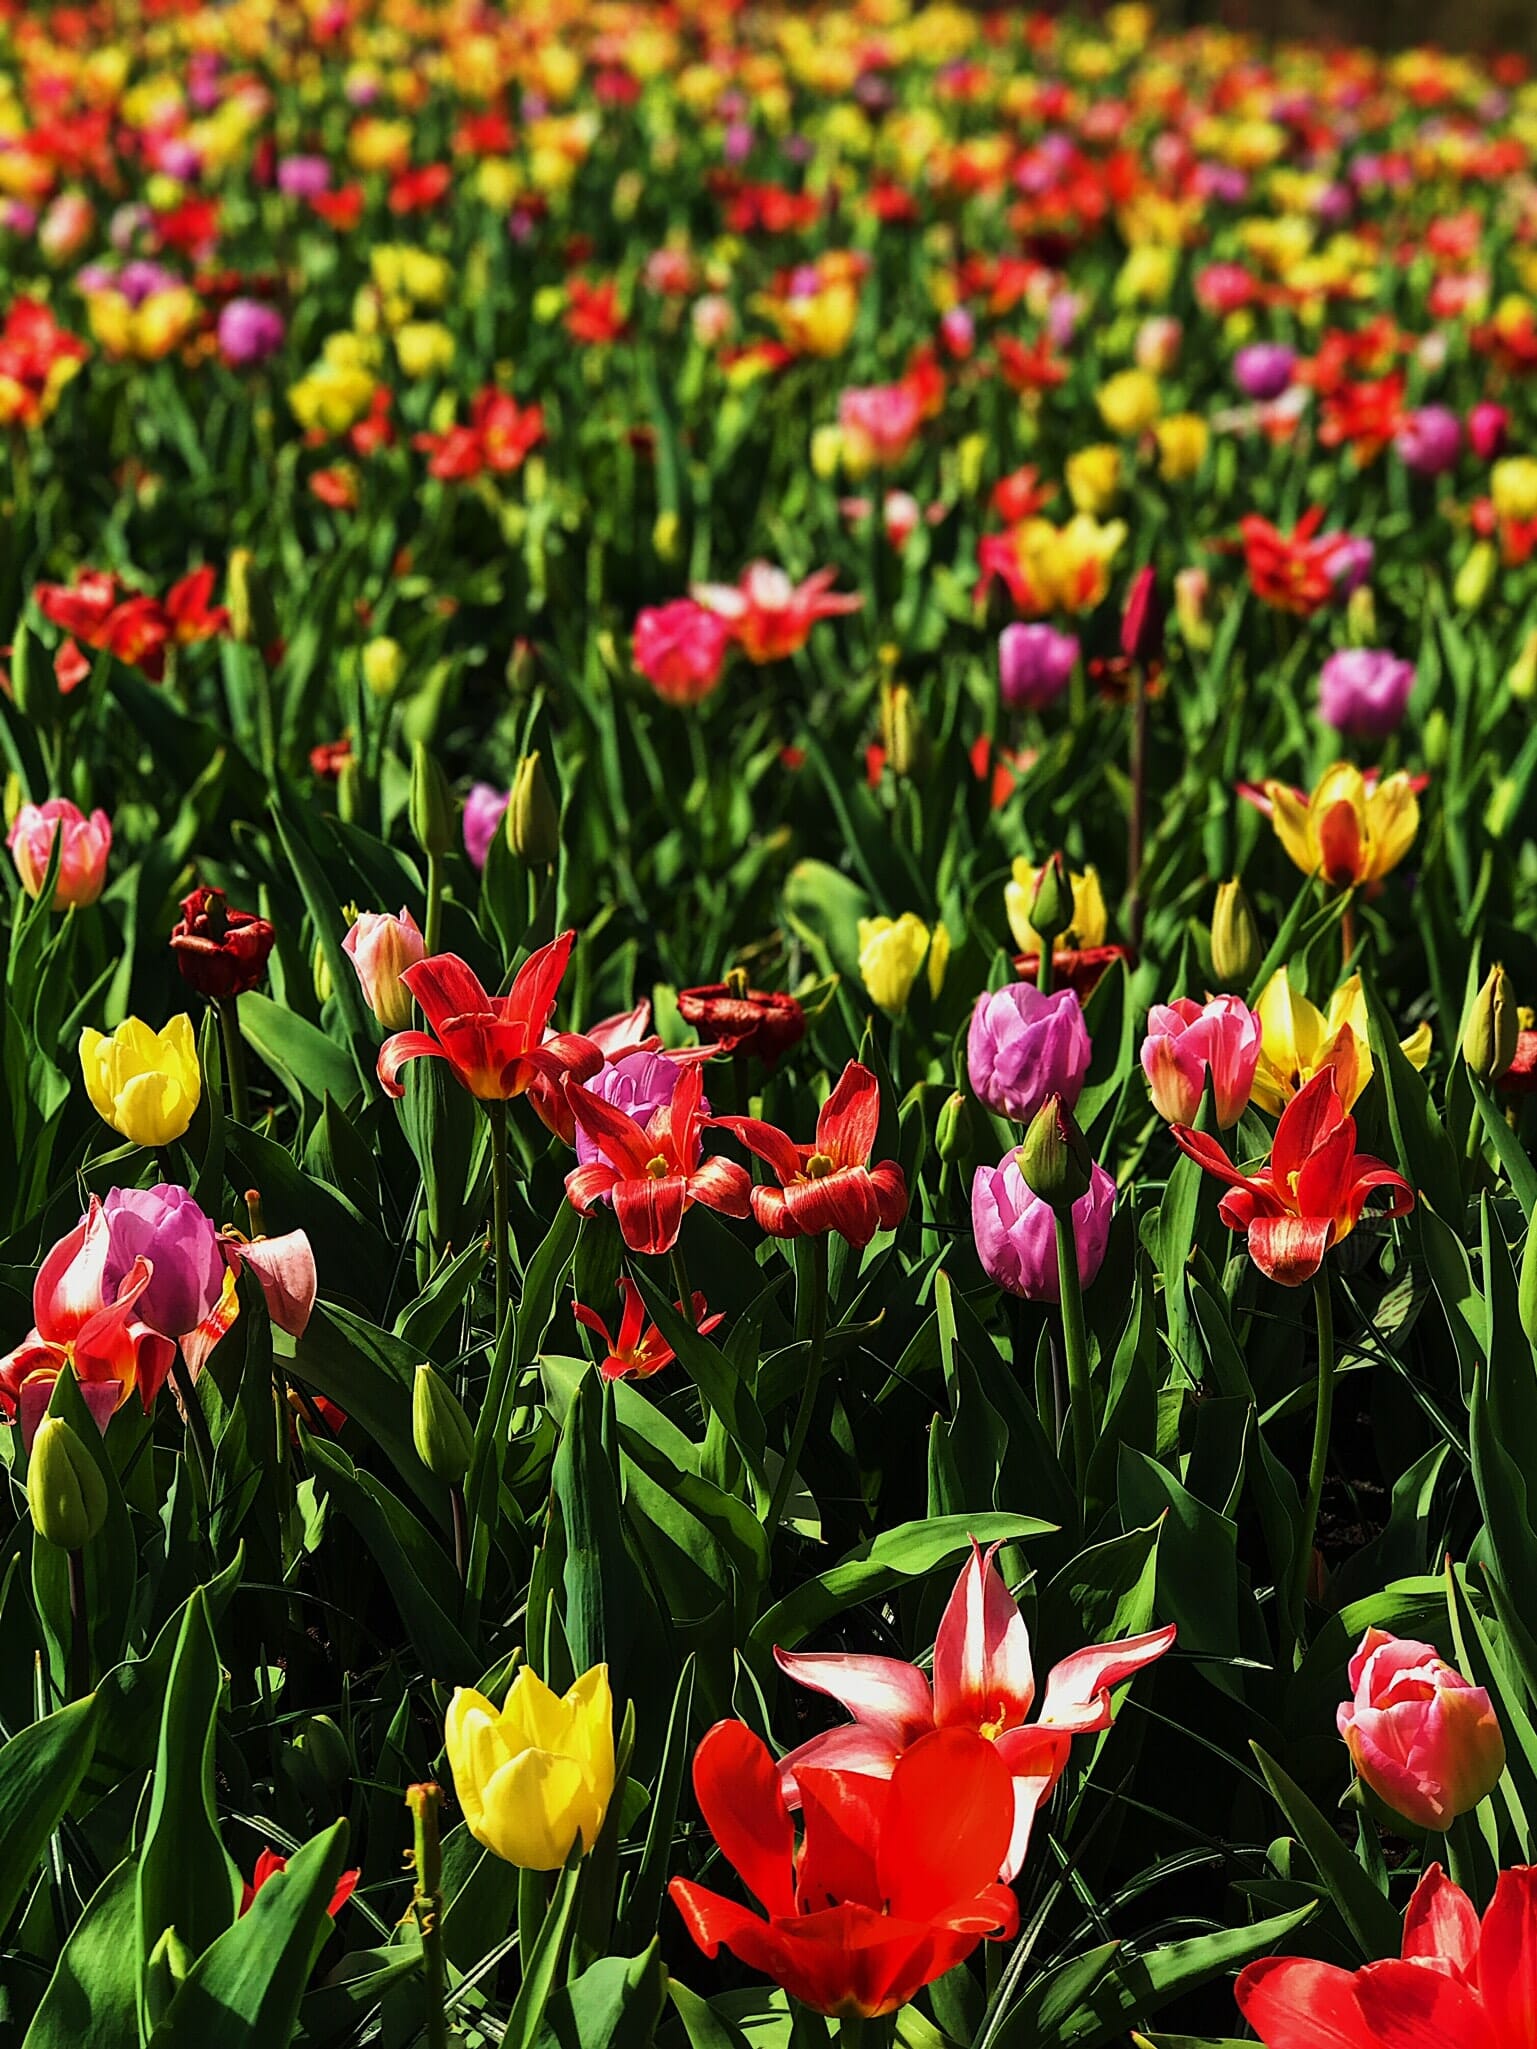
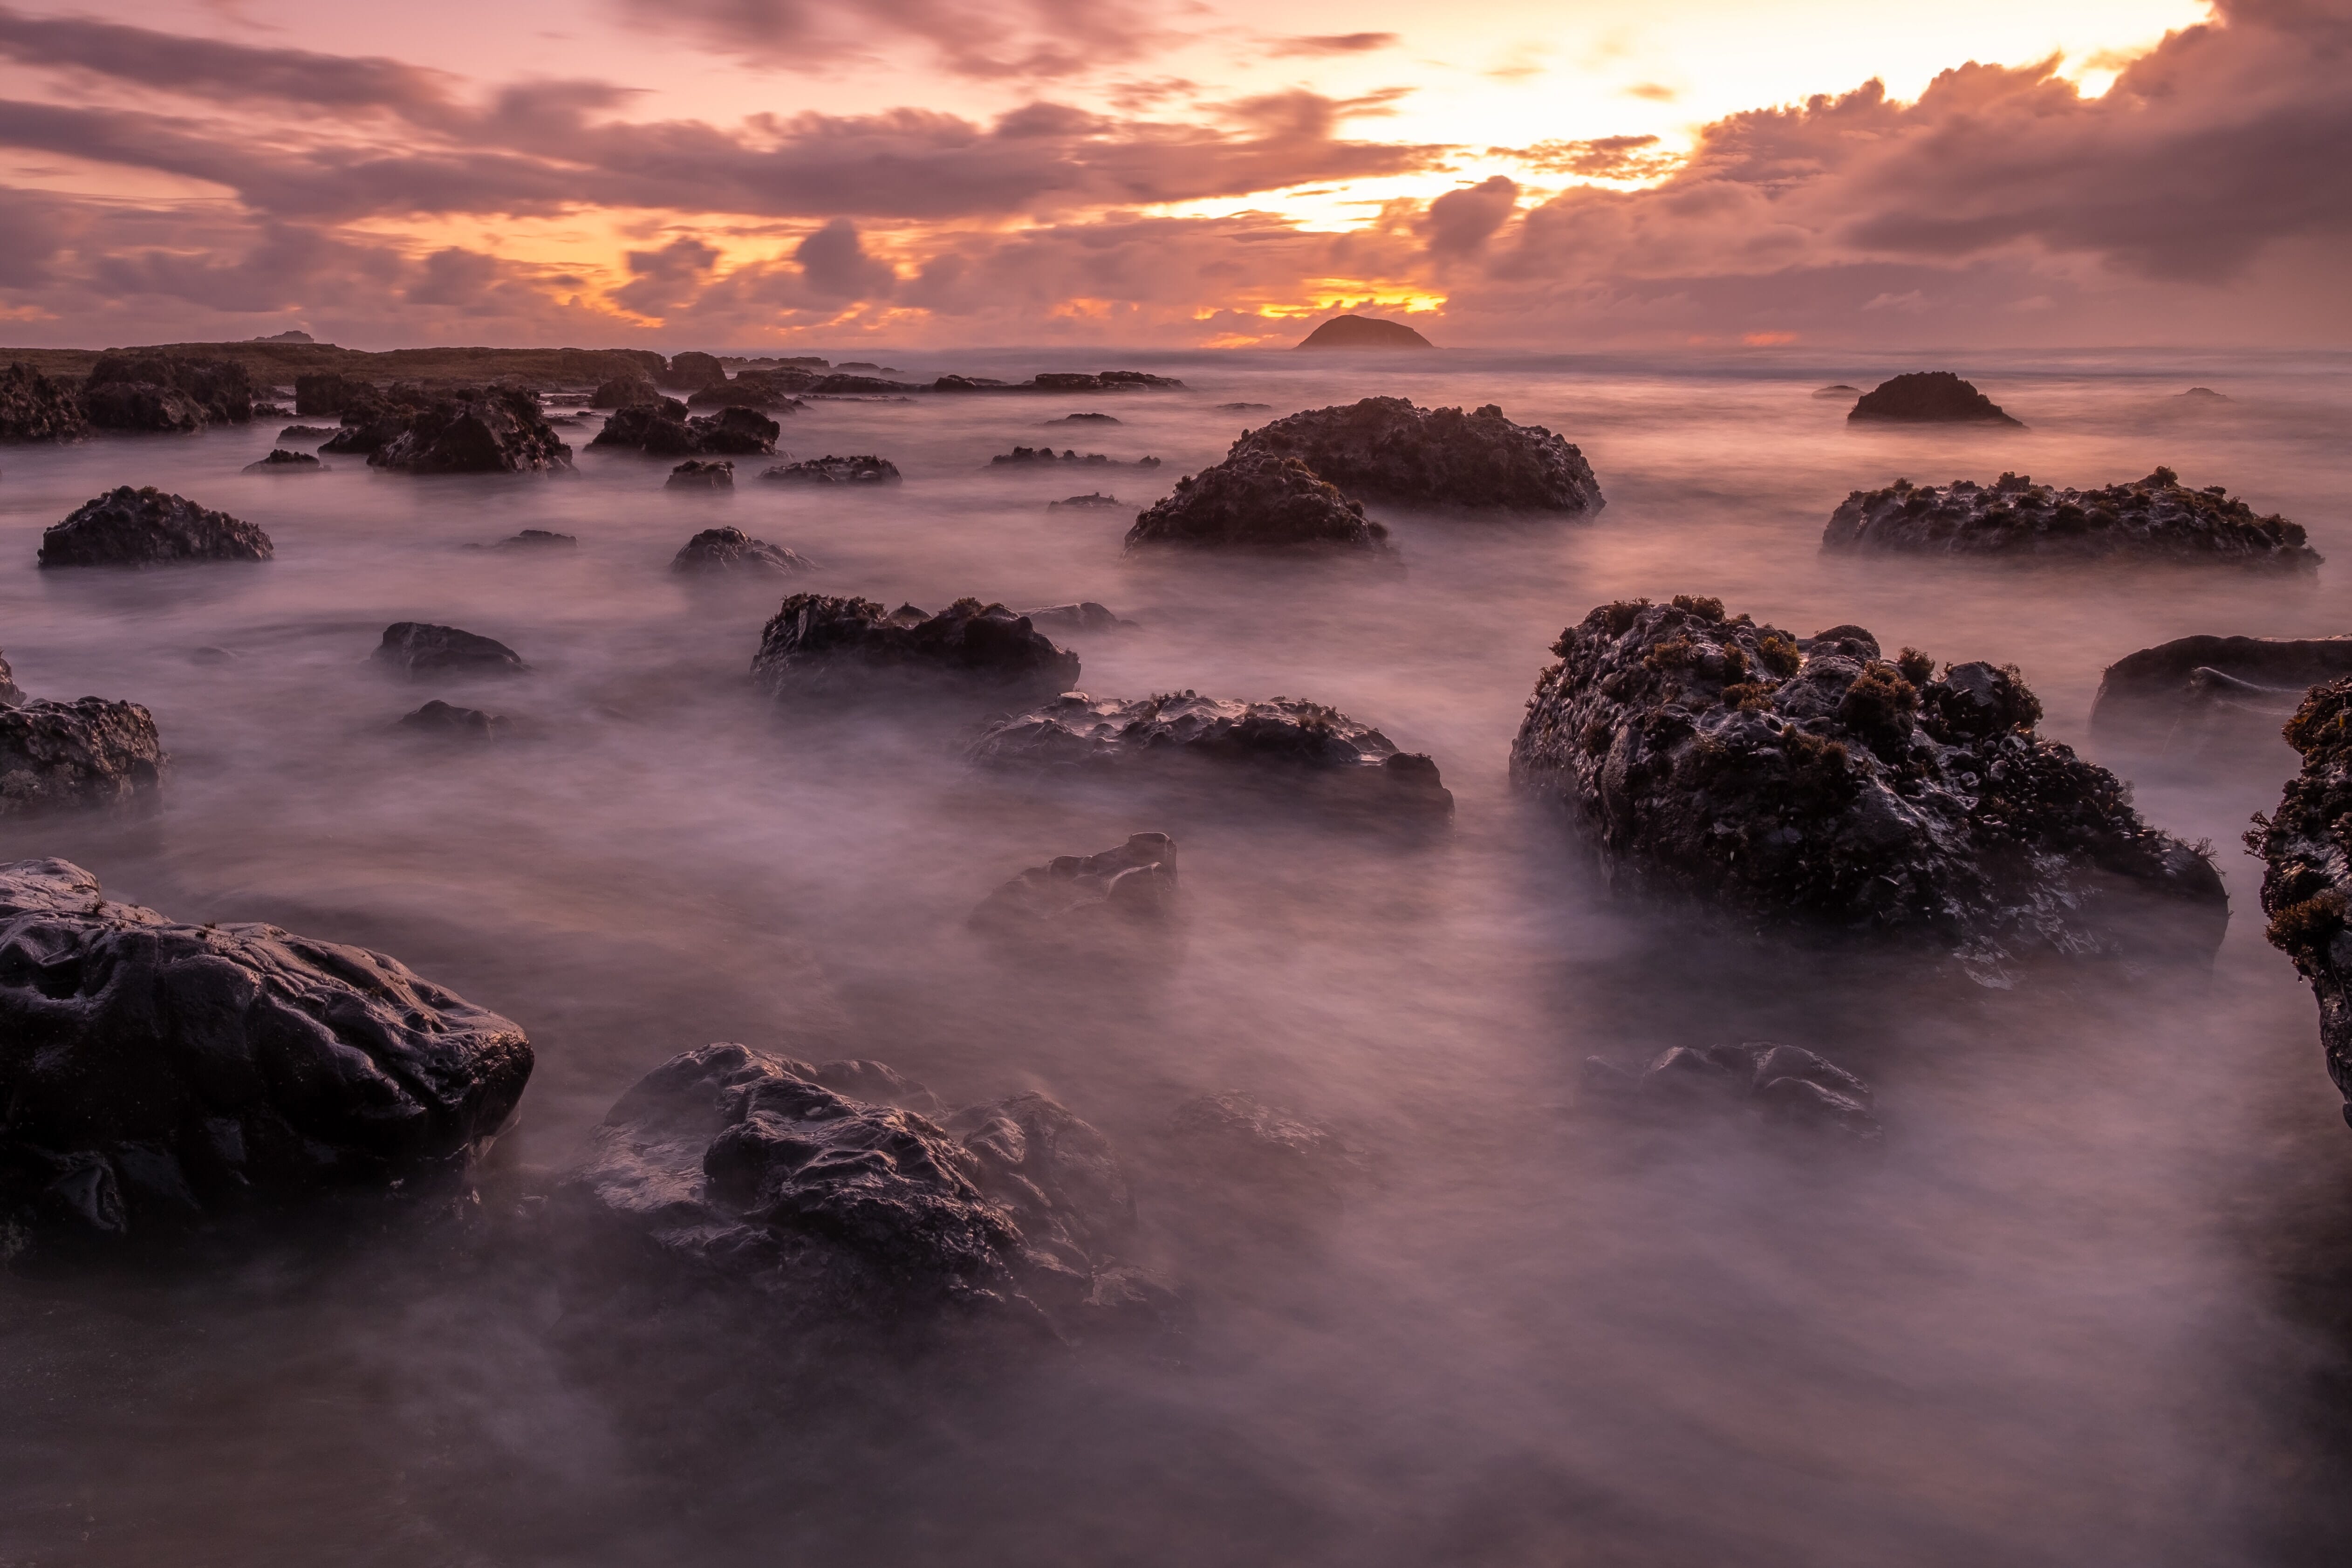
After a little tweaking, you’ll have a final photo – that includes well-exposed areas in every part of the frame.
No highlight clipping, no shadow clipping, no exposure problems.
That’s the power of bracketing in Manual mode!
Use a Narrow Aperture to Ensure the Whole Photo Is Sharp
Bracketing your landscape photos is extremely important, especially if you’re working with high dynamic range scenes.
But when you’re bracketing exposures, you’ll need to choose the right aperture so that the entire scene is sharp from front to back.
How do you do this?
You use a sufficiently narrow aperture, one that ensures a deep depth of field.
The best apertures for landscape photography tend to start around f/8 and go all the way to f/16. The particular aperture you choose depends on the scene; if your scene has elements very close to your lens (that is, close foreground elements), you’ll need a narrower aperture. But if your scene only includes mid-ground and background elements, then an aperture of f/8 to f/11 will probably do the trick.
In reality, it’s tough to predict in advance the best aperture for your particular scene. I recommend using the Live View function to zoom in and check sharpness throughout the scene. Alternatively, you can take a test shot, check the foreground and background, then shoot again with a revised aperture.
You will occasionally come upon compositions where you just don’t have the right aperture capabilities to get the whole thing in focus. I’m talking about extreme wide-angle shots, with a rock or river or group of flowers smack-dab in the foreground, and a background far off in the distance.
In cases like that, you’ll need to use something called focus stacking, where you capture several photos of the scene, but with different points of focus.
So for a scene that’s a rock with a mountain in the distance, you might capture a photo with the rock as the point of focus, then another photo with the mid-ground as the point of focus (the area behind the rock), then finally an area with the background as the point of focus.
When you get home, you can pop the photos into Photoshop (or a dedicated focus-stacking program) and create a single shot that’s sharp throughout.
Fortunately, if you don’t feel confident with focus-stacking, you can also just recompose the shot to include a foreground that’s not quite so dominating. That way, you can handle it using an aperture of f/11 to f/16, and everything will be sharp from the get-go.
Related Posts
Use Manual Focus to Select the Hyperfocal Distance
Whenever you’re determining your landscape photography settings, you need to ensure that you focus on the right part of the frame.
Because if you focus too far back, you’ll end up with a sharp background but a blurry foreground.
Like this:
And if you focus too far forward, you’ll end up with a sharp foreground but a blurry background:
Instead, you need to focus a certain distance into the scene, which is referred to as the hyperfocal distance.
You see, to maximize depth of field (and therefore sharpness), you must set your focus point on the hyperfocal distance. Because the hyperfocal distance is the sweet spot. If you can nail the hyperfocal distance, then you have the best chance of getting the whole shot sharp.
But how do you determine the hyperfocal distance?
Well, there are hyperfocal distance calculators online. But many photographers prefer to avoid this step while in the field.
Instead, they switch their lens to manual focus, and follow a basic trick:
They focus a third of the way into the frame.
Because while a photographer’s ability to eyeball a third of the way into the frame is rarely perfect, it’ll get them pretty darn close to the hyperfocal distance (assuming you’ve chosen a sufficiently narrow aperture) – and will ensure that as much of the shot as possible is sharp.
As I mentioned above, manual focus is often best for this, because it ensures you can focus exactly where you want (and sometimes, there’s not an object a third of the way into the fame, so your autofocus will have nothing to lock onto).
Note that you can always check whether you’ve chosen a good focal point by zooming in on your LCD, or by taking a test shot and checking the foreground and background edges.
That way, you can be sure you captured a perfectly sharp shot.
Use the Two-Second Self-Timer to Capture Stunningly Sharp Images
Whenever you use a narrow aperture – which is often best! – your lens lets in very little light.
As a consequence, your photos will be far too dark, unless you compensate by raising the ISO or lowering the shutter speed.
In landscape photography, you want to keep the ISO as low as possible. This will ensure you have a minimum amount of noise, and that you don’t have to worry about losing detail or dynamic range.
So that leaves the shutter speed.
To capture well-exposed photos, you’ll often need to drop the shutter speed down to 1/10s to 10s (and beyond).
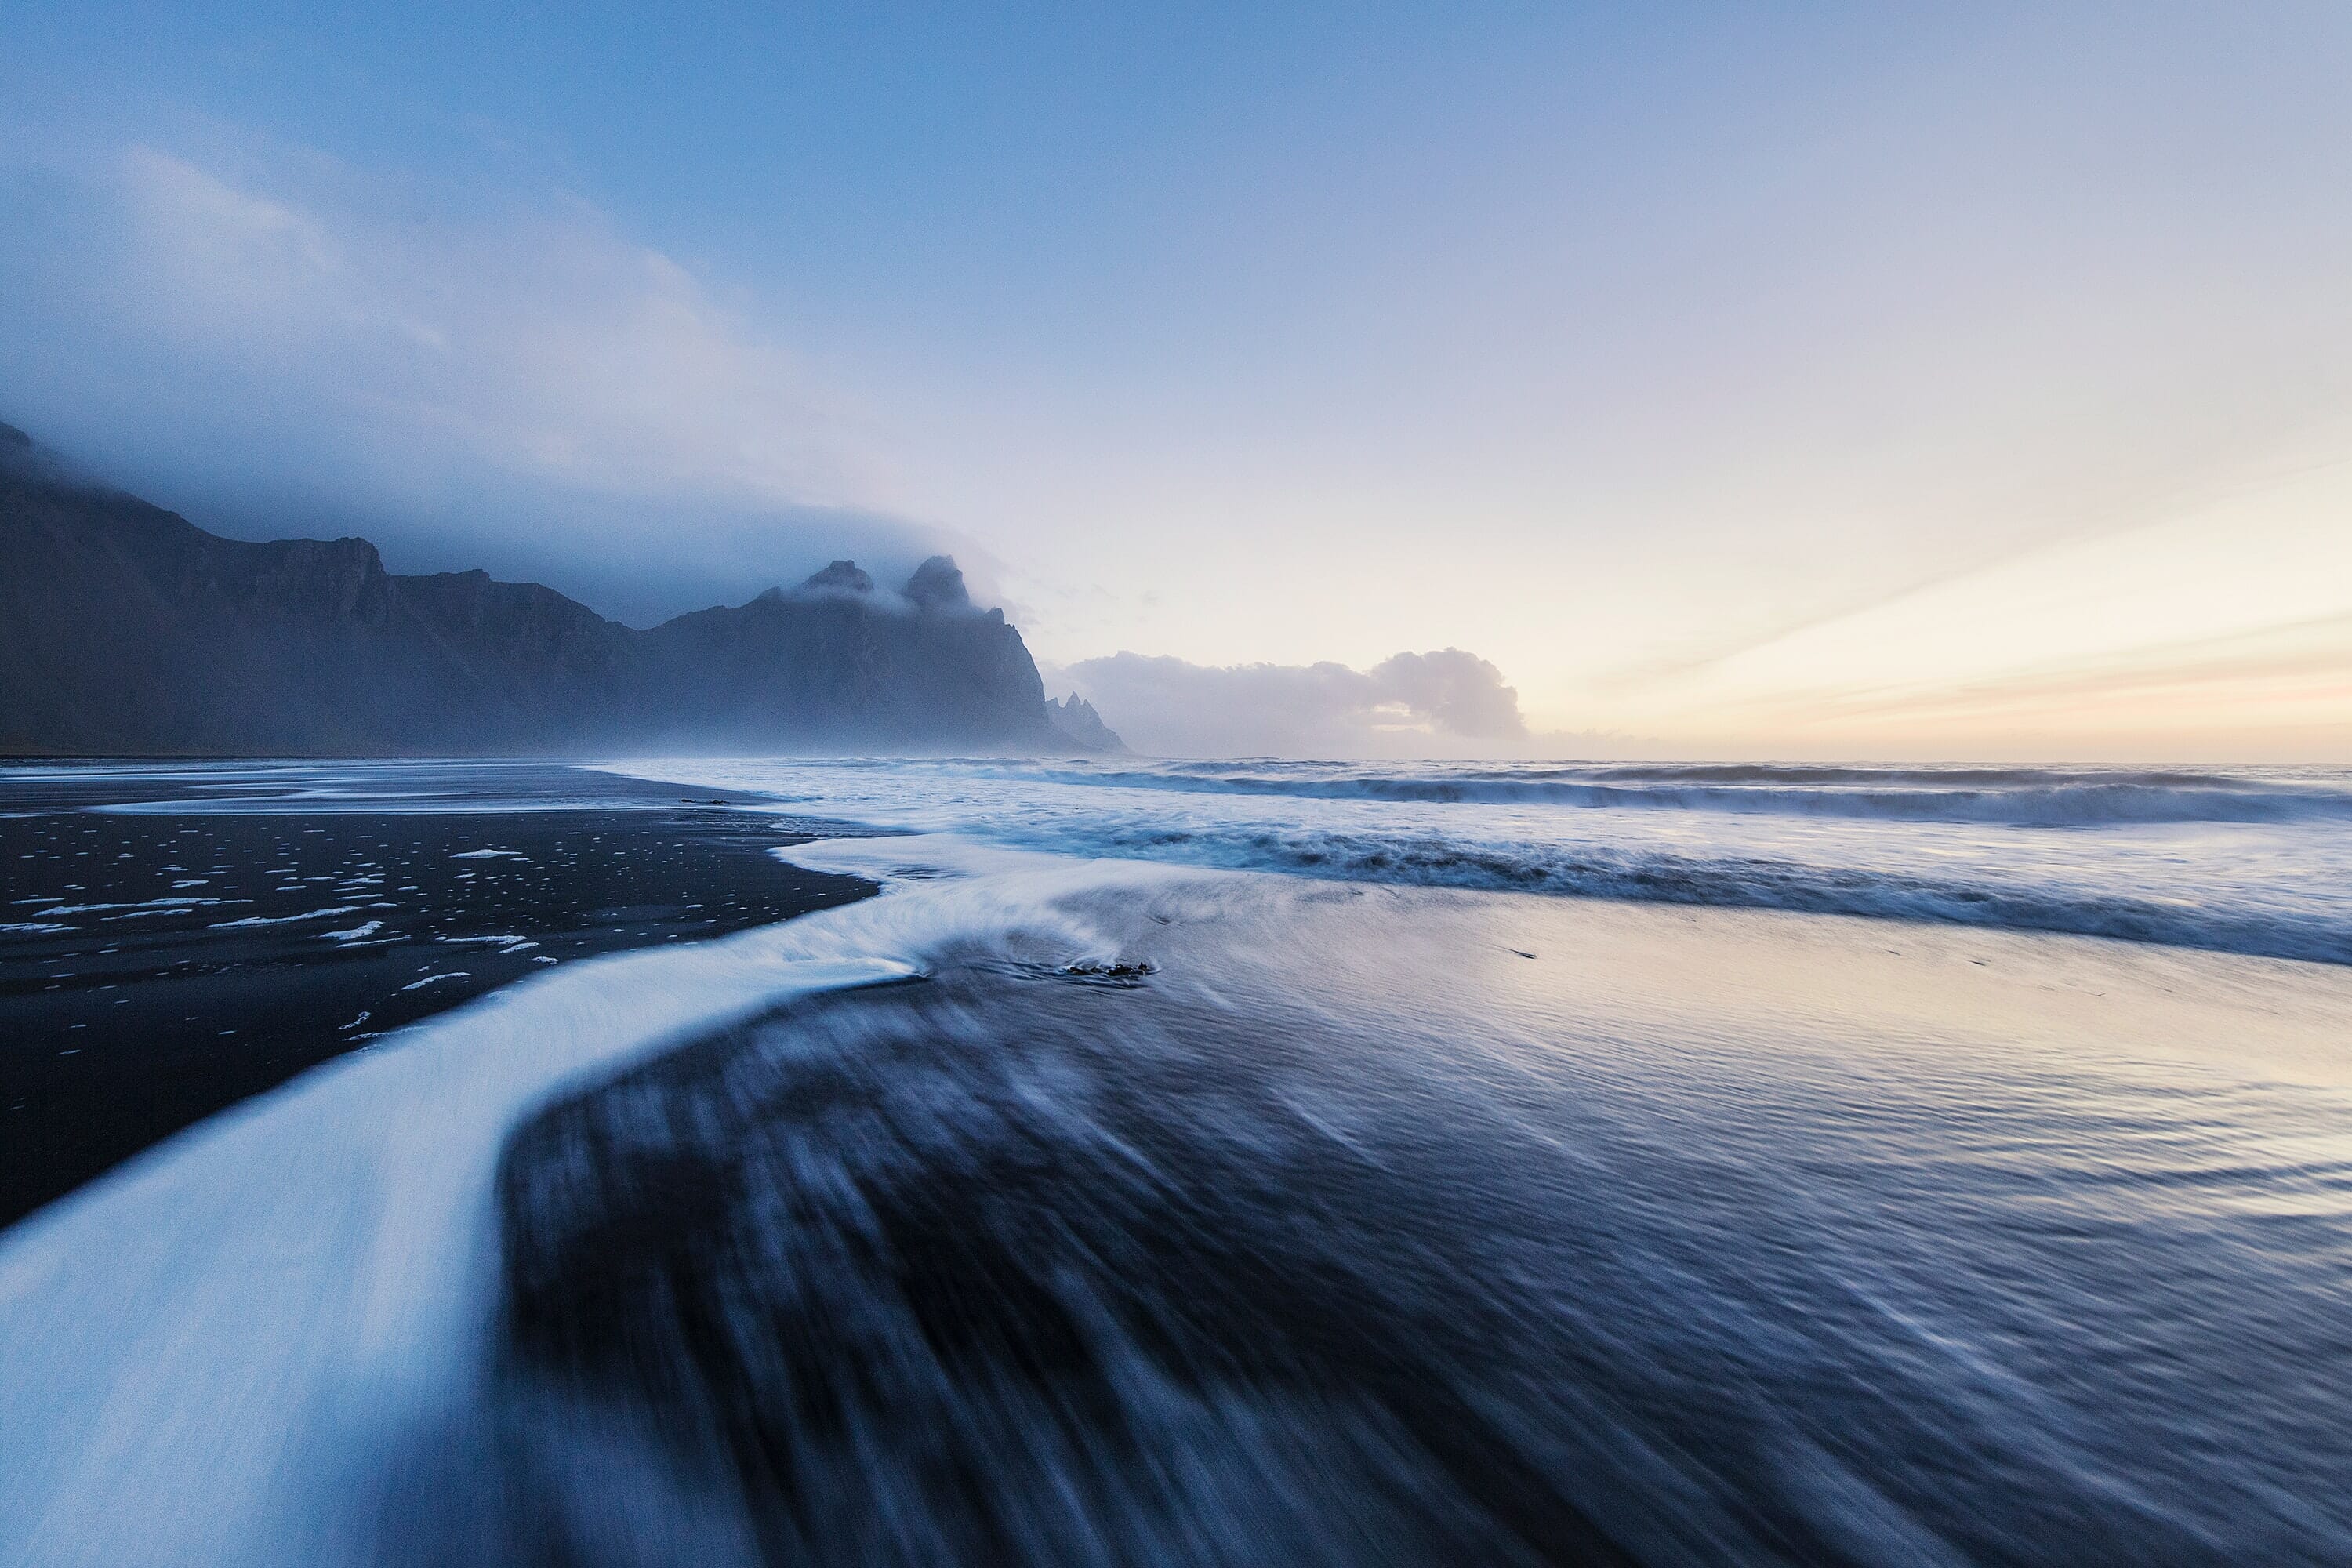
This requires a tripod; it’s almost impossible to handhold at 1/10s and keep your shots sharp.
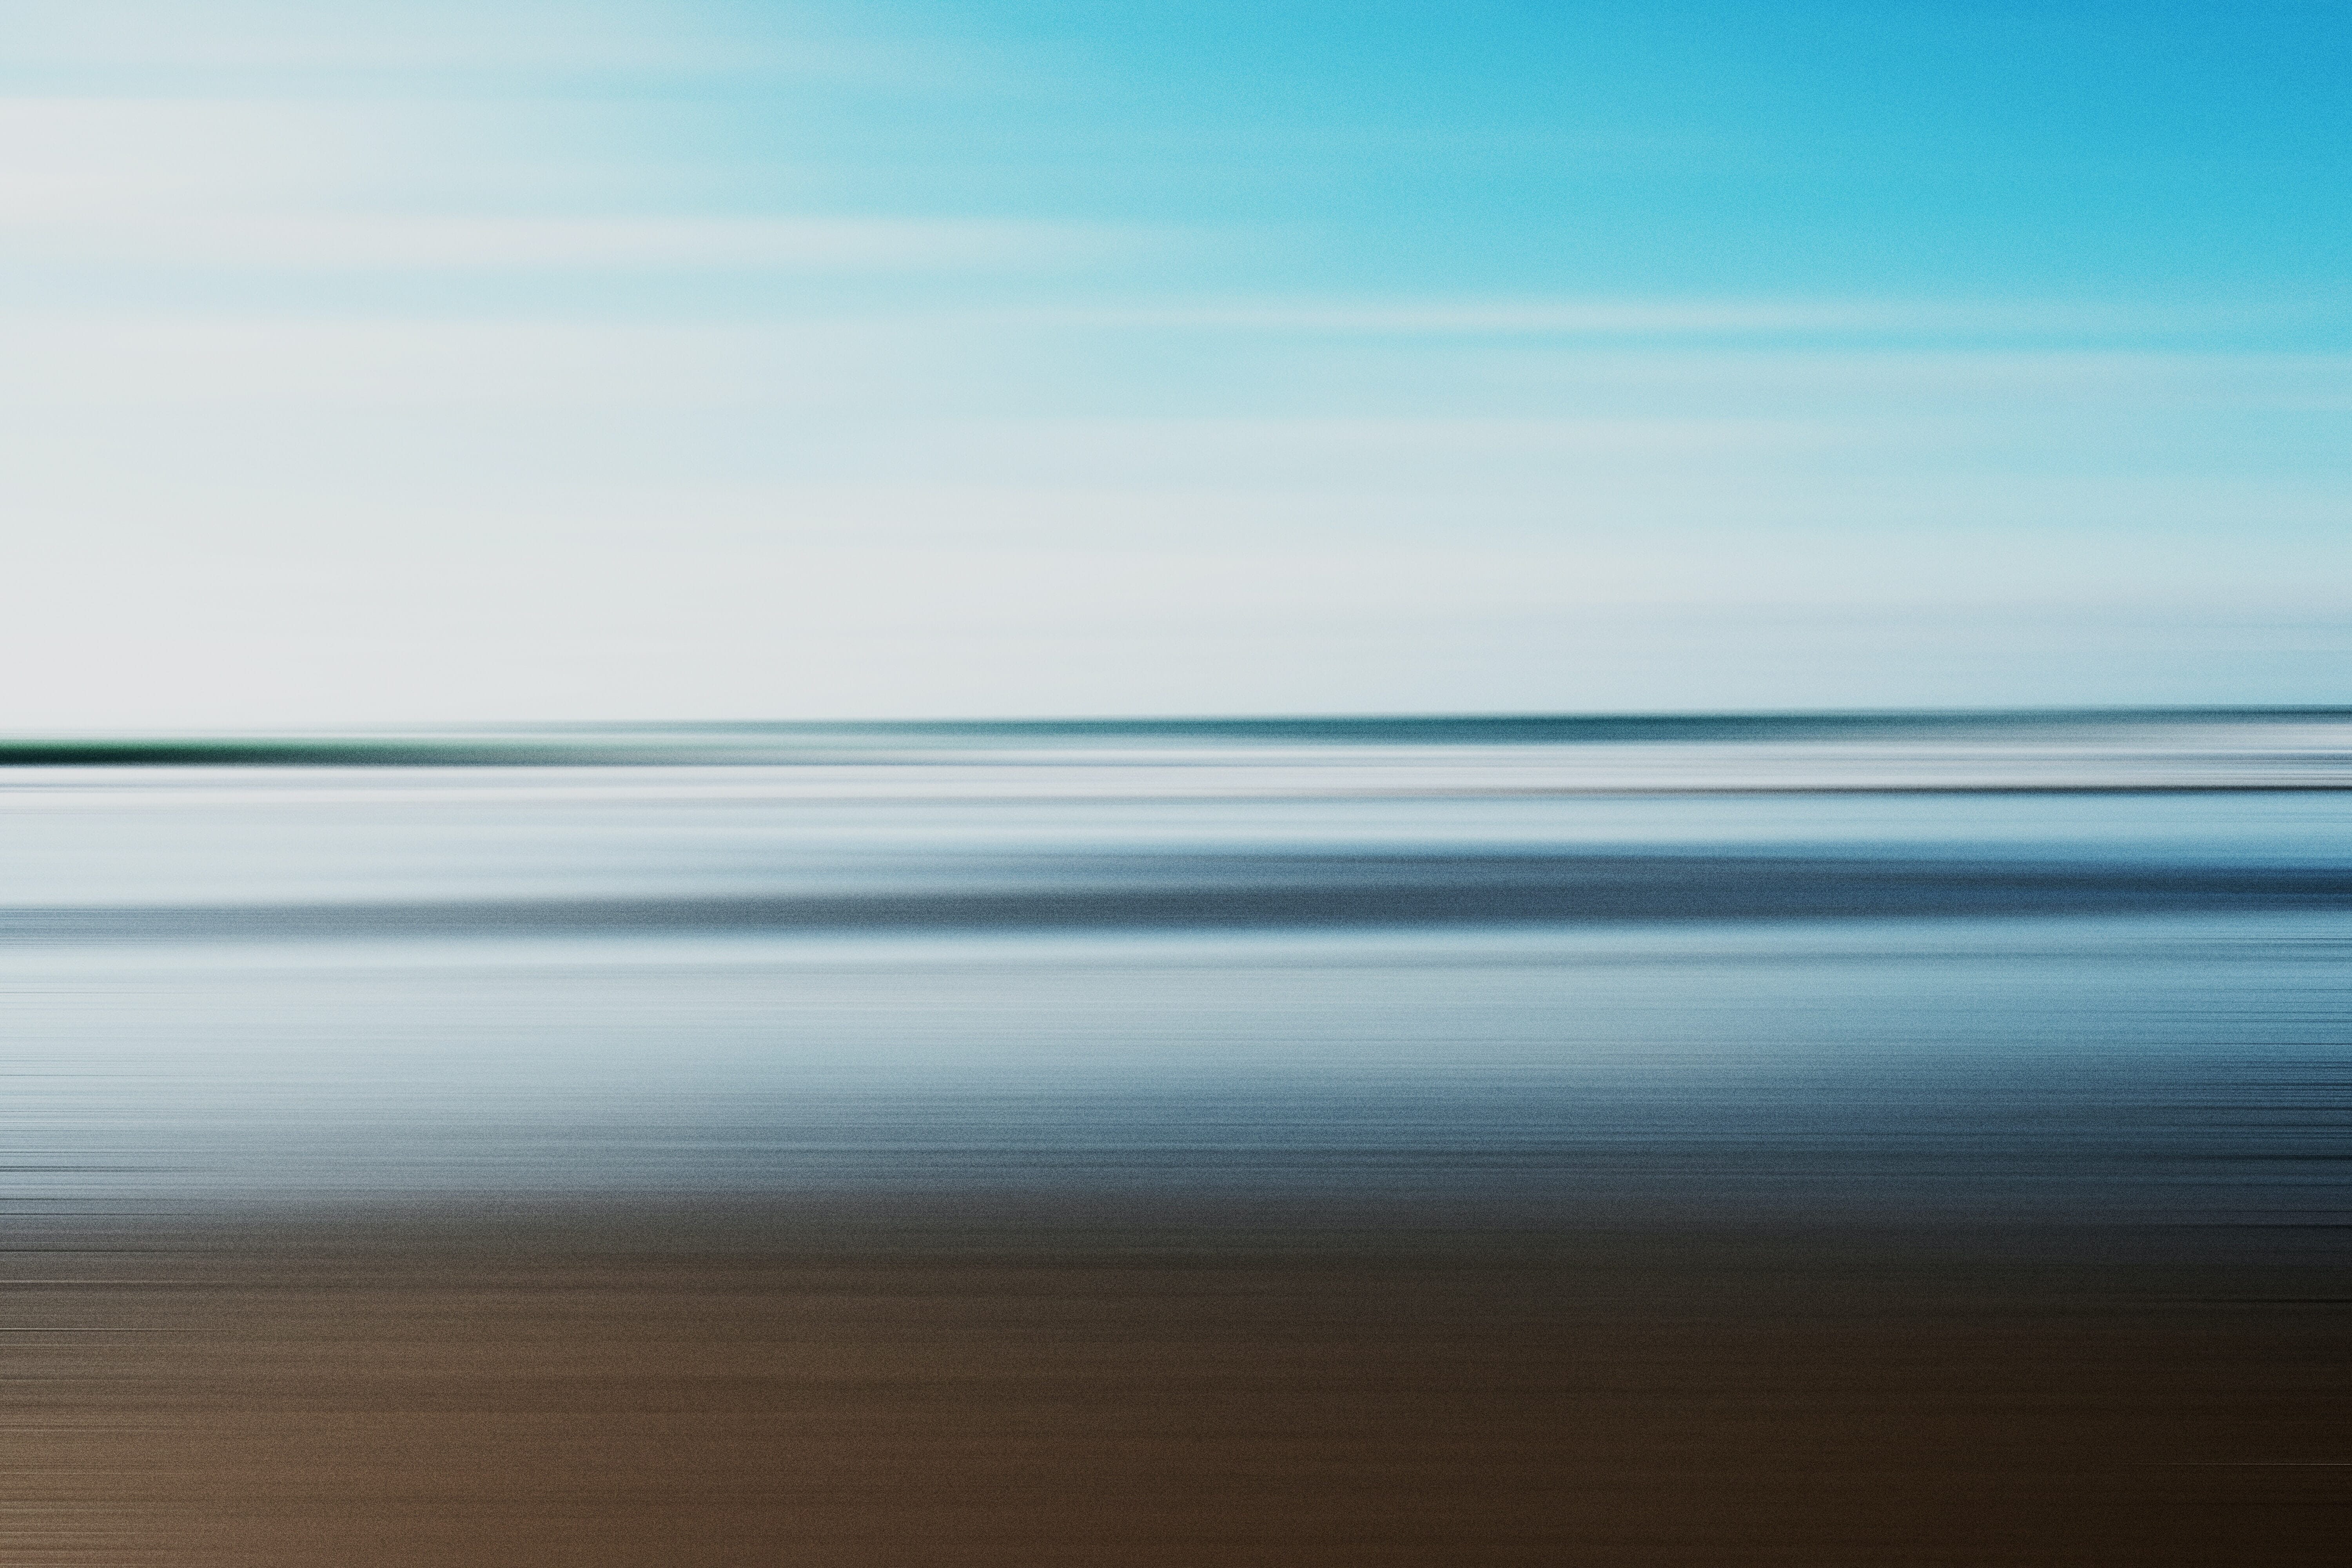
(Alternatively, you can handhold at low shutter speeds but use the blur for artistic purposes, as in the photo above.)
But you’re also faced with another problem:
Vibrations from hitting the shutter button.
Whenever you press the shutter button to take a photo, you create vibrations which can then cause your photo to blur.
This is why I recommend that you always use the two-second self-timer function. That way, your camera won’t capture the photo for two seconds after you hit the shutter button, and the vibrations will have time to fade.
If you’d prefer not to use the two-second self-timer, you can also purchase a remote shutter release, which will allow you to activate the shutter without actually touching your camera shutter button.
But a two-second self-timer should work just fine, so don’t worry if you don’t have the money for a remote. You can still capture sharp shots!
Use Live View to Carefully Compose Your Shots
Here’s your final landscape photography setting for gorgeous photos:
Live View.
Live View causes your camera mirror to flip up and the camera sensor to give you a direct feed via the LCD.
Why is Live View so valuable?
First, Live View will help you accurately compose your photos. You can use Live View to check for distractions around the edges of the frame and to ensure that your photo looks good as a whole.
(While you can technically do the same while looking through the viewfinder, I find that it tends to be less effective. It’s easy to miss things when using the viewfinder, but you’ll quickly catch them when using Live View.)
Live View is also great for ensuring you achieved the proper exposure and chosen the best aperture for your landscape photo, because the Live View output will give you a fairly accurate preview of your depth of field.
Live View will also ensure sharper shots, because putting your camera in Live View will cause the mirror to flip up in advance, preventing vibrations when you hit the shutter button later.
So make sure you use Live View for every shot.
It’s bound to improve your landscape photos!
5 Landscape Photography Settings Every Photographer Should Know: Conclusion
Now that you’ve finished this article, you know all about the best landscape photography settings – and how you can use them to capture amazing landscape photos.
So get outside. Start practicing.
And make sure you follow the guidelines I’ve given you.
You’ll come away with some incredible photos – I guarantee it!
FAQ
What are the best landscape photography settings?
There are a few key settings that every landscape photographer should know. First, you’re going to need to use Manual mode to bracket your photos for the best possible exposure. You’ll also want to use a narrow aperture to ensure the entire photo is sharp. Third, you’ll need to use manual focus to nail the hyperfocal distance for the perfect depth of field. Fourth, use the two-second self-timer to make sure that you don’t get blur due to vibrations from hitting the shutter button. And fifth: Use Live View to carefully compose your shots, and to keep the mirror from causing vibrations.
How do I capture sharp landscape photos?
To make sure your landscape photos are tack-sharp, I recommend shooting in Live View, which will keep internal camera vibrations to a minimum. I also recommend using the self-timer or a remote shutter release, because you can often create camera shake when you hit the shutter button with your finger. While a tripod isn’t required for landscape photography, it’s a good idea, especially if you’re using a narrow aperture with a slow shutter speed. And speaking of apertures: A narrow aperture (in the area of f/8 to f/16) will keep your landscape shots sharp from front to back.
What is the hyperfocal distance in landscape photography?
Hyperfocal distance refers to the point in a scene that you can focus on with your lens in order to maximize the appearance of depth of field. In other words, the hyperfocal distance will keep the largest percentage of the scene sharp. To find the hyperfocal distance, you can use apps that will carefully calculate it. But I prefer to just eyeball it by focusing about a third of the way into the scene. This is a good way of estimating the hyperfocal distance, and it’s much more convenient for situations where you’re working in the field and don’t want to keep referencing an app.
How do I choose the right aperture for landscape photography?
The right aperture depends on your creative vision. Some landscape photos involve very shallow depth of field effects (with a wide aperture); other photos involve deep depth of field effects (with a narrow aperture). However, if you’re looking to capture the deepest depth of field possible, use a narrow aperture and focus at the hyperfocal distance.
How do I get the best landscape photography exposures?
I recommend using Manual mode and bracketing several exposures. This will ensure that you get the greatest amount of detail when you blend the photos together in post-processing. While you don’t need to do this for every landscape photo, it’s key for shots that include bright skies and dark foregrounds (e.g., sunrise and sunset landscapes).