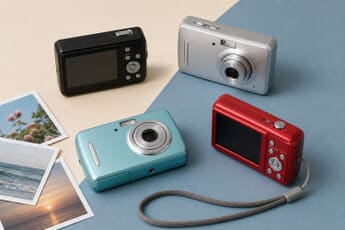
Best Budget Digicams Under $200 in 2026: The Cheap Cameras Gen Z Actually Buys
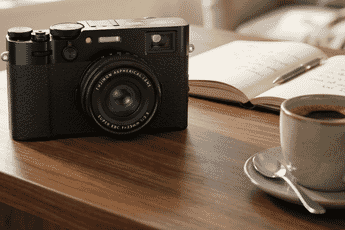
Compacts are the fastest-growing camera category of 2026, and Gen Z is driving it. Here are the best compact cameras for the film-look, no-phone aesthetic — from the Fujifilm X100VI to picks under $500.