Photo & Video Software Reviews
Latest Software Review Posts
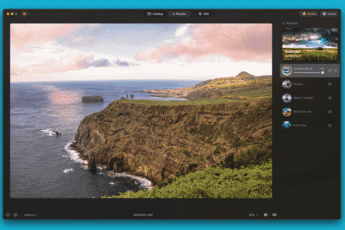 Luminar Neo: A Comprehensive Photo Editing Powerhouse Luminar Neo 1.19.9: Elevate your photo editing with advanced AI tools and seamless functionality.
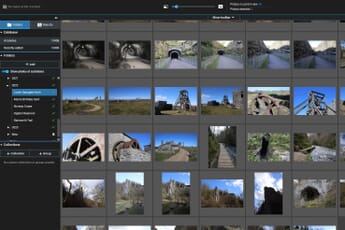 Excire Foto Review: Organize Your Photos Like Never Before An in-depth review of Excire Foto's tools, performance, and more. Can it improve your photo organization workflow?
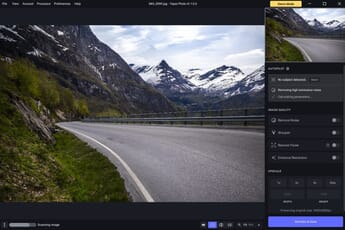 Topaz Photo AI Review: Powerful Image Enhancement (for a Price) A hands-on review of Topaz Photo AI. We evaluate the program's tools, performance, price, and more.
 Canva vs Picsart: Which Online Graphics Editor Is Best? Find the perfect platform to create graphics for social media, website banners, and more. An in-depth comparison of Canva and Picsart.
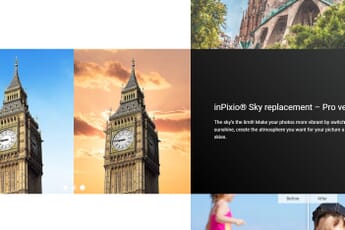 InPixio Photo Studio 12 Review: Easy Editing for Beginners Find out what’s new in InPixio Photo Studio 12. Our in-depth review examines features such as Replace Sky and Edit Photos AI.
 ON1 Photo RAW vs Luminar: Which Is Best? Which AI-powered editing program should you buy, ON1 Photo RAW or Luminar AI? We break it down for you in this head-to-head comparison.
 ON1 Photo RAW Review: Perfect for Serious Photographers Is ON1 Photo RAW 2022 right for you? In our in-depth review, we evaluate the program's editing and photo organization features.
 cutout.pro Review: How Does This Photo Cutout Technology Perform? cutout.pro is a free online program helping photographers cut out subjects with ease. How did it do in our rigid tests? Find out in our review!
Discover Software Reviews on PhotoWorkout
The Software Review Category on PhotoWorkout.com provides comprehensive, hands-on reviews of a broad range of photo and video software applications. This section offers in-depth insights into the functionality, performance, pricing, and overall value of various tools for both beginners and professional photographers.
Our Topaz Photo AI Review offers a thorough exploration of Topaz Photo AI, examining the software’s image enhancement capabilities. If you’re considering online graphic editors, our detailed comparison of Canva vs Picsart will help you make an informed decision.
In addition to reviews, we offer head-to-head comparisons to help you choose between popular software options, like our detailed comparison of ON1 Photo RAW vs Luminar.
From new photo organizing software like Excire Foto to sophisticated photo processors, our software reviews cover a broad spectrum of tools that cater to a diverse range of photographic needs.
PhotoWorkout’s software review category offers reliable and comprehensive guidance for photographers and videographers of all levels. We consistently update our reviews to cover the latest releases and updates in photo editing software, ensuring our readers stay at the forefront of post-processing advancements. You may also be interested in exploring related categories: our best software guides or our comprehensive overviews of the top photography apps.