
- Spring is the best season for flower macro — cherry blossoms, tulips, wildflowers, and fresh morning dew all peak in April and May. Timing matters as much as technique.
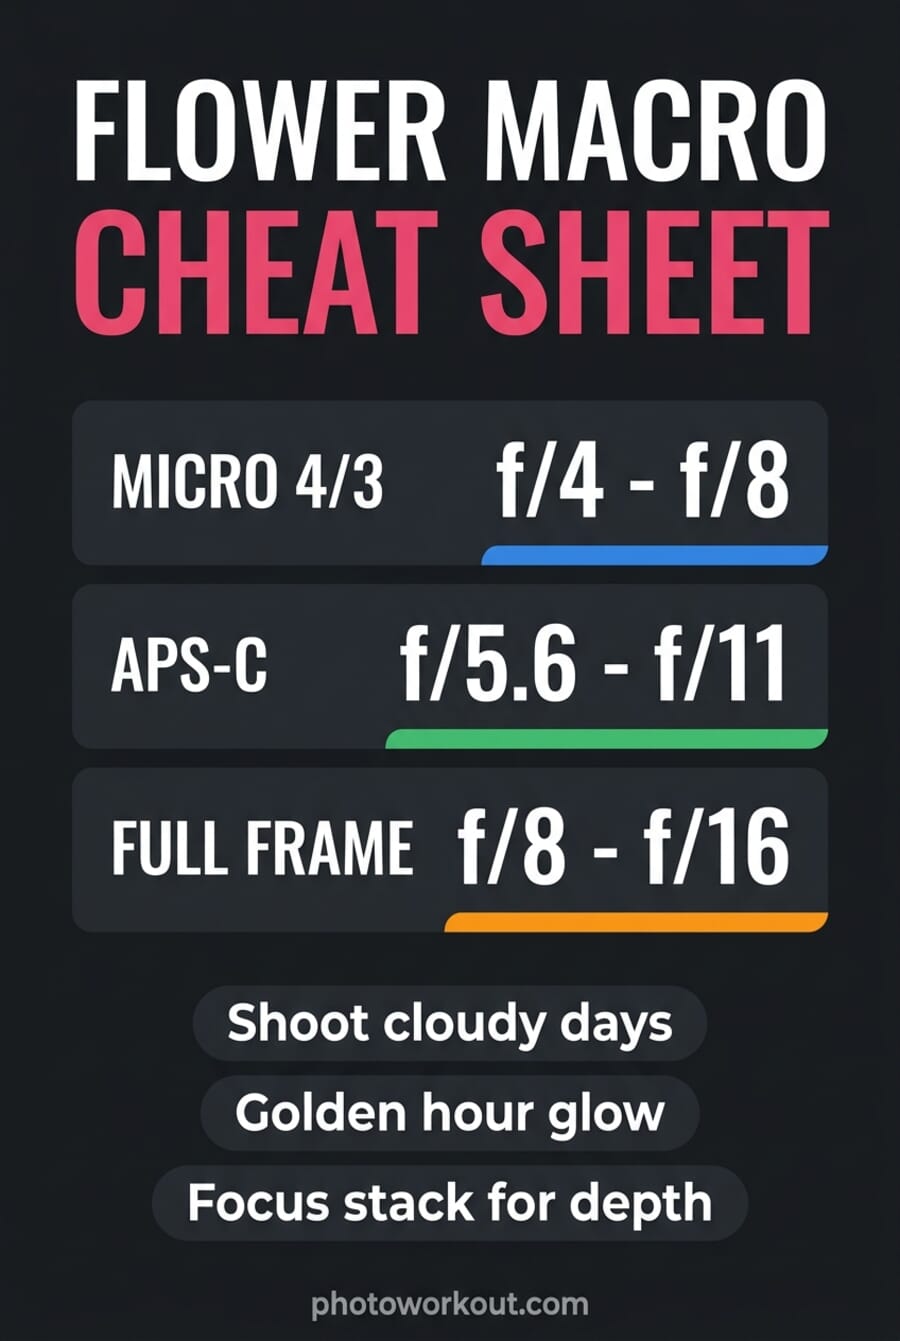
- F-stop recommendation depends on sensor size: Micro 4/3 shoots f/4–f/8; APS-C shoots f/5.6–f/11; Full-frame needs f/8–f/16 for the same depth of field.
- Best shooting windows: the 30 minutes after sunrise (morning dew still on petals), an hour before sunset (golden hour backlighting), and the first 15 minutes after rain stops (water droplets maximum density).
- AI focus stacking in 2026: Helicon Focus remains the pro standard. Affinity Photo 2.6 has free-tier stacking. Lightroom doesn’t stack natively but pairs with Photoshop’s Auto-Blend Layers.
- Smartphone macro is genuinely viable in 2026: iPhone 13 Pro and later have a dedicated macro mode; Moment, ShiftCam, and Apexel clip-on lenses add true macro reproduction to any phone.

Introduction
Flower macro photography rewards patience more than gear. Get close, light the subject well, and the camera settings follow naturally — but the settings that actually work vary dramatically by sensor size, scene light, and whether your shot is a shallow-focus character study or a stacked-focus specimen portrait.
This guide is refreshed for April 2026 — peak flower season. New sections cover the spring shooting windows that drive the best results (morning dew, post-rain, golden hour), sensor-specific aperture recommendations, smartphone macro workflows that genuinely compete with interchangeable-lens cameras, and the AI focus stacking tools that took the “extreme close-up everything in focus” look from pro-only to everyone in the last two years.
Spring Shooting Windows: When Flowers Photograph Best
Spring concentrates the best flower photography conditions of the year into about six weeks. The light softens, the air clears, and the subjects — tulips, cherry blossoms, daffodils, wildflowers — are all in peak form simultaneously. Three specific windows produce the strongest flower macros:

The dew-drop window (30 min after sunrise)
Morning dew is the single fastest-evaporating subject in flower photography. On a clear night with 60%+ humidity, petals and leaves wake up covered in tiny droplets that catch morning light like prisms. The window is narrow: from about 15 minutes before sunrise to 30 minutes after, depending on temperature. By 8 AM on most spring days, it’s gone.
Gear implication: set up the tripod the night before if possible. Pack a headlamp with a red-light mode and arrive in the dark. Shoot at the widest aperture your lens allows for the first few frames (for the creamy droplet highlights), then stop down to f/8 or so for the full-detail reference shots once the first light hits.
The post-rain window (15 min after it stops)
Post-rain is dew’s daytime cousin. When a rain shower passes, the first 15 minutes afterward produce some of the most saturated flower colors of the year — the petals are still wet, the dust and pollen have been washed off, and the light is diffused by the retreating cloud cover. This is the shooting window most weekend photographers miss because everyone else is still indoors waiting for the sun.
The cloudy light also solves the biggest technical problem of daytime flower photography: harsh midday sun. Clouds act as a 100-foot softbox. Colors render cleanly, shadows fill in, and the dynamic range compresses into something your sensor can actually capture without blowing highlights or crushing shadows.
The golden-hour window (1 hr before sunset)
Sunset in spring isn’t quite the same as sunset in summer. The sun angle is lower, the light takes a warmer color shift, and the atmosphere is cleaner after recent rain. The hour before sunset — plus the 20 minutes into blue hour afterward — is the golden-hour window for flowers.
Technique specifics: shoot backlit for translucent petal glow (tulips and poppies are particularly effective); use a small reflector or piece of white foam board to fill the shadow side; keep the aperture open (f/2.8 to f/4) for the creamy background rim-light effect. This is when a macro lens’ maximum aperture earns its premium.
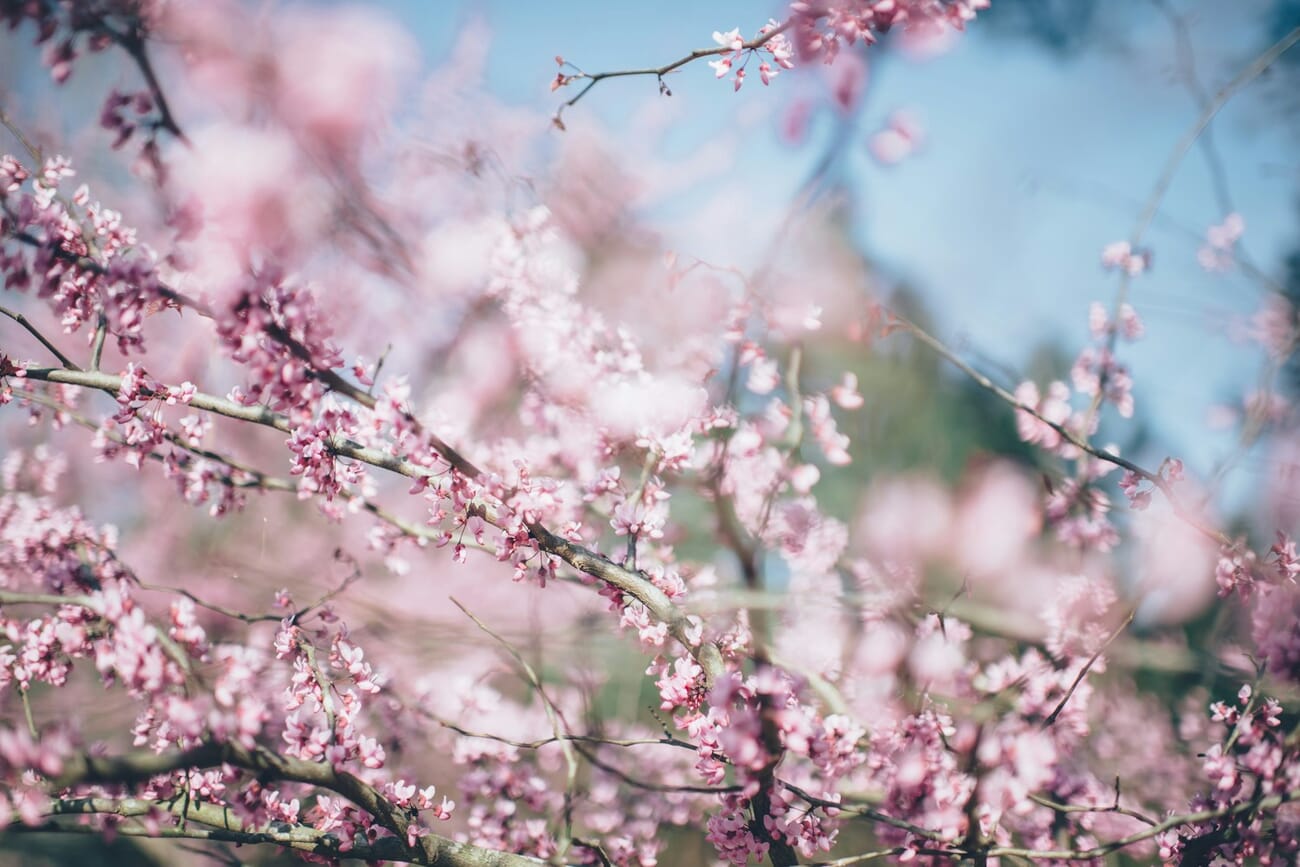
Cherry blossom season specifically overlaps with all three windows simultaneously in early April across much of the northern hemisphere. If this is the first spring you’re shooting seriously, cherry blossoms are the easiest possible entry point — they’re everywhere, they’re photogenic, and they’re only around for 10 to 14 days.
Use the Right Equipment for Original Macro Flower Photography
A true macro lens (1:1 reproduction ratio) is the defining piece of gear for this category. The 2026 recommendations by mount:
- Canon RF: Canon RF 100mm f/2.8L Macro IS USM — the reference for full-frame Canon. 1.4:1 reproduction, optical stabilization, Spherical Aberration control ring for creative bokeh. Budget pick: Canon RF 35mm f/1.8 Macro IS STM (0.5:1 ratio, half the price).
- Sony FE: Sony FE 90mm f/2.8 G Macro OSS — the aging but still optically excellent standard. The newer Sigma 105mm f/2.8 DG DN Macro Art matches it optically at roughly the same price. Budget: Sony FE 50mm f/2.8 Macro (1:1, $500).
- Nikon Z: Nikon Z MC 105mm f/2.8 VR S — top-class across the board, 1:1 ratio, in-lens VR. Budget: Nikon Z MC 50mm f/2.8 ($650).
- Fujifilm X (APS-C): Fujifilm XF 80mm f/2.8 R LM OIS WR Macro — the only true 1:1 macro in the X mount ecosystem, weather-sealed, OIS. Third-party alternative: Laowa 65mm f/2.8 2x Ultra Macro APO (2:1 ratio, manual focus).
- Micro Four Thirds: OM System 90mm f/3.5 Macro (2x magnification, weather-sealed) or the older Olympus 60mm f/2.8 Macro. The M4/3 sensor’s depth-of-field advantage makes this system exceptional value for flower work.
Beyond the lens, two accessories earn their space in the bag:
- A tripod with a center column that extends sideways, or a sturdy articulating arm. Flower macros often require ground-level framing that a standard tripod can’t achieve without awkward contortion.
- A small reflector or white foam board to fill shadows from the opposite side when shooting in directional light. $5 at a craft store; worth its weight in saved post-processing.
Camera Settings by Sensor Size
Every flower macro guide on the internet recommends “f/8” or “f/11” as the go-to aperture. That answer is wrong on Micro Four Thirds (too much diffraction) and wrong on full-frame (not enough depth of field). The correct answer depends on sensor size, and the relationship is predictable.
Why sensor size changes the f-stop
Smaller sensors produce more depth of field at the same aperture. A Micro Four Thirds camera shooting at f/5.6 produces roughly the same depth of field as a full-frame at f/11 — but the M4/3 camera starts losing sharpness to diffraction past f/8, while the full-frame stays sharp to f/16. The practical implication: stop down less on smaller sensors, more on larger ones.
Recommended ranges
| Sensor | Recommended range | Sweet spot | Diffraction limit |
|---|---|---|---|
| Micro Four Thirds | f/4 to f/8 | f/5.6 | ~f/8 |
| APS-C | f/5.6 to f/11 | f/8 | ~f/11 |
| Full-frame | f/8 to f/16 | f/11 | ~f/16 |
| Medium format | f/11 to f/22 | f/16 | ~f/22 |
These are starting points, not rigid rules. Shallow-focus creative work on a full-frame camera lives at f/2.8 to f/4, which gives you almost no depth of field at macro distances but extraordinary bokeh. Focus-stacked specimen work on any sensor can push into much narrower apertures if you’re compositing multiple frames.
Shoot on Cloudy Days for the Best Flower Colors
Great flower macro photography starts with great light.
But what counts as great light?
In this tip, I want to share with you a flower photography favorite of mine:
Cloudy light.
When the sky is cloudy, the sunlight is diffused. This makes for lighting that’s even and soft.
And soft light is especially good at bringing out colors. Does your flower photo have some nice reds? Some deep oranges? Cloudy light will bring the colors out; it’ll make them wonderful and rich.
I recommend cloudy light on heavily overcast days. The more overcast, the softer the light will look.
Unfortunately, wispy clouds won’t do much to reduce light hardness. You need heavy clouds to really capture some gorgeous photos.
You should also be careful not to shoot too late in the day. Evening clouds make the landscape a bit too dark–and you’ll just come away frustrated.
Now, there’s one other type of light I like for macro flower photography. Which brings me to my next tip:
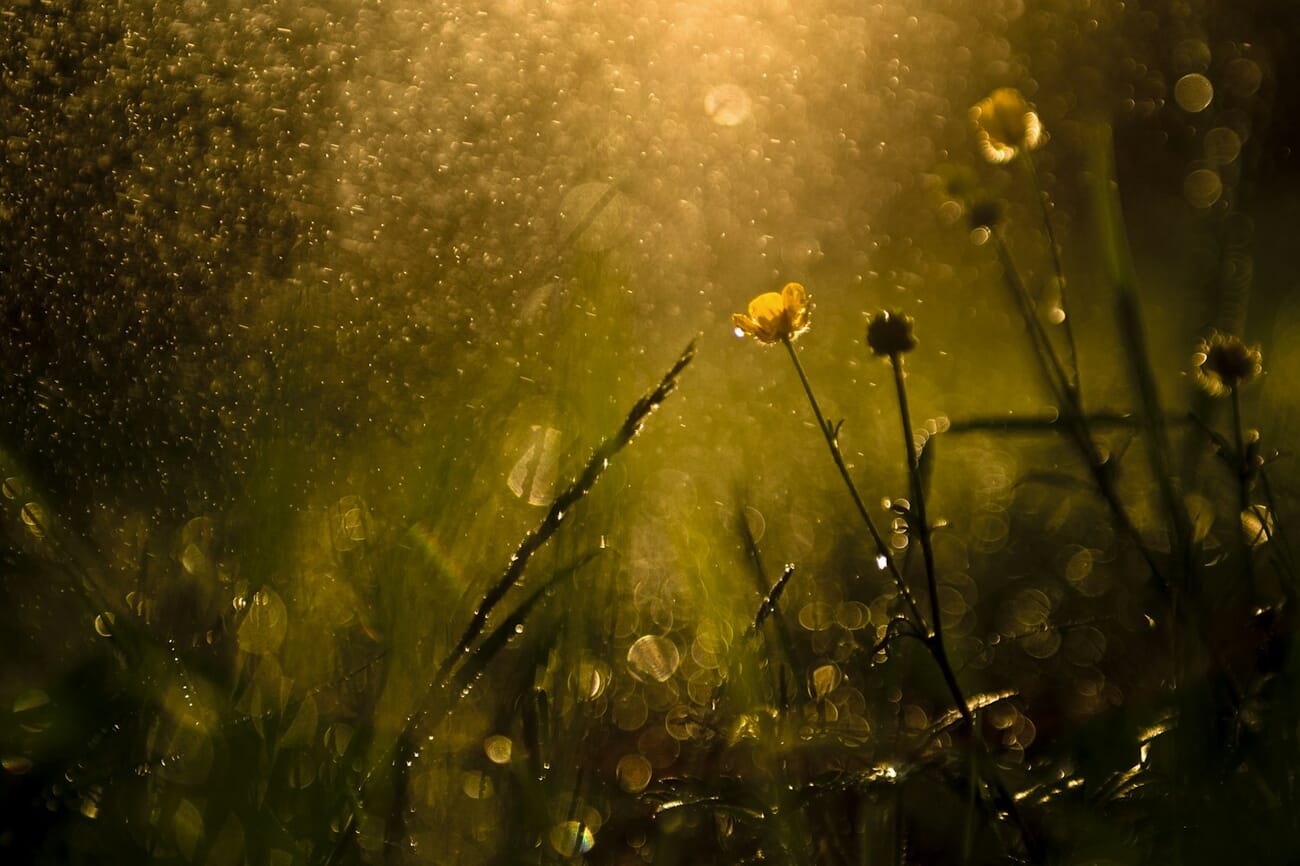
Shoot During the Golden Hours for Dramatic Flower Photos
Cloudy light is great for soft, subtle macro flower photography. But what if you want more dramatic photos? Something a bit more in-your-face?
That’s when you turn to golden-hour lighting.
The golden hours are the two hours after sunrise and the two hours before sunset. And they are amazing; the light turns golden and soft, and it gives your subjects a gorgeous glow.
During the golden hours, you must pay attention to the direction of the light. Does the sun come from behind your flower? In front of your flower? To the side of your flower?
Each of these types of light gives a different effect. And today I want to focus on two types of lighting:
Frontlight and backlight.
Frontlight comes from in front of the flower (and over the shoulder of the photographer). It hits the front of the flower, and gives it a nice, even look.
In fact, I recommend you use frontlight as your go-to macro flower photography lighting. It’ll give you wonderful golden photos, and you won’t have to worry much about messing them up. Because golden-hour frontlight is spectacular.
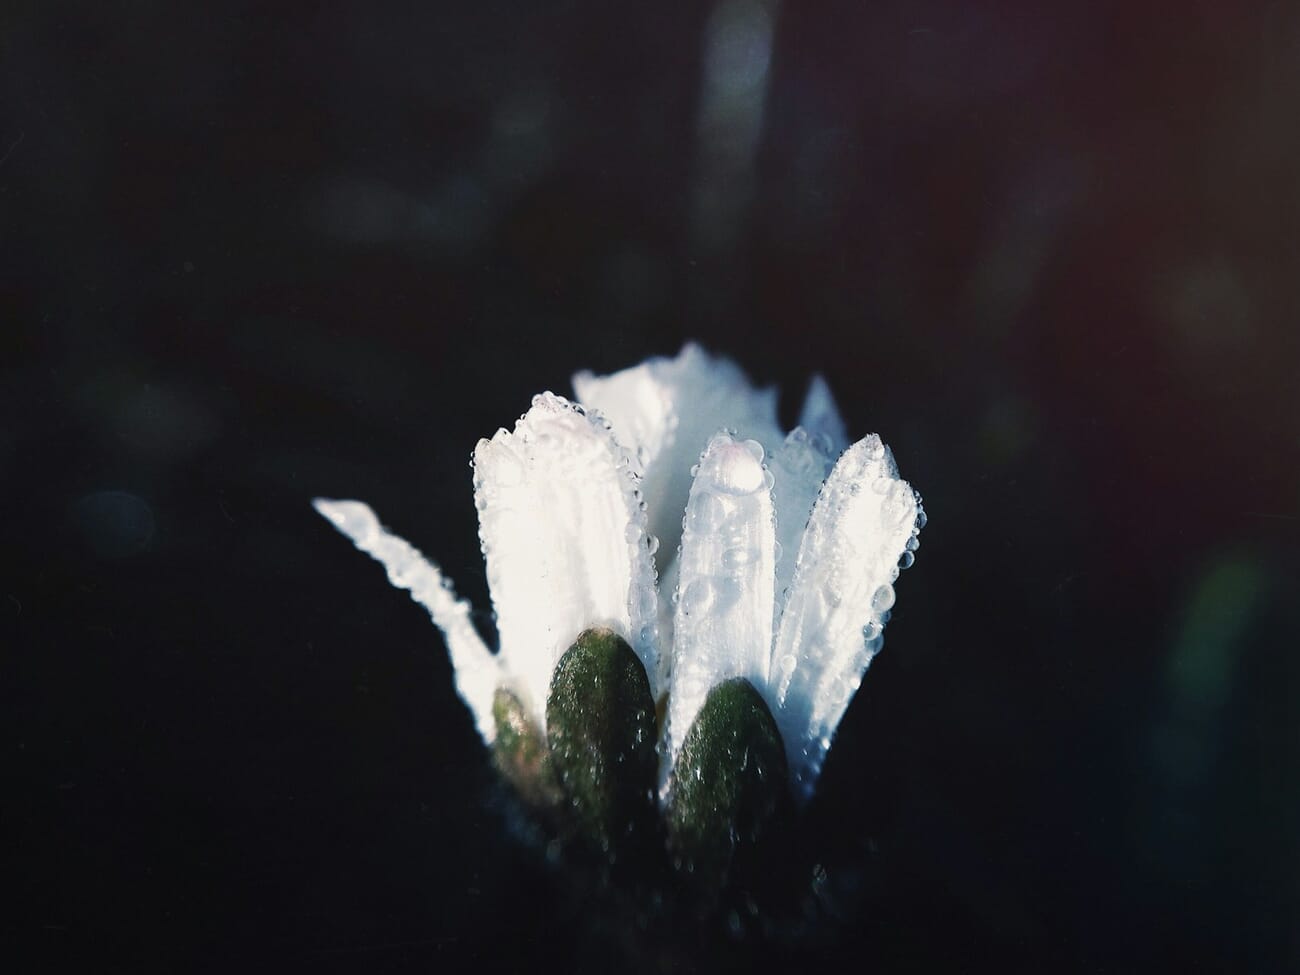
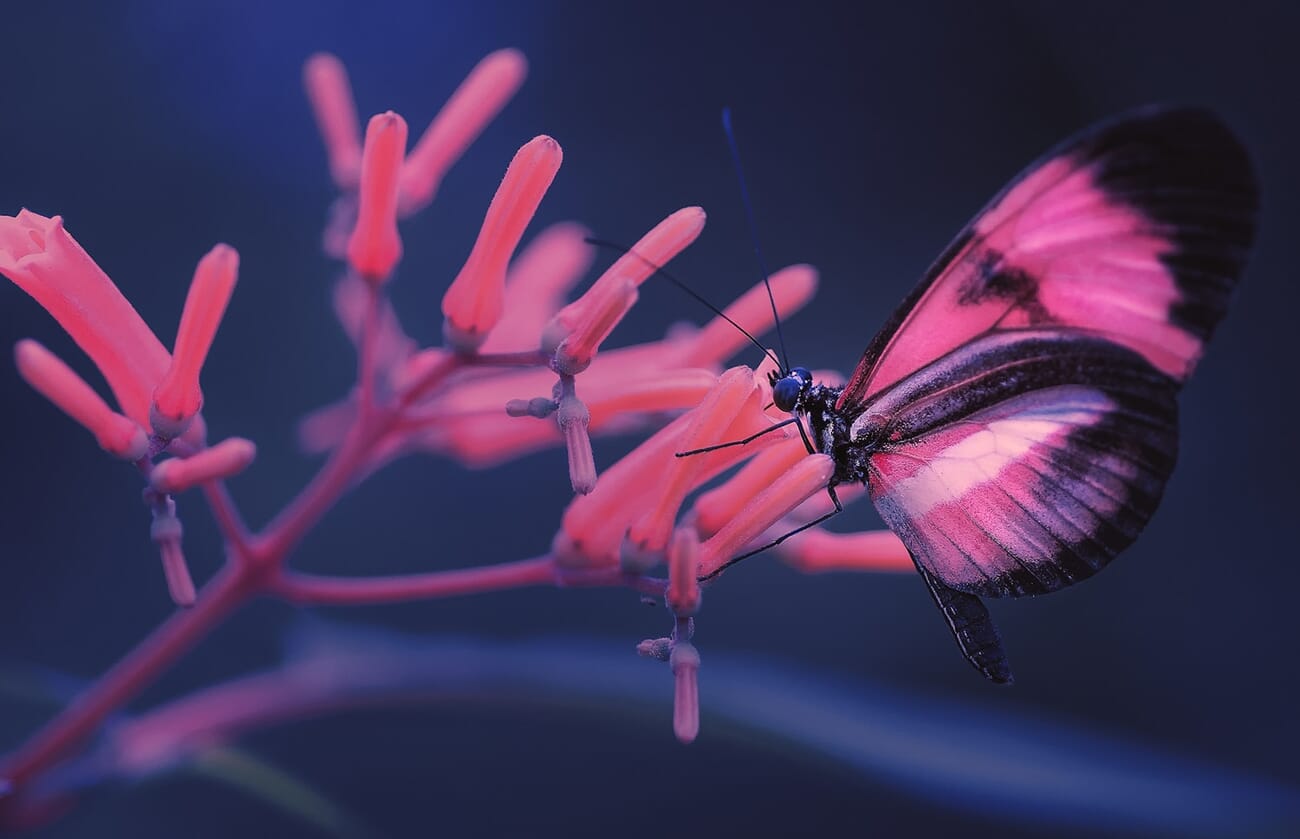
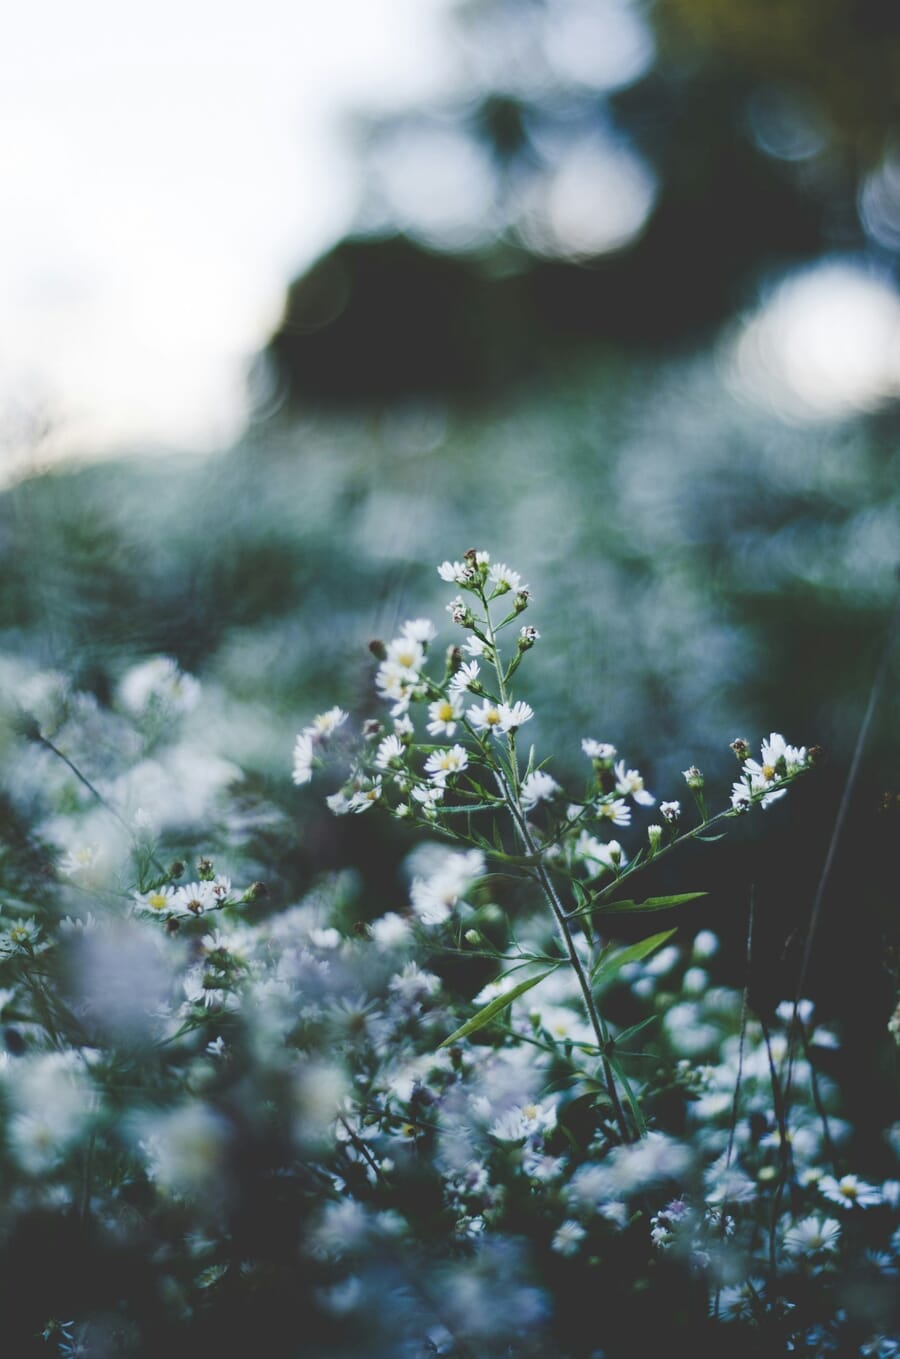
Backlight comes from behind your flower. You can find backlight by pointing your camera toward the sun. And it’ll get you more dramatic photos, like this:
Do you see how backlight creates bright and exciting backgrounds?
That’s why I recommend you use it if you want dramatic macro flower photos.
Use a Wide Aperture for a Beautiful Soft Effect
Do you want to capture macro flower photos that take the viewer’s breath away?
You can. All you need is a beautiful soft-focus look.
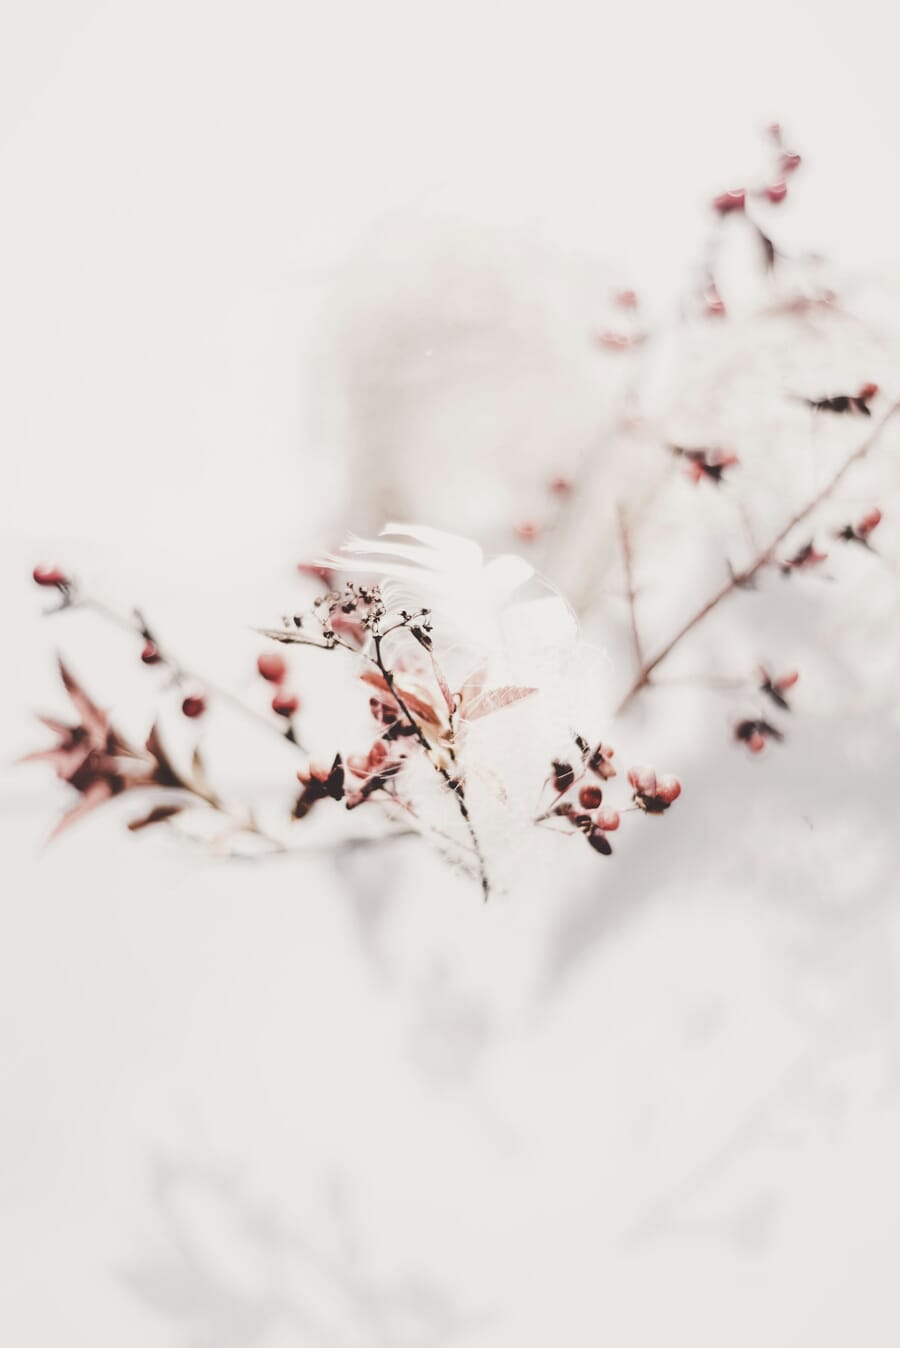
I’m talking about photos like this:
Notice that this soft-focus look is characterized by having very little of the subject in focus. That’s what gives the beautiful artistic look.
And the way you actually create this look…
…is by using an ultra-wide aperture.
In order to capture shots like the one above, you should work at an aperture of f/4 and lower. That way, your depth of field (the amount of the photo that’s actually sharp) will be extremely narrow.
Related Post: Wide vs. Narrow Aperture (with Sample Images)
And your flower will look stunningly artistic.
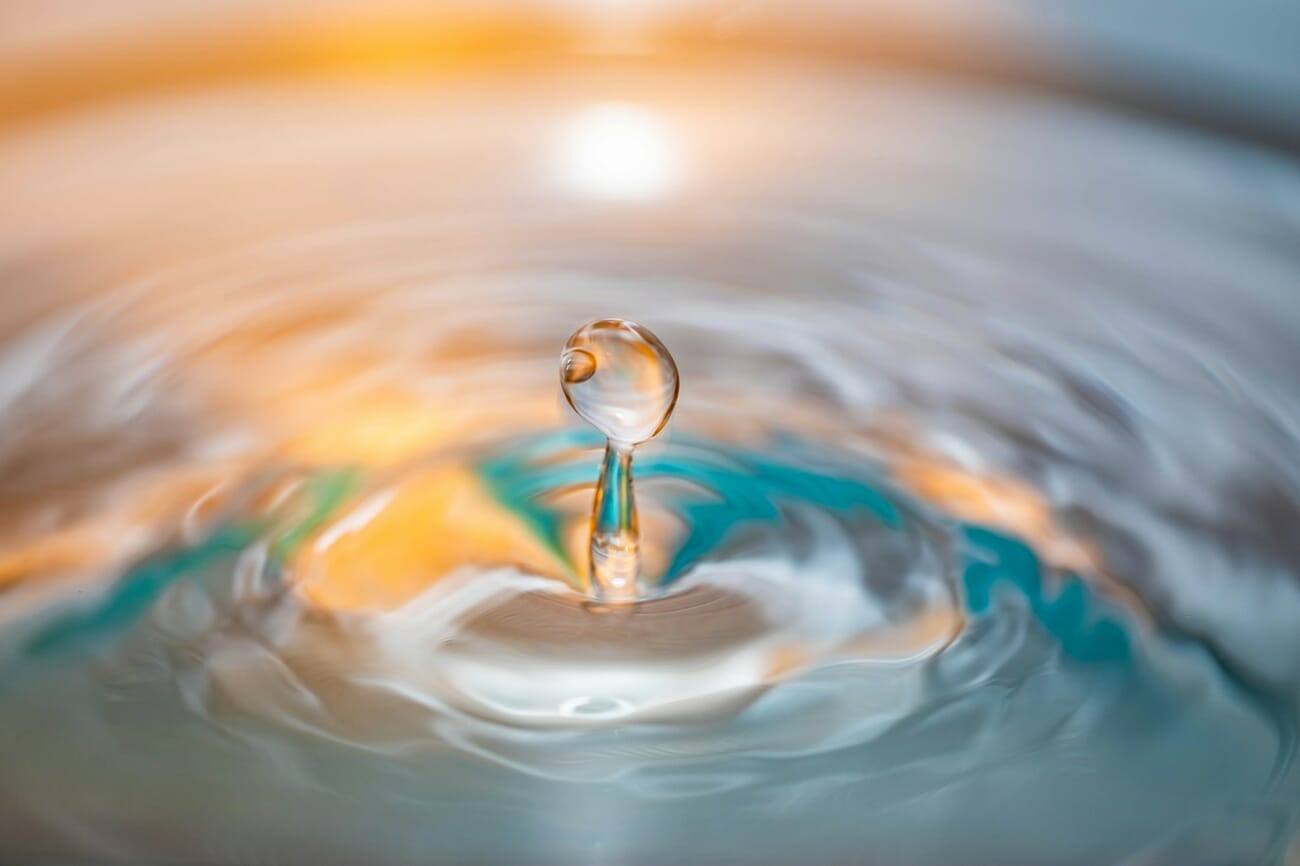
Increase the Subject-Background Distance for the Most Beautiful Backgrounds
The best flower photography backgrounds are deeply blurred, like this:
Notice how everything is just a nice, colorful wash. It’s perfect because of how simple it is–there’s nothing to distract the viewer, nothing to take away from the flower.
If you want to capture such a deep blur, you should use a wide aperture, as discussed above. An aperture of f/2.8 will make sure that you get the most thorough blur possible.
But there’s another way to increase the blur:
Make sure there’s a large distance between your subject and the background. The farther the background, the blurrier it will become.
Here’s what I suggest:
Once you’ve picked a flower to photograph, get down low, and approach the flower from different angles. Check the distance between the flower and the background behind it.
And don’t take a shot until you’ve found a nice background–one that’s far off in the distance.
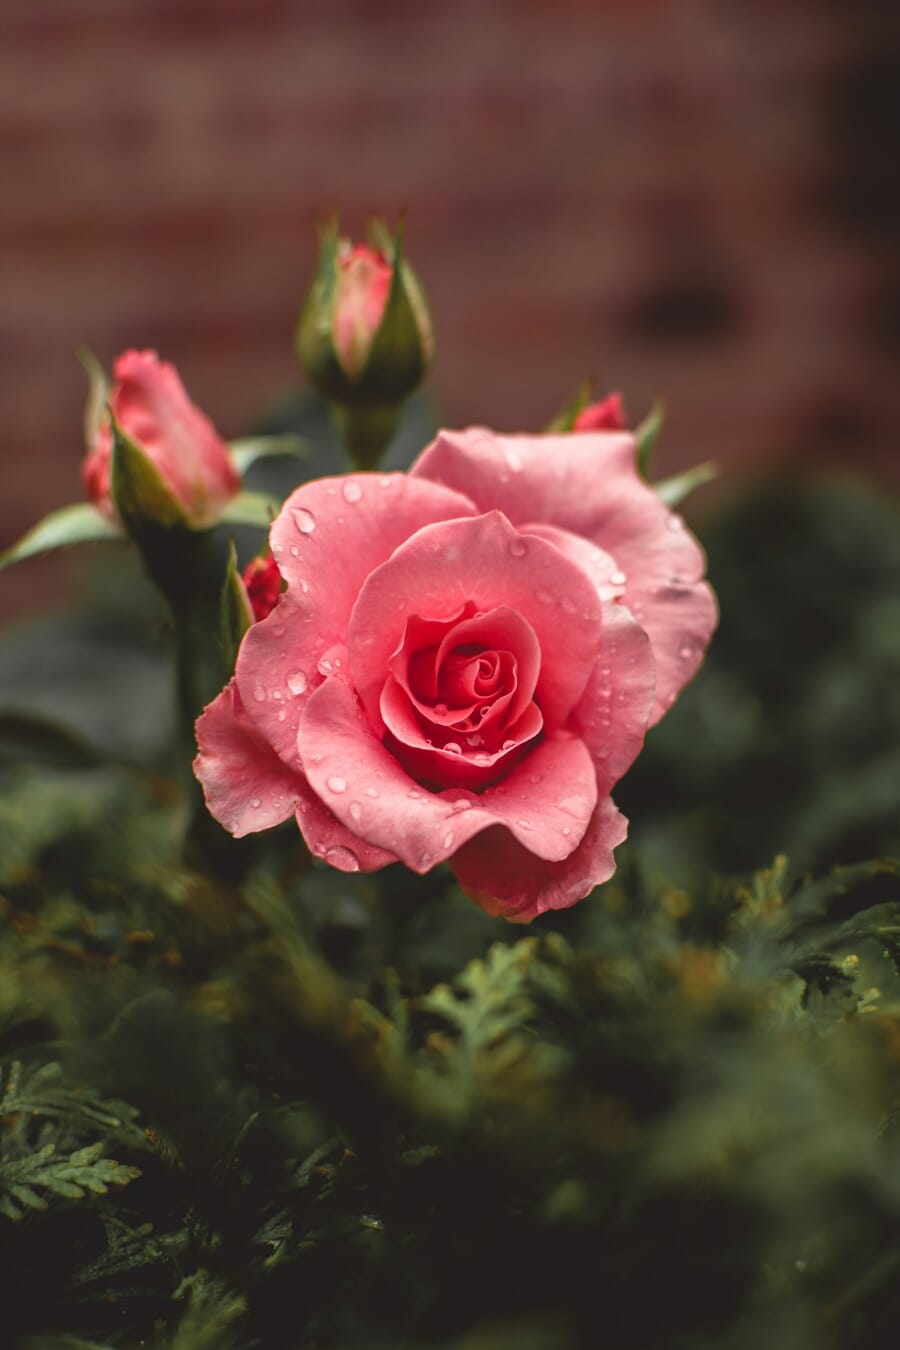
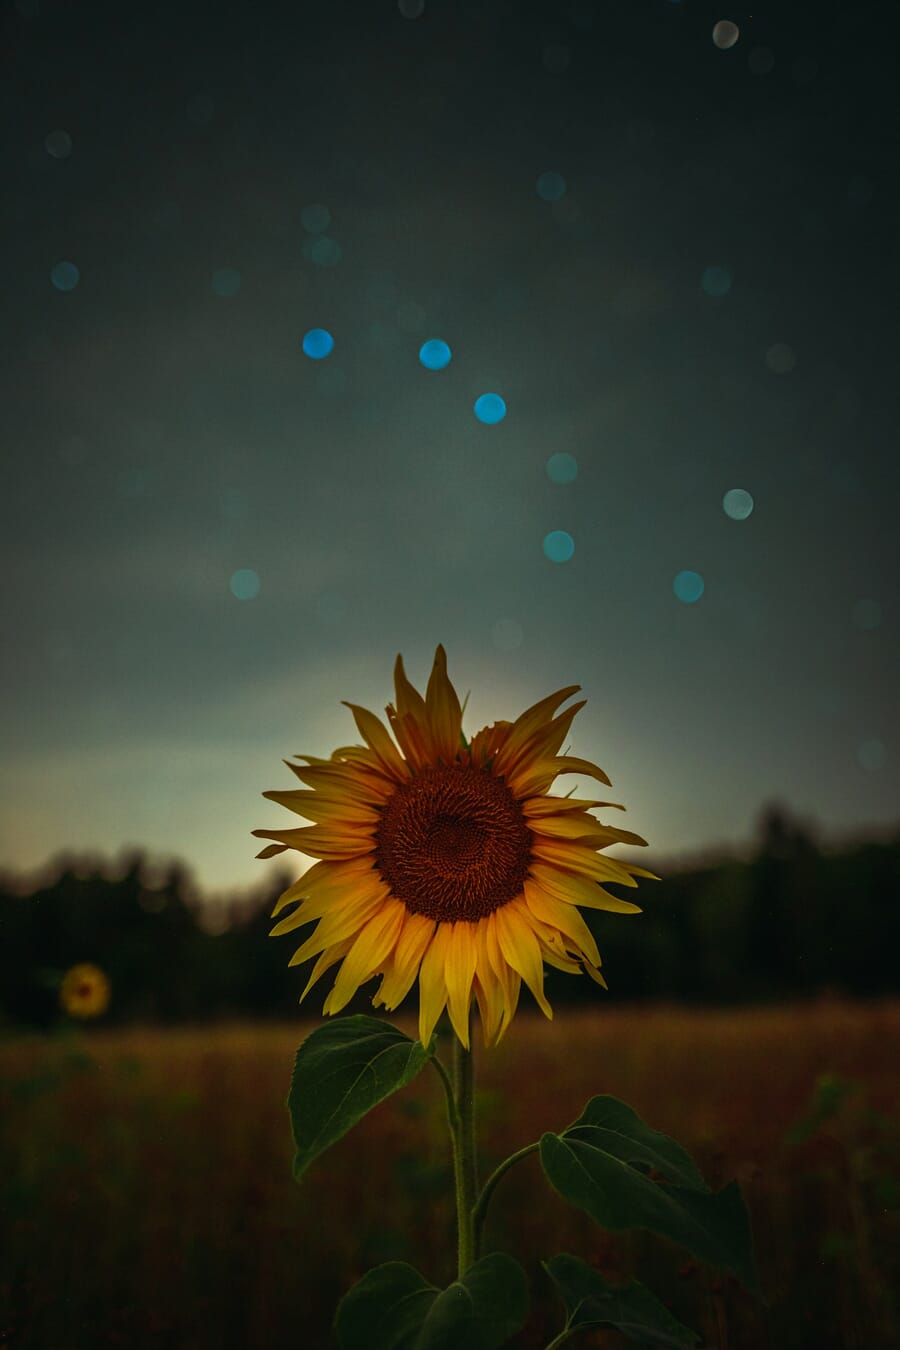
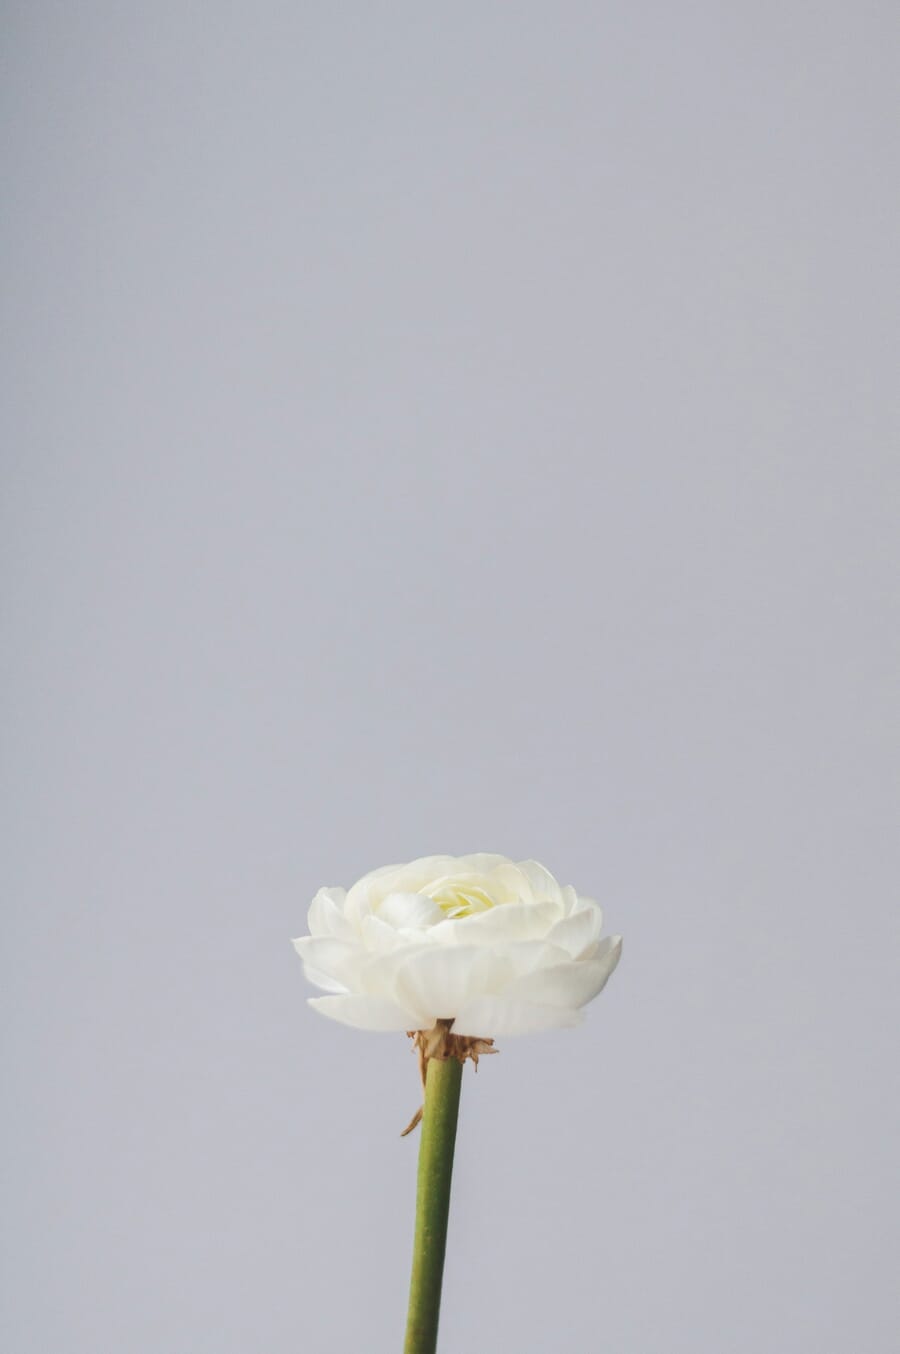
Use a Single Flower as Your Standout Subject for Compelling Floral Photos
Now you know how to find good light.
You know how to create a gorgeous soft-focus effect.
And you know how to create a great background.
But how do you actually position your subject in the frame? How do you actually compose your photo?
Here’s the first thing you should know about composition:
Show off your subject.
And that means is choosing one subject and doing everything you can to emphasize it within the frame.
For your macro flower photos, you should find a single nice flower to use as your subject. Make sure that’s completely isolated–nothing should intersect with it, nothing should distract from it.
Then put that flower where it can shine. Make sure that everything else in the frame directs the viewer toward that single flower. If there are lines in the photo, try to point them toward your flower. And make that flower be the sole sharp object in the photo.
If you can do that, you’ll create a standout subject–and a standout macro flower photo.
Use the Rule of Thirds for the Most Pleasing Macro Compositions
The rule of thirds is an age-old composition technique in photography (and exists for pretty much all artistic pursuits).
It states:
The best compositions place the main elements a third of the way into the frame. In other words, you should put your flower subject along one of these gridlines (which cut the photo into thirds):
If you have any other elements within your frame, you should try to place them along the rule of thirds gridlines, too.
In fact, the rule of thirds works best when you place your main subject at the intersection between two gridlines, known as power points. If you can position your subject along these power points, your photo will be especially impressive.
For instance, I used the rule of thirds to place this flower in the photo:
And I used the rule of thirds to position this flower, too:
As you probably noticed, rule of thirds macro photos feel balanced. They have something special about them–which is why they have such an impact on viewers.
So use the rule of thirds whenever you can…
…for the best macro compositions.
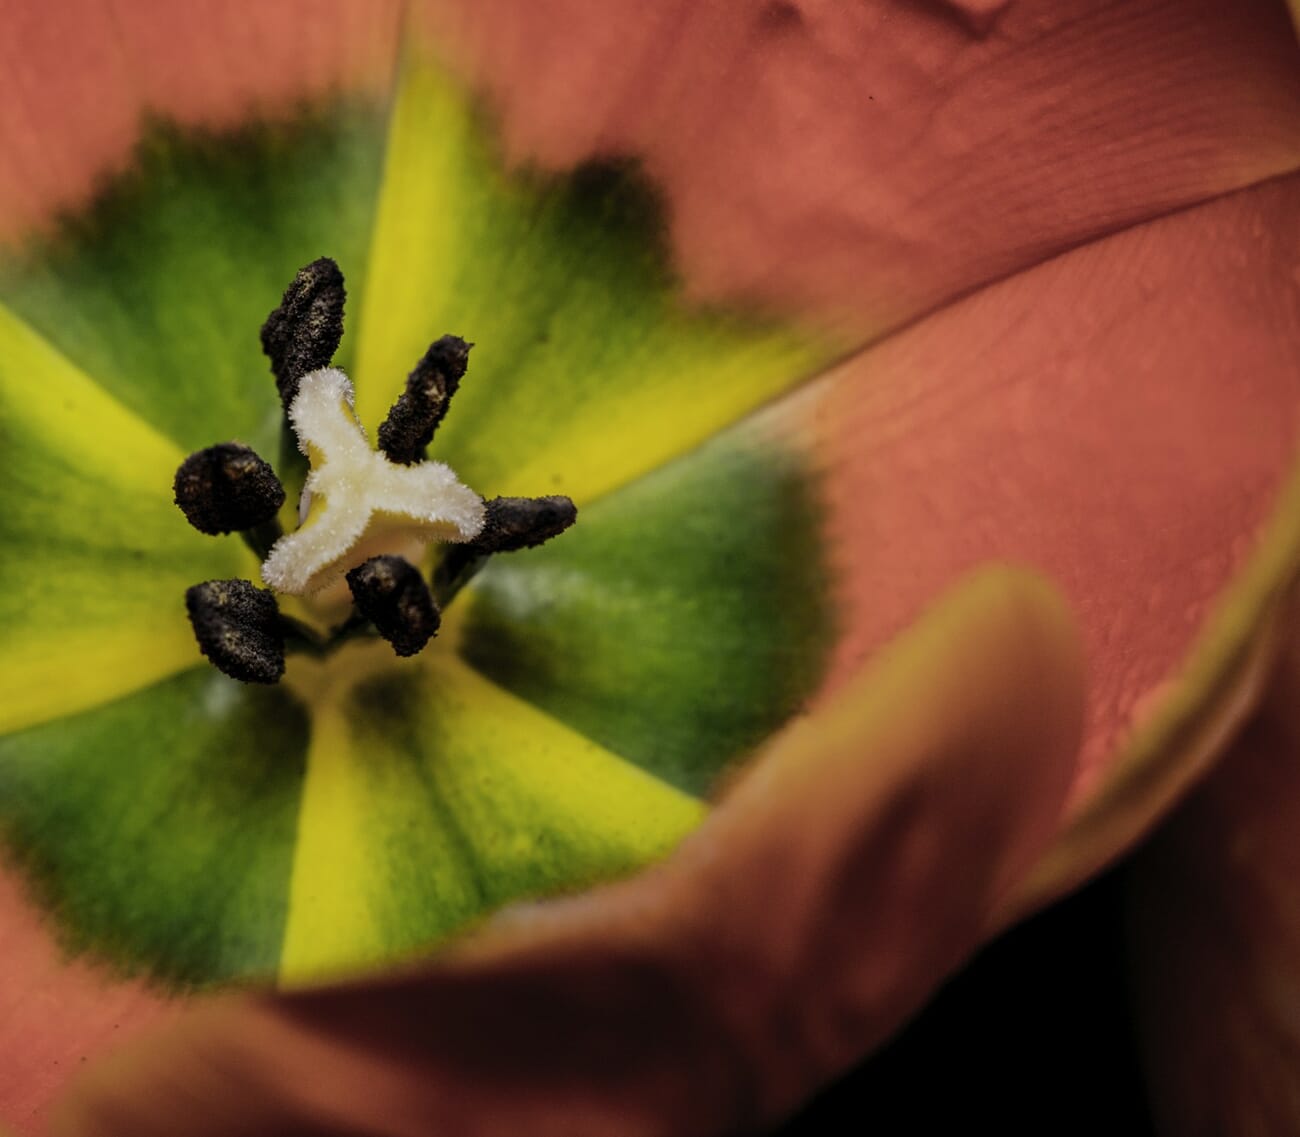
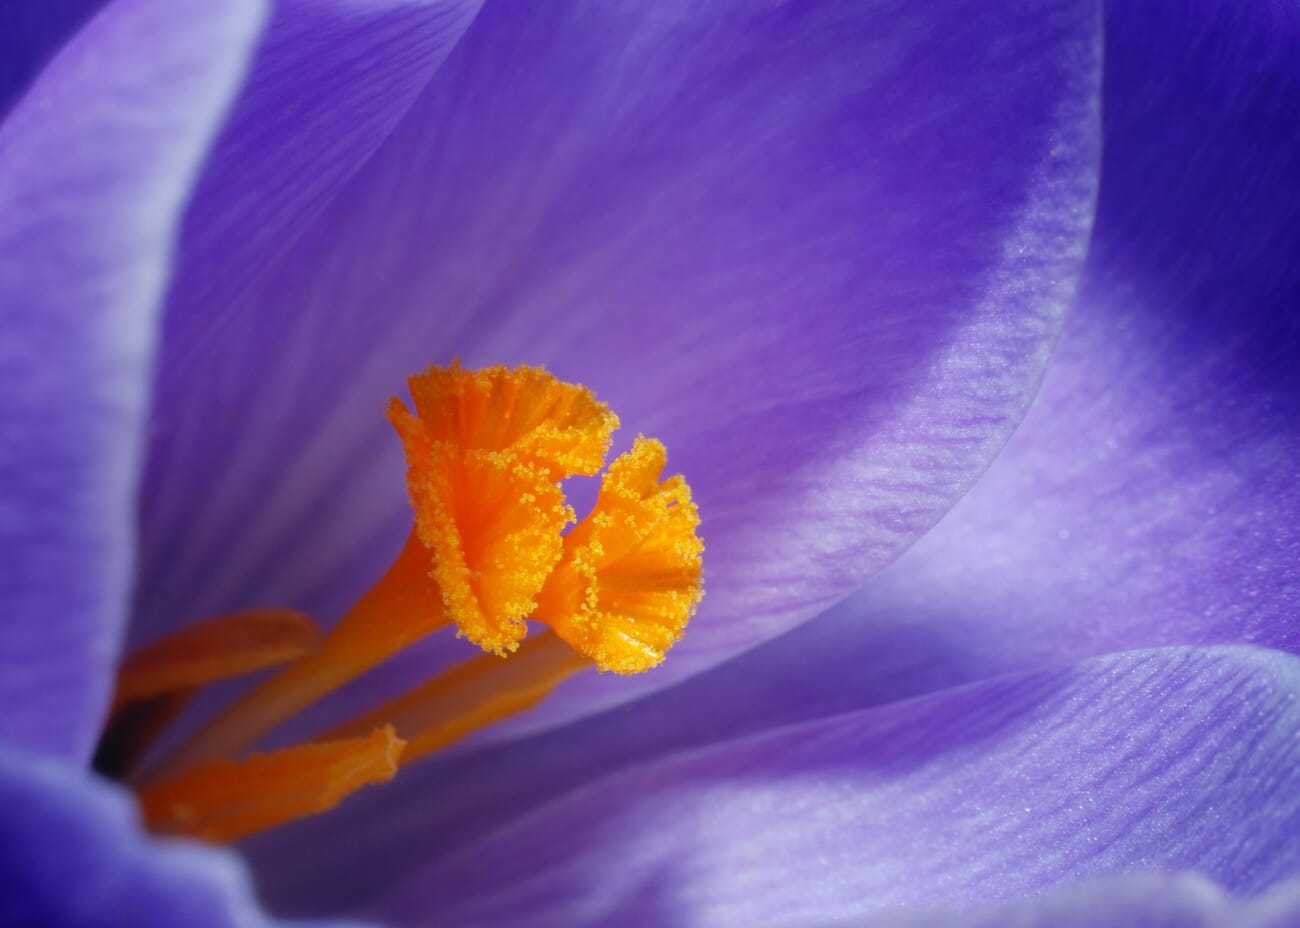
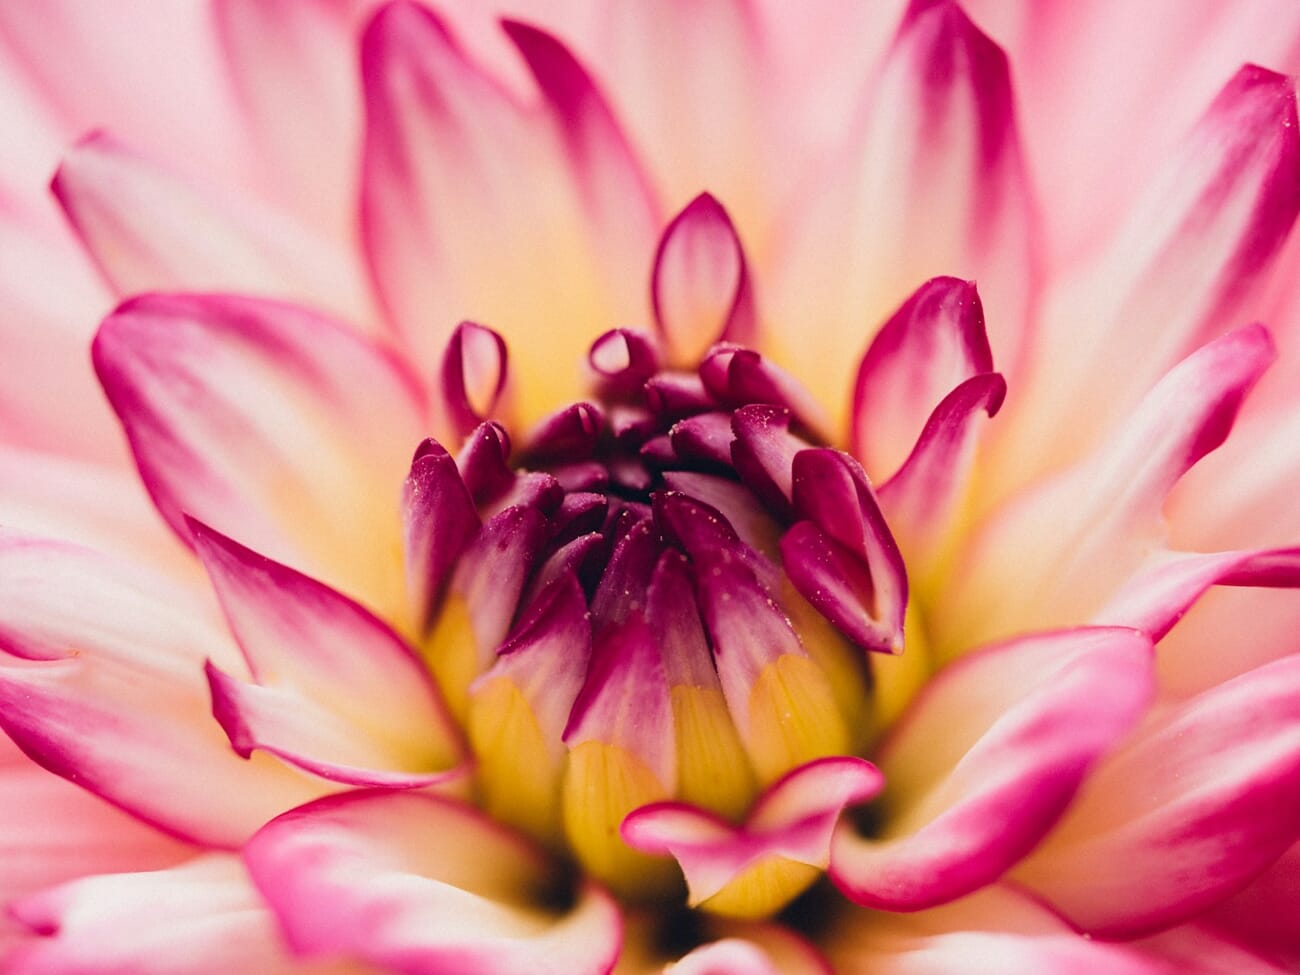
Get Close for Creative Abstract Flower Macro Photography

Macro photography is all about getting close.
But I want to emphasize:
For the best macro flower photos, you should get really, really close.
You see, most flower photographers see a nice flower, take a nice picture, and then…stop.
But you can capture so much more if you get in close and keep on shooting.
You see, by getting close, you can actually enhance the soft-focus effect. The higher the magnification, the shallower the depth of field (and the better the blur). That way, you can capture more artistic flower photos.
Plus, getting close allows you to show the viewer something special:
The flower…as they’ve never seen it before.
By getting close, you start to turn the flower into beautiful shapes and lines. You lose the ‘common’ view of the flower, and you start to show people something new.
(That’s what abstract macro photography is all about–showing something new!)
If you can do this, you’ll manage to create a gorgeous abstract flower photo. And it will be creative and original–because you’ll be working on a deeper level of artistry.
And speaking of creative floral photography, there are actually a few other ways you can ensure original flower photos:
Use Creative Macro Techniques for Unique Flower Images
Macro photographers often use creative techniques to enhance their photos.
And you should use some of these creative techniques, too! They’ll add completely new looks to your images–and help you achieve a portfolio that you’re proud of.
Creative Macro Technique #1: Use Fairy Lights for Amazing Backgrounds
Fairy lights are small, they’re cheap, and they’re really, really useful for enhancing your macro backgrounds.
Here’s what you do:
Purchase a string of fairy lights from Amazon.
Take the fairy lights out shooting around dusk. The sun should have set, or be nearly set.
Once you’ve found your main subject, carefully place the fairy lights behind it–not too close, but not too distant, either. I usually go for a distance of 6 inches or so.
Finally, use a wide aperture to blur the background. And take your shot!
You’ll come away with an absolutely stunning background–for an incredible image.
Creative Macro Technique #2: Use Intentional Camera Movement to Get Abstract Flower Photos
Intentional camera movement (ICM) is one of my favorite macro photography techniques. It’s also extremely simple to pull off.
All you have to do is find a nice flower. Ideally, the flower is a single bright color.
Related Post: 20 Macro Photography Ideas
Then lower your shutter speed to something in the area of 1/10s to 1/2s.
Finally, take a shot of the flower–while deliberately moving your camera around.
You’ll come away with an interesting abstract, like this:
Bring Out Flower Characteristics With a Touch of Editing
Here’s your final tip for stunning macro flower photography:
Do a bit of editing to enhance your flowers.
You don’t have to do much. In fact, I discourage lots of editing (which can easily turn into unpleasant overediting).
I’d just recommend a few things.
First, play around with the temperature of your flower photo. Check how the image looks when cold, and check how it looks when warm. Temperature is one of those easy changes that can make a huge difference–so don’t forget to do this.
Second, consider whether the photo could use a contrast boost. Lots of photos suffer from being too low contrast; make sure yours isn’t one of them.
Finally, boost the colors of your flower. You can do this by increasing the saturation. Alternatively, you can increase different color channels separately–it’s your call!
Smartphone Macro Photography
Smartphone macro stopped being a novelty in 2022 and became genuinely competitive with kit-lens interchangeable cameras around 2024. In 2026, the iPhone 13 Pro and later automatically switch to macro mode when you get within a few inches of a subject, and the computational pipeline produces results that rival an entry-level DSLR with a standard zoom.
Native phone macro (iPhone 13 Pro / 14 Pro / 15 Pro / 16 Pro / 17 Pro; Google Pixel 8 Pro / 9 Pro / 10 Pro; Samsung Galaxy S24 Ultra and later)
On any of these phones, get close to the flower and the camera automatically engages macro mode (using the ultrawide sensor and cropping to the center). Works down to about 2 cm of focus distance. Shoot in Portrait mode when the phone offers it for the synthetic background blur, but beware: Portrait mode’s edge detection struggles on complex floral subjects. The cleaner workflow is to shoot regular Photo mode and let the natural shallow DOF of close focusing do the work.
Pro tip: shoot in Apple ProRAW or Pixel RAW rather than HEIC/JPEG. The extra data gives you room for white-balance and exposure recovery in post, which flower close-ups need because bright petals and dark leaves routinely blow out different channels.
Clip-on macro lenses
Three clip-on lens brands dominate 2026: Moment (premium — the 10x macro adds true 1:1 reproduction ratio), ShiftCam (mid-tier — 10x and 25x macro options), and Apexel (budget — 100x microscope-style kits under $40). They clip over the phone’s rear camera lens and let you focus within 10–15 mm of the subject, well past what native phone macro achieves.
Which to buy depends on whether you want to share your shots straight out of the phone (Moment wins on optical quality) or just explore the extreme-close-up territory for fun (Apexel is half the price and good enough). ShiftCam sits in between and is the most common recommendation for serious-but-not-pro mobile shooters.
AI Focus Stacking for 2026
Macro photography has an unavoidable technical problem: at close focus distances, depth of field collapses to millimeters even at f/16. The traditional answer is to shoot 5–20 frames at different focus points, then composite them into a single “everything sharp” image. Historically this was Photoshop-grade technical work. In 2026, AI focus stacking has moved it closer to one-click.

Helicon Focus — still the pro standard
Helicon Focus remains the reference implementation for focus stacking. Three blending algorithms (A, B, C) let you pick by subject type (A for smooth subjects like petals, B for textured surfaces, C for complex layering); the results are consistently cleaner than any general-purpose image editor’s stacking feature. Licensing is $30 per year or $115 lifetime.
Affinity Photo 2.6 — best beginner option
Affinity Photo‘s focus merging feature is one of the best-hidden gems in consumer photography software. File > New Focus Merge > pick your source images > Affinity auto-aligns and blends. Output quality sits close to Helicon Focus for 90% of subjects. The 2026 version (2.6) added an AI-driven edge refinement step that meaningfully improves the edge blending on complex leaves and stamens. One-time $70 license.
Lightroom + Photoshop Auto-Blend Layers
Lightroom doesn’t stack natively in 2026 — despite the AI upgrades the April 2026 Lightroom 15.3 update brought. The Lightroom → Photoshop pipeline still handles it: select the source frames in Lightroom, Photo > Edit In > Open as Layers in Photoshop, auto-align layers, then auto-blend layers (set to Stack Images). Competitive with Affinity on results, but slower workflow.
Capturing the source frames
Tripod is mandatory. Camera in manual mode (fixed aperture, shutter, ISO, white balance). Focus at the nearest point of the subject, take the shot, shift focus slightly deeper, take the next shot — continue until you’ve covered through the deepest point. Modern Olympus/OM System, Fujifilm, Canon, and Nikon cameras have built-in “focus bracketing” that automates the capture step. Set it to 20 frames with a shift value around 3–5, and let the camera walk through focus for you.
Flower Macro Photography: Next Steps
As you should now realize, capturing stunning macro flower photography isn’t hard.
In fact, it’s quite easy–once you know a few tricks!
So just remember:
Think about the light.
Carefully choose your composition.
And edit for the best final product.
You’ll come away with some amazing flower macro photos!
Frequently Asked Questions
What’s the best camera setting for flower macro photography?
It depends on sensor size. Micro Four Thirds: f/4–f/8. APS-C: f/5.6–f/11. Full-frame: f/8–f/16. Shutter speed at least 1/125s handheld (1/60s on a tripod). ISO as low as light allows — flower textures show noise quickly.
Do you need a macro lens for flower photography?
For true 1:1 reproduction — yes. For close-up floral photography that doesn’t need to fill the sensor with a single petal, a standard 70–200mm zoom or even a 50mm prime with an extension tube will get most of the way there. A proper macro lens earns its price the moment you want to photograph stamens, pollen, or insect-on-flower shots.
Can you shoot flower macro on a smartphone?
Yes — iPhone 13 Pro onward, Pixel 8 Pro onward, and Samsung Galaxy S24 Ultra onward all have native macro modes that produce competitive results. Clip-on lenses from Moment, ShiftCam, and Apexel extend what the native phone can do when you want true 1:1 or higher reproduction.
When is the best time of day to photograph flowers?
Three windows are the strongest: (1) 30 minutes after sunrise for morning dew; (2) the 15 minutes after a rain shower passes for peak color saturation; (3) the hour before sunset through 20 minutes into blue hour for golden-hour backlight. Avoid direct midday sun — the shadow contrast is typically too harsh.
What is focus stacking for flower macro?
A technique for getting entire flowers in sharp focus despite the shallow depth of field macro lenses produce. You shoot 5–20 frames at different focus points, then composite them in software (Helicon Focus, Affinity Photo, or Photoshop). Modern Olympus/OM System, Canon, Nikon, and Fujifilm cameras have built-in focus bracketing that automates the capture.
What’s the cheapest real macro lens in 2026?
Sigma’s 70mm f/2.8 DG Macro Art at ~$570 is the budget price leader for full-frame (E and L mount). For APS-C, the Viltrox AF 85mm f/1.8 STM (at around $400) is a 1:2 macro that works well for flower subjects even though it’s not a true 1:1 lens.
Sources for this guide:
Software references
- Helicon Focus – The industry standard for focus stacking, three blending algorithms
- Affinity Photo – Affinity Photo focus merging — beginner-friendly stacking at a one-time price
Additional focus-stacking references
- Digital Photography School — Focus Stacking guide – Step-by-step beginner focus-stacking tutorial
- Capture the Atlas — Focus Stacking guide – Complete focus-stacking guide with field-workflow examples


