Editor’s Key Takeaways: Mastering Camera Metering Modes for Perfect Exposures

This post discusses the different metering modes available in digital cameras. These modes help the camera to determine the correct exposure by evaluating the scene in various ways. The center-weighted average mode focuses primarily on the center; spot metering considers only a small spot in the center; and, evaluative metering provides an intelligent analysis of the entire scene.
- Center-weighted average metering: Prioritizes the center of the scene.
- Spot metering: Uses only a small spot in the scene’s center.
- Evaluative metering: Analyzes the entire scene.
The meter of a camera measures the light reflected off a scene and adjusts the amount of light let in for a good exposure. This is achieved by striking a balance between allowing a lot of light, which makes the photo light, and little light, which makes the photos dark. The goal is to achieve a neutral tone photo with 18% gray, seen as a perfect exposure by the camera. The amount of light let in is determined by the aperture and shutter speed settings on the camera.
Introduction
Do you want to know about the different metering modes offered by your camera? Do you want to know how to choose the best metering mode, no matter your situation?
That’s what this article is all about.
I’m going to tell you everything you need to know about metering modes, including:
- How metering modes work
- The three different types of metering modes
- How to choose the best metering mode for the situation
- Common metering mode mistakes
Sound good?
Let’s dive right in.
Metering Modes:
What are Photography Metering Modes and How Do They Work?
Every digital camera has a meter.
A meter measures the amount of light reflected off a scene. So on a bright, sunny day, the meter will measure a lot of light. On a dark, cloudy evening, the meter will measure very little light.

This allows the meter to determine how much light should be let in for a good exposure.
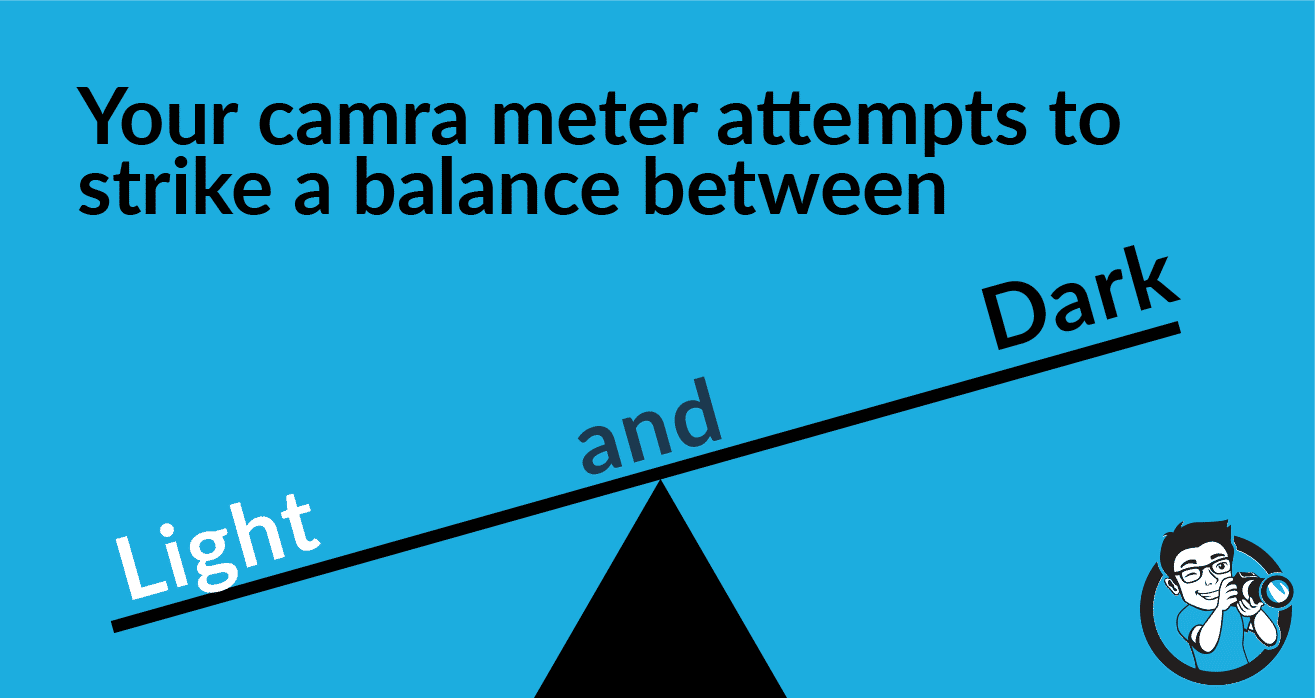
A lot of light makes the photo light; a little light makes the photo dark. So the camera meter attempts to strike a balance between these, and create a photo that is neither light nor dark, but a neutral tone: middle gray, also known as 18% gray. In the eyes of the meter, a photo with 18% gray is a perfect exposure.
Now, the amount of light let in is determined by two settings: the aperture and the shutter speed.
(The ISO matters, too, but not in quite the same way.)
So the meter directs the camera to use a certain aperture and a certain shutter speed–in order to create a perfect exposure.
And it works, sort of. If you take photos of very uniform scenes, a basic meter will get you a good exposure with some consistency. Imagine you’re photographing a nice, medium-red brick wall. The scene is pretty uniform. A basic camera meter, taking into account the entire scene, will do just fine.
Also Read: Comparing the Best Light Meter Apps
But here’s the problem:
What if you’re photographing a scene that isn’t uniform? For instance, if you’re photographing a child against a black background. What happens then?
In that case, a basic meter would take into account the entire scene, which is mostly dominated by the black background. And it would make the scene very light, in order to compensate for the background, when in fact you just want the child to be well-exposed, because they’re the subject of the photo.
You’ll get a medium-gray background with an ultra-bright child. Which is not ideal.
That’s where metering modes come in. Because metering modes allow you to select areas of importance in a scene, to ensure that the camera meter weights them more heavily when determining the proper exposure.
Which brings us to the next section:
The Three Types of Metering Modes
Most digital cameras allow you to select from three metering modes:
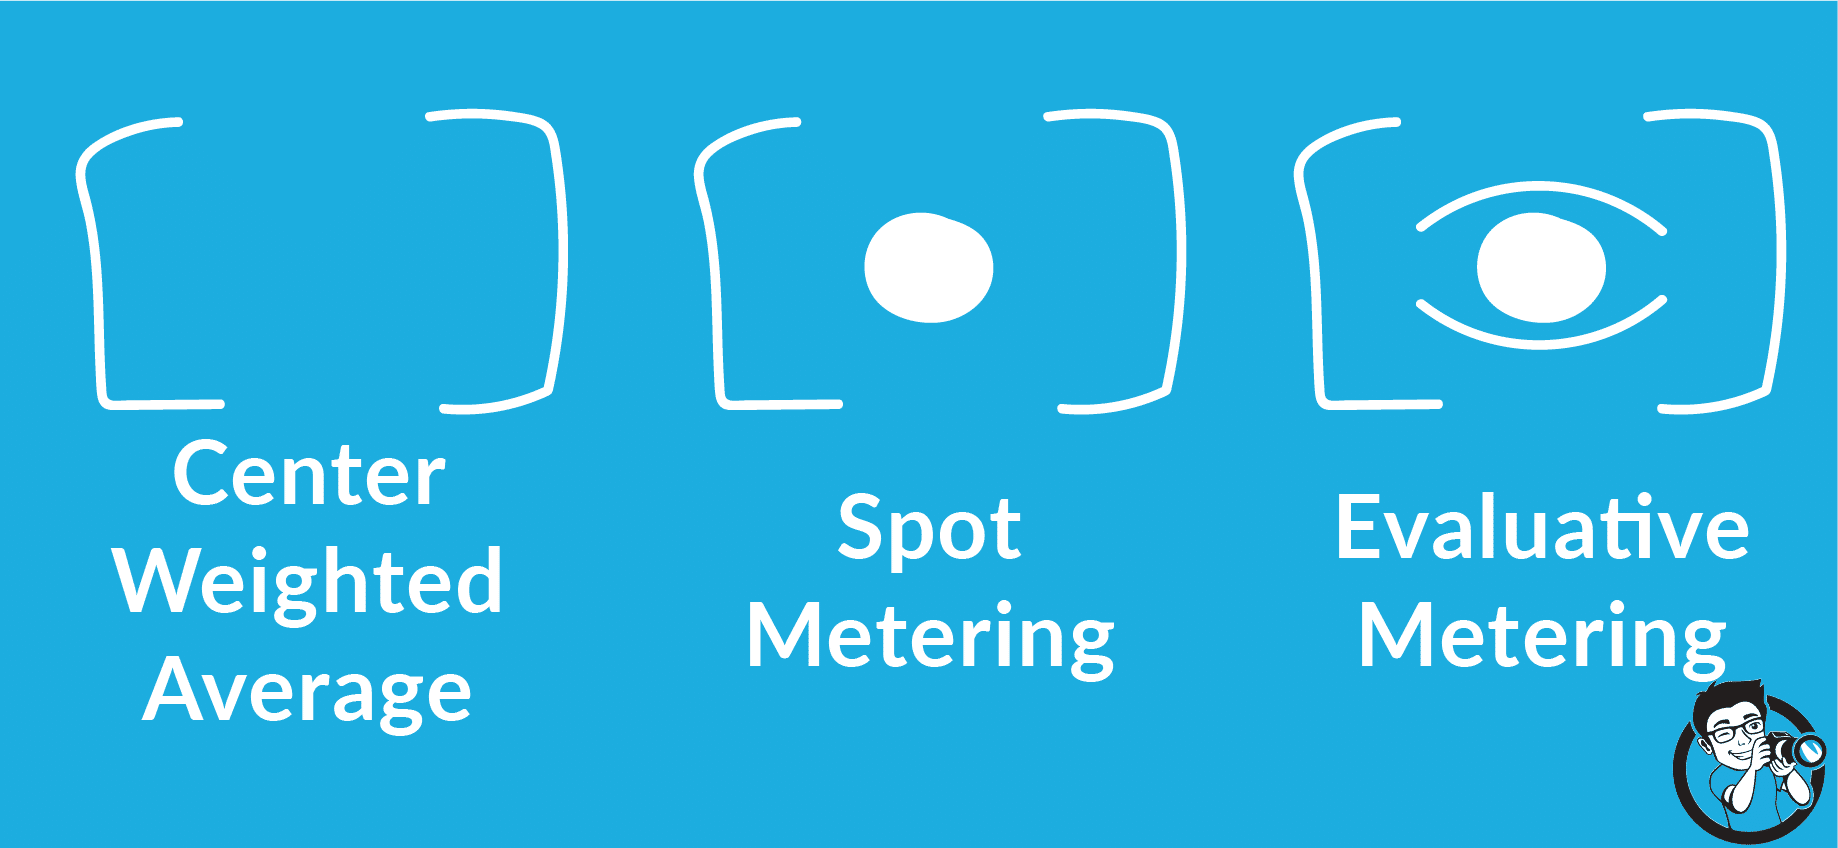
- Center-weighted average metering
- Spot metering
- Evaluative metering (also known as pattern metering and matrix metering)
Let’s take a closer look at what each metering mode does:
Center-Weighted Average Metering
Center-weighted average metering works as it sounds:
It weights the center of the photo more heavily than the corners. In other words, it gives greater importance to the middle of the photo.
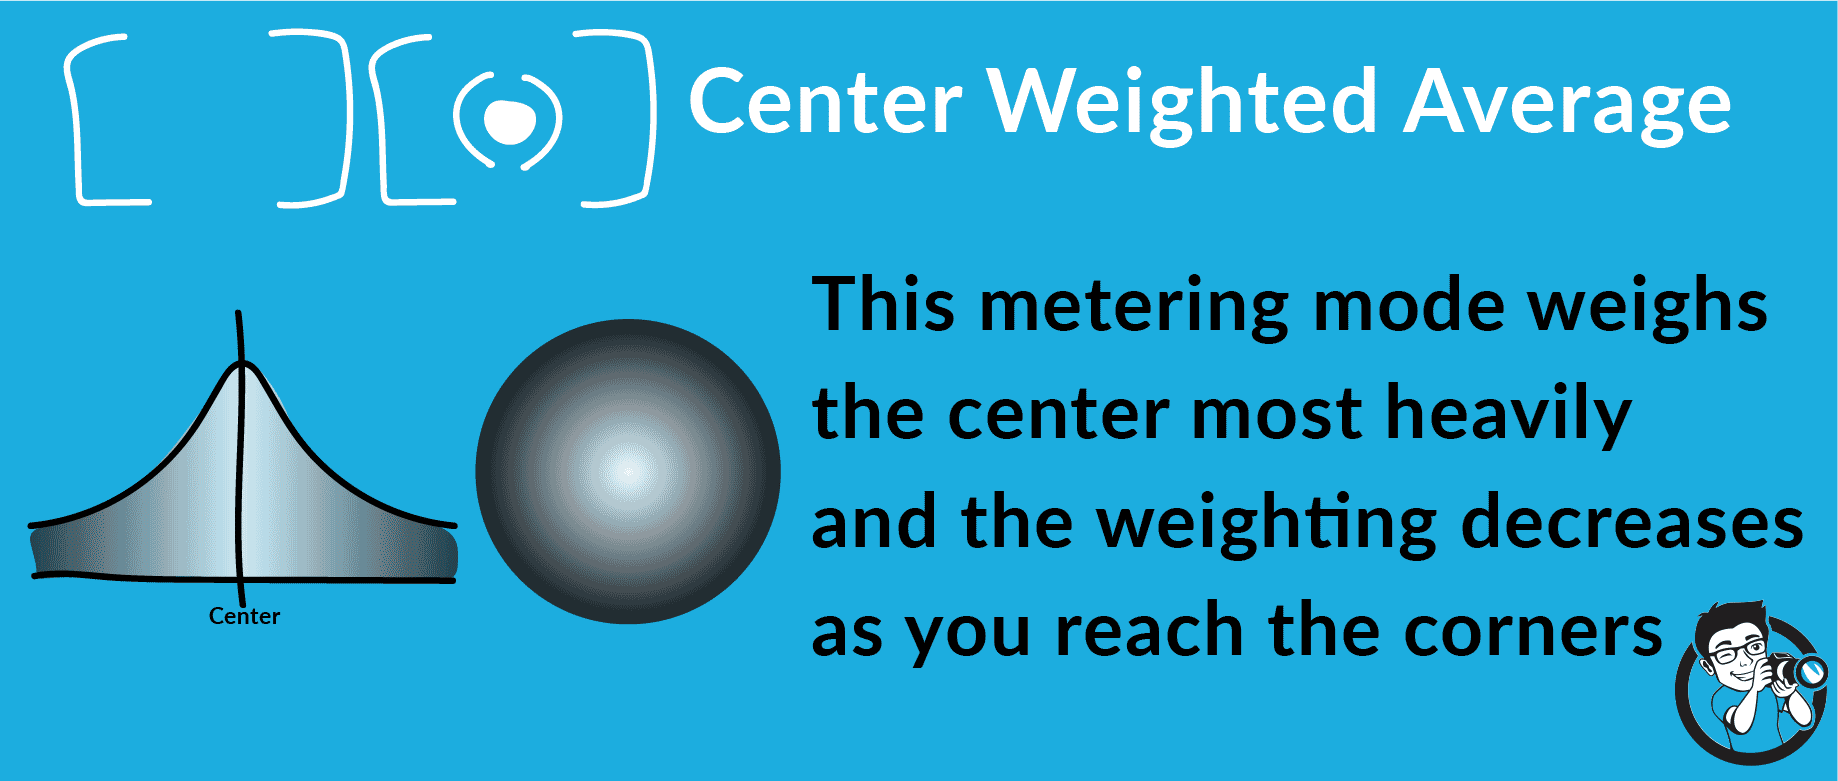
So if you’re shooting a child against a black background, center-weighted average metering would take into account the entire scene, but would care more about the center (where the child stands).
So it would potentially produce a well-exposed photo of the child–a shot where the background remains dark and the child looks nice.
The main drawback to center-weighted average metering is that it’s not very precise. It weights the center of the image more heavily, but it still incorporates measurements from the entire scene. Plus, the area in the center that’s emphasized can be larger than you like.
Which is where spot metering comes in:
Spot Metering
Spot metering only measures a small circle in the middle of the viewfinder. It then uses this small circle to calculate the correct exposure.
So it differs from center-weighted average metering in two key respects:
First, the size of the circle is smaller than that used by the center-weighted average metering. Spot metering uses a circle that covers about 2-3% of the frame.
Second, areas outside the circle are not considered. There’s no weighting; the meter doesn’t measure any other areas of the frame.
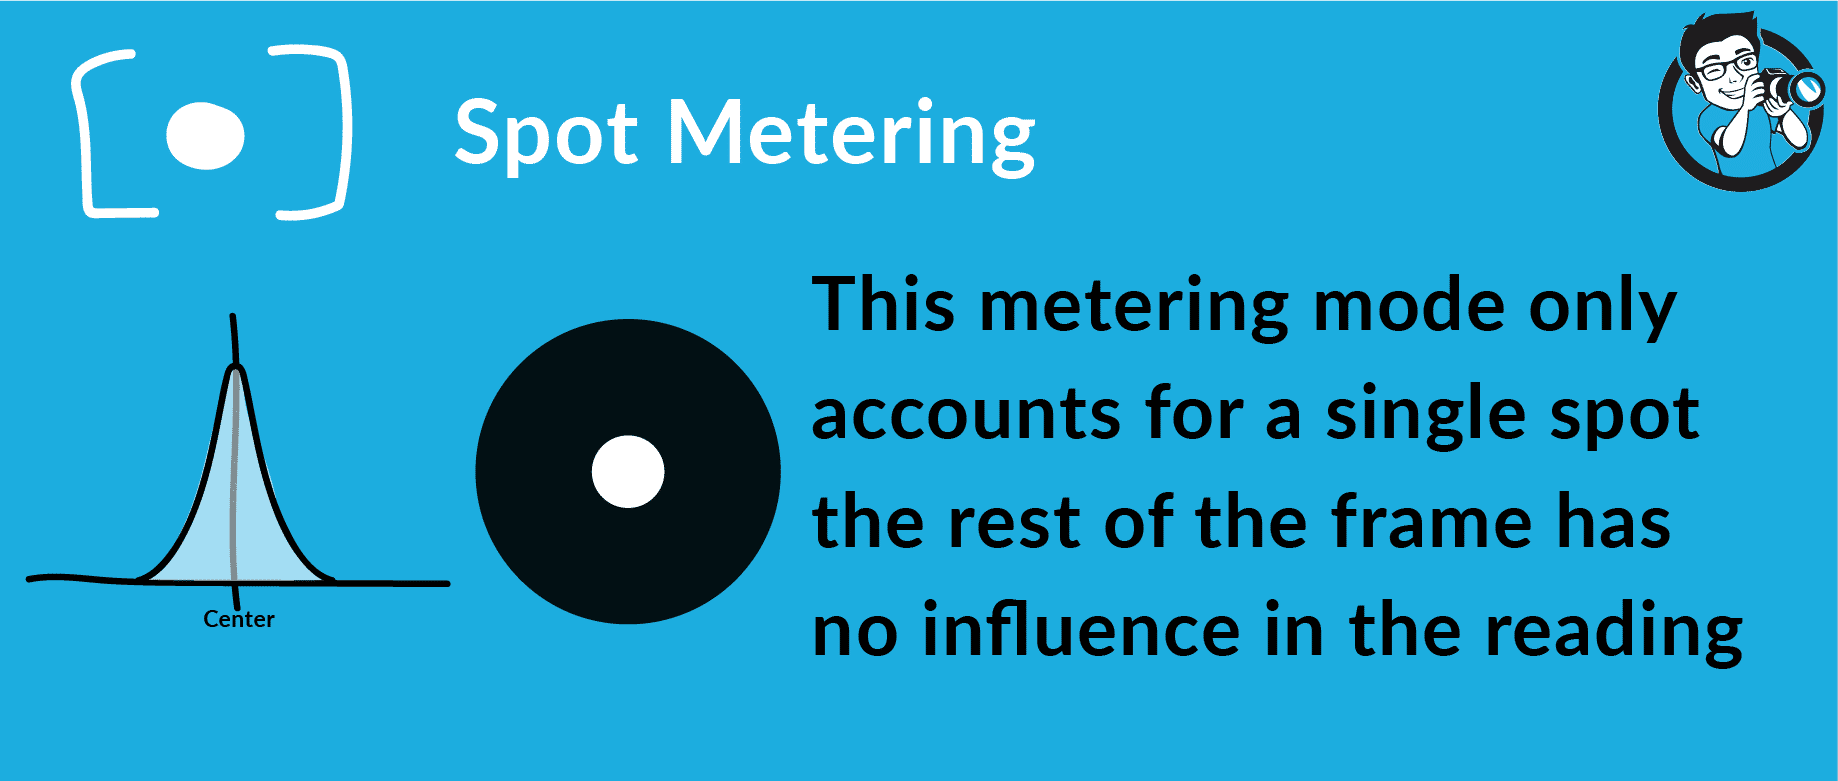
When photographing a child against a black background, spot metering would only meter off the child’s face, and likely produce an ideal exposure of the child (while keeping the background black).
Note that some cameras also offer a partial metering mode, which works much like spot metering but measures a larger part of the scene, around 10%.

Evaluative Metering
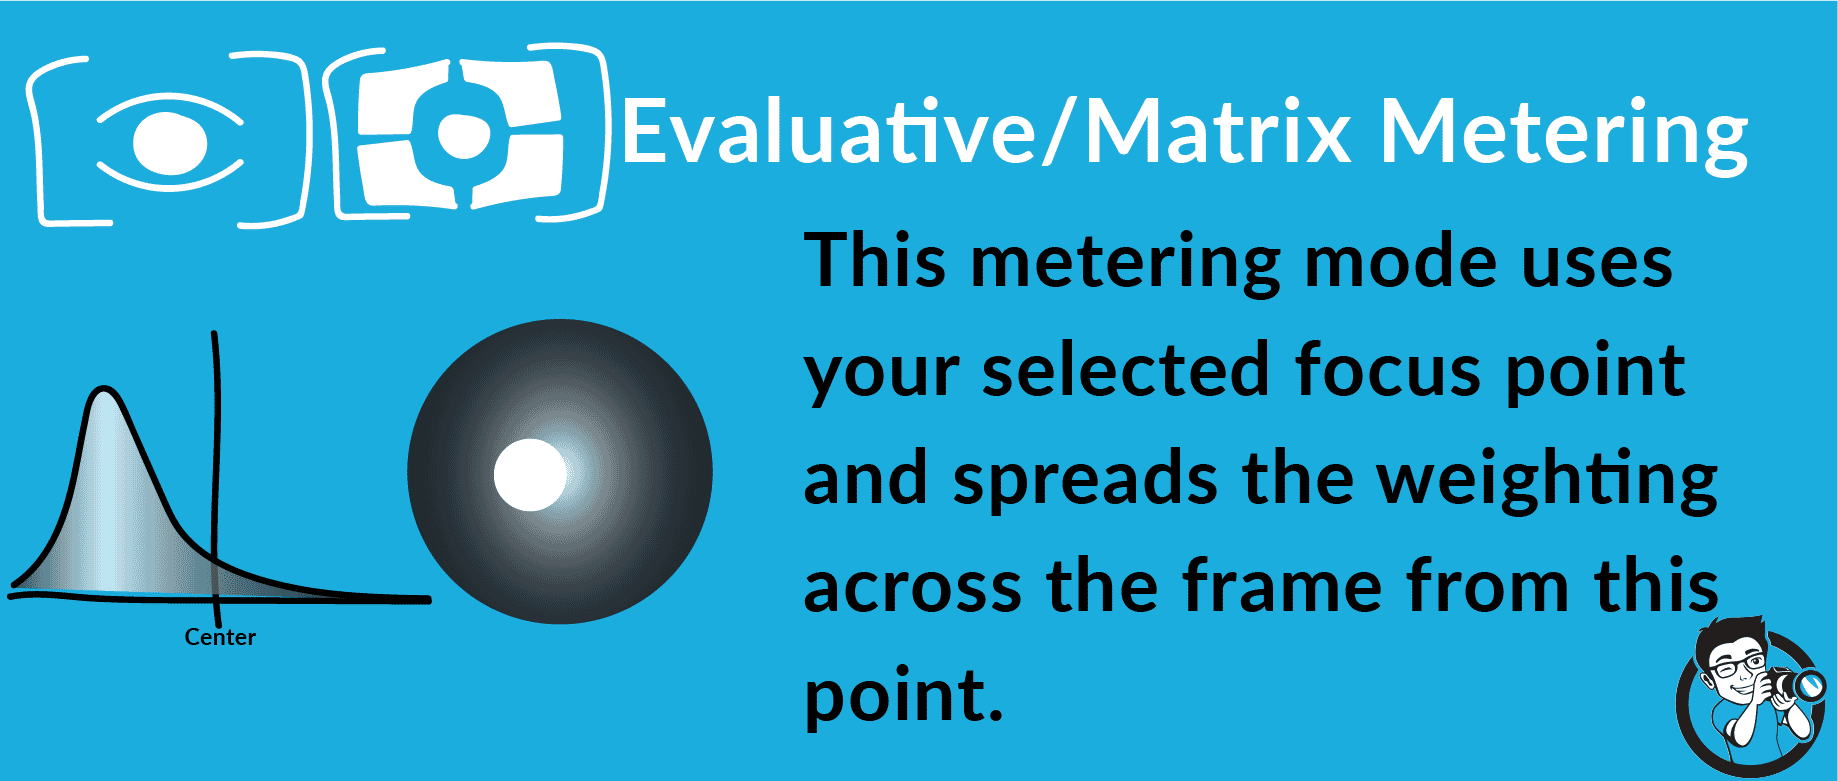
If you use a Nikon camera, this is referred to as matrix metering; if you use a Canon camera, this is evaluative metering. It’s also sometimes referred to as pattern metering.
Evaluative metering takes into account various factors from the scene, often including the areas of the scene that are in focus and the AF point you’ve selected. The particulars depend on the camera manufacturer, but some cameras compare the scene against a database of images to determine the correct exposure.
Basically, evaluative metering attempts to take the whole scene into account and, through complex calculations, determine the absolute best exposure for your needs.
How to Choose the Best Metering Mode
Now that you know all about the three metering modes, it’s time to talk about picking a metering mode–one that will give you the best exposure for the scene.
I recommend you use evaluative metering as your default metering mode. Evaluative metering does the best job overall; it generally gives you a good exposure, even when the scene is complex.
Evaluative metering will help you expose for scenes where the entire frame matters. For instance, this landscape scene requires the whole frame to be well-exposed, from corner to corner:
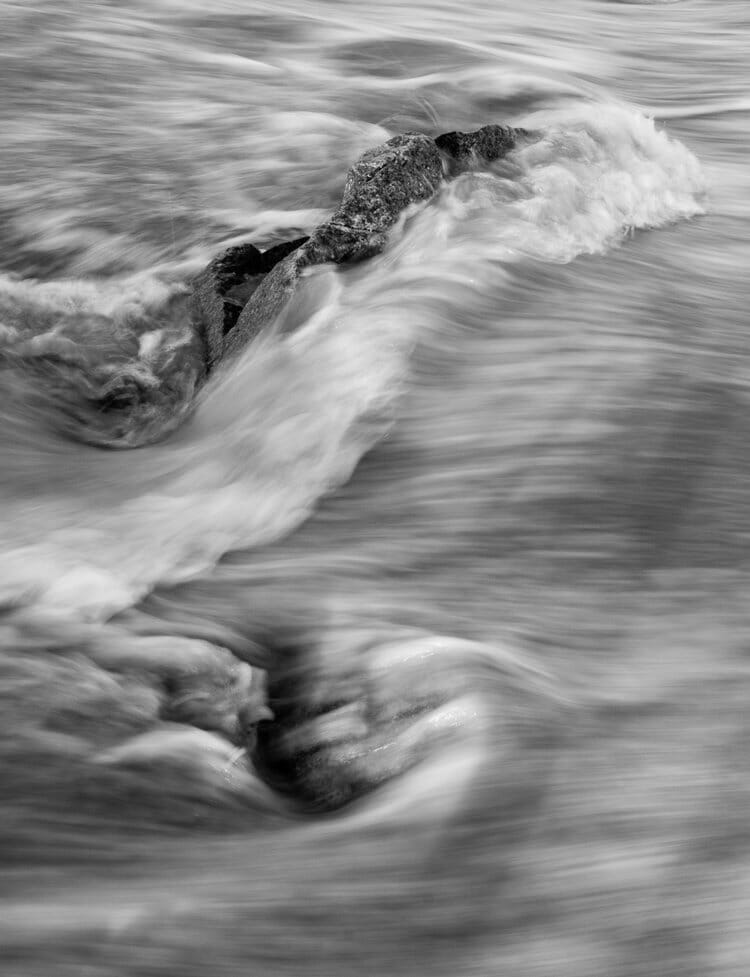
There’s no room for compromise. If the scene were a bit brighter, the shot would lose details in the highlights; if the scene were a bit darker, the shot would lose details in the shadows.
Related Posts
Evaluative metering is also good if the scene is fairly even in its lighting. Look at this shot:

There are no light parts and no real dark parts. Instead, the shot is very even-toned. Technically, any metering mode would probably do a fine job in this situation, but evaluative metering would give you the highest chance of success.
I recommend you use center-weighted average metering very rarely. The only time I like center-weighted average metering is when the main subject takes up much of the scene, but the corners of the image just aren’t important. For instance, if you’re doing sports photography, you could use center-weighted metering and get a fairly good exposure of an athlete.
You can also use center-weighted metering when you’re dealing with a bright background, such as in this portrait:

The background itself stays bright, but the main subject is well exposed.
Finally, I recommend you use spot metering when only your main subject counts. If you’re photographing birds, spot metering will ensure that the bird is well-exposed. This is perfect, because capturing detail in the bird is probably all the matters. The same goes for other wildlife photography.
This scene is a good one for spot metering:

As long as you make sure your subject is beneath the spot metering circle, you can ensure you’ll get a nicely-exposed photo.
Spot metering also performs well in situations where the background will negatively affect the scene. So if you have a bright background, like the one below, spot metering is a good choice:

But note that spot metering only measures the center of the frame. So if your subject is moving, they probably won’t stay in the center. That’s when I’d recommend you go back to evaluative metering.
Related Post: Using the Zone System to Make Better Exposures
Metering Mistakes
Even though camera meters perform well, they still make mistakes.
That’s when you, as the photographer, have to step in.
Fortunately, the mistakes are pretty predictable.
Remember how I said camera meters aim to make the scene a neutral 18% gray?
Well, sometimes a scene shouldn’t be 18% gray. If you’re photographing a night scene, it should be darker than 18% gray, because you want to portray the scene as you see it. If you’re photographing a bride in a white wedding dress, the scene should be brighter than 18% gray, because you want to portray all the white tones of the dress.
Look at this scene:

It absolutely should not be 18% gray. It’s a very white snow scene, and it should be exposed that way. So I had to overexpose in order to get a good result.
As a general rule, camera meters will overexpose very dark scenes and underexpose very light scenes. This is something you should keep an eye out for. Be ready to make exposure changes to compensate!
If you’re photographing a scene that’s supposed to be bright, consider widening your aperture or lengthening your shutter speed to let in extra light.
Related Post: High Key vs. Low Key Lighting
If you’re photographing a scene that’s supposed to be dark, consider narrowing your aperture or shortening your shutter speed to let in less light.
And you’ll end up with a perfect exposure.

Metering Modes: Conclusion
What are the best metering modes for photography?
Hopefully, you now know the answer.
Because choosing a metering mode doesn’t have to be hard. Just consider the type of photo you’re taking–and pick the mode that works best!

What is the best metering mode for landscape photography?
I recommend using evaluative metering mode for landscape photography. Evaluative metering takes into account much of the scene, which is important for nailing an exposure that captures every detail.
What is the best metering mode for sports?
I recommend using evaluative metering mode for sports, because it tends to give consistently good exposures, especially when you have moving subjects. However, if the background is less important to you and your subject is in the center of the frame, center-weighted average metering or spot metering will both work.
What are the three common metering modes on cameras?
The three common metering modes on cameras are center-weighted average metering, spot metering, and evaluative metering (also known as pattern metering and matrix metering). Some cameras also have something known as pattern metering, which is very similar to spot metering.
When should I use spot metering?
You should use the spot metering mode when you only care about exposing your main subject–that is, when the background just doesn’t matter. This is often the case when you’re photographing birds or wildlife; you’ll want to properly expose the bird, but it’s not a problem if the background turns out too light or too dark.
What are the different camera metering modes?
First things first: A metering mode tells the camera how to evaluate a scene. Different metering modes result in different exposures (that is, they give you brighter or darker photos). So you want to choose the metering mode that fits the scene. There are three metering modes found in most cameras. First, there is evaluative/matrix metering.
Evaluative/matrix metering evaluates the light in every part of the frame.
And the camera chooses the exposure that fits the entire scene. This is the default metering mode on many cameras. Second, there is spot/partial metering.
Nikon cameras use spot metering, whereas Canon cameras use partial metering. But they’re pretty similar–they evaluate the scene using a small point in the center of the frame. And so your camera will expose for a spot in the middle of the scene.
Finally, there is center-weighted metering. Center-weighted metering is a mix of evaluative/matrix metering and spot/partial metering. It evaluates the entire scene, but gives priority to the part of the scene in the center of the frame.
How do I choose the proper metering mode for my situation?
You should use matrix/evaluative metering as your default mode. It’s good for most situations, and will generally get you the most even exposure. You should use spot/partial metering if your subject is heavily backlit, or if you want lots of detail on your subject but don’t care about the background.
The spot/partial metering mode will make sure that your main subject is well exposed. You should use center-weighted metering if your subject is backlit, or your subject matters more than the rest of the frame –but your subject looms fairly large in the frame.
A large subject won’t be fully accounted for with spot/partial metering, so center-weighted metering may be necessary.
