


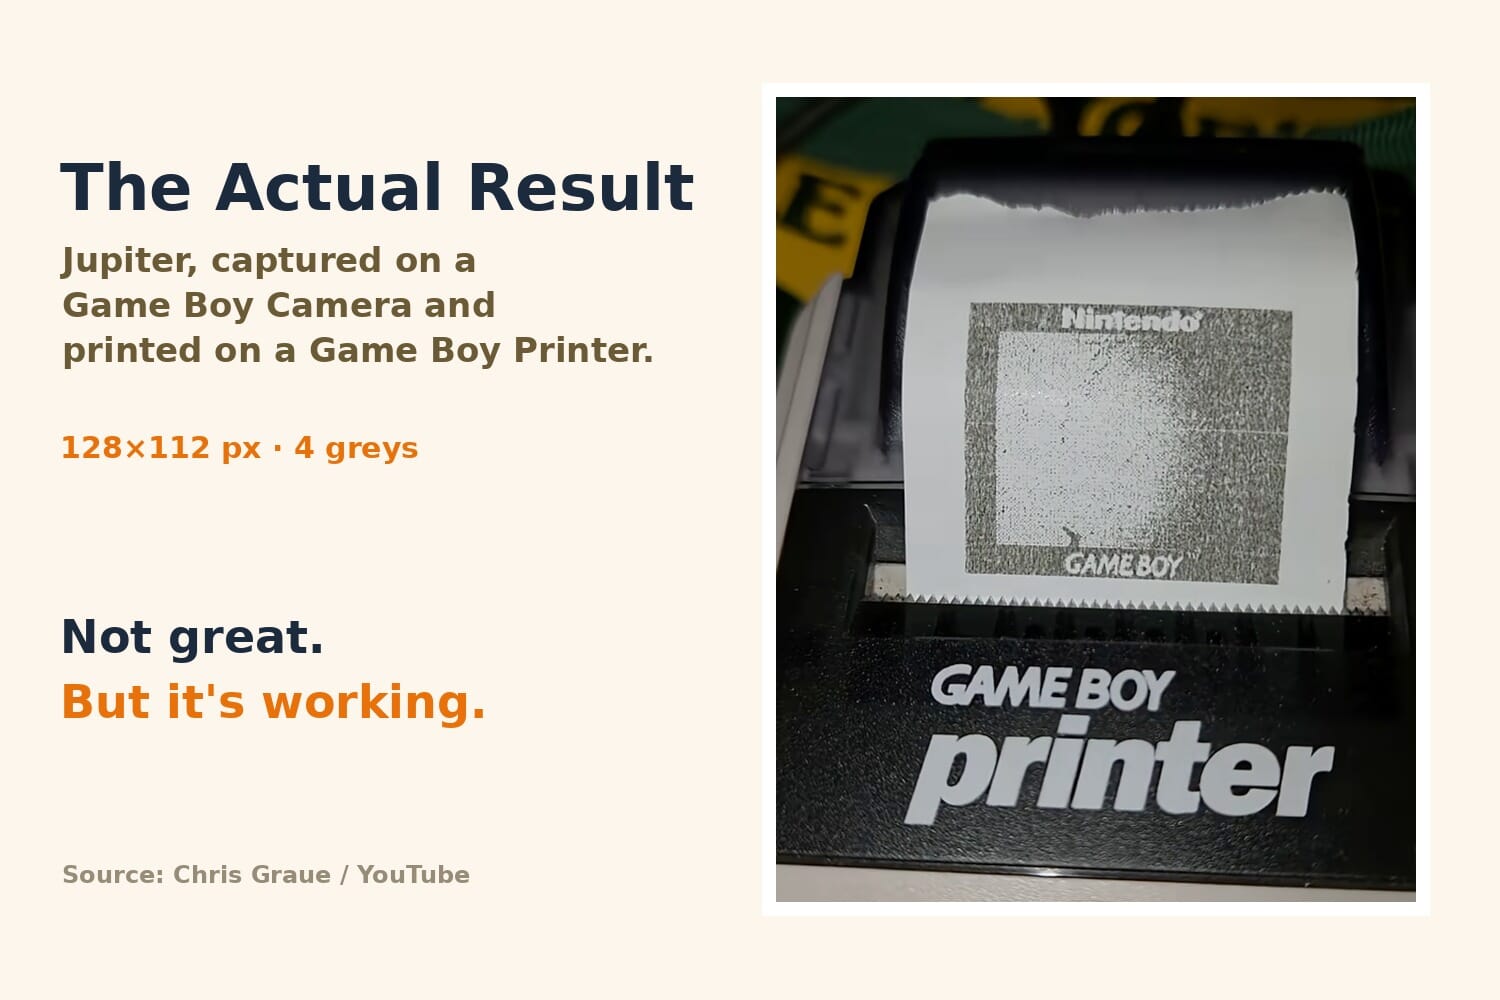
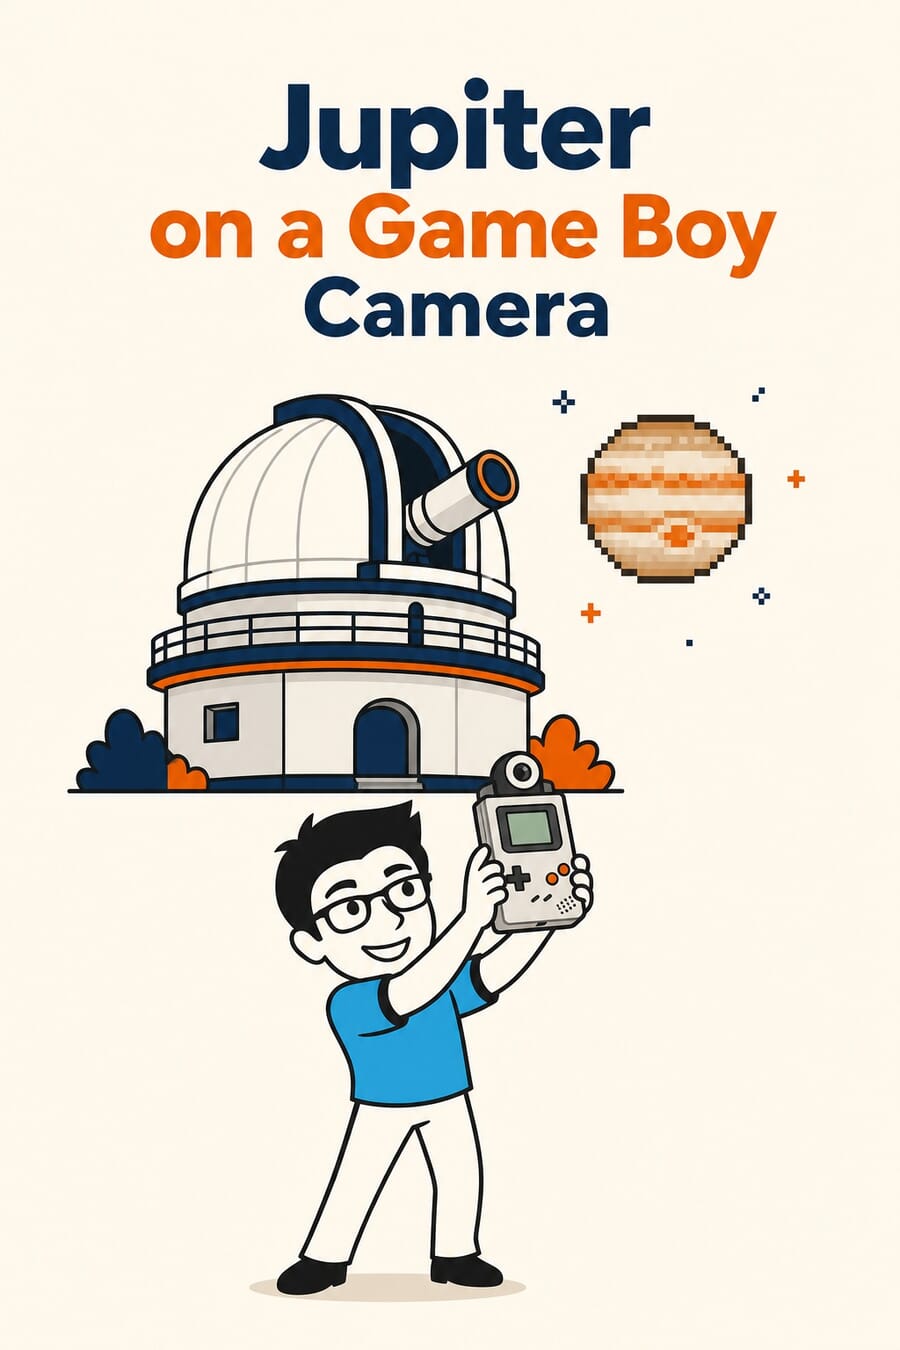
- Musician and retro-tech tinkerer Chris Graue mounted a 1998 Nintendo Game Boy Camera (128×112 pixels, four shades of grey) to the eyepiece of the 60-inch telescope at Mount Wilson Observatory and captured Jupiter, cloud bands and all.
- On July 10 he released the 3D-printable adapter files for free, turning a June novelty into a build anyone with a printer and a telescope can copy.
- It is a genuine optics lesson in disguise: aperture (not megapixels) decides what a telescope can resolve, and the Moon was actually too close, overflowing the huge focal length, so Jupiter was the better target.
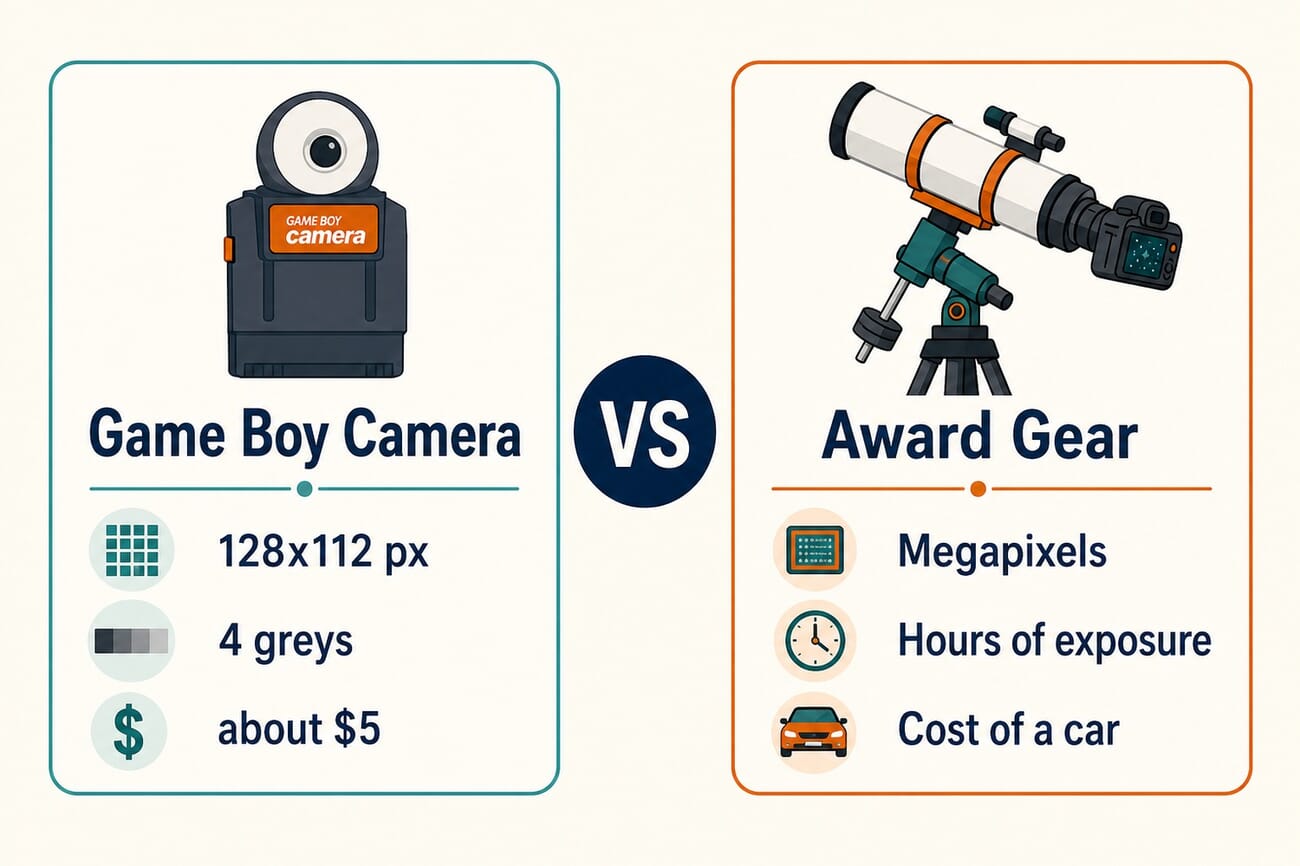
- The timing is perfect against the 2026 ZWO Astronomy Photographer of the Year shortlist, where the winning rigs cost more than a car. A roughly $5 thrift-store accessory still pulled Jupiter out of the sky.
The cheapest imaging sensor ever mass-produced just met one of the most storied telescopes in astronomy, and the result is both a great photo and a quietly brilliant physics lesson. Chris Graue, a Southern California musician and retro-tech tinkerer, aimed a 1998 Nintendo Game Boy Camera at Jupiter through a 60-inch observatory telescope and pulled back an unmistakable image of the gas giant, cloud bands and curved limb included, rendered in the camera’s signature four shades of grey.
The photo made the rounds as a novelty in June. What makes it news now is what Graue did on July 10: he released the files for the 3D-printed adapter that made it possible, for free, so anyone with a printer and access to a telescope can try it. Here is how it works, the real optics behind it, and why a roughly $5 accessory beating expensive gear is the most fun photography story of the summer.
A $5 Sensor Meets a Historic Telescope
The Game Boy Camera is a wonderfully bad camera. Released in 1998 as a cartridge accessory with a swiveling ball lens, it records at 128 by 112 pixels in just four shades of grey, and today a used one turns up in a thrift bin for a few dollars. It is, by any modern measure, the opposite of astrophotography gear.
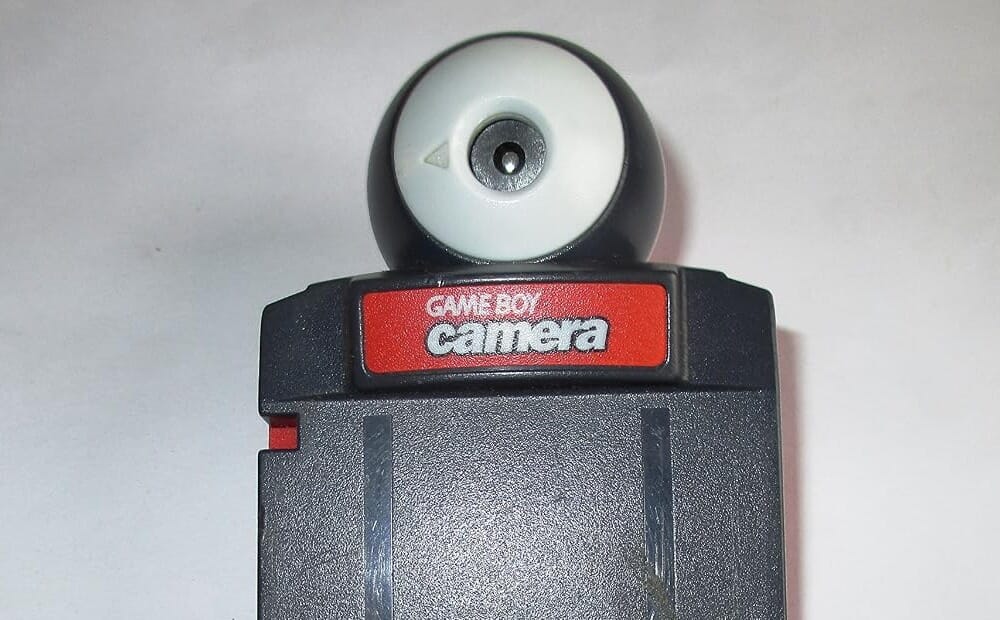
Graue got his shot during a private tour of Mount Wilson Observatory outside Los Angeles, arranged by two friends. He connected the camera to the eyepiece of the observatory’s 60-inch telescope, a Cassegrain instrument with an equivalent focal length of about 24,384mm. Paired with the Game Boy Camera’s tiny sensor, that works out to the field of view of a mind-bending 730,000mm lens. For context, a serious wildlife photographer might own a 600mm.
There is a nice historical rhyme here too. Jupiter was famously the first object viewed at Mount Wilson’s 100-inch Hooker Telescope during its 1917 first light. More than a century later, the same planet became the subject for the least serious camera ever pointed through the observatory’s optics.
Graue documented the whole session in a video, cheekily titled “Game Boy Camera but the lens is a telescope attached to an entire observatory”:
How the Adapter Actually Works
The setup is two hacks stacked together. First, the Game Boy Camera is modified with a 3D-printed case (a community design credited to maker UltiArjan) that swaps its fixed ball lens for a standard C-mount thread, the same mount used by industrial and CCTV lenses. That single change turns the Game Boy Camera from a toy into a general-purpose optical sensor that will accept any C-mount optic.
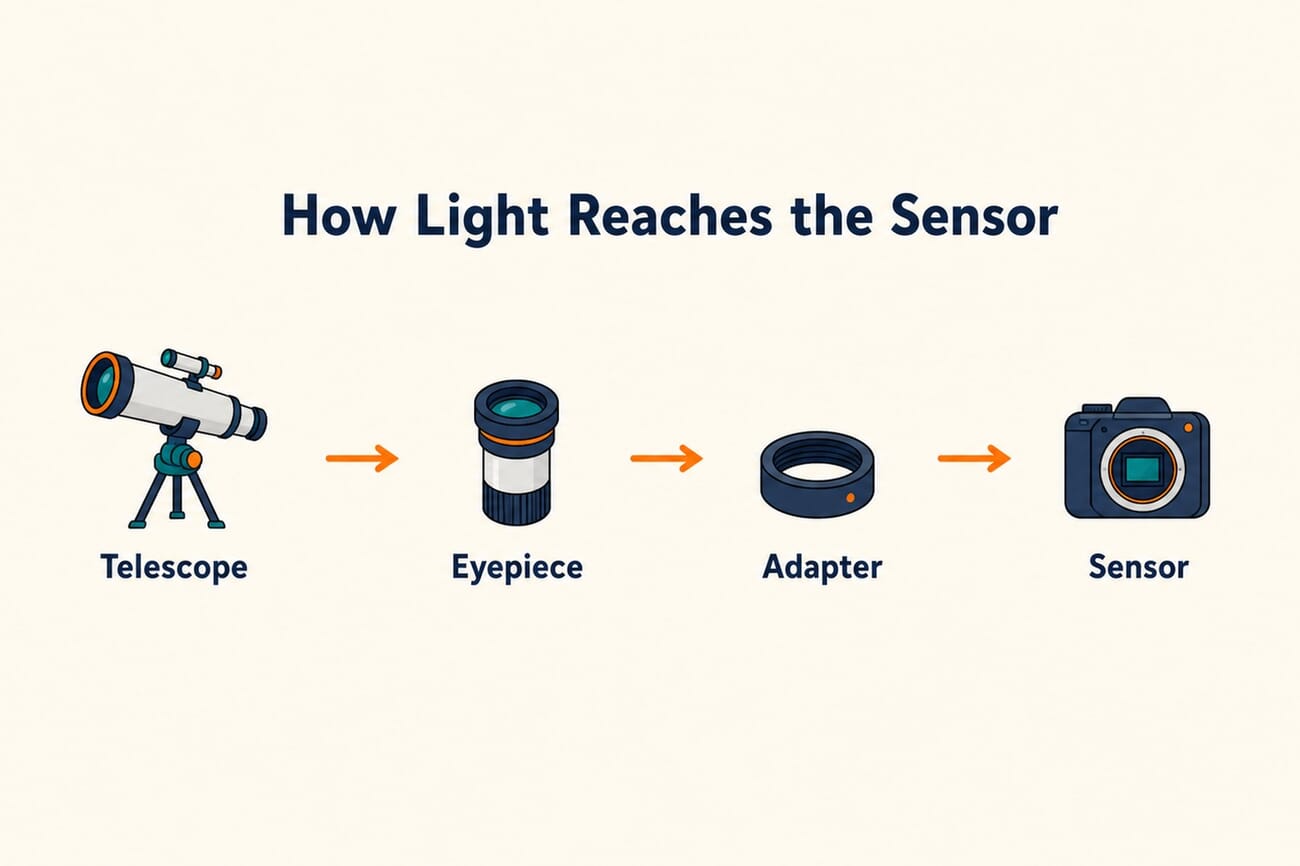
Second is the part Graue released: a simple tube that pressure-fits into a standard 1.25-inch telescope eyepiece holder and holds the modified camera in place. This is afocal (or eyepiece-projection) coupling, the same trick behind holding a phone up to a telescope, just done rigidly so nothing shifts. Graue and his friend Drew built the adapter, then chained a few more adapters to reach the four-inch eyepiece fitted to the 60-inch scope.
Because the design is now public as both ready-to-print STL files and editable STEP files, anyone can print it and adjust the dimensions for a different printer or eyepiece. The barrier to trying this yourself is no longer access to a machine shop; it is access to a telescope.
Want to build one? The adapter files are free.
Get the STL & STEP files on PrintablesGraue walks through the whole build, and how to copy it, in his own tutorial video:
The Real Lesson: Aperture Beats Megapixels
Under the fun headline sits a lesson every photographer benefits from. A camera’s pixel count does not set how much fine detail it can capture from a distant subject. Optics do. Specifically, the aperture, the diameter of the light-gathering lens or mirror, sets the finest detail a system can theoretically resolve. A 60-inch (1.5-metre) mirror gathers so much light and resolves so finely that even a 128-pixel sensor behind it records Jupiter’s banding.
The clearest proof came from Graue’s first target. He tried the Moon before Jupiter and it did not work: at the observatory’s enormous focal length the Moon was simply too close, its image far larger than the tiny sensor could contain. “What I see is cool, but it’s not identifiably the Moon,” he said. Jupiter, hundreds of millions of miles farther out, fit the frame perfectly. That is image scale in action, the same reason a long lens that frames a bird beautifully makes a nearby portrait impossible.
The same principles scale down to normal gear. Understanding image scale and focal length is exactly what our focal length and framing guide is built around, and if the night sky is the draw, our night-sky shooting calendar and lunar eclipse guide cover what to point a camera at and when.
The Anti-Arms-Race Point
The timing lands perfectly against the other big astrophotography story of the moment. The 2026 ZWO Astronomy Photographer of the Year shortlist, run by the Royal Observatory Greenwich, drew almost 4,000 images from 769 entrants, with winners announced on September 17. The frames on that shortlist represent the peak of the craft: multi-hour exposures, gigapixel mosaics, cooled astronomy cameras, and mounts and optics that can cost more than a car.
Set the two side by side and the contrast carries its own message. The best astrophotography rewards enormous patience and enormous budgets, and the results are breathtaking. But a $5 thrift-store accessory still got Jupiter, and that matters. It is a reminder, in an era of relentless gear upgrades, that curiosity and a clever hack still count for a lot. The same spirit runs through stories like the iPhone Photography Awards, where a three-year-old phone can beat far pricier cameras.
None of this replaces a dedicated astronomy camera if serious planetary imaging is the goal. But that was never the point. The point is that the barrier to a genuinely fun, genuinely educational photo just dropped to the cost of a filament spool and a thrift-store find.
Frequently Asked Questions
What telescope did the Game Boy Camera use?
The 60-inch telescope at Mount Wilson Observatory near Los Angeles, in its Cassegrain configuration (roughly 24,384mm equivalent focal length). It was not the observatory’s famous 100-inch Hooker Telescope, though that instrument’s 1917 first light also happened to target Jupiter.
Can I build this myself?
Yes, if you have a 3D printer and access to a telescope. Graue released the adapter as free STL and STEP files. You will also need a Game Boy Camera modified with a C-mount case (a separate community design) and a standard 1.25-inch eyepiece to slot the adapter into.
Why did the Moon not work but Jupiter did?
Image scale. At the telescope’s very long focal length, the Moon’s image was far larger than the tiny 128×112 sensor could contain, so only an unrecognizable slice fit the frame. Jupiter, vastly farther away, appears small enough in the sky that its whole disc, and its cloud bands, fit the sensor.
Does a 128-pixel camera really out-resolve a modern one here?
Resolving power comes mostly from the telescope’s aperture, not the sensor. The 60-inch mirror does the heavy lifting; the Game Boy Camera just records what reaches it. A modern sensor on the same telescope would capture far more detail, but the point of the project is that even the crudest sensor still gets a recognizable planet behind big enough optics.
The Bottom Line
A four-grey, 128-pixel camera from 1998 photographed Jupiter through a 60-inch telescope, and the person who did it just handed everyone the files to try. It will not win any awards, and it is not meant to. It is the best kind of photography story: a little bit clever, genuinely educational about aperture and image scale, and a cheerful two-finger salute to the idea that better photos always require more expensive gear. Print the adapter, find a telescope, and go make a gloriously bad picture of a planet.
Primary Coverage
- Engadget – Guy who photographed Jupiter with a Game Boy Camera publishes DIY tutorial – The July 10 adapter-and-tutorial release.
- PetaPixel – Artist Attaches Game Boy Camera to Space Telescope and Takes Photo of Jupiter – Original coverage with Graue quotes, the 60-inch telescope, focal-length figures, and the C-mount mod.
- Popular Science – Someone photographed Jupiter with a Game Boy Camera – The Moon-too-close detail and the 730,000mm figure.
- Printables – Game Boy Camera Telescope Adapter – The free 3D-printable adapter files (STL and STEP).
- Royal Museums Greenwich – ZWO Astronomy Photographer of the Year 2026 shortlist – Almost 4,000 images from 769 entrants; winners announced September 17, 2026.
Image Sources
- PhotoWorkout – concept hero, optical-path diagram, comparison graphic, and pin – Stylized PhotoWorkout illustrations created for this article.
- Game Boy Camera device photo – retail product listing image – Product image of the 1998 Game Boy Camera accessory.
- Chris Graue – the actual Jupiter result (YouTube screenshot) – Screenshot of the Game Boy Printer output, used unaltered in the result card.