Sometimes, we put off posting a near-perfect shot for a serious reason: the unwanted presence of a person in the background.
Such distraction could be from a prank, or it could be unintentional and unavoidable. Regardless of who or what made your masterpiece less than perfect, there’s an easy solution!
In this article, we share the best apps to remove a person from a photo, including plenty of effective and user-friendly tools that will get the job done fast. Take a look, try a few out, and see which best fits your needs!
Best Apps to Remove a Person:
When you buy through links on our site, we may earn a commission at no cost to you. We evaluate products independently. Commissions do not affect our evaluations.
1. Snapseed

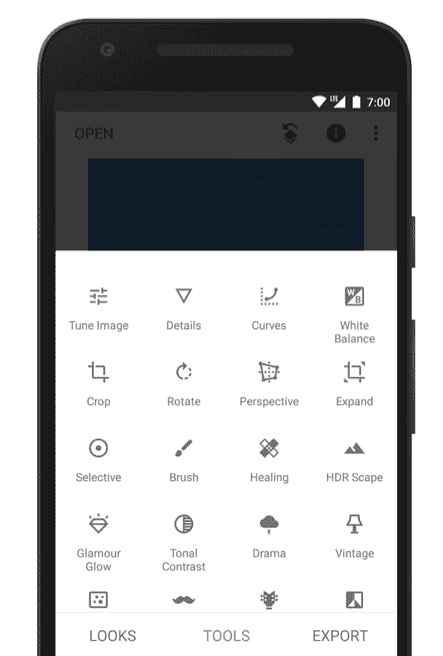
Google takes the lead in offering a free photo editing app – called Snapseed – that’s available for both iOS and Android users. If you’re switching between Android and iOS devices when capturing or editing photos, it shouldn’t cause too much of a problem.
Related Post: Best Apps to Hide Photos
With the Healing feature, you can remove any unwanted objects from your photos. And you can make additional Snapseed edits with the many other tools offered by the app. It also has an intuitive interface so you won’t feel intimidated when starting out.
2. Photo Retouch

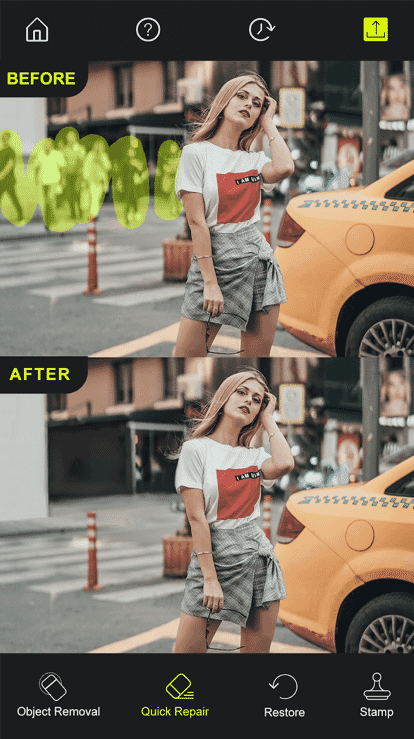
Simply mark your unwanted content, then watch as it disappears. It’s quick, it’s efficient, and it’s free.
If you’re an Android user, Photo Retouch is another free photo editing app that’ll work great. You can remove unwanted people and objects from your shots with the app’s Object Removal and Quick Repair tools. And the versatile Corrector feature will enhance your shots with a final retouch.
Sadly, the free version of Photo Retouch applies a watermark to your edits, but you can always upgrade to the paid version to get this removed.
3. Photoleap

Take your creativity to the next level with Photoleap. Remove unwanted people, then have fun with all the tools!
Photoleap does a great job of removing people and objects you don’t want in your final shot. And it also offers a number of other excellent features that’ll help you create artistic, professional-looking masterpieces.

Happily, there are a lot of in-app purchases that will make your experience with the app even better; these range from $7.99 to $35.99. Note that Photoleap is only available for iOS devices (specifically those with iOS 13 and above).
4. TouchRetouch

Let’s take a break from free photo editing apps to talk about paid-but-affordable options like TouchRetouch. This app costs about $2, but the features are worth it for the small amount you spend.
Related Posts
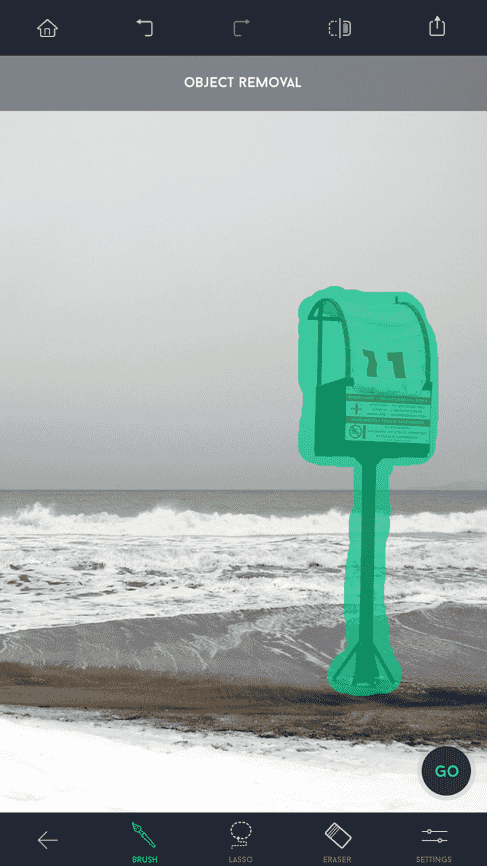
No one likes photobombers, telephone wires, signs, and other distractions in their otherwise-perfect images. With TouchRetouch’s Object Removal tool, you can quickly remove these items with just a few quick taps of your finger.
5. Pixelmator

Pixelmator is a powerful, beautiful, and well-designed image editor that’ll take care of your person-removal needs.
Pixelmator is an extremely powerful editing app; in fact, its tools are so outstanding the app is used by industry professionals. In addition to basic person-removal options, Pixelmator offers standard, advanced, and artistic image-adjustment capabilities.
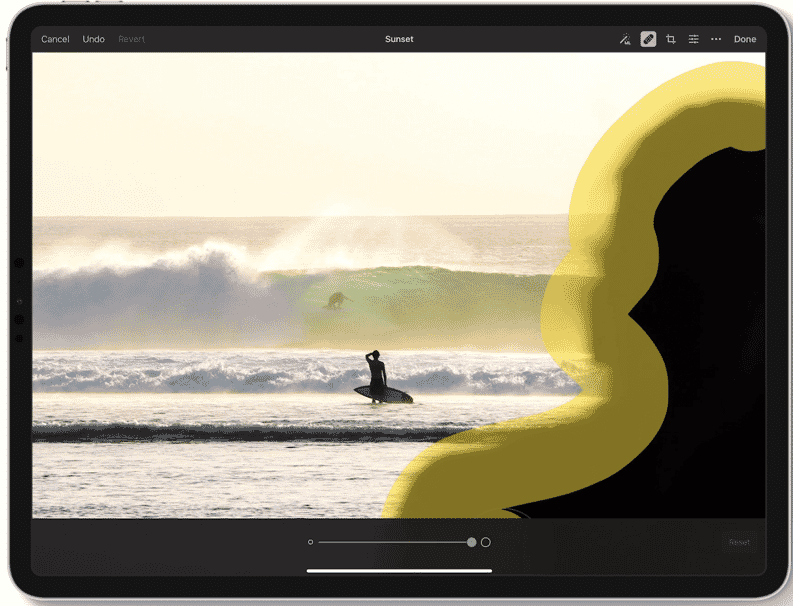
The free trial for the Pixelmator app runs for 15 days, which should be enough time to tell if it’s right for you. Then you pay $4.99 for access to its incredible tools.
6. Adobe Photoshop Fix

Adobe Photoshop Fix offers powerful-yet-easy image retouching on your Android phone.
Adobe Photoshop is an established editing program, and while Fix isn’t a Photoshop clone, it is a great way to remove a person or object from a photo! It’s also free.
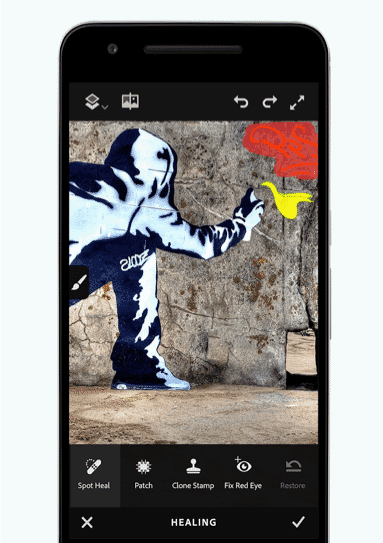
With Fix’s Heal and Patch tool, you can select elements you don’t need in your photo – and you can fix imperfections at the same time.
7. Remove Object

Remove Object is simple to use, it’s fast, it’s effective, and it does a good job. What’s not to like?
From the app’s name – Remove Object – you can tell that it’s a program specifically designed to remove objects from photos. Fortunately, Remove Object delivers; it can take care of everything, from big objects like people and lampposts to the small, barely noticeable blemishes on your skin.
In other words, if your photo has a distracting object, you can remove it using this app.

With the built-in object-remover tool, you can get rid of unwanted people and keep just the subject. You can also adjust your photo’s tones and colors while adding filters and textures for a cooler vibe.
If you’re looking for a one-time or occasional object remover for your photos, then the Remove Object app is a great pick.
Select the Perfect Person-Removal App
We hope you enjoyed our guide to the best apps to remove people from photos. There are many great person-removal apps out there; the tough part is selecting the right one!
If you’re looking to use an app for person removal and professional editing, then consider downloading Pixelmator. On the other hand, if you only need the app for casual purposes, Snapseed and Photoleap are the best free and paid apps, respectively.


