


- Timing is everything: the Milky Way core is visible from roughly April to September in the Northern Hemisphere, and you want a new-moon night, a dark-sky location away from city glow, and the hours after the galactic core rises.
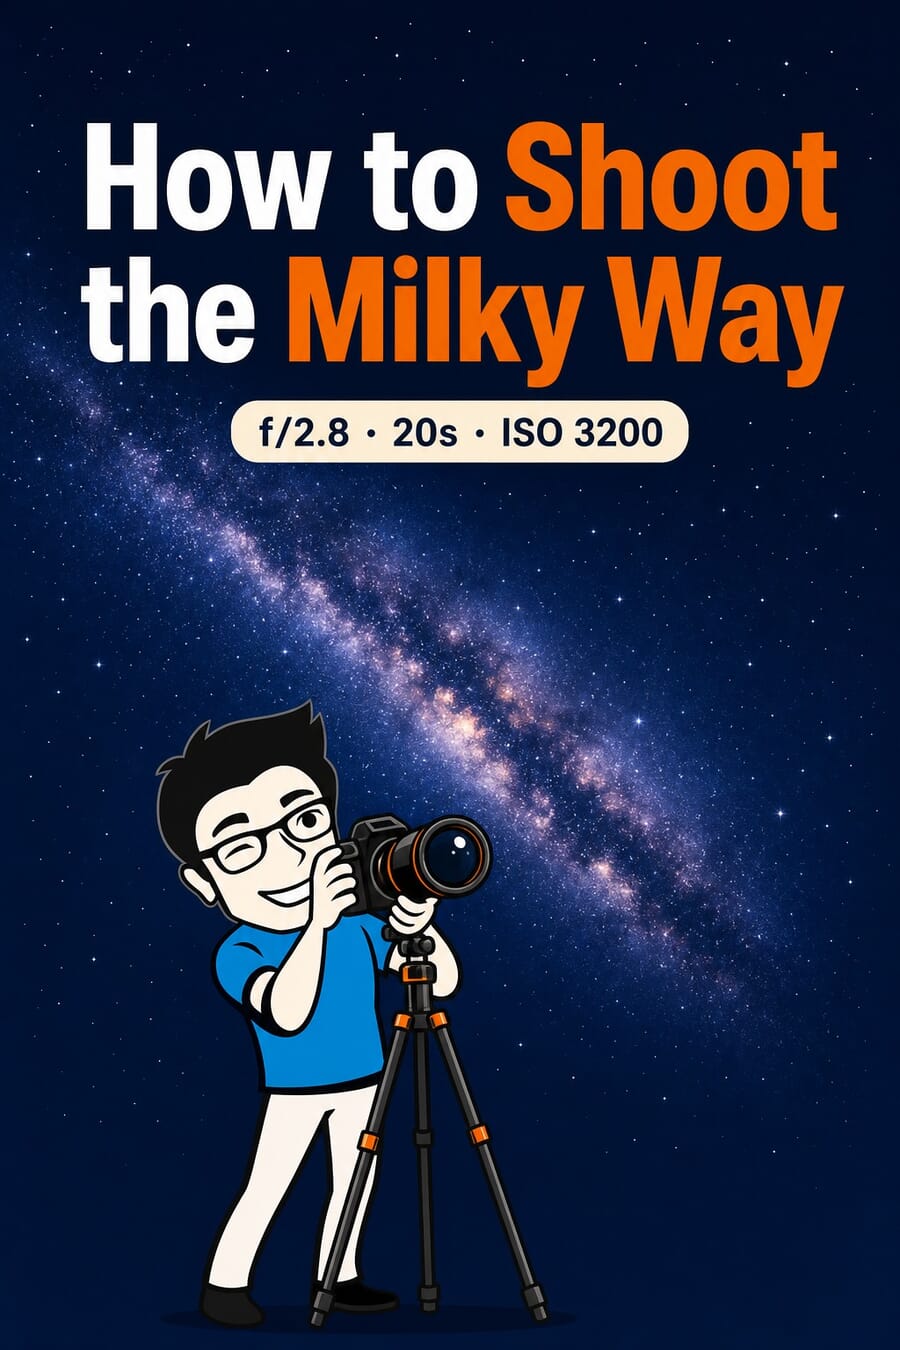
- The starter settings are simple: a wide aperture (f/2.8 or faster), a shutter around 15 to 25 seconds, ISO 3200 to 6400, and manual focus set on a bright star. Adjust from there.
- Gear matters less than dark skies, but a camera with manual mode, a fast wide lens, and a sturdy tripod are the non-negotiables. A remote or 2-second timer keeps shots shake-free.
- Use the 500 rule (500 divided by your focal length) as a starting shutter ceiling to keep stars as points rather than trails, then refine with a test shot at 100 percent zoom.
- A strong foreground, mountains, a lone tree, a person, turns a sky snapshot into a photograph. Compose for it, then bring the shadows up gently in editing rather than blasting the exposure in-camera.
Few subjects reward a little planning like the Milky Way. With the right night, a dark location, and four settings dialed in, almost any modern camera can capture the galactic core arcing over a landscape, the kind of shot that stops a scroll. The catch is that none of it is automatic. Point-and-shoot fails in the dark, and the difference between a grainy grey mess and a crisp starfield comes down to a handful of deliberate choices.
This guide walks through all of them: when and where to shoot, the gear that actually matters, the exact settings to start from, how to keep the stars sharp, and how to compose and edit the final frame. It is written for a beginner with a camera and a tripod, but the planning and technique scale all the way up to serious astro rigs.
When and Where to Shoot the Milky Way
The single biggest factor in a Milky Way photo is not the camera. It is the sky you point it at. Four things decide whether the galactic core shows up bright and detailed or barely registers.

Season. In the Northern Hemisphere the bright galactic core is visible from about April through September, climbing higher and staying up longer through the summer. That is why late summer is prime Milky Way season, and why it is worth planning around now. Outside those months the core sits below the horizon.
The moon. A full moon washes out the sky as effectively as a streetlight. Shoot within a few days of the new moon, or during the window when the moon has set. A moon-phase app or a planner like PhotoPills or Stellarium tells you exactly when the core is up and the moon is down.
Darkness. Light pollution is the enemy. Use a light-pollution map (the Bortle scale ranks sites from 1, pristine, to 9, inner city) and drive to a Bortle 1 to 3 location if you can. An hour of driving away from a city often makes a bigger difference than any gear upgrade. For a broader look at what is worth photographing on a given night, our night-sky events calendar is a useful companion.
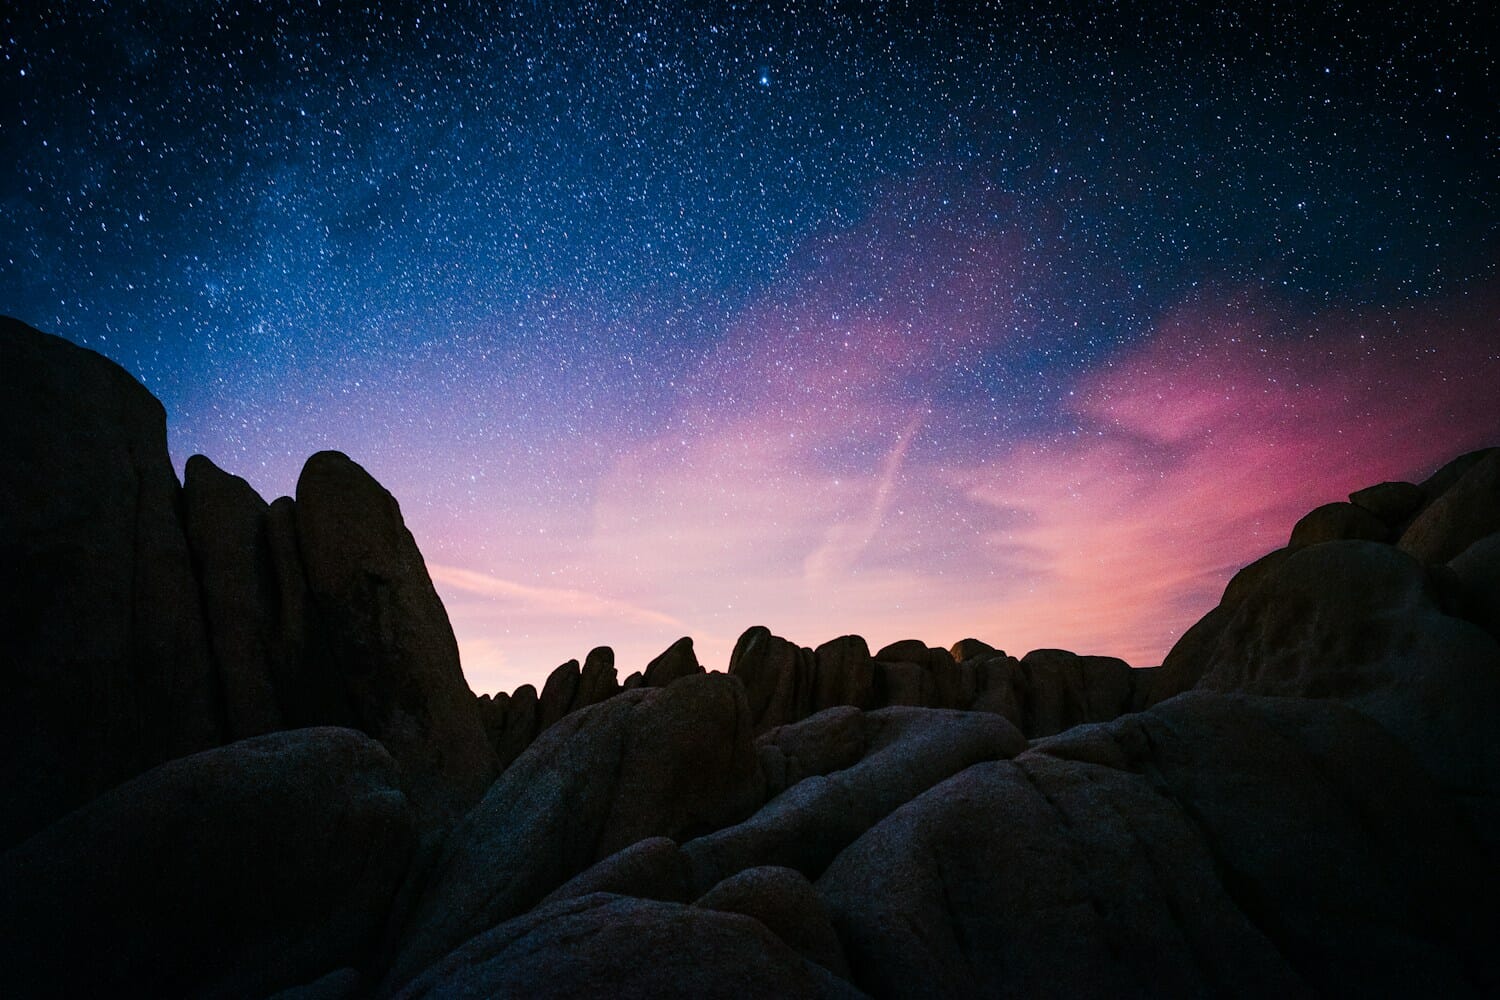
Timing within the night. The core rises in the southeast and moves across the southern sky. Depending on the month, the best window is often after midnight and before dawn. Arriving early to scout and set up in daylight saves a lot of fumbling in the dark.
The Gear You Actually Need
Milky Way photography is less gear-dependent than it looks, but a few things are genuinely required rather than nice to have.
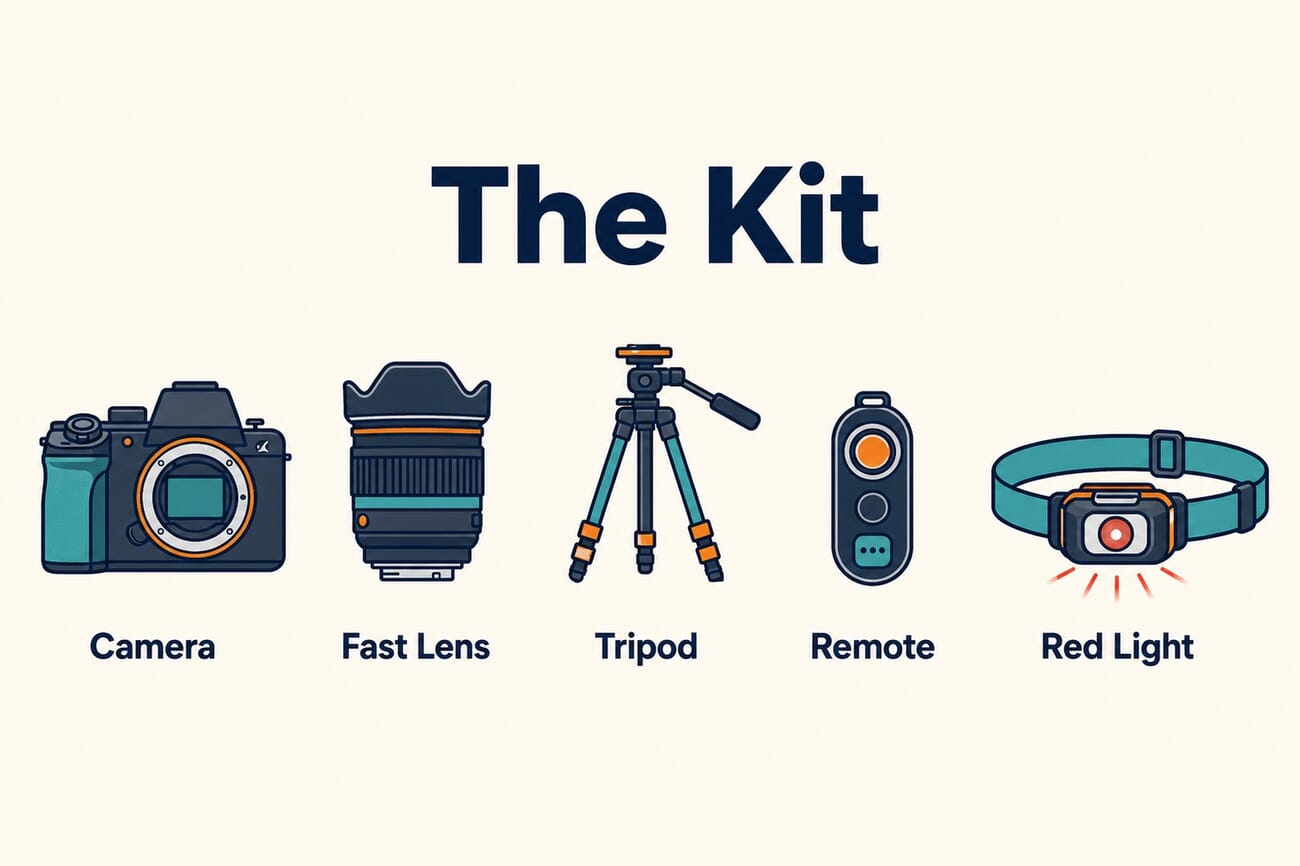
A camera with manual mode. Any camera that lets you set aperture, shutter, and ISO by hand will work, from an entry-level DSLR to a mirrorless body to, increasingly, a phone in its pro or night mode. Bigger sensors gather more light and produce cleaner high-ISO files, but plenty of great Milky Way shots come from modest bodies.
A fast, wide lens. This is the one upgrade that matters most. A wide focal length (14mm to 24mm on full frame) captures a big sweep of sky, and a wide maximum aperture (f/2.8 or faster) lets in the light that makes the core visible. A 24mm f/1.4 or a 14-24mm f/2.8 is a classic astro choice; our roundup of the best lenses for astrophotography breaks down the options. If you are shooting on a phone, the best phones for astrophotography guide covers which models pull it off.
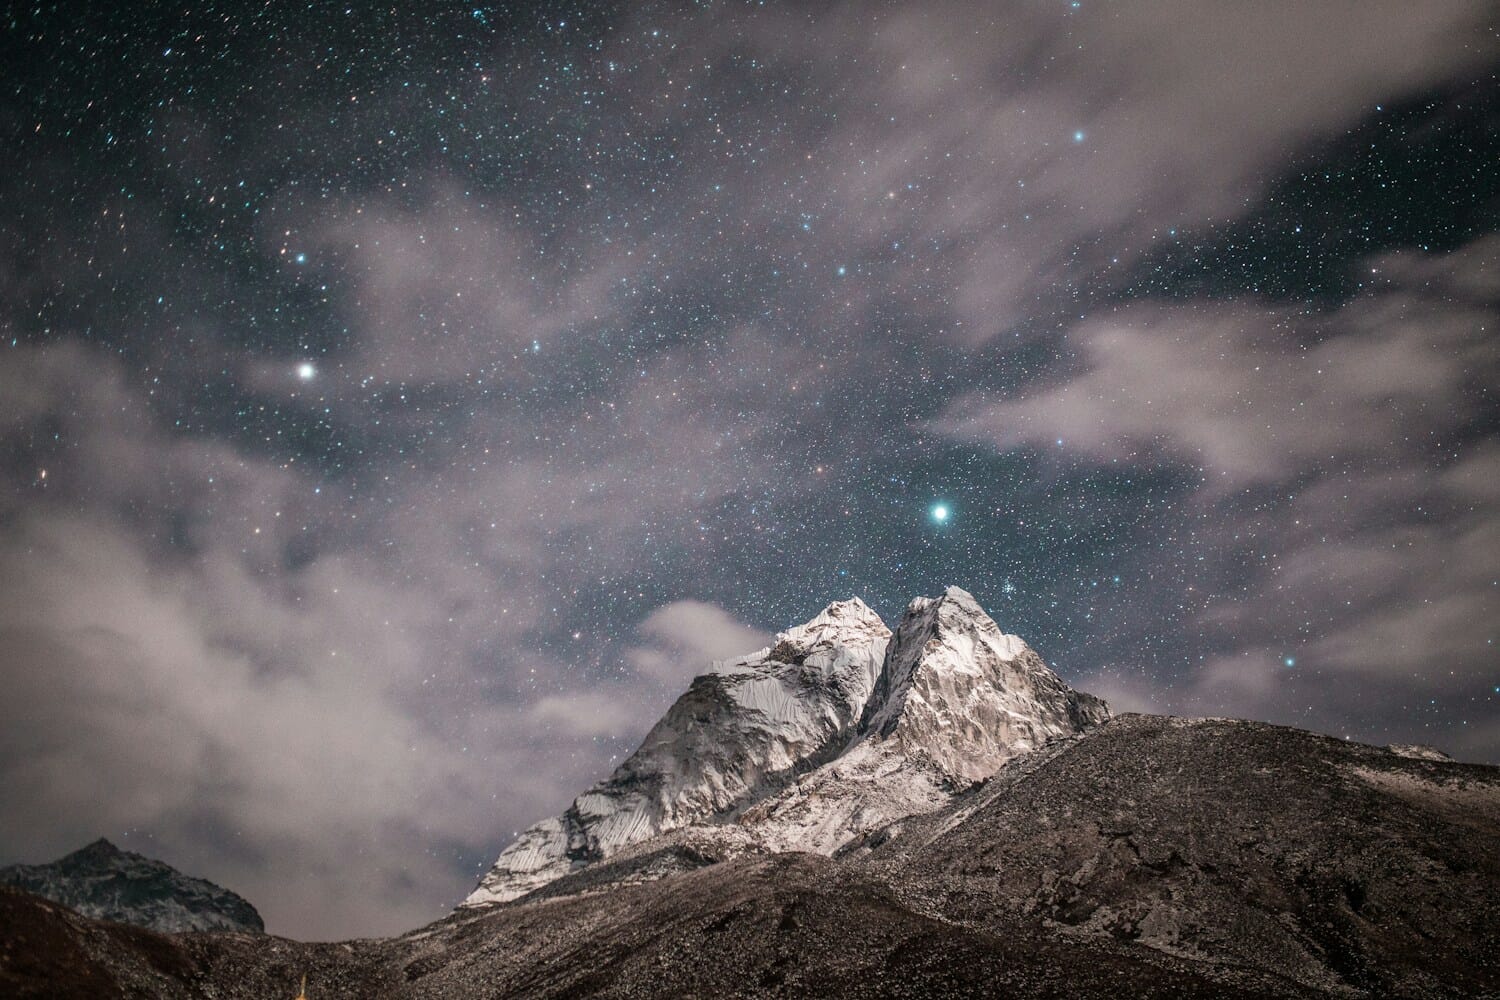
A sturdy tripod. Exposures run into the tens of seconds, so any movement ruins the shot. A stable tripod is not optional. Hang your bag from the center column in wind for extra stability.
A remote or timer, and a red light. A remote release or the camera’s 2-second self-timer stops the shake from pressing the shutter. A red-light headlamp lets you see your gear without wrecking your night vision or that of anyone else shooting nearby.
The Settings: Aperture, Shutter, ISO, Focus
Here is the core of it. Milky Way exposure is a balancing act between gathering enough light and keeping the stars from trailing. Start with these and adjust.
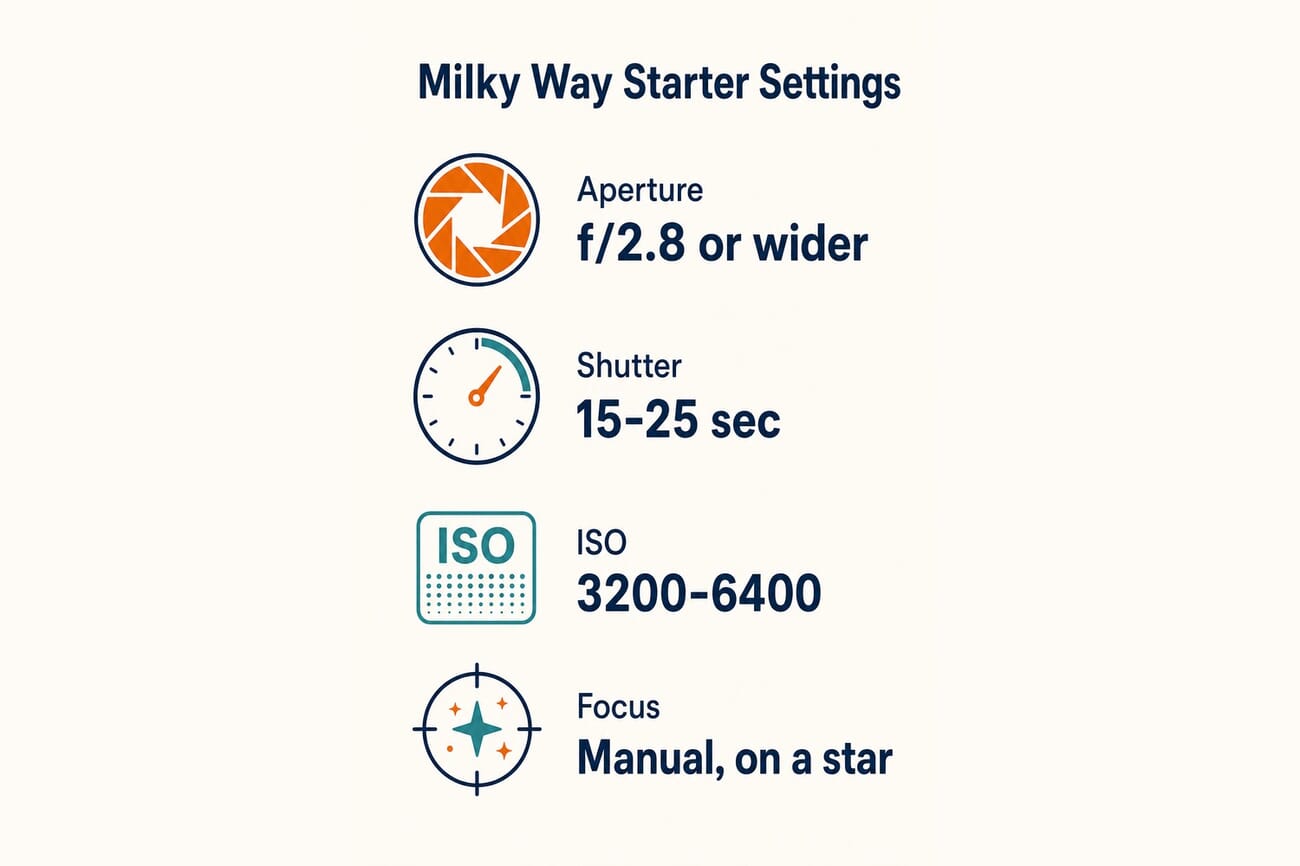
Aperture: as wide as it goes. Set the lens to its widest aperture, f/2.8, f/1.8, whatever it offers. Every extra stop of light means a lower ISO or a shorter shutter, both of which improve the final image. This is why a fast lens matters so much.
Shutter: 15 to 25 seconds. Long enough to gather light, short enough that the Earth’s rotation does not turn stars into streaks. The exact ceiling depends on your focal length (more on the 500 rule below). Start at 20 seconds.
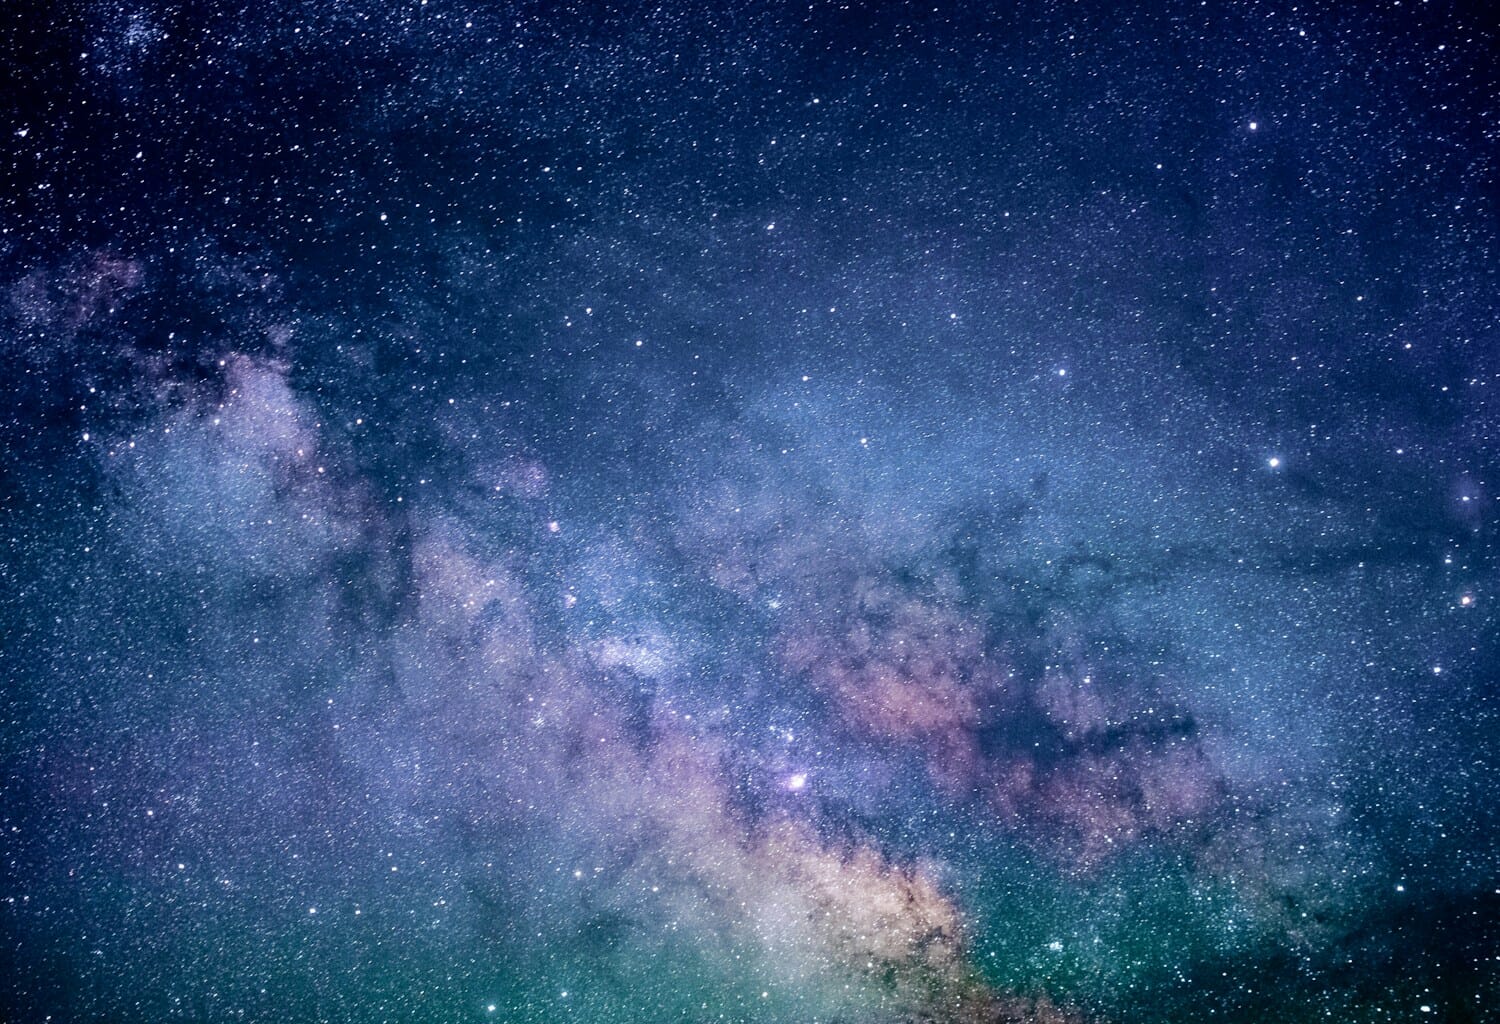
ISO: 3200 to 6400. Yes, that is high, and yes, it introduces noise. Do it anyway. A slightly noisy but properly exposed frame beats a clean, black one, and modern denoise tools handle astro noise remarkably well. Check your histogram: you want the data pushed off the far-left wall, not crushed into it.
Focus: manual, on a star. Autofocus hunts uselessly in the dark. Switch to manual focus, enable live view, zoom in on the brightest star you can find, and turn the focus ring until that star is the smallest, sharpest point possible. Then do not touch it. A quick primer on focus modes and points helps if manual focus feels unfamiliar. Shoot in RAW so you keep every bit of latitude for editing, and set white balance to around 3800 to 4200K (or fix it later in RAW).
Keeping Stars Sharp: the 500 Rule
Because the Earth rotates, stars slowly drift across the frame during a long exposure. Leave the shutter open too long and pinpoint stars become short streaks. The quick fix is the 500 rule: divide 500 by your lens’s focal length (full-frame equivalent) to get the longest shutter speed that keeps stars looking like points.
- 14mm lens: 500 / 14 = about 35 seconds
- 24mm lens: 500 / 24 = about 20 seconds
- 35mm lens: 500 / 35 = about 14 seconds
On a crop-sensor camera, multiply the focal length by the crop factor first (1.5x for most, 1.6x for Canon), which shortens the allowed time. High-resolution sensors show trailing sooner too, so many shooters use the stricter NPF rule via an app like PhotoPills. In practice: calculate your ceiling, take a test frame, then zoom to 100 percent on the rear screen and check. If the stars are trailing, shorten the shutter and raise ISO to compensate. The relationship between focal length and framing is worth understanding more broadly, and our focal-length guide covers it.
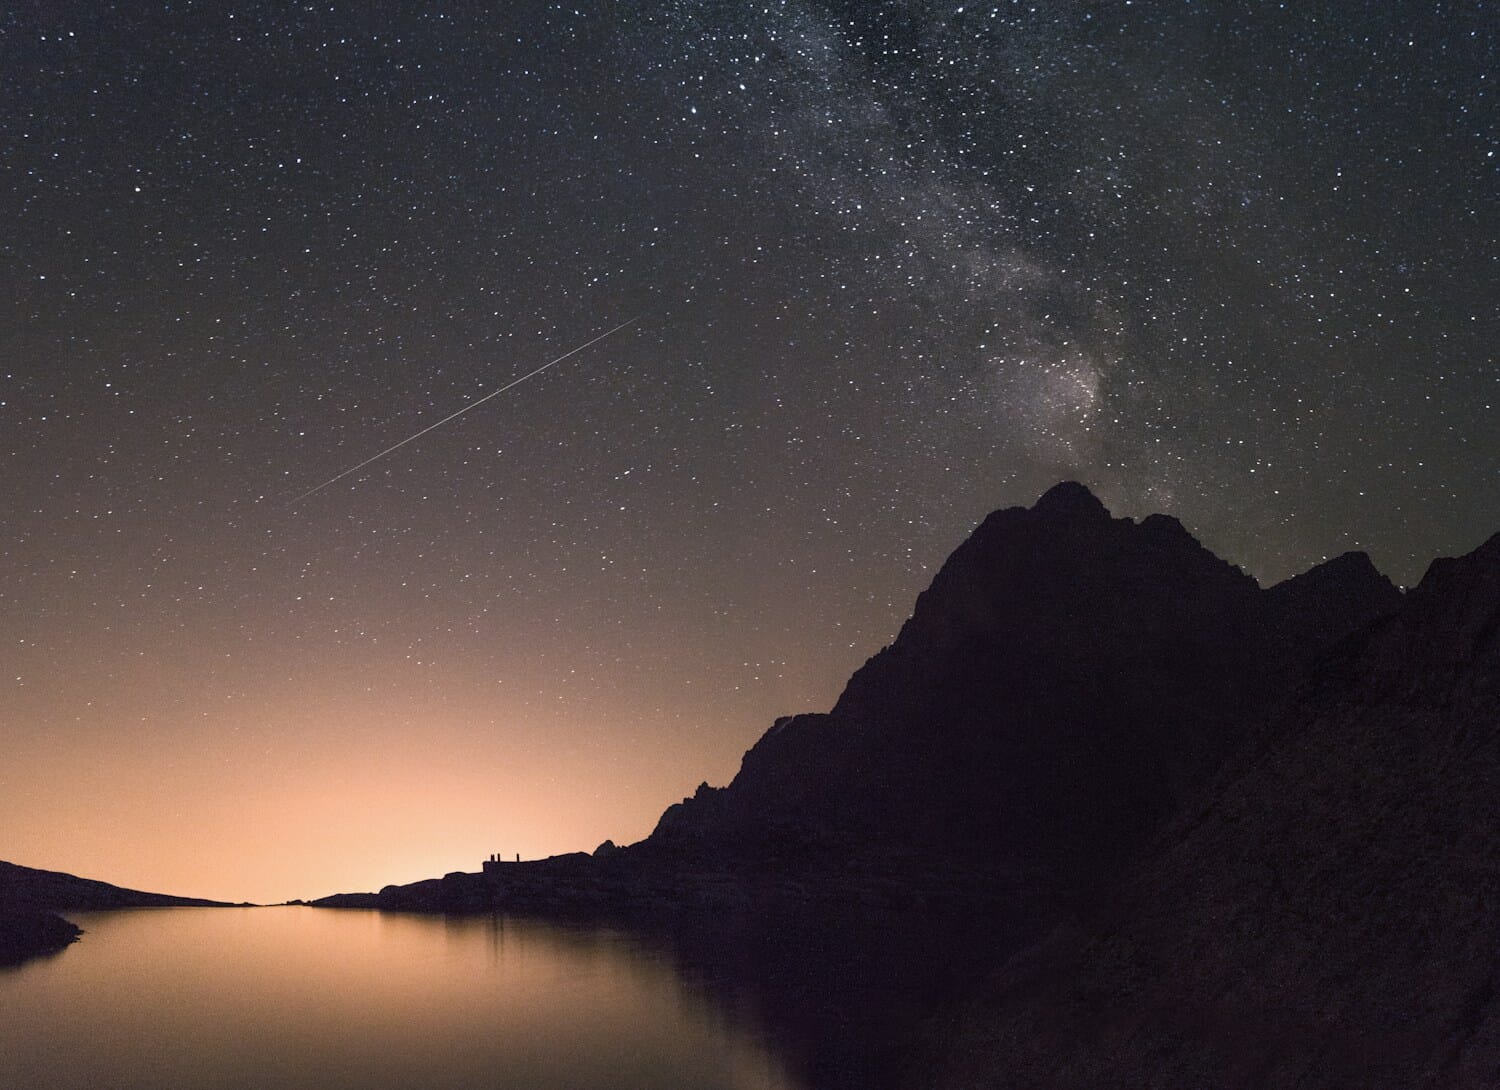
Composition: Give the Sky a Foreground
A photo of stars alone is a texture. A photo of stars over something, a jagged ridgeline, a lone tree, a still lake, a person gazing up, is a story. The foreground gives scale and a sense of place, and it is what separates a memorable Milky Way image from a thousand identical starfields.
Scout your foreground in daylight and use an app to see exactly where the core will rise so you can line the two up. Reflections in water double the sky. A silhouetted subject reads cleanly against the bright band. And a low camera position exaggerates the foreground and makes the sky feel vast. If the foreground is too dark to register, take a second, longer exposure just for the land and blend the two later, a common and entirely legitimate technique.
Step by Step in the Field
- Arrive before dark. Scout the composition, set up the tripod, and frame roughly where the core will appear.
- Switch to manual mode and RAW. Set aperture wide open, ISO 3200, shutter 20 seconds as a starting point.
- Switch the lens to manual focus, live-view zoom on a bright star, and focus until it is a tiny point.
- Use a remote or the 2-second timer. Take a test shot.
- Review at 100 percent. Too dark? Raise ISO. Stars trailing? Shorten the shutter. Foreground black? Plan a blended frame.
- Once dialed in, shoot several frames. Extra exposures let you stack later to reduce noise.
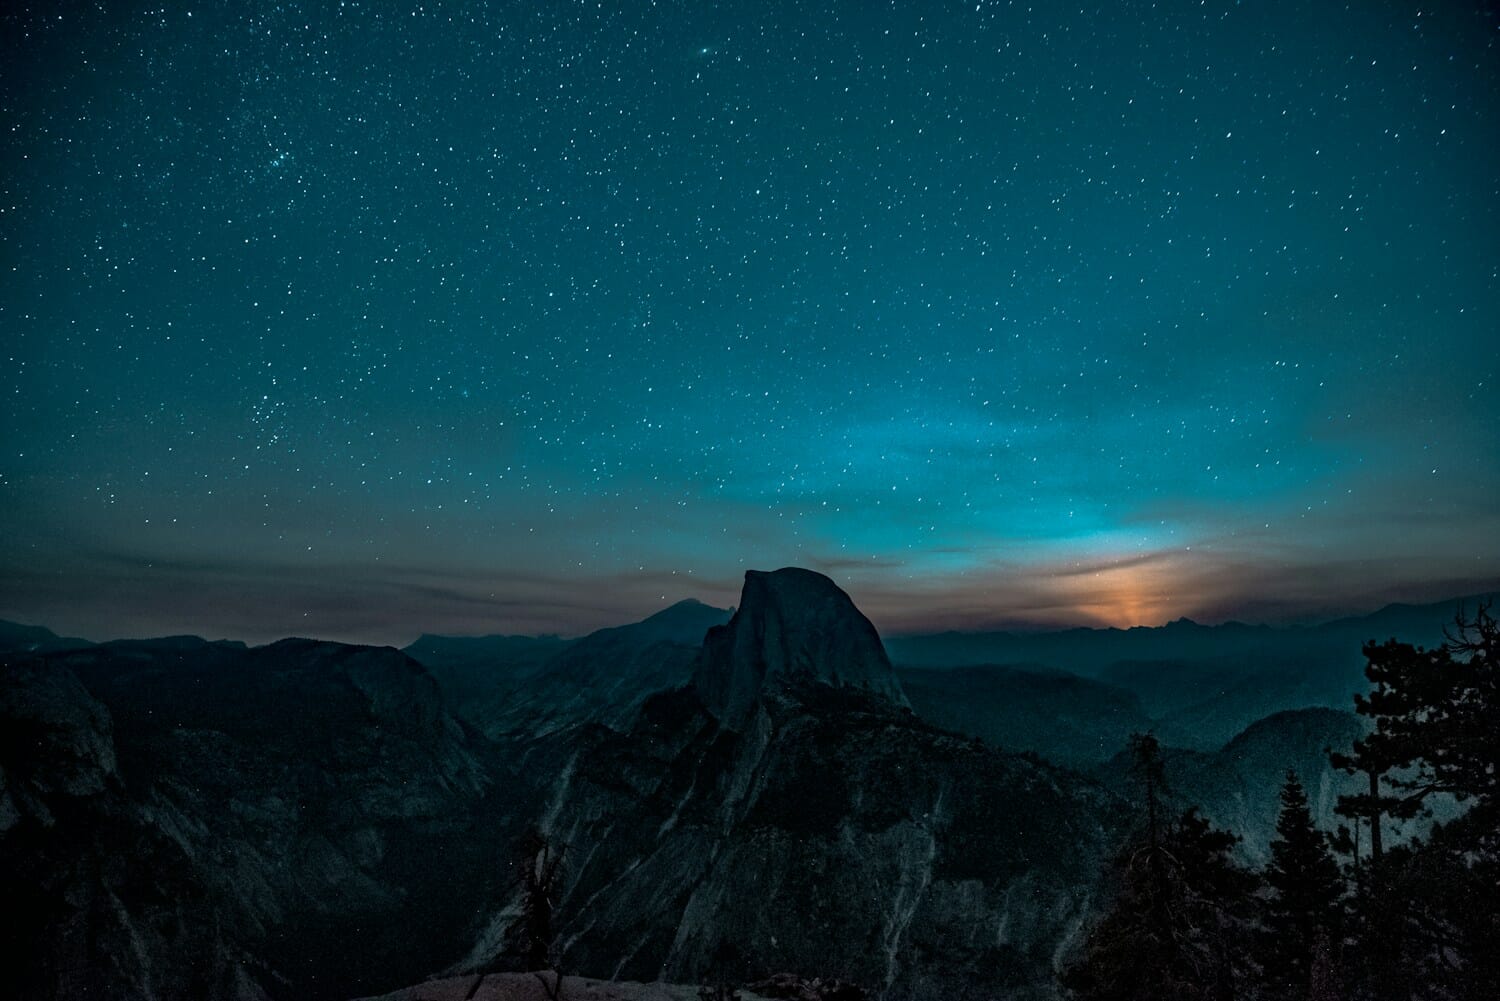
Editing Your Milky Way Shots
Astro files almost always look flat and muddy straight out of camera. That is normal, the detail is in the RAW, waiting to be pulled out. A light-touch edit in Lightroom, Capture One, or similar does most of the work:
- Set white balance to taste, cooler for a natural blue-black sky, warmer if you prefer the golden core tones.
- Lift contrast and clarity gently to separate the core from the background sky.
- Bring up shadows to reveal foreground detail without blowing out the stars.
- Apply denoise (AI denoise tools are excellent for this) to clean up the high-ISO grain.
- Dehaze slightly to cut through any residual light pollution.
Resist the urge to overcook it. The most convincing Milky Way edits look like a very good night, not a science-fiction poster. For the broader craft of shooting in the dark, from cityscapes to light painting, our complete night photography guide goes deeper. And if you want proof that the sensor matters less than the effort, see how a Game Boy Camera captured Jupiter through a telescope.
Common Mistakes to Avoid
- Shooting on a bright moon. The most common reason a Milky Way shot fails. Check the moon phase before you commit to a night.
- Leaving autofocus on. It will hunt and miss in the dark. Focus manually on a star, every time.
- Too long a shutter. Trailed stars from ignoring the 500 rule. When in doubt, go shorter and raise ISO.
- Not enough darkness. Shooting from a suburban backyard and wondering why the core is invisible. Drive to a dark-sky site.
- Forgetting a foreground. A frame of pure sky is technically fine and visually forgettable. Anchor it to the land.
Frequently Asked Questions
What camera settings do I use for the Milky Way?
Start with the widest aperture your lens offers (f/2.8 or faster), a shutter of 15 to 25 seconds, ISO 3200 to 6400, and manual focus set on a bright star. Shoot in RAW. Take a test frame, zoom in to check the stars are sharp and the exposure is bright enough, and adjust from there.
When is Milky Way season?
In the Northern Hemisphere the bright galactic core is visible from about April through September, with the longest and highest views in the summer months. Shoot on a night near the new moon, from a dark-sky location, when the core is above the horizon.
Can I photograph the Milky Way with a phone?
Increasingly, yes. Recent flagship phones with a dedicated night or astro mode can capture a recognizable Milky Way from a dark site, especially propped on a small tripod. The results will not match a full-frame camera and a fast lens, but they are far better than they were a few years ago. See our guide to the best phones for astrophotography for specifics.
What is the 500 rule?
It is a quick way to find the longest shutter speed that keeps stars as points rather than trails: divide 500 by your lens’s full-frame-equivalent focal length. A 24mm lens gives about 20 seconds. On crop sensors, factor in the crop multiplier first. High-resolution sensors may need the stricter NPF rule for perfectly sharp stars.
Do I need a star tracker?
Not to start. A tracker lets you use longer exposures and lower ISO for cleaner deep-sky results, but it adds cost and complexity. Every technique in this guide works on a fixed tripod. Add a tracker later if you get serious about deep-sky detail.
The Bottom Line
Photographing the Milky Way looks like a technical dark art, but it comes down to a short checklist: pick a dark, moonless summer night, bring a fast wide lens and a tripod, set a wide aperture with a 20-second shutter and high ISO, focus manually on a star, and give the sky a foreground. Nail those and the RAW file will hold a galaxy you can bring to life in a few minutes of editing. The season is open now, so pick a night, check the moon, and drive somewhere dark.
Image Sources
- Greg Rakozy – featured Milky Way stargazer photo – Shot at f/2.8, 15mm, 30s, ISO 4000. Via Unsplash, curated on SampleShots.
- Pawel Nolbert – Milky Way over granite silhouettes – Via Unsplash, curated on SampleShots.
- Martin Jernberg – Milky Way over a snowy peak – Via Unsplash, curated on SampleShots.
- Jeremy Thomas – high-ISO Milky Way core – Via Unsplash, curated on SampleShots.
- Štefan Štefančík – Milky Way reflected in mountain water – Via Unsplash, curated on SampleShots.
- Casey Horner – Milky Way over a granite ridge – Via Unsplash, curated on SampleShots.
- PhotoWorkout – settings, planning, and gear infographics and the pin – Original PhotoWorkout editorial graphics created for this guide.