
- A light meter app turns a phone into an exposure tool accurate to within about 1/10 of a stop – genuinely useful for film, vintage, and manual-exposure shooting.
- Best iOS pick: myLightMeter Pro (4.8 stars, updated June 2026, $3.99). Best free Android pick: Light Meter – Lux, Exposure (4.8 stars, 100K+ installs).
- This 2026 refresh dropped two dead entries – one app delisted from Google Play, another not updated since 2022 – and replaced them with current, well-rated alternatives.
- Every rating, price, and update date below was checked live against the App Store and Google Play on June 3, 2026.

When you buy through links on our site, we may earn a commission at no cost to you. We evaluate products independently. Commissions do not affect our evaluations.
Introduction
Whether you shoot film, work with vintage cameras, or simply want a backup for your camera’s built-in meter, a light meter app is an invaluable tool. Modern smartphone apps have become remarkably accurate – often within 1/10 of a stop of dedicated handheld meters – making them a practical choice for photographers at any level.
⚠️ For studio work or commercial shoots that demand absolute precision, a dedicated handheld light meter is still the gold standard. For film, travel, and everyday manual shooting, though, the apps below get remarkably close – and they are already in your pocket.
To separate the genuinely good apps from the abandoned ones, every pick below was checked against live App Store and Google Play data on June 3, 2026 – real ratings, prices, and last-update dates. That check changed the list: one previous Android pick had been pulled from the Play Store entirely, and one iOS pick had not been updated since 2022, so both were replaced with current, well-rated alternatives.
Light Meter Apps Compared: By the Numbers
Ratings, prices, and update dates reflect live App Store and Google Play data as of June 3, 2026.
| App | Platform | Rating | Reviews | Price | Last updated |
|---|---|---|---|---|---|
| Pocket Light Meter | iOS | 4.5 | 1.0K | $9.99 | Feb 2025 |
| myLightMeter Pro | iOS | 4.8 | 1.0K | $3.99 | Jun 2026 |
| Lux Light Meter Pro | iOS | 3.9 | 5.1K | Free | Oct 2025 |
| Light Meter LM-3000 | iOS | 4.5 | 2.5K | Free | Apr 2026 |
| Light Meter – Lux, Exposure | Android | 4.8 | 2.1K | Free | May 2026 |
| Light Meter (Blaschko) | Android | 4.4 | 450 | $5.99 | May 2026 |
| LightMeter | Android | 4.2 | 1.5K | $2.49 | May 2026 |
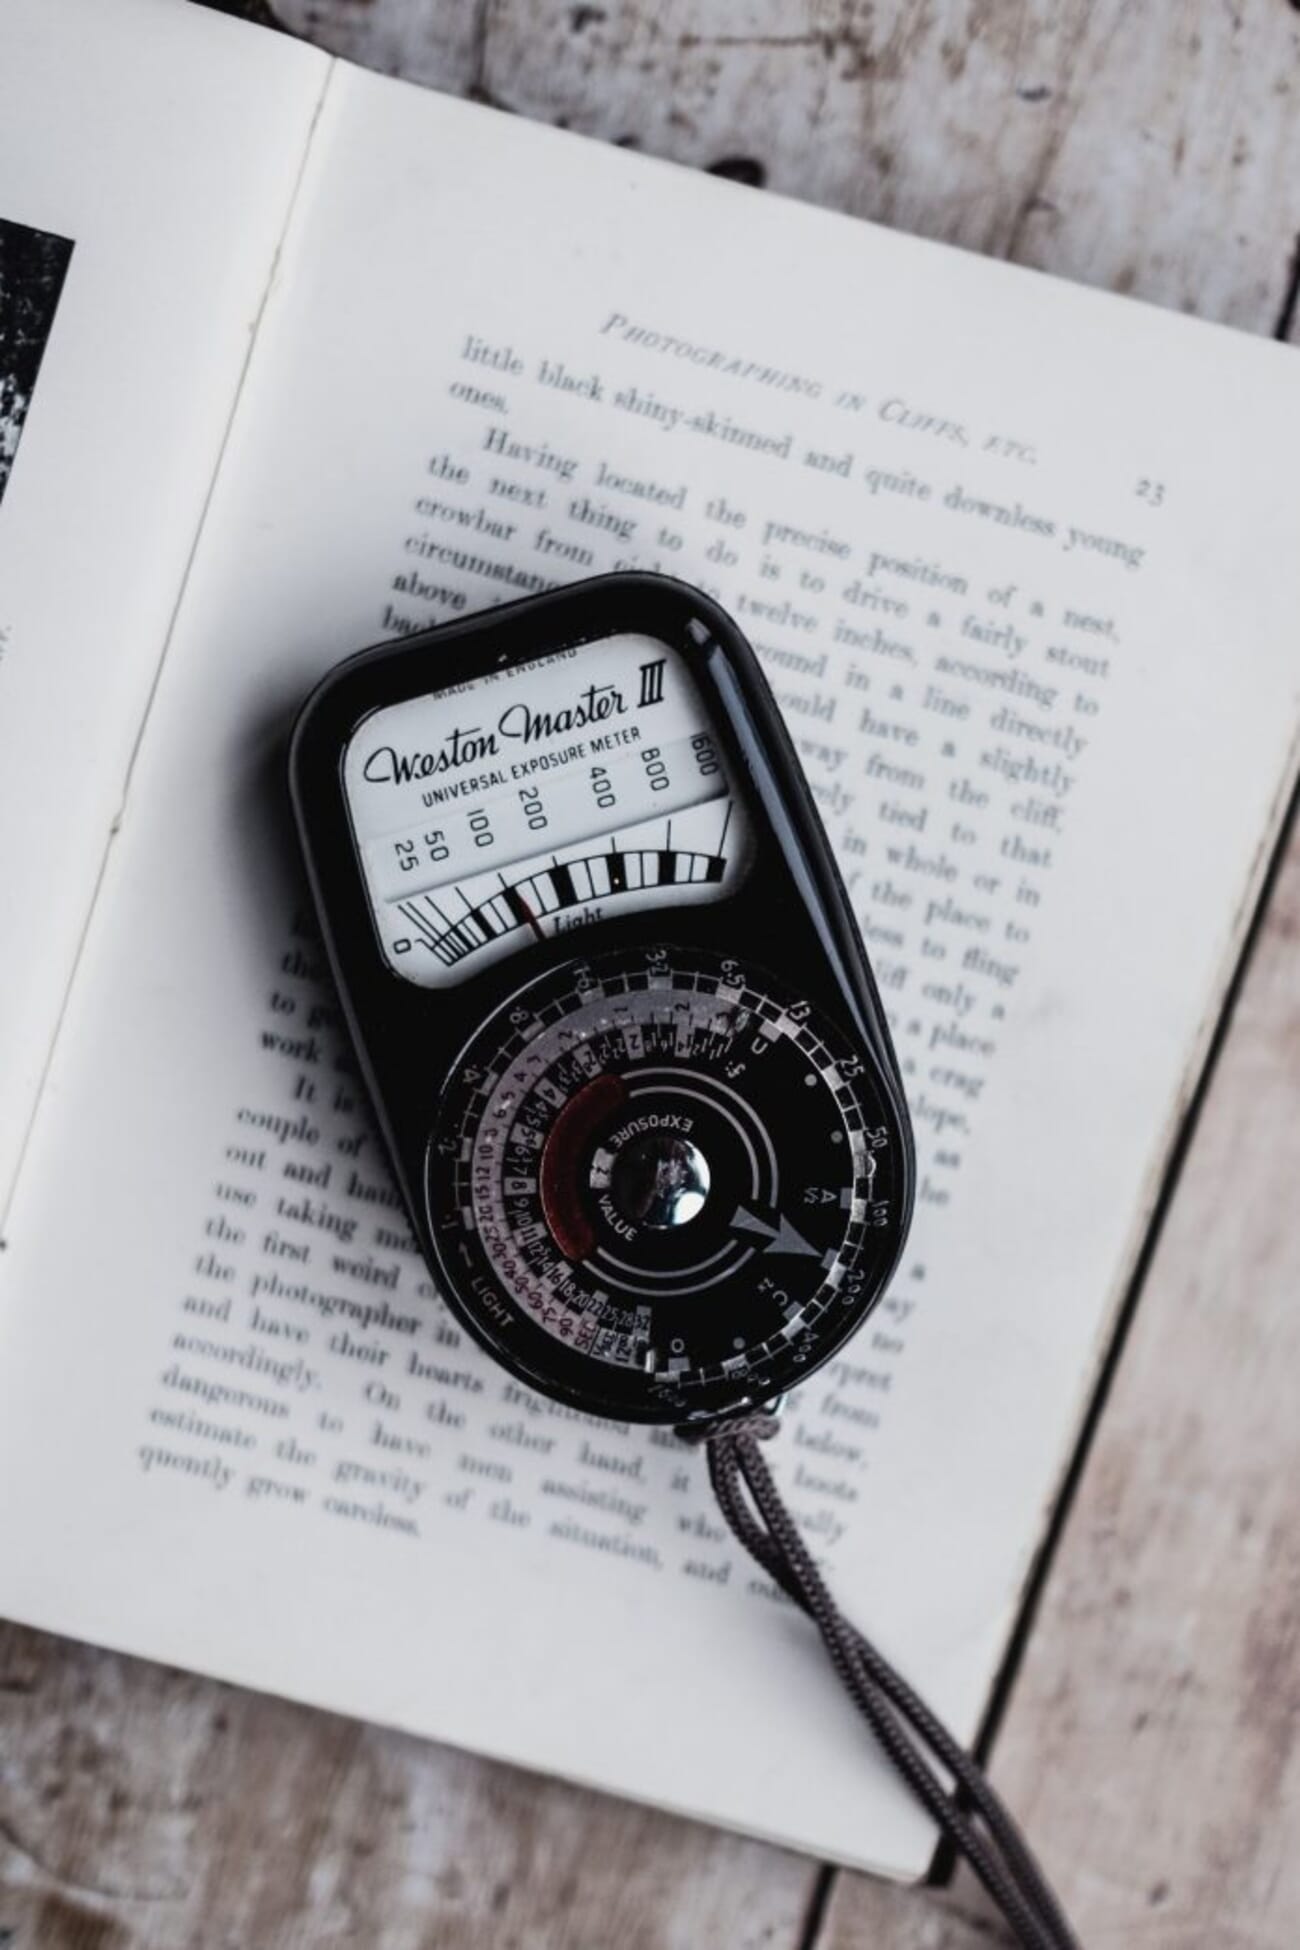
What Is a Light Meter and Why Do You Need One?
A light meter measures the light in a scene, letting a photographer set the right shutter speed and aperture for a properly exposed image. Most modern DSLRs and mirrorless cameras have a built-in meter; many older film cameras do not – or have one that no longer works reliably.
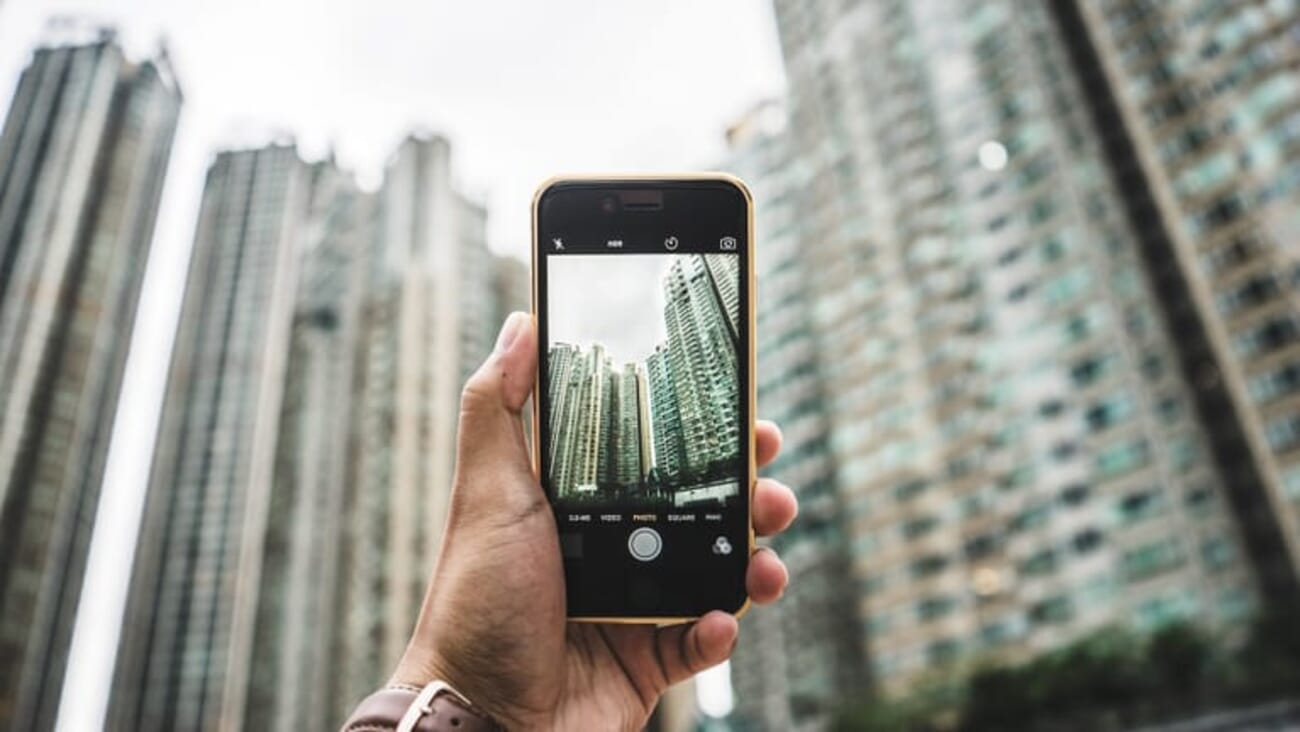
That is where a phone app earns its place. It is always with you, costs little or nothing, and on a recent phone it meters a scene to within a fraction of a stop.
Do Light Meter Apps Actually Work?
Yes. A good light meter app gives exposure information for a scene that is comparable to a dedicated handheld meter, typically within 1/10 of a stop. Accuracy depends on two things: the quality of the app, and the phone it runs on.
Reflected-light apps read the scene through the phone camera; incident-style readings use the ambient light sensor. For maximum precision with film, the reflected/spot mode on a calibrated app is usually the safer bet.
The bottom line: used correctly, a light meter app delivers accurate, repeatable results. The picks below are split into iOS and Android, each verified against live store data.
iOS Light Meter Apps
1. Pocket Light Meter
The Pocket Light Meter app has the ability to create and save comments to help with future photoshoots.

Pocket Light Meter is a long-standing iOS option for film shooters and anyone working in manual mode. It measures reflected light, allows reciprocity calculations, and saves exposure and location data with each reading.
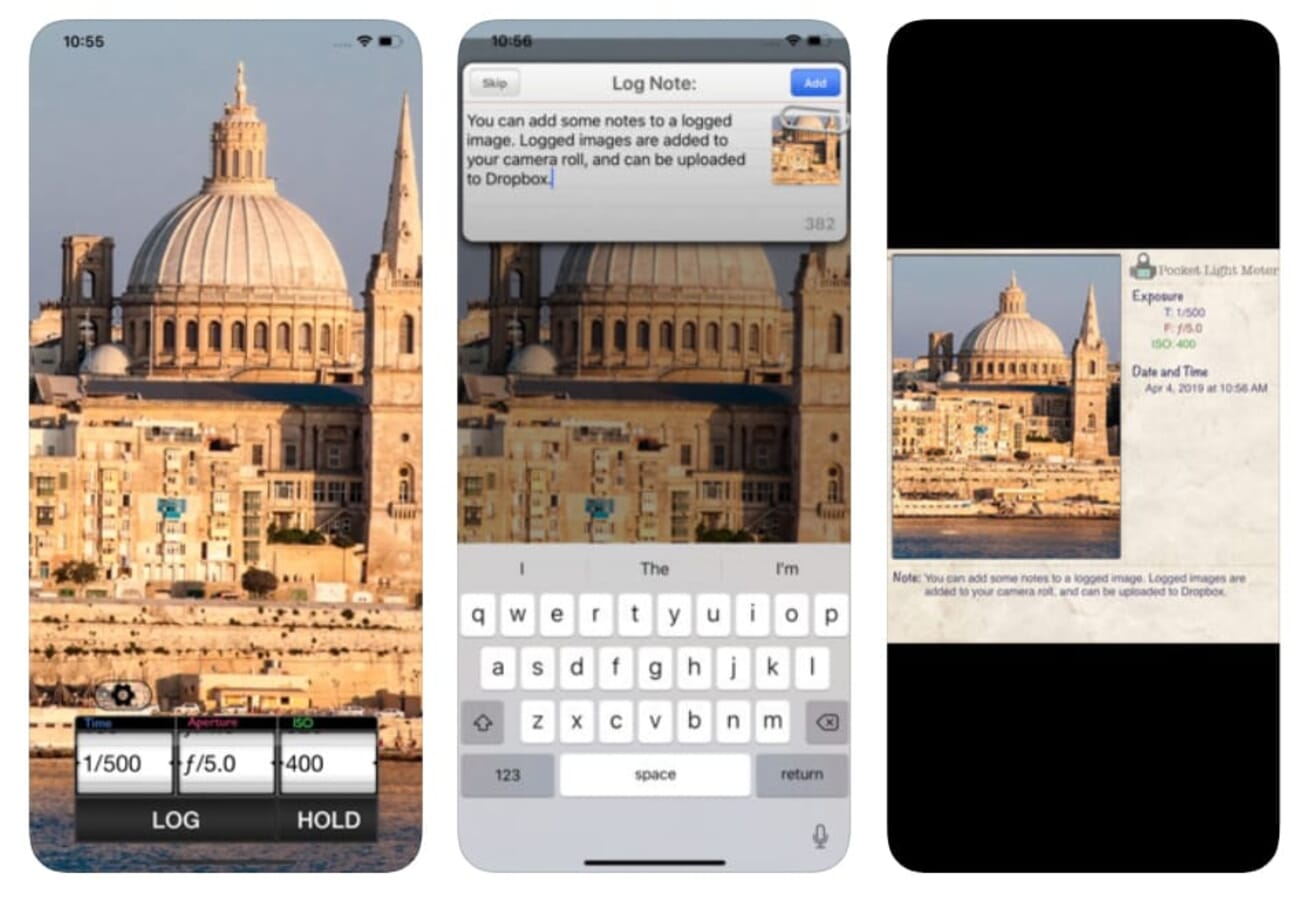
A handy note feature stores comments alongside each shot, useful for tracking what worked across a roll. The interface is simple and the feature set basic – a plus for beginners, a limit for power users. Note that it is now a paid app ($9.99) and was last updated in early 2025.
Best for: Film shooters who want a no-fuss reflected meter with notes.
2. myLightMeter Pro
The myLightMeter Pro app can be used for shutter speeds of up to four minutes and has both incident and reflected light metering modes.
Designed by a photographer, myLightMeter Pro works on any iPhone or iPad and offers both incident and reflected metering for stills and video. It is the standout iOS pick on this list – 4.8 stars and updated as recently as June 2026.
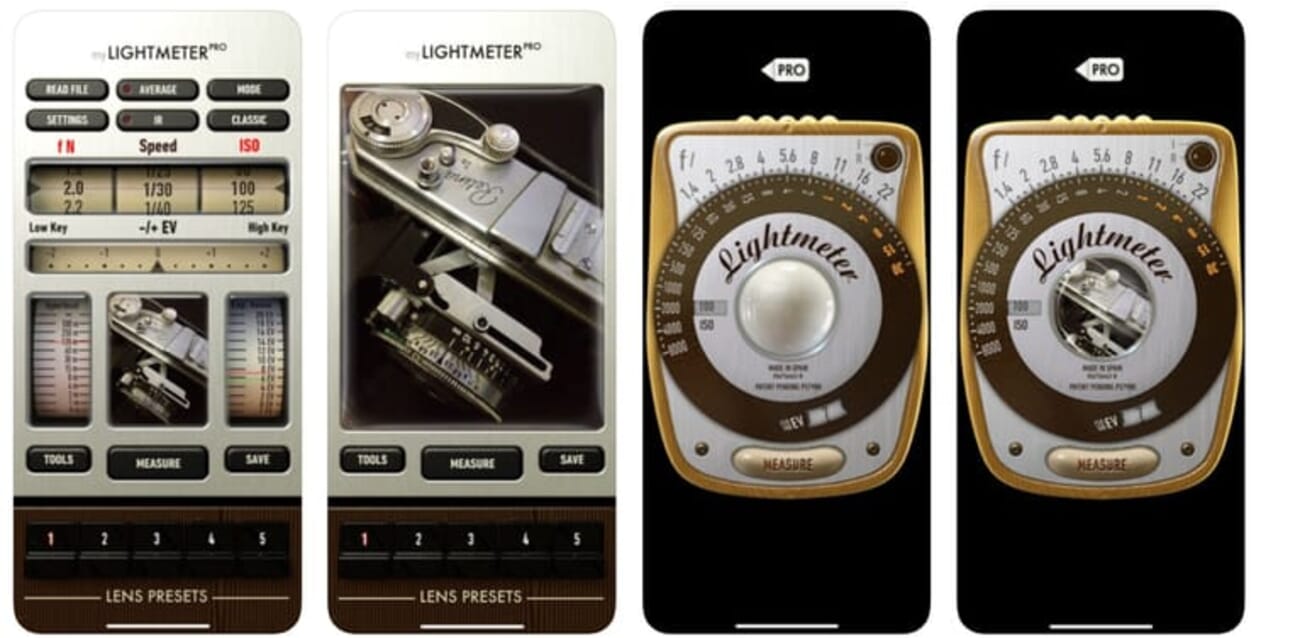
Extra touches include Av/Tv priority modes, automatic ISO, spot metering with a zoomed camera view, per-lens memory, and LED warnings for unreliable readings. At $3.99 it is far more capable than most free meters.
Best for: The best all-round iOS meter for film and video.
3. Lux Light Meter Pro
The Lux Light Meter Pro app is precalibrated using a professional light meter and thus offers accurate measurements from the moment of installation.
Lux Light Meter Pro is a free iOS app calibrated against a professional meter, so it gives usable readings straight out of the box. It works with both front and rear cameras and shows average and maximum values.
It is simple and quick, which is the appeal – though at 3.9 stars its rating is the weakest on this list, and it leans more toward illuminance checks than precise film metering. Since it is free, it is worth testing before committing to a paid app.
Best for: A free, instant lux check on iOS.
4. Light Meter LM-3000
Light Meter LM-3000 turns an iPhone into a pro-grade illuminance and color-temperature meter, reading lux/foot-candle and CCT in Kelvin. It is free, actively maintained (updated April 2026), and rates 4.5 stars across 2,400+ reviews.
Light Meter LM-3000 is the modern, actively-maintained replacement for older iOS meters that have gone stale. It reads illuminance (lux and foot-candle) and color temperature (CCT in Kelvin) with a clean, calibrated readout.
It is free, sits at 4.5 stars across more than 2,400 reviews, and was updated in April 2026 – making it a dependable pick for checking ambient light levels and white balance on a shoot. It is illuminance-focused rather than a full EV/film calculator, so it complements rather than replaces myLightMeter Pro.
Best for: Reliable lux and color-temperature readings on iOS.
Android Light Meter Apps
5. Light Meter – Lux, Exposure
This Contechity app pairs a precise lux reading with a built-in exposure calculator (shutter, aperture, ISO). It is free, sits at 4.8 stars across 2,000+ reviews, and was updated in May 2026 – a strong, current replacement for the older Android meters that have gone stale.

Light Meter – Lux, Exposure from Contechity is the best free Android meter currently available, and the direct replacement for an older Android pick that was pulled from the Play Store. It pairs a precise lux reading with a built-in exposure calculator for shutter, aperture, and ISO.
At 4.8 stars across 2,000+ reviews, 100,000+ installs, and a May 2026 update, it is both well-liked and current – exactly what the previous entry was not.
Best for: The best free, up-to-date Android meter.
6. Light Meter
The Light Meter app is compatible with multiple device types, including DSLR, SLR, pinhole, and video cameras.
Light Meter (by William Blaschko) is a paid Android app ($5.99) offering reflected spot metering through the camera plus an incident reading via the light sensor. It is compatible with DSLR, SLR, pinhole, and video workflows.
It was updated in May 2026 and rates 4.4 stars. The feature depth makes it a step up from the most basic free meters, with a few tools that take a moment to learn. A free ‘Lite’ version is also available to try first.
Best for: Android film shooters who want DOF and Sunny 16 tools alongside metering.
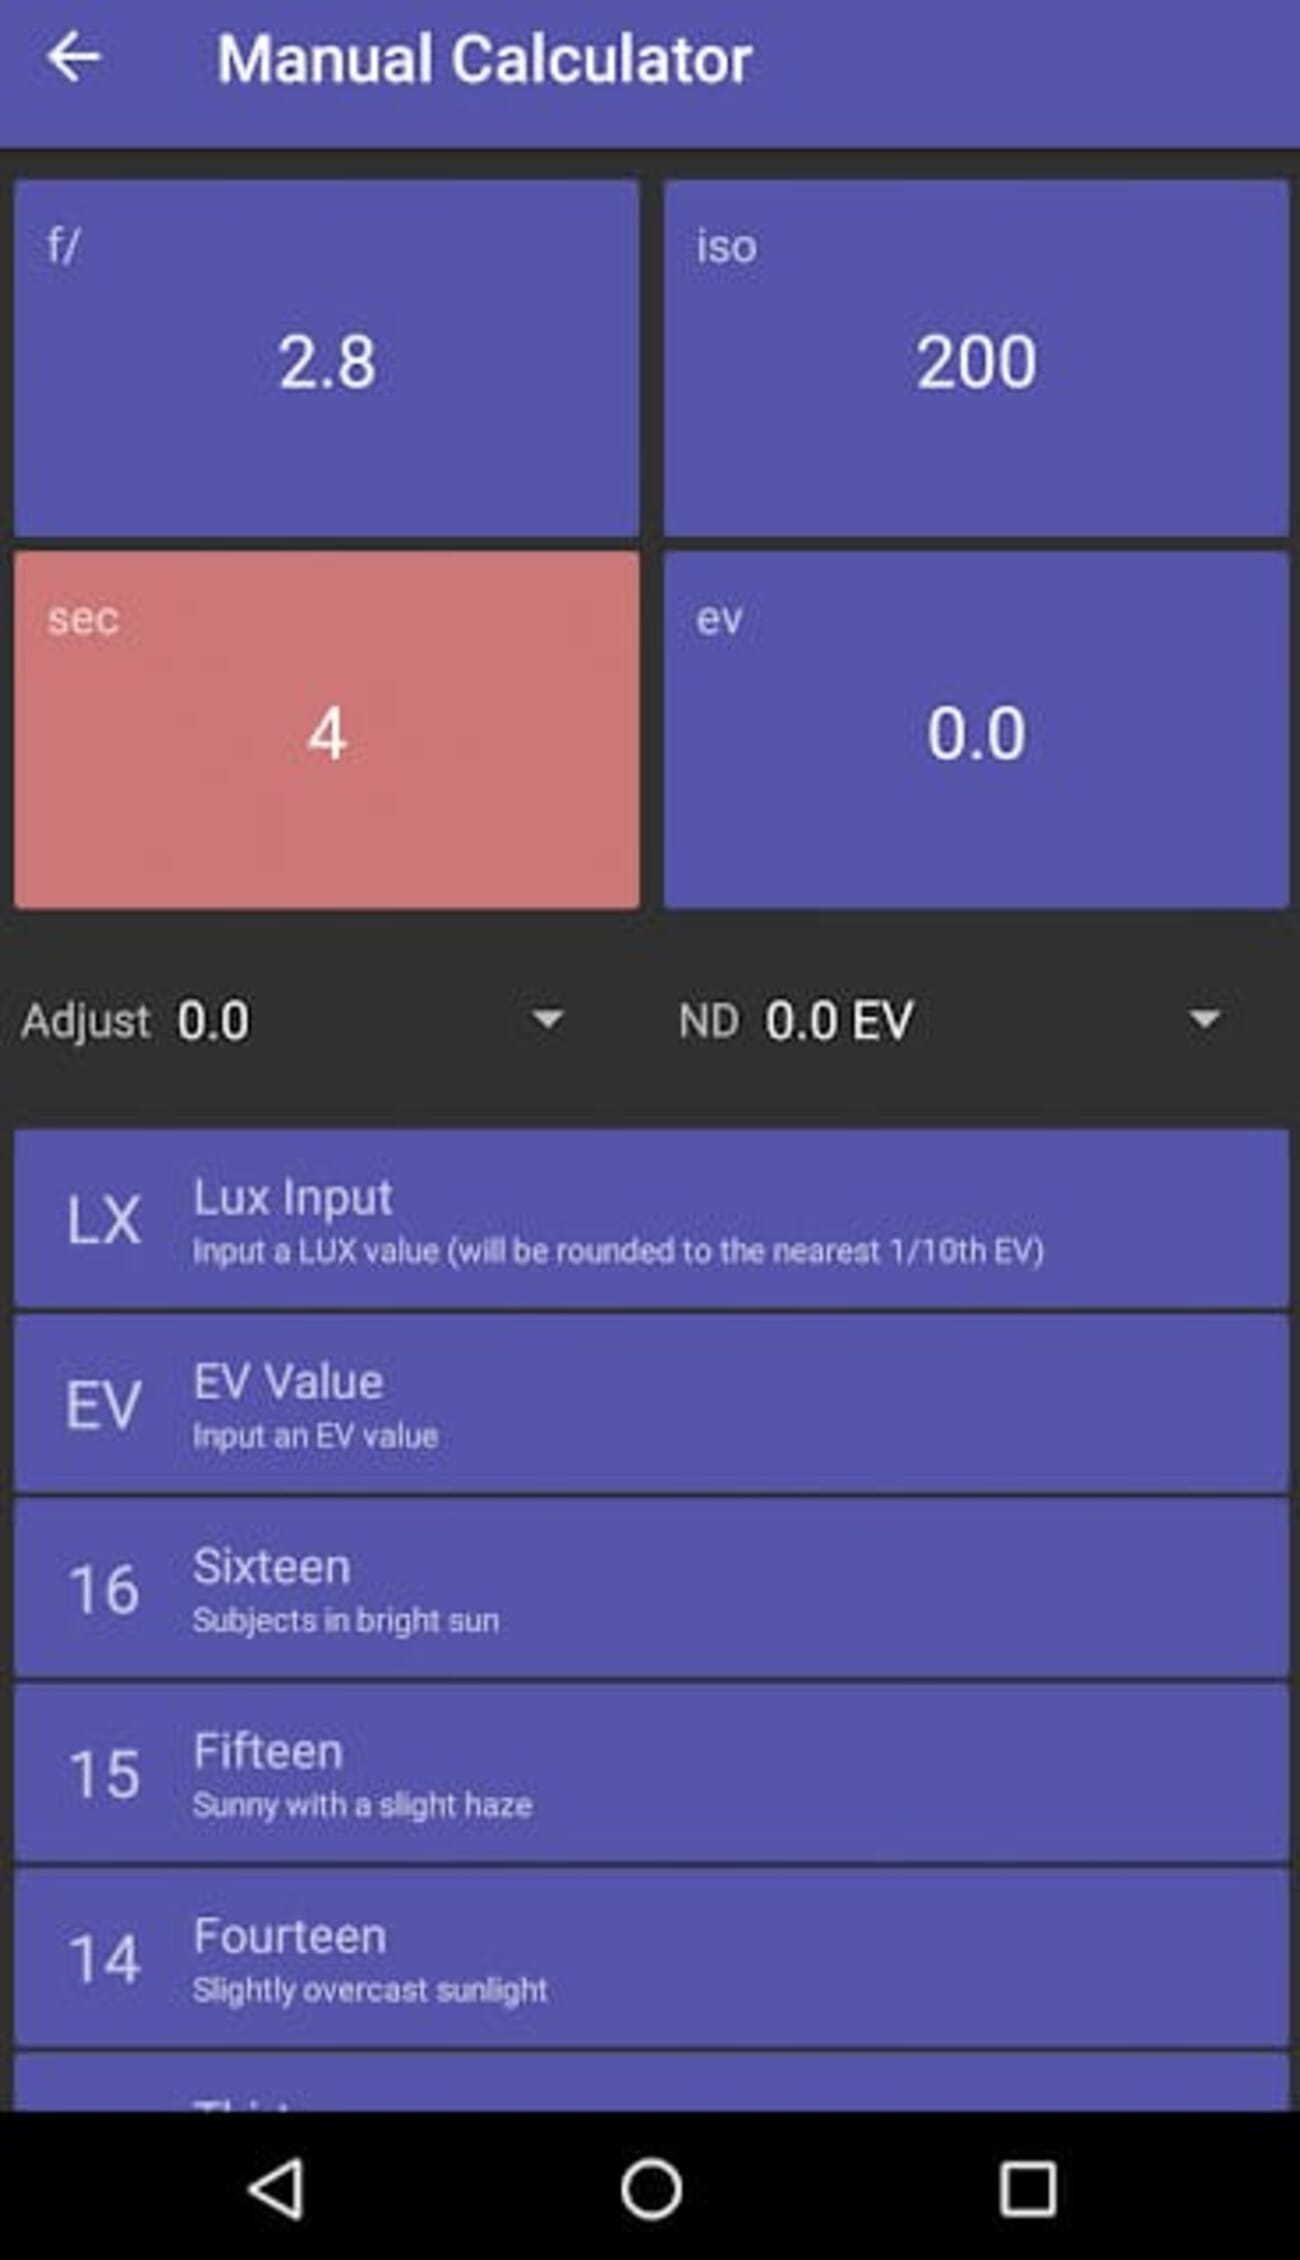
7. LightMeter
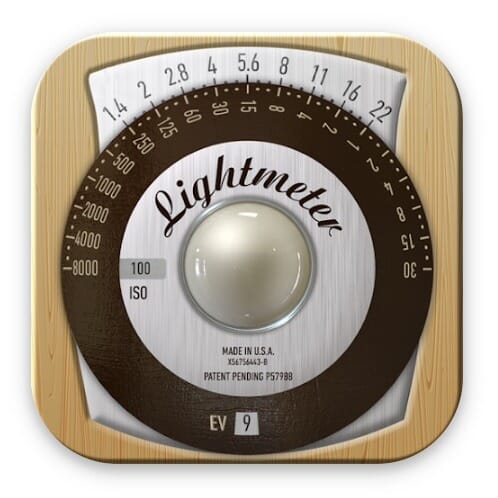
LightMeter has a host of advanced settings, such as a low-light alert, ISO selector, spot meter with zoom cameras, and high-resolution support.
LightMeter (by DQ) is a $2.49 Android app with an old-school analog interface that film shooters will find familiar. Its reflected meter works on devices that can save exposure values, while the incident meter runs on any phone.
It offers an ISO range of 3-6400, a low-light alert, spot metering with zoom, and high-resolution screen support – a strong fit for low-light photography. Updated May 2026, it rates 4.2 stars.
Best for: Film shooters who prefer an analog-style Android meter.
Frequently Asked Questions
Are light meter apps accurate enough for film?
For most film work, yes. A well-calibrated reflected/spot app on a recent phone meters within roughly 1/10 of a stop of a handheld meter. For slide film or critical commercial work, a dedicated handheld meter is still safer.
Do I need a paid light meter app?
Not necessarily. Free apps like Light Meter – Lux, Exposure (Android) and Light Meter LM-3000 (iOS) are genuinely good. Paid apps like myLightMeter Pro ($3.99) add incident metering, wider ranges, and per-lens memory that serious film shooters value.
What is the difference between reflected and incident metering?
Reflected metering reads light bouncing off the subject (what the camera sees); incident metering reads light falling on the subject. Most phone apps use reflected metering through the camera; some add an incident mode via the ambient light sensor.
Are these apps available for both iPhone and Android?
Most are platform-specific. The picks above are split into iOS and Android sections so you can jump to the ones that run on your phone.
Which Light Meter App Should You Choose?
Light meter apps are accurate, convenient tools – and in 2026 the best ones are free or close to it. For iPhone, myLightMeter Pro is the most capable all-rounder, with Light Meter LM-3000 a strong free option for lux and color temperature. For Android, Light Meter – Lux, Exposure is the best free pick, while LightMeter and Blaschko’s Light Meter suit film shooters who want analog feel or extra calculators.
Whichever you choose, test it against a known-good exposure first – then trust your phone to meter the light wherever you shoot.
App ratings, prices, and update dates were verified against the live app stores on the date of publication.


