
- Aperture (f-stop) controls depth of field and how much light hits the sensor; wider apertures (f/1.4, f/2.8) blur backgrounds, narrow ones (f/11, f/16) keep everything sharp.
- Shutter speed controls motion; fast speeds (1/1000) freeze action, slow ones (1/30, 1s) blur movement for creative effect.
- ISO controls sensitivity and noise; keep it as low as your scene allows, lean on modern sensors up to ISO 3200–6400 when needed.
- Changing any one setting forces a trade-off in the other two—that’s the triangle in action.
- For video, lock shutter to roughly 2× your frame rate (the 180° rule) and manage exposure with aperture, ISO, and ND filters.
The exposure triangle is the foundation of photography. Three settings—aperture, shutter speed, and ISO—together decide how bright your photo is and how it feels: tack-sharp or motion-blurred, deep focus or creamy bokeh, clean or grainy. Master the relationship between them and you stop fighting your camera in manual mode.
This guide covers how each setting works, how modern mirrorless cameras and smartphones automate the triangle, a dead-simple coffee-mug practice drill, scenario-specific settings, and the video-specific 180° shutter rule that keeps reels and YouTube footage looking cinematic.
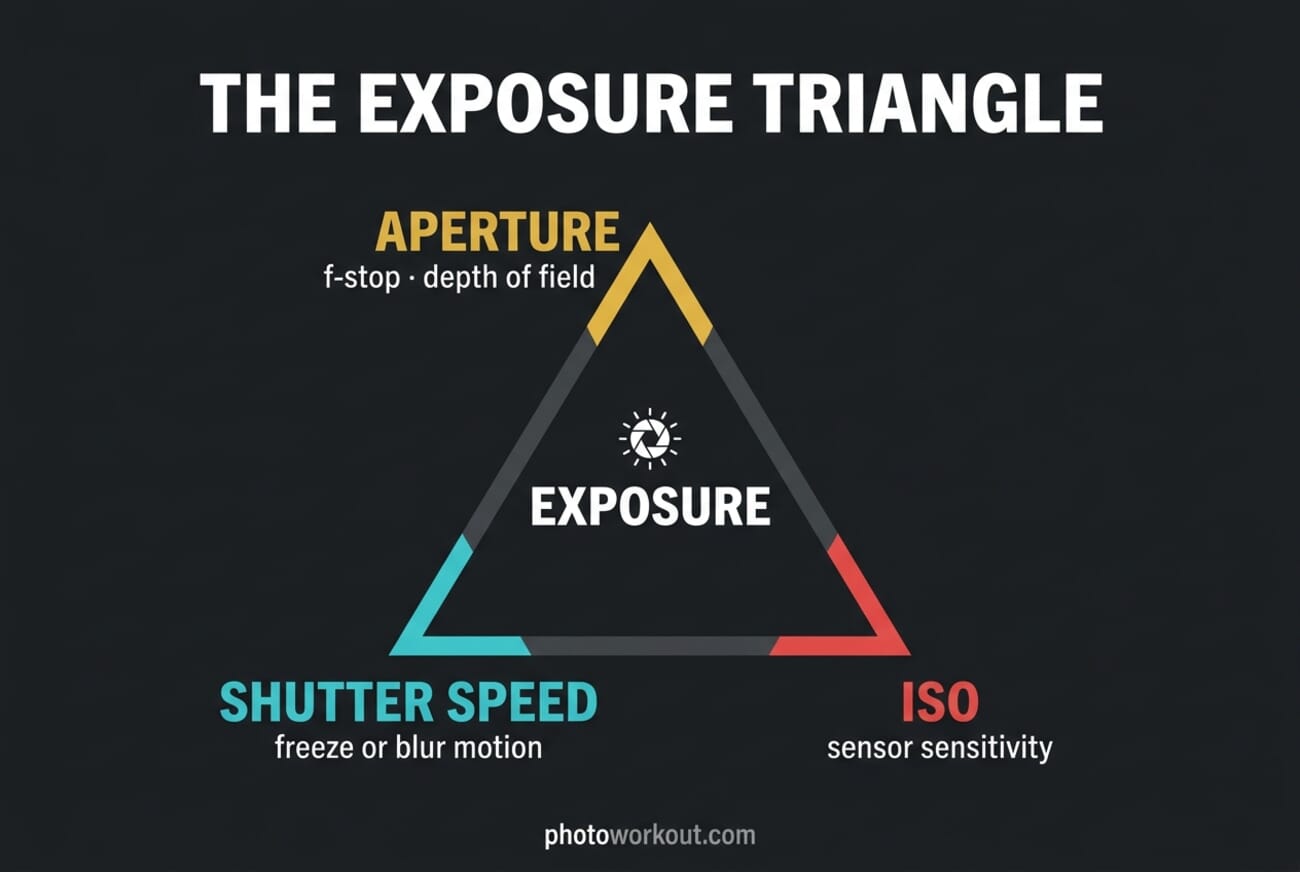
How the Exposure Triangle Works
Think of exposure as a bucket you’re filling with light. Aperture is the width of the tap, shutter speed is how long you leave it running, and ISO is how sensitive the bucket is to the water. Open the tap wider (wider aperture), leave it on longer (slower shutter), or make the bucket thirstier (higher ISO) and you collect more light. Change one, and at least one of the other two has to move in the opposite direction to keep the total exposure the same.
The key word is trade-off. A well-exposed photo is rarely the end goal; a well-exposed photo with the look you want is. That look—depth of field, motion, grain—comes from which setting you let do the heavy lifting.
Aperture: Depth of Field and Light
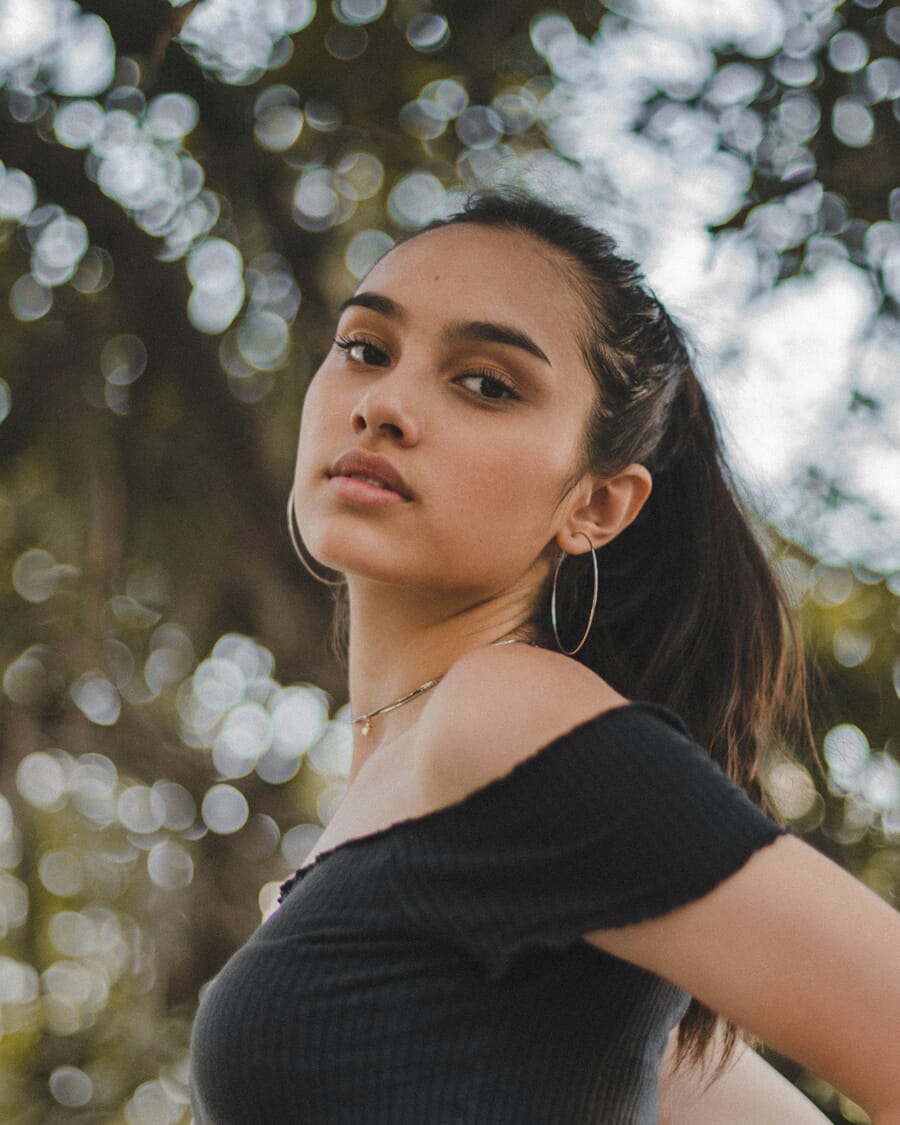
Aperture is the adjustable hole inside your lens, measured in f-stops (f/1.4, f/2.8, f/5.6, f/11, f/22). Counter-intuitively, smaller f-numbers mean a larger opening and more light. A wider aperture also produces a shallower depth of field—your subject is sharp while the background melts into bokeh.
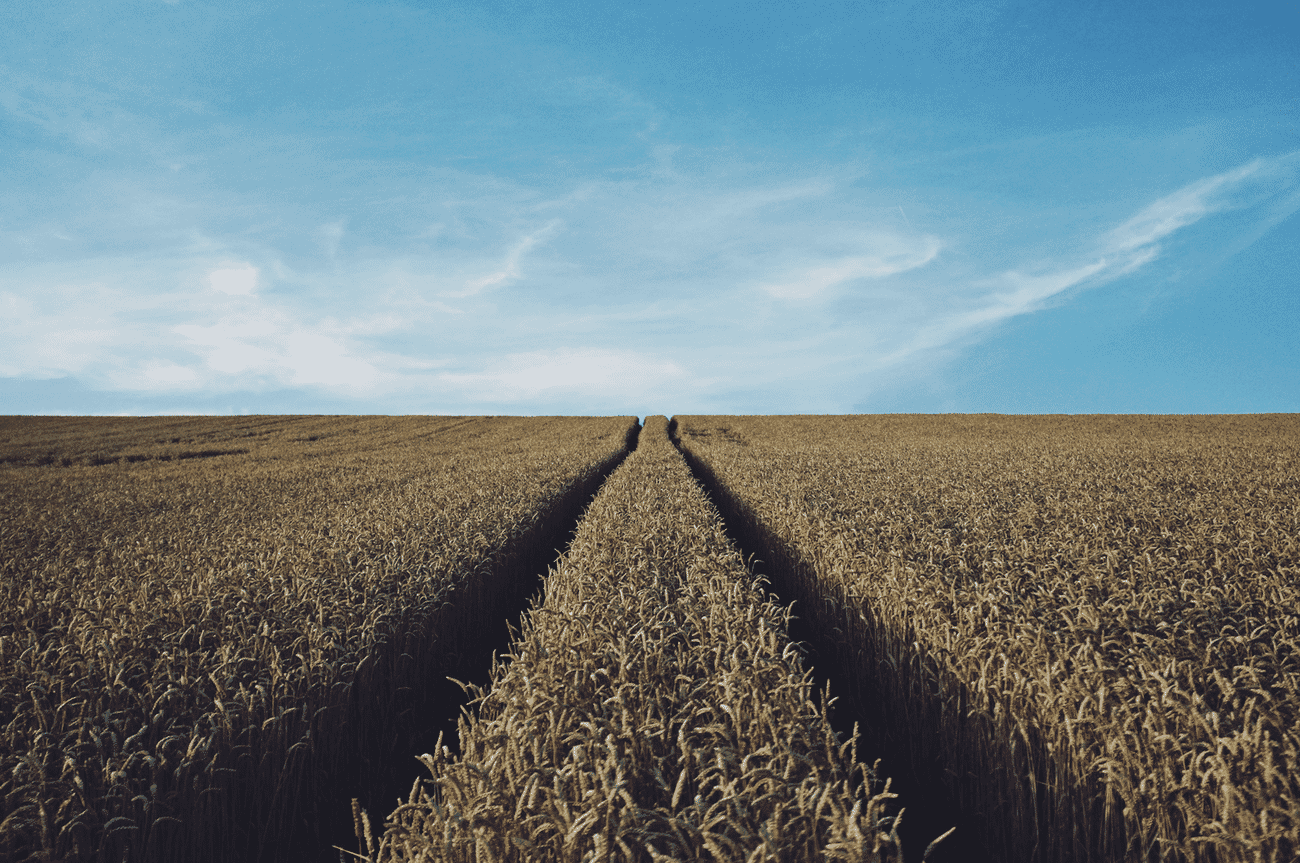
Stop down to f/8, f/11, or f/16 and the scene snaps into focus from foreground to horizon—essential for landscape work or group shots where everyone needs to be sharp.
Typical use:
- f/1.4 – f/2.8: portraits, low light, isolating a subject
- f/4 – f/5.6: everyday shooting, most zoom lenses’ sweet spot
- f/8 – f/11: landscapes, architecture, group shots
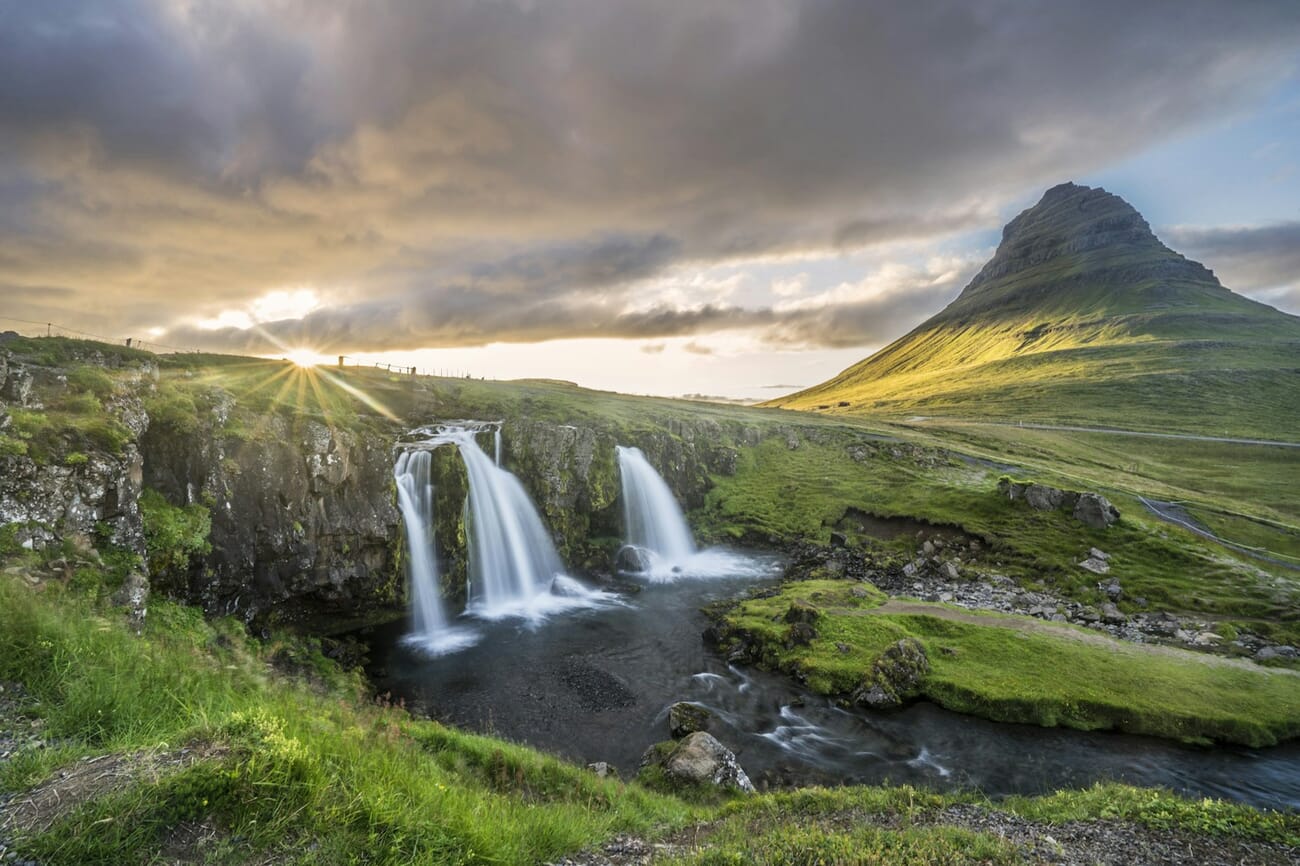
- f/16 – f/22: sunstars, long-exposure waterfalls (watch for diffraction softness)
Want more depth-of-field examples? See our bokeh guide for how focal length, aperture, and subject distance combine to create creamy backgrounds.
Shutter Speed: Freezing or Blurring Motion
Shutter speed is how long the sensor sees light, expressed in seconds or fractions of a second (1/1000, 1/250, 1/30, 1s, 30s). Fast shutter speeds freeze motion; slow shutter speeds blur it. Both are creative tools—not mistakes.

For handheld shooting, a useful rule of thumb is 1 / (focal length) as your slowest safe shutter without image stabilization. At 200mm, keep it above 1/200s. Modern in-body stabilization (IBIS) can buy you 4–8 extra stops, but camera shake from you is one thing and subject motion is another.
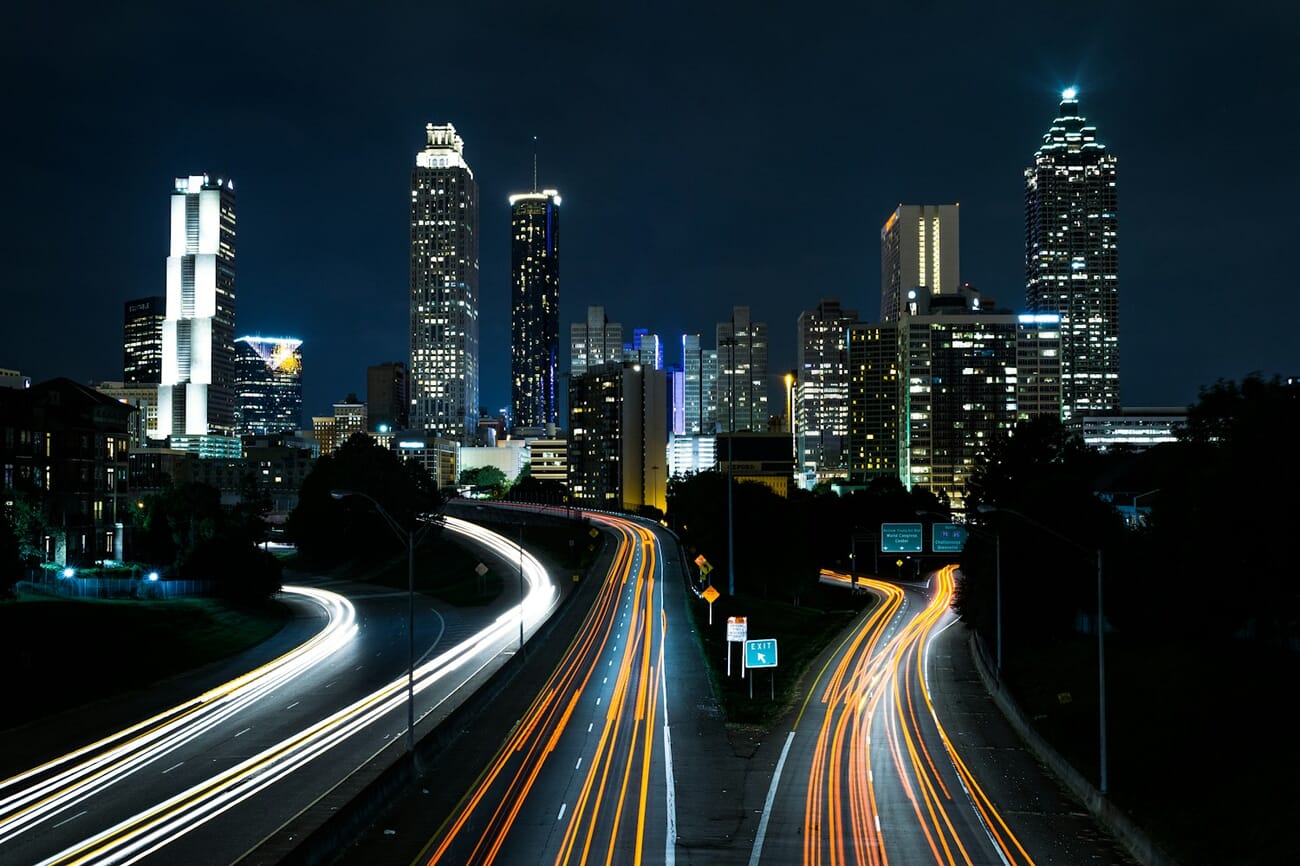
For full motion-capture technique—panning, long exposures, light trails, ICM—see our guide to movement in photography. In bright daylight you’ll often need an ND filter to drop shutter low enough for motion blur.
The 180° Shutter Rule for Video
Video changes the shutter equation. The 180° rule says your shutter speed should be roughly double your frame rate. Shooting 24p? Use 1/50s. 30p? 1/60s. 60p? 1/125s. This produces the natural motion blur our eyes expect from cinema and reels—shutter speeds much faster make video look jittery (think the opening of Saving Private Ryan); much slower makes it mushy.

Because shutter is locked, you balance exposure with aperture, ISO, and ND filters. Shooting 1/50s at f/2.8 outdoors will blow out even at ISO 100, which is why most mirrorless video shooters keep a variable ND on the lens. The same 180° principle applies to Instagram reels, TikTok, and YouTube clips on your phone—if your phone lets you set shutter in Pro mode, lock it to 1/50s at 24p.
ISO: Sensitivity and Noise
ISO measures how sensitive your sensor is to light. Base ISO (usually 100) gives the cleanest, highest-dynamic-range files. Push ISO higher and you can shoot in dim conditions—but you also amplify noise, which looks like digital grain or blotchy color in shadows.
The ISO you can ‘get away with’ depends heavily on sensor age and size. A 2026 full-frame mirrorless body produces clean files at ISO 6400 that would have been unusable on a 2015 APS-C DSLR. AI-based noise reduction (Lightroom Denoise, DxO DeepPRIME, Topaz Photo AI) also pushes the ceiling—ISO 12,800 files are now routinely printable after a single click.
Rule of thumb: keep ISO as low as your shutter and aperture allow. On modern bodies, don’t be afraid to reach ISO 3200–6400 if that’s what it takes to keep shutter fast enough to freeze your subject. A slightly grainy sharp photo beats a clean blurred one every time. For a deeper dive, see our low-light photography guide.
Auto ISO, Mirrorless, and Computational Photography
The modern mirrorless workflow has made the exposure triangle easier to manage without taking it away. Auto ISO with a minimum shutter speed cap is the sharpest tool most cameras ship with: set the aperture you want and a floor shutter speed (say, 1/250s for kids running around), and the camera picks the lowest ISO that keeps both. Pair it with aperture priority and you have manual intent plus automatic compensation for changing light.

Smartphones take this further with computational photography. When you press the shutter on an iPhone or Pixel, the phone has already captured a burst of frames at different exposures, aligned them, stacked them to reduce noise, and applied tone-mapping. Night mode isn’t a longer exposure—it’s dozens of short exposures merged together. The exposure triangle hasn’t gone anywhere; the phone is just running the math for you. For manual control on your phone, see our smartphone exposure guide.
Shooting Modes: M, Av, Tv, and P
You don’t have to shoot manual to control the triangle. Every camera has priority modes that let you pick one setting and have the camera solve for the rest:
- Aperture Priority (Av or A): you pick aperture, camera picks shutter. Best for portraits, landscapes, and walk-around shooting.
- Shutter Priority (Tv or S): you pick shutter, camera picks aperture. Best for sports, wildlife, and panning.
- Manual (M) with Auto ISO: you pick aperture and shutter, camera picks ISO. The pro’s choice—full creative control with automatic low-light compensation.
- Program (P): camera picks aperture and shutter, you nudge via Program Shift. Fine for snapshots, weak for intent.

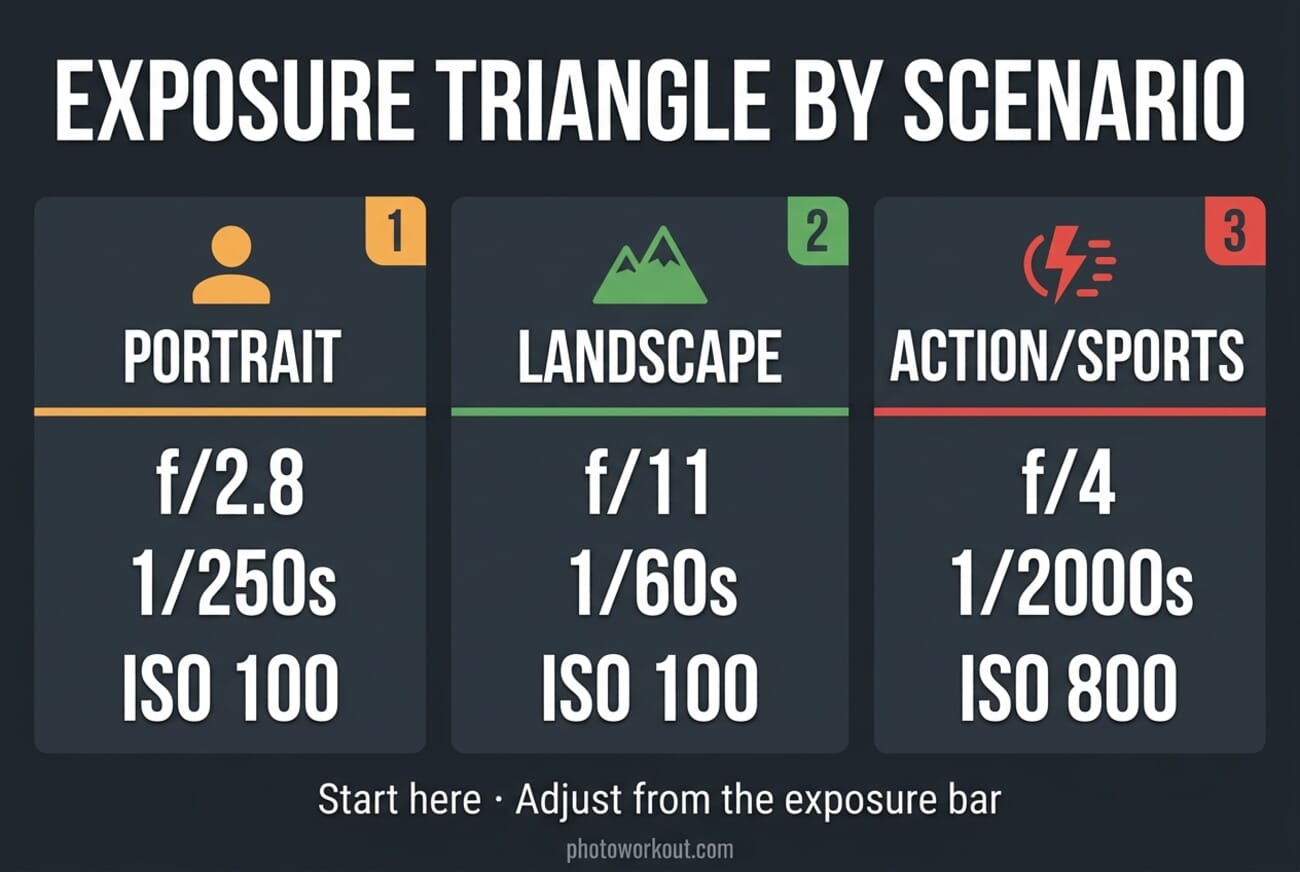
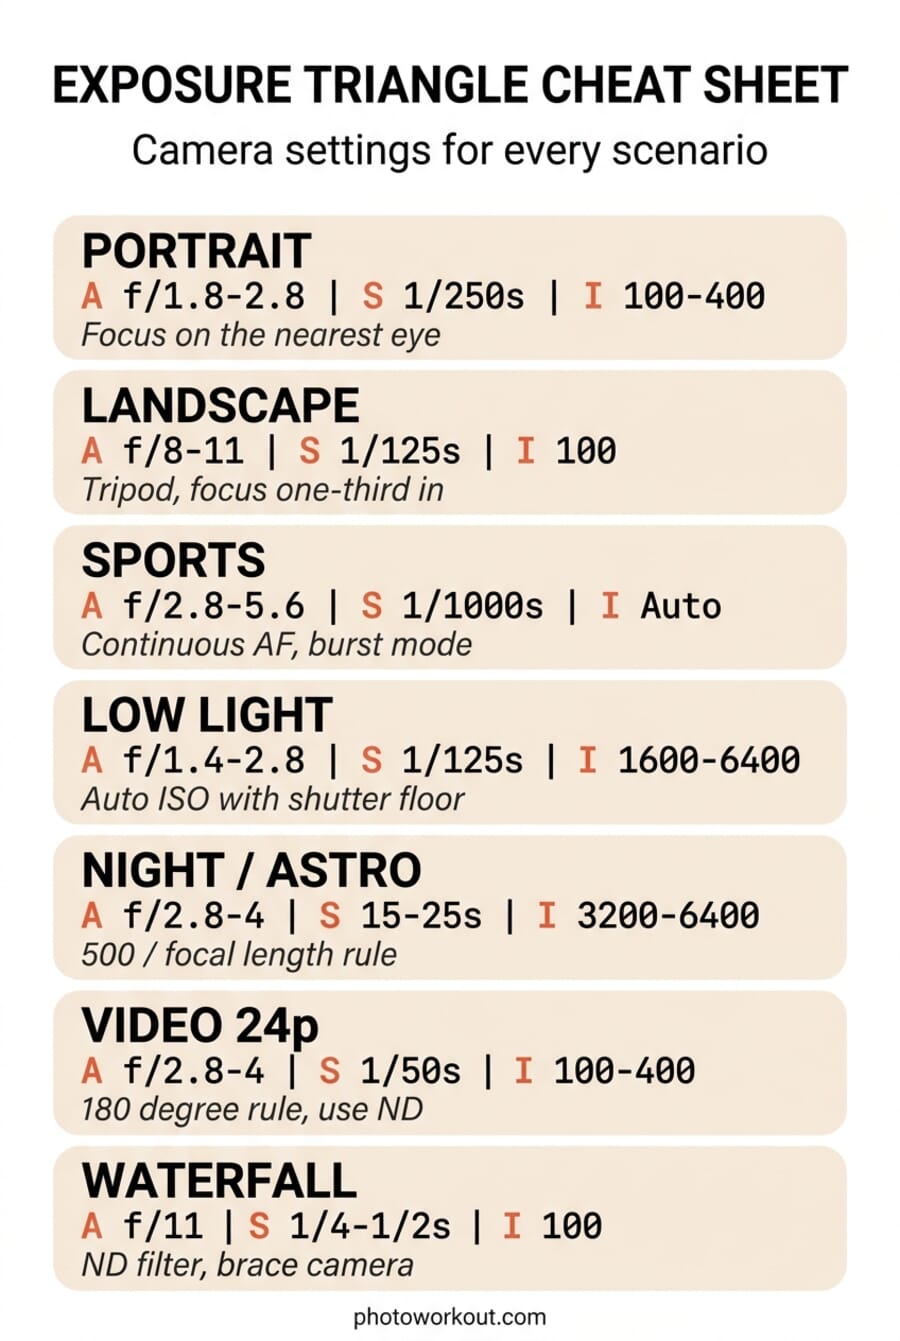
Scenario Settings: A Starting Point
These aren’t recipes—they’re starting points. Adjust based on your actual light.
| Scenario | Aperture | Shutter | ISO | Notes |
|---|---|---|---|---|
| Outdoor portrait (daylight) | f/1.8–f/2.8 | 1/250s+ | 100–400 | Aperture priority + focus on nearest eye |
| Landscape (daytime) | f/8–f/11 | 1/125s+ | 100 | Tripod for slower shutters, focus one-third into frame |
| Sports / wildlife | f/2.8–f/5.6 | 1/1000s+ | Auto (800–6400) | Shutter priority + continuous AF + burst mode |
| Indoor / low light | f/1.4–f/2.8 | 1/125s+ | 1600–6400 | Auto ISO with shutter floor is your friend |
| Night / astro | f/2.8–f/4 | 15–25s | 3200–6400 | Tripod required; 500/focal length for star points |
| Video (24p) | f/2.8–f/4 | 1/50s | 100–400 | Add ND filter outdoors; 180° rule keeps motion natural |
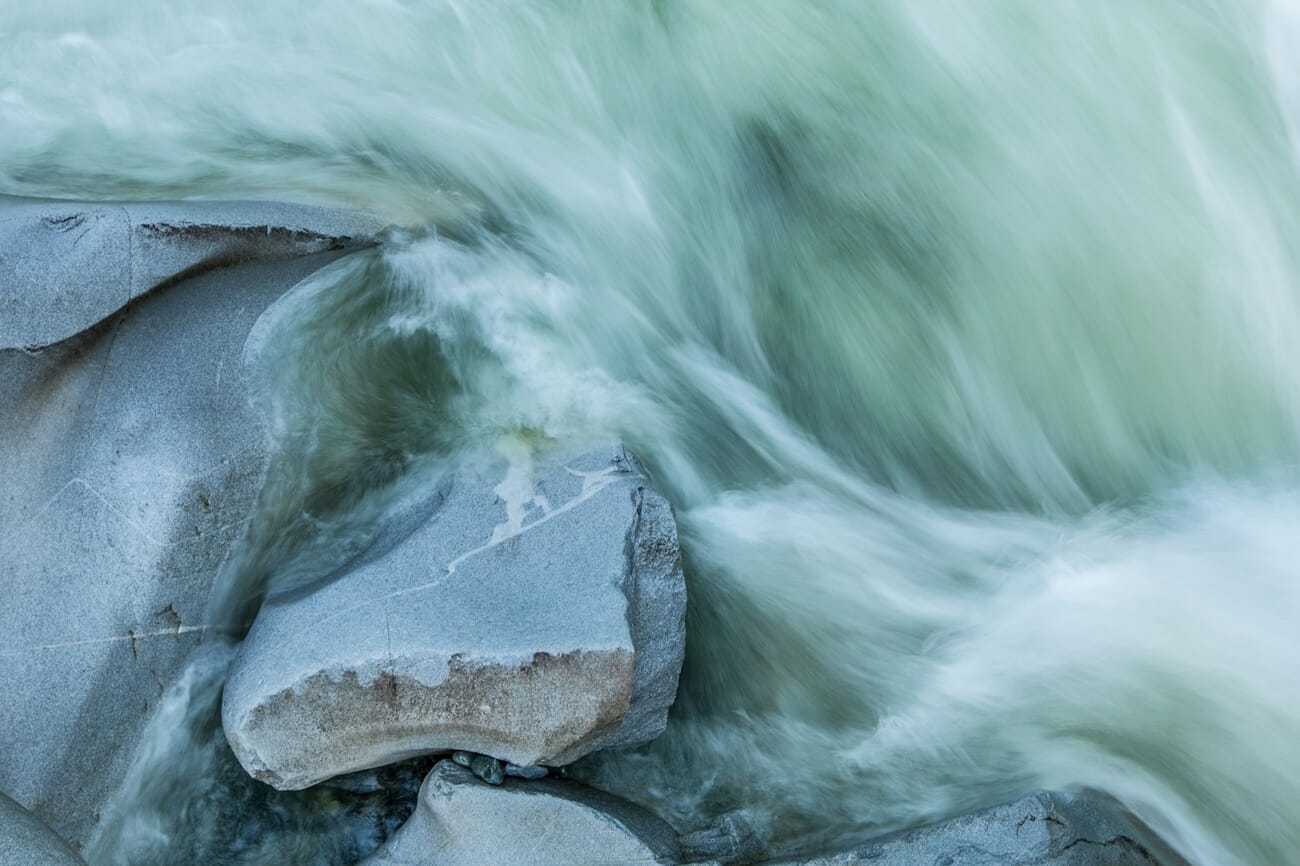
| Handheld waterfall | f/11 | 1/4–1/2s | 100 | ND filter + steady grip or small tripod |
Hands-On Practice: The Coffee Mug Drill
Reading about the triangle won’t teach you the triangle. This 10-minute drill will. Put a coffee mug on a kitchen counter, switch to Manual mode, and shoot nine photos:
- Set aperture to your lens’s widest (f/1.8 or f/2.8). Pick a shutter and ISO that give a correct exposure. Shoot.
- Stop down to f/5.6. Double your shutter length twice (e.g., 1/250s → 1/60s) to keep exposure the same. Shoot.
- Stop down to f/11. Double shutter length twice more. Shoot.
- Back to f/2.8. This time, halve the shutter by 4 stops (e.g., 1/60s → 1/1000s). Raise ISO by 4 stops to compensate (ISO 100 → ISO 1600). Shoot.
- Keep f/2.8. Go to 1/15s. Drop ISO 4 stops (ISO 100, or down-compensate with ND). Shoot. If shutter is too slow for handheld, brace the camera.
- Repeat steps 1–3 with the mug moving (roll it gently across the counter).
Load the nine files side by side in Lightroom or your phone’s gallery. You’ll see the same ‘correctly exposed’ mug with completely different looks—different depth of field, different grain levels, different motion blur. That’s the exposure triangle. Repeat the drill with a moving subject and you’ve internalized more than a week of reading ever will.
Putting It Together: A Mental Checklist
Before every shot, ask three questions in this order:
- What do I want in focus? That sets aperture.
- Is anything moving? That sets shutter speed.
- How dark is it? ISO fills whatever gap is left.
Three questions, three settings. That’s the whole triangle. Once those decisions feel automatic, you can focus on what actually makes photos memorable—light, composition, and timing.
Printable Cheat Sheet
Save this vertical cheat sheet to your phone or print it for your camera bag. Seven scenarios, settings you can actually dial in on the fly.
Frequently Asked Questions
What is the exposure triangle in simple terms?
It’s the three settings that determine how bright a photo is: aperture (how wide the lens opens), shutter speed (how long the sensor sees light), and ISO (how sensitive the sensor is). Changing one forces you to change at least one of the others if you want the same overall brightness.
Which setting should I change first?
Start with whichever matters most for your shot. Portrait with a blurry background? Set aperture first. Kid running around? Set shutter first. Dim room? ISO is the lever that absorbs the rest.
What’s a good ISO to avoid noise?
On modern full-frame mirrorless bodies, ISO 100–3200 is essentially clean. APS-C and Micro Four Thirds hold up to roughly ISO 1600–3200. Smartphones bench at around ISO 100–1600 before computational noise reduction kicks in. Anything above that is usable—just run it through AI denoise if the grain bothers you.
What is the 180-degree rule and do I need it for photos?
It’s a video-only rule: shutter speed = 2 × frame rate (so 1/50s at 24p). It keeps motion looking natural and cinematic. For still photos, ignore it—use shutter speed to freeze or blur motion as the shot demands.
Does the exposure triangle apply to smartphones?
Yes. Phones still use aperture, shutter, and ISO; they just choose them for you. Pro mode on iPhone, Pixel, and Galaxy phones lets you set shutter and ISO manually. Aperture is usually fixed on phone cameras, though some flagships offer two physical apertures.
What’s the best shooting mode for learning?
Aperture priority (A/Av) with Auto ISO. You learn to control depth of field—the most visually distinct of the three—while the camera handles exposure. Once that’s second nature, move to Manual with Auto ISO.
Image credits: Photos curated via SampleShots and Unsplash contributors. Infographics by PhotoWorkout.
Further reading on exposure, metering, and motion—all referenced above.


