Best Photo Sticks for Android Phones in 2026: 10 Compared
Comparing the 10 best photo sticks for Android phones in 2026. Samsung Type-C leads for reliability, SSK for speed, Vansuny for budget. Full specs, scores, and buying guide.
Camera and lens buying guides, accessory roundups, and used gear tips. Find the right camera for your needs, budget, and skill level.
Comparing the 10 best photo sticks for Android phones in 2026. Samsung Type-C leads for reliability, SSK for speed, Vansuny for budget. Full specs, scores, and buying guide.

Best smartphone for astrophotography 2026, based on specs and expert analysis. Samsung Galaxy S25 Ultra leads with 99/100. Manual and RAW. Compare all 4.

Sony’s LYTIA L910 is its first mobile sensor built on LOFIC, capturing ~100 dB (nearly 17 stops) of dynamic range in a single exposure. Here’s what LOFIC, Triple Conversion Gain HDR and that number actually mean for your phone photos.
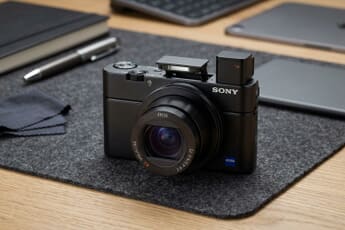
Best compact camera with viewfinder? Our specs-based comparison ranks 8 picks on image quality, EVF and zoom—Sony RX100 III leads at 81/100. See the picks.
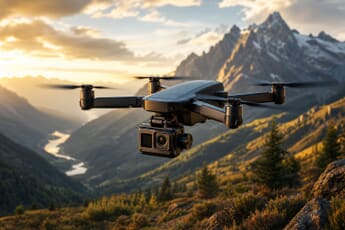
The best Amazon Prime Day 2026 drone and action camera deals (June 23–26): DJI Mini 4 Pro, Avata 2, Osmo Action 6, GoPro HERO13, Insta360 X5 and more — 9 picks across every budget, with live prices.
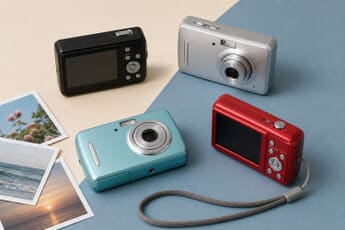
Compacts are the fastest-growing camera category of 2026, and Gen Z is driving it. Here are the best compact cameras for the film-look, no-phone aesthetic — from the Fujifilm X100VI to picks under $500.
Buying a mirrorless camera isn’t really a decision about one camera — it’s a decision about a lens mount, and that choice follows you for
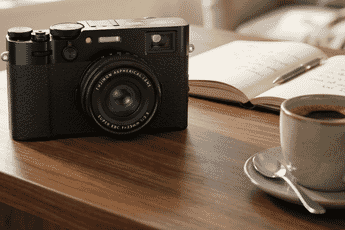
For two years, the most frustrating camera to actually buy has also been one of the most desirable. The Fujifilm X100VI is perpetually out of
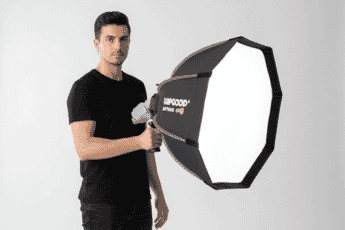
Best softbox for speedlight in 2026? Expert analysis compares 12 kits, specs, diffusion and mounting. Lapgood 24” tops at 80/100, NEEWER 26” close. See picks.
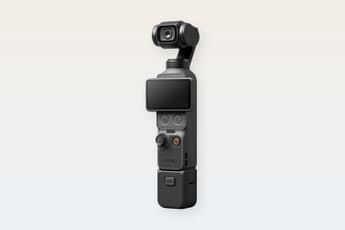
DJI built one of the most loved creator cameras of the last few years, then released its newest version — the Osmo Pocket 4 —
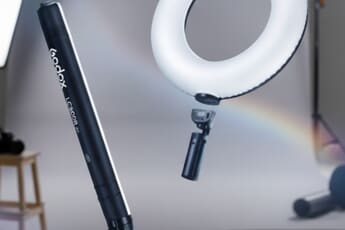
The best Amazon Prime Day 2026 lighting deals for photographers (June 23–26): Godox flashes and strobes, Aputure continuous and RGB lights, and Neewer panels — 10 picks across every budget, with live prices.
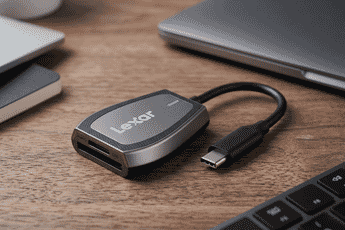
Best SD card readers 2026 for USB-C UHS-II. 12-product comparison and specs-based picks for creators; Lexar Professional USB 3.2 and UGREEN lead. See more.
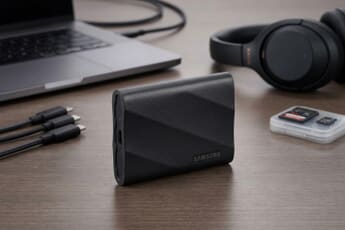
We compared 10 external hard drives and SSDs for photographers — from the blazing Samsung T9 to budget-friendly Seagate. Portable SSDs, rugged drives, and desktop HDDs ranked by speed, durability, and value.

Best starter mirrorless camera for teens 2026. Expert comparison of 6 by specs for 4K, quick sharing, and growth. Top: OM System E-M10 Mark IV, Canon EOS R50. Explore.
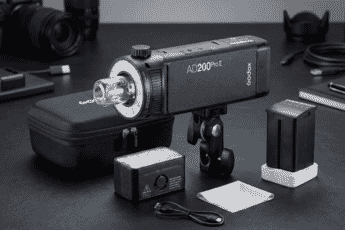
Expert analysis of the 7 best monolights for photography in 2026, ranked by power, HSS performance, recycle speed, and trigger ecosystems. Godox AD200 Pro II leads. Updated with Godox AD400 Pro and Westcott FJ400.
DJI’s Avata 360 and Avata 2 look alike but serve completely different users. Here’s which FPV drone photographers should actually buy — and the regulatory catch worth knowing.

DJI filed two lawsuits accusing Insta360’s Luna cameras of copying six Osmo Pocket patents. Here’s what the patent war means for anyone buying a pocket camera right now.
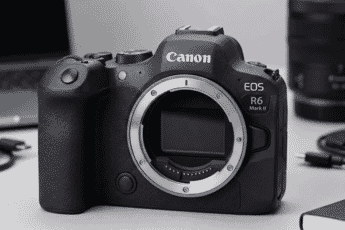
Expert analysis of 11 mirrorless cameras for 2026 based on specs and feature comparison. Canon EOS R6 models share the top spot.
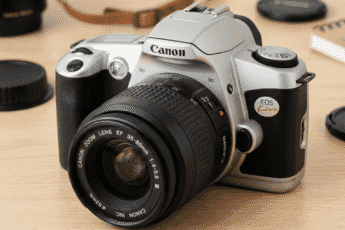
Expert analysis of 11 best film cameras for beginners 2026. Canon New EOS Kiss leads, Instax Mini EVO for instant. Specs, lens basics, sample photos. See picks.
Godox launched two inflatable LED lights — the LC500R Air stick and LR150 Air ring — whose heads inflate to a large soft source and deflate to pack flat. Here’s how they work and where they fit.

BenQ’s MA270S is a 27-inch 5K glossy Mac display with 99% P3 — a hands-on-tested Apple Studio Display alternative at $999 vs $1,599. Here is what photographers get, and where the compromises land.
EVF or LCD? Instead of personal preference, here is a genre-by-genre breakdown: which display to prioritise for wildlife, sports, street, video and more — and the cameras where the choice is forced.
The Sony ZV-E10 II just overtook the Canon EOS R10 atop Japan’s BCN sales charts — a creator camera with no viewfinder beating the long-reigning beginner favorite. Here’s who it’s really for, why the missing finder is the point, and what it signals for buyers.
A high shutter count rarely kills a used-camera deal. Here’s the rated shutter life for popular Canon, Nikon, Sony and Fujifilm bodies, a simple buy-or-skip framework, and how to check any camera’s count for free.
The Valoi easy35 v2 makes camera-scanning — digitizing film with a camera and macro lens — faster and cleaner than ever. Here’s how the workflow compares to a flatbed, what gear you need, and whether it’s finally the default way to scan film.
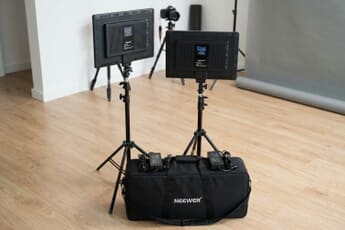
Best portable lighting kit for photography 2026, based on specs and comparisons. Top picks: NEEWER 13″ leads, GVM 2 Pack excels on battery. See all 12.
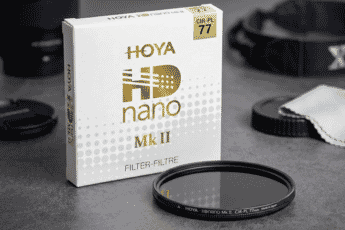
Best circular polarizing filters 2026 for landscapes. Expert spec comparison of 10 with neutral color and low stop loss. Hoya HD Nano MkII leads. See picks.
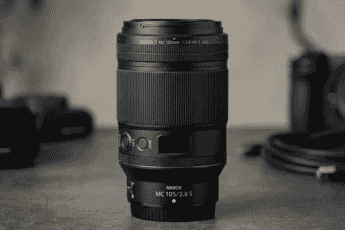
6 best macro lenses for Nikon Z and F-mount in 2026. Expert comparison of 1:1 and 2:1 options with verified specs. Top pick: NIKKOR Z MC 105mm f/2.8 VR S. Includes new Tamron 90mm VXD and budget TTArtisan 100mm 2X.
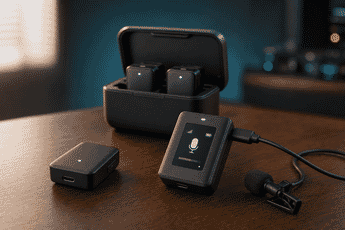
Insta360’s Mic Pro is shipping today at $329.99 with a customizable E-Ink display, 32-bit float internal recording, and 400m range. Here’s how it stacks up against the DJI Mic 3 and Mic 2 — and which one to actually buy.
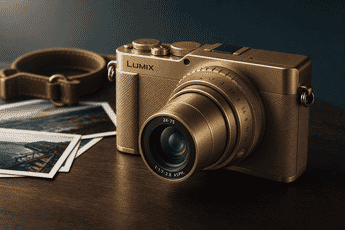
Panasonic Japan formally warned of shipment delays on the new Lumix L10 — pre-order demand is overwhelming the launch supply. The L10 is the LX100 successor 8 years overdue, and the Titanium Gold Special Edition is built-in scarcity. Here’s the honest pre-order-now vs wait-6-months decision frame, with the Ricoh GR III and Fujifilm X100VI precedents for what ‘shipment delays’ actually means.
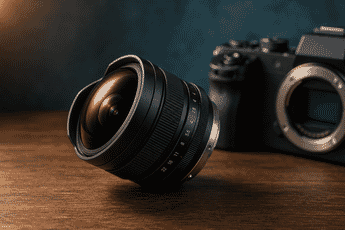
Brightin Star announced the 7.5mm f/2.8 IV APS-C fisheye on May 11 with a $140 launch price. 190° field of view, 11-element formula with 3 ED + 3 HR glass, 5-blade starburst aperture, rear filter slot, 274g. Six mounts (Sony E, Nikon Z, Fuji X, Canon RF/EF-M, MFT) and both black + silver finishes. Half the price of the Samyang 8mm it targets, with a faster aperture and more modern optics. Here’s who actually buys a $140 fisheye and how it stacks up against the alternatives.
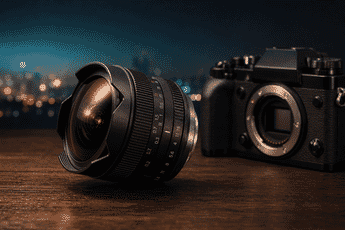
Brightin Star announced the 10mm f/5.6 II APS-C fisheye lens on May 17, 2026 at a $65.99 introductory price. Available for Sony E, Nikon Z, Canon EOS M, Canon RF, Fuji X, and MFT — six mounts, the cheapest brand-new fisheye on the market. Wider 173° field of view, 8 cm closer min focus, IMC anti-flare coating, and hyperfocal markings over the original. Here’s what changed and who should buy.
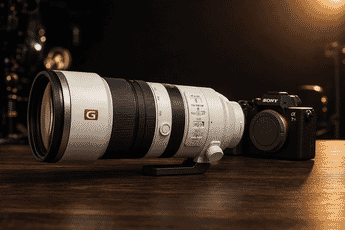
Sony officially announced the FE 100-400mm f/4.5 GM OSS on May 13, 2026 alongside the a7R VI — confirming what leaked in April. The new G Master super-telephoto carries a constant f/4.5 aperture, autofocus 3x faster than the predecessor, and 120fps compatibility with the Alpha 9 III. Pre-order at $4,298, ships June 2026. Here’s what’s actually different, the a7R VI pairing, and who should buy it.