

- 22 canvas-print idea categories spanning landscapes, portraits, urban, macro, abstract, animals, and seasonal — each with a mockup, where it works in the home, and how to shoot it yourself.
- Use the ‘Print Your Own’ button on every mockup to send your matching photo to PhotoWorkout’s preferred partner CanvasDiscount and save 15% automatically.
- The mockups are illustrative — upload your own photo to print. CanvasDiscount handles canvas sizing, framing, and shipping; the 15% discount applies automatically via the partner link.
- Some categories print best at modest sizes (square macros at 24×24 inch); others need to go oversized (mountain panoramas at 48×18 inch or wider). Each section names the right size for the look.
Canvas printing has become one of the most accessible ways to turn a photograph into wall art — no framing, no glass, no shipping fragility, and prints up to 60 inches on a single side. But the question every photographer asks first is the same: what makes a photo canvas-worthy?
The honest answer: not every photo prints well. Tight portraits with detailed facial features can look strange at 36-inch scale. Cluttered compositions get noisier on canvas than they do on screen. And some categories — sunsets, sweeping landscapes, abstract macros — almost always work, while others (busy urban scenes, mixed-color compositions) need more deliberate framing to translate.
This guide is organized by category, not by camera or technique. Each of the 22 sections shows a mockup of how that category looks as a canvas in a real room, explains where in the home it works, and includes a quick shooting tip for capturing your own version. Every mockup has a Print Your Own button — click it to send your matching photo to our partner CanvasDiscount and save 15% on the order automatically.
When you buy through links on our site, we may earn a commission at no cost to you. We evaluate products independently. Commissions do not affect our evaluations.
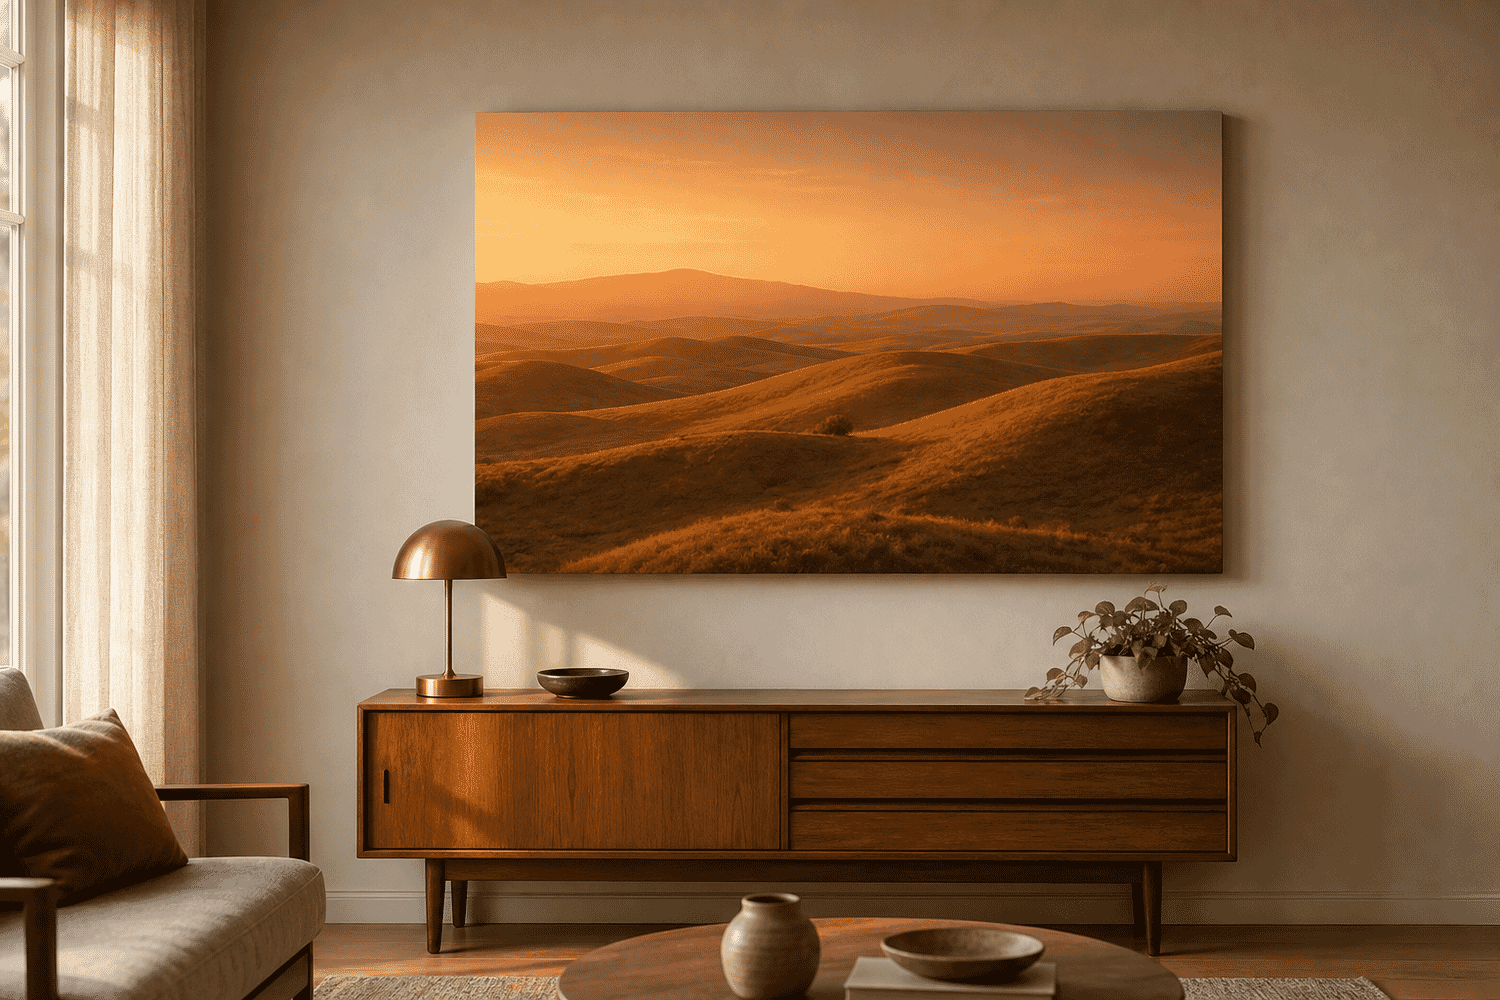
1. Golden-Hour Landscapes
Golden-hour landscapes are the most-printed category in canvas decor for a reason: the warm color palette flatters almost any wall, and the simple horizon-based composition gives the eye a clear place to rest. Done well, a golden-hour landscape transforms a wall into a window.
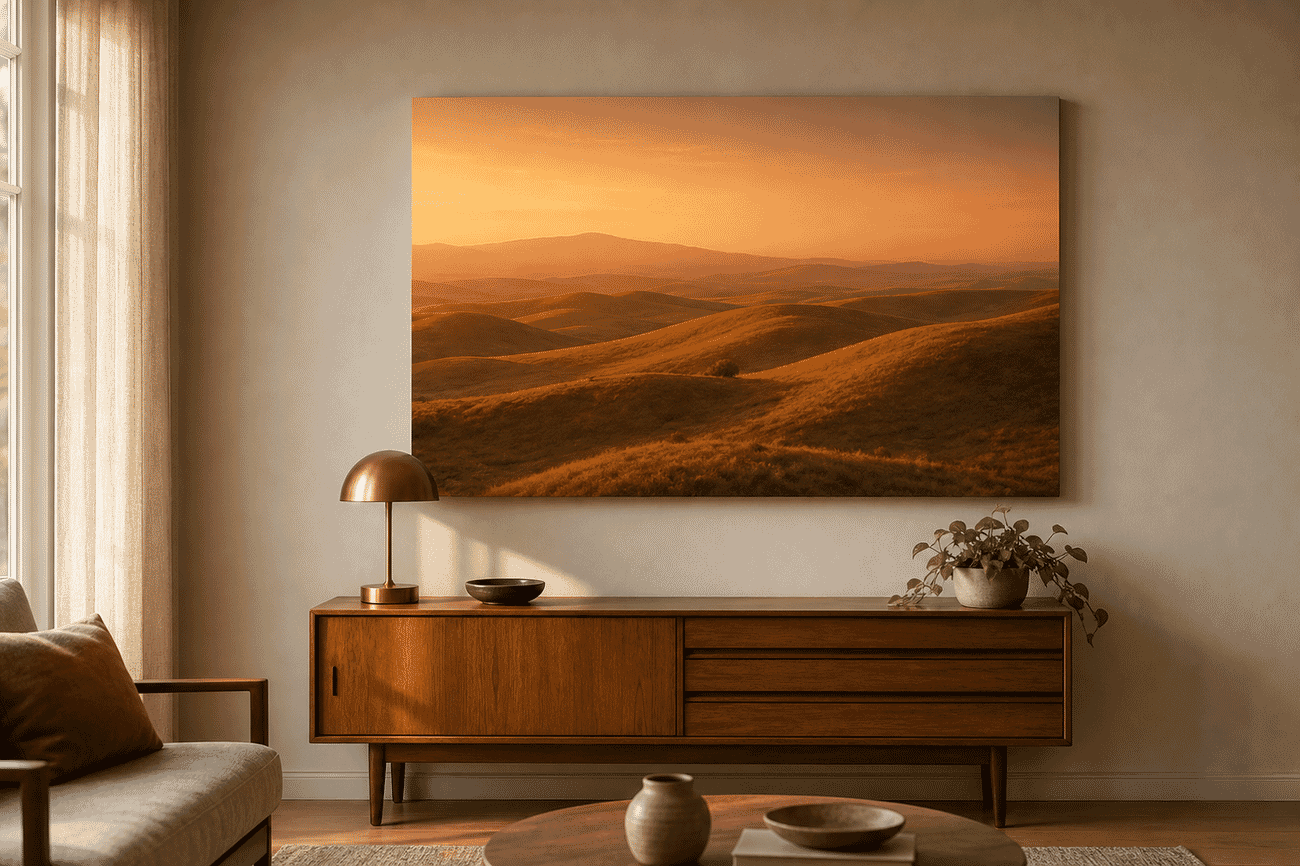
Hang above a sofa or console table where the warm tones can echo the room’s lighting. Sizes 24×36 inch and up — anything smaller and the sweeping horizon loses its impact. Pairs well with mid-century modern furniture, leather accents, and warm wood tones.
How to shoot it: Shoot during the last 60 minutes before sunset. Look for unobstructed horizons or simple foreground silhouettes. Bracket exposures (2-3 stops apart) and blend in post to preserve highlights without crushing shadows.
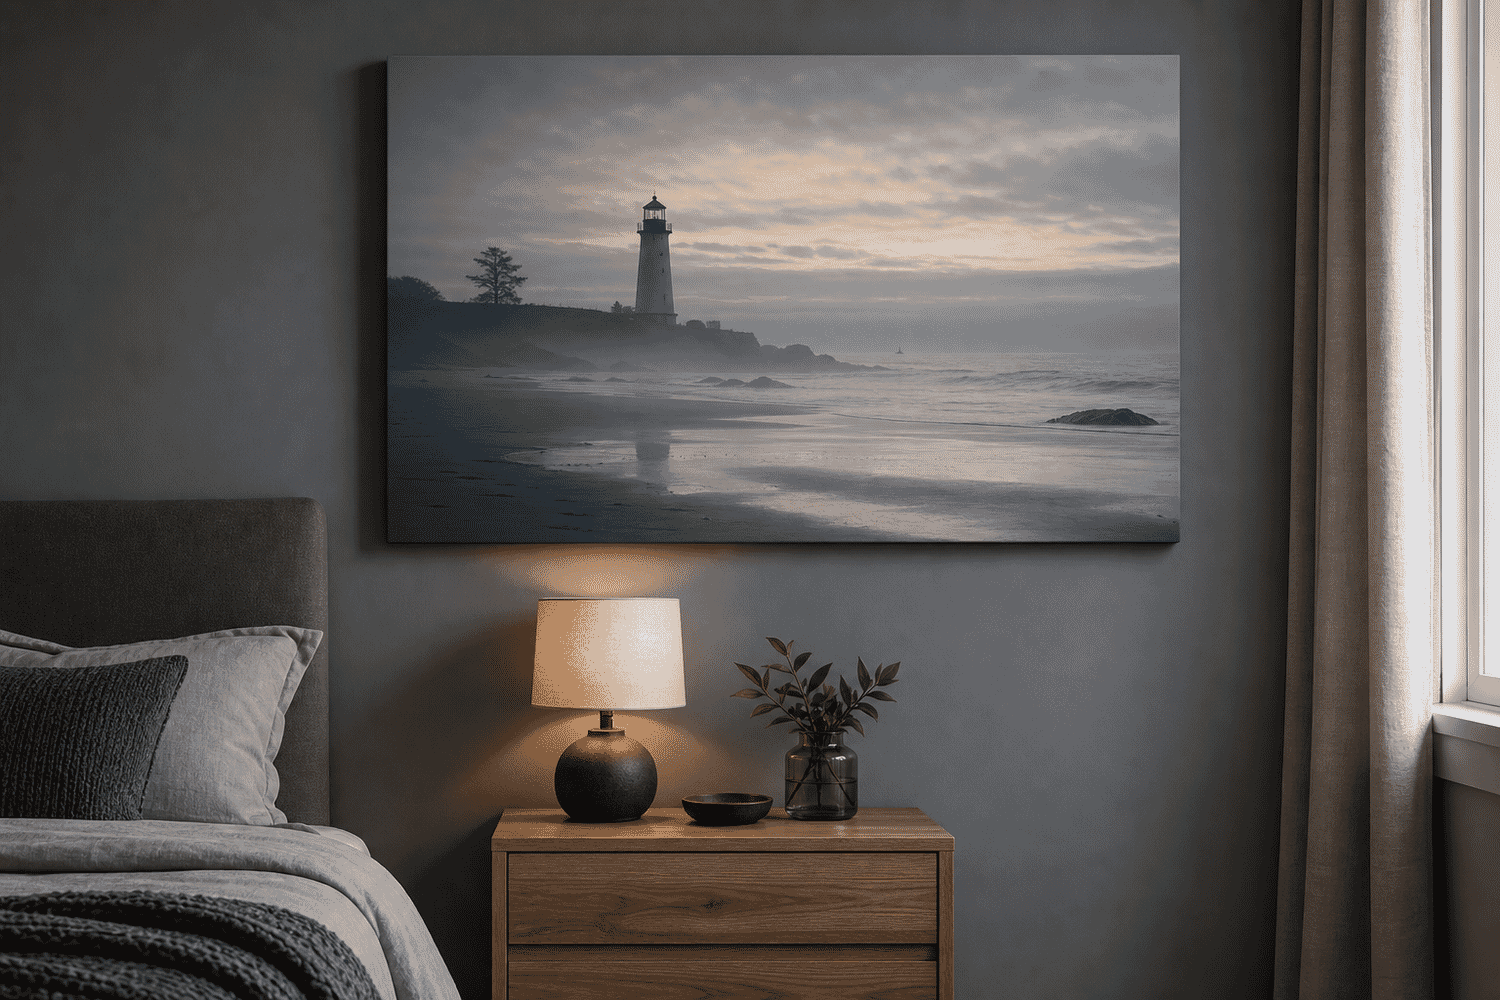
2. Moody Coastal Scenes
Coastal scenes done in muted blues and grays bring the contemplative quality of fog and sea spray indoors. Unlike bright beach photography, moody coastal work is about atmosphere over color — it works as a quiet anchor in a busy room.
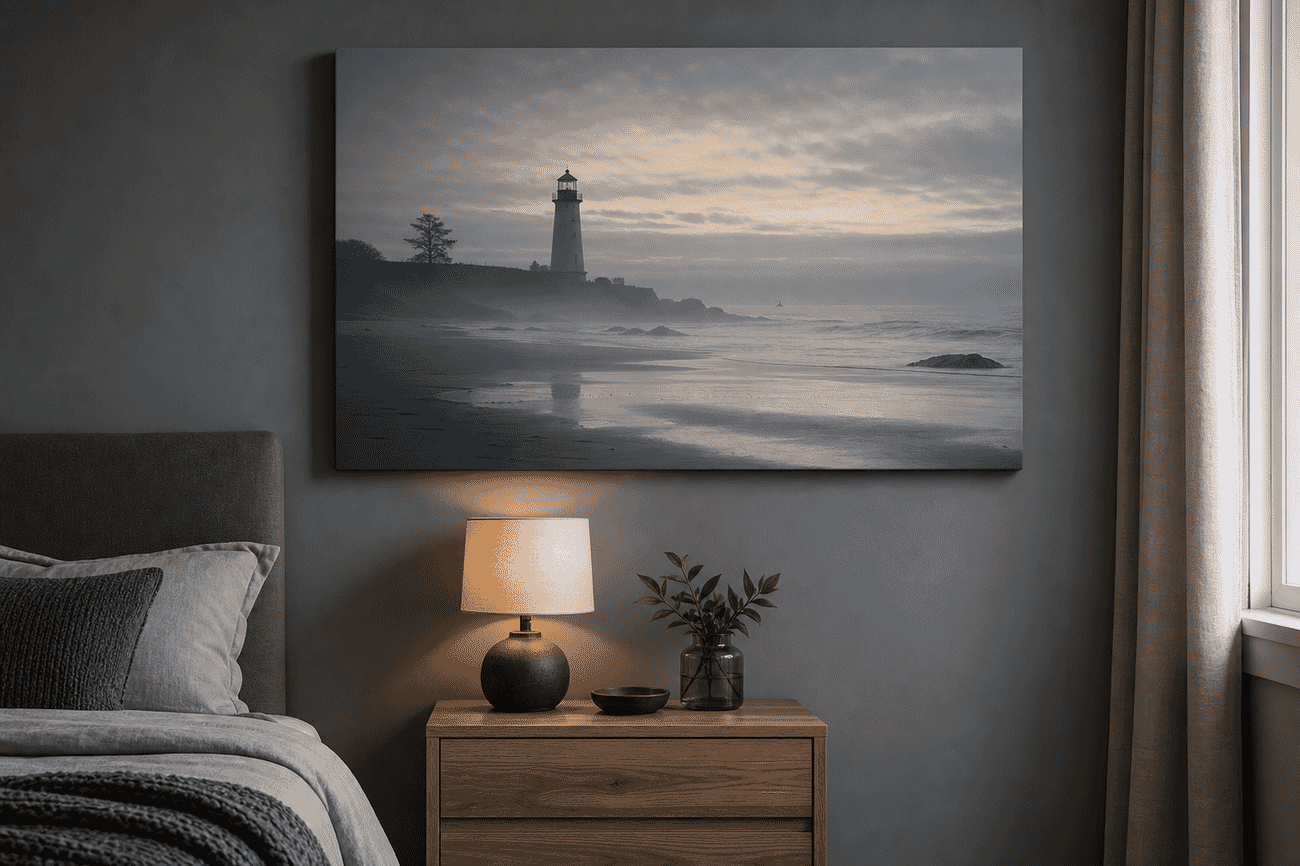
Best in bedrooms, bathrooms, and reading nooks where the calm mood reinforces the room’s function. Cool gray walls amplify the effect; warm walls fight it. Try 30×20 inch or 36×24 inch — the wide aspect ratio echoes the horizon.
How to shoot it: Coastal moodiness comes from low-contrast misty conditions, not bright midday light. Shoot at dawn during fog, or use a 10-stop ND filter to smooth water and skies into atmospheric washes. Cool color grading in post amplifies the mood.
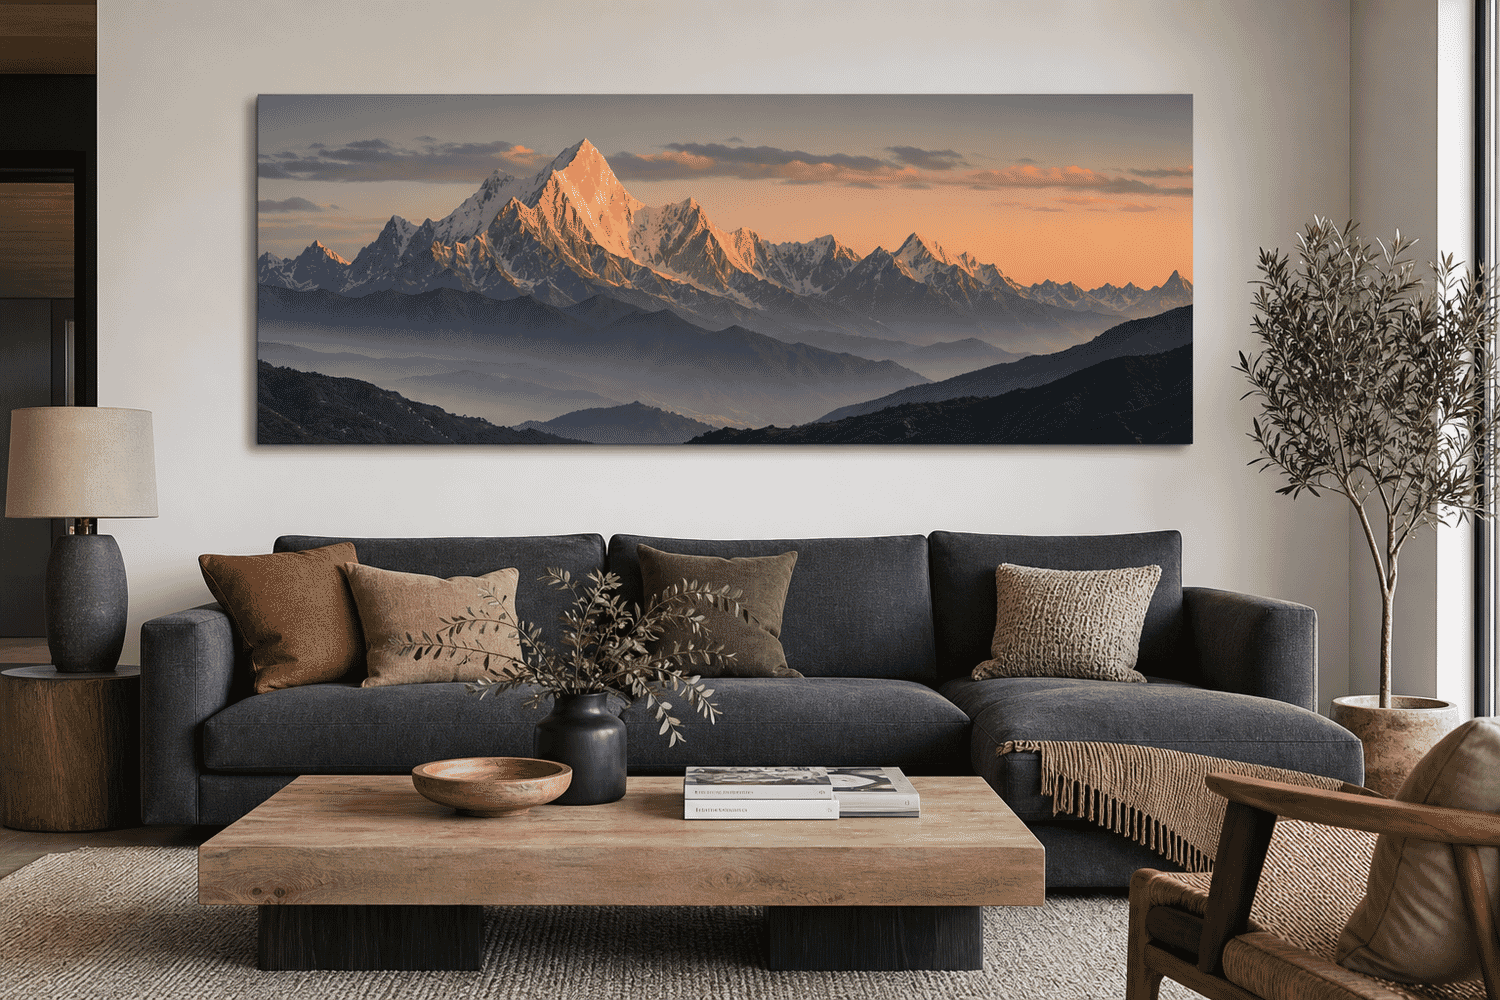
3. Dramatic Mountain Panoramas
Panoramic mountain shots are the canvas-print category that justifies going truly oversized. A 48-inch-wide or wider canvas above a sofa or behind a bed creates the room’s defining moment — a single piece doing the work of an entire gallery wall.
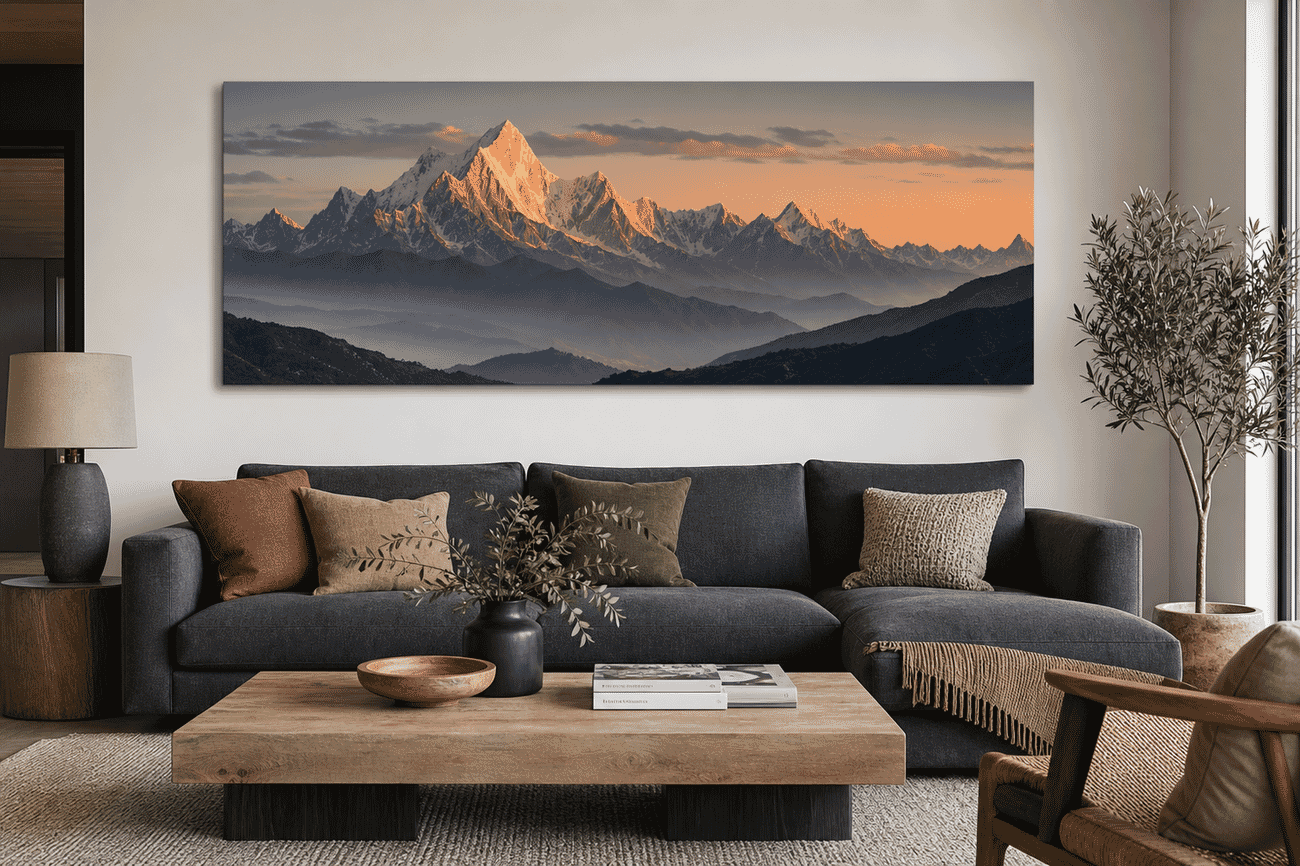
Panoramic ratios (3:1 and wider) need furniture below them to anchor visually. A long sofa, a wide credenza, a bed headboard. Avoid hanging in narrow vertical spaces where the proportions fight the architecture.
How to shoot it: Panoramic canvases need extreme aspect ratios (3:1 or wider). Stitch from 3-5 vertical frames at 35-50mm focal length, leave plenty of foreground negative space for the bottom of the canvas to anchor visually.
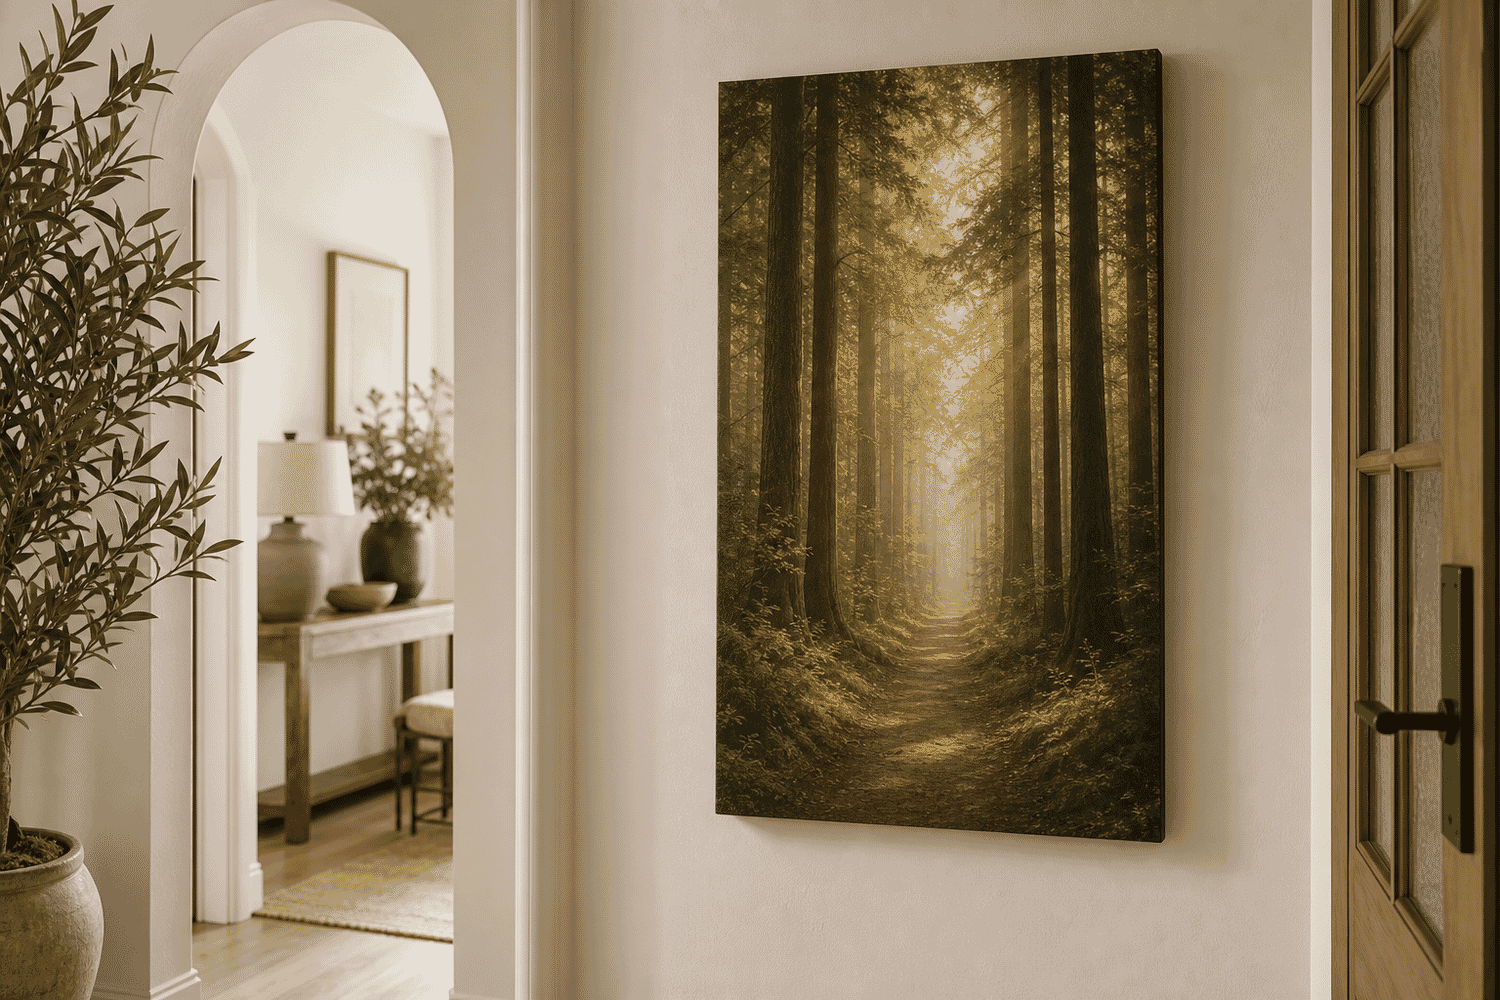
4. Forest Path Verticals
Tall vertical compositions are the under-used aspect ratio in canvas print decor. A 16×24 or 20×30 inch portrait-oriented canvas of a forest path receding into mist creates depth and pulls the eye through the frame — useful in narrow spaces where horizontal art doesn’t fit.
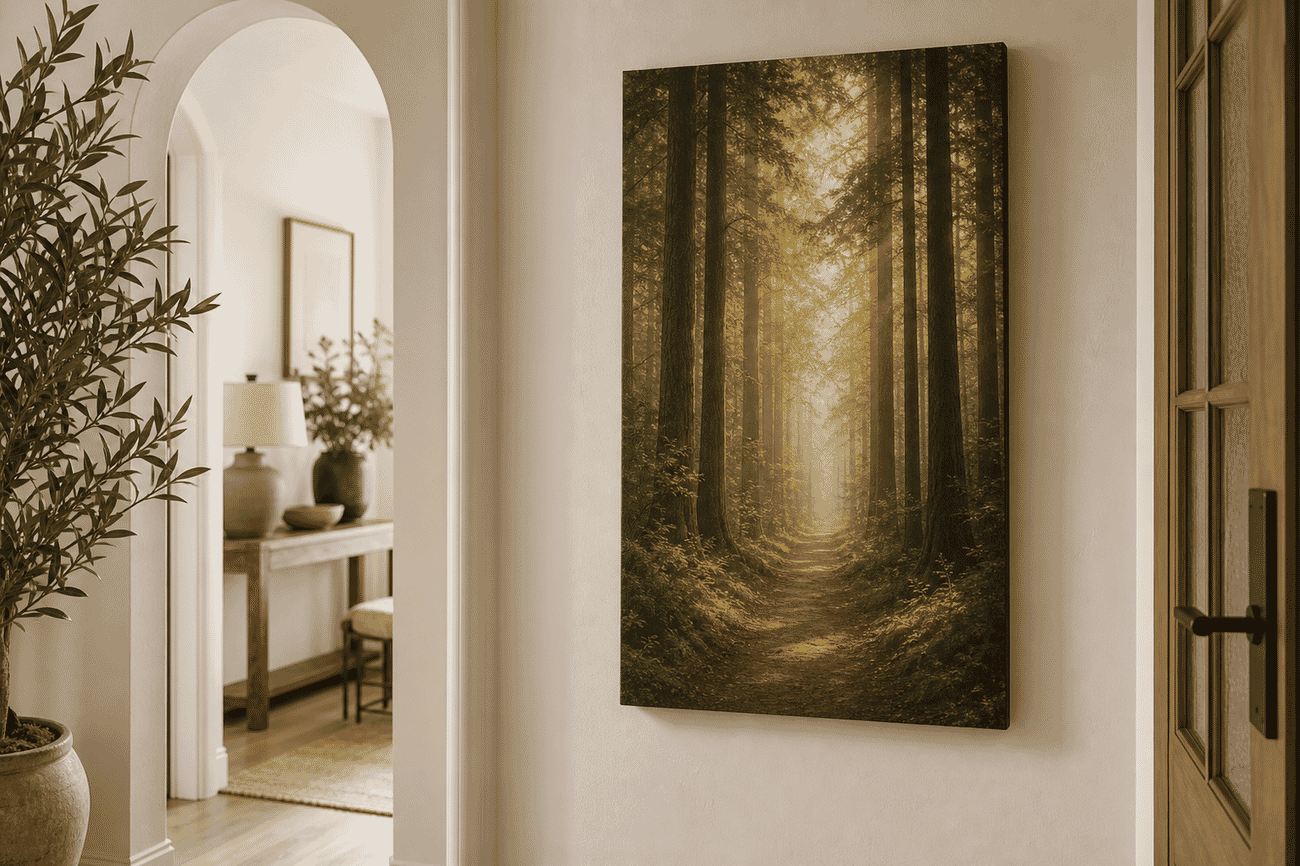
Hallways, stairwell walls, between-window spots, and entryway corners are the natural homes for vertical canvases. The receding-path composition specifically creates a sense of forward motion, which works well in spaces meant to be passed through.
How to shoot it: Vertical compositions work best in narrow spaces — hallways, between windows, stairwells. Shoot with a wide-angle lens (16-24mm) low to the ground, place the path leading line in the lower third, leave atmospheric depth in the upper two-thirds.
5. Aerial Drone Shots
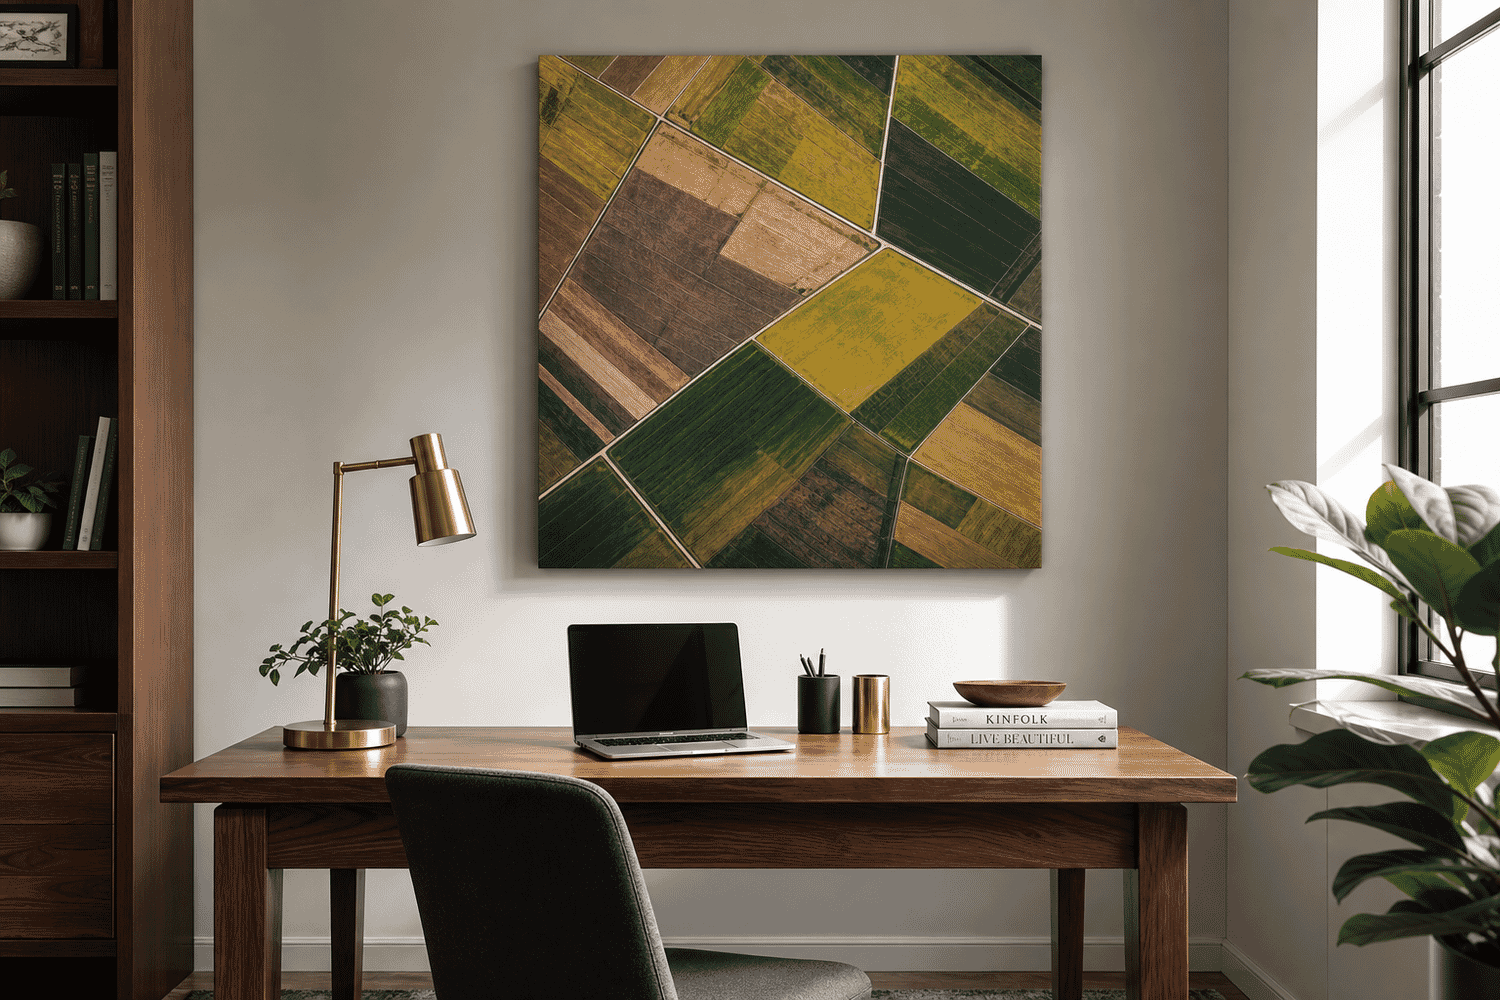
Top-down aerial shots are the canvas category that converts skeptics. The lack of horizon flattens the image into pure pattern — color blocks, geometric shapes, abstract texture. Viewers often can’t immediately tell what they’re looking at, which is what makes them stop and look longer.
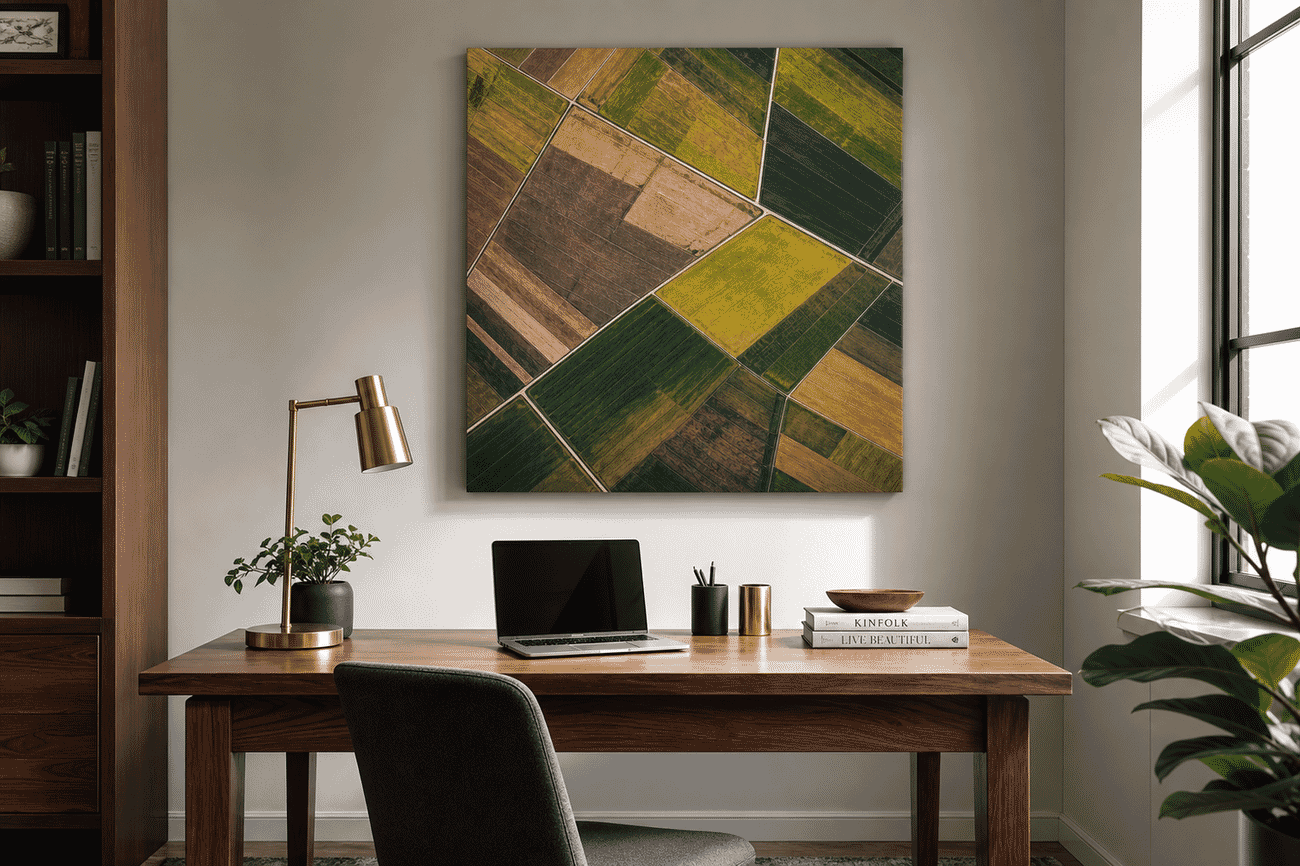
Square 24×24 inch or 30×30 inch sizes work best — the lack of clear orientation makes square framing the natural choice. Hangs anywhere a modern abstract painting would: home offices, modern kitchens, contemporary living rooms.
How to shoot it: Top-down (90° nadir) compositions print best on canvas because the lack of horizon makes orientation flexible. Shoot at 400-500ft altitude over agricultural or coastal patterns. Crop tight to abstract the subject — viewers should question what they’re seeing.
6. Black & White Family Portraits
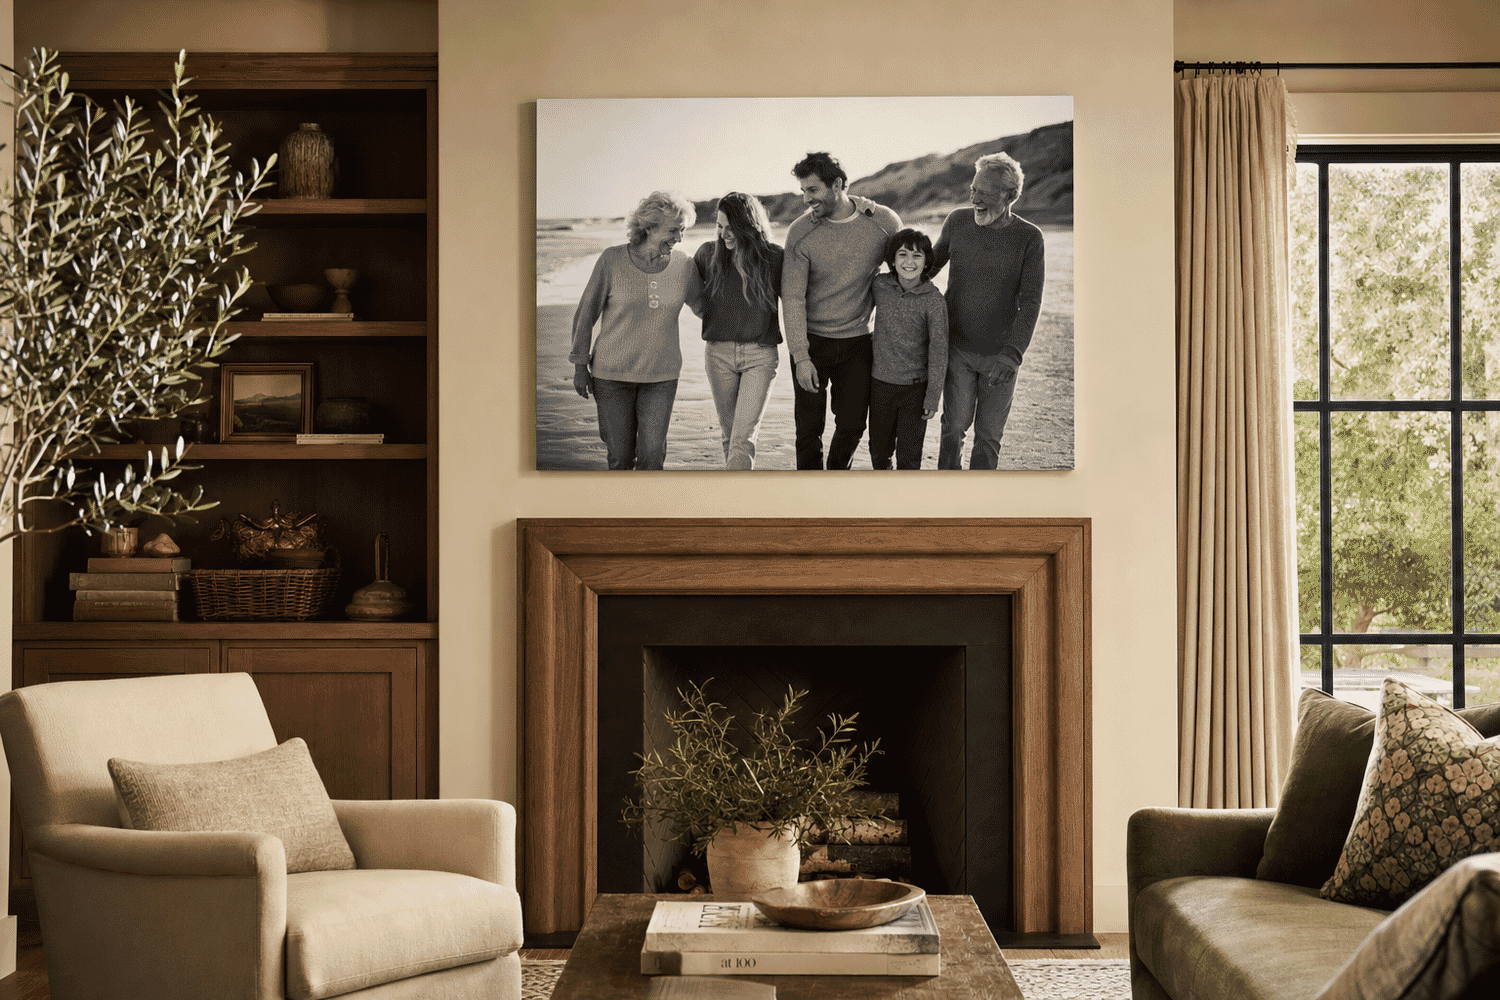
Black-and-white family portraits are the most enduring category in canvas decor. Stripping color removes era-specific markers (clothing trends, lighting style), which means a B&W canvas printed today still works in the room twenty years from now.
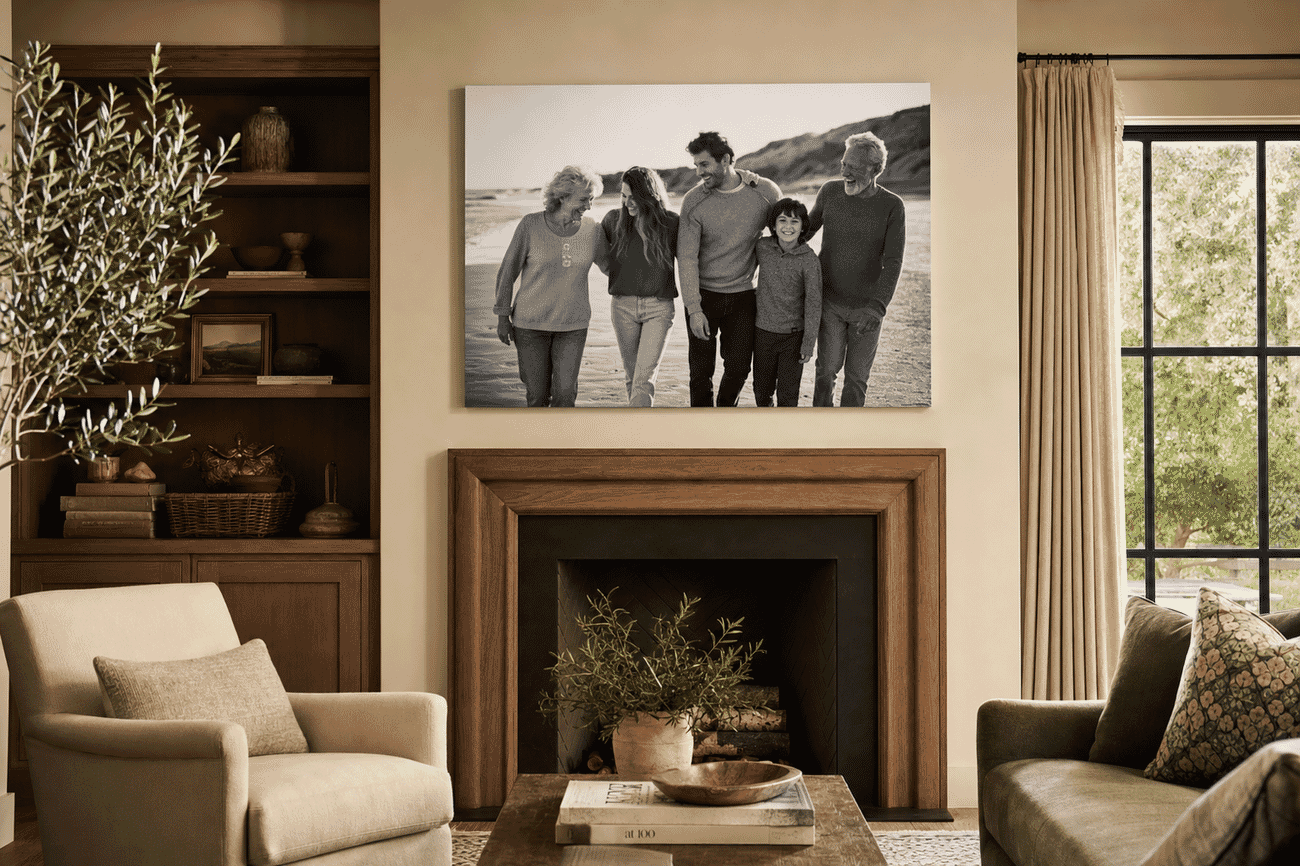
Above the fireplace, in the formal living room, in the entryway where guests first see them. Print large — 24×36 inch minimum, 30×40 inch better. Small B&W portraits read as cheap; the impact comes from scale.
How to shoot it: Black-and-white removes color distraction and elevates emotion. Shoot RAW, convert to monochrome in post with intentional contrast control. Print large (24×36 or bigger) — family portraits feel cheap at small sizes.
7. Candid Kid Portraits
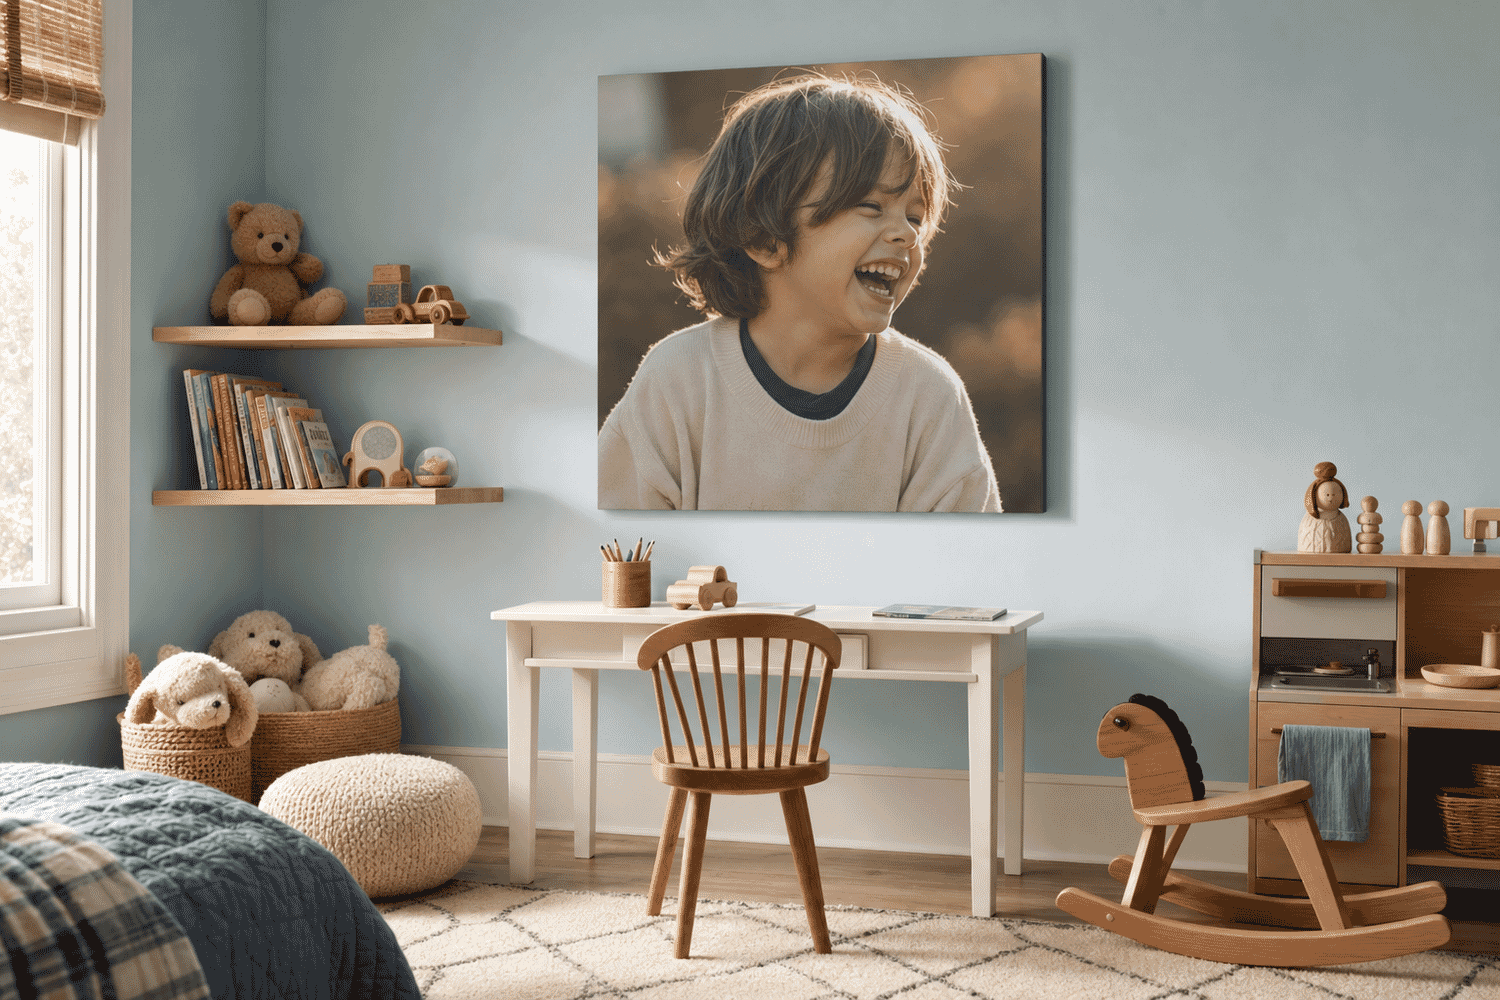
Candid kid portraits — laughing, running, lost in play — are what parents actually want on the wall. The directed studio portrait is the photo grandparents request; the candid is the one that captures who the kid actually is.
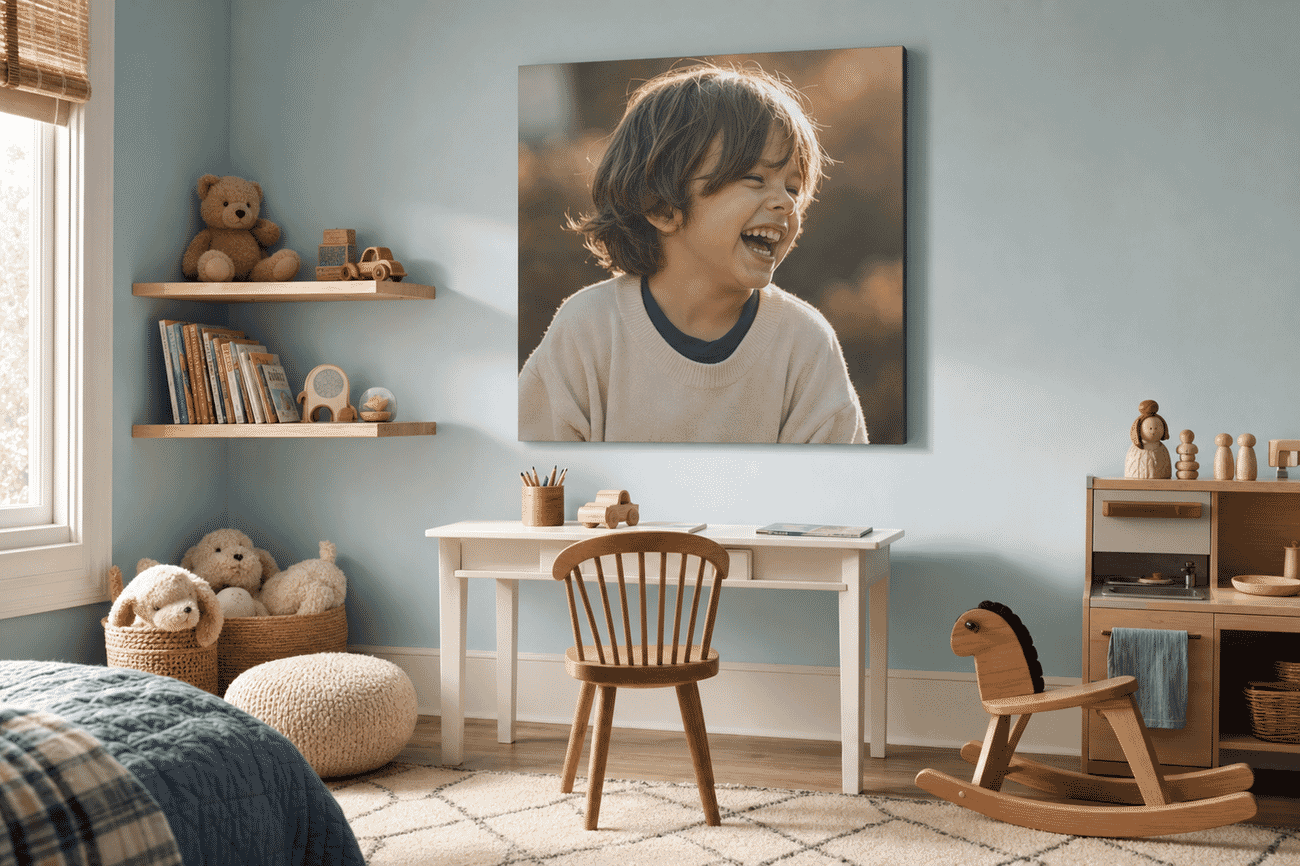
Their bedroom wall, the family hallway, or the kitchen where the family gathers daily. 16×20 inch to 20×24 inch sits well above eye-level for a child. Warmer color palettes match nursery and kids-room decor.
How to shoot it: Candid trumps posed. Shoot during play, get low to their eye level, focus on the eyes. 50mm or 85mm at f/2 gives the dreamy isolation that prints well at large sizes.
8. Backlit Silhouette Portraits
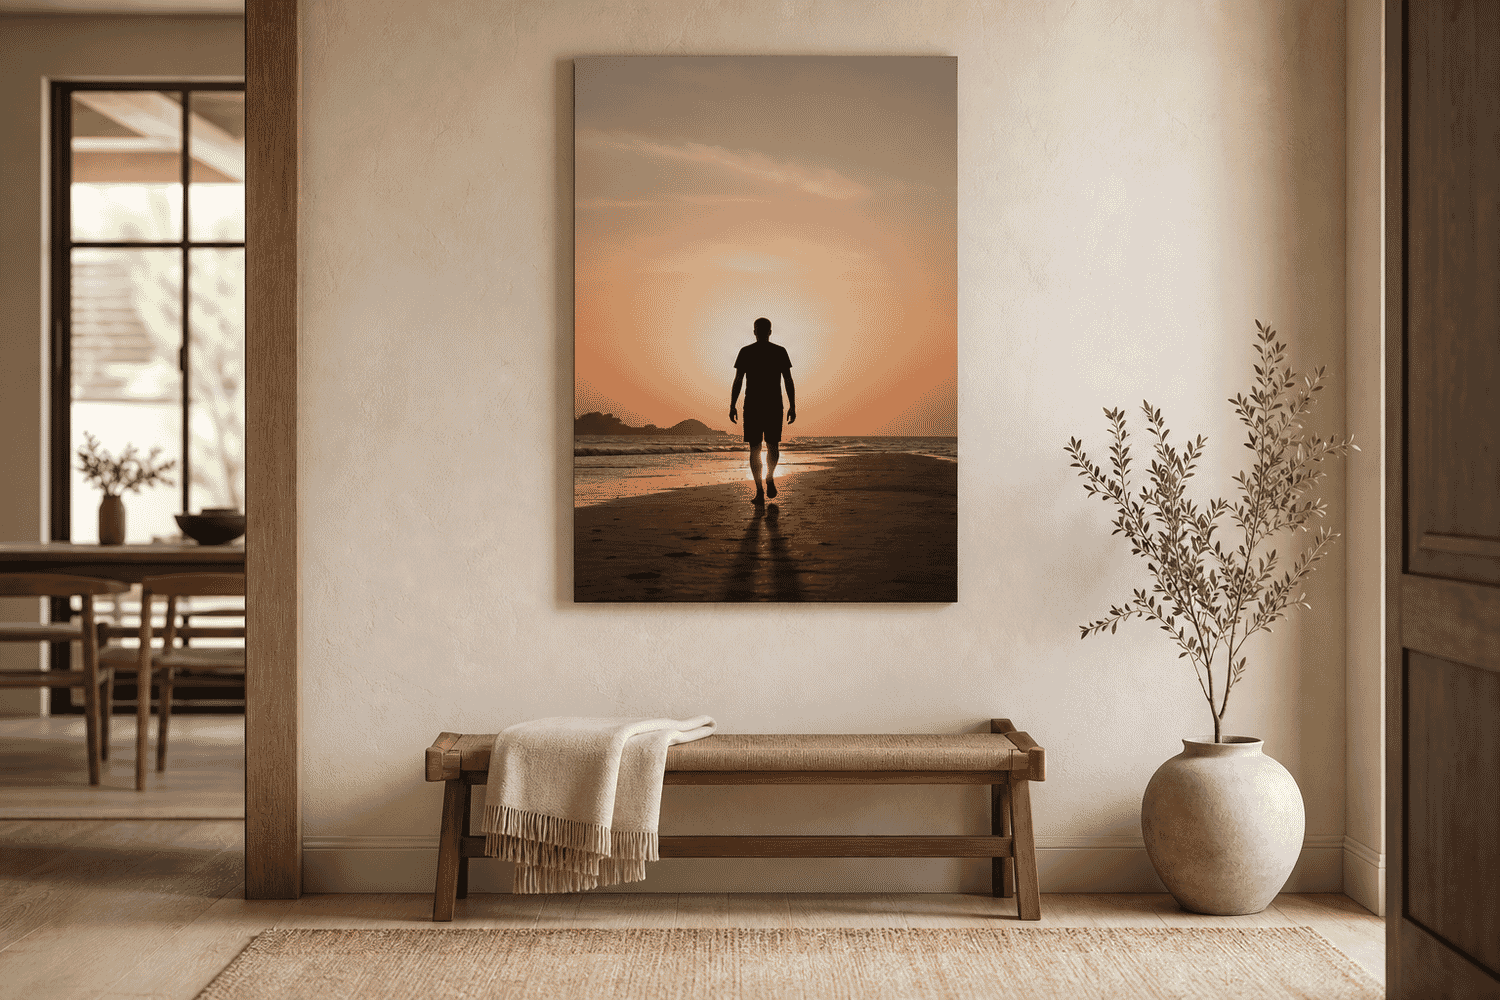
Silhouette portraits sidestep the awkwardness of recognizable faces on the wall. The dark figure against bright sky reads as universal — a stand-in for human experience rather than a specific person. They work as art rather than as personal memorabilia.
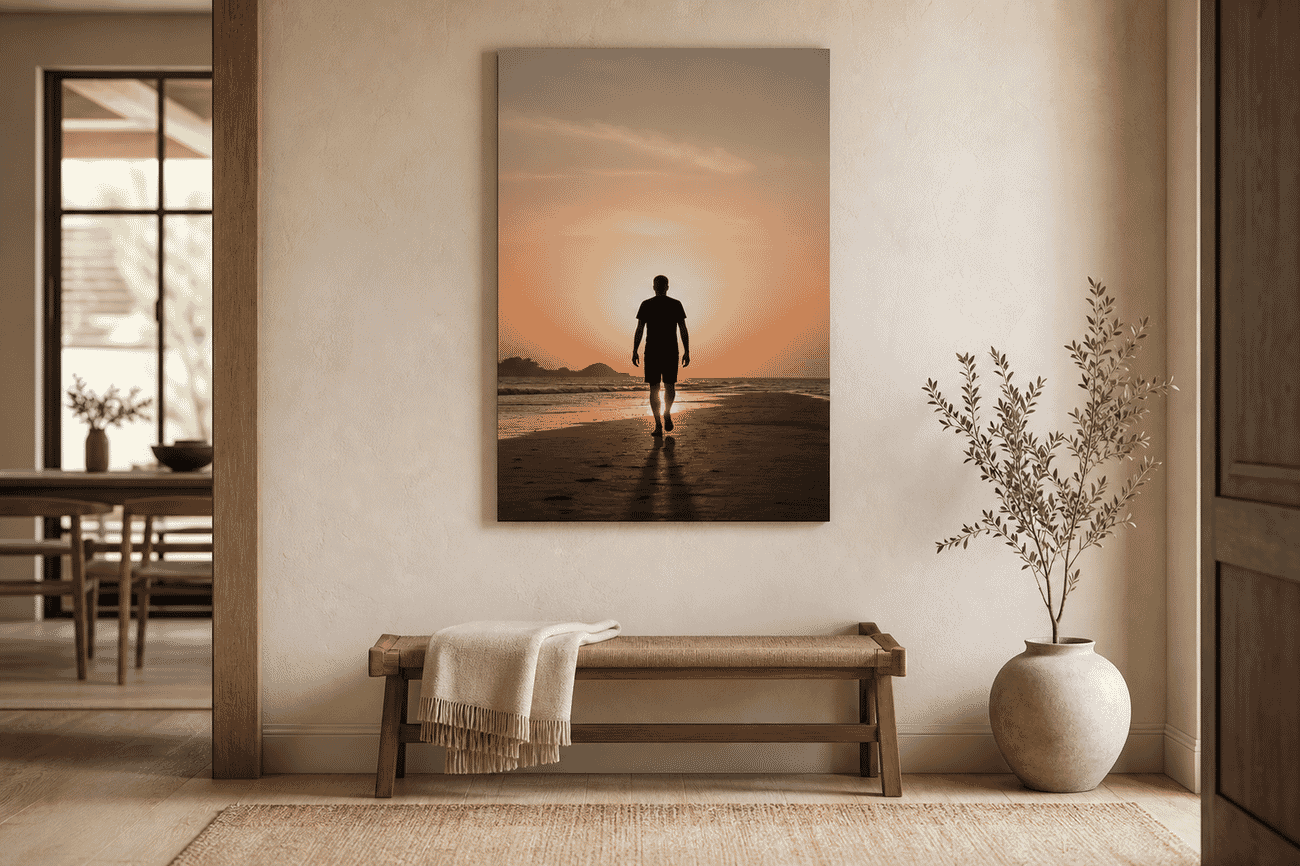
Entryways, living rooms, and dining rooms where you want personality without specificity. Pairs well with neutral walls and minimalist decor. 20×30 inch portrait orientation if the figure is standing; 30×20 inch landscape if walking or running.
How to shoot it: Expose for the highlights — meter the sky, let the subject go to pure silhouette. Strong sunset or sunrise light, generic human shapes (walking, jumping, embracing) make the strongest prints because they’re universal.
9. Iconic City Skylines
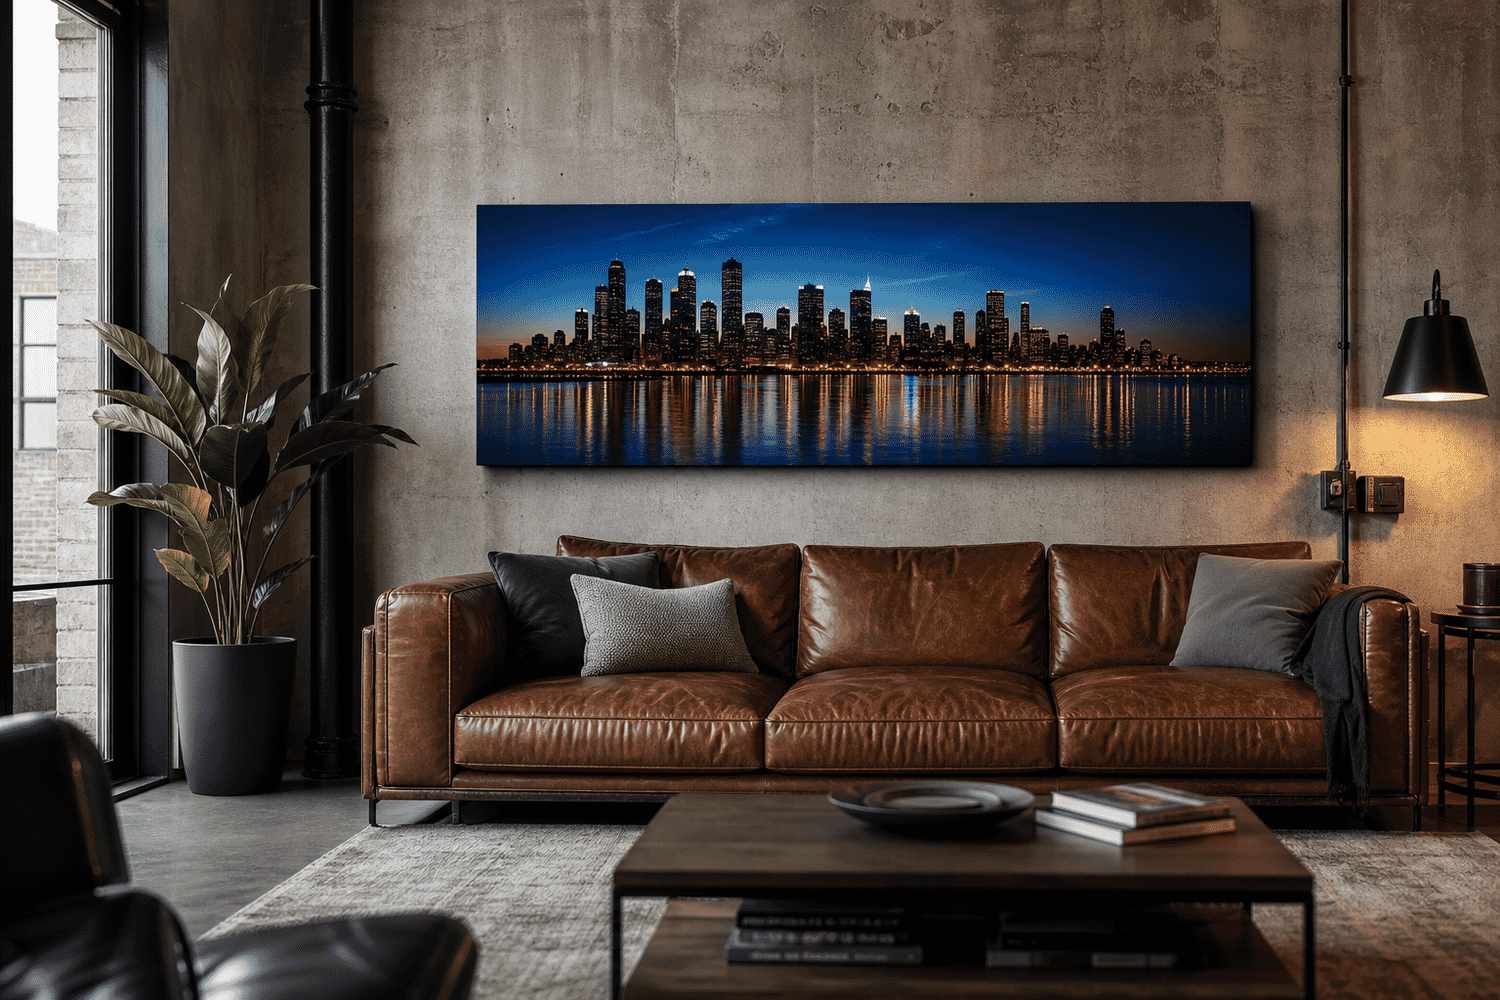
City skylines are the canvas category that anchors urban-themed decor. Blue-hour skylines especially — when lights are on but the sky still holds color — combine the warmth of a sunset shot with the architectural drama of a cityscape.
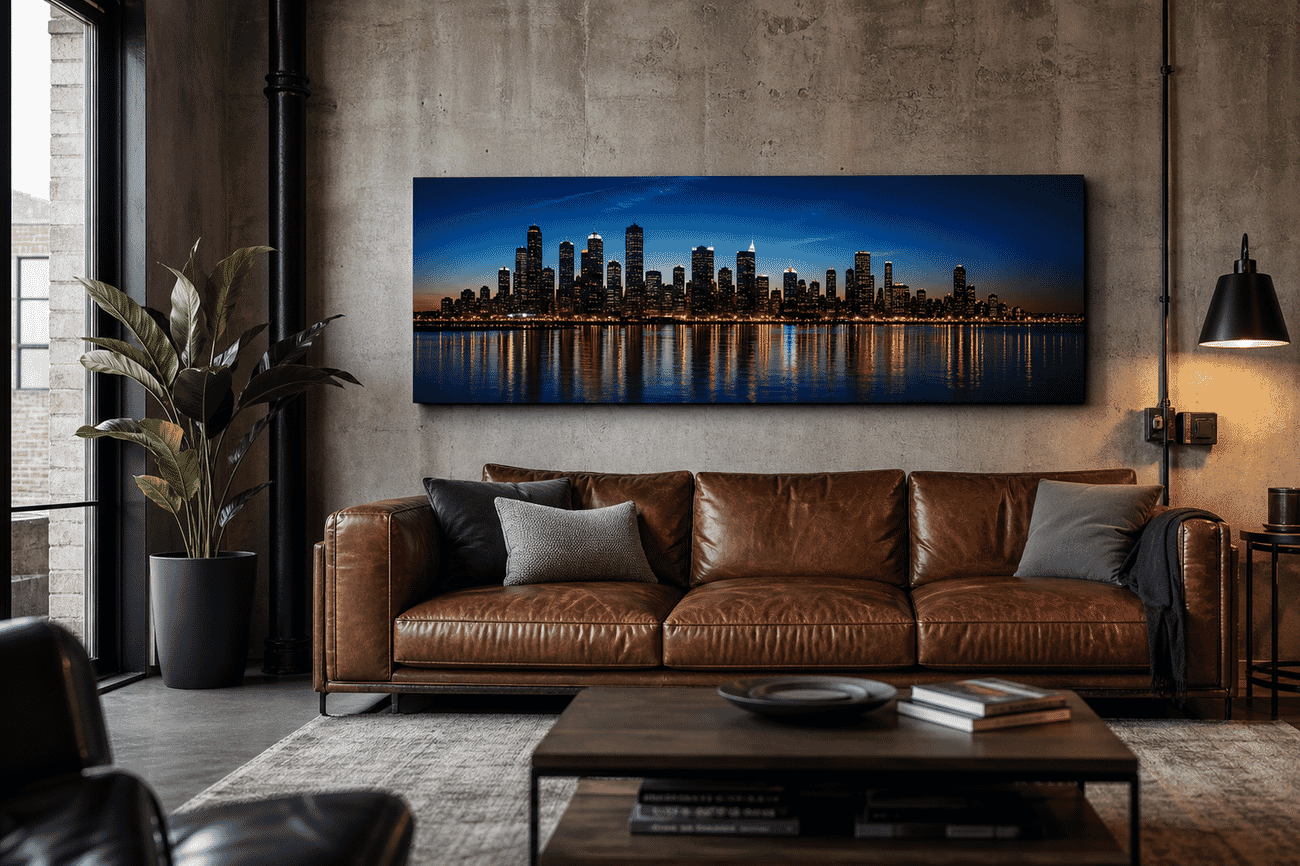
Lofts, urban apartments, modern living rooms with industrial or contemporary furniture. Panoramic 60×20 inch or 48×16 inch ratios work best — skylines need horizontal sweep. Above the sofa or bed is the natural placement.
How to shoot it: Blue-hour (20-30 min after sunset) is the magic window for city skylines — building lights are on but the sky retains color. Use a tripod, shoot 2-3 second exposures at ISO 100 for clean files that print huge.
10. Minimal Architectural Details
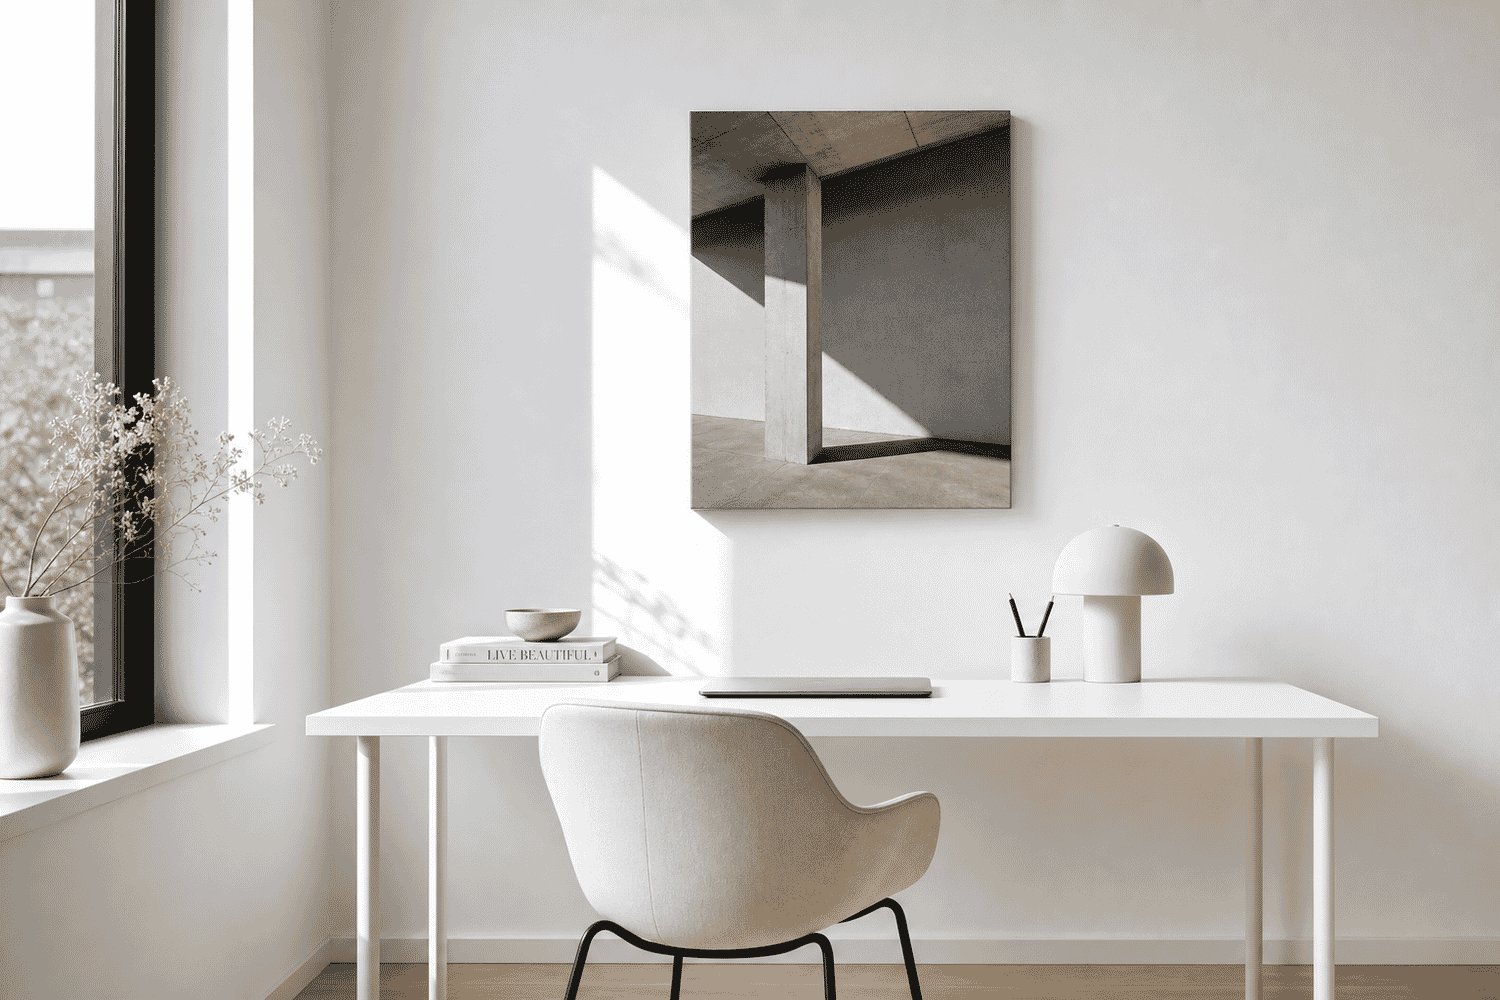
Minimalist architectural details reduce buildings to their geometric essence — a single column, a shadow line, a curve against a clean sky. These print as abstract art rather than as photographs, which makes them flexible across decor styles.
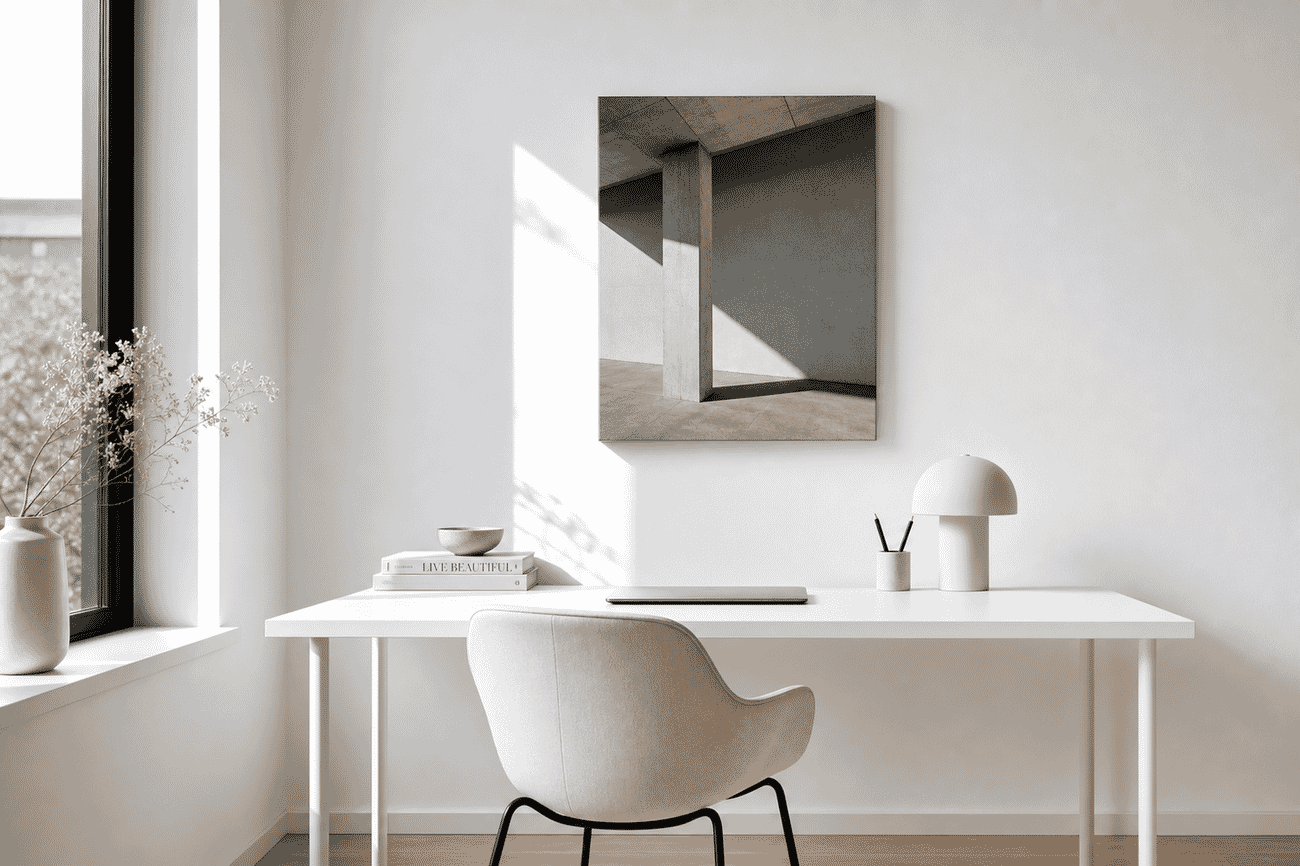
Home offices, modern kitchens, contemporary living rooms — anywhere the existing decor leans toward clean lines. Square 16×20 or 20×20 inch sizes; rectangular 20×30 if the composition has a strong vertical element.
How to shoot it: Architecture prints best when stripped to one or two strong shapes. Walk around the building until you find a composition where the structure becomes abstract geometry. Shoot at f/8-f/11 for edge sharpness corner-to-corner.
11. Vintage Street Scenes
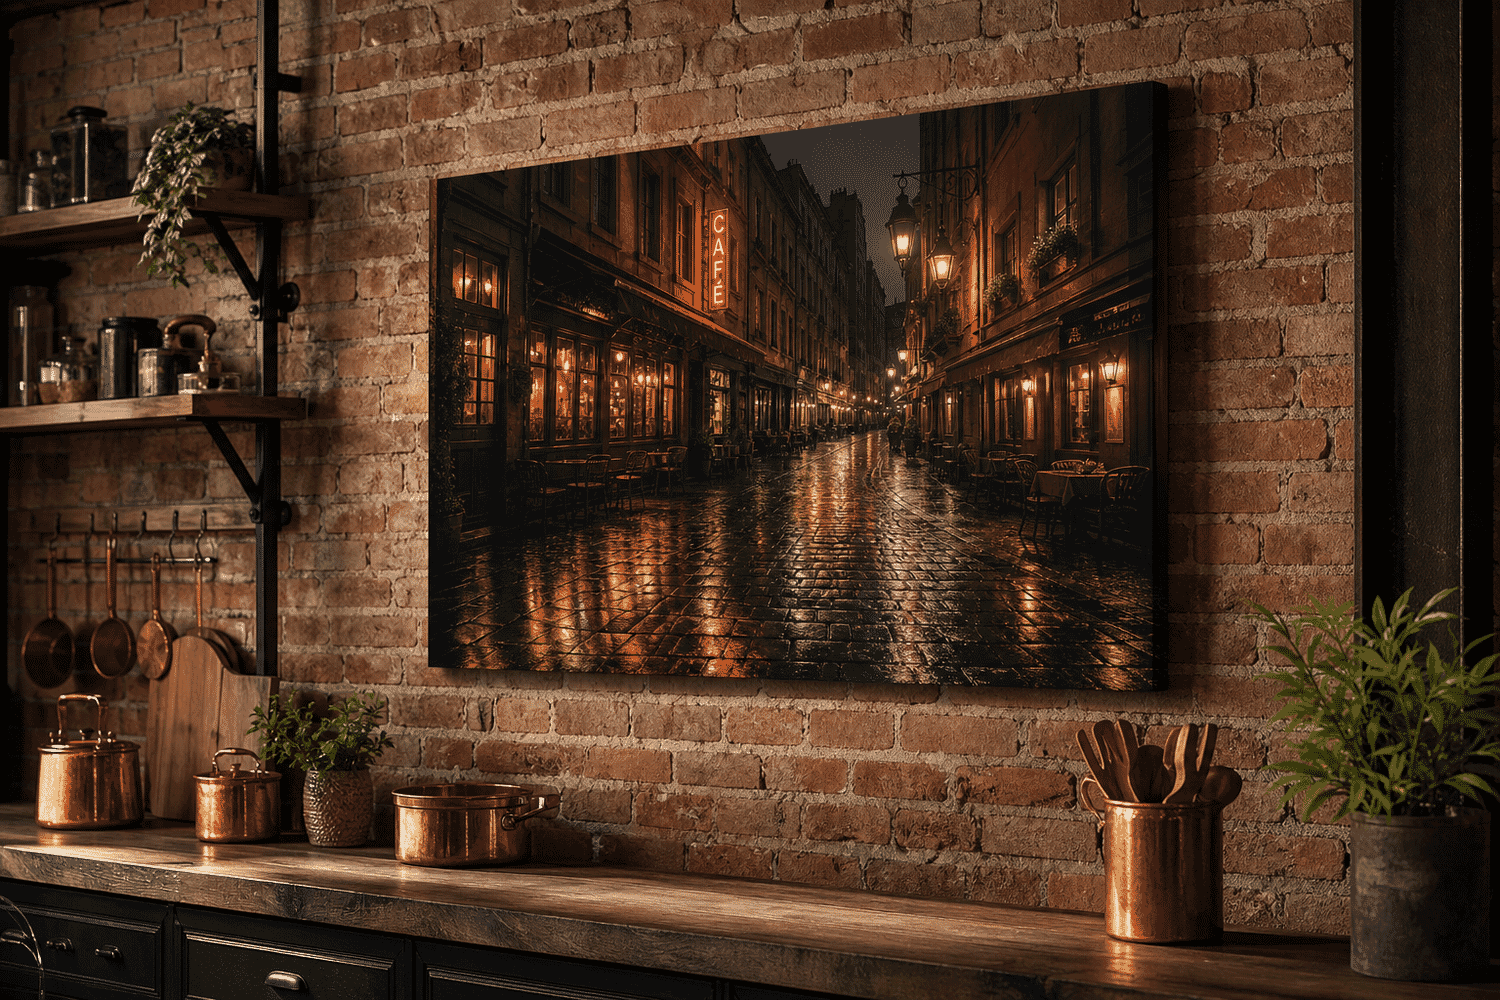
Vintage street scenes — wet cobblestone, neon signs, lone figures in alleys — bring noir cinematography to the wall. They work because they suggest narrative without committing to one. Viewers fill in the story.
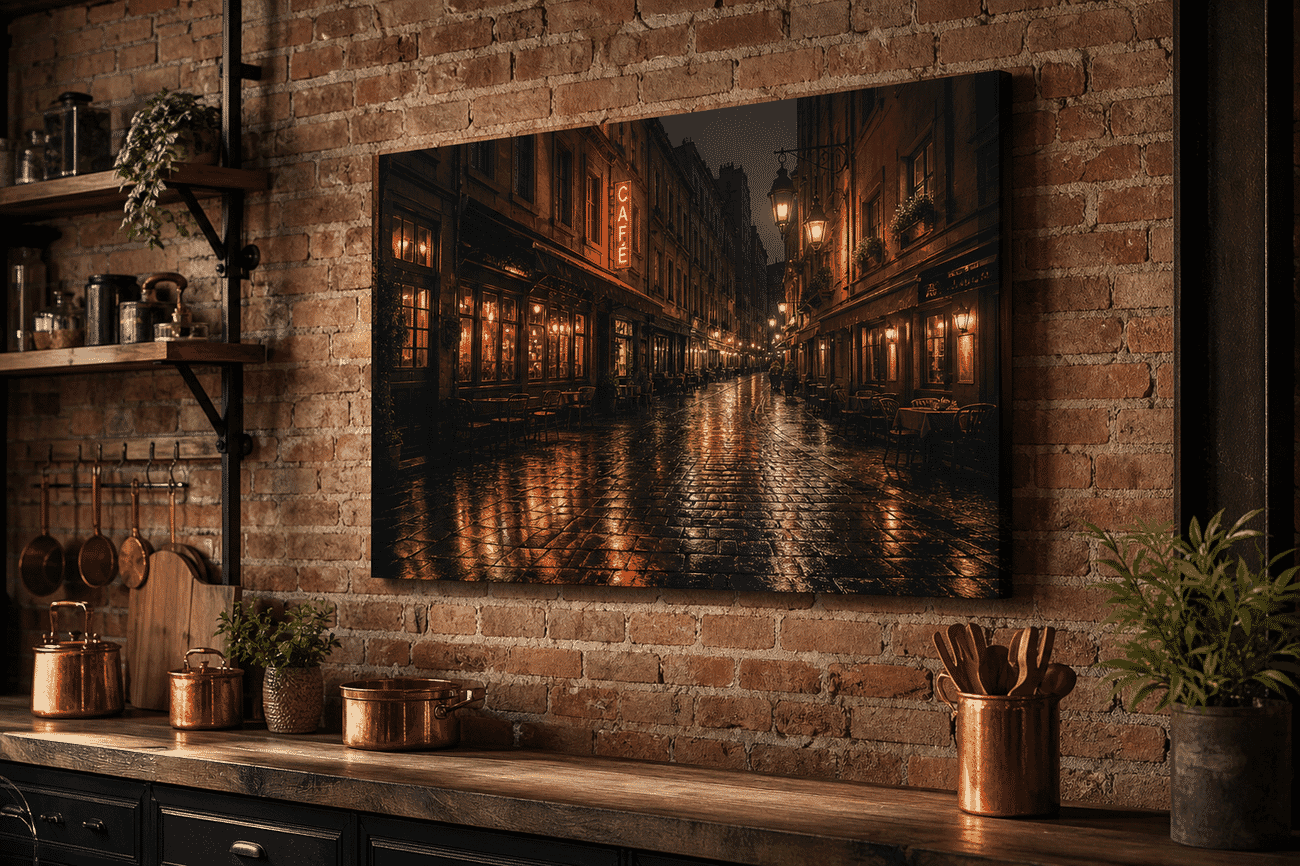
Industrial kitchens, exposed-brick living rooms, restaurant-style dining spaces. The mood is moody, so the room can be warm and well-lit without fighting the canvas. 24×16 inch or 30×20 inch sizes hold detail without becoming overwhelming.
How to shoot it: Vintage feel comes from warm color grading, slight film-grain texture, and intentionally imperfect framing. Shoot at night after rain — wet surfaces catch and amplify light beautifully. Embrace mixed light sources (warm tungsten, cool neon).
12. Macro Flowers
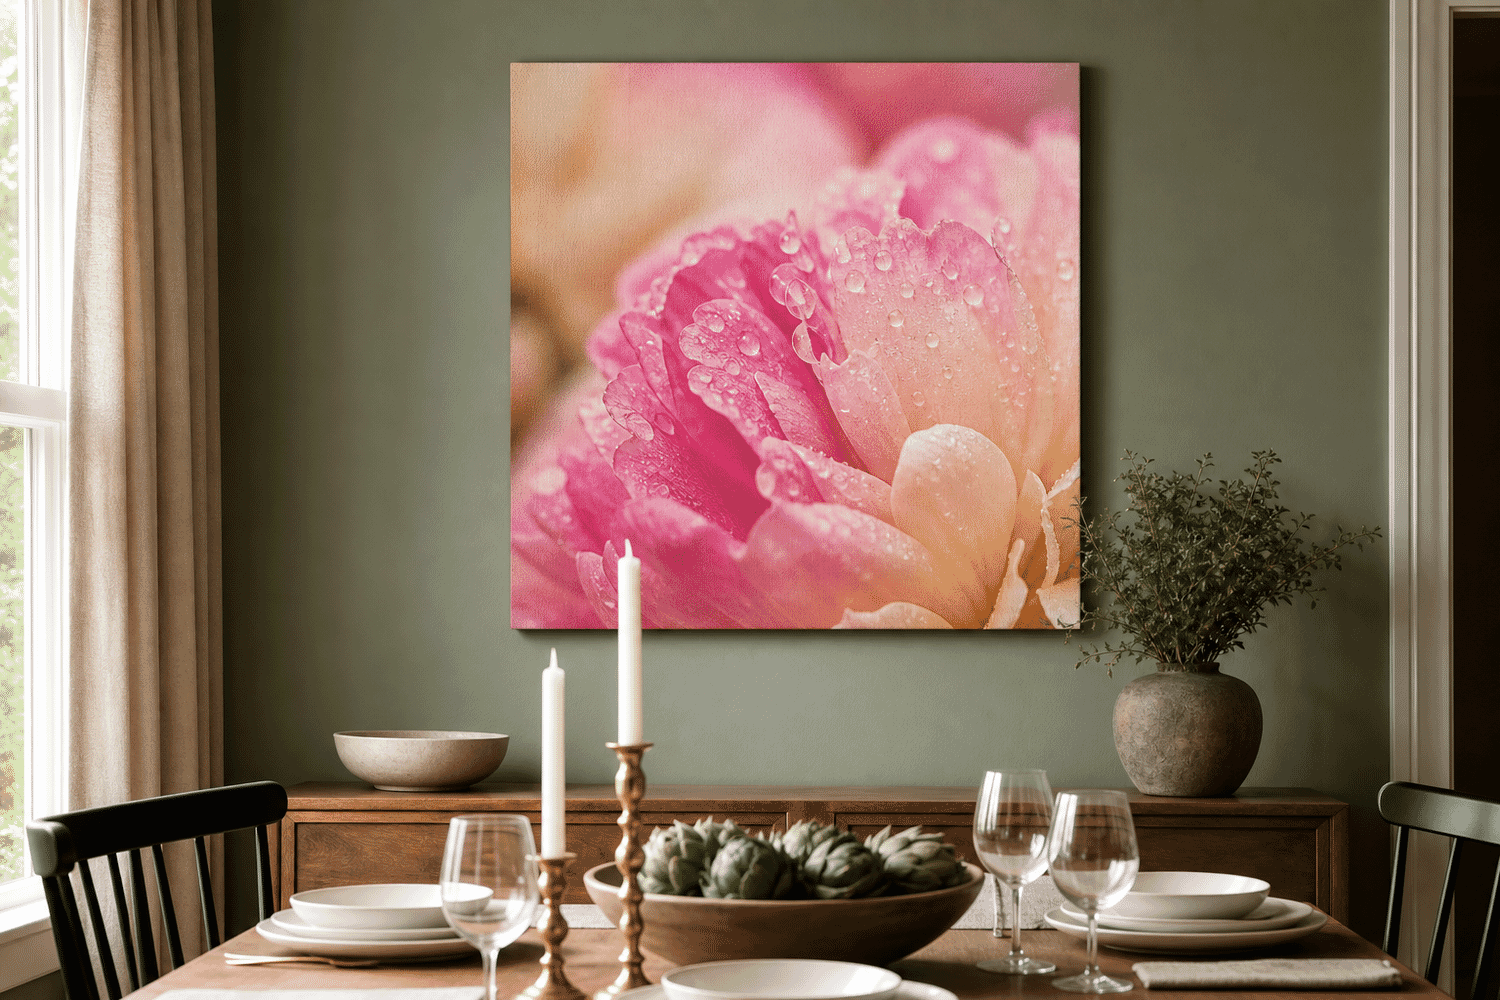
Extreme close-up flower macros aren’t really flower photographs — they’re studies of color and texture. The petal becomes an abstract field, the dewdrops become jewels, the bokeh becomes painterly background. They print as fine art.
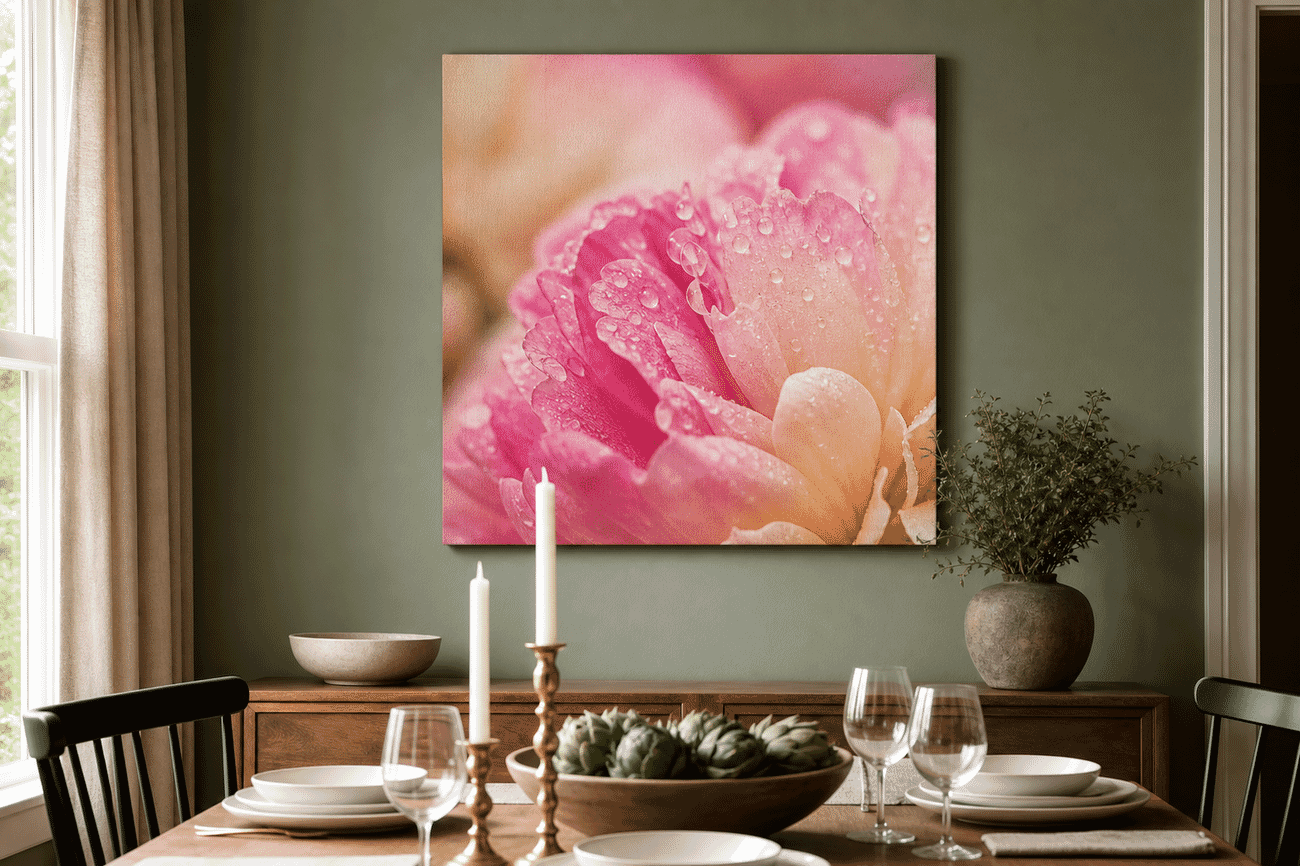
Dining rooms, formal living rooms, bathrooms, and bedrooms — anywhere the soft botanical palette can echo other elements (plants, fresh flowers, natural materials). Square 24×24 inch works particularly well; the symmetry of macro compositions suits square framing.
How to shoot it: Macro at 1:1 reproduction abstracts subjects into color and texture studies. Shoot at f/4-f/5.6 (not wide open at f/2.8 — depth of field becomes too thin), use a tripod and live-view focus magnification for tack-sharp results.
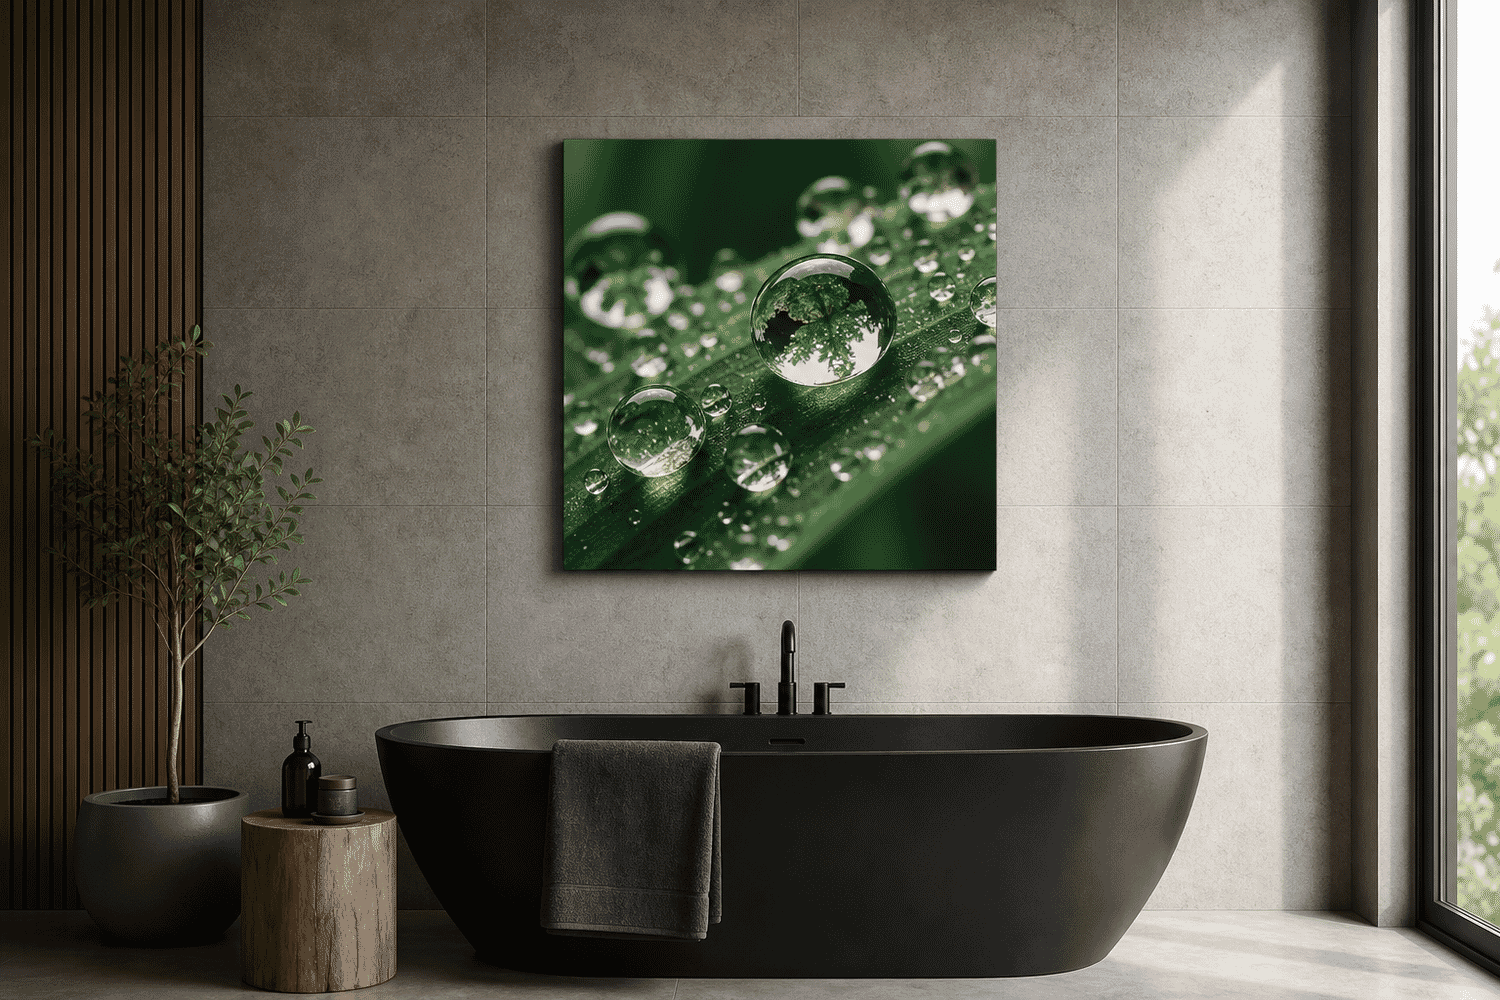
13. Dewdrop & Water Macros
Water droplets are the most literal example of macro-as-abstraction. Each drop becomes a tiny lens, refracting and inverting the surrounding world. The viewer sees a familiar subject (a leaf, a flower) and a hidden universe simultaneously.
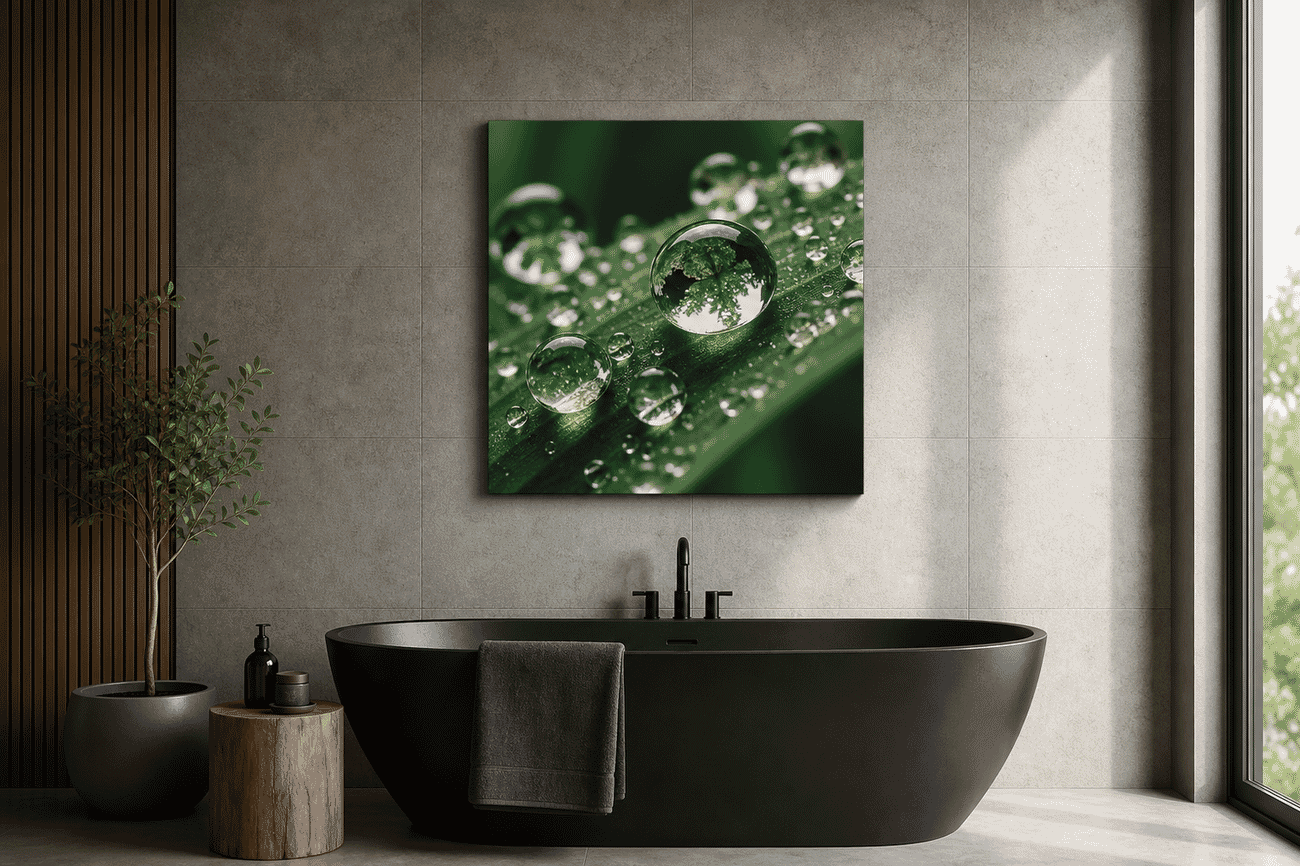
Bathrooms especially — the water theme echoes the room’s function. Kitchen splashbacks, sunrooms with plants, spa-inspired bedrooms. Square or vertical orientations preserve the intimacy of macro work; very wide horizontal crops fight the subject matter.
How to shoot it: Shoot dewdrops in early morning before evaporation. Get close — 1:1 macro lens or extension tubes. Use diffused side light to make the refractions inside each droplet pop without losing the surrounding texture.
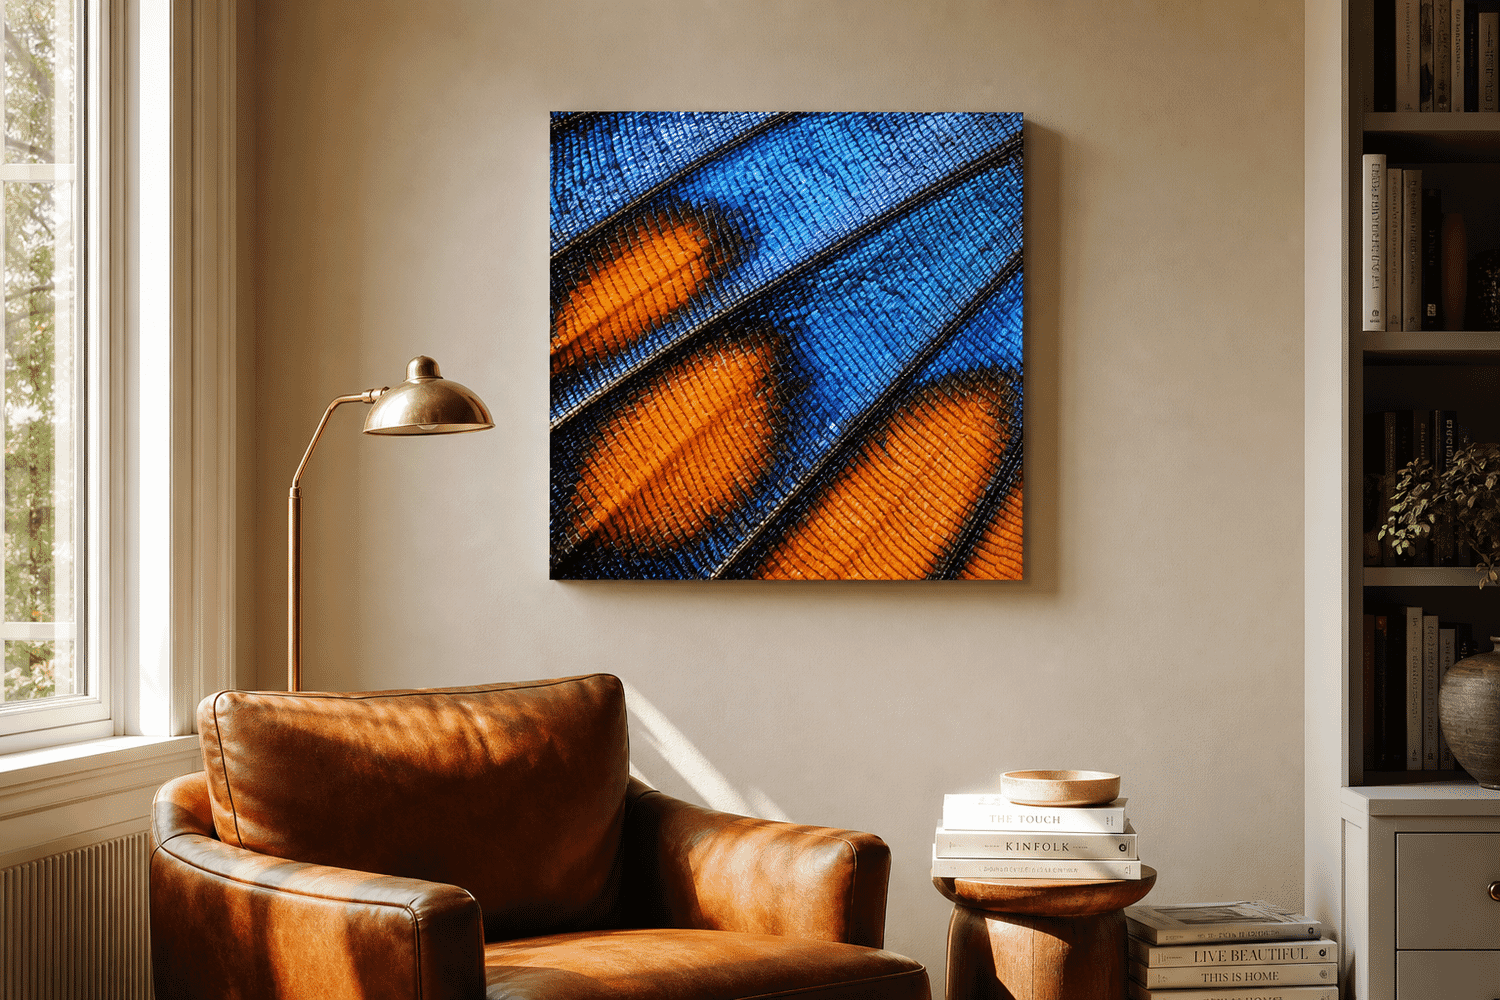
14. Butterfly & Insect Close-Ups
Macro of butterfly wings or insect eyes turns biology into Rothko. The patterns are geometric, the colors are saturated, and at this level of magnification the subject becomes pure pattern. Crop tight — the more abstract, the more it works as wall art.
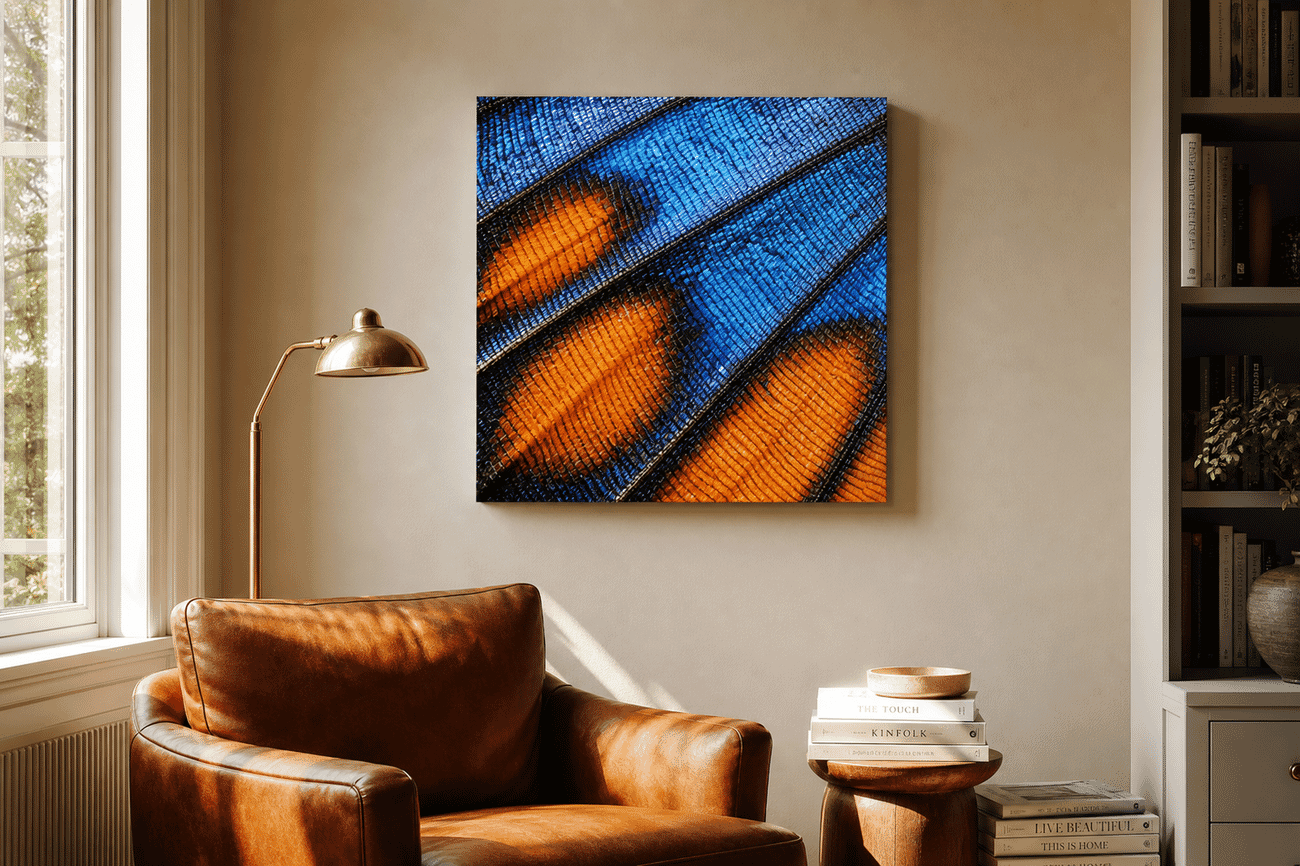
Reading nooks, sunrooms, studies — quiet spaces where the detail rewards close inspection. 18×24 inch portrait orientation lets the texture dominate without overwhelming the room. Warm wood and leather furniture pair particularly well.
How to shoot it: Insect macros work best when cropped tighter than expected — show the texture of wings or eyes rather than the whole creature. Shoot on overcast days or during early morning when insects are sluggish and let you approach.
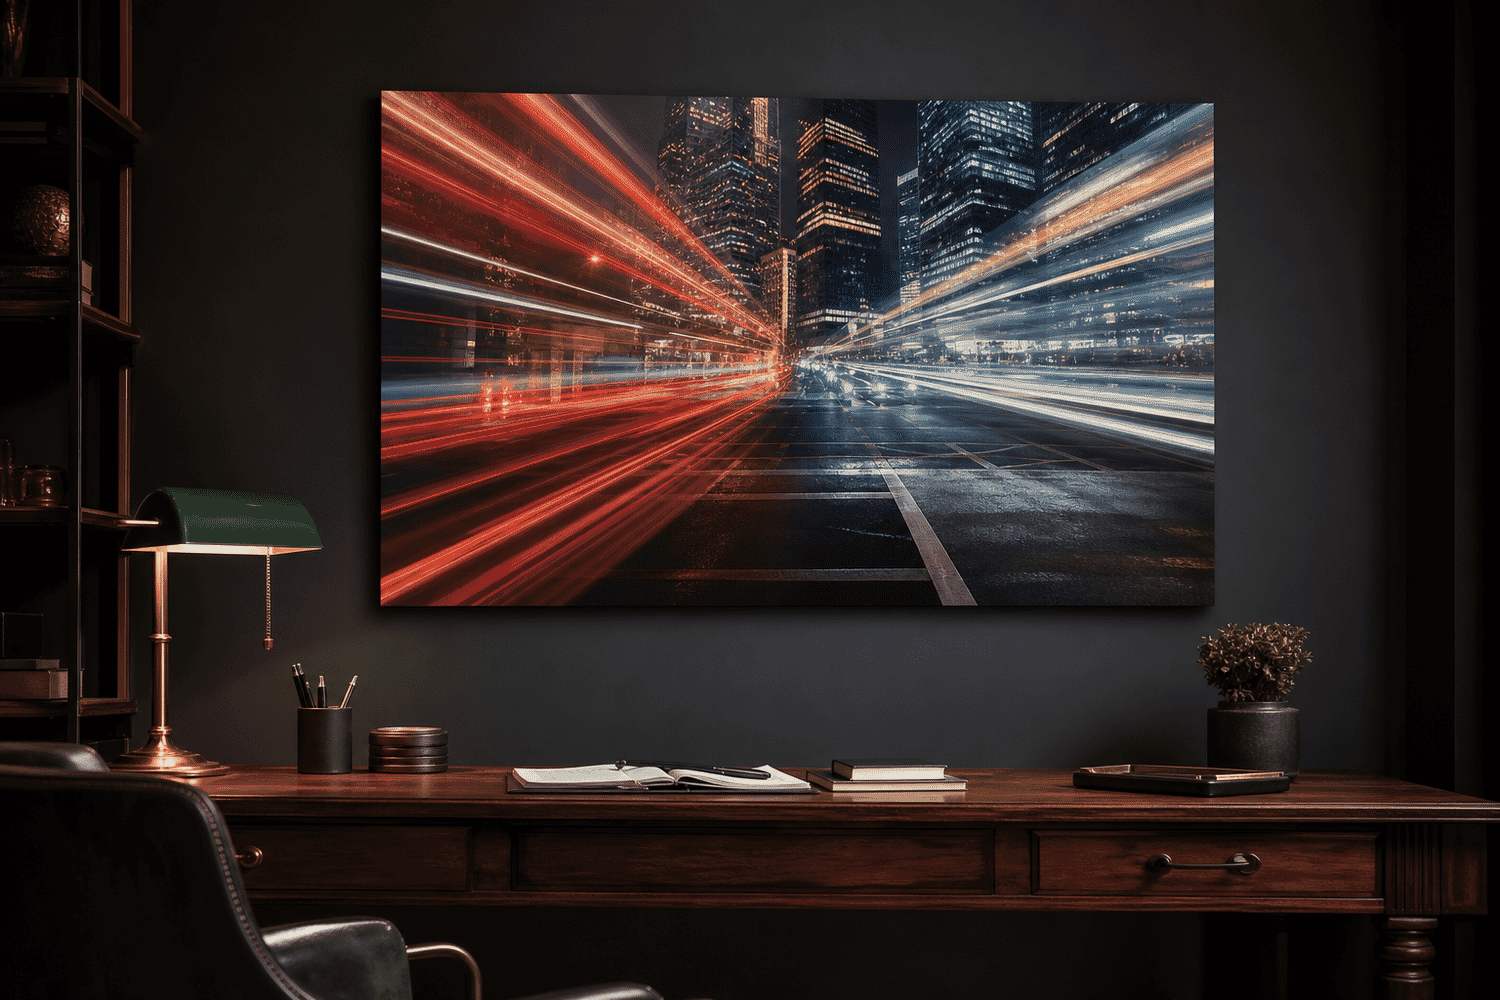
15. Long-Exposure Light Trails
Long-exposure light trails turn moving cars and city lights into painterly streaks. The result reads more like a painting than a photograph — bright energetic lines flowing through a darker urban geometry. They energize a room without competing for attention.
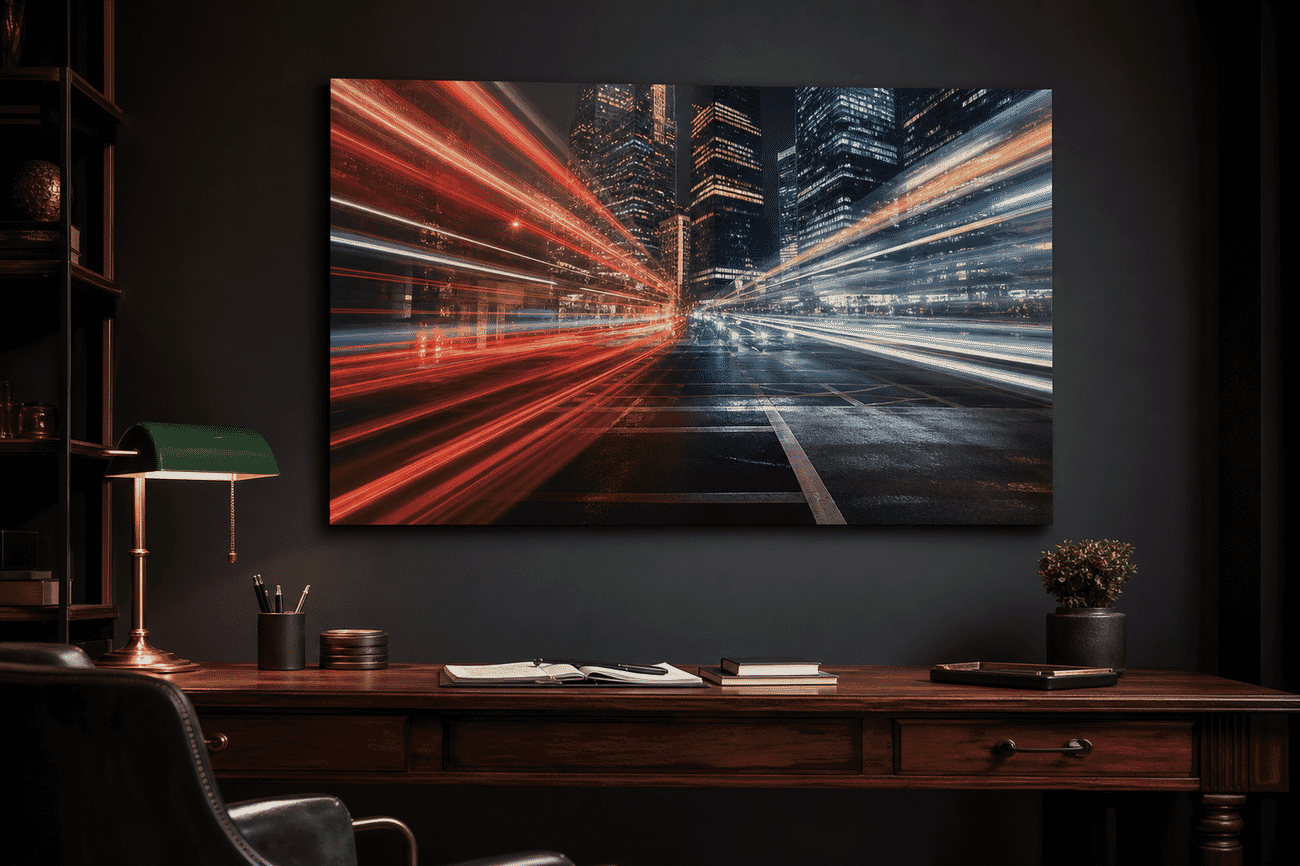
Studies, home offices, modern living rooms with deep wall colors (charcoal, navy, forest green). The dark backgrounds of light-trail shots disappear into deep walls, leaving the colored lines floating. 36×24 inch landscape orientation is ideal.
How to shoot it: Long-exposure light trails need a sturdy tripod and a 10-30 second shutter speed at f/8-f/11, ISO 100. Find an overpass or balcony above traffic for the best lines. Multiple long exposures stacked in post amplify the trail density.
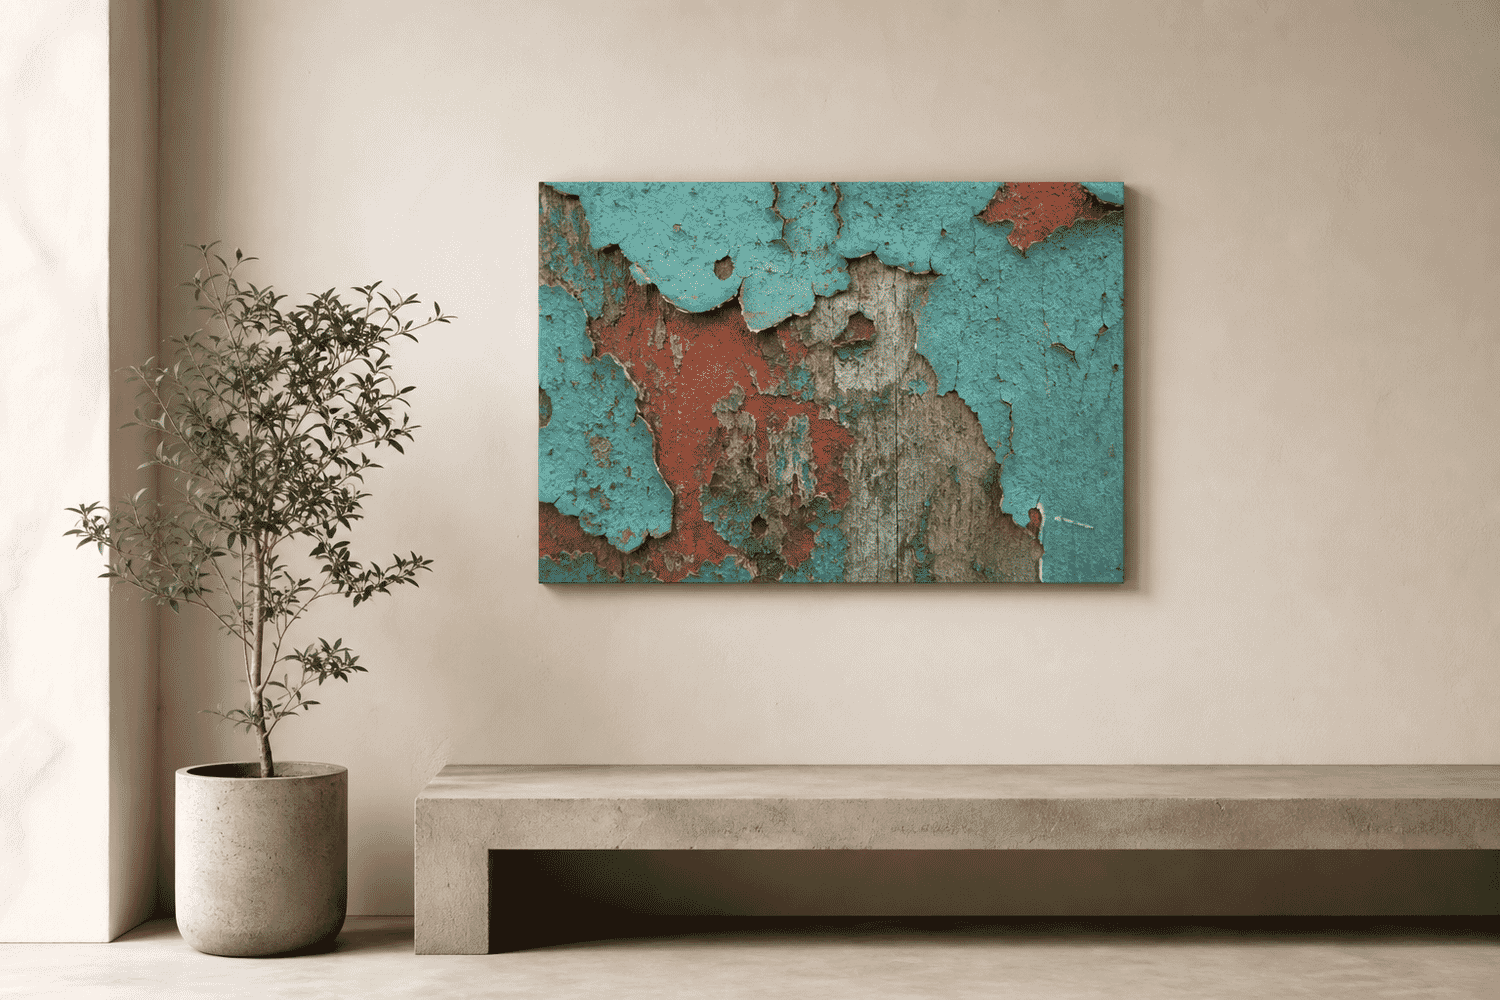
16. Texture Close-Ups
Peeling paint, weathered wood, rusted metal — texture close-ups print as abstract paintings. The viewer doesn’t need to recognize the subject to appreciate the composition. These work as quiet visual anchors that reward longer looking.
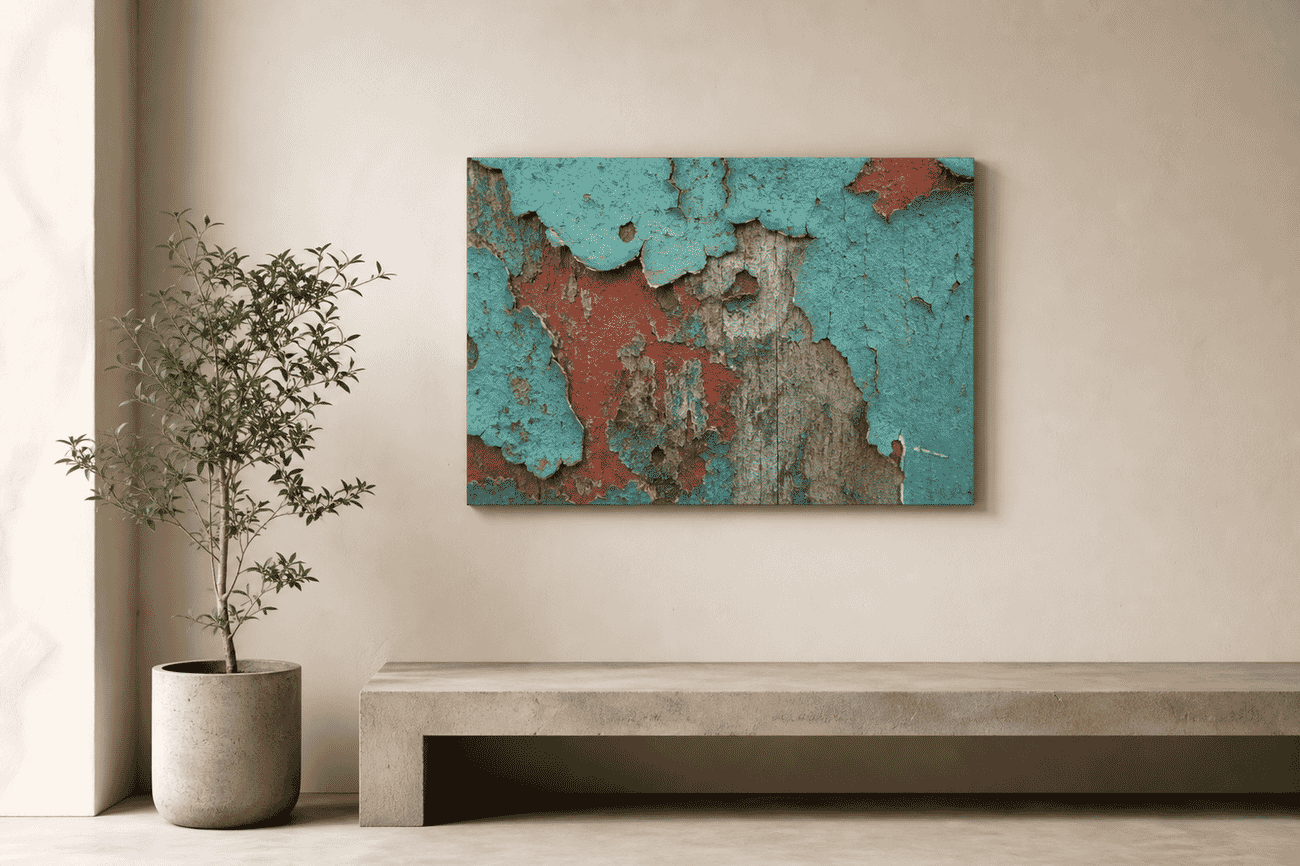
Minimalist living rooms, modern dining spaces, hallways — anywhere a subtle textural moment adds depth without demanding attention. Larger sizes (30×20 inch and up) let the micro-detail be visible from across the room.
How to shoot it: Texture prints work as abstract art — viewers don’t need to recognize the subject. Shoot peeling walls, weathered wood, rusted metal, cracked pavement. Soft side light at golden hour brings out micro-detail.
17. Color-Block Abstracts
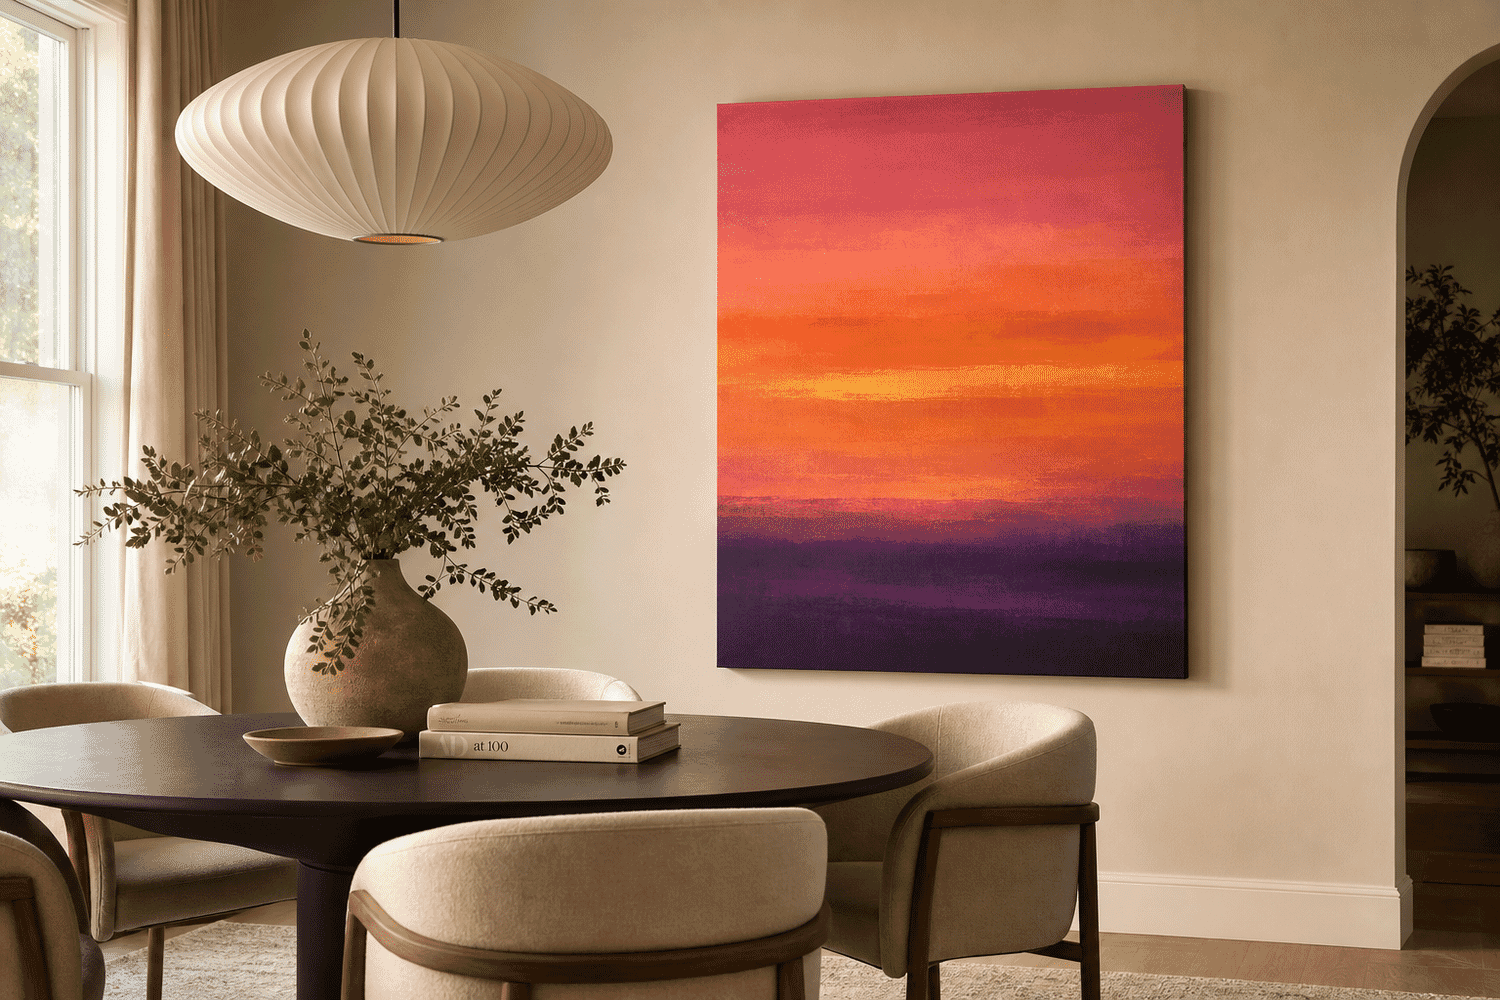
When sunset clouds or water reflections are cropped tight enough, they stop being photographs and become abstract color studies. This category rewards photographers willing to crop ruthlessly — remove identifiable subjects until only the color remains.
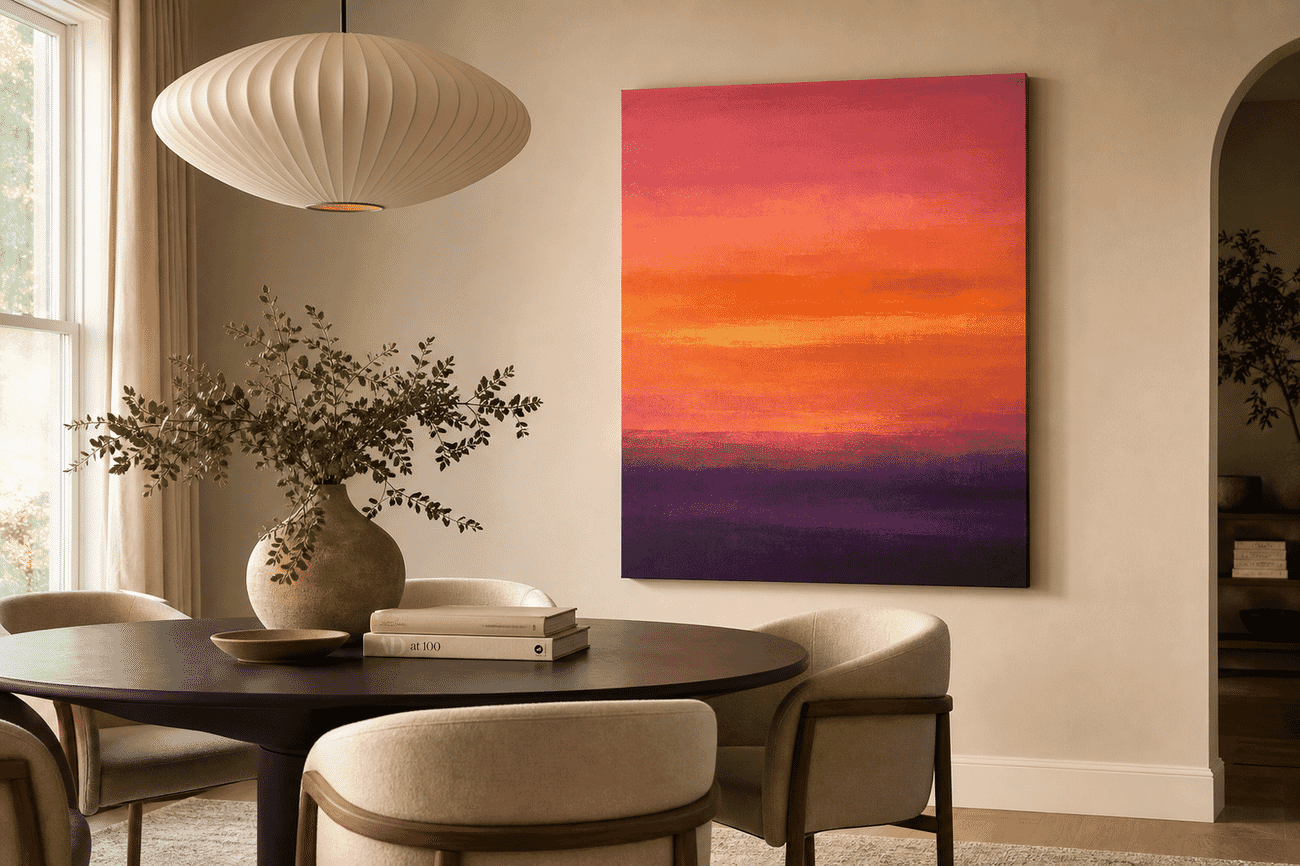
Dining rooms, modern living rooms, hallways — anywhere a piece of pure color can echo the room’s palette. Match the canvas’s dominant color to one accent in the room (a pillow, a vase, a chair) for unified composition.
How to shoot it: Find compositions where reality and abstraction blur — sunset clouds, water reflections at golden hour, fog at dawn. Crop tight to remove identifying details. The goal is for viewers to look twice before deciding what they’re seeing.
18. Pet Portraits
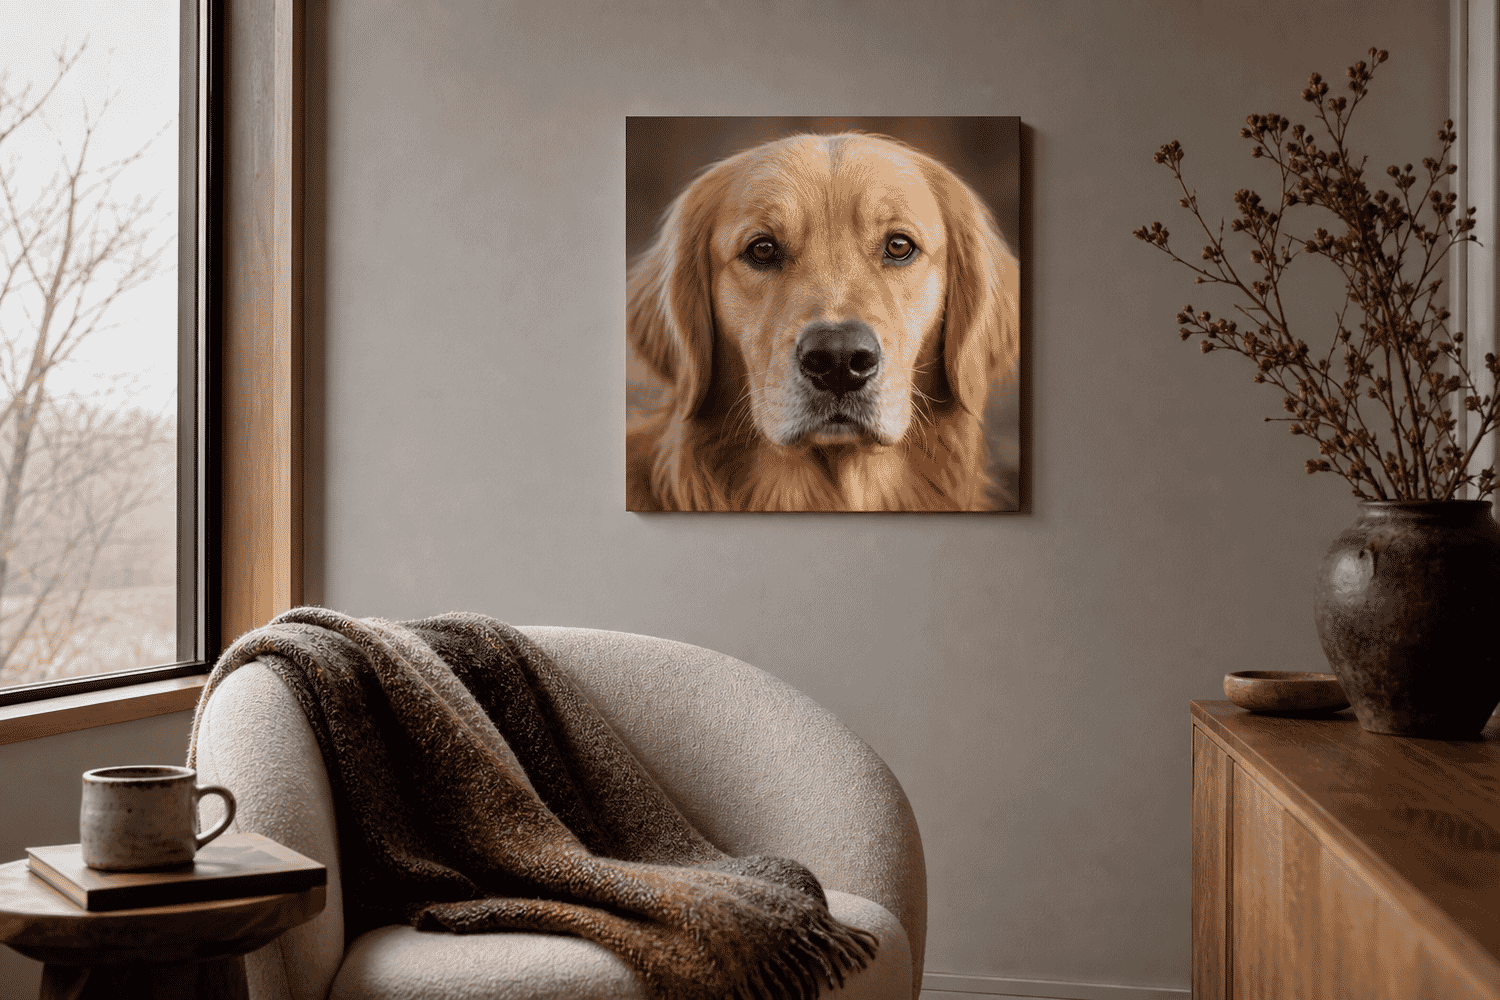
Pet portraits are the highest-conversion canvas category in personal-photo printing. The combination of recognizable subject, emotional attachment, and shareable result drives more print orders than any other personal photo type.
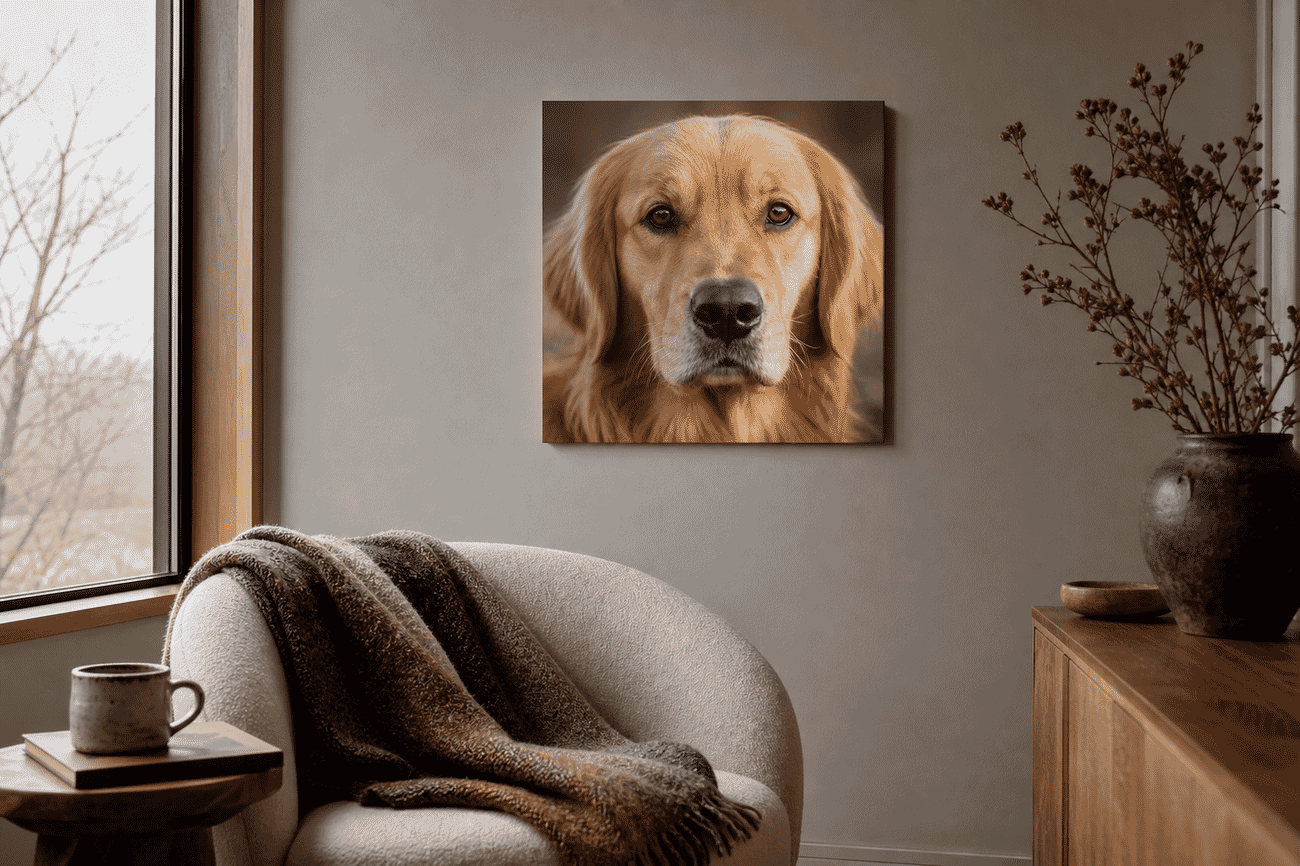
Reading nooks, family hallways, kitchens — wherever the pet actually hangs out in the home. Square 16×16 or 20×20 inch sizes work well for close-up portraits. Match wall color to a subtle tone in the fur for a unified composition.
How to shoot it: Pet portraits live or die by the eyes. Get on their level (or below), focus on the closer eye at f/2-f/2.8, use natural window light when possible. Treat the session like portraiture — patience, calm, treats nearby.
19. Wildlife in Motion
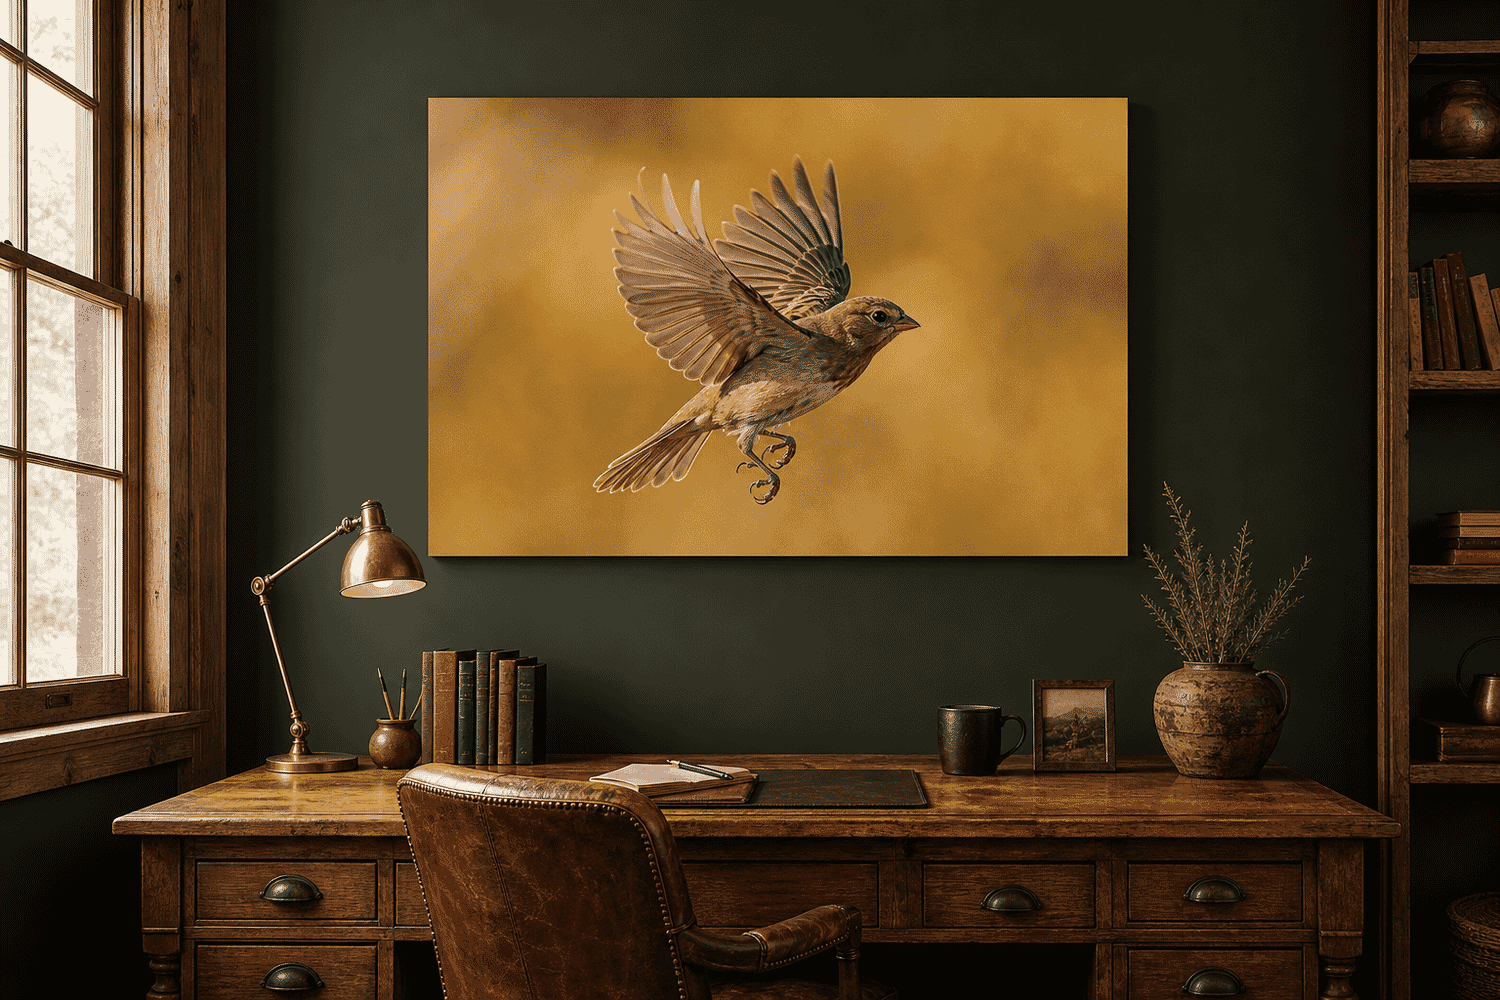
A bird mid-flight, frozen at 1/2000 of a second, captures something the eye can’t see in real time. Wildlife in motion canvas prints work because they offer a perspective viewers can’t get any other way.
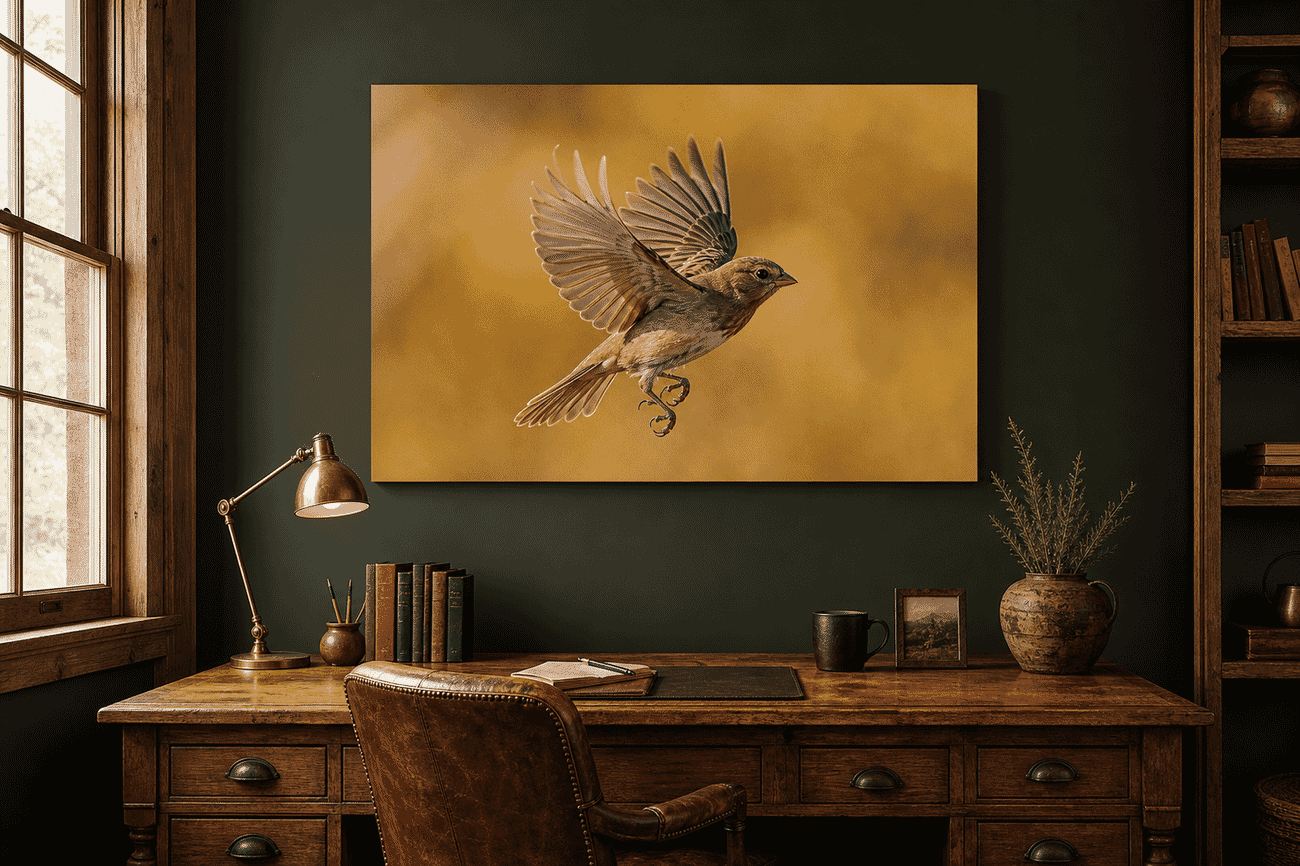
Rustic studies, log-cabin living rooms, hunting-themed dens — but also clean modern spaces where the natural subject contrasts with the architecture. 36×24 inch landscape is the sweet spot; smaller and the action gets lost.
How to shoot it: Freeze the action with 1/2000s or faster shutter, panning slightly with the subject. Use a telephoto (300-600mm), keep background clean and out-of-focus, leave space in the frame in the direction the animal is moving.
20. Autumn Foliage
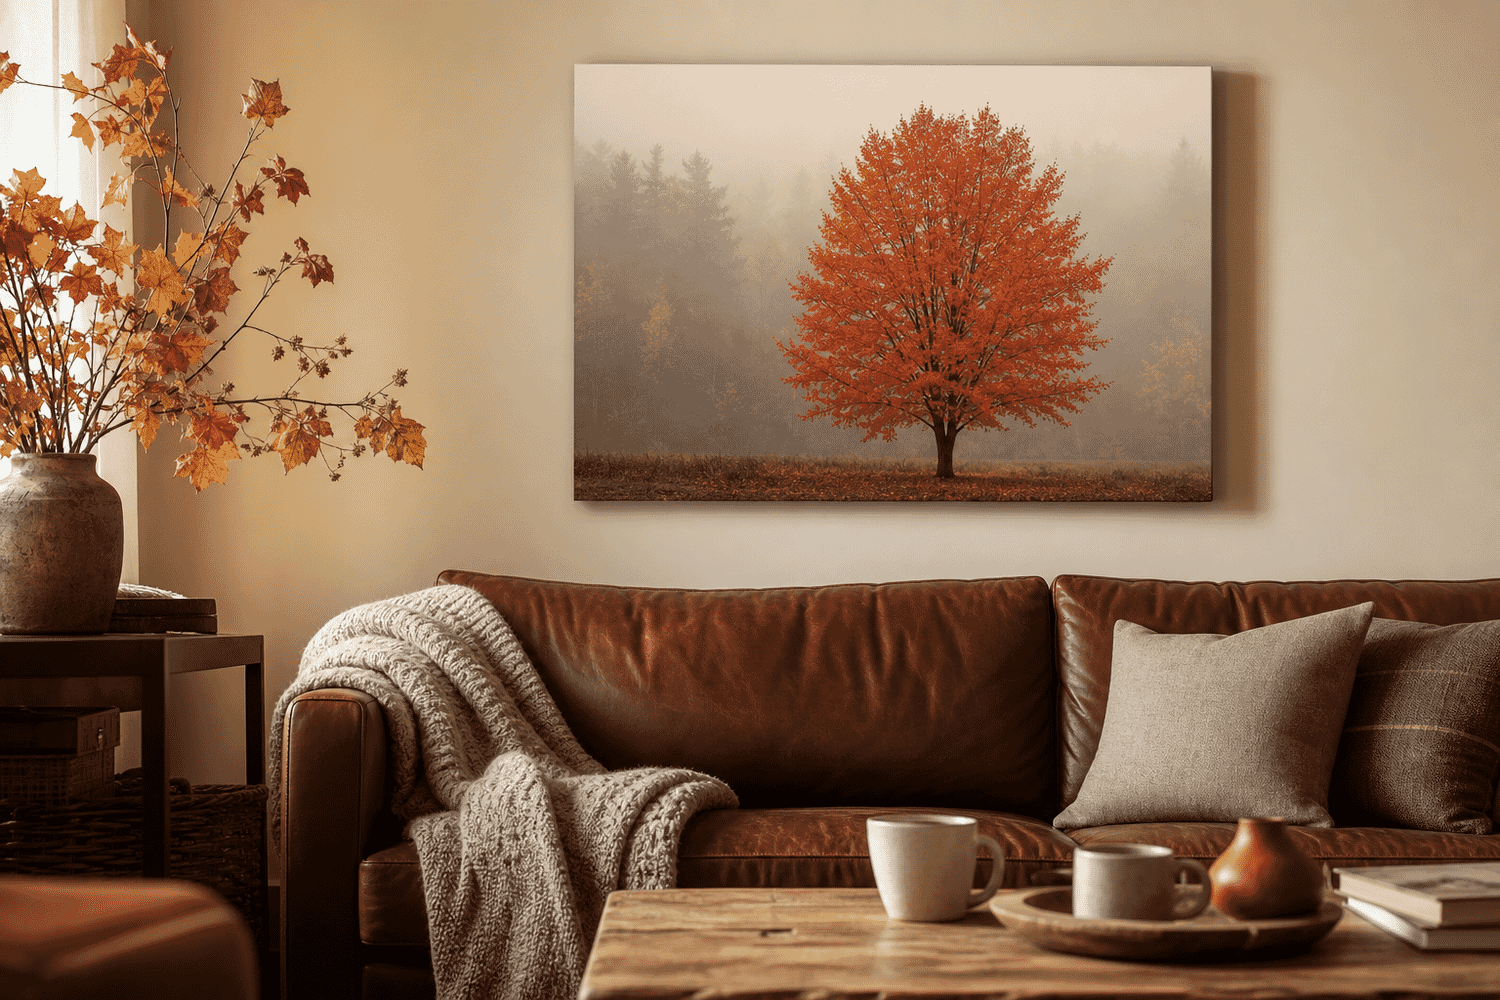
Autumn foliage is the seasonal canvas category with the broadest appeal. The warm color palette flatters most rooms, the subject is universally recognizable, and the print holds up across the rest of the year without feeling out of season.
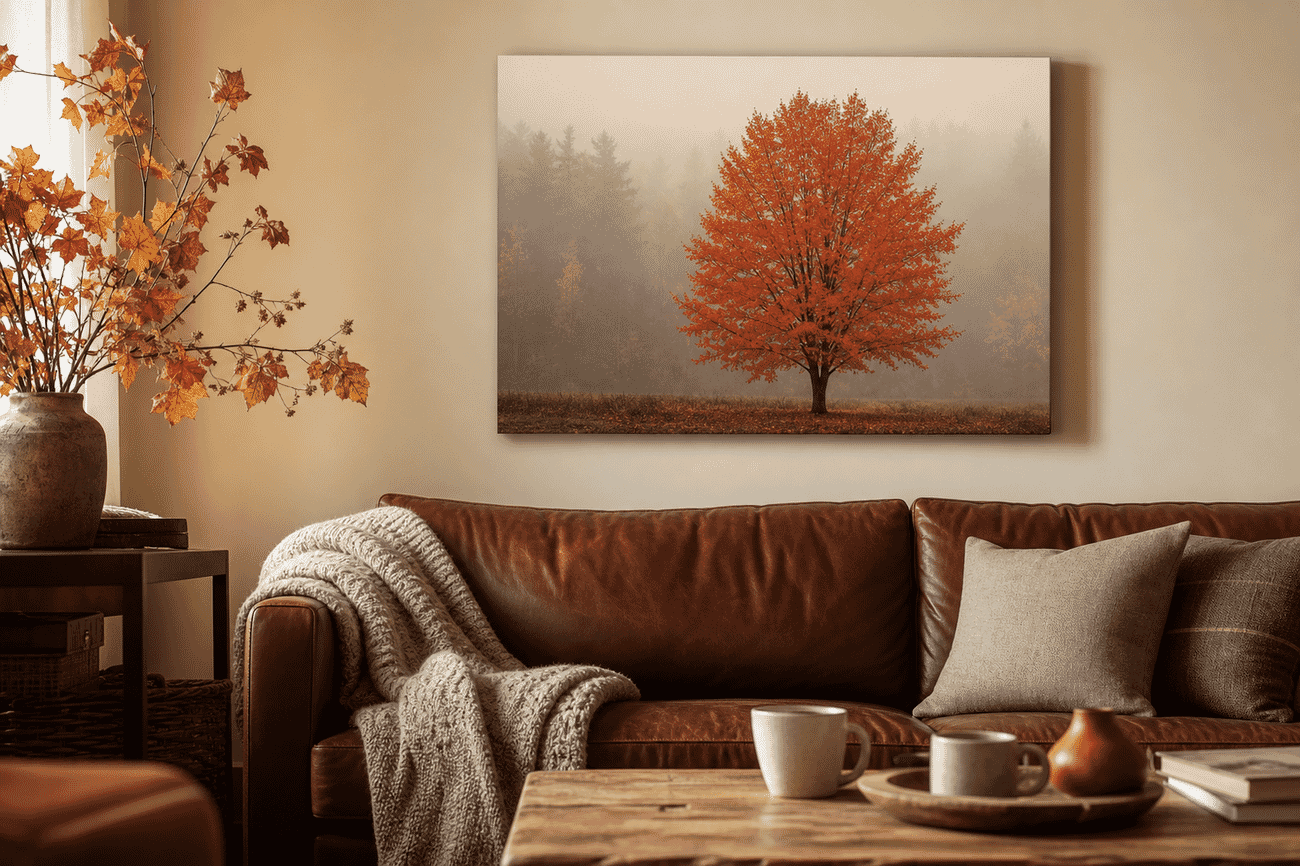
Living rooms, dining rooms, and reading spaces — especially those with leather furniture, wool textiles, or warm wood tones. 30×20 inch landscape orientation for single trees or paths; larger panoramic for sweeping forest views.
How to shoot it: Peak autumn color is a 7-10 day window — scout your location two weeks before. Shoot on overcast days for saturated colors (sunlight bleaches them). After-rain conditions deepen reds and oranges further.
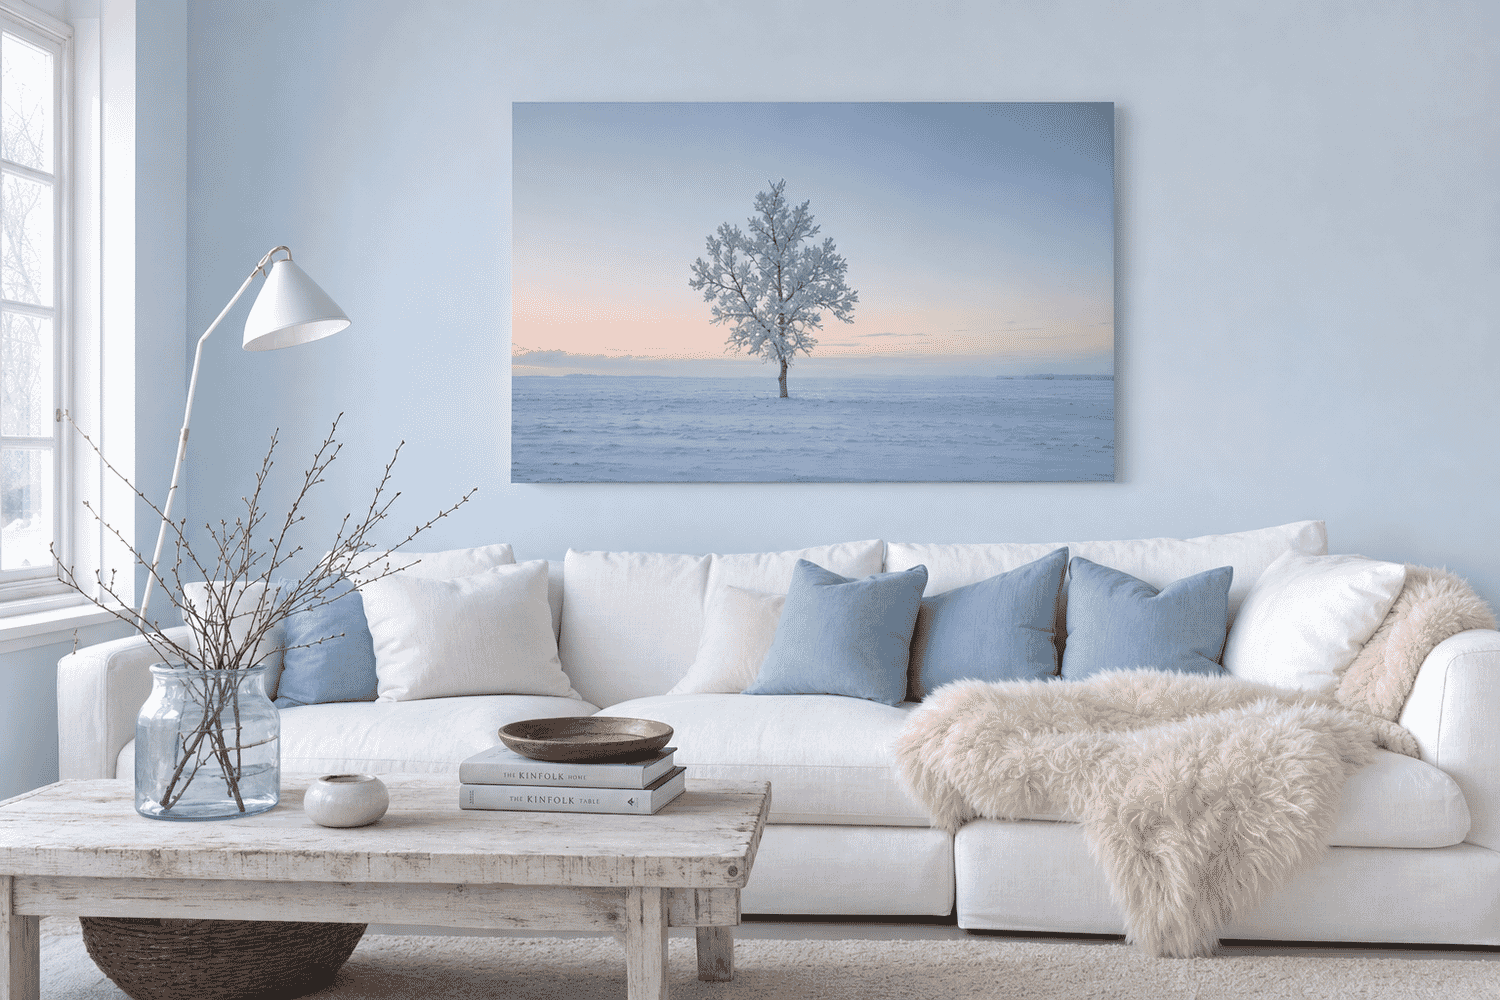
21. Winter & Snow Scenes
Winter prints are the canvas category that benefits most from restraint. A lone tree in snow, a fence line disappearing into fog, a frozen lake — the visual quiet of winter translates directly to a sense of calm in the room.
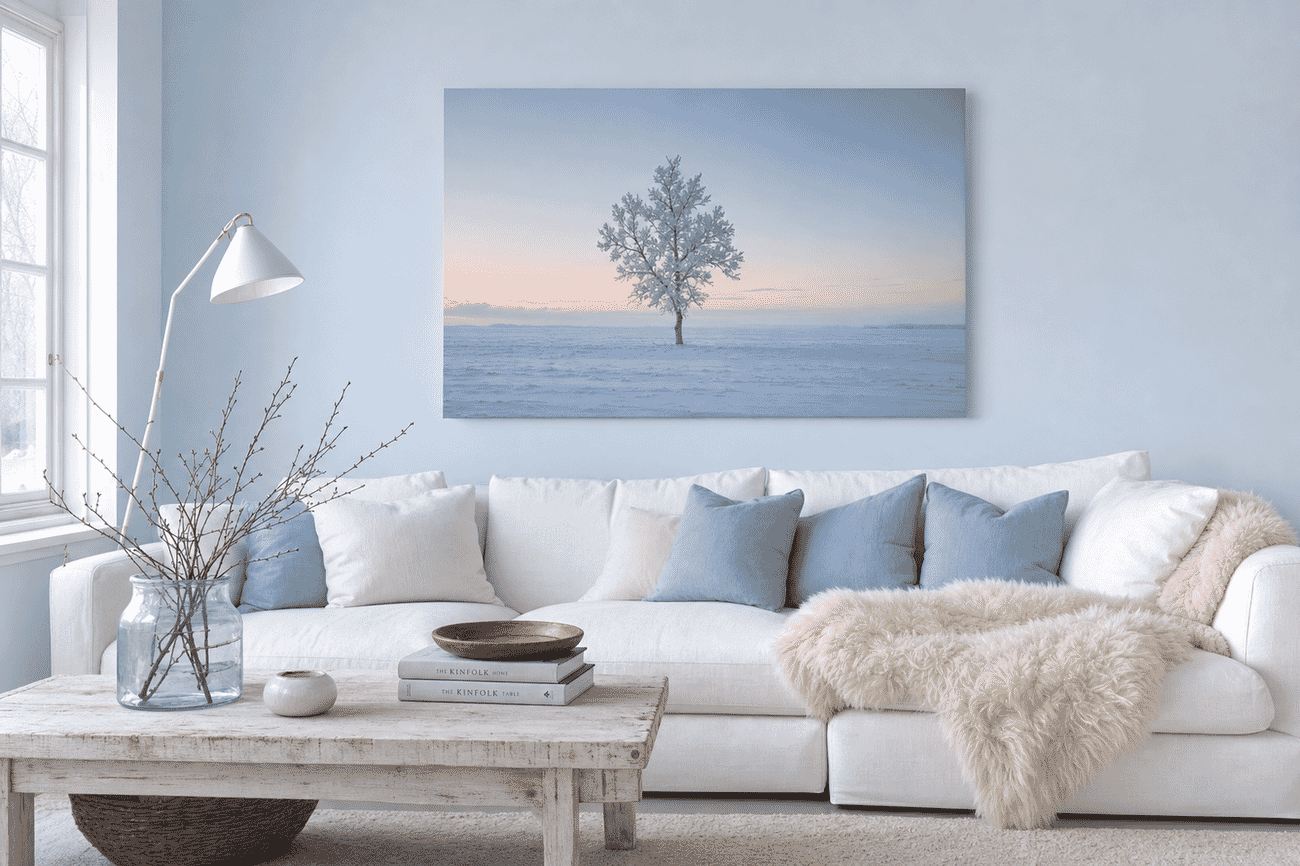
Bedrooms, Scandinavian-styled living rooms, and any space where you want the room to feel restful. Pale blue or cool white walls amplify the canvas; warm walls fight it. 36×24 inch landscape suits most winter compositions.
How to shoot it: Winter scenes succeed through restraint — one subject, one composition, lots of negative space. Snow tricks meters into underexposure; add +1 to +2 stops of exposure compensation to keep whites clean.
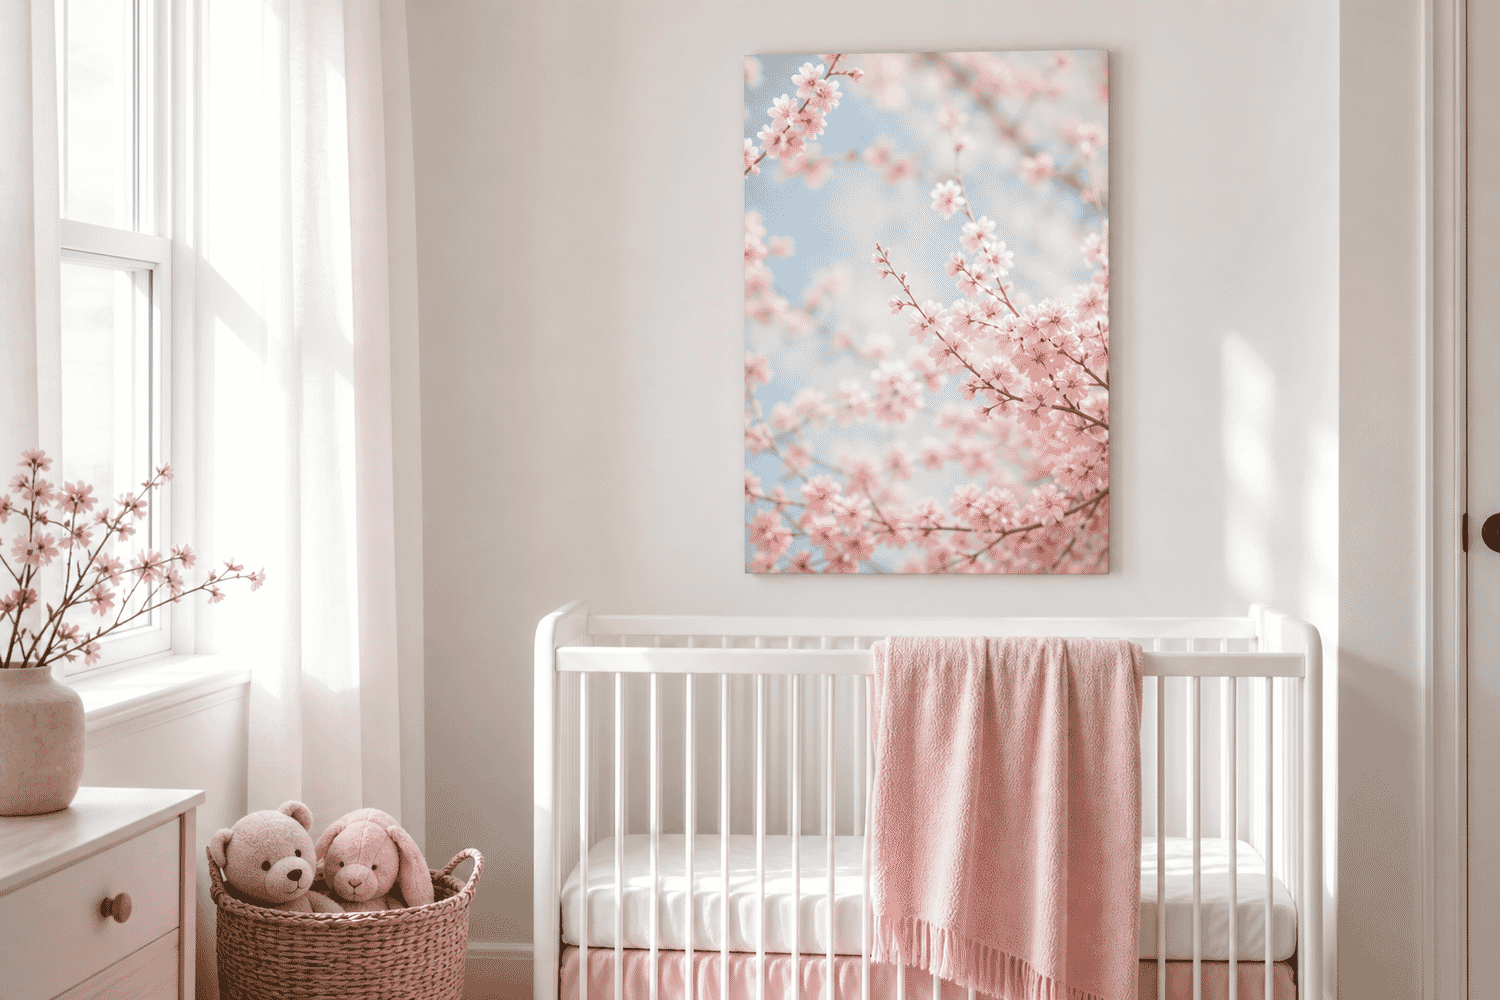
22. Spring Blossoms
Spring blossom canvases — cherry, magnolia, dogwood — bring the most fragile season indoors permanently. The soft pastel palette and the sense of new growth make them natural fits for nurseries and bedrooms.
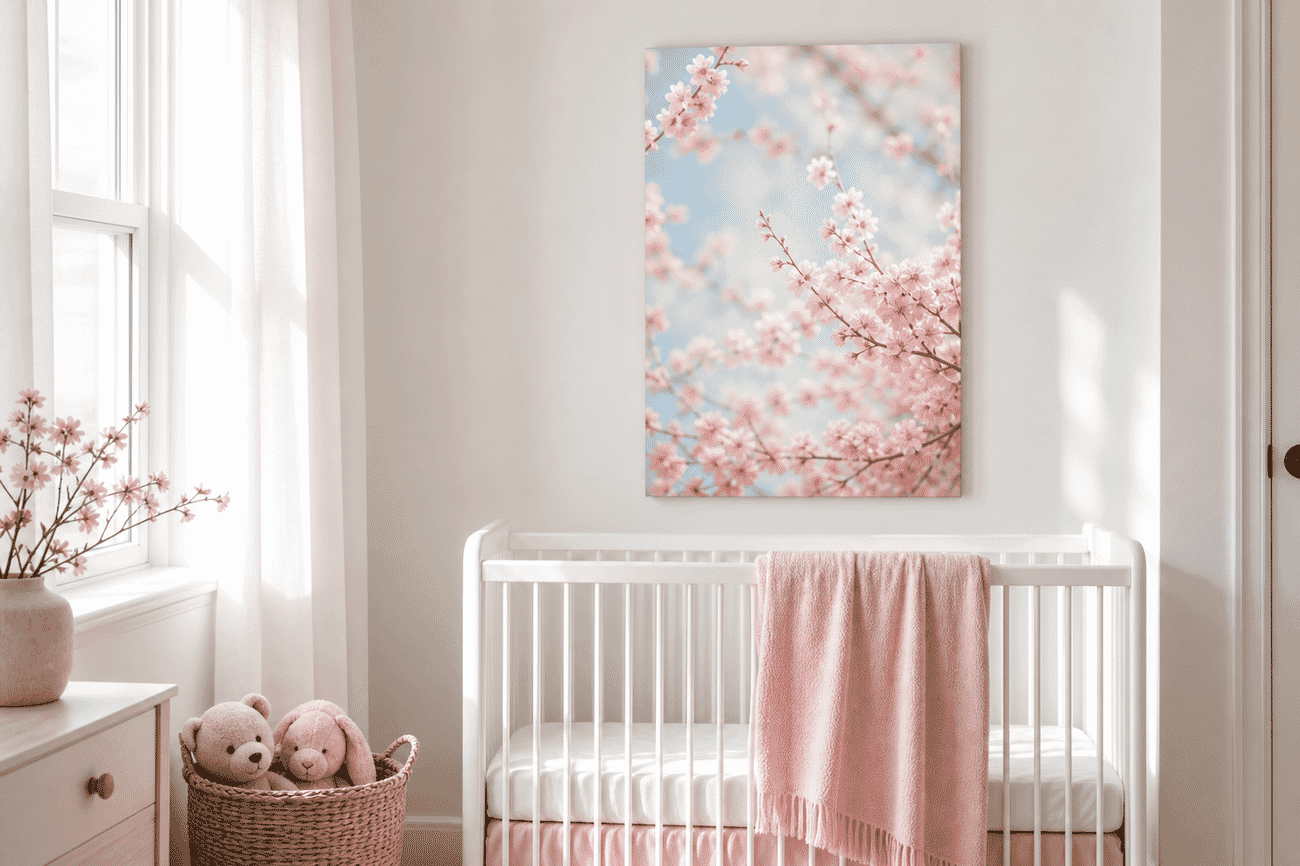
Nurseries, bedrooms, and sunrooms where the soft pink, white, and cream tones can echo other decor. Vertical 24×36 inch orientation works particularly well — blossom branches naturally lend themselves to portrait composition.
How to shoot it: Cherry and magnolia blossoms peak for 7-10 days each spring — check local bloom calendars. Backlight the blossoms with sun behind them for a glowing translucent effect, shoot at f/2.8-f/4 for shallow depth without losing texture.
How the CanvasDiscount Partnership Works
PhotoWorkout has partnered with CanvasDiscount as our preferred canvas printing partner — they offer the cleanest pricing in the category, ship anywhere in the US within 5-7 business days, and apply a 15% discount automatically when readers come through our partner link.
There’s no code to remember. When you click the Print Your Own button on any mockup above, our partner link opens in a new tab and the discount is already applied at checkout. You upload your own photo, pick a size, pick a frame finish, and submit.
We earn a small commission on each print order (at no extra cost to you), which funds the editorial work on PhotoWorkout. The mockup images in this guide are illustrative — they show how each category looks as a canvas, but the photo printed is always yours.
Frequently Asked Questions
What resolution does my photo need to be to print as a canvas?
For canvas prints, the rule of thumb is at least 100 DPI at the print size — meaning a 24×36 inch canvas needs at least 2400×3600 pixels (about 8.6 megapixels). Most modern phone and camera photos exceed this comfortably. For larger canvases (40 inch and up), aim for at least 150 DPI to keep details crisp at close viewing distances.
Will my photo look the same on canvas as it does on screen?
Close, but not identical. Canvas softens fine detail (the texture absorbs light), warm tones reproduce particularly well, and the matte finish removes screen-glare reflections. Highly saturated photos sometimes look slightly less vivid; soft-toned photos often look better than they do on a screen. Print a small test (12×18 inch) before committing to a large size if you’re unsure.
Do I need to edit my photo before sending it to CanvasDiscount?
Basic edits are worth doing — straighten horizons, correct exposure, sharpen if needed. CanvasDiscount doesn’t edit your photo, just prints what you upload. If you’d like to soften the image for canvas (the most common adjustment), reduce sharpening by 20-30% and add 5-10% saturation to compensate for the texture’s matte effect.
What canvas sizes work best for each category?
Each section above notes the best size for that category. As a general rule: small subjects (macros, kid portraits) work well at 16×20 to 24×24 inch; medium subjects (single landscapes, urban details) at 24×36 to 30×40 inch; sweeping panoramas at 48×18 inch and larger. Square works best for symmetrical subjects (macros, top-down aerials); portrait orientation for vertical compositions; landscape for everything else.
What’s CanvasDiscount’s return policy?
CanvasDiscount offers a satisfaction guarantee — if there’s a print quality issue, they reprint at no cost. Check their current return terms during checkout. The 15% PhotoWorkout discount applies in addition to any active CanvasDiscount promotions.
Bottom Line
Canvas prints work as wall art when they’re chosen with the room in mind — the right category, the right size, the right wall position. Twenty-two ideas is intentionally a lot; this guide is meant to be scrolled through to find the category that matches a photo you already have or a shot you want to take next.
When you find the one that fits, click Print Your Own on any mockup. The partner link opens CanvasDiscount with the 15% discount applied automatically — upload your photo, pick a size, and the canvas ships in a week.
Printing Reference
- CanvasDiscount — PhotoWorkout partner page – Our preferred canvas printing partner; 15% discount applied automatically via partner link.
- PhotoWorkout — Best Canvas Print Services – Full comparison of canvas print providers if you want to see how CanvasDiscount stacks up against alternatives.
Image Sources
- PhotoWorkout editorial — original mockup illustrations – All 22 canvas-print mockup images in this guide are PhotoWorkout original editorial — illustrative scenes, not actual photo prints. Upload your own photo to print.
PhotoWorkout earns a small commission on canvas orders placed through the CanvasDiscount partner link, at no extra cost to you. The 15% discount is applied automatically.