
- Use selection tools (Rectangular Marquee, Elliptical Marquee, Quick Selection, Pen) to isolate areas and apply Brightness/Contrast adjustments for fast, targeted brightening.
- Paint brightness onto specific areas using a white brush on a new layer with reduced opacity and blend modes like Overlay or Soft Light.
- Combine Brightness/Contrast or Curves adjustment layers with layer masks for non-destructive, fine-tuned brightening control.
- Use Photoshop’s AI-powered Select Subject and Object Selection Tool for one-click selections of complex subjects like people or animals.
- Apply the Gradient tool for smooth, gradual brightening across large areas like skies or foregrounds.
Introduction
Knowing how to brighten a specific part of an image in Photoshop is one of the most essential photo editing skills. Whether it’s lifting shadows on a face, brightening a dark foreground, or drawing attention to a key element in a composition, selective brightening gives photographers and editors precise control over where the viewer’s eye lands.
This tutorial covers multiple methods for selectively brightening photos in Photoshop — from classic selection-based techniques to brush-and-mask workflows, modern AI-powered selection tools, and the gradient tool. Each approach has its strengths, and the best choice depends on the specific editing situation.
Here’s what this guide covers:
- Brightening a person’s face or a specific object
- Brightening the sky or foreground
- Brightening the edges of the frame
- Creating realistic, natural-looking brightness adjustments in any targeted area
Selective Brightening in Photoshop: The Basics
In Photoshop, there are two broad approaches to brightening part of an image:
Selection-based brightening works by selecting a portion of the image, then applying a brightness adjustment to just that area. This method is fast and precise — ideal for quickly lifting exposure on a well-defined region. The key is choosing the right selection tool for the shape of the area being brightened.
Brush-based brightening involves painting brightness onto the photo using brushes and layer masks. While it requires more manual effort, this approach produces subtle, realistic brightening effects with smooth transitions. It’s especially effective for portraits and scenes where hard selection edges would look unnatural. For best results with brush-based methods, a graphics tablet is recommended over a trackpad, and a mouse is a good middle ground.
Both approaches can be combined with adjustment layers for non-destructive editing, meaning the original pixels remain untouched and changes can be refined at any time.
The sections below walk through each method step by step.
Method 1: Brightening With Selections
Photoshop offers several selection tools, and the best one depends on the shape of the area being brightened. The key question is: what does the target area look like?
Follow the relevant section below based on the shape of the area to brighten.
For Square/Rectangular Objects
For brightening a square or rectangular area, the Rectangular Marquee tool is the fastest option. It’s located near the top of the toolbar, or press M on the keyboard to activate it.
Click and drag to draw a selection around the entire object or area that needs brightening.
Next, go to Image > Adjustments > Brightness/Contrast:
Drag the Brightness slider to the right to increase the brightness of the selected area:
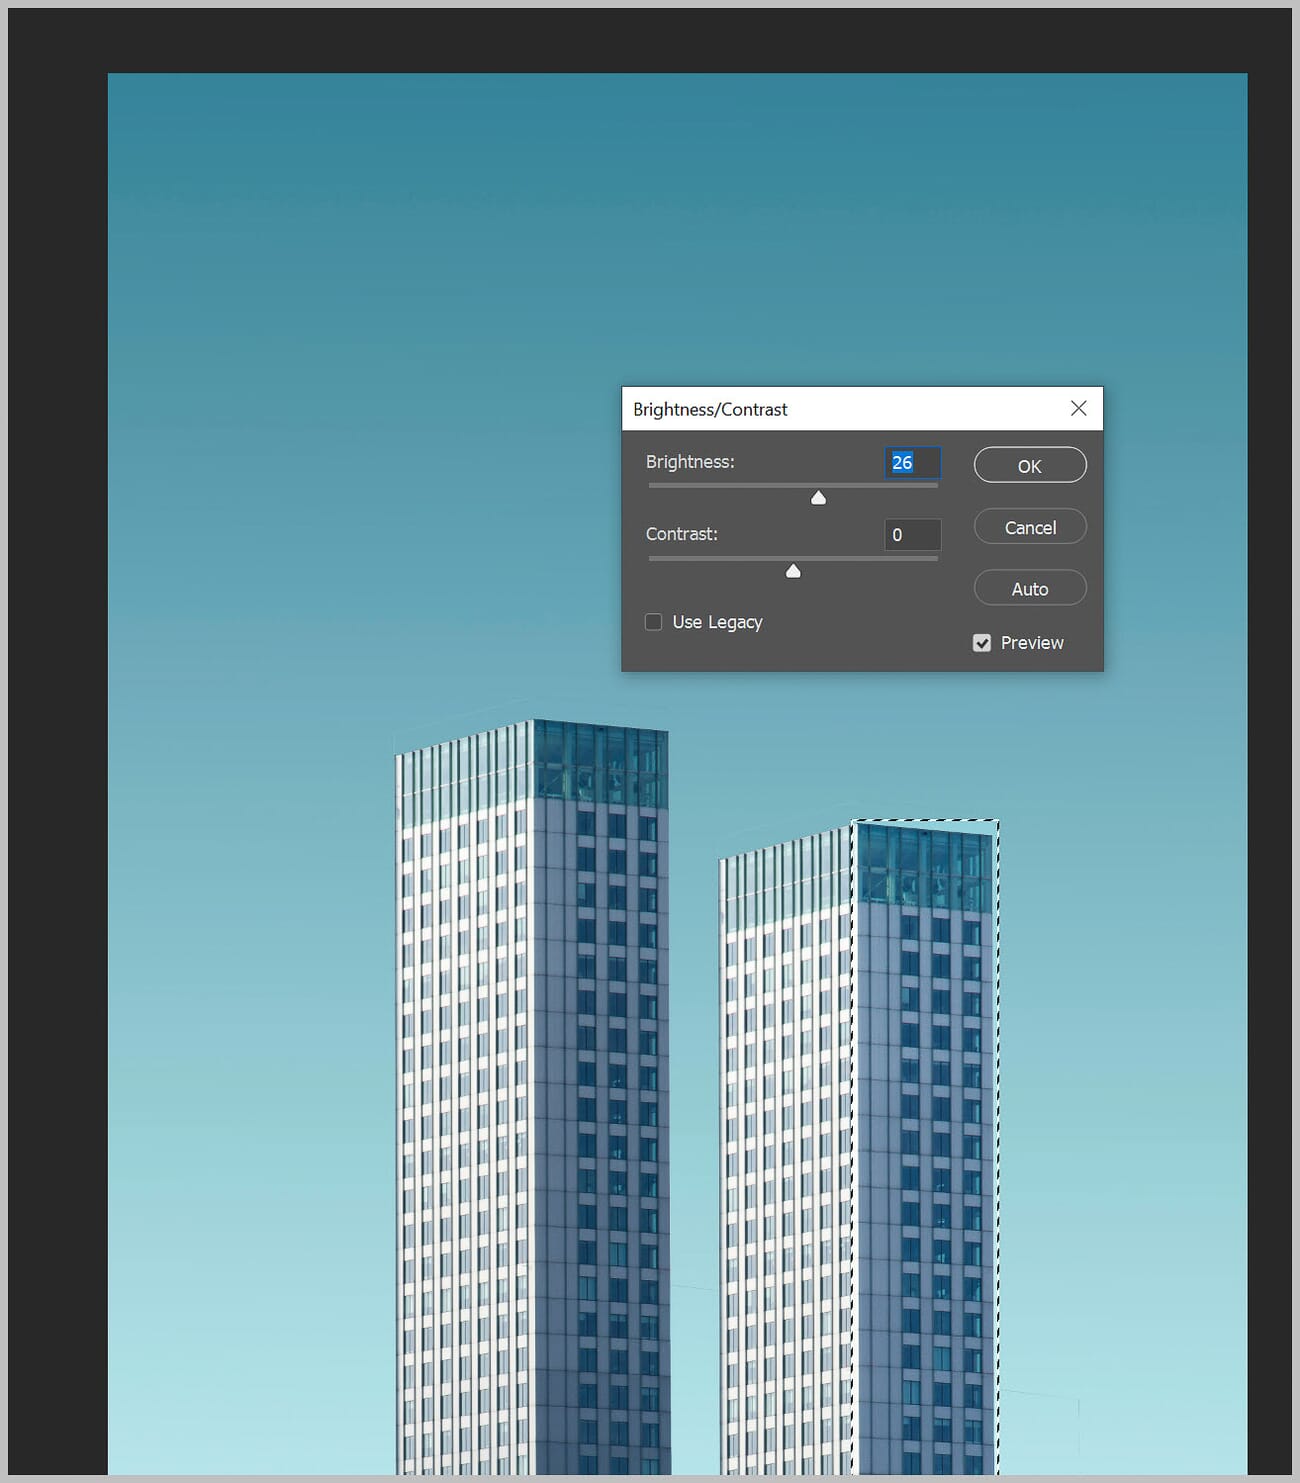
The selected portion of the image will lighten up immediately. Click OK to apply.
For Circular/Elliptical Objects
For circular or elliptical areas, the Elliptical Marquee tool is the most efficient choice. It’s nested under the Rectangular Marquee in the toolbar — click and hold the tool icon to reveal it.

Click and drag to draw an elliptical selection over the area to brighten:
Then go to Image > Adjustments > Brightness/Contrast and use the Brightness slider to lighten the selected area:
Adjust the slider until the brightness level looks right, then click OK.
For Complex Objects With Well-Defined Edges
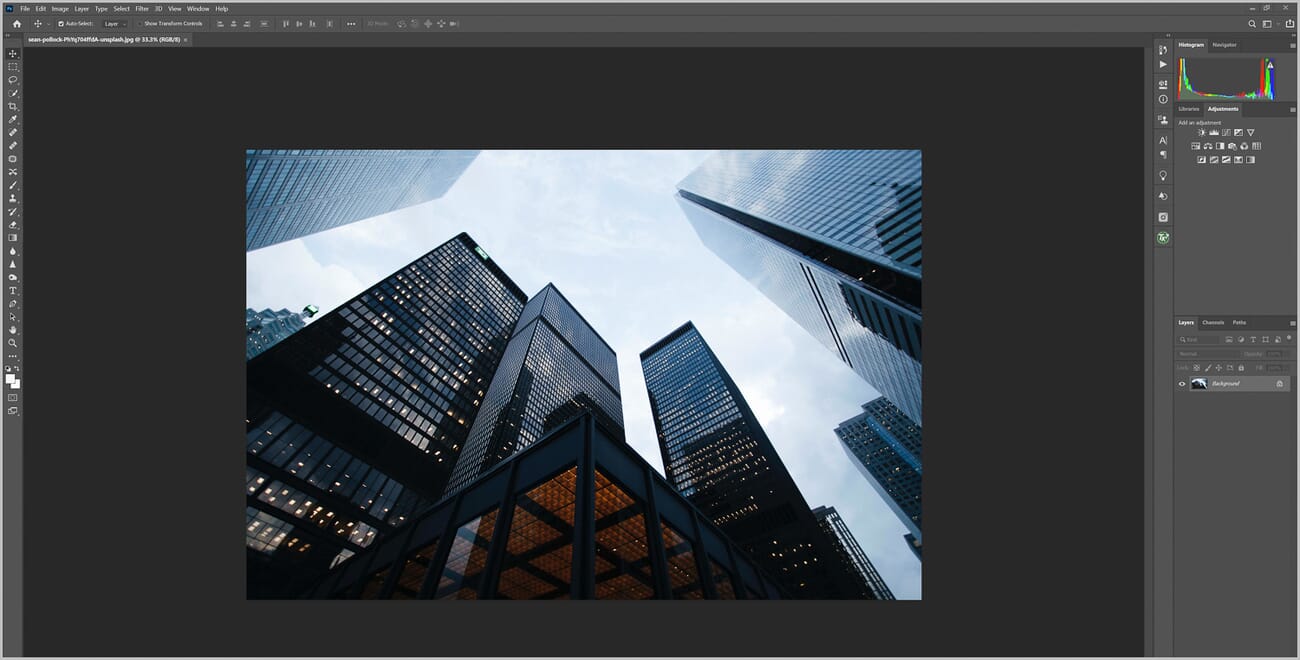
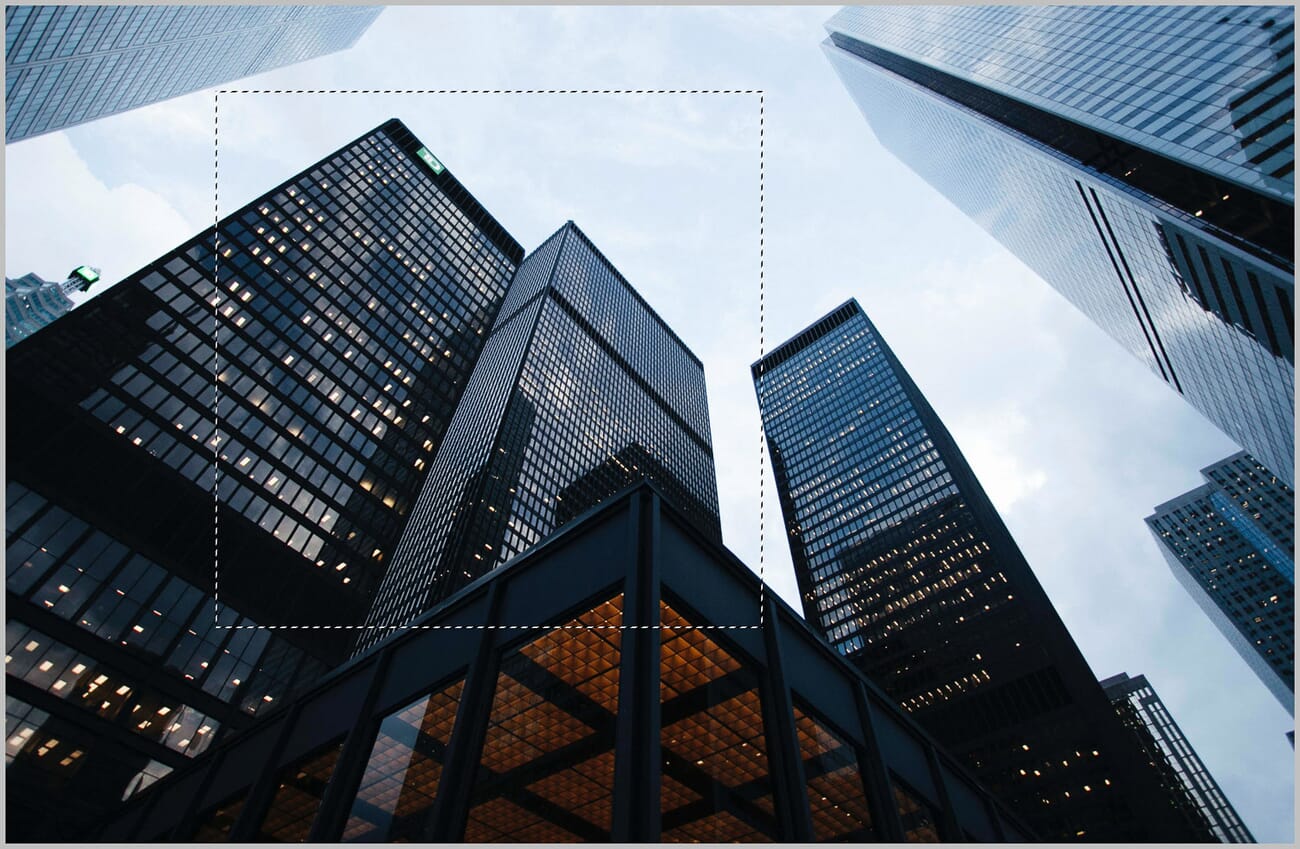
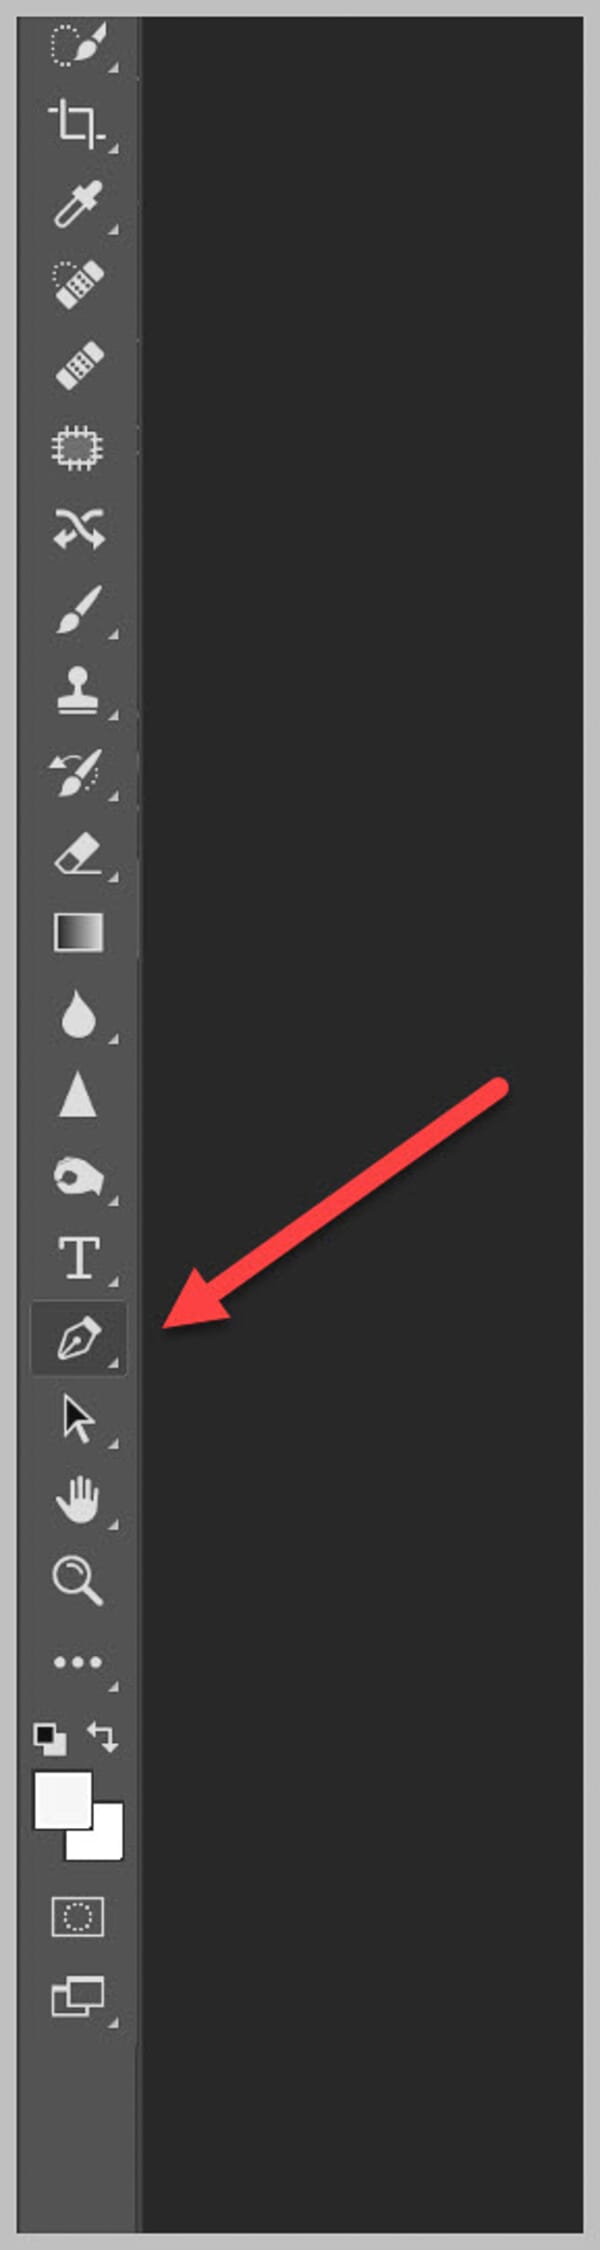
When the target area has a complex but well-defined shape — such as a building, vehicle, or product — the Pen tool provides the most accurate selection. Find it in the left toolbar or press P on the keyboard.
Click around the object to place anchor points at every corner and edge. Hold Ctrl (or Cmd on Mac) and drag to reposition points. Click and drag while placing points to create smooth curves.
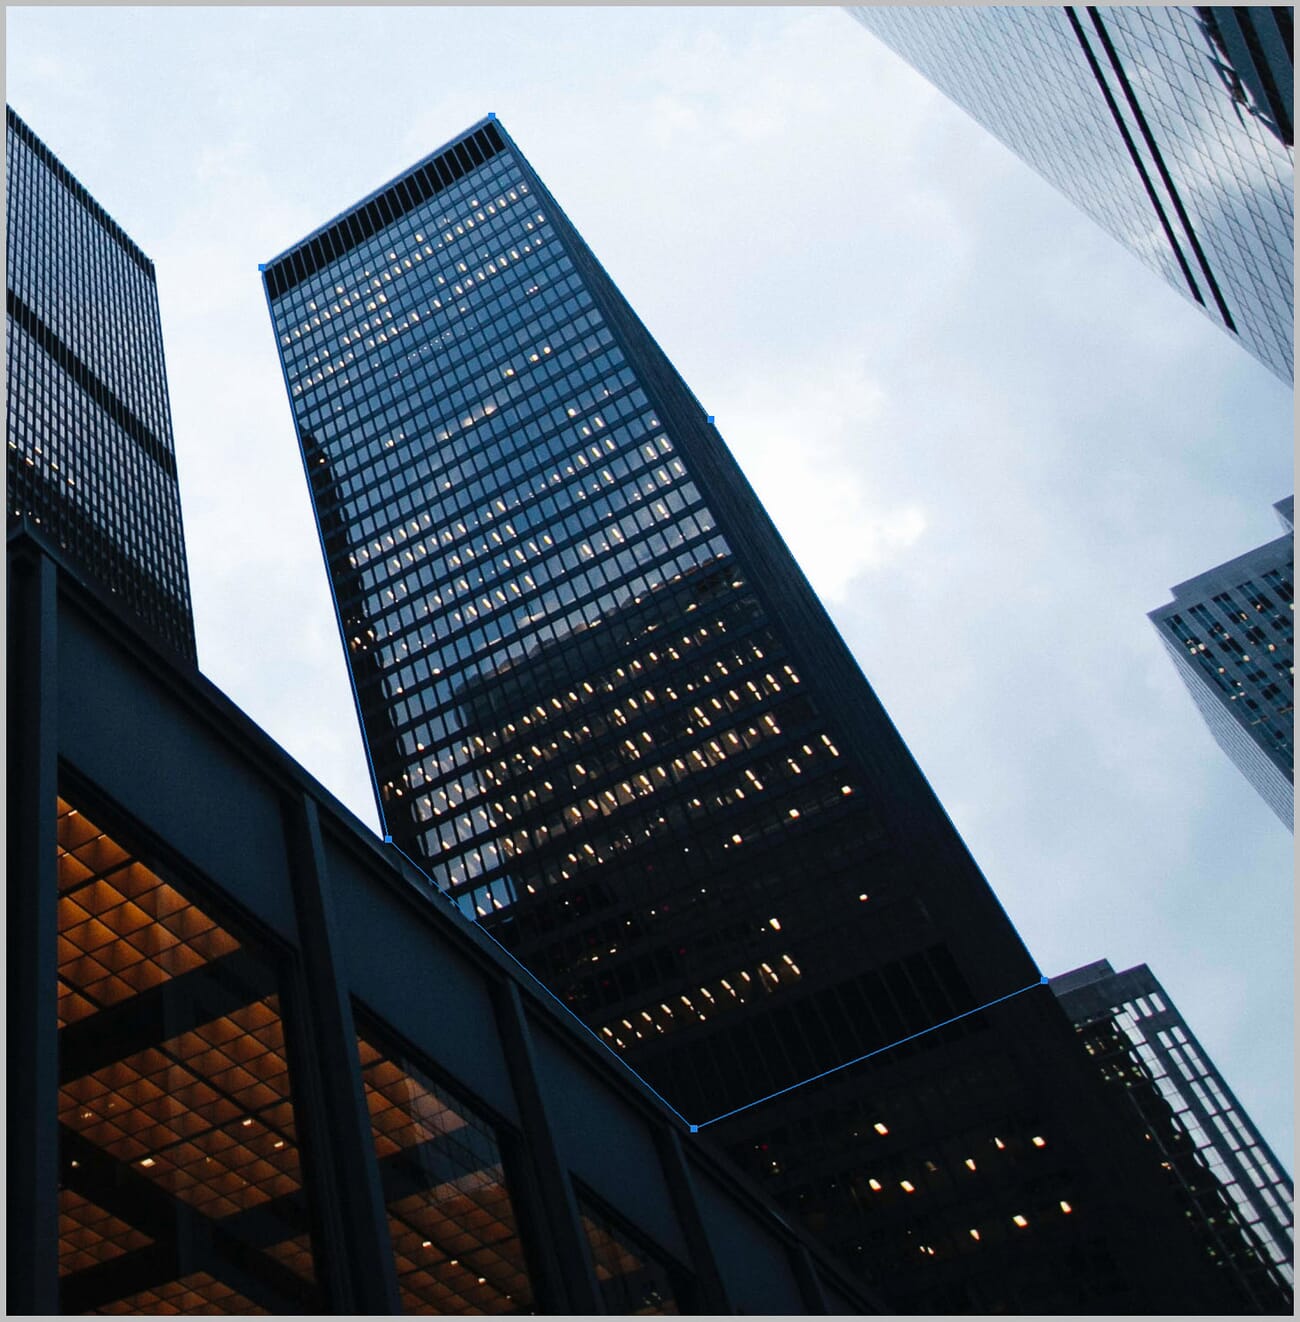
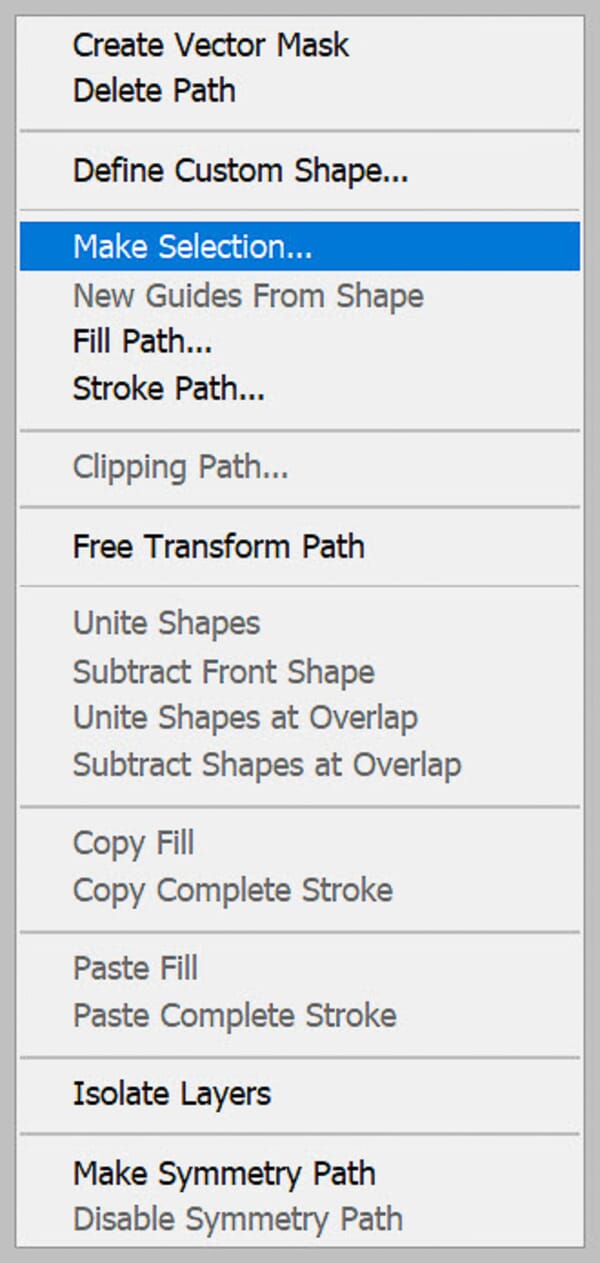
After tracing the entire outline, click on the first anchor point to close the path. Then right-click the path and select Make Selection:
In the Make Selection dialog, set the Feather Radius to 0 and leave Anti-aliased checked:
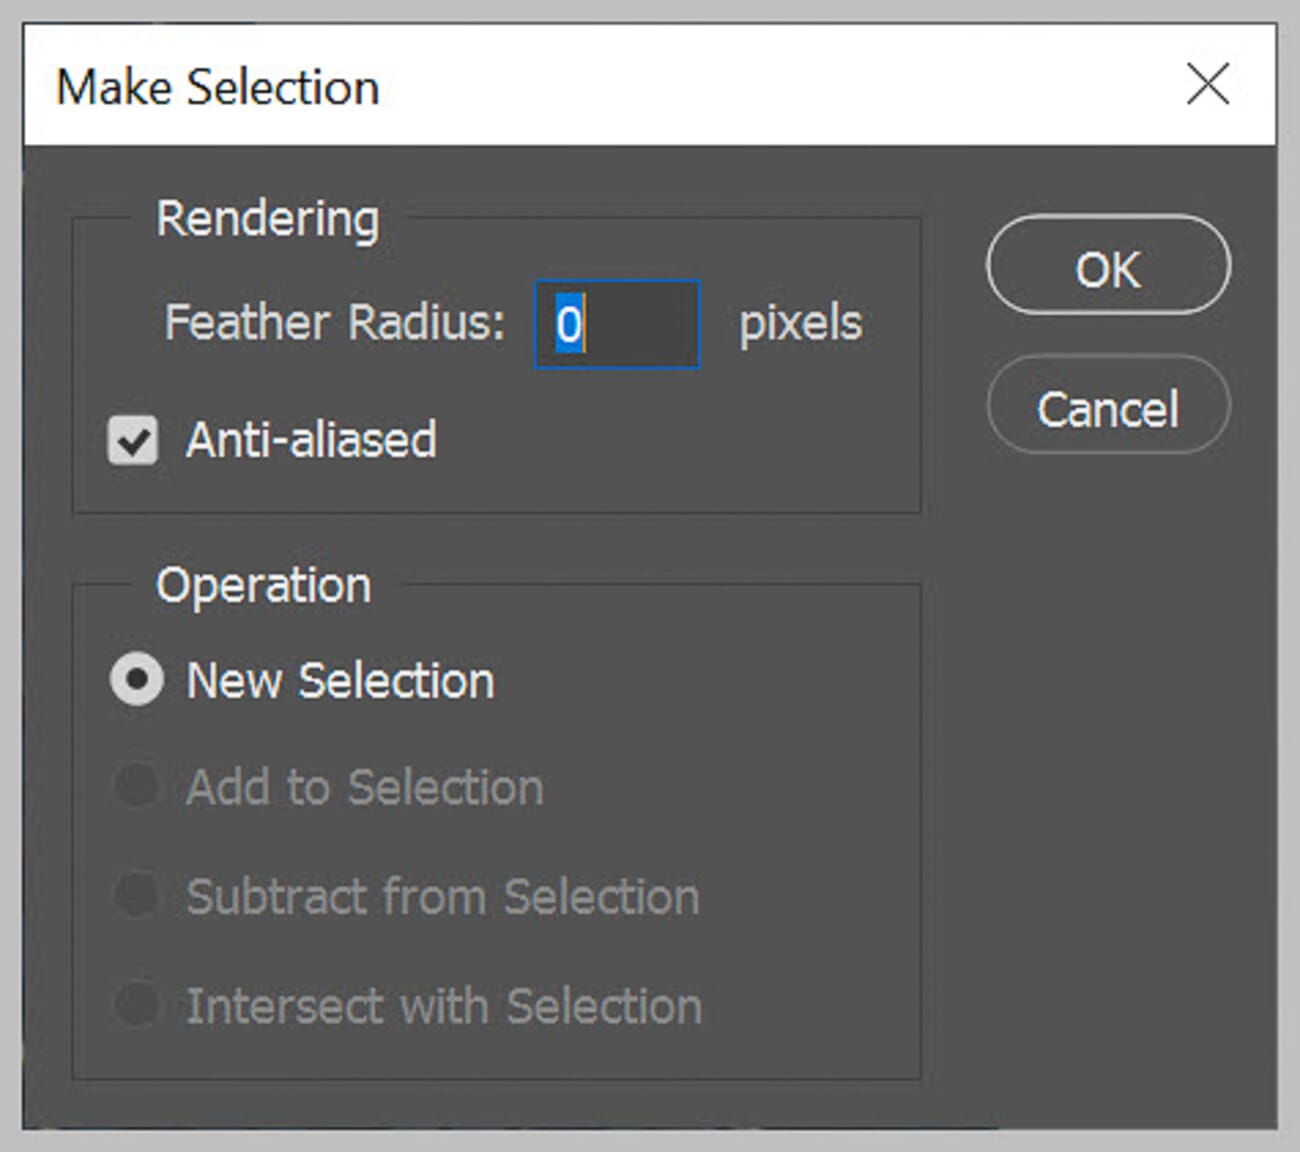
Click OK. The path converts to a selection. Now go to Image > Adjustments > Brightness/Contrast and increase the brightness as needed.
For Complex Objects With Detailed Edges
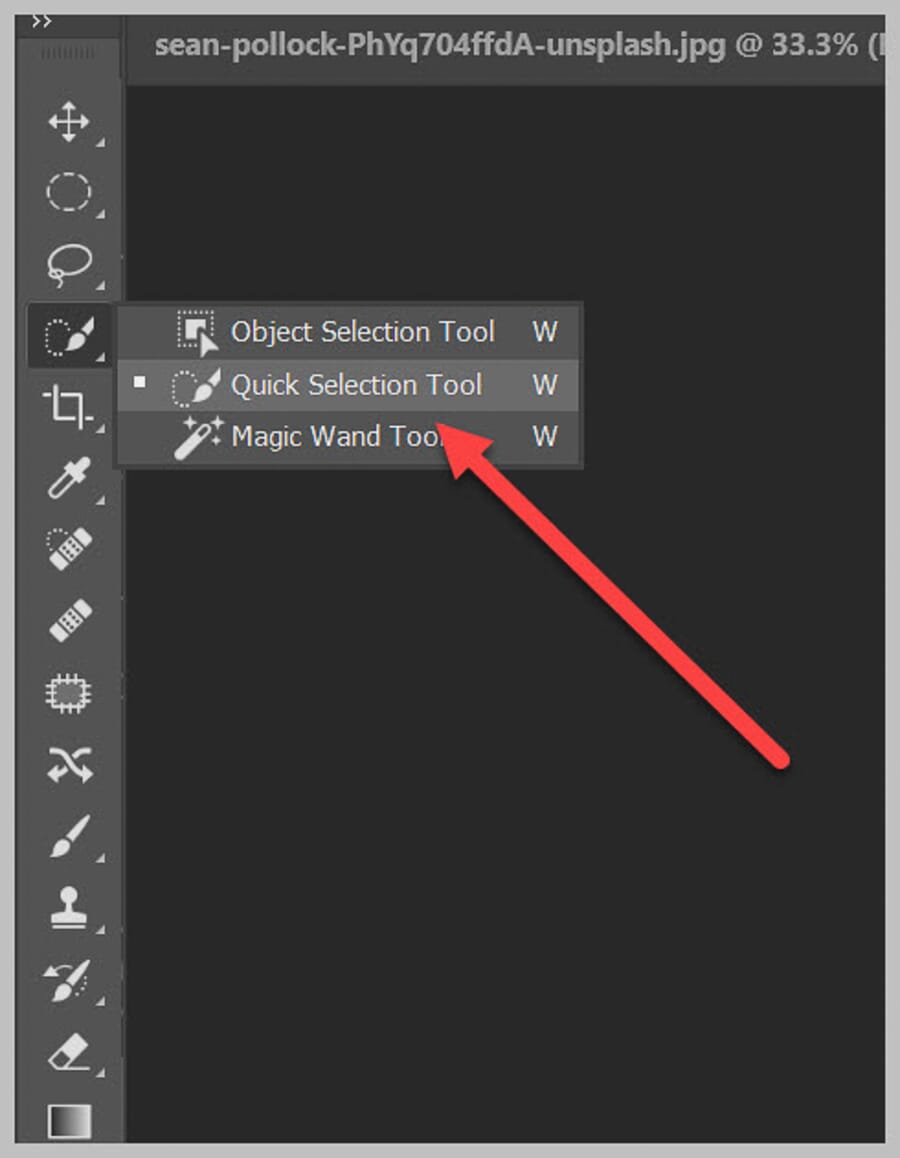
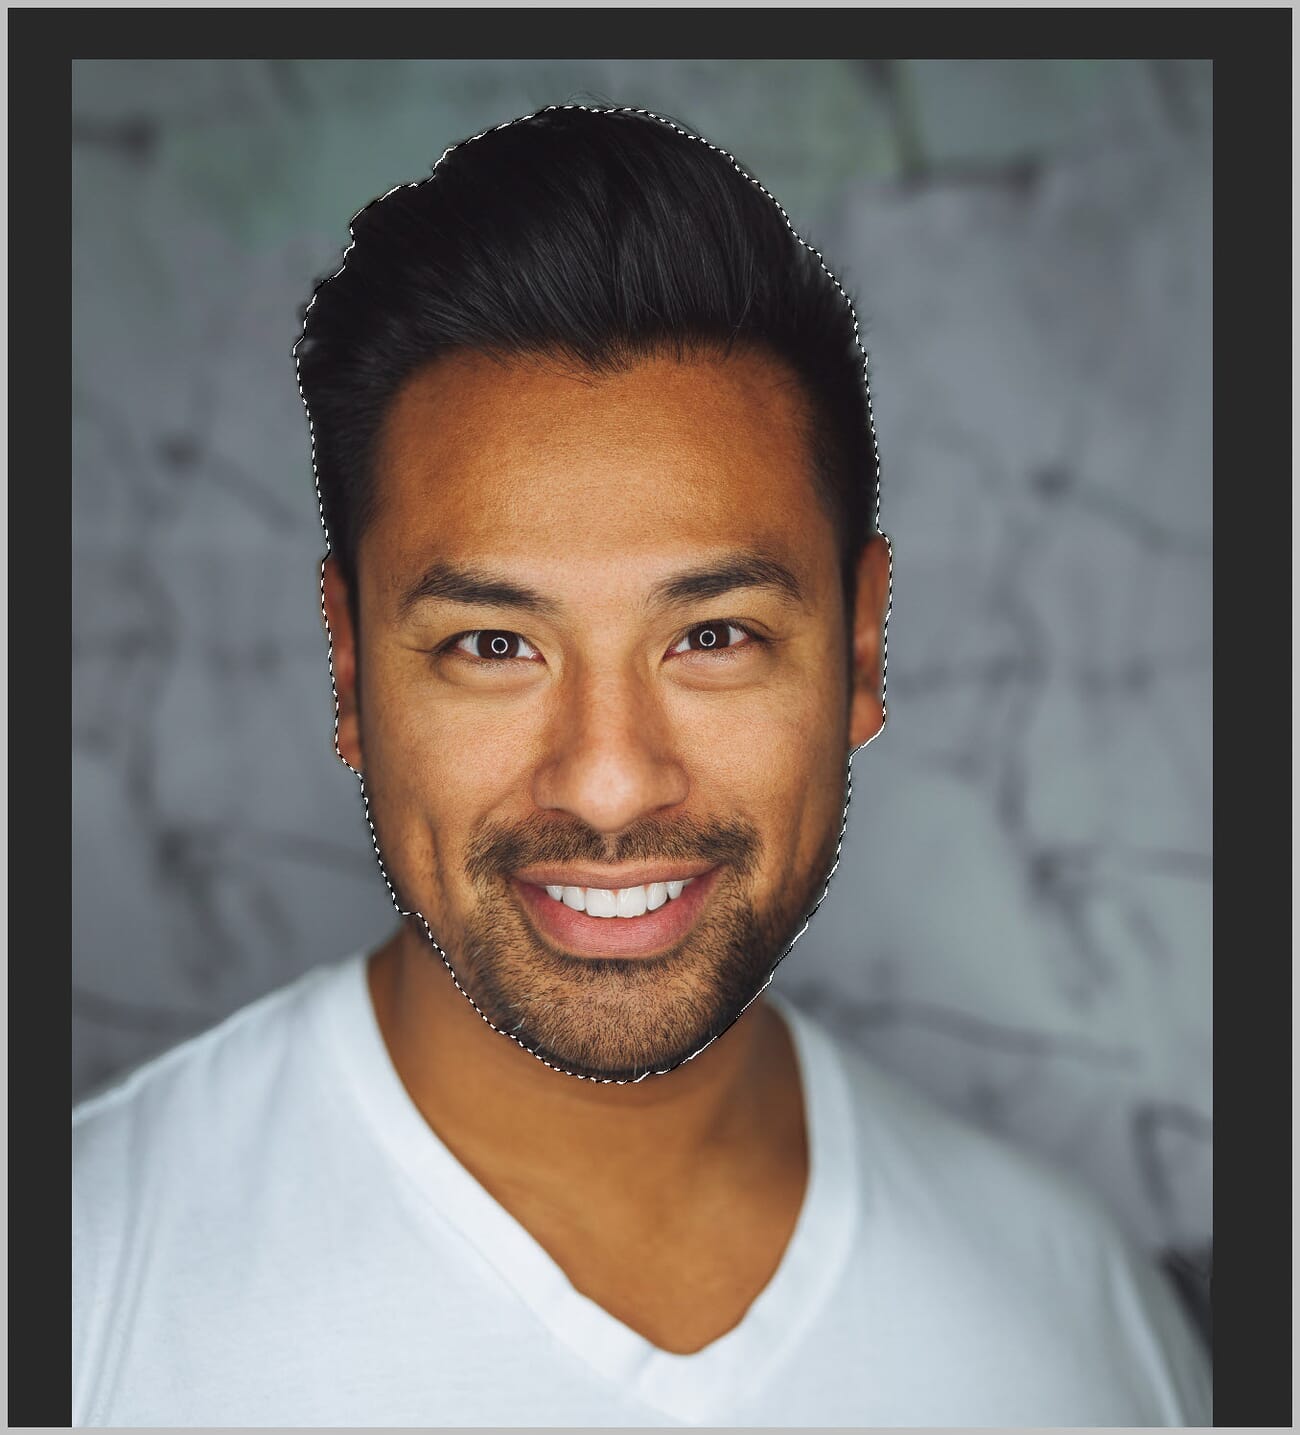
When the subject has intricate, detailed edges — such as a person, an animal, or hair — the Quick Selection tool is the best option. It uses edge detection to snap to object boundaries intelligently.
Find it near the top of the left toolbar:
With the Quick Selection tool active, paint inside the subject. Photoshop automatically expands the selection to follow the edges:
To remove parts of the selection, hold Alt (or Option on Mac) and paint over the area to deselect.
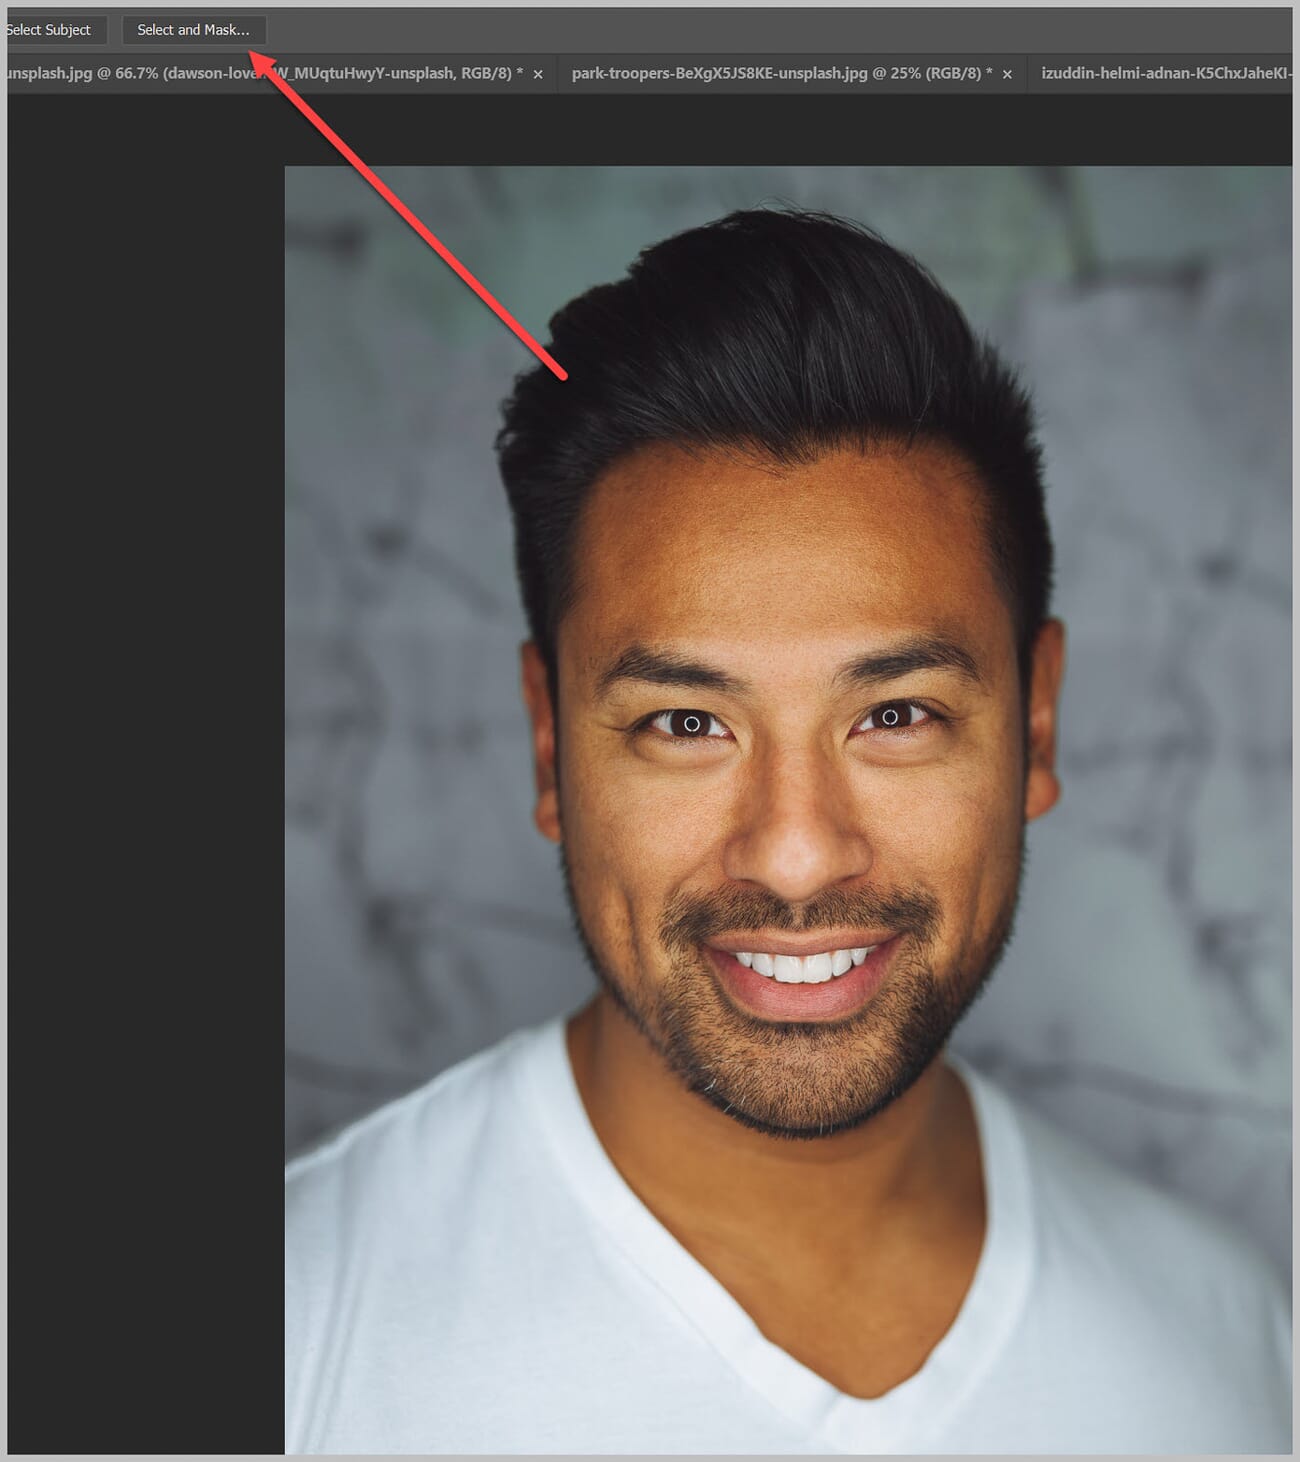
For further refinement, use the Select and Mask workspace (available in the Options Bar). This is especially useful for complex edges like hair:
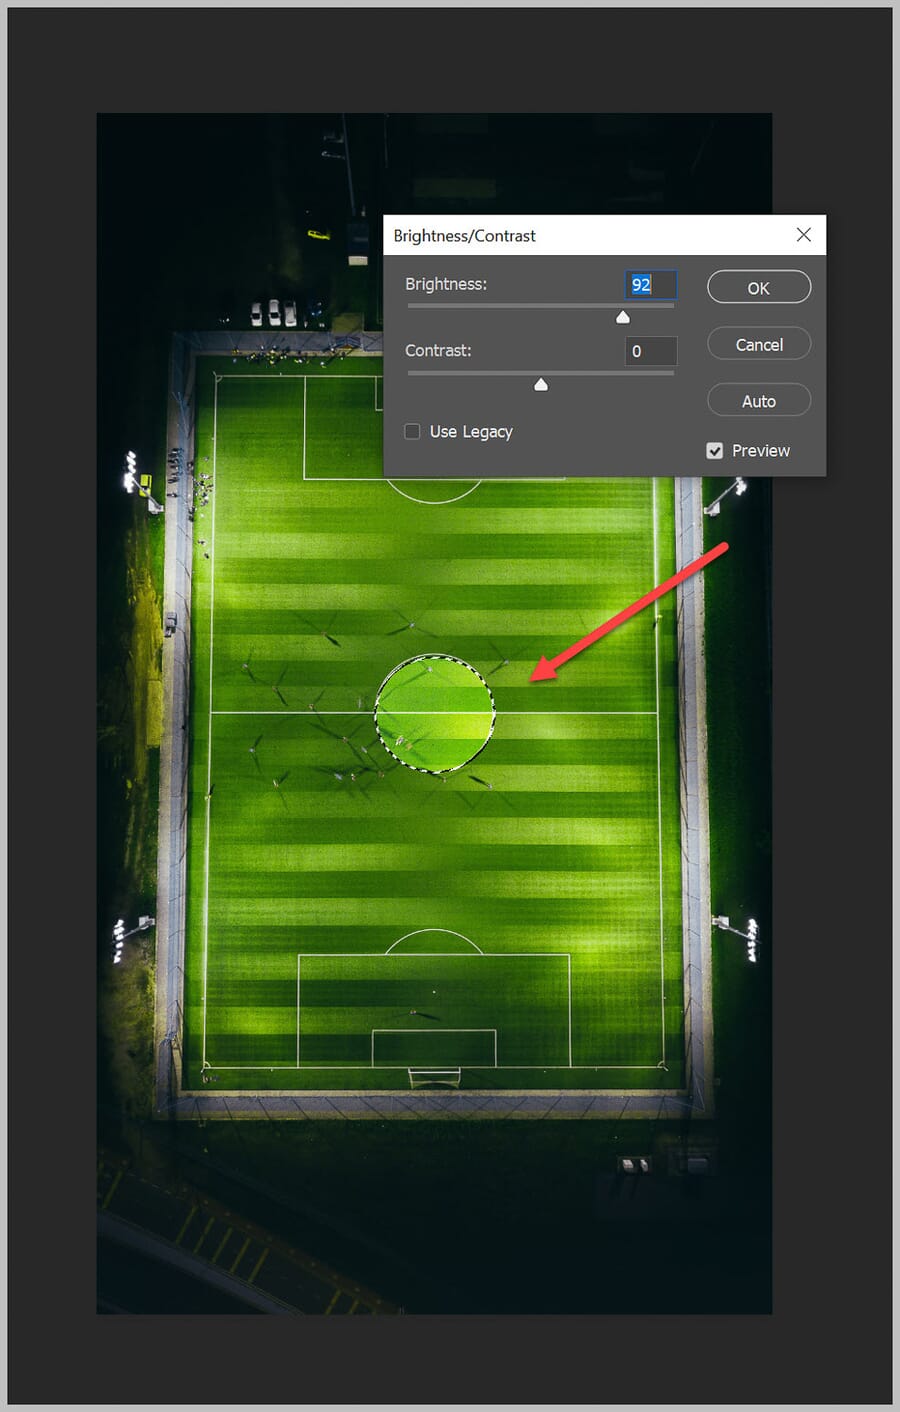
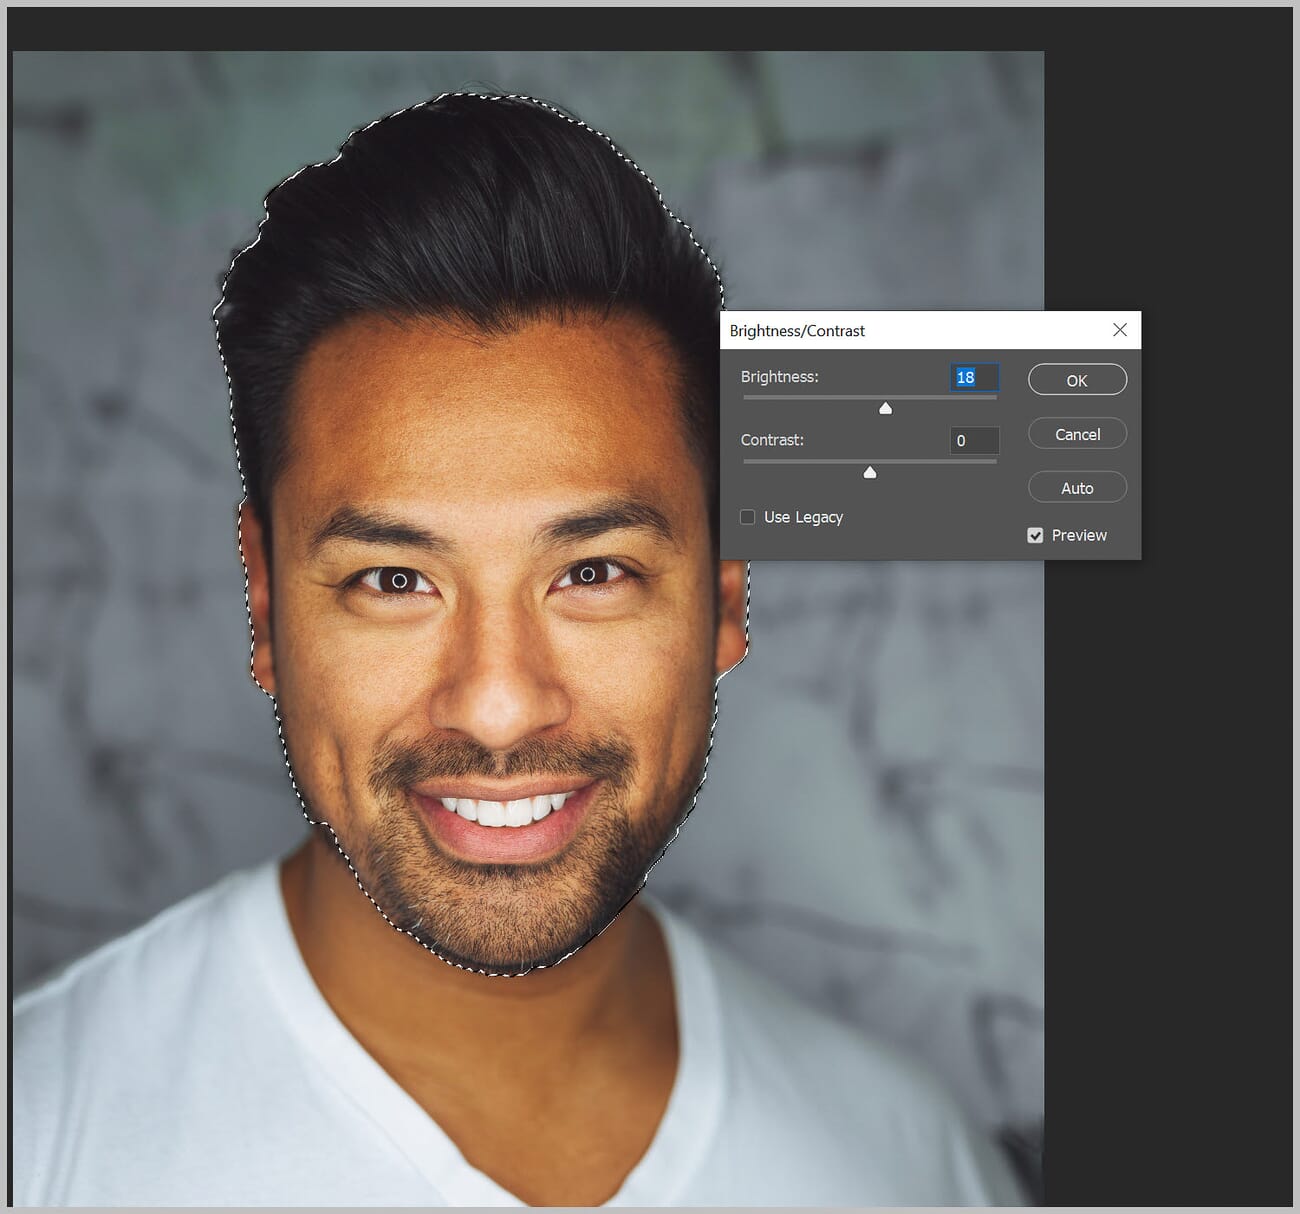
Once the selection is finalized, go to Image > Adjustments > Brightness/Contrast and raise the brightness slider:
Refining the Brightening Effect
Sometimes the basic approach — select, then brighten — produces results that look a bit harsh or unnatural. A few refinements can fix this.
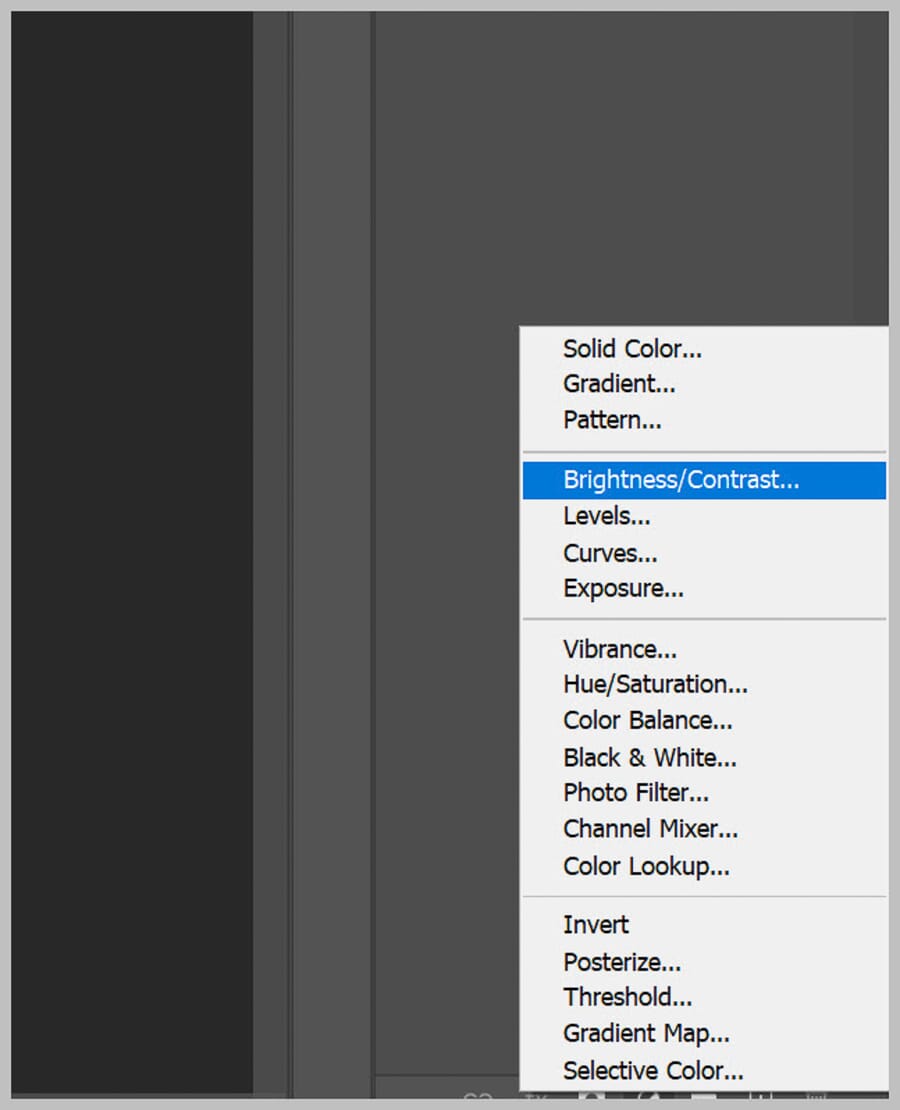
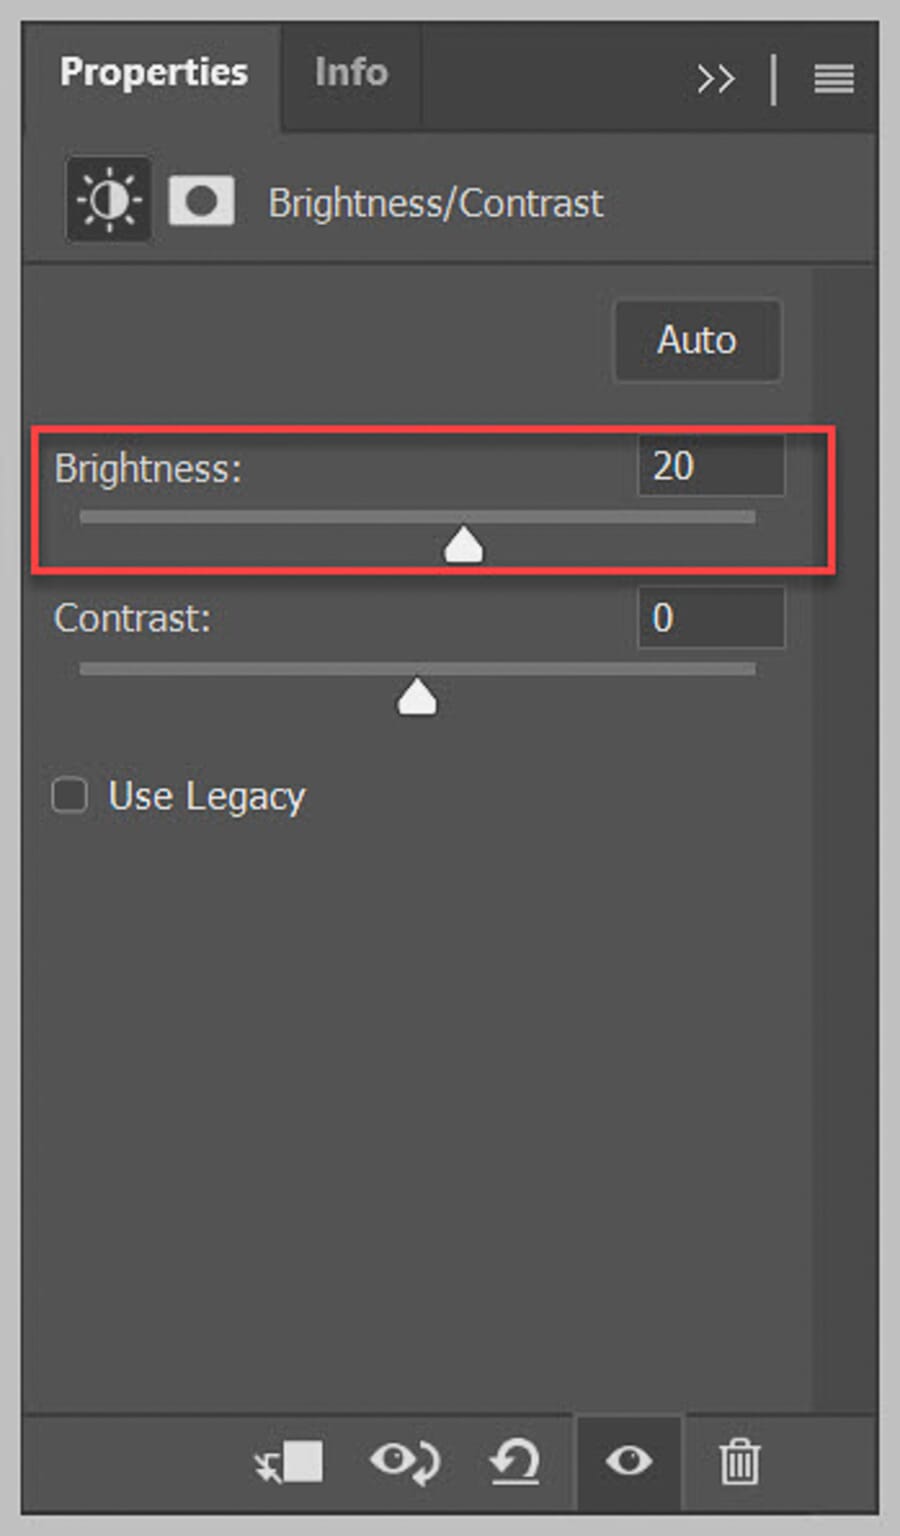
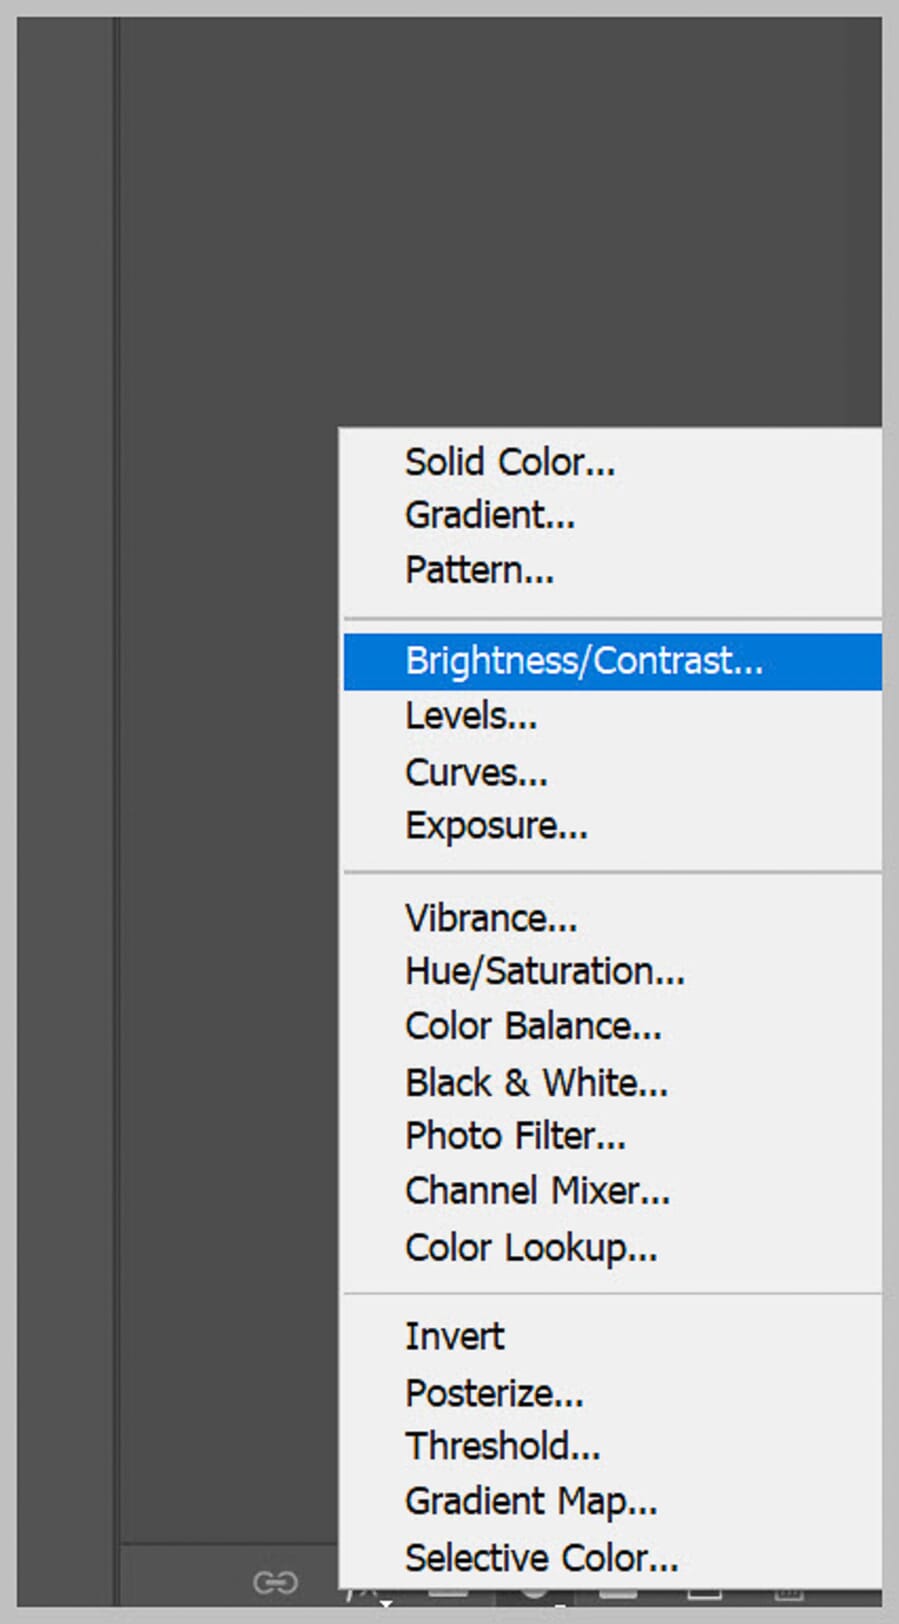
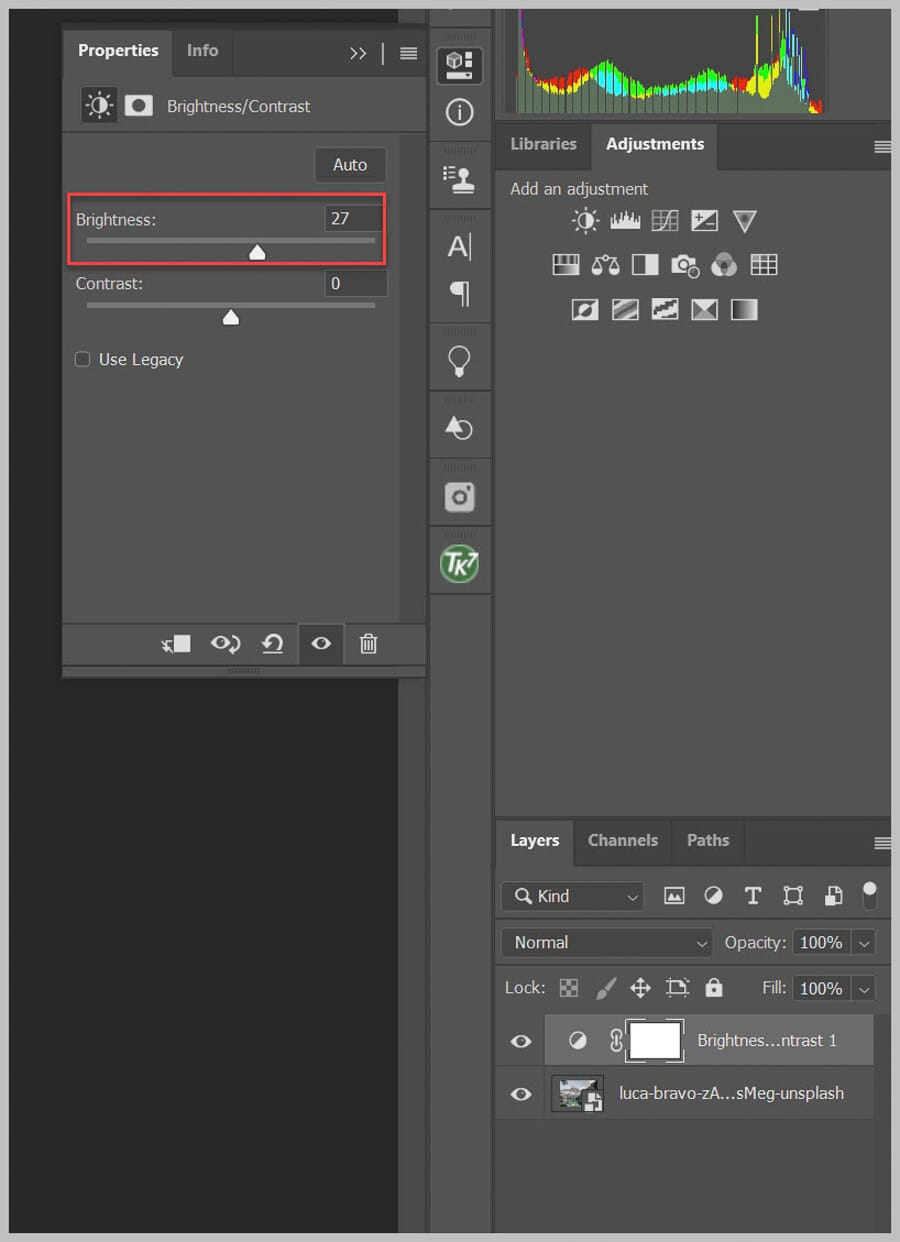
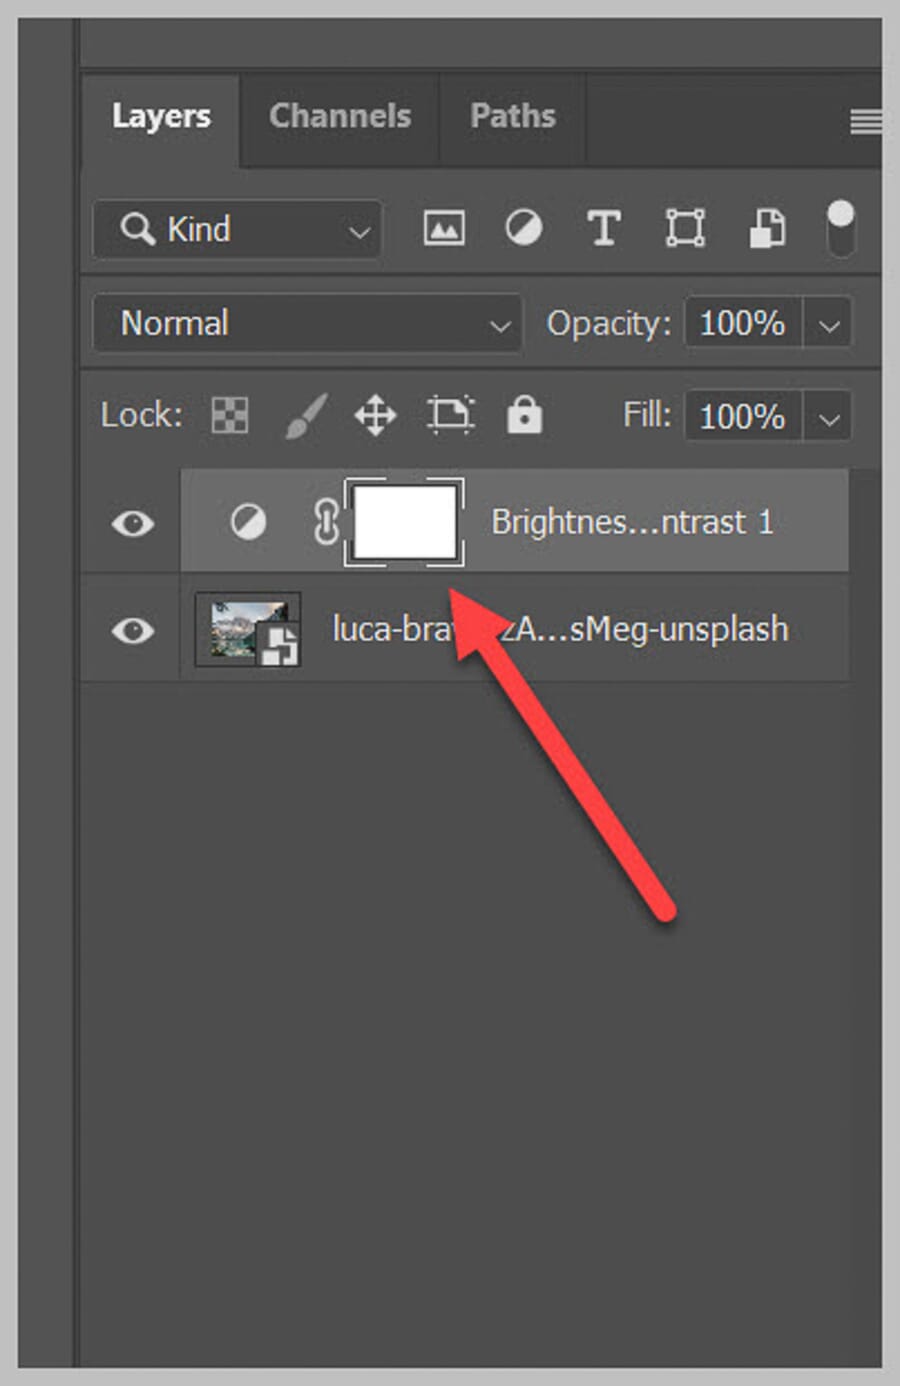
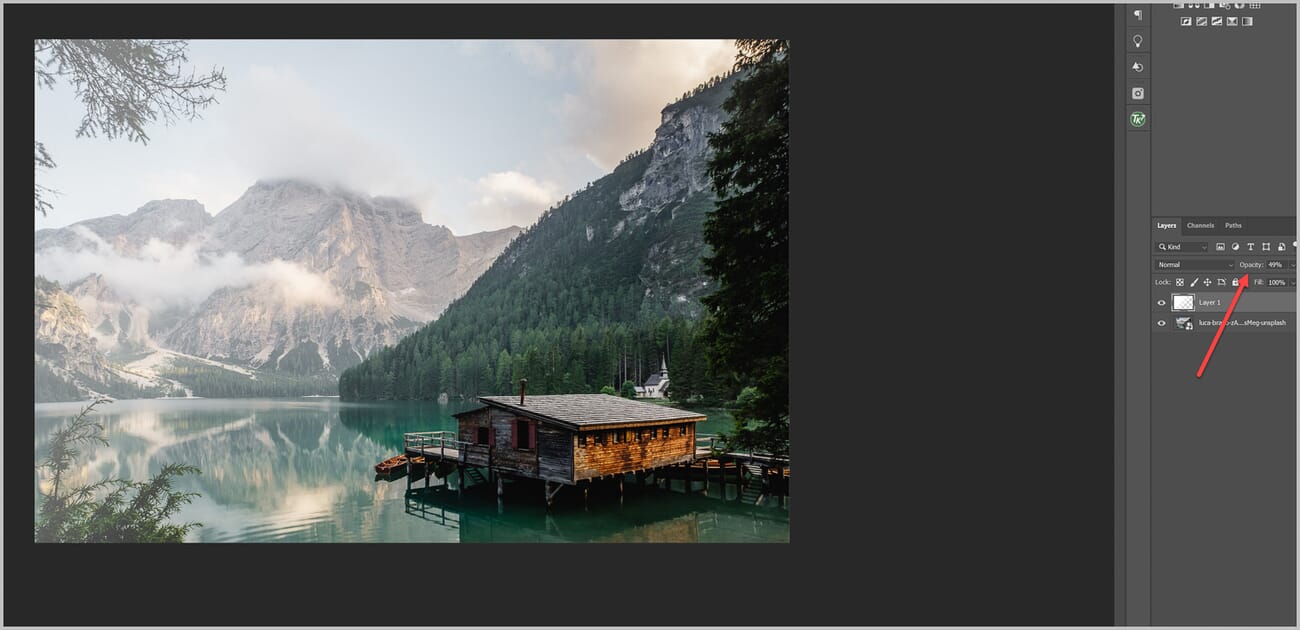
Instead of applying Brightness/Contrast directly, create a Brightness/Contrast adjustment layer (from the Adjustments panel or via Layer > New Adjustment Layer > Brightness/Contrast). When a selection is active, Photoshop automatically creates a layer mask from that selection:
Increase the brightness on the adjustment layer:
To soften the transition between the brightened area and the rest of the image, click on the layer mask thumbnail in the Layers panel:

Open the Properties panel and increase the Feather value. A larger feather radius creates a more gradual transition between the brightened area and the surrounding pixels:
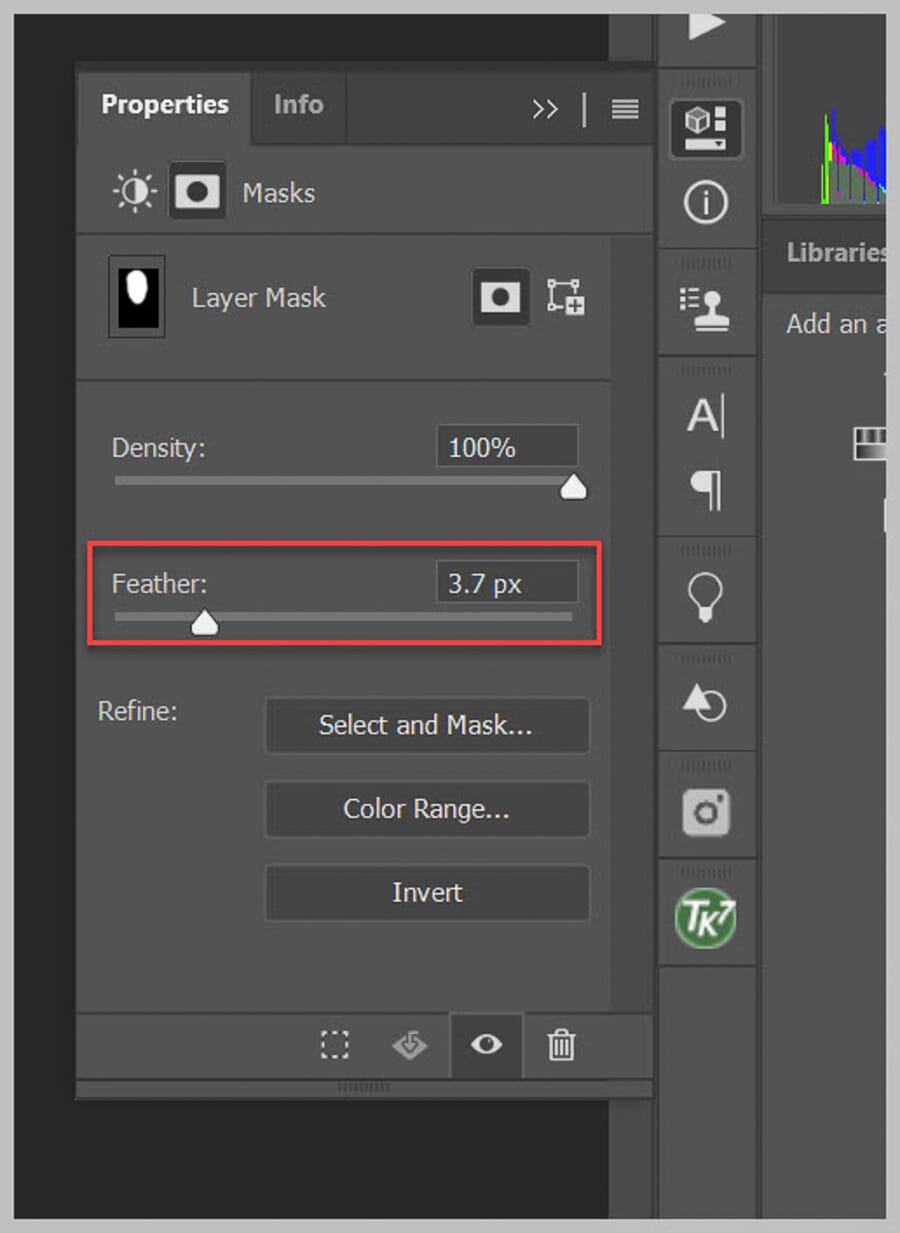
Click OK. The feathering blurs the mask edges, creating a smooth, natural-looking brightness transition.
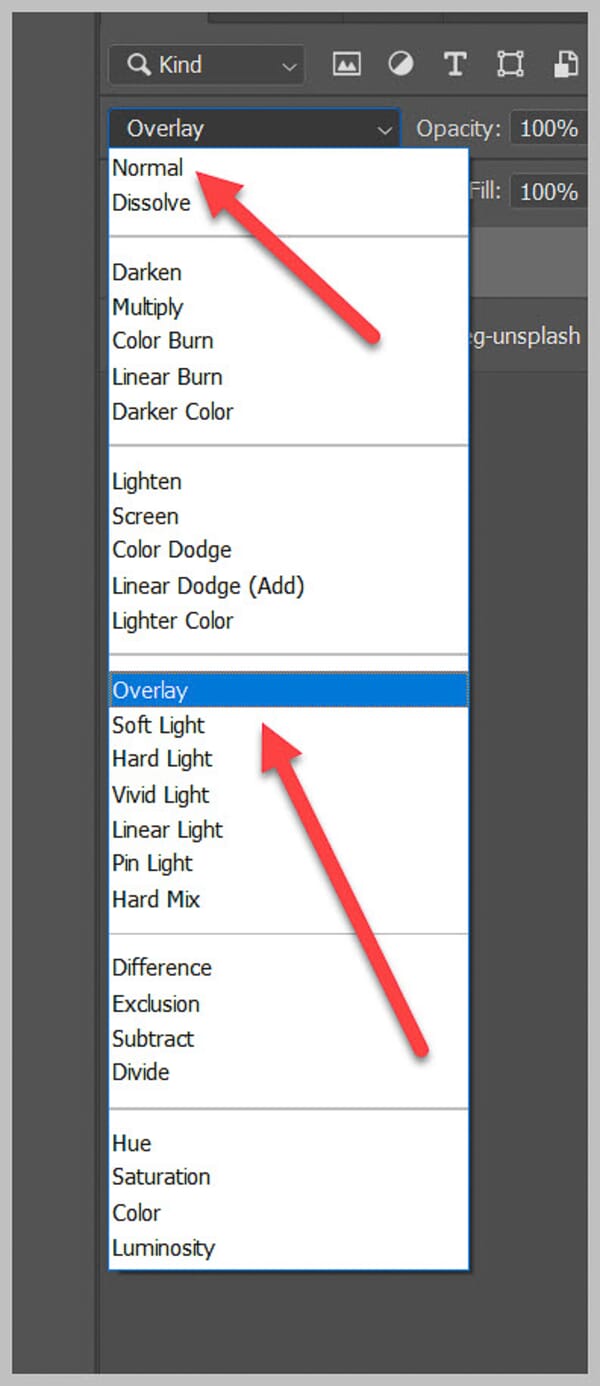
For additional creative control, try changing the adjustment layer’s blend mode. Different blend modes affect how the brightness interacts with the underlying image:

Scroll through the blend mode options — Screen, Soft Light, and Overlay often produce appealing results for brightening adjustments.
Method 2: Brightening With a Brush and Mask
For more subtle, hands-on brightening control, brush-based methods are ideal. Rather than selecting an area first, these techniques involve painting brightness directly onto the image — giving the editor full control over exactly where and how much light is added.
Below are three brush-based approaches, each producing slightly different results.
Approach A: Painting White on a New Layer
The simplest brush-based brightening method is painting white directly onto a new layer above the image.
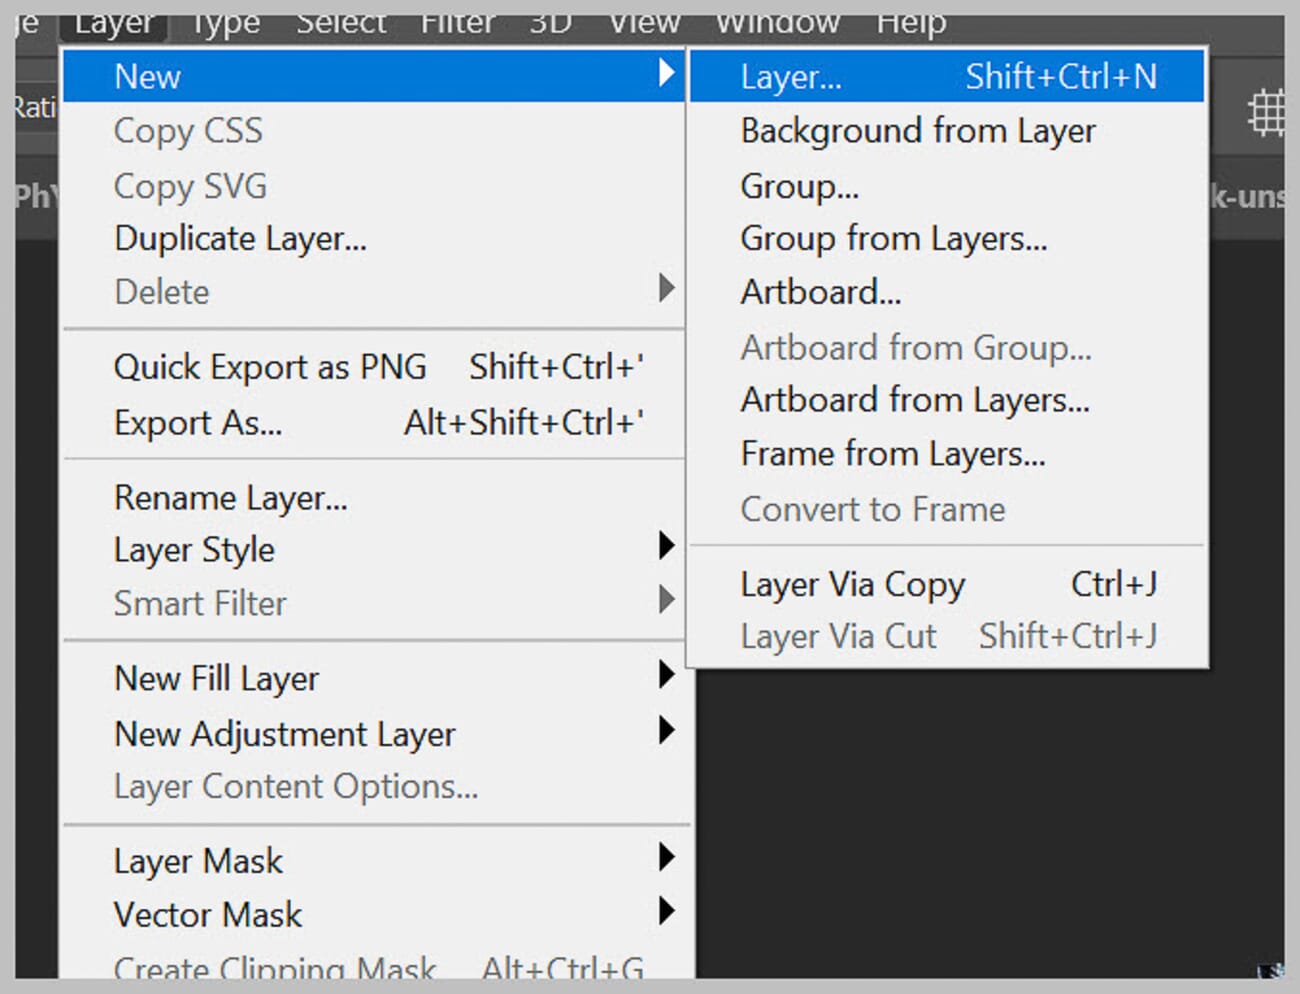
Start by creating a new blank layer via Layer > New > Layer:
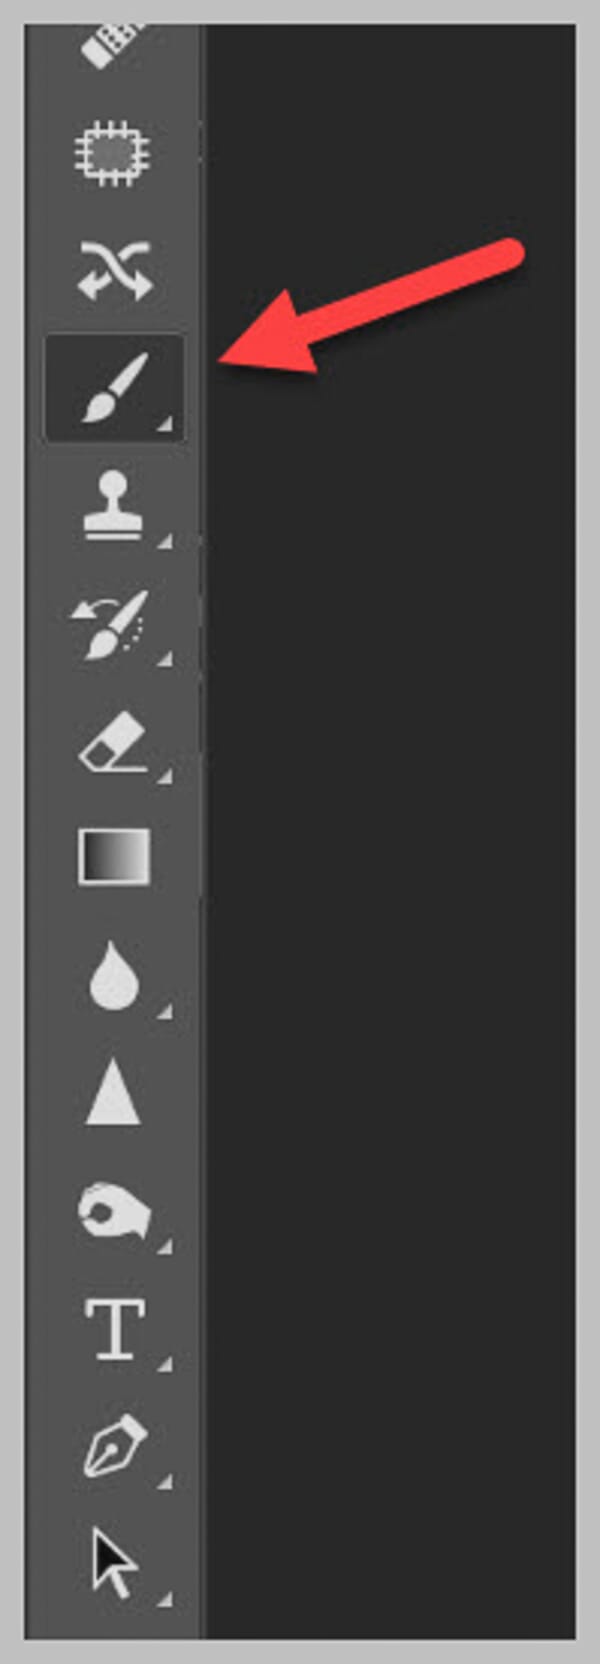
Select the Brush tool from the toolbar (or press B):
Set the foreground color to white:
Before painting, reduce the brush Hardness to 0% for soft edges, and lower the brush Opacity to somewhere between 5% and 20%. A low opacity allows the effect to be built up gradually with multiple strokes, which produces a much more natural result.
Paint over the area that needs brightening. With patience and a low-opacity brush, this technique produces painterly, realistic brightening effects.
To control how the white paint interacts with the image, change the layer’s blend mode. The Overlay blend mode adds brightness while maintaining contrast, while Normal creates a softer, more washed-out look. Soft Light offers a subtle middle ground.
Approach B: Brightness/Contrast Adjustment Layer + Mask
This method blends naturally with the image and offers more control than painting white. It works by applying a global brightness increase, then masking it to reveal the effect only where needed.
First, create a Brightness/Contrast adjustment layer:
Increase the Brightness slider. The entire image will brighten — this is expected and will be corrected in the next step:
Select the Brush tool, lower the Hardness, and ensure the foreground color is set to white.
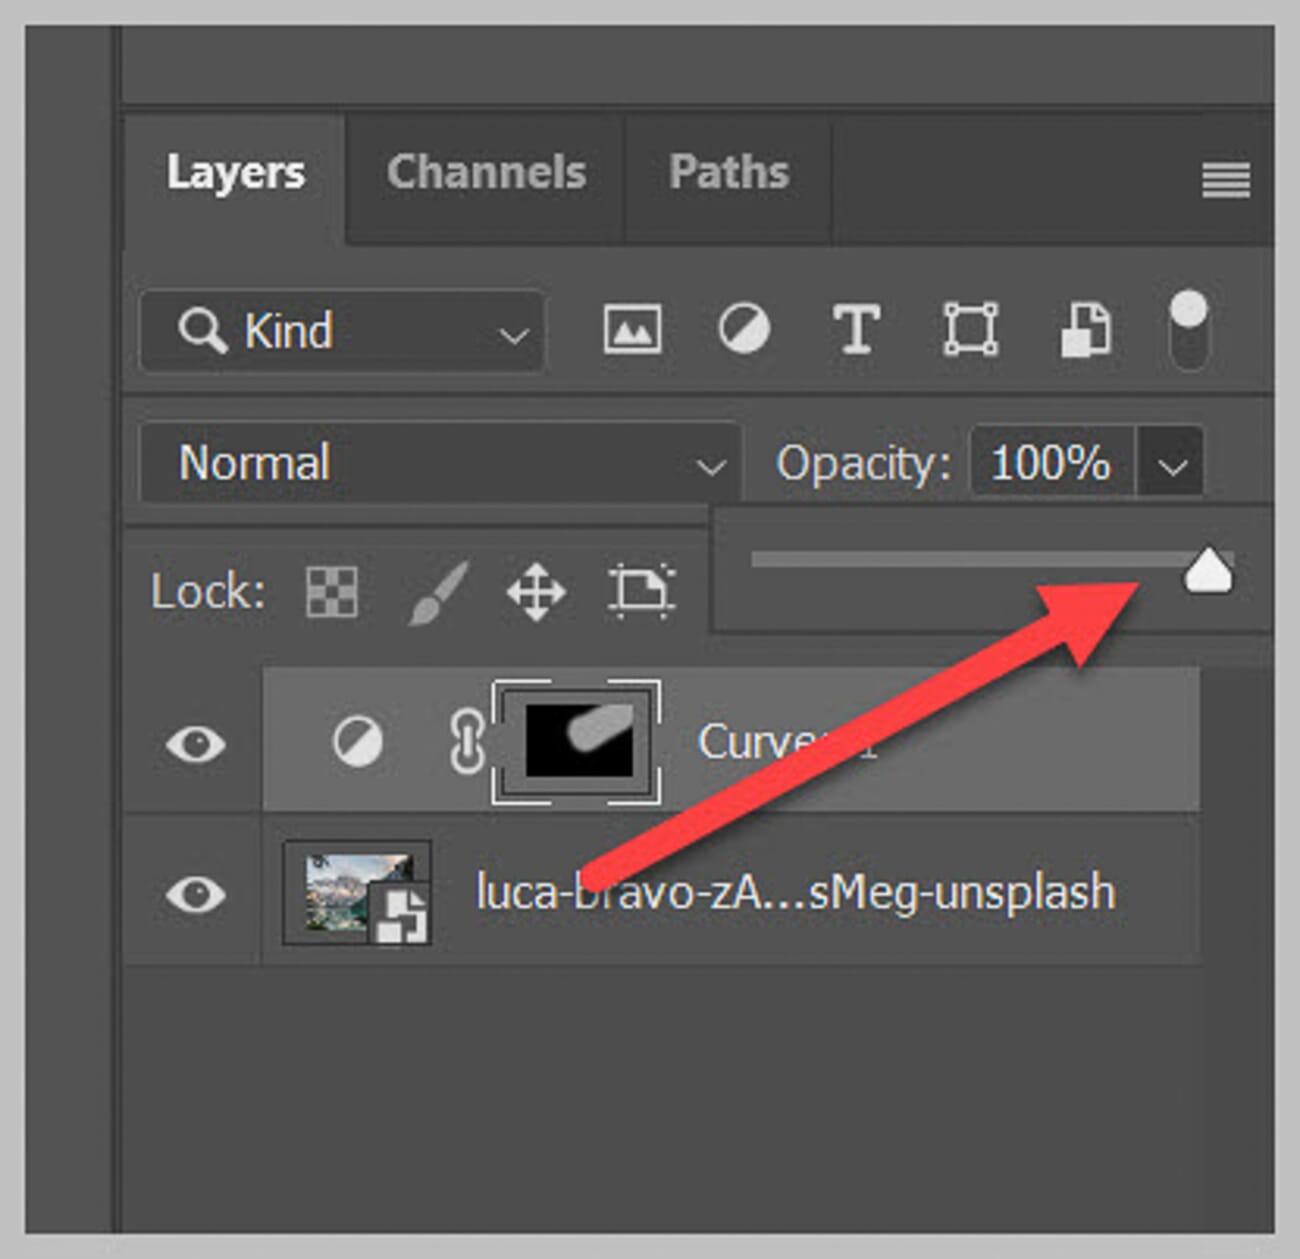
Now click the layer mask (the white rectangle next to the Brightness/Contrast adjustment in the Layers panel):
Press Ctrl+I (or Cmd+I on Mac) to invert the mask to black. This hides the brightness adjustment entirely.
Now paint with white over the areas that need brightening. Each brush stroke reveals the brightness adjustment in that area. Keep the brush opacity low (around 20-50%) and build up the effect gradually for the most natural results.
Approach C: Curves Adjustment Layer + Mask
This method works like the Brightness/Contrast mask approach but provides much finer control over which tones get brightened — shadows, midtones, highlights, or any combination.
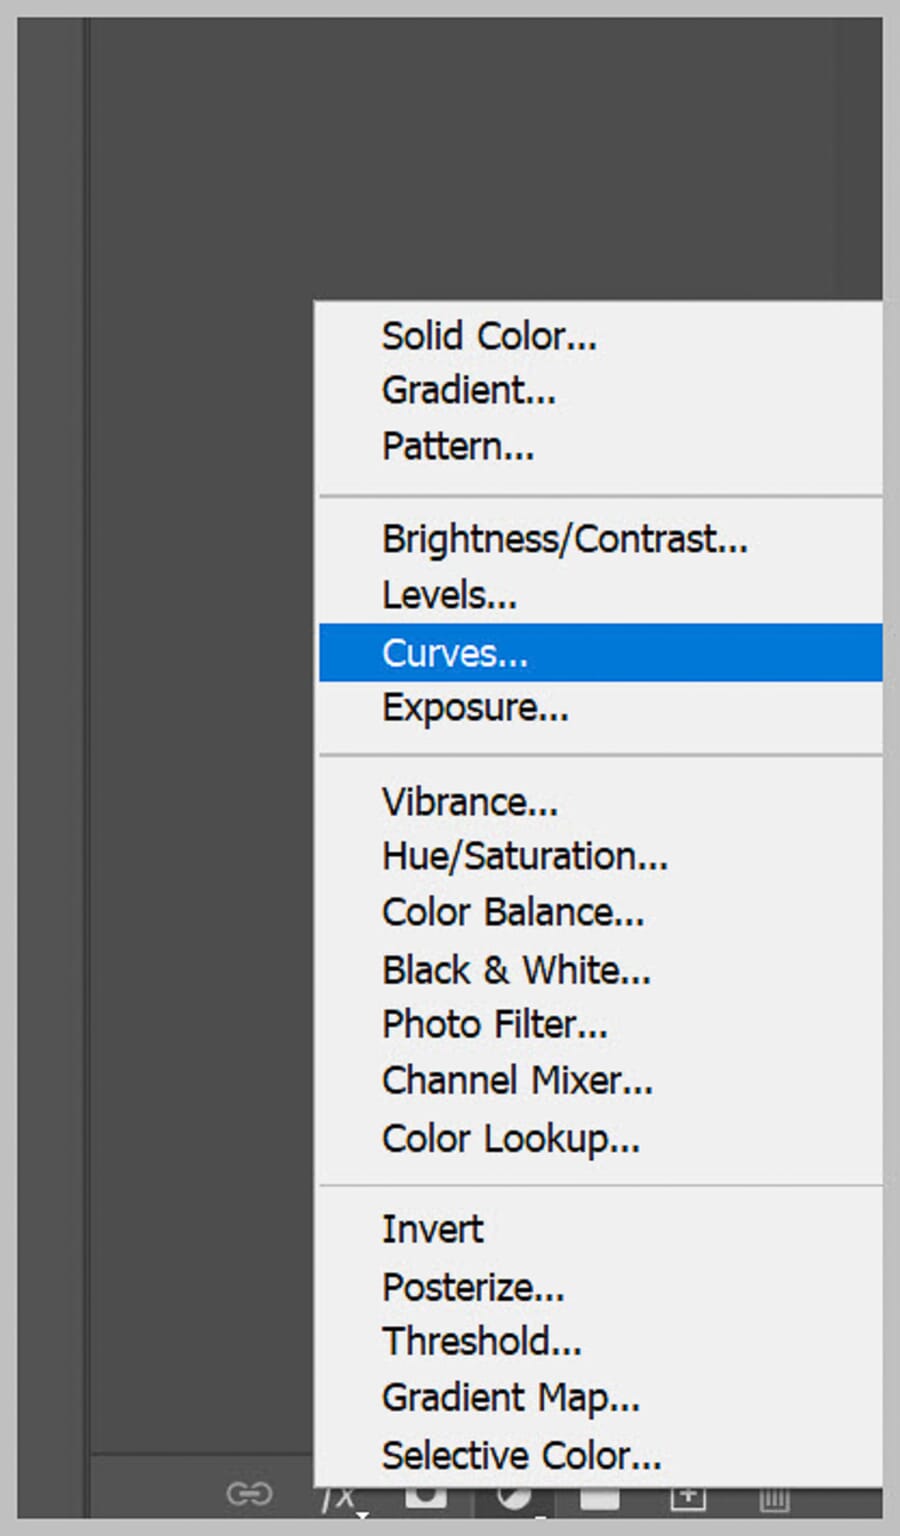
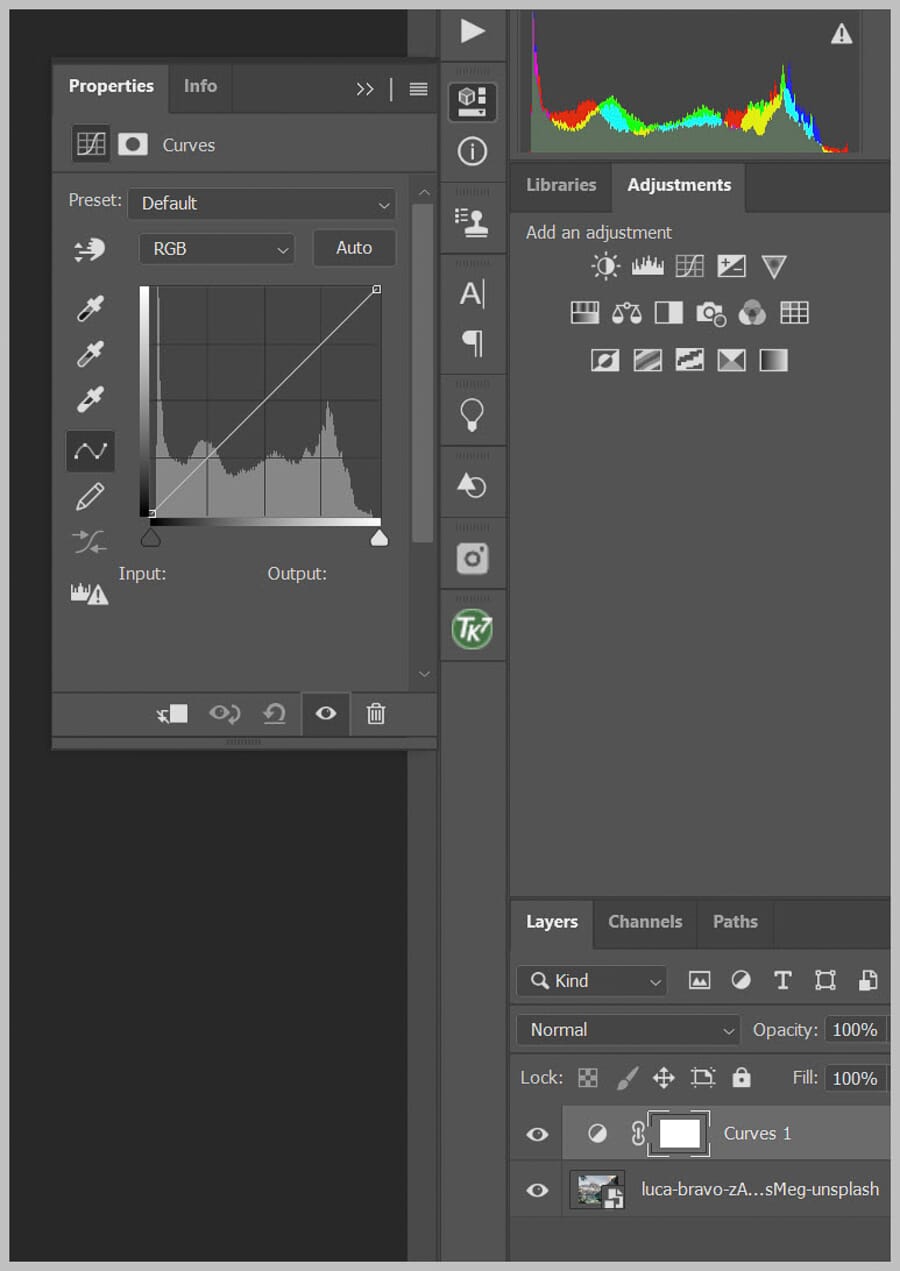
Start by creating a Curves adjustment layer:
The Curves dialog shows a graphical representation of the image’s tonal range. The left side represents the darkest tones (shadows), and the right side represents the lightest tones (highlights):
To brighten specific tones, click on the curve and drag upward. Dragging up the left portion of the curve brightens the shadows (producing a softer, lifted look):
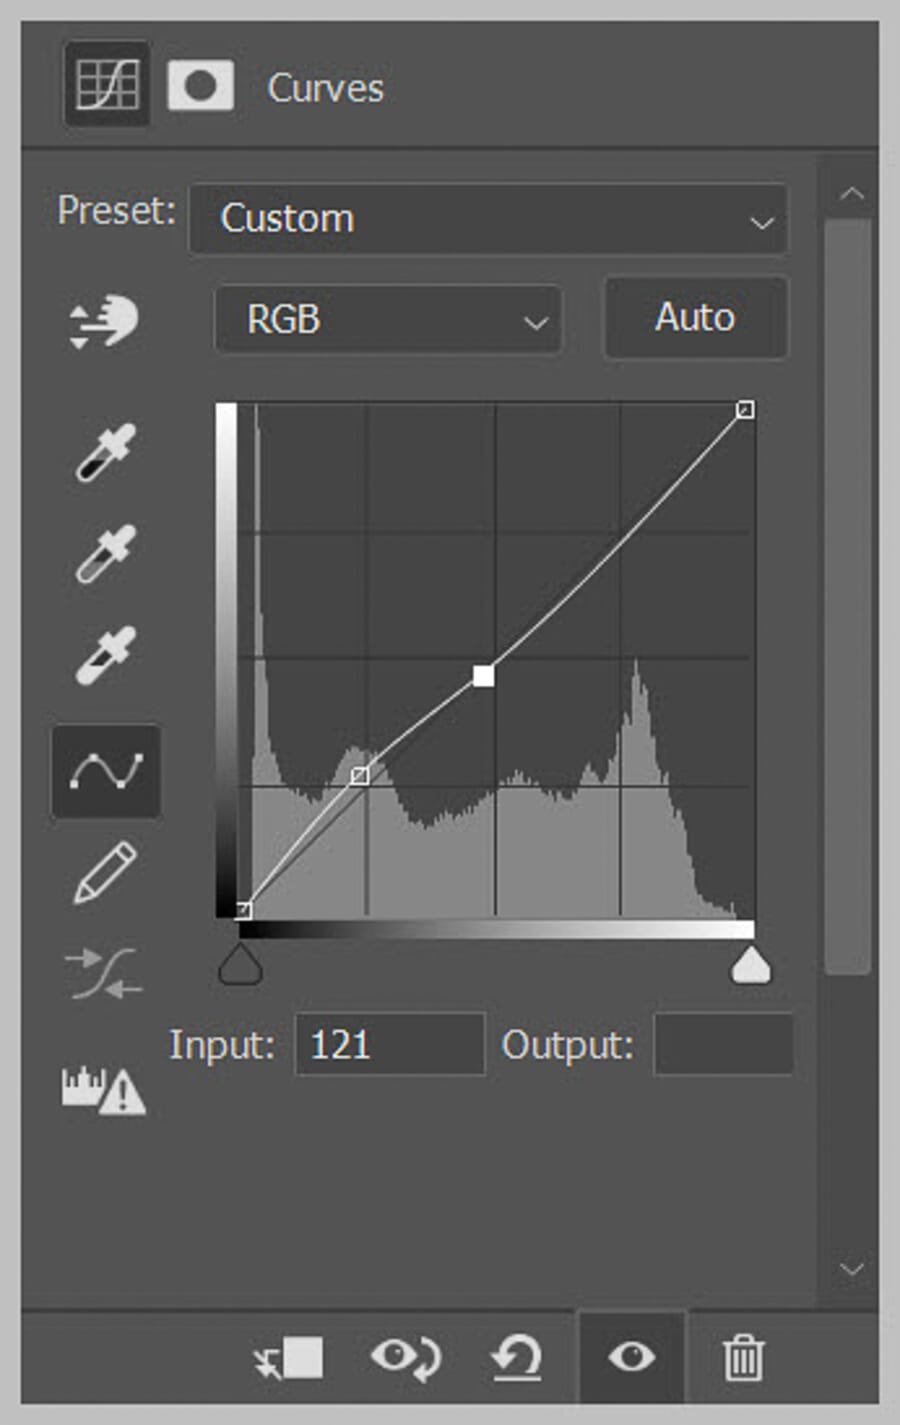
Dragging up the right portion brightens the highlights (creating a higher-contrast, more luminous effect):

Dragging up the center of the curve brightens the midtones — this is the most common adjustment for general brightening.
Once the desired curve shape is set, click the layer mask, press Ctrl+I (Cmd+I) to invert it to black, then use a white brush with low hardness to paint the Curves brightening effect onto specific areas of the image.
Tips for Brush-Based Brightening
A few adjustments can significantly improve the quality of brush-based brightening results:
Match brush size to the target area. A brush that’s too large causes the effect to bleed past the intended edges. Resize quickly with the bracket keys — [ to decrease and ] to increase:
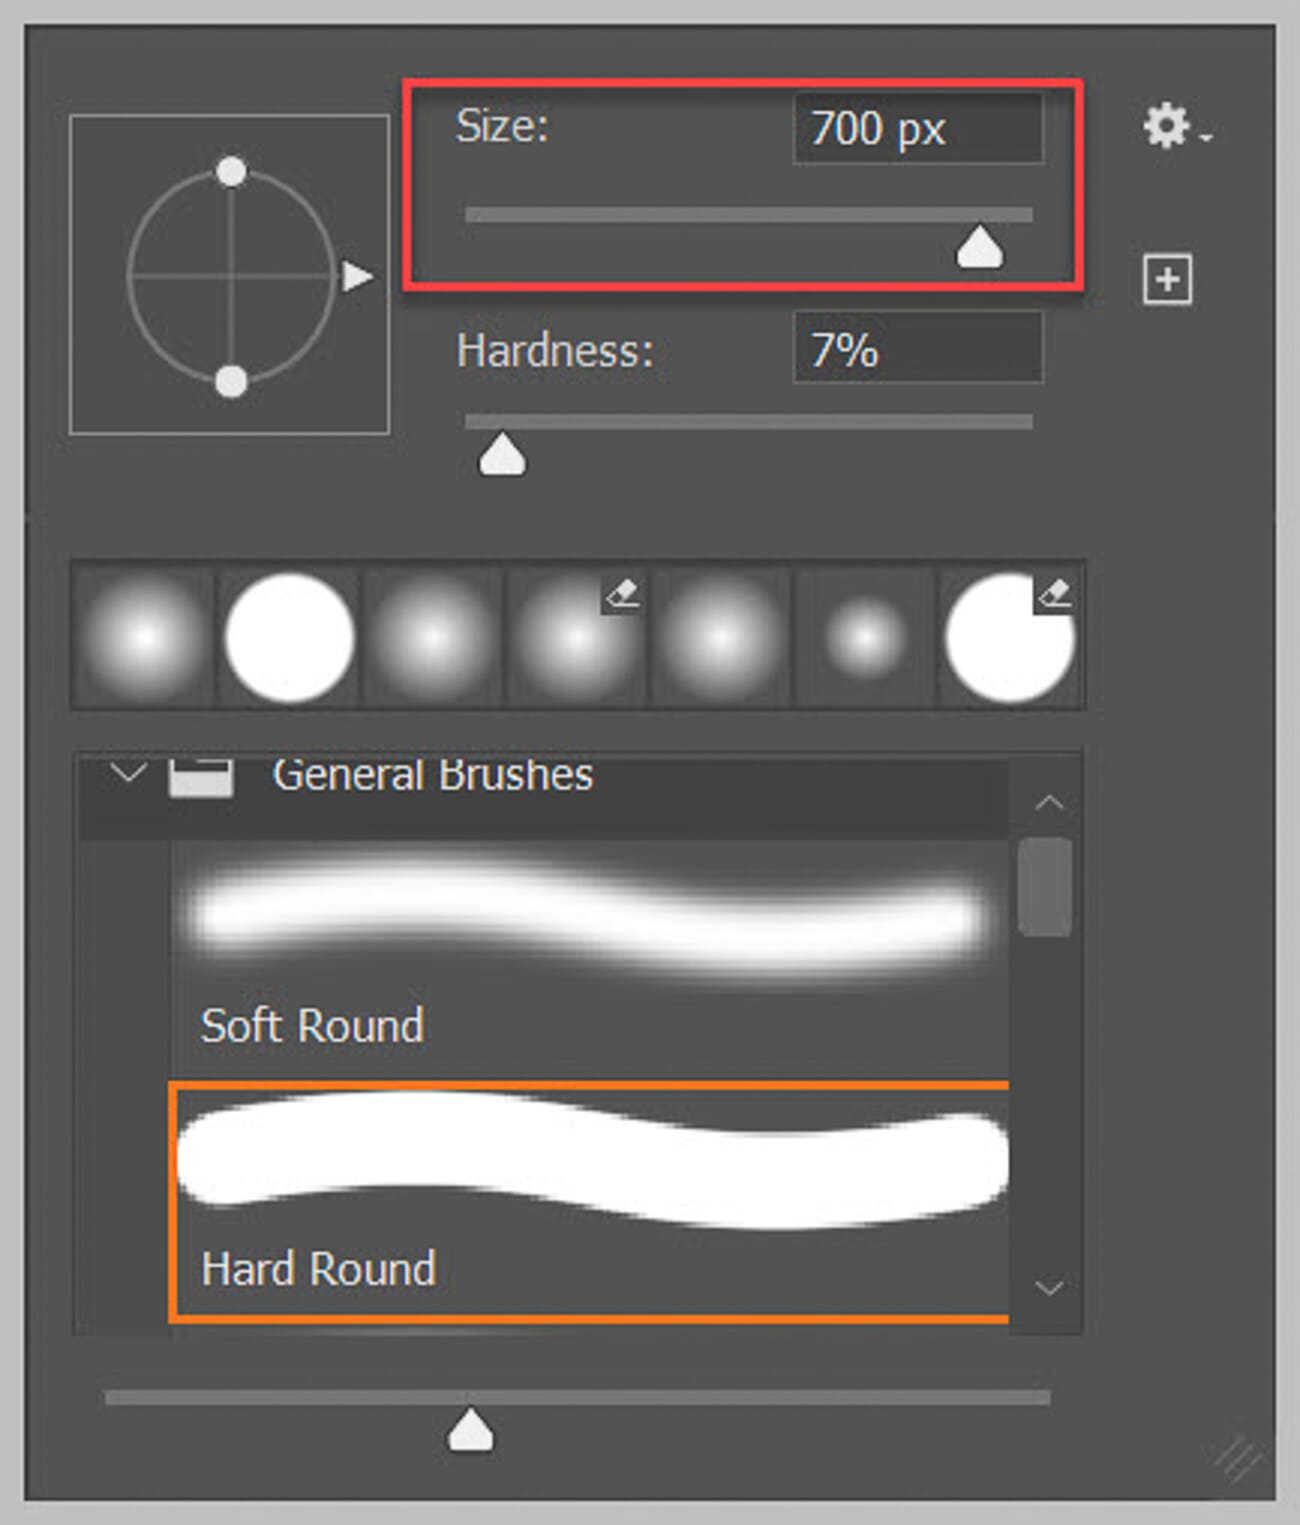
Lower the brush opacity. An opacity of 10-30% allows the effect to be built up gradually with multiple strokes, which always looks more natural than a single heavy application:

Reduce the layer opacity. If the overall effect is too strong even after painting, reduce the adjustment layer’s opacity to dial it back:
Experiment with blend modes. Normal is the default and works well, but Screen, Overlay, and Soft Light can produce different brightening characteristics. Scroll through the options to see which one best suits the image.
Method 3: AI-Powered Selection for Brightening
Photoshop’s AI-powered selection tools have become remarkably accurate (see also our guide to AI photo editing tools), making it faster than ever to isolate subjects for brightness adjustments. These tools are especially powerful for complex subjects like people, animals, and objects with intricate edges — tasks that used to require careful manual selection work.
Select Subject
The Select Subject feature uses Adobe’s Sensei AI to automatically detect and select the main subject in an image with a single click. It’s the fastest way to isolate a person, animal, or prominent object.
To use it, go to Select > Subject from the menu bar. Photoshop analyzes the image and creates a selection around the detected subject — typically within a second or two. The results are remarkably accurate, especially for subjects with clear contrast against the background.
Once the subject is selected, add a Curves or Brightness/Contrast adjustment layer. Photoshop automatically generates a layer mask from the selection, so the brightness increase only affects the subject.
For even better edge accuracy on complex subjects like hair, click Select and Mask after using Select Subject to refine the edges before applying the adjustment.
Object Selection Tool
The Object Selection tool (found in the toolbar alongside the Quick Selection tool) takes AI selection a step further by allowing the editor to specify which object to select. Simply draw a rough rectangle or lasso around the desired object, and Photoshop’s AI automatically snaps the selection to the object’s edges.
This is ideal when there are multiple subjects in the frame and only one needs brightening. Draw a loose selection around just that object, and Photoshop’s AI handles the precise edge detection.
After the selection is created, apply a Brightness/Contrast or Curves adjustment layer just as with the manual selection methods described earlier.
When to Use AI vs. Manual Selection
AI selection tools excel when:
- The subject has clear contrast against its background
- Speed matters more than pixel-perfect precision
- The subject is a recognizable object (person, animal, vehicle, building)
Manual selection tools are better when:
- The target area is geometric (use Rectangular/Elliptical Marquee)
- Only part of a subject needs brightening (e.g., just the face, not the whole person)
- The area to brighten doesn’t correspond to a recognizable “object”
- Pixel-perfect control is required (use the Pen tool)
In practice, many editors combine both approaches — using AI selection for the initial pass, then refining with manual tools. For more on AI-powered editing options, see this guide to AI photo editing tools.
Method 4: Brightening With the Gradient Tool
The Gradient tool creates a smooth, gradual brightening effect that’s perfect for large areas like skies, foregrounds, or any region where a seamless transition is needed. Unlike selection-based methods, it doesn’t create hard edges — the brightness fades naturally across the image.
This method isn’t ideal for brightening specific, hard-edged objects. But for brightening just the sky, just the foreground, or adding a soft light effect to one side of the frame, it’s extremely effective.
Here’s how to do it:
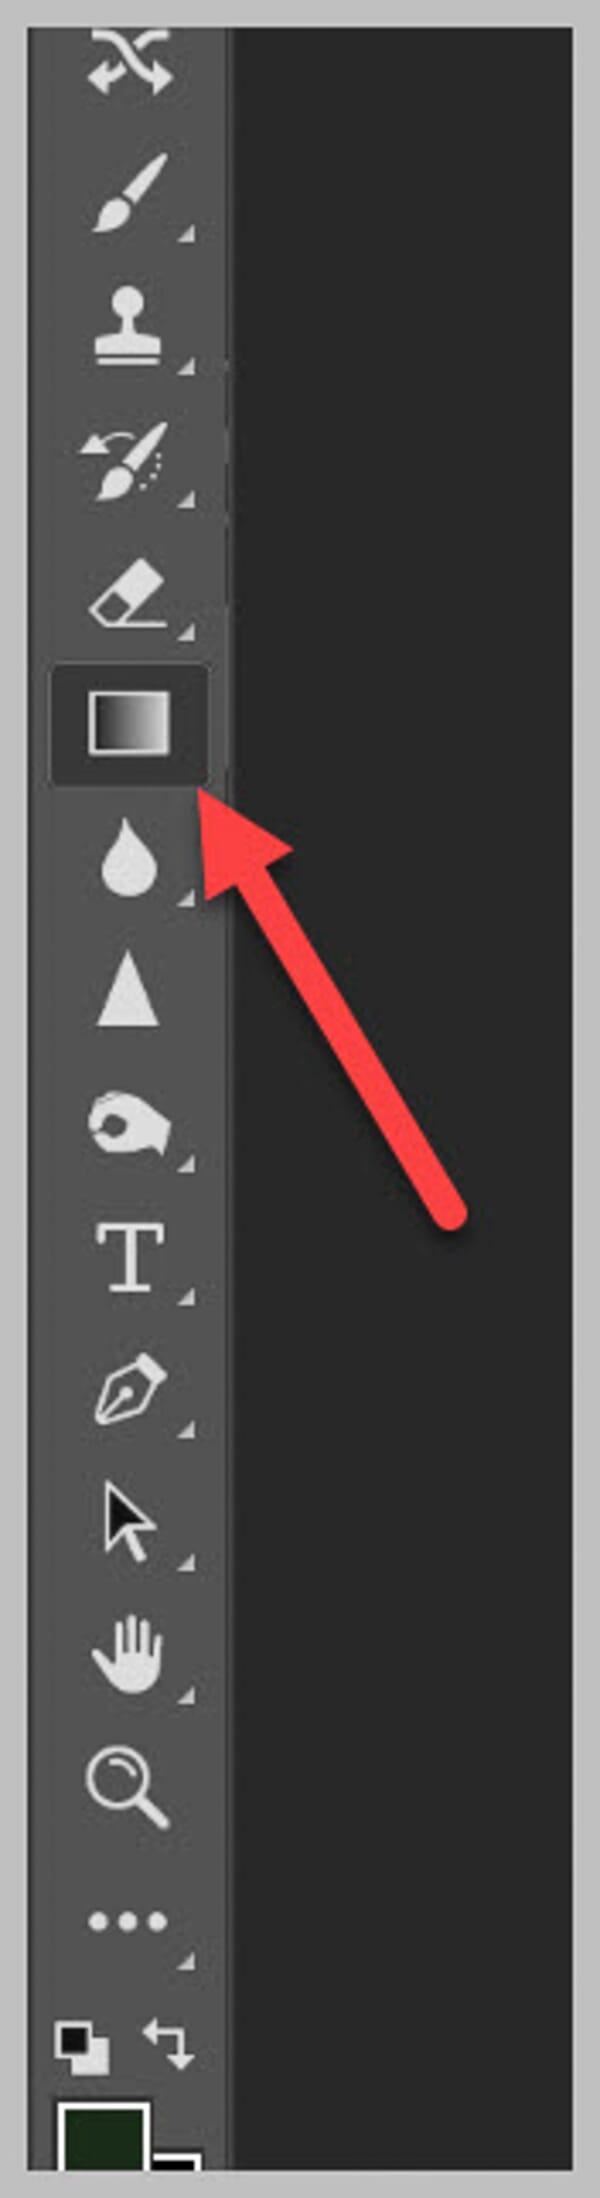
First, create a new layer (Layer > New > Layer). Then select the Gradient tool from the left toolbar (or press G):
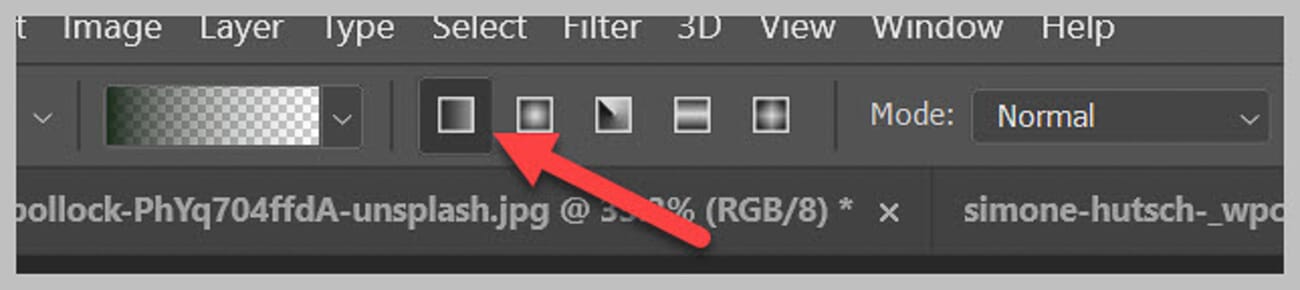
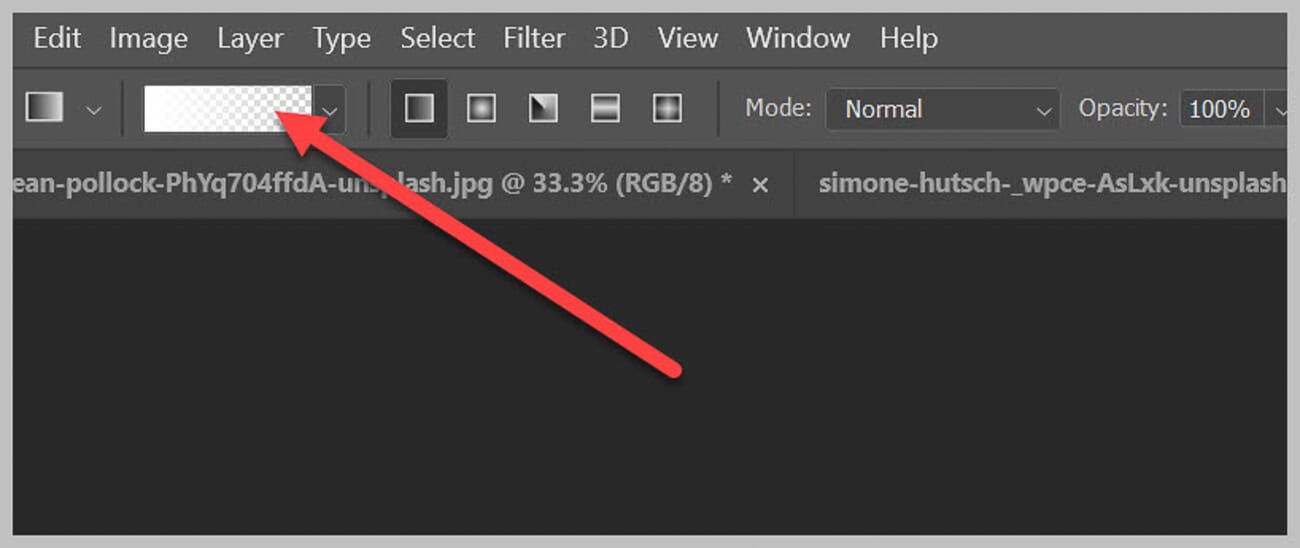
Set the foreground color to white. Then click the Linear Gradient icon in the Options Bar:
Click the Gradient Editor preview in the Options Bar:
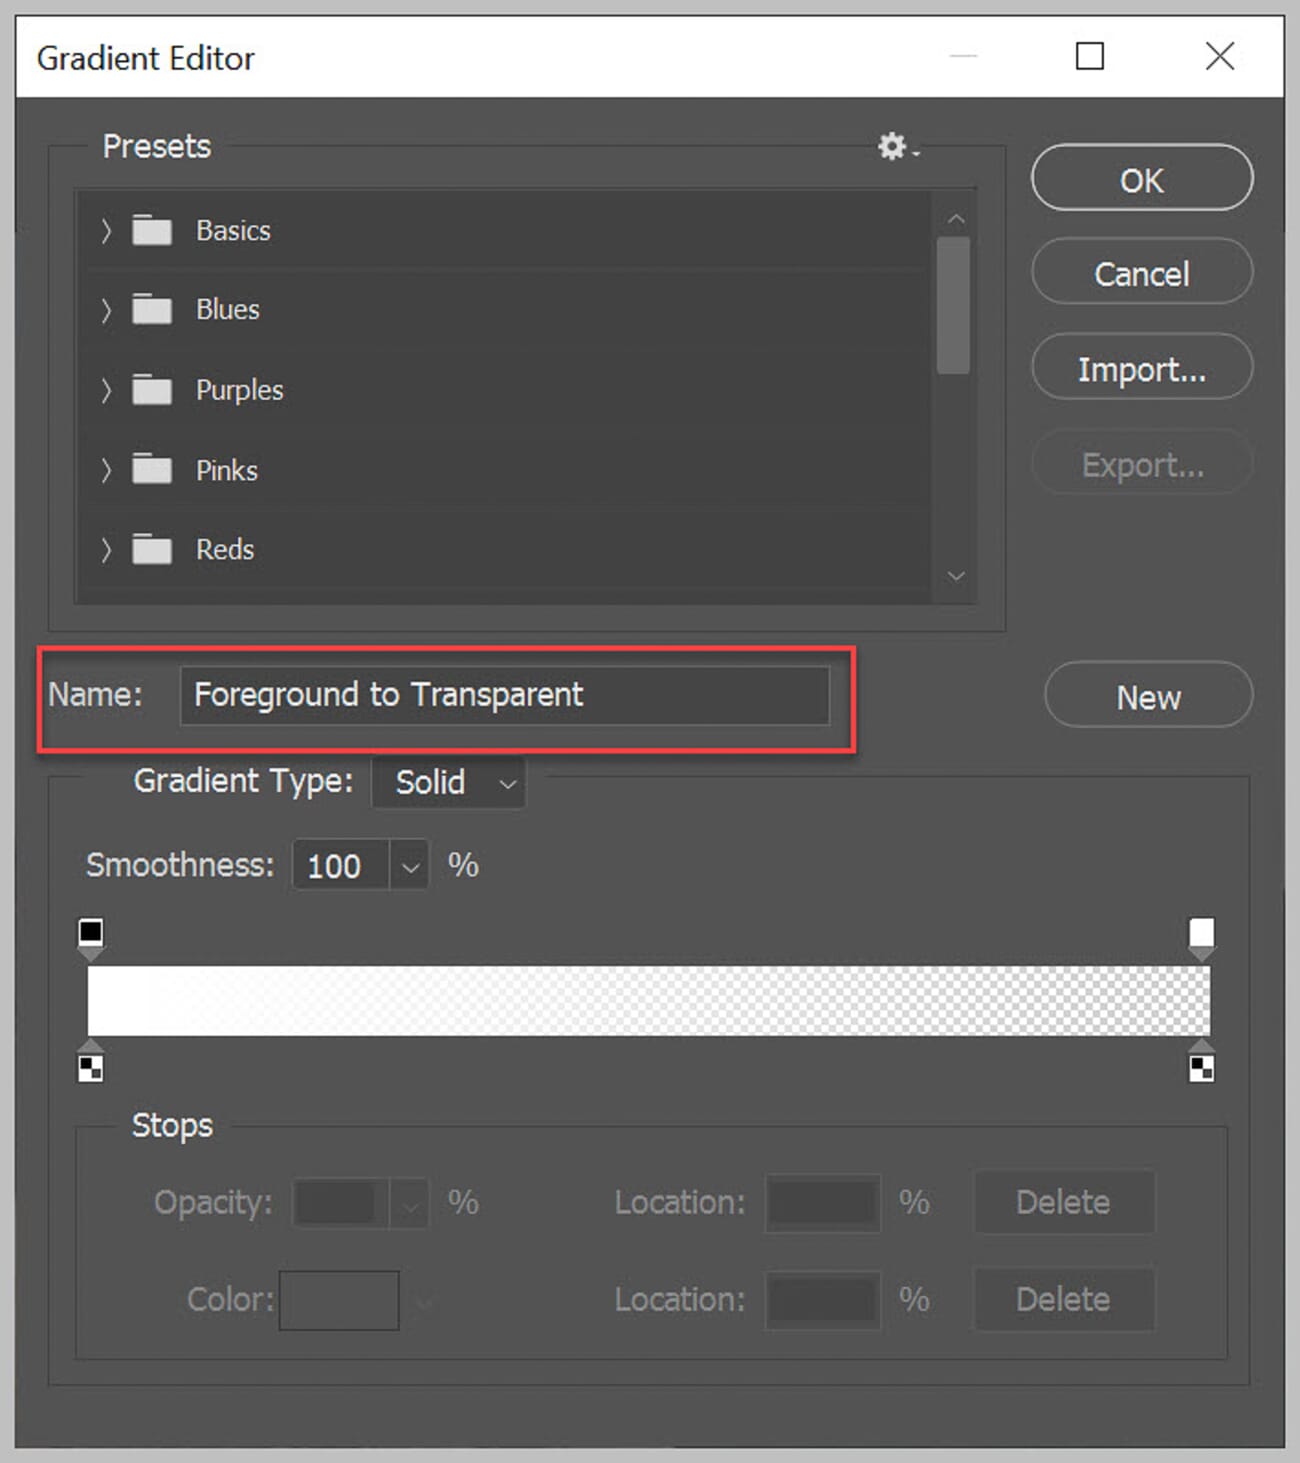
Select the Foreground to Transparent preset. This creates a gradient that starts solid white and fades to invisible:
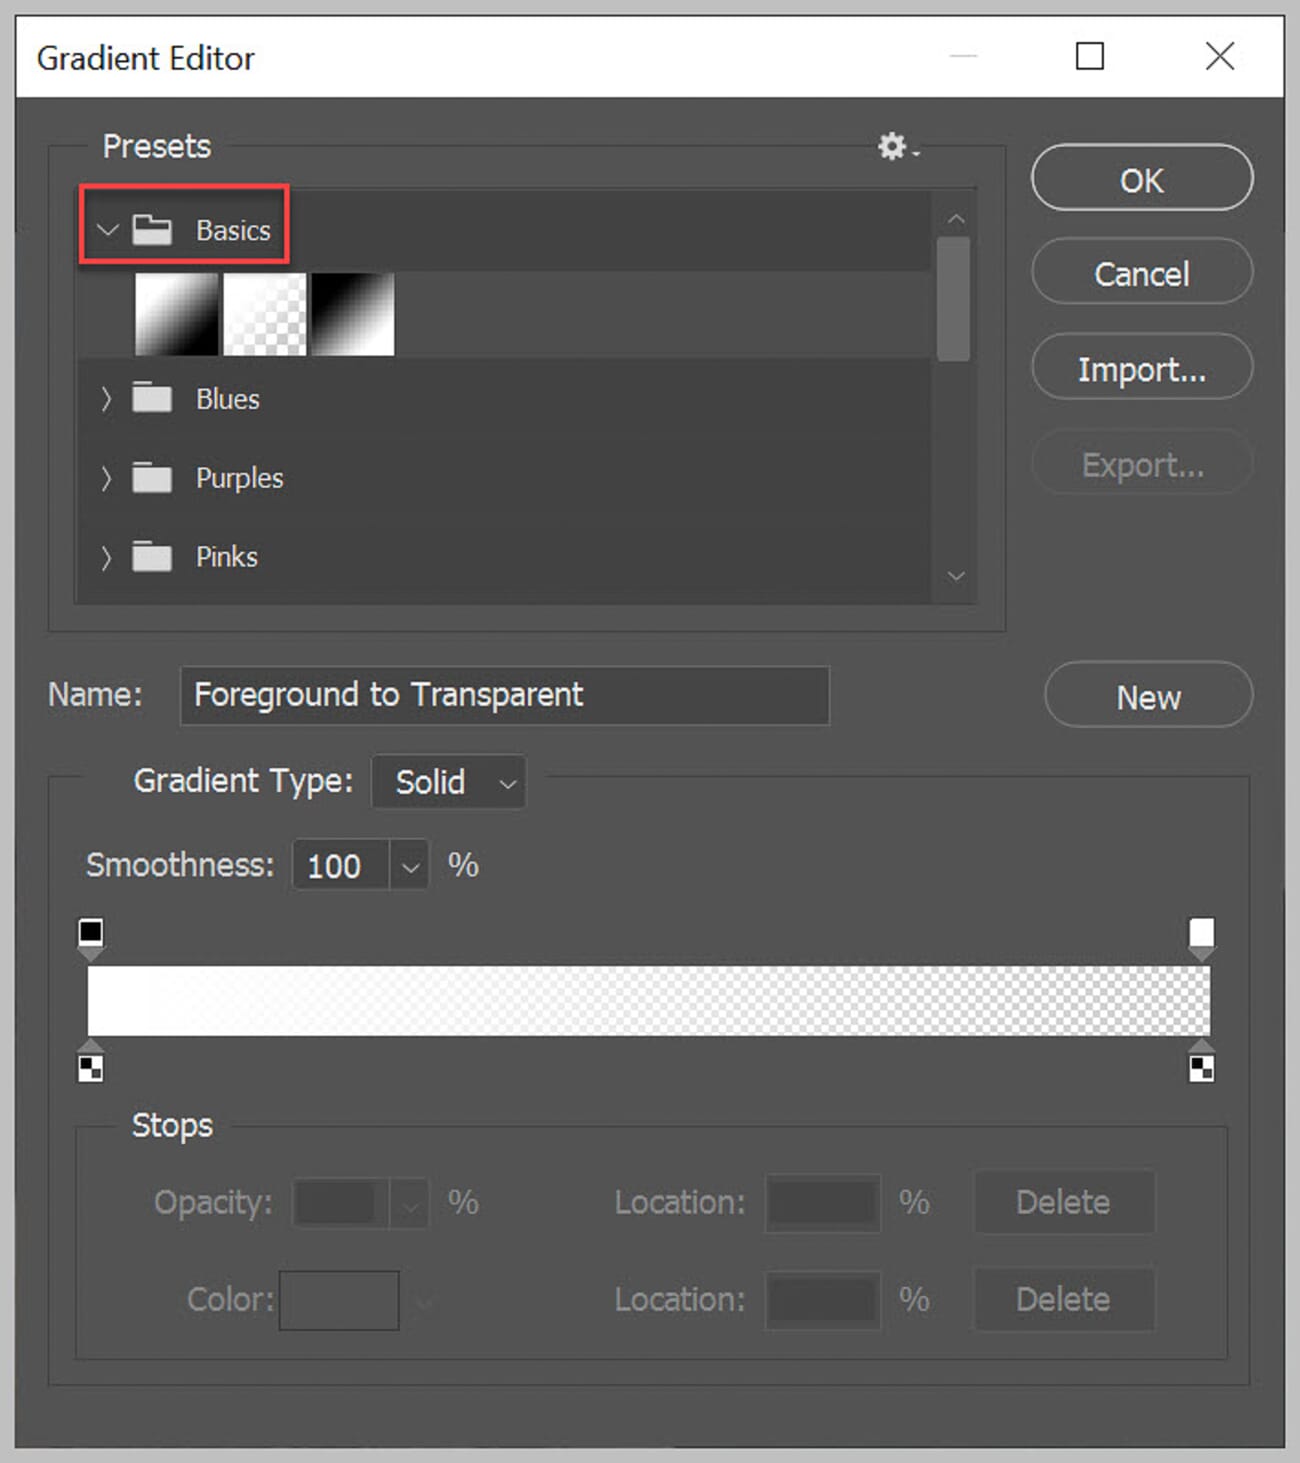
If this preset isn’t visible, find it in the Basics folder of the Gradient Editor presets:
Click OK, then click and drag across the area of the image to brighten. Drag from the edge inward — the white starts where the click begins and fades to transparent where the drag ends:
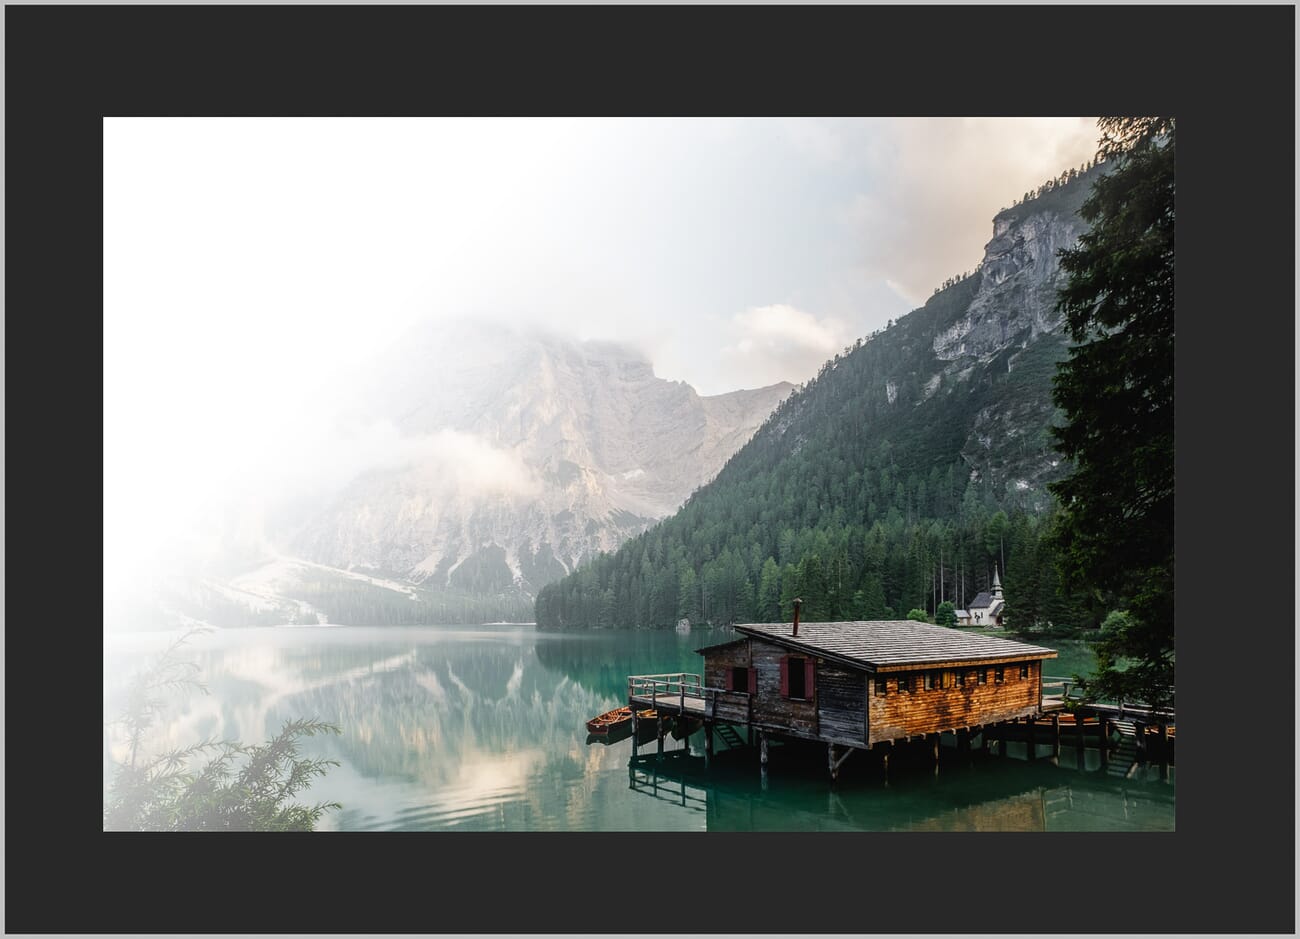
The initial result may look too strong. Reduce the layer Opacity to dial the effect back to a natural level:
For even more refined results, change the layer’s blend mode. Soft Light and Overlay integrate the gradient more naturally with the image tones:

Tips for Natural-Looking Brightening Results
Regardless of which method is used, a few universal principles help ensure that selective brightening looks realistic rather than artificial:
Always feather selections. Hard-edged brightness adjustments look unnatural. Whether using the Feather option in the Make Selection dialog, the Properties panel on a layer mask, or a soft-edged brush, feathering creates smoother transitions. A feather radius of 5-30 pixels works well for most images; larger images may need higher values.
Use low opacity and build gradually. Applying a strong brightness boost in one step almost always looks fake. Instead, use low brush opacities (10-30%) or low layer opacities and build the effect with multiple applications. This mimics how light actually falls on surfaces — gradually, not in harsh blocks.
Experiment with blend modes. The default Normal blend mode works, but others often integrate better. Screen is pure brightening without affecting contrast. Soft Light brightens while maintaining tonal richness. Overlay brightens with added contrast. Try each to see which best suits the image.
Toggle the adjustment on and off. Click the eye icon next to the adjustment layer to quickly compare the before and after. This reveals whether the brightening looks natural in context. If the brightened area “pops” in a distracting way, the effect may need to be more subtle or have softer edges.
Consider the light direction. Natural brightening should be consistent with the existing light in the image. If the light source is coming from the left, brightening the right side of a face would look unnatural. Study the existing shadows and highlights to guide where additional brightness makes sense.
Work non-destructively. Always use adjustment layers and new layers rather than applying changes directly to the background layer. This allows the brightness, mask, opacity, and blend mode to be refined at any point — even after saving and reopening the file. For more foundational editing principles, see this photo editing for beginners guide.
Don’t have Photoshop yet? Adobe’s Photography Plan includes Photoshop and Lightroom Classic for $9.99/month — the best value for photographers who need professional editing tools.
Related Posts
Frequently Asked Questions
What’s the fastest way to brighten part of an image in Photoshop?
For simple geometric areas, use the Rectangular or Elliptical Marquee tool, make a selection, then go to Image > Adjustments > Brightness/Contrast. For subjects like people or animals, use Select > Subject to let Photoshop’s AI create the selection instantly, then apply a Brightness/Contrast or Curves adjustment layer.
How do I brighten just a face in Photoshop?
Use the Quick Selection tool or Select Subject to select the face, then add a Curves adjustment layer. Drag the curve upward to brighten. Feather the layer mask in the Properties panel for a smooth, natural transition. Alternatively, use the Brightness/Contrast + mask approach described in Method 2 — paint white onto a black mask over the face area with a soft, low-opacity brush.
Can I brighten part of an image without affecting the rest?
Yes. All methods in this guide achieve this. The key is using either a selection (to constrain the adjustment area) or a layer mask (to paint the adjustment only where needed). Adjustment layers with layer masks are the most flexible approach because they allow changes to be refined non-destructively at any time.
What’s the difference between Brightness/Contrast and Curves for brightening?
Brightness/Contrast is simpler — one slider controls overall brightness. Curves provides much finer control, allowing specific tonal ranges (shadows, midtones, or highlights) to be brightened independently. For quick adjustments, Brightness/Contrast is sufficient. For precise control over how different tones respond, Curves is the better choice.
Why does my brightened area look fake or obvious?
The most common causes are hard selection edges, excessive brightness boost, or blend mode mismatch. To fix this: increase the feather on the layer mask, reduce the adjustment layer’s opacity, try Soft Light or Screen blend mode instead of Normal, and ensure the brightened area is consistent with the image’s natural light direction.
Should I use Select Subject or Quick Selection for brightening?
Select Subject works best when the entire main subject needs brightening — it’s a single click. Quick Selection is better when only part of a subject needs to be brightened (e.g., just the face, just one arm), since it allows painting a custom selection area. Both can be refined with Select and Mask afterward.
