Key Takeaways: Master Portraits: Essential Camera Settings Guide

If you want to capture stunning portrait photos, you must master your camera settings. This ensures your images are beautifully exposed, sharp, and artistic. Here are four essential camera settings for portraits:
- Use Aperture Priority Mode or Manual Mode: For enhanced control over aperture, shutter speed, and ISO. Avoid beginner modes like Portrait or Night for more flexibility.
- Choose a Wide Aperture: A wide aperture (low f-number) offers a shallow depth of field, making your subject stand out against a blurred background. Ideal for isolating the subject and adding artistic quality to your portraits.
- Choose a Faster Shutter Speed: Ensures sharp images by freezing motion. Prevents blur caused by camera shake or subject movement. Adjust according to ambient light and movement of your subject.
- Choose the Lowest ISO: Keeps image noise to a minimum. Opt for the lowest ISO that still offers proper exposure. Higher ISO settings can introduce grain, reducing image quality.
Mastering these settings will significantly improve your portrait photography, enabling you to capture amazing shots with ease!
Introduction
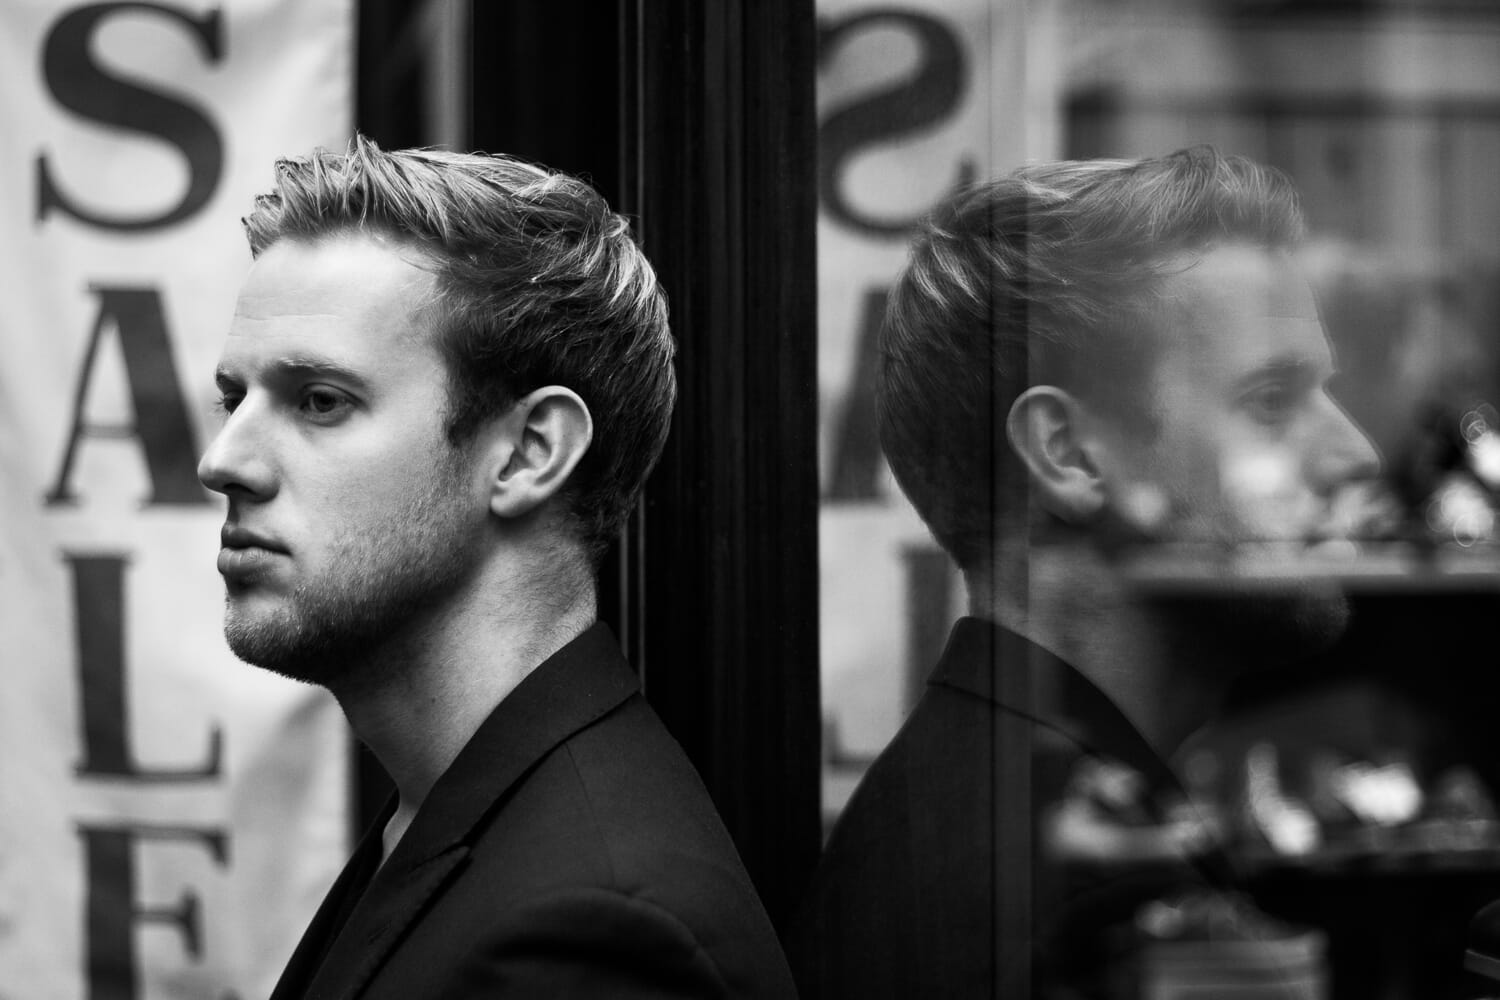
If you want to capture stunning portrait photos, you must master your camera settings. Picking the right settings will ensure your images are beautifully exposed, extremely sharp, and wonderfully artistic – but if you choose the wrong settings, your portrait shots will turn out dark, blurry, and boring.
In this article, I share four essential camera settings for portraits, including the best shooting mode, aperture, shutter speed, and ISO. That way, the next time you’re out on a portrait photoshoot, you’ll be able to capture amazing shots without any difficulty!
1. Use Aperture Priority Mode or Manual Mode for Stunning Portraits
Digital cameras have several modes, and they’re all geared toward controlling different aspects of your camera. Depending on the mode you select, you’ll end up with a different shutter speed, a different aperture, and a different ISO. For lens recommendations, check out the best lenses for portrait photography.
The shutter speed refers to the length of time your camera sensor is exposed to the light.
The aperture refers to the size of the diaphragm in the lens, which in turn influences the amount of the photo that is sharp (the depth of field).
The ISO refers to the camera’s sensitivity to light. In other words: The higher the ISO, the brighter your image will be (all else being equal).
Entry-level cameras often feature a whole host of beginner modes, such as Portrait mode, Action mode, and Night mode. These modes select your camera settings in advance, but they don’t give you any real flexibility, so I recommend you avoid them.
Instead, for portrait photography, there are two modes I suggest you use.
First, you should work in Aperture Priority mode. Aperture Priority allows you to set the ISO and the aperture. Your camera will then select the best shutter speed based on the amount of ambient light.
The main benefit of Aperture Priority mode is that it will give you control over the aperture. And since choosing the correct aperture is essential for capturing beautiful portraits (see the next tip!), controlling the aperture is crucial.
Once you’ve spent some time working with Aperture Priority mode, however, I suggest that you move on to Manual mode.

Manual mode gives you the ultimate control over your portrait settings. You choose the shutter speed, the aperture, and the ISO; nothing is left up to your camera. And this lets you carefully select the best shutter speed, the best aperture, and the best ISO for the situation. (I use Manual mode all the time because I like being able to select my aperture and shutter speed on the fly.)
In summary: When you’re doing portrait photography, start with Aperture Priority mode. And once you feel confident, switch to Manual mode so that you can have complete control over your portraits!
2. Choose a Wide Aperture for the Best Background Blur
In portrait photography, it’s generally a good idea to isolate the subject – that is, to make your portrait subject stand out from the surroundings. And one of the best ways to isolate your subject is by creating a beautiful background blur (also known as bokeh).
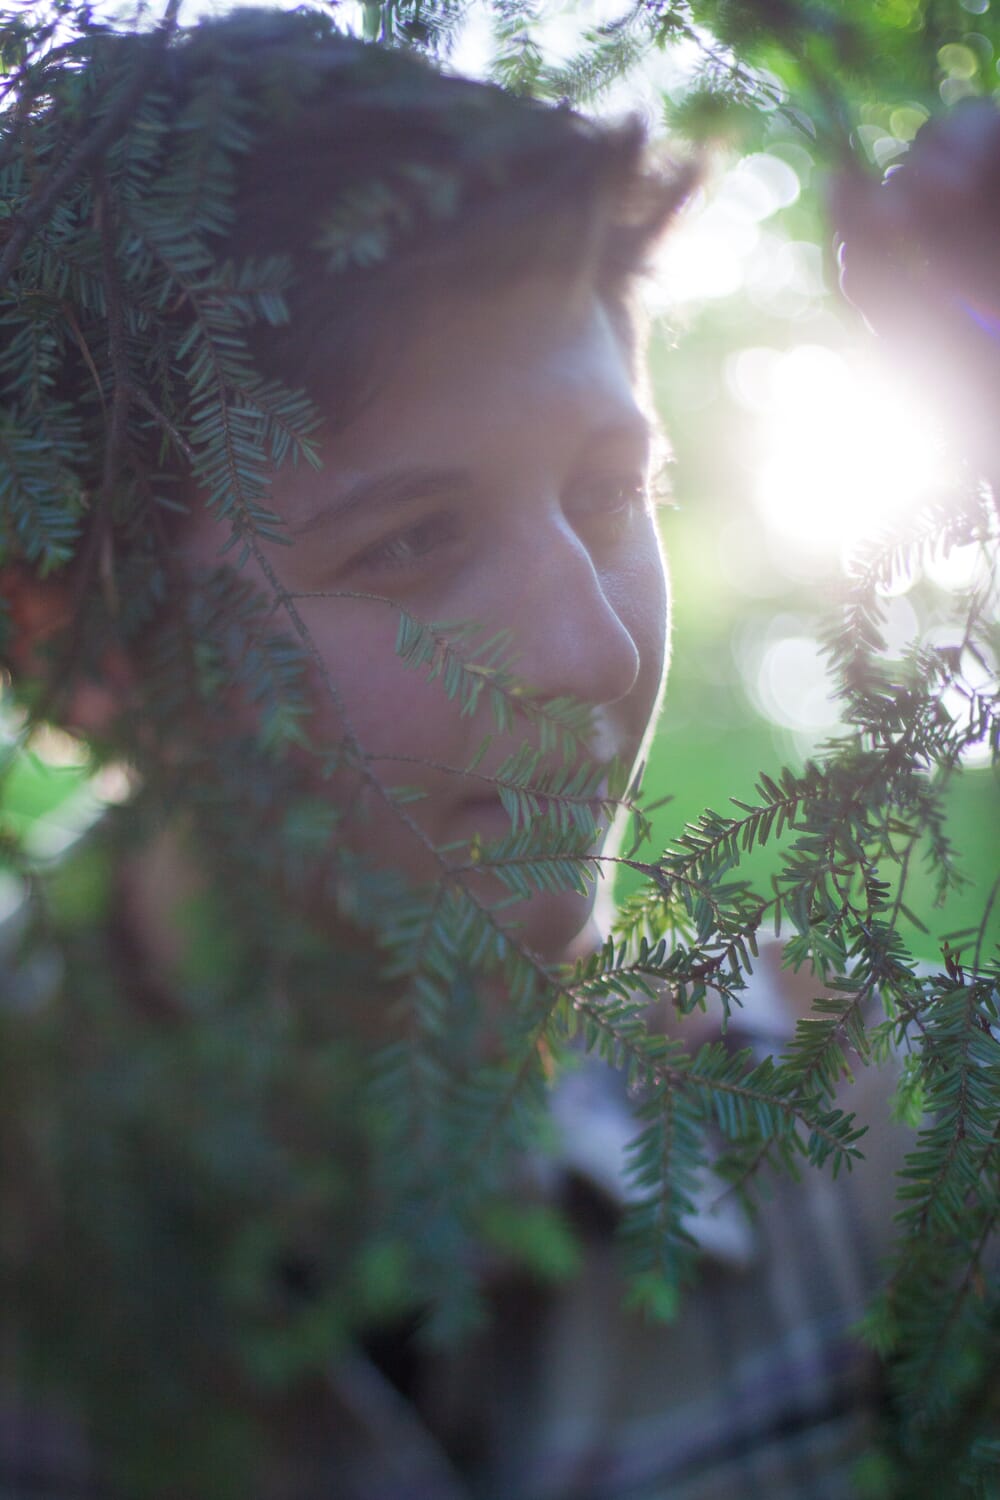
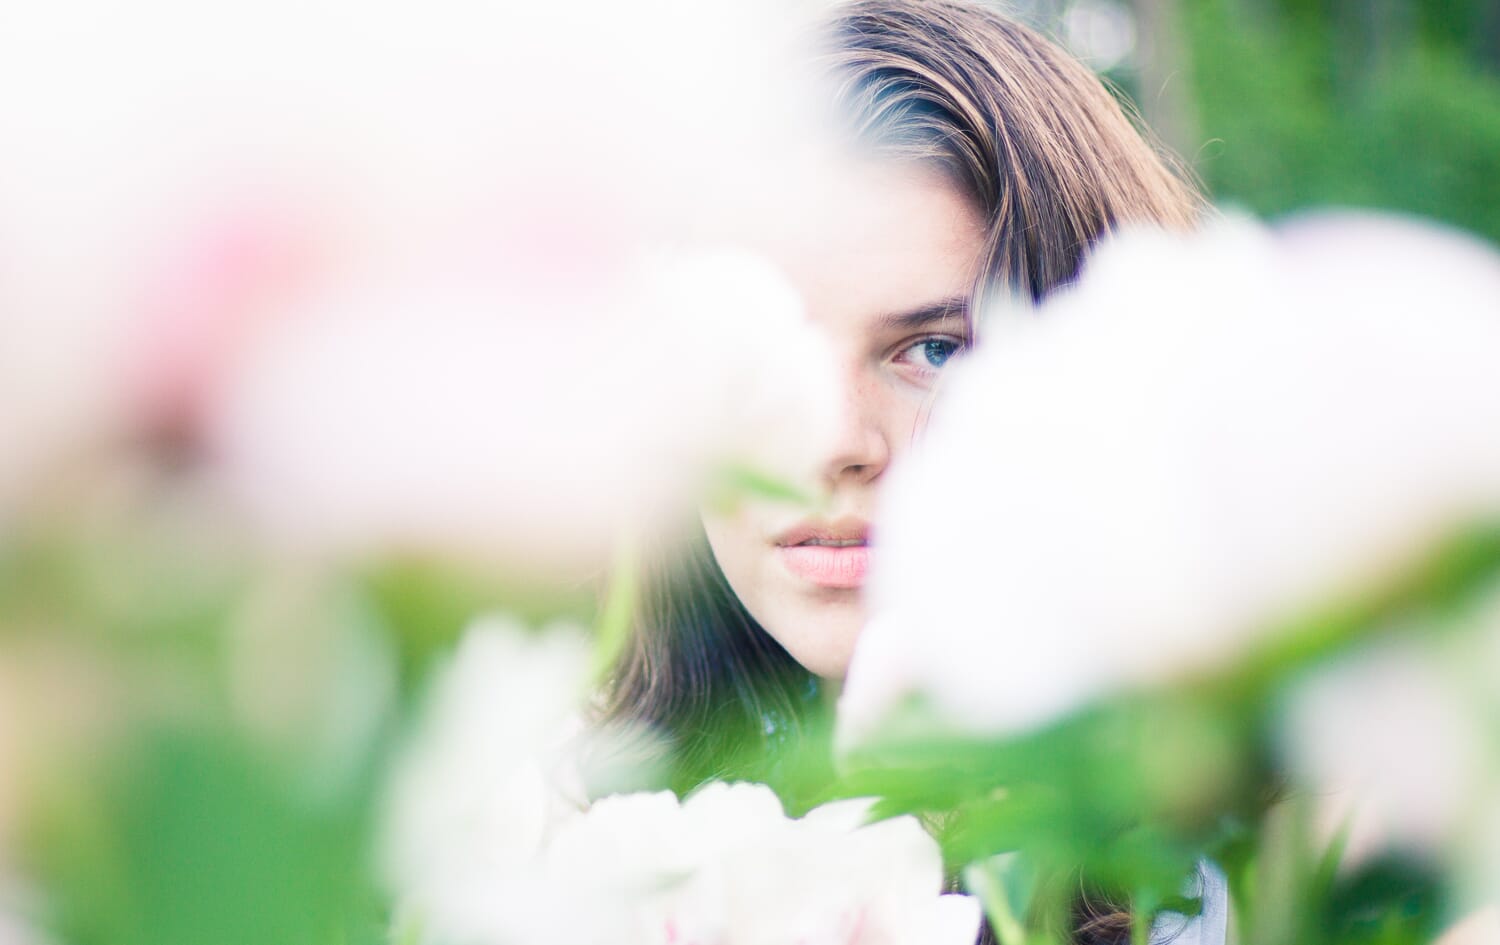
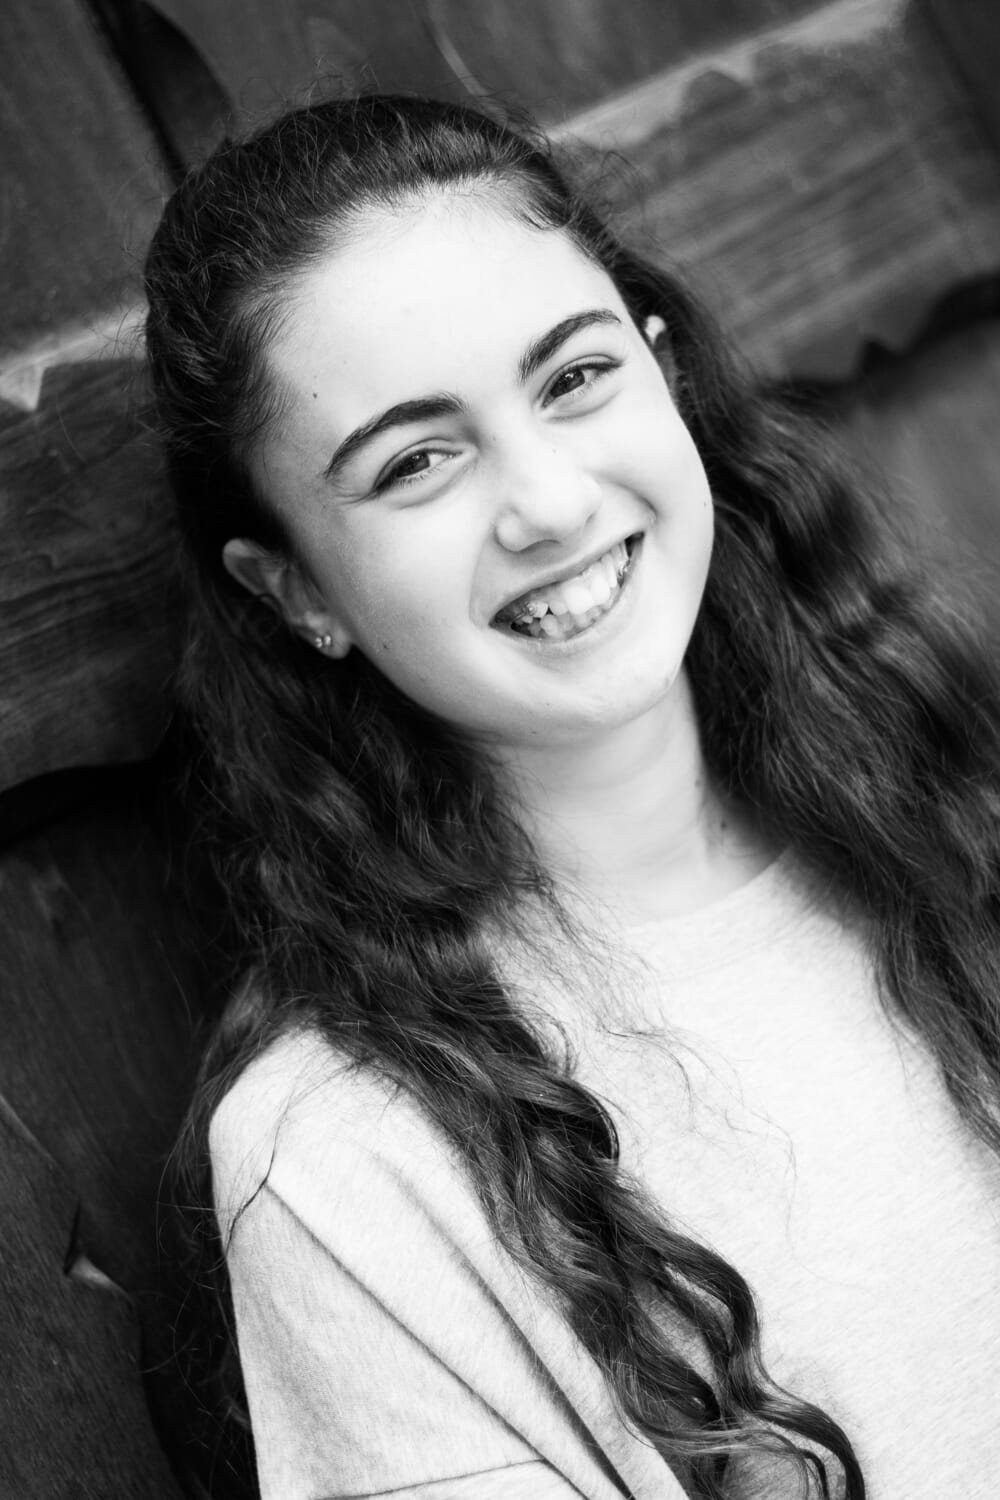
The stronger and smoother the background blur, the more that viewers will be drawn straight to your main subject. Look at this photo:
Do you see the extreme background blur? That’s what you should generally aim to achieve. Fortunately, creating a stunning blur effect only requires one setting:
Choose an aperture between f/1.2 and f/4.
You see, the wider the aperture, the greater the background blur. (Note that small f-numbers, such as f/1.2, correspond to a wide aperture.) A wide aperture causes very little of the photo to come into focus and therefore creates a strong blur effect.
Now, when working with an ultra-wide aperture, you have to be cautious. A narrow plane of sharpness makes it easy to miss focus and get a totally blurry shot, so make sure you focus very carefully!
3. Choose a Faster Shutter Speed for Sharp Portrait Photos
Your shutter speed will dramatically affect the sharpness of your portraits. If your shutter speed is too long, your camera will shake or your subject will move – and this will cause blur.
But what shutter speed is right for portrait photography? That depends on your subject’s level of movement.
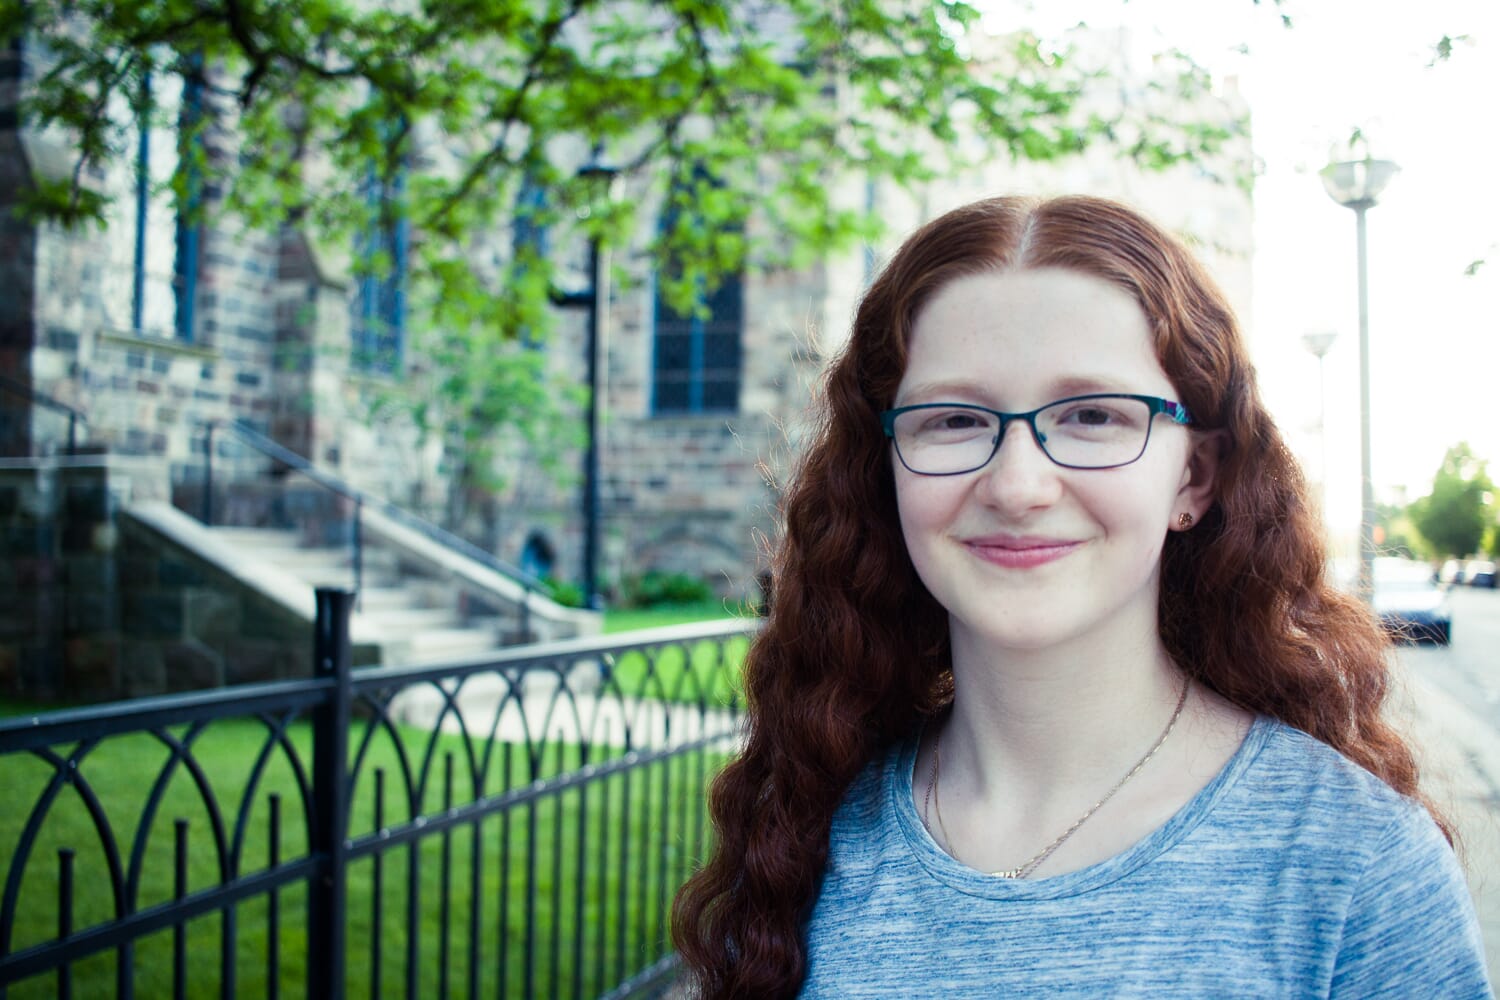
If your subject is motionless, you want to choose a shutter speed of 1/160s or faster. In my experience, 1/200s is safer and generally ensures a sharp portrait.
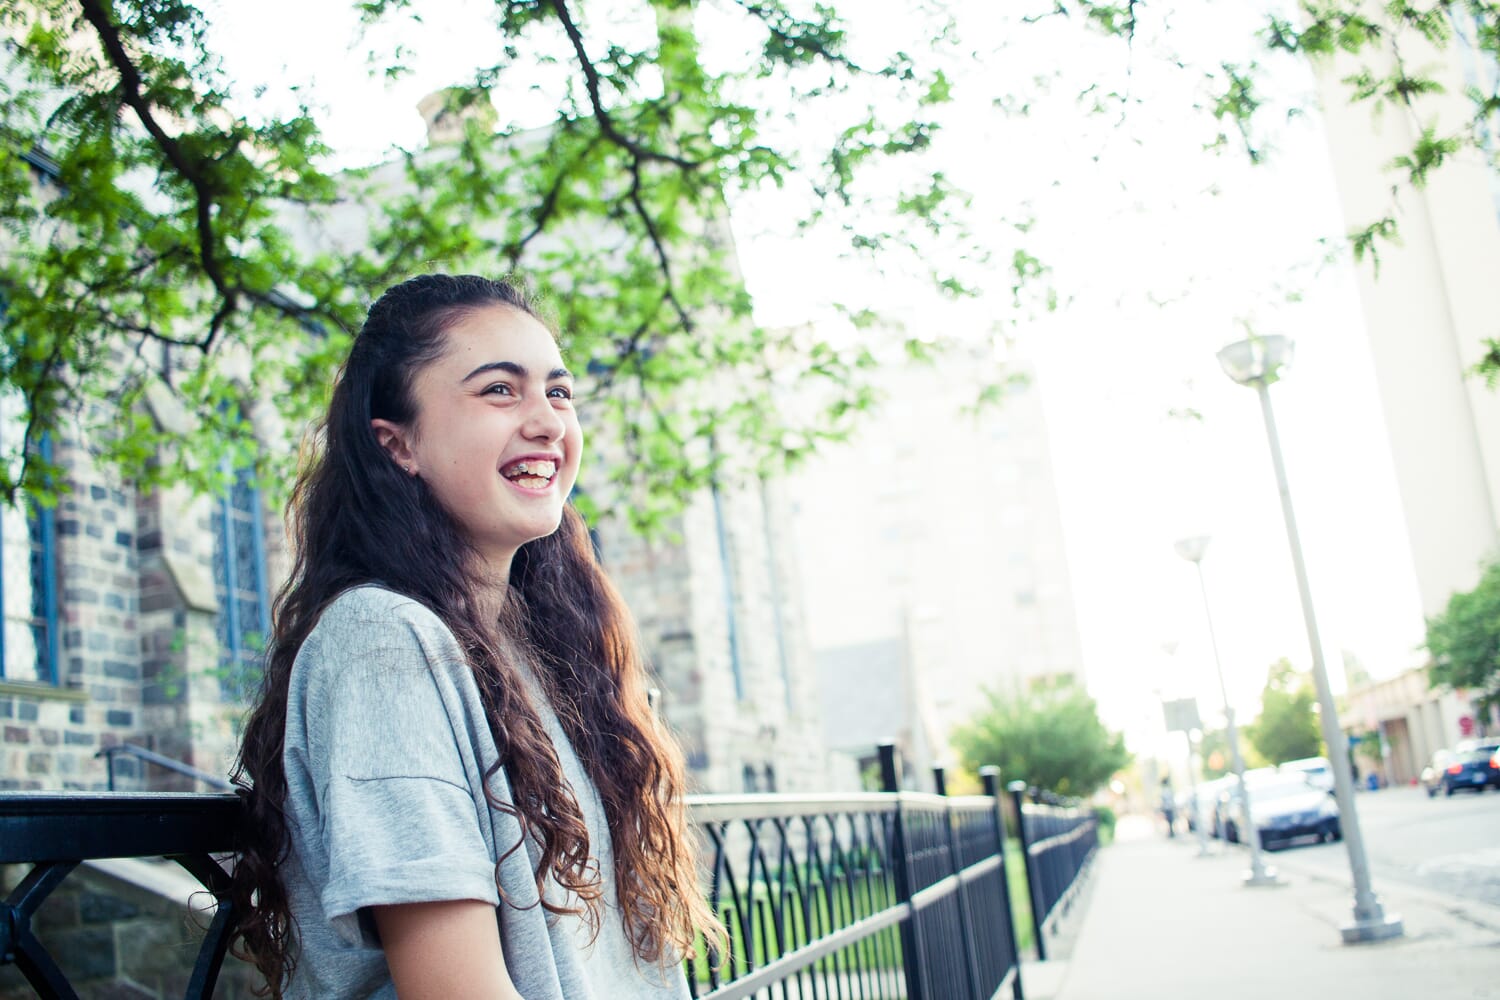
If your subject is moving slowly (e.g., moving their head from side to side), you want to select a shutter speed of at least 1/500s, which will freeze your subject’s motion.
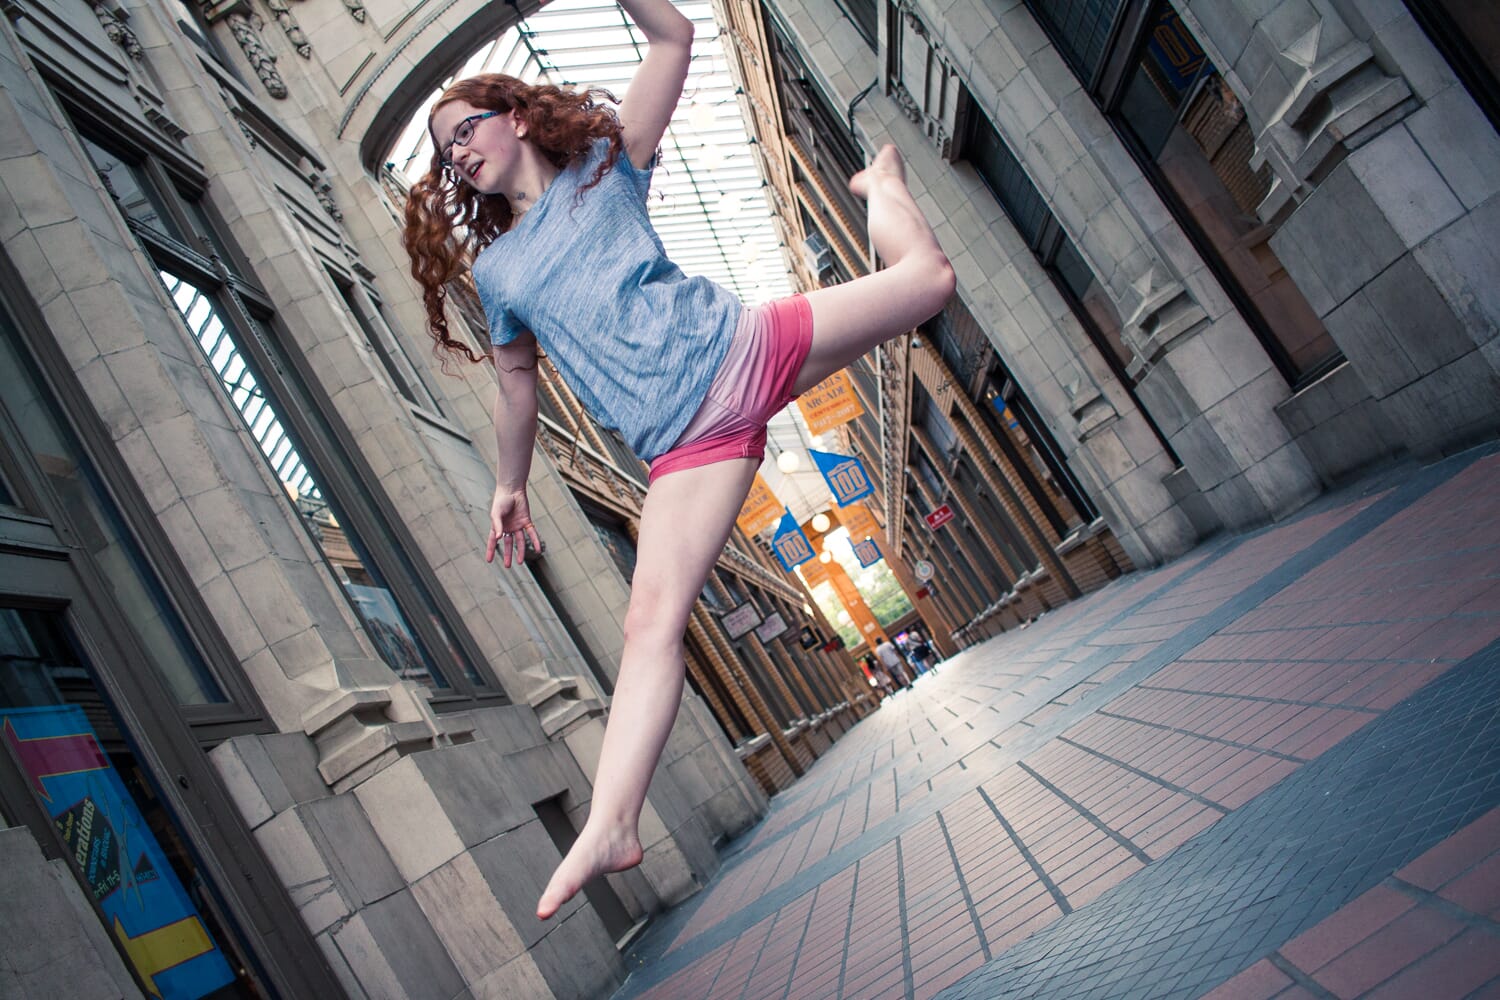
If your subject is moving quickly (e.g., running, jumping, or dancing), you’ll need a shutter speed of at least 1/1000s (and depending on their speed, you may want to go higher).
Note: Unless you’re shooting in a scenario with plenty of illumination, it’s often best to use the lowest shutter speed that you can afford (without risking blur). If you shoot a dancer, for instance, you might set your shutter speed to 1/1000s – but you shouldn’t go any higher unless you notice that your photos are blurry or you have lots of light!
I should also note that longer lenses are more prone to camera shake, so your shutter speed should increase when you use a telephoto lens. If you’re shooting portraits at 200mm, you’ll want to work at least at 1/200s – even if your subject is completely stationary.
4. Choose the Lowest ISO You Can Afford for Noise-Free Photos
Aperture, shutter speed, and ISO together determine the overall brightness of your portrait photos.
Wider apertures make your photos lighter, while narrower apertures make your photos darker. Longer shutter speeds make the photos lighter, while shorter shutter speeds make the photos darker. And higher ISOs make the photos lighter, while lower ISOs make the photos darker.
However, you should choose your aperture based on the amount of background you want blurred, and you should choose your shutter speed based on the amount of motion in your shot. This leaves your ISO to determine the rest of your exposure – that is, the actual overall brightness of your image.
Therefore, you need to choose an ISO that creates a good exposure, one with lots of details and beautiful colors.

If you’re in bright light, this may be the lowest possible ISO setting, which is often 100 (though sometimes 50 or 200, depending on your camera). If you can get away with it, pick ISO 100.
Related Posts
But the light isn’t always nice and bright. In darker scenarios, if you want to produce a beautiful exposure, you’ll have to increase the ISO.
Unfortunately, the higher the ISO, the more noise you introduce into the photo. This leads to a dilemma: Do you want to increase the ISO and get a good exposure but more noise? Or do you want to leave the ISO on its lowest setting and get minimal noise but a too-dark photo?
Here’s what I recommend: Increase the ISO, but only as much as you have to. As soon as you hit upon an acceptable exposure, don’t push it any higher. Noise just doesn’t look good in portrait photos!
Use the Right Settings to Capture Stunning Portraits!
Now that you understand how to choose the perfect settings, you’re ready to capture consistently great portrait images.
After all, you know how to blur the background. You know how to ensure sharp photos. And you know how to avoid noise in your images.
So grab your best portrait camera and lens, find a willing subject, and have an amazing photoshoot!
Camera Settings for Portraits FAQ
What is the best aperture for portrait photography?
The best aperture for portrait photography is a wide aperture, something around f/1.2 to f/4. This will give a stunning background blur that’ll help your main subject stand out.
What is the best shutter speed for portrait photography?
The best shutter speed for portrait photography is fairly fast – at least 1/160s or 1/200s. If your subject is moving quickly, you’ll need to increase the shutter speed (sometimes even to 1/1000s or above).
What is the best ISO for portrait photography?
The best ISO for portrait photography is the lowest ISO you can afford – hopefully in the realm of ISO 100 to ISO 400.
Should I use Aperture Priority or Manual mode for portraits?
Both Aperture Priority and Manual mode are good for portrait photography. Aperture Priority is easier to learn, so I recommend you start there. Then, once you become comfortable, you can switch to Manual mode.
