In the world of photography, few elements are as crucial as lighting. Nowhere is this more evident than in headshot photography, where every shadow, highlight, and genuine facial expression can make a profound difference in capturing the subject’s essence.
As a professional photographer specializing in headshots, I’ve come to understand the intricate dance between light and subject, mastering various lighting setups to achieve the desired effect. Join me as we delve into the realm of lighting setups in headshot photography and uncover the secrets behind creating compelling portraits that stand out.
Headshot Photography Lighting:
Gear Essentials
I’m the type that always wants to bring way too much gear on a shoot, so I’ve learned to ask myself, “Do I really need to bring that extra whatever it is?” Now, I have a list. Usually, you’re going to need some sort of background. Specifically, I have a white and black 5×7 background and a stand that I can put up and hang it from. And then I have a dark gray background as well. I usually try to find out ahead of time what background the client wants, so that way I don’t have to bring both of them.
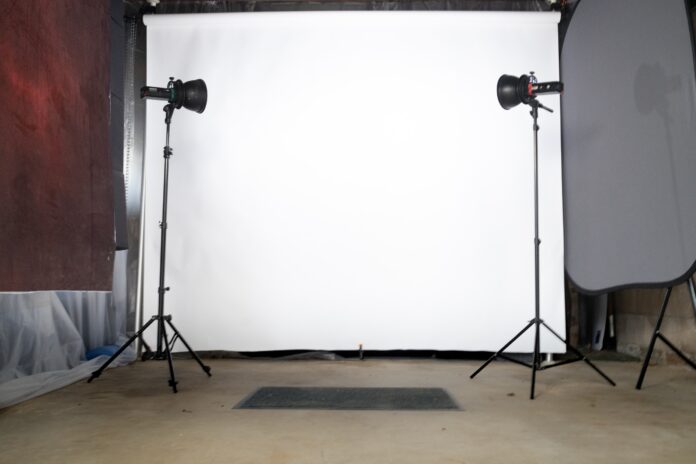
Then, unless they want a clean white background, in which case I have to bring two lights to light the background, I’m bringing three lights. And that’s pretty much it. With those three lights, I can effectively light a human in a natural and complementary way.
The 3-Light Setup
If they want what most of us headshot people refer to as men’s lighting, which is a little bit different than our usual lighting setup, it still requires the same three lights – you just position things differently. Men get more of a shadow on one side, achieved by bringing the main light uncomfortably close – creating more shadowing where the light drops off. They also get a little kicker, set at low power and placed behind them, usually aimed at their unlit side’s jawline/ear.
The go-to setup that works for almost anyone is the triangle setup shown below. There is a main light that comes across just above their head, horizontally angled on their “good side,” a fill light that is vertical and sits opposite the main, and a bottom fill light. The bottom light is horizontal, and usually placed much lower, angled towards their sternum. This lower fill is vital for creating a natural, radiant look across many people.
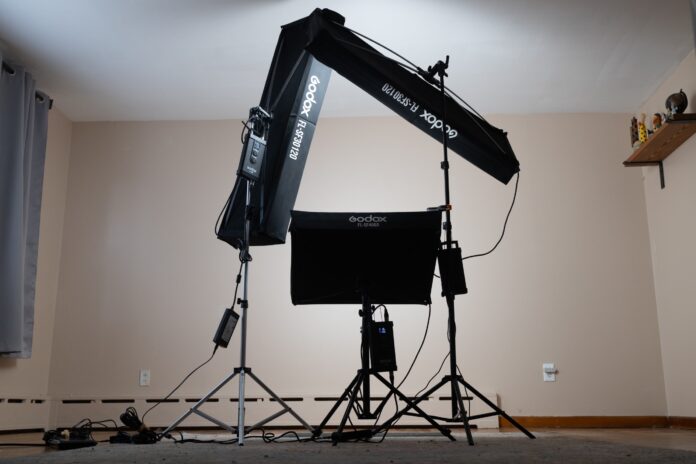
Some people use a reflector but I use an actual light from underneath. And one of the things that does is it makes us look younger because it fills in those wrinkles and smile lines. It’s not going to fill it in entirely, but it lessens it a little bit. One tip I’ve learned to avoid overpowering the top lighting is to look at the light reflections in the subject’s eyes (catch lights). The bottom light should be slightly less bright than the top two lights.
The lights I use are continuous LED lights. One of the benefits of using continuous lights is that you can preview your results before taking the photo (not so much with strobes/flash). The other less obvious benefit is that the pupil (dark center of the iris) is constricted, allowing more of each beautiful eye color to be shown.
There are more expensive LED lighting kits out there, but I use Godox ones. The two that I use for the main and the fill are the FL150R by Godox, and they’re 1 ft by 4 ft. I wish it was 1 ft by 3 ft but they don’t make those. For the bottom fill, I use the Godox FL100 and it’s about 1 ft by 2 ft. Each of these lights by Godox has a softbox counterpart that I use.
Lighting Inspired by the Best
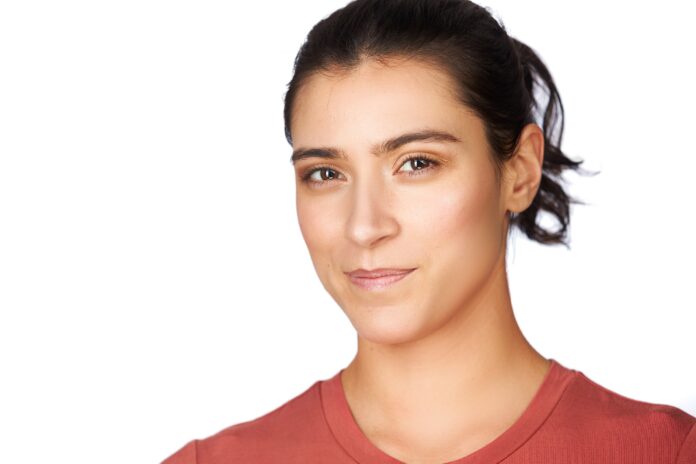
Actually, there’s a little bit of history from Peter Hurley behind my headshot lighting setups because he’s the one who originally came up with it. It’s trying to mimic natural light. Basically, if you sat somebody in front of a window, facing it, and had great, diffuse light from outside illuminating as you were photographing – that’s the look we’re after. This lighting setup almost mimics that using artificial light. I’ve seen other headshot lighting, even used other ones myself, but this natural-looking effect, achieved with artificial lighting is by far my favorite. It is simple, yet elegantly shows off every human photographed in their ideal light (pun fully intended).
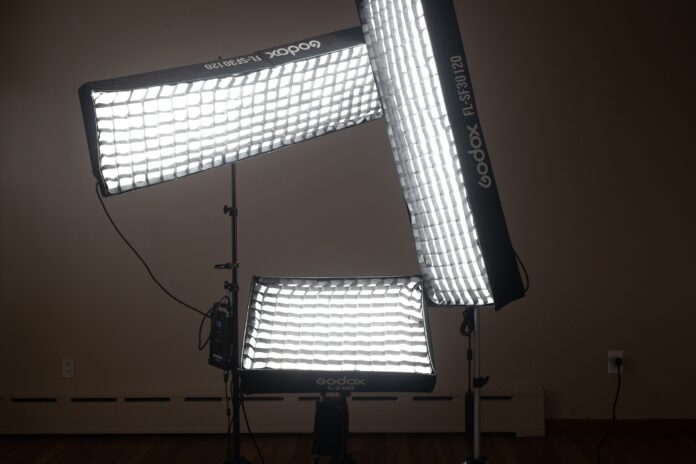
There’s a softbox on each light. I mean, they call it a softbox, but it’s only about maybe three inches off the actual light because it’s a flat LED panel. I think it gives the light a little bit more direction, but I’ve seen people use the same sort of LED lights without the softbox. I prefer to use it because I feel like I have a little more control over where the light goes based on the person’s face because everybody’s a little bit different. There might be situations where I want to lessen certain features and highlight other features of somebody’s face, so just having that little bit more directionality is helpful in that situation.
Related Posts
Each human’s face is different. The more you light each person, the more you will get to know the visual assets and flaws of each face encountered. Highlighting the great and hiding, as best as you can, the physical concerns is usually my main goal and will impress your subjects. Don’t be afraid to play around with positioning or settings, as lighting for headshots is a game of inches. That said, have friends or family or pro bono subjects who are willing to help you experiment and gain experience. That way, if and when someone is paying you, you will have enough of a grasp on lighting fundamentals to tailor your lighting to each human and ensure everyone is “wowed.”
Lighting Considerations: Natural, Artificial, and Working with What You Have
Whether you use natural or artificial light depends on the situation and the time of day. The problem with using natural light is it’s really got to be the right time because if it’s diffused a little bit, that is helpful. If on the other hand, it’s direct sunlight, it’s going to be frustrating to create a polished look. Considering most teams value a consistent, professional look across images, the fact that natural light is changing throughout the day can also present difficulties. In the morning, it’s going to be different than it is at lunchtime, and then different a little bit later in the afternoon.
Typically, natural light is harder to utilize for headshots specifically. Plus, my go-to setup, the triangle shown above, provides as close to a “natural light” appearance as possible with man-made lighting. Fortunately, I’ve gotten to the point where I can set up in under an hour. When I first started, it was certainly longer than 60 minutes, but I’ve gotten better and more efficient. With practice, keeping set up to no more than one hour is completely doable.
As for working on location or in my home studio, it’s a mix. Teams are usually on location, at least thus far. Sometimes, I’m working out of my home studio. A lot of people rent a whole studio without the income to justify it, and it’s like, no wonder you’re stressed out. I don’t want to be paying thousands on a studio before I can justify it.
Usually, most teams are going to be on location. With individuals, it’s a mix. It depends on what somebody’s comfortable with. I’ve had people come to my studio, and then I’ve had people who want me to go out to their homes. For example, I had a client last year who wanted headshots of her son who’s in college, because they don’t get school pictures in college, and it worked out that I went to her house to set up and we were able to get some great photos. They even got a portrait-type photo that they were going to give to Grandma for Christmas or something, so it was really cool.
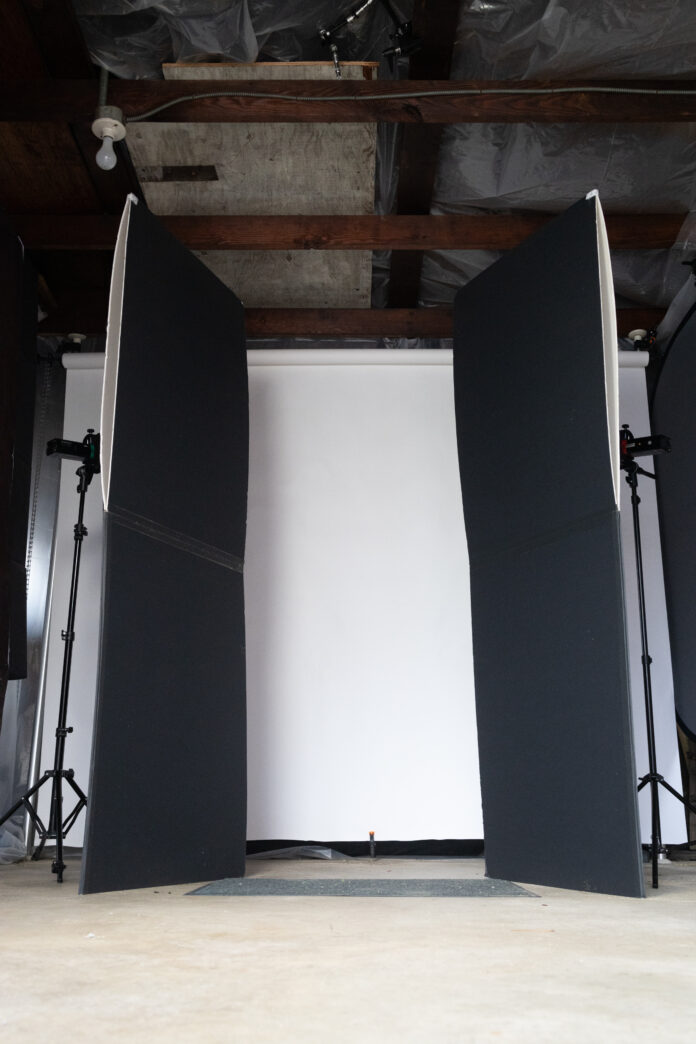
Unfortunately, with corporate headshots on location, usually you’re given a room and it’s like, “This is the room you get, hope you can make it work.” But you know what? You learn tricks of the trade over time. If needed, I have two V-Flats. They’re basically giant foldable – white on one side and black on the other – boards that are about 6 ft tall. I made my own out of cardboard. If there’s a window and some sunlight is coming in or something like that, I have those V-Flats if I need to block any unwanted light on the subject. You can always change your direction of shooting and move the lighting setup back a foot or forward a foot.
The Importance of Professional Lighting in Headshot Photography
Without great lighting, tailored to each human’s facial features, their facial expressions (the focus of any headshot) will not shine. From the subtle interplay of shadows to the radiant glow of highlights, the right lighting setup can transform an ordinary portrait into a captivating work of art. Lighting isn’t just a technical consideration but a powerful tool for storytelling, with the end goal being to draw the viewer into an authentic, confident facial expression.
As we’ve explored various lighting techniques and setups, it’s evident that mastery of light is essential for any photographer seeking to excel in the realm of headshot photography. Practice with as many different faces and people as you can. Experiment with shadow, fill, and highlights. Reach out and ask for the input and knowledge of other photographers, too. Let’s all continue to illuminate our subjects, capturing the essence of human expression and showcasing every human in the best light possible.
Disclosure/Disclaimer: As an Amazon Associate, we earn from qualifying purchases. Certain content was provided "as is" from Amazon and is subject to change or removal at any time. Product prices and availability: Amazon prices are updated daily or are accurate as of the date/time indicated and are subject to change. Any price and availability information displayed on Amazon.com at the time of purchase will apply to the purchase of this product.


