
- Rim light is the bright edge or outline that appears when the light source is behind or to the side of the subject.
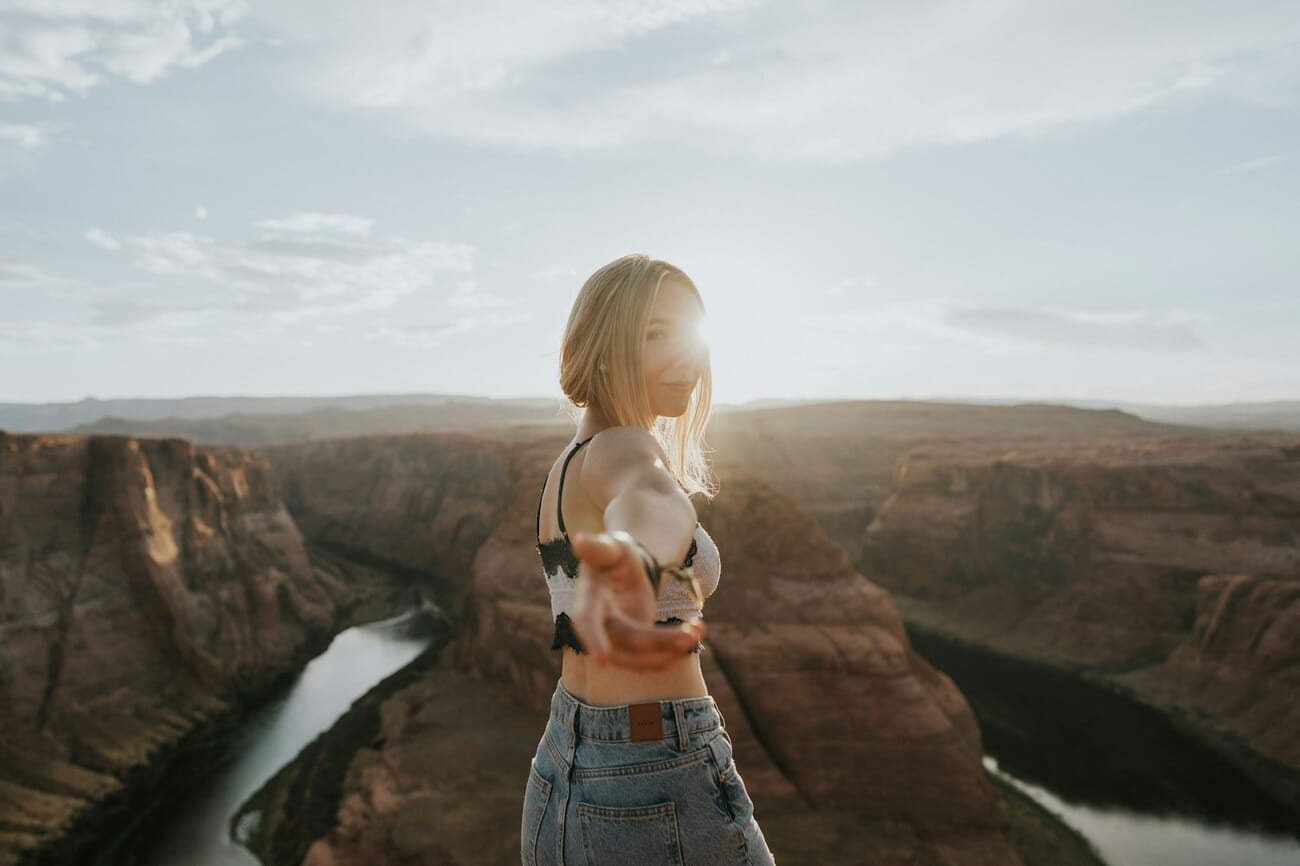
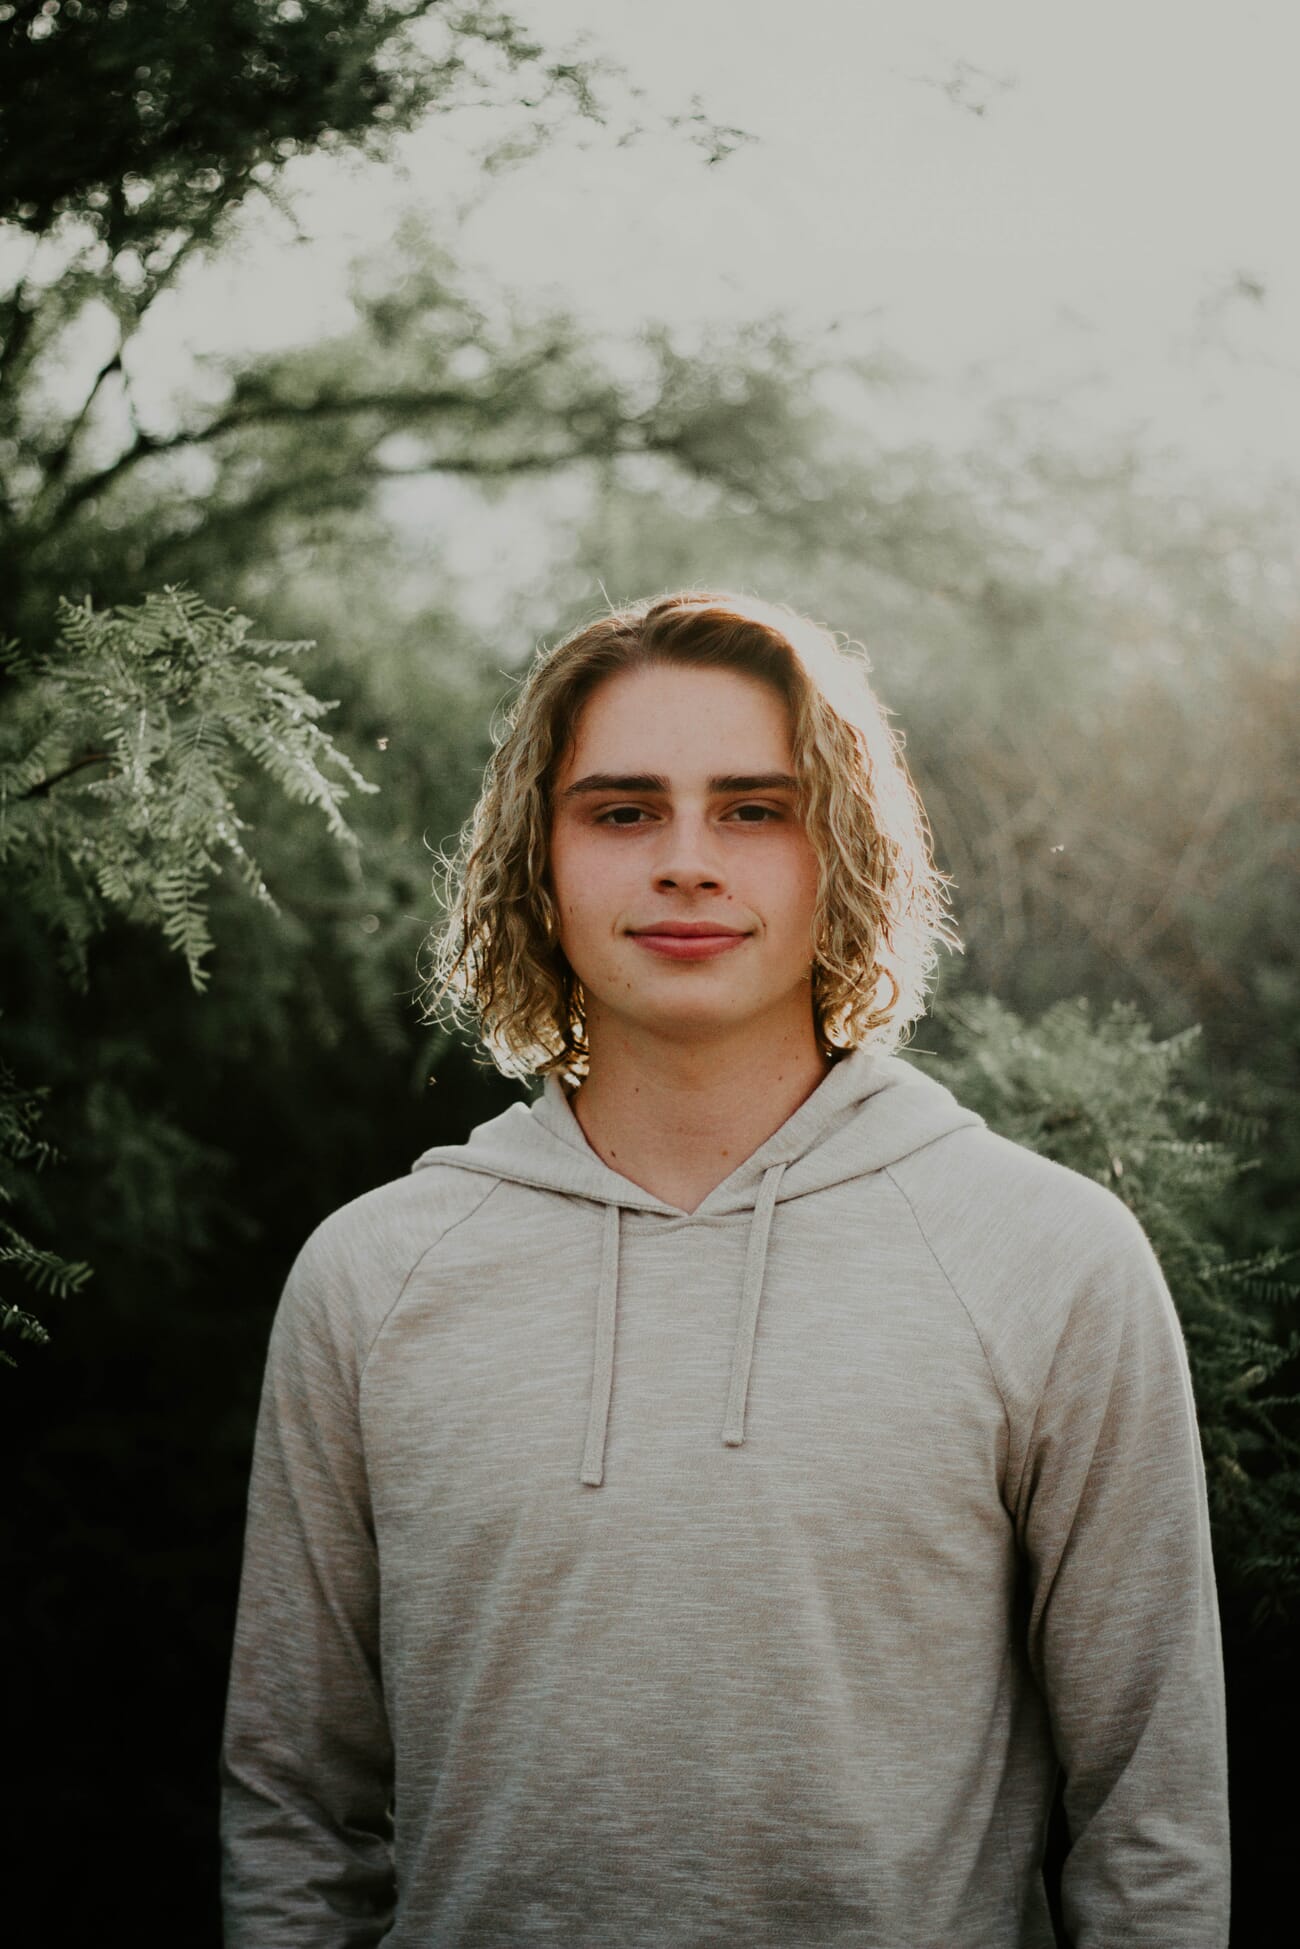
- Natural rim light happens during golden hour – position the subject with the sun behind them.
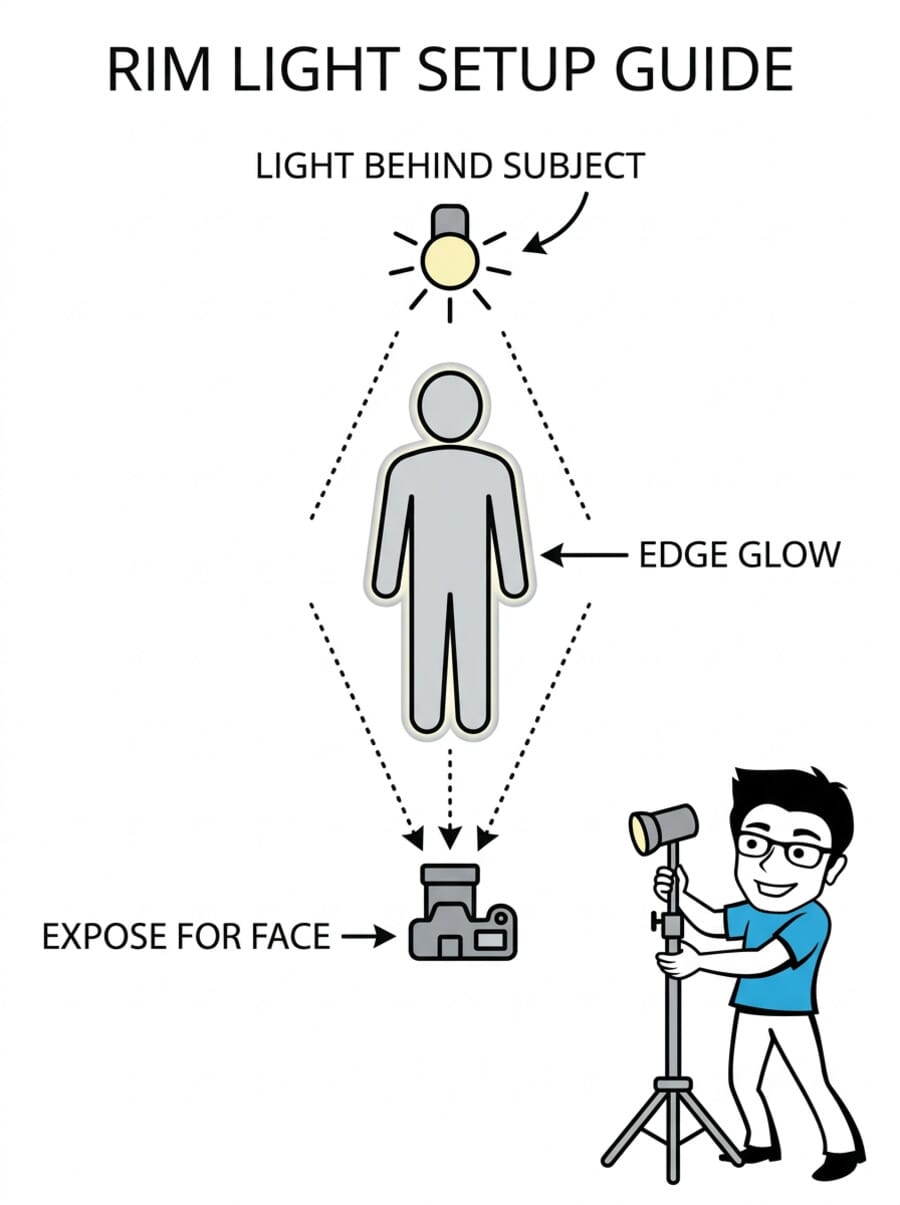
- Flash and studio lighting create controlled rim light by placing a light behind and above the subject.
- Camera settings – expose for the subject, not the bright background, using spot metering or exposure compensation.
- Combining rim light with silhouettes adds a glowing edge that separates the subject from the background.
- Flare and spillover are common challenges – use a lens hood and adjust the light angle to control them.
Introduction
Rim light is one of the most visually striking effects in photography. That bright, glowing edge around a subject – outlining hair, shoulders, and contours with light – instantly adds a professional, polished quality to any image. And the best part? You don’t need expensive studio equipment to create it.
Whether you’re using the setting sun, a window, or a single flash, rim lighting separates the subject from the background and adds dimension that flat front lighting simply can’t match. This guide covers everything from the basic concept to advanced indoor and outdoor techniques.
What Is Rim Light?
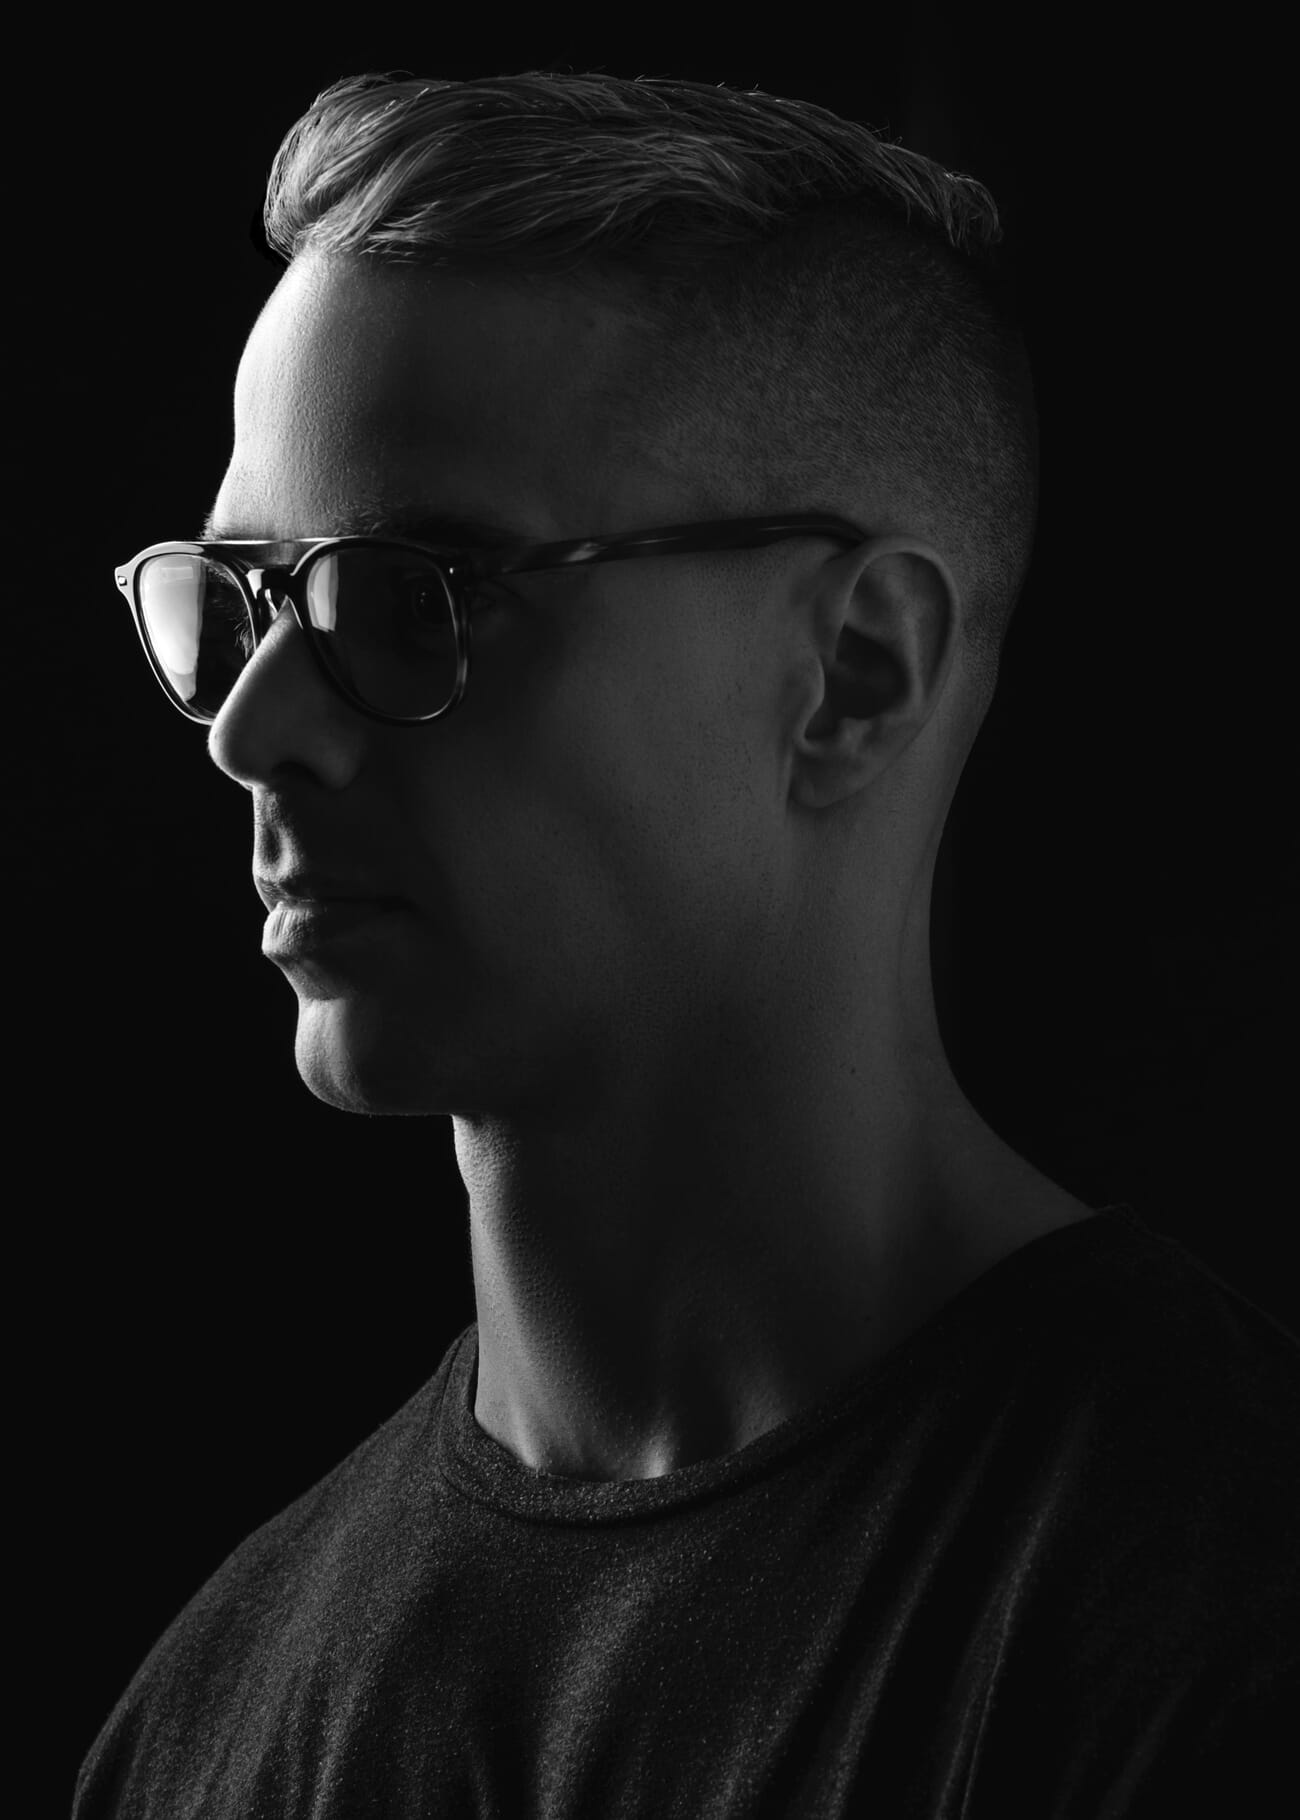
Rim light (also called edge light, back light, or hair light) is the bright outline that appears around a subject when the light source is positioned behind or to the side-rear. The light wraps around the subject’s edges, creating a bright contour while the front remains in relative shadow.
Rim lighting is technically a form of backlighting, but with a specific emphasis on the edge glow rather than full silhouettes. The key difference: with rim light, you typically expose to see some detail in the subject’s front, while the bright edge provides separation from the background.
When to use rim light:
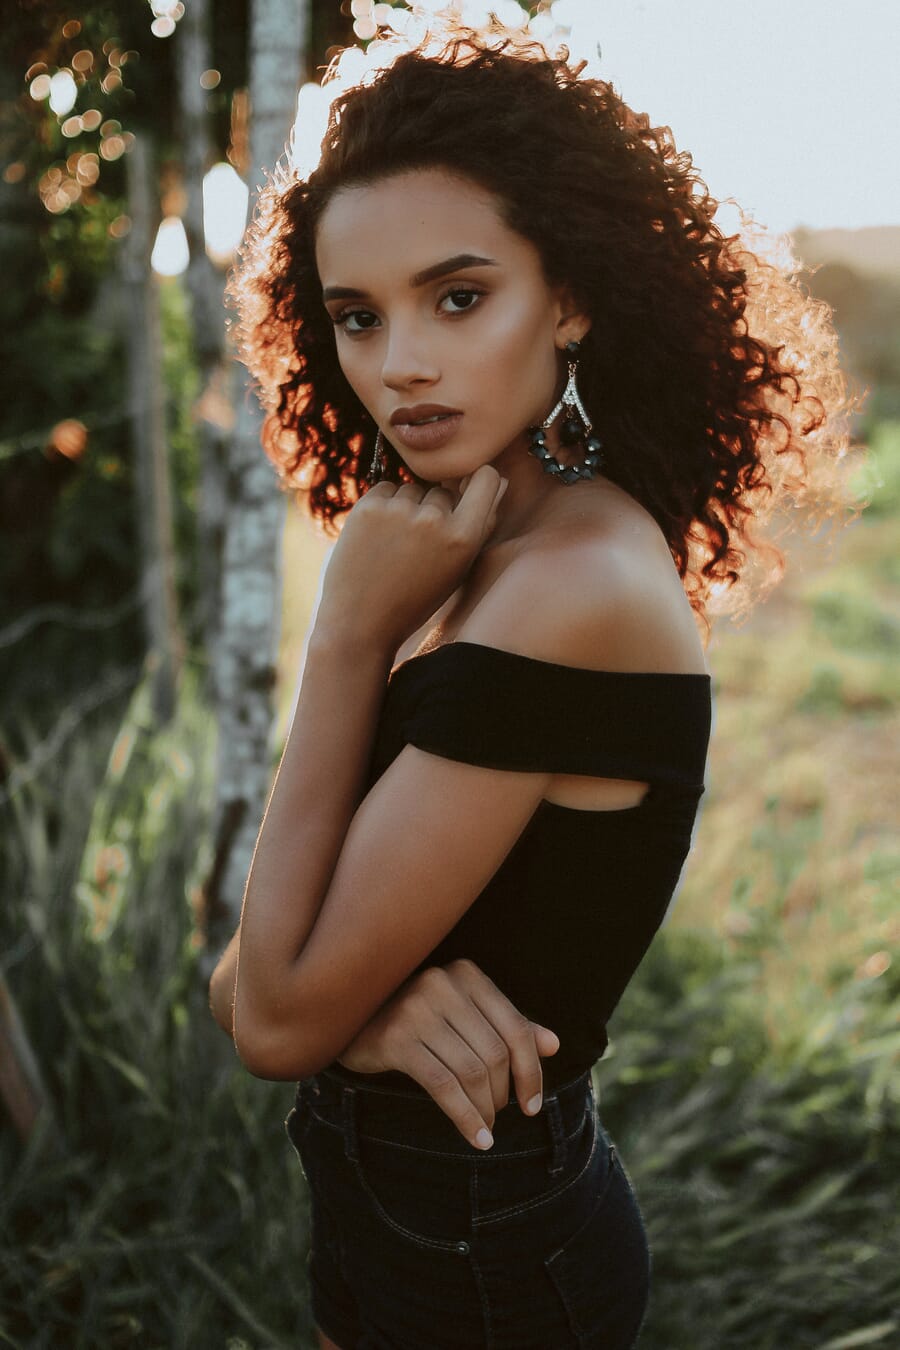
- Portraits – adds a halo-like glow around hair and shoulders, creating separation from dark backgrounds
- Wildlife and pet photography – fur and feathers glow beautifully when backlit
- Product photography – defines edges of transparent or translucent objects
- Fitness and sports – highlights body contours and muscle definition
- Outdoor scenes – creates atmosphere and depth in landscapes
Creating Rim Light with Natural Light
The easiest way to achieve rim lighting is to work with the sun during golden hour – the last hour before sunset or the first hour after sunrise.
Outdoor technique:
- Position the subject with the sun behind them (at roughly 135-180 degrees from the camera)
- Move slightly to the side until you see a bright edge forming around the subject’s outline
- Use spot metering on the subject’s face to get proper exposure on the front
- Add fill light to the front using a reflector or fill flash
Window rim light: You can create rim light indoors by positioning the subject between the camera and a bright window. The window acts as the backlight source. This works best with sheer curtains that soften the light while still providing enough intensity for a visible rim.
For more on working with the sun behind your subject, including exposure compensation and fill techniques, see the complete guide to backlit photography.
Creating Rim Light with Flash and Studio Lighting
Studio rim lighting gives you precise control over the intensity, width, and color of the edge glow.
Basic setup:
- Place a light (speedlight or strobe) behind and slightly above the subject, angled down toward the back of the head/shoulders
- Use a dark background – the rim effect is most visible against dark or black backgrounds
- Start with the light at 45 degrees behind the subject and adjust
- Use a snoot or barn doors to narrow the beam and prevent lens flare
Two-light rim setup: For a symmetrical rim on both sides of the subject, place two lights behind – one on each side, at 45-degree angles. This creates a “kicker” effect that outlines the subject from both edges.
Three-light portrait setup: Add a main (key) light at 45 degrees in front to illuminate the face, plus two rim lights behind. This is one of the most professional portrait lighting configurations and delivers consistent, polished results.
Camera Settings for Rim Light
Rim light situations fool camera meters because of the bright backlight. Without manual adjustments, the camera will typically underexpose the subject.
Essential settings:
- Metering: Switch to spot metering and meter off the subject’s face (not the bright background)
- Exposure compensation: Dial in +1 to +2 stops if using evaluative/matrix metering
- Aperture: f/2.0-f/4.0 for portraits with bokeh; f/8 for full-body shots with sharper backgrounds
- ISO: Keep as low as possible (100-400 outdoors, 400-800 indoors)
- White balance: Shoot in RAW and adjust later – backlit scenes often need warming
The camera settings cheat sheet provides a quick reference for different lighting scenarios, including backlit situations.
Mirrorless advantage: The EVF shows a real-time exposure preview, making it easy to see exactly how the rim light will look before pressing the shutter. DSLR users should chimp (review) shots frequently and adjust.
The Importance of Contrast
Rim light only works when there’s enough contrast between the bright edge and the background. A bright rim against a bright background gets lost. The same rim against a dark background creates instant drama.
Tips for maximizing contrast:
- Choose a dark, uncluttered background (deep shade, dark walls, distant shadows)
- In studio: use a black backdrop and keep background lights off
- Outdoors: position the subject so the background is in shadow (shoot toward shade, not sky)
- In post-processing: darken the background selectively using masking tools to make the rim stand out more
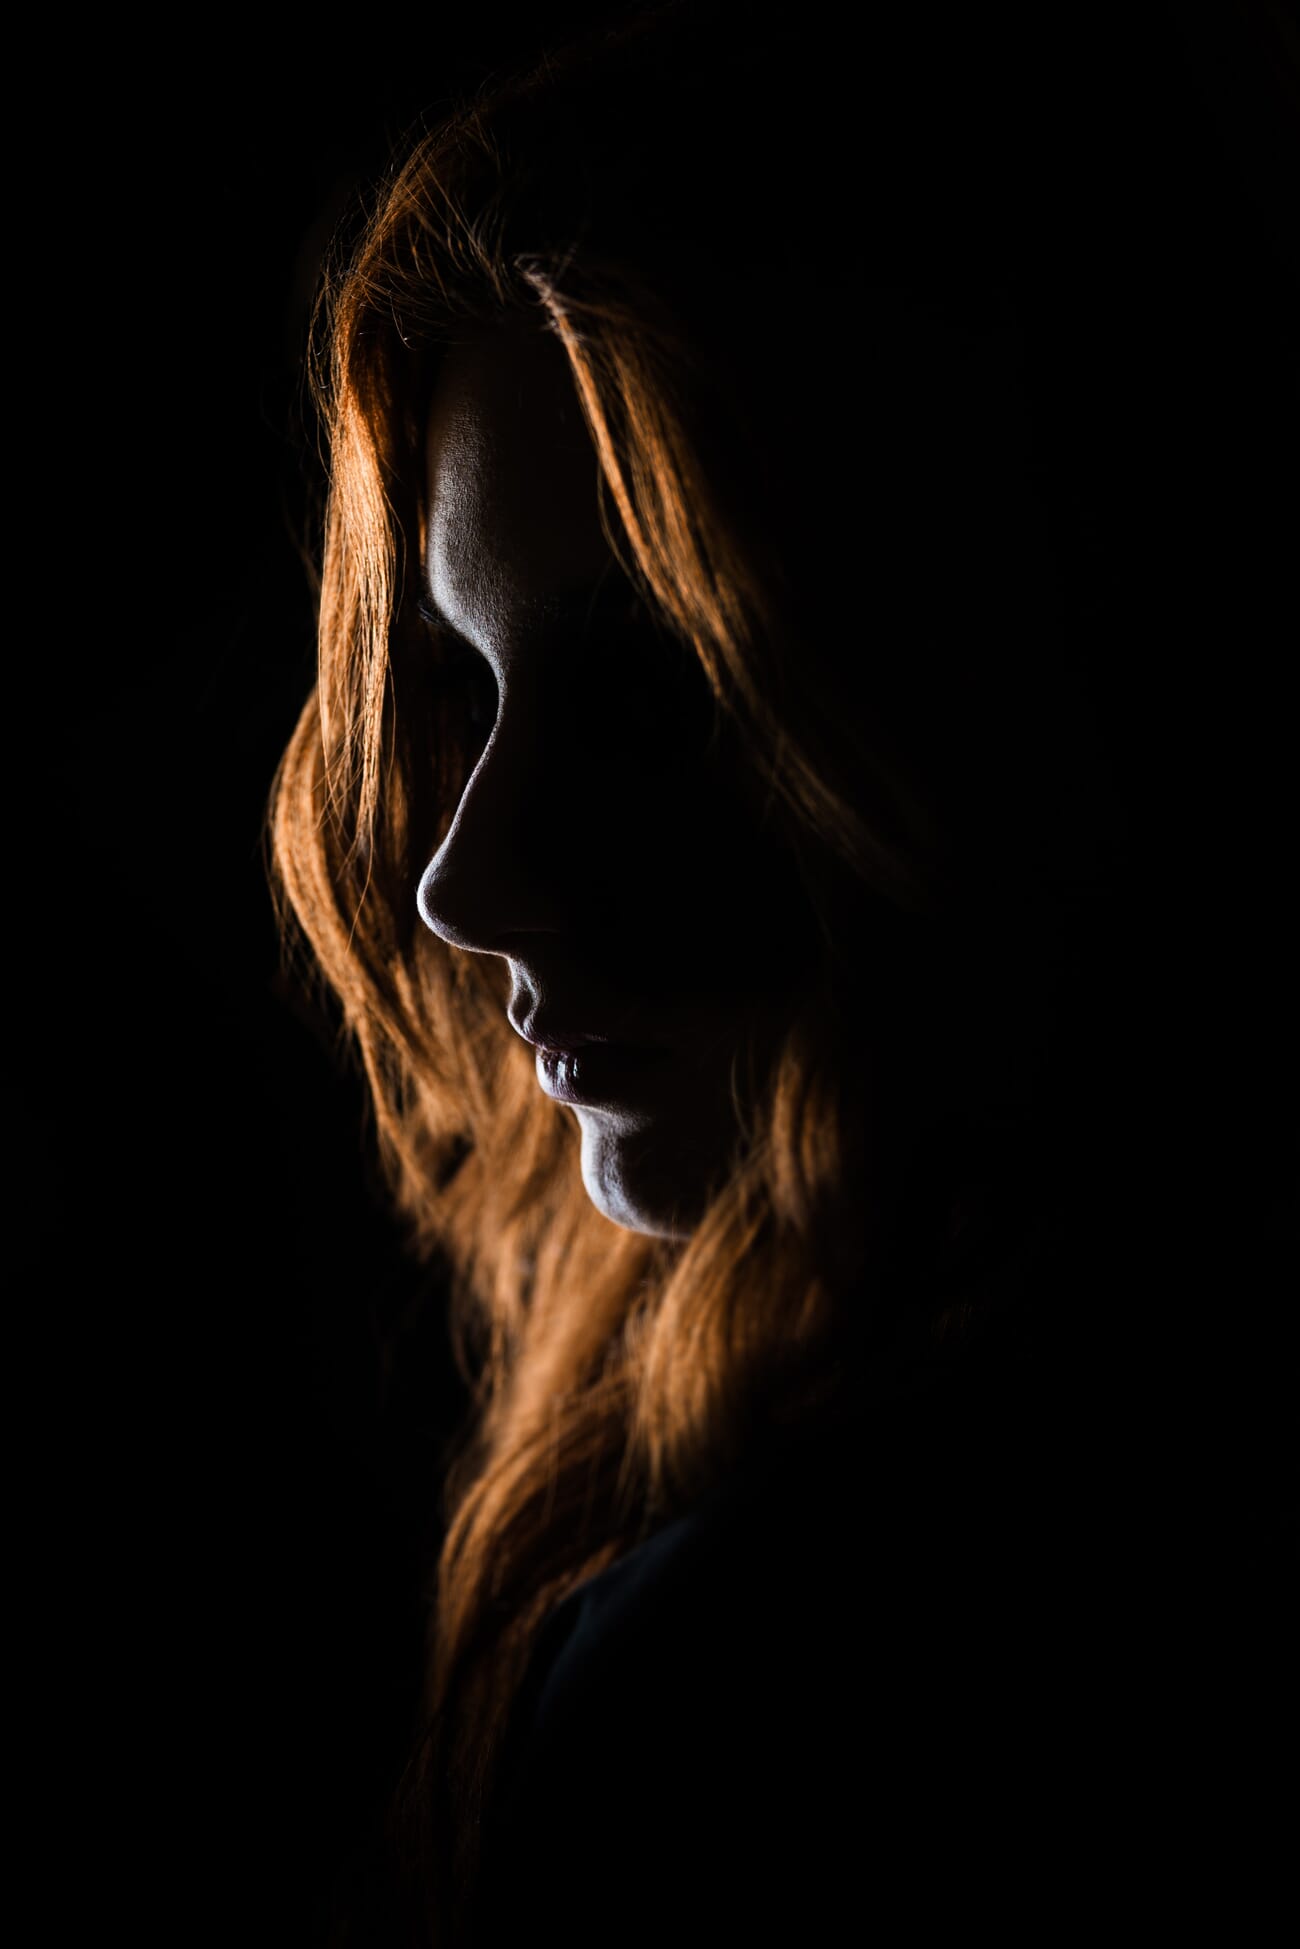
Rim Light and Silhouettes
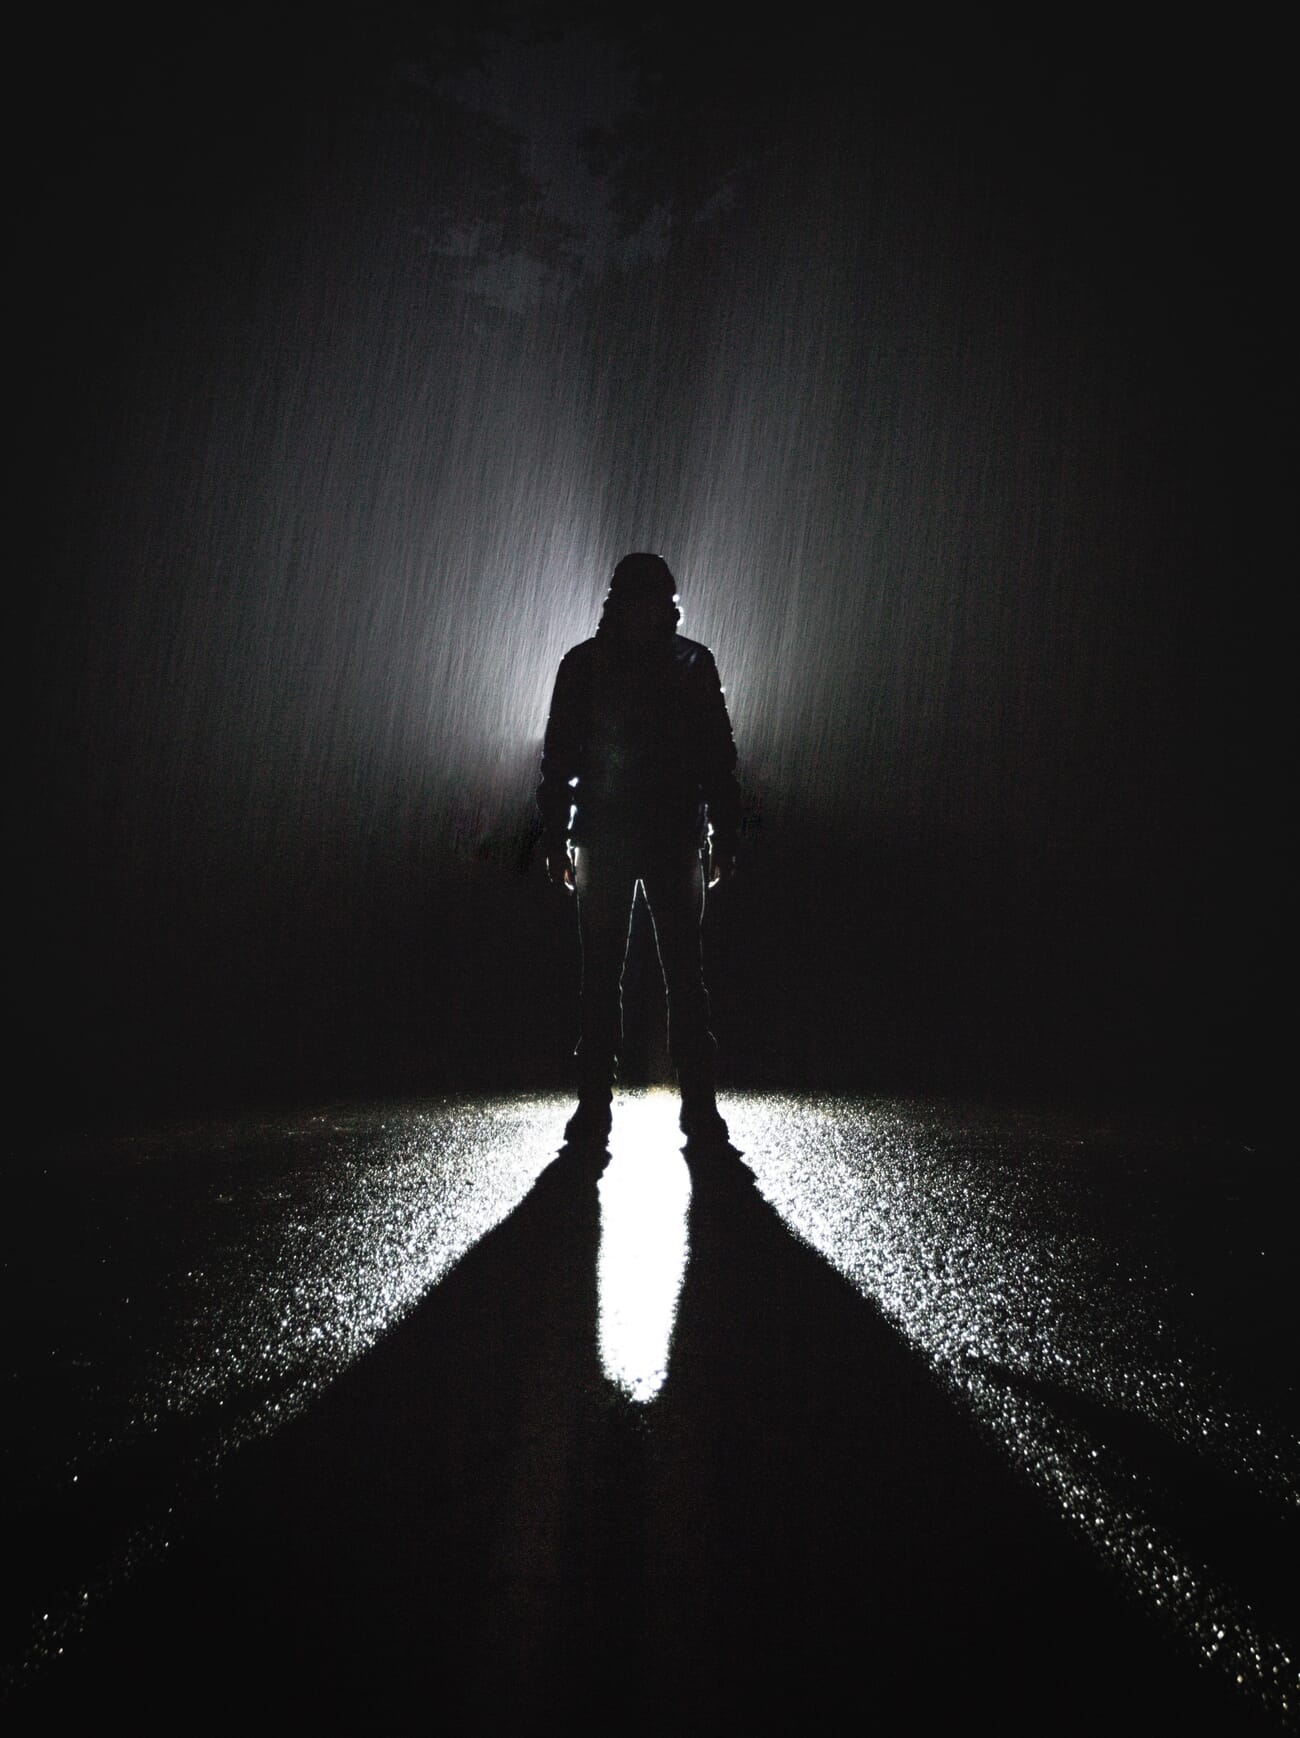
One of the most dramatic uses of rim light is combining it with a partial or full silhouette. Instead of filling the subject’s front with light, let them go dark while the bright edge defines their shape.
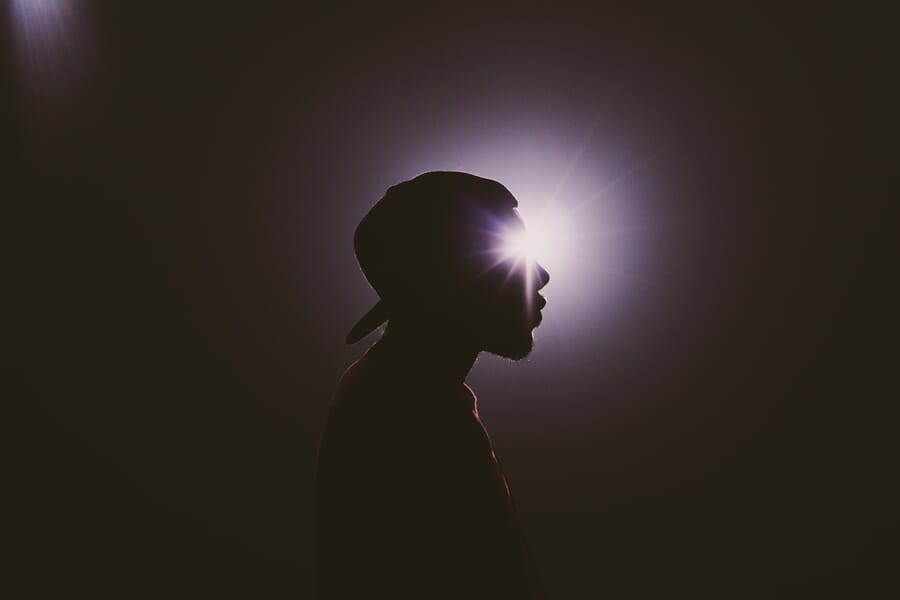
How to create a rim-lit silhouette:
- Position the light source directly behind the subject
- Expose for the bright background (not the subject)
- The subject goes dark, but the rim of light around their edges defines their shape
- Choose subjects with interesting outlines – profiles, hands, hair, objects with distinctive shapes
This technique works beautifully with the golden hour sun, creating silhouettes that have more visual interest than flat, black shapes. The rim of light adds a luminous quality that pure silhouettes lack.
Creative Rim Light Techniques
Interesting edges: Rim light works best on subjects with complex edges. Hair, fur, feathers, fabric fringe, and textured surfaces all catch the light differently and create intricate, luminous outlines. Look for subjects where the edge is the most interesting part.

Smoke and fog: Adding smoke, fog, or haze behind the subject creates visible light rays that enhance the rim effect dramatically. The particles scatter the backlight, making the light beams visible and adding atmosphere to the entire scene.
Colored rim light: In studio settings, add a colored gel to the rim light for creative effects. Cool blue rim light against warm key light creates a cinematic look. Complementary color combinations (orange/blue, green/magenta) are especially striking.
Dealing with Flare and Spillover
Rim lighting comes with two common technical challenges.
Lens flare: When the light source is nearly in frame, stray light can hit the front element and create flare – bright streaks or a hazy wash across the image. Sometimes flare is desirable for mood, but when it’s not:
- Use a lens hood to block stray light
- Use your hand or a flag just outside the frame to shade the lens
- Adjust the angle so the light is hidden behind the subject
- Clean the front element – smudges and fingerprints amplify flare
Light spillover: If the rim light is too strong or angled too far forward, it spills onto the subject’s face or front surface, washing out details. Fix this by:
- Moving the light farther behind the subject
- Reducing the light’s power
- Using a snoot or barn doors to narrow the beam
- Flagging the light with black cards on the sides facing the camera
Start Creating Rim Light
Rim light adds instant professional quality to portraits, wildlife, and product photography. The simplest way to start? Head outside 30 minutes before sunset, place a subject between you and the sun, and experiment with angle and exposure. You’ll see that glowing edge appear almost immediately.
From there, try indoor rim lighting with a single speedlight or even a strong desk lamp behind the subject against a dark background. The technique scales from simple to sophisticated, but the core principle never changes: put the light behind the subject, and let those edges glow.
Frequently Asked Questions
What’s the difference between rim light and back light?
Back light is the general term for any light coming from behind the subject. Rim light is a specific type of backlighting where the light creates a bright outline around the subject’s edges. All rim light is backlighting, but not all backlighting produces rim light – it depends on the angle and intensity.
Can I create rim light with a single speedlight?
Yes. Place a single speedlight behind and slightly above the subject, aimed at the back of their head and shoulders. Use a dark background and expose for the subject’s front (using ambient light or a reflector for fill). A single speedlight on a light stand is all you need.
What camera settings work best for rim light portraits?
Use spot metering on the subject’s face, set aperture to f/2.0-f/4.0 for beautiful bokeh, and keep ISO low (100-400). You’ll likely need +1 to +2 stops of exposure compensation if using evaluative metering, since the bright backlight tends to fool the meter into underexposing.
How do I prevent lens flare when shooting rim light?
Use a lens hood, shade the lens with your hand or a flag, and position the light so it’s hidden directly behind the subject. Keeping the front lens element clean also reduces flare. If some flare still appears, adjust your angle slightly until the light source is completely blocked by the subject.
Featured image: Photo by Unsplash.


