There are two things that I feel are vital, especially for headshot photography. Because we’re close up on your face, expressions matter. Even a millimeter difference in somebody’s smile can make or break a photo. It can make them look like they’re forcing a smile or it’s completely natural. A millimeter difference in any expression can make a big difference.
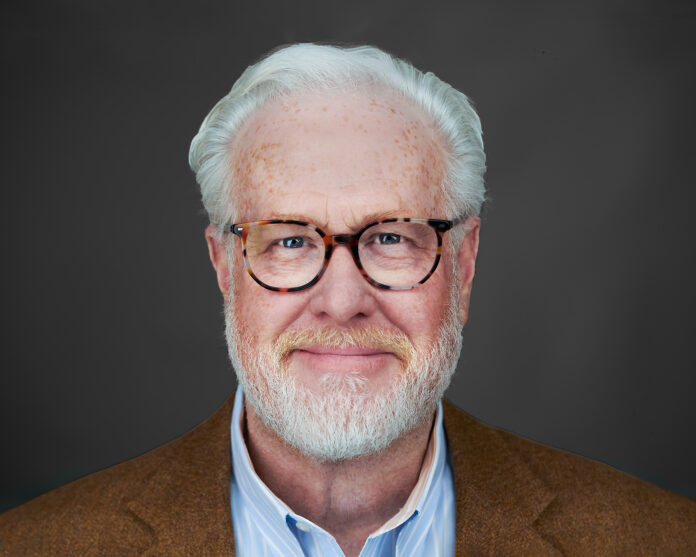
The other big thing is that shooting on a tripod is essential. Because I want consistency, whether I’m shooting from eye level or I’m shooting from down low or a little off this way or a little off that way.
Welcome to the world of headshot photography, where the tiniest details can make the biggest impact! Today, I’ll go over some simple tricks and tools that can separate your headshot photos from the amateurs.
Posing Tips & Tricks for Natural-Looking Headshots:
First, the Basics: Necessary Gear and Software
Like I said above, a tripod is paramount in headshot photography. It’s going to make your job a lot harder if you’re trying to hand-hold the camera, so definitely invest in a tripod. Besides that, one of the big things that I am big on is shooting tethered to my computer. Tether cords are maybe $100 at the most, depending on your camera. Then I use Capture One software and I feel like it’s an absolute game changer because there are two things that you get with that.
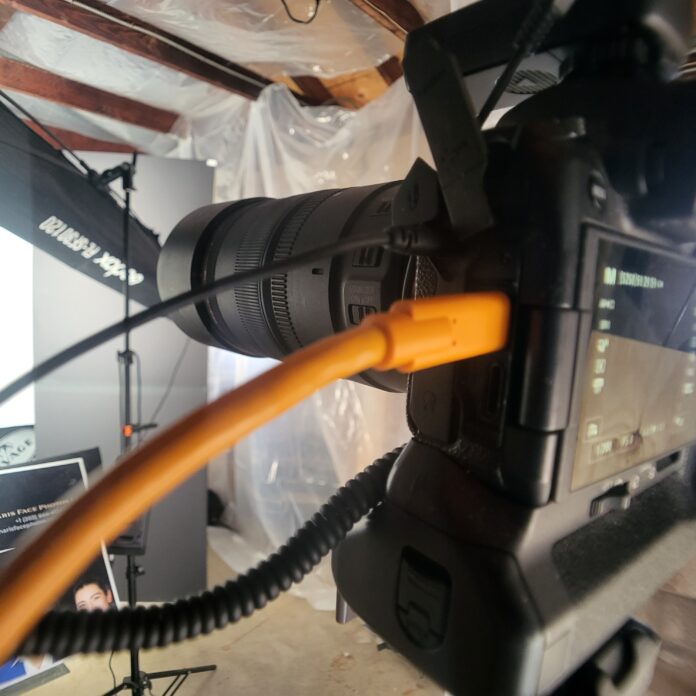
One is you can see details that you’re not going to be able to see otherwise. Everybody looks good on the back of a 2-inch screen, but when you’re doing a headshot and you’re close up, when you view that on a bigger screen, you’re able to see a lot more detail. You’ll notice the tie that’s a little crooked or wrinkled, the spot on their face, the lipstick they smudged.
Two is that you get to see everything in real-time. During a photoshoot, I’m stopping every couple of minutes. First to give them a break but also, we’re looking at images in real-time and seeing what the client likes, what I like, what’s working, what’s not working, and educating and learning right then and there. Do they like themselves a little to the side? Do they like themselves straight on? What’s looking good? On the back of a little screen, we wouldn’t be able to do that nearly as well. It makes it easier at the end of the session because we’ve gone through and gotten rid of the pictures where their eyes were closed or the ones they didn’t like so we have less to do at the end of the session.
The Pose and Camera Setup
Going into a headshot session, I know I want to shoot from chin level. The reason being is that’s going to make somebody look more powerful. It’s going to make them look strong and confident, which, in a headshot, is key. Confidence and then approachability are the two key factors. If you have that in a headshot plus a great expression, that in my book is most likely going to be a great headshot. So shooting from chin level as opposed to eye level or even nose level is going to create more of a hero shot, kind of.
The way I do that, or try to do that most times, is I will literally take the tripod and position it right about their chin level. And then from there – and this is something that I’m doing probably before I get them behind the lights – I am going to give them a few tips on how they’re going to stand. A few things that are going to help make them really shine so they end up with headshots where they’re like, “Wow, this is the best picture of me I’ve ever seen.”
Related Posts
First and foremost, you’re going to start with the face and how they’re standing. So I tell people to stand comfortably with their feet about shoulder-width apart. You might have heard this analogy before, one I like a lot, you tell the model, “You’re a puppet and somebody’s pulling you up to the ceiling.” That will help them make their whole body and back straight. However, one of the no-nos, at least for me, is I don’t want somebody’s body to be exactly straight up. That doesn’t mean that they have to be looking over their shoulder or something like that – that might look a little weird – but in headshots, I’m trying to go for a natural look. I want to highlight the best version of them. So I’m going to experiment.
It’s not about modeling or anything like that. I have them stand up nice and straight, on a little bit of an angle either way. We might even try a shot or two on one side and then the other side just to see what they like, what we like, the best.
Once they’ve gotten into that position and they’re standing straight up, I tell them, “You also want to imagine that there’s a lasso holding your shoulders back towards the background.” Because the natural tendency I have found, even when I show it to people, is that when you put your jaw out like that, you want to hunch over. So, as the photographer in charge of the shoot, you’ve got to make sure that they keep their shoulders locked back to the background.
That’s a key thing because the next move is something that feels totally weird, and it’s totally awkward at first, but it looks great on camera!
It’s all about getting the jawline to be nice and clean and defined. The way that I was taught and that I teach people is once you’ve got your body positioned and you pretend like your shoulders are literally locked in place, then what you want to do is push your forehead up and, without breaking that neck extension, you want to lower your chin down towards where the camera is, so it’s almost like poking your head out like a turtle. When you do that, there’s not going to be any double chin or any wrinkles. It really gets your neck extended and your jaw clean.
Sometimes people are laughing about it because they’re like, “Oh, my God, this feels so weird!” But once you nail it, everybody’s going to look so much better. Whether you’re a bigger guy or you’re getting a little older, it doesn’t matter when you have your jawline extended like that. It’s going to look so much better in a headshot, especially.
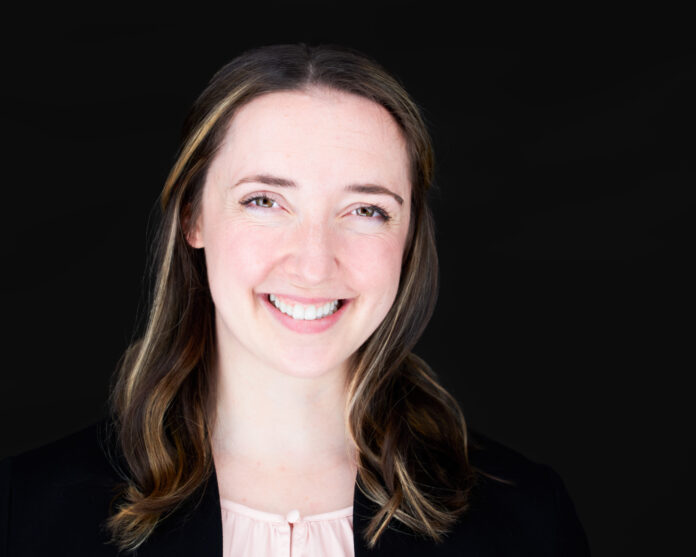
The other things, as I mentioned, are confidence and approachability. Physically, the confidence comes from our eyes. A lot of us get nervous in front of the camera, myself included. I got married last year and a colleague shot our engagement photos, and it was so awkward because I hate getting pictures of myself taken! When we’re nervous, we get that deer-in-the-headlights look – those big, wide eyes, and that just does not look good. I don’t care if you’re a 10 out of 10 or have been modeling your whole life, if you’ve got that nervous look, it’s not going to look good.
The thing that I tell people to do is, as Peter Hurley termed it, squinch. I’ve heard people call it smizing. But basically, you want them to raise their lower eyelids up so they’re about where the irises are.
I tell people to imagine they’re trying to look at something that’s really far away. You kind of naturally do that with your eyes when you look off into the distance. If you look at photos of celebrities, almost all of them do that. Unless it’s a candid shot, usually if they’re posing for a picture, they’ve got that little smize going on. It just makes you look so much more confident than if you have your eyes all big and wide.
Then you just have to adjust based on the person. Some people naturally have smaller eyes and some people have really large eyes, so you have to adjust. And the crazy thing that many people don’t know is that most of us have one eye that’s slightly bigger than the other eye. In a normal picture, you won’t see that, but in a close-up headshot, sometimes that comes into play.
You can actually teach people to squinch one eye or the other. If they have a bigger eye, I’ll try and get them to do that one. I mean, I won’t spend too much time if they can’t do it because Photoshop is magical and you can kind of fix some of that in Photoshop, but if you can teach them how to do it and isolate one eye, have them do the bigger eye. You can’t really open one eye wider; that’s kind of difficult to do, but you can easily squint one eye.
Working with Angles
Once I have their jawline in place, their body positioned so their shoulders are locked back to the background, and have tackled the deer-in-the-headlights reaction, it’s time to focus on angles.
First, we’ll do a few shots – I stole this from another photographer, but I call them guest shots instead of test shots. Hope that’s not trademarked! I call them guest shots because I may get a great shot even in those, quote-unquote, test shots. So one of the things I do is I have them shoot straight on and I have them turn their head slowly one way and slowly the other way, and then we take a break and look at captured images to see what their best angle is. Are they going to look good just slightly tilted towards the left or are they going to look good straight on?
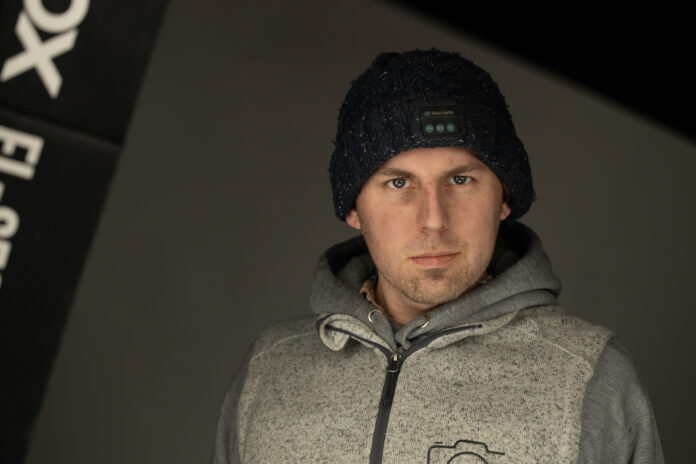
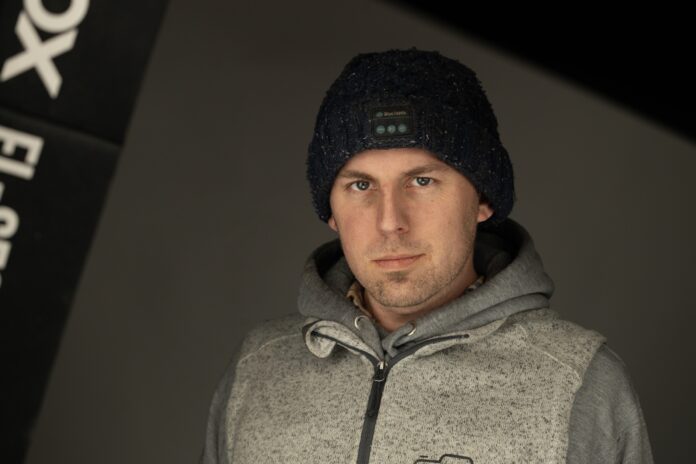
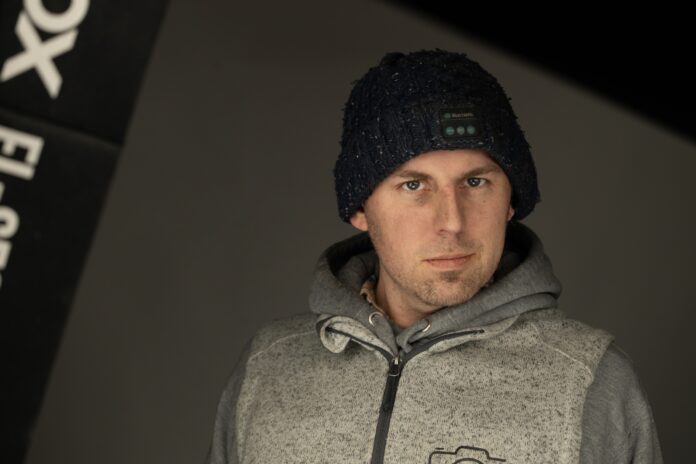
Even though I’m kind of trying to gauge that while we’re talking and conversing when we come into the session, when you see it in a photo then it’s concrete. Then it’s like, “Okay, that looks great. But when they turn this way, everything falls apart, so we’re not doing this side.” I also like to involve them in that process.
Another thing I do is have them hold their arms to their sides, but with their forearms extended forward. Let me explain!
I don’t do this with everybody, and I’ve seen a mix depending on whether it’s a male or female and what they’re going for. I’ve seen men who are bigger cross their arms, but I don’t typically go for that pose. It’s an in-the-moment decision, a situation-by-situation type of thing, it’s one of those creative choices that you have to make. I always tell people, especially with digital photography nowadays, “Why don’t we try it and see what we think about it?”
So I experiment with different arm positions, but I do have a go-to. You don’t want their arms to be sloping outwards because that just looks weird. And usually, depending on the clothing they’re wearing and what they’re going for, you’re cropping about shoulder height, maybe a little bit higher. Not much lower than that, usually. Maybe down to the elbow, and because of that, you don’t want the arms going all wonky angles.
One of the simplest methods I’ve been taught is you have them stand there with their arms straight by their side and their forearms extended out. Tell them to imagine they’re holding a giant party sub. It feels super weird, but it’s going to make their arms look thinner and it’s going to make sure that their shoulders are in a good position for the headshot.
I’m a big fan of just try it. Because I’ve discovered, even with outfits and shirts, what the color looks like in real life versus what it’s going to look like on camera or how it looks in real life versus how it’s going to appear on camera, is always slightly different. So I like to take a couple of shots and if we hate it, then delete it. But if we love it, then it’s another shot that they might be using. Especially with headshots, because I’ve had people who are going for LinkedIn and professional business headshots, but then they decide on the spot, “Actually, I don’t really like my Facebook picture, why don’t we use this one for that?” Or as a dating profile pic, whatever; it could turn out to be their favorite photo of themselves.
Headshot Photography Posing Tips to Capture the Essence of a Person
As you can see, it’s not just about saying “cheese” and hoping for the best. It’s about finding your best angles, bringing out that inner confidence, and yes, even squinching a little. Through meticulous attention to detail, from the extension of a jawline to the positioning of arms, you can control the narrative of your headshots – one of confidence, approachability, and unguarded authenticity. With these basics down, you’ll be on your way to capturing that natural, flattering, and professional look effortlessly.
Disclosure/Disclaimer: As an Amazon Associate, we earn from qualifying purchases. Certain content was provided "as is" from Amazon and is subject to change or removal at any time. Product prices and availability: Amazon prices are updated daily or are accurate as of the date/time indicated and are subject to change. Any price and availability information displayed on Amazon.com at the time of purchase will apply to the purchase of this product.
