In a recent Coffee Break session from the Luminar Neo team, we delved into the art of transforming dull and boring photographs into vibrant and captivating images. This guide will walk you through the techniques demonstrated in the video, providing detailed instructions on how to add life, color, contrast, and detail to your photos using Luminar Neo’s powerful editing tools.
Introduction
The session began with an introduction to the topic of making boring photos burst with life. The presenter set a time limit of 10 minutes for the demonstration, aiming to showcase quick yet effective photo enhancement techniques.
Initial Image and Enhancements
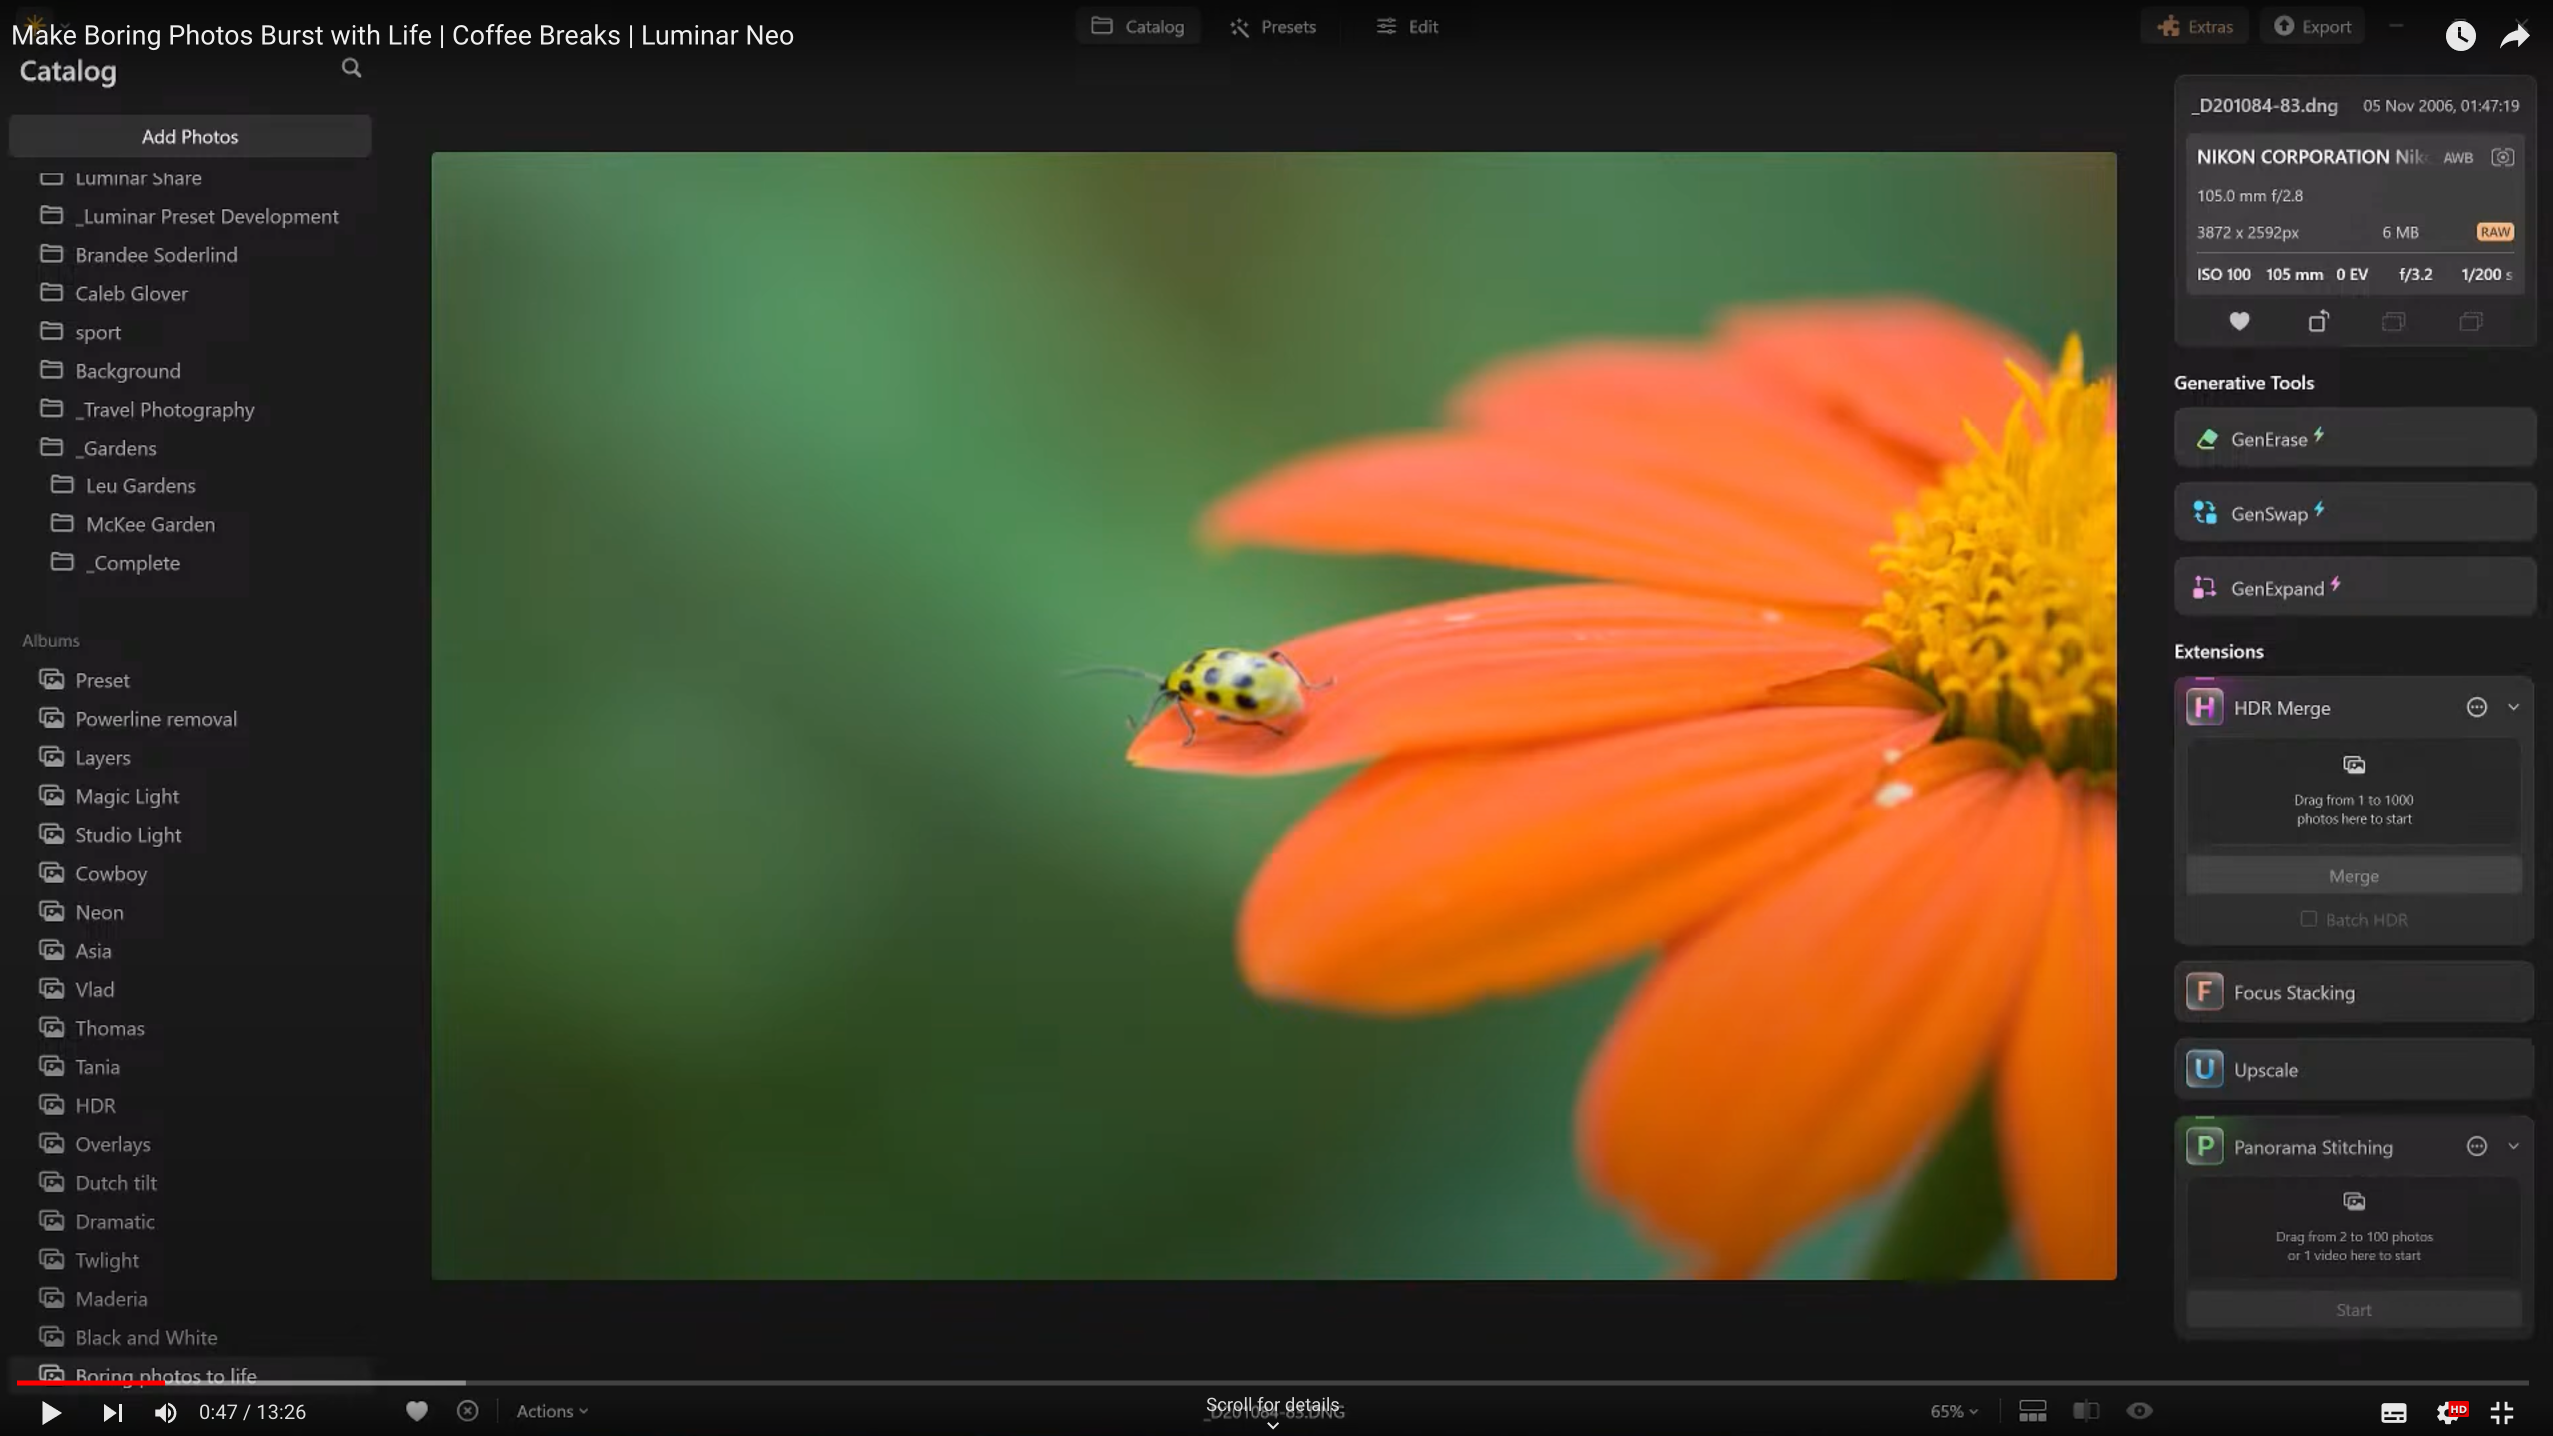
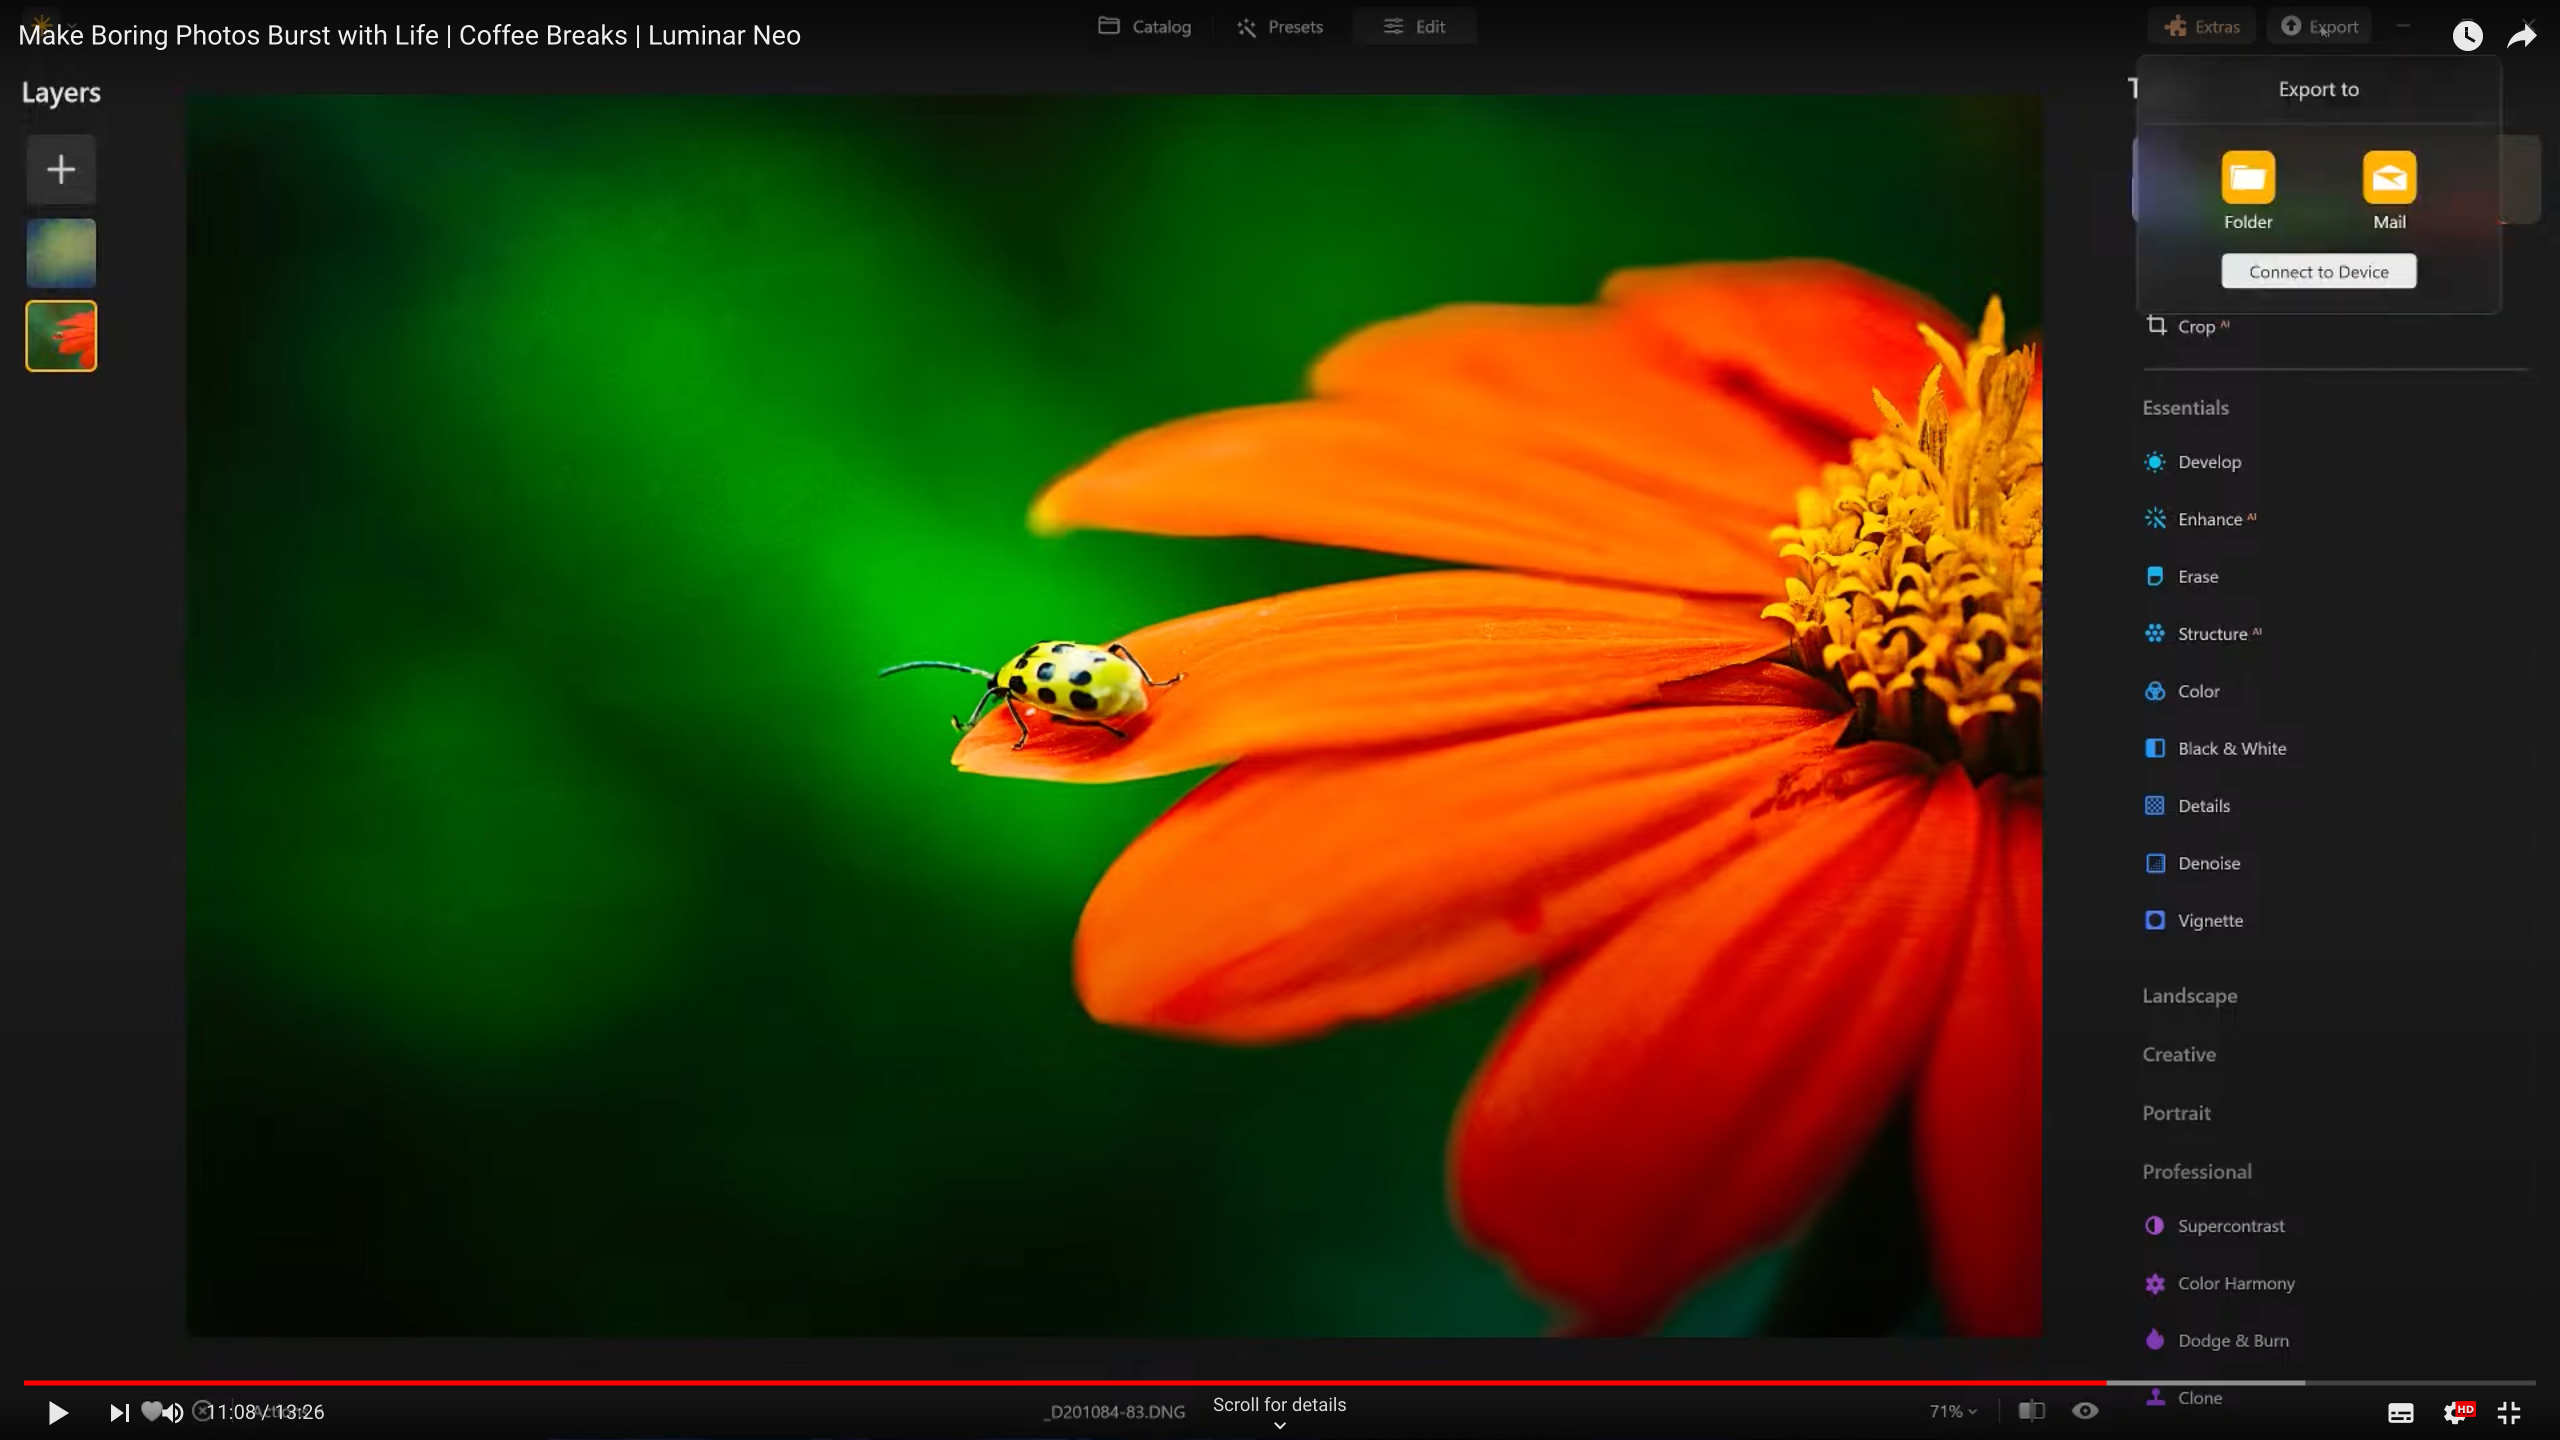
The first step involved showcasing a flat and dull image of a ladybug on a flower. The presenter used this image to demonstrate various enhancement techniques. Here’s a breakdown of the steps:
- Enhance AI Tool: This tool was used to make initial adjustments, enhancing the overall look of the image.
- Camera Profiles for Raw Files: Adjusting the camera profile helped in refining the base colors and tones.
- Increasing Contrast and Enriching Tones: These adjustments added depth and richness to the image, making it more visually appealing.
Removing Imperfections and Sharpening
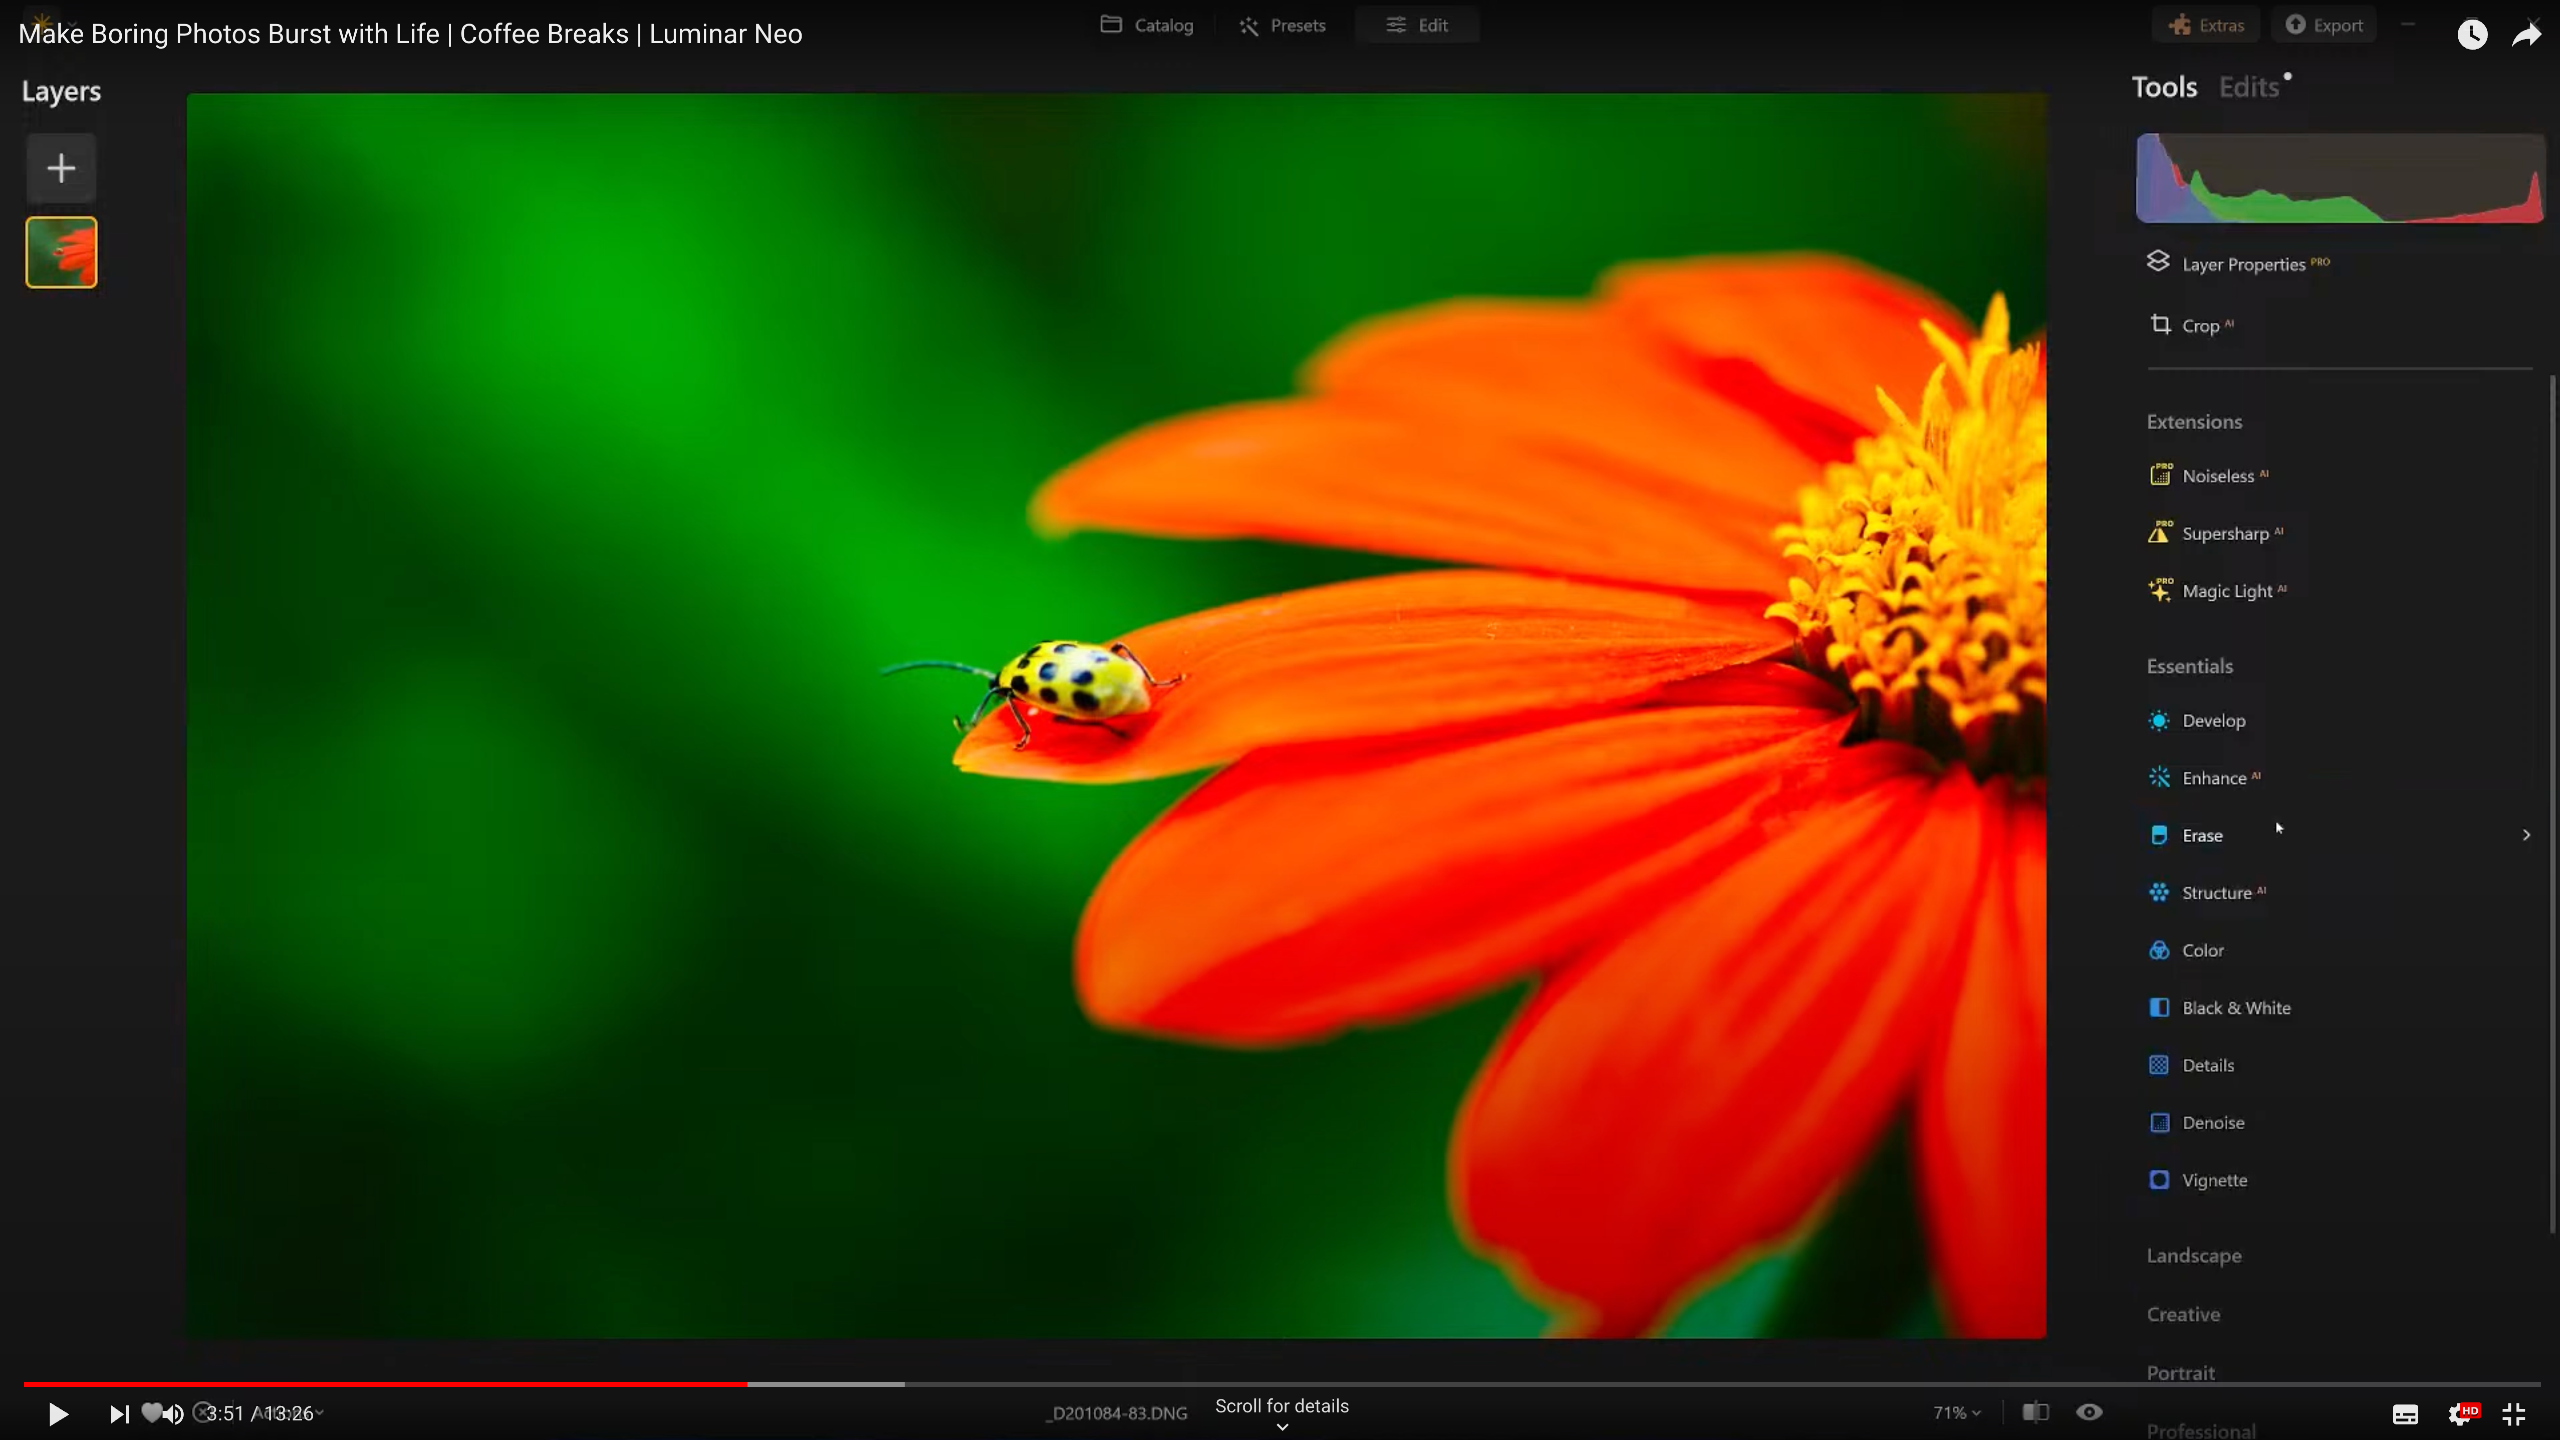
Next, the presenter focused on cleaning up the image and improving its clarity:
- Erase Tool: Used to remove any imperfections or distractions in the image.
- Super Sharpening: Applied to enhance the focus on the ladybug, making it the clear focal point of the image.
Dodging and Burning
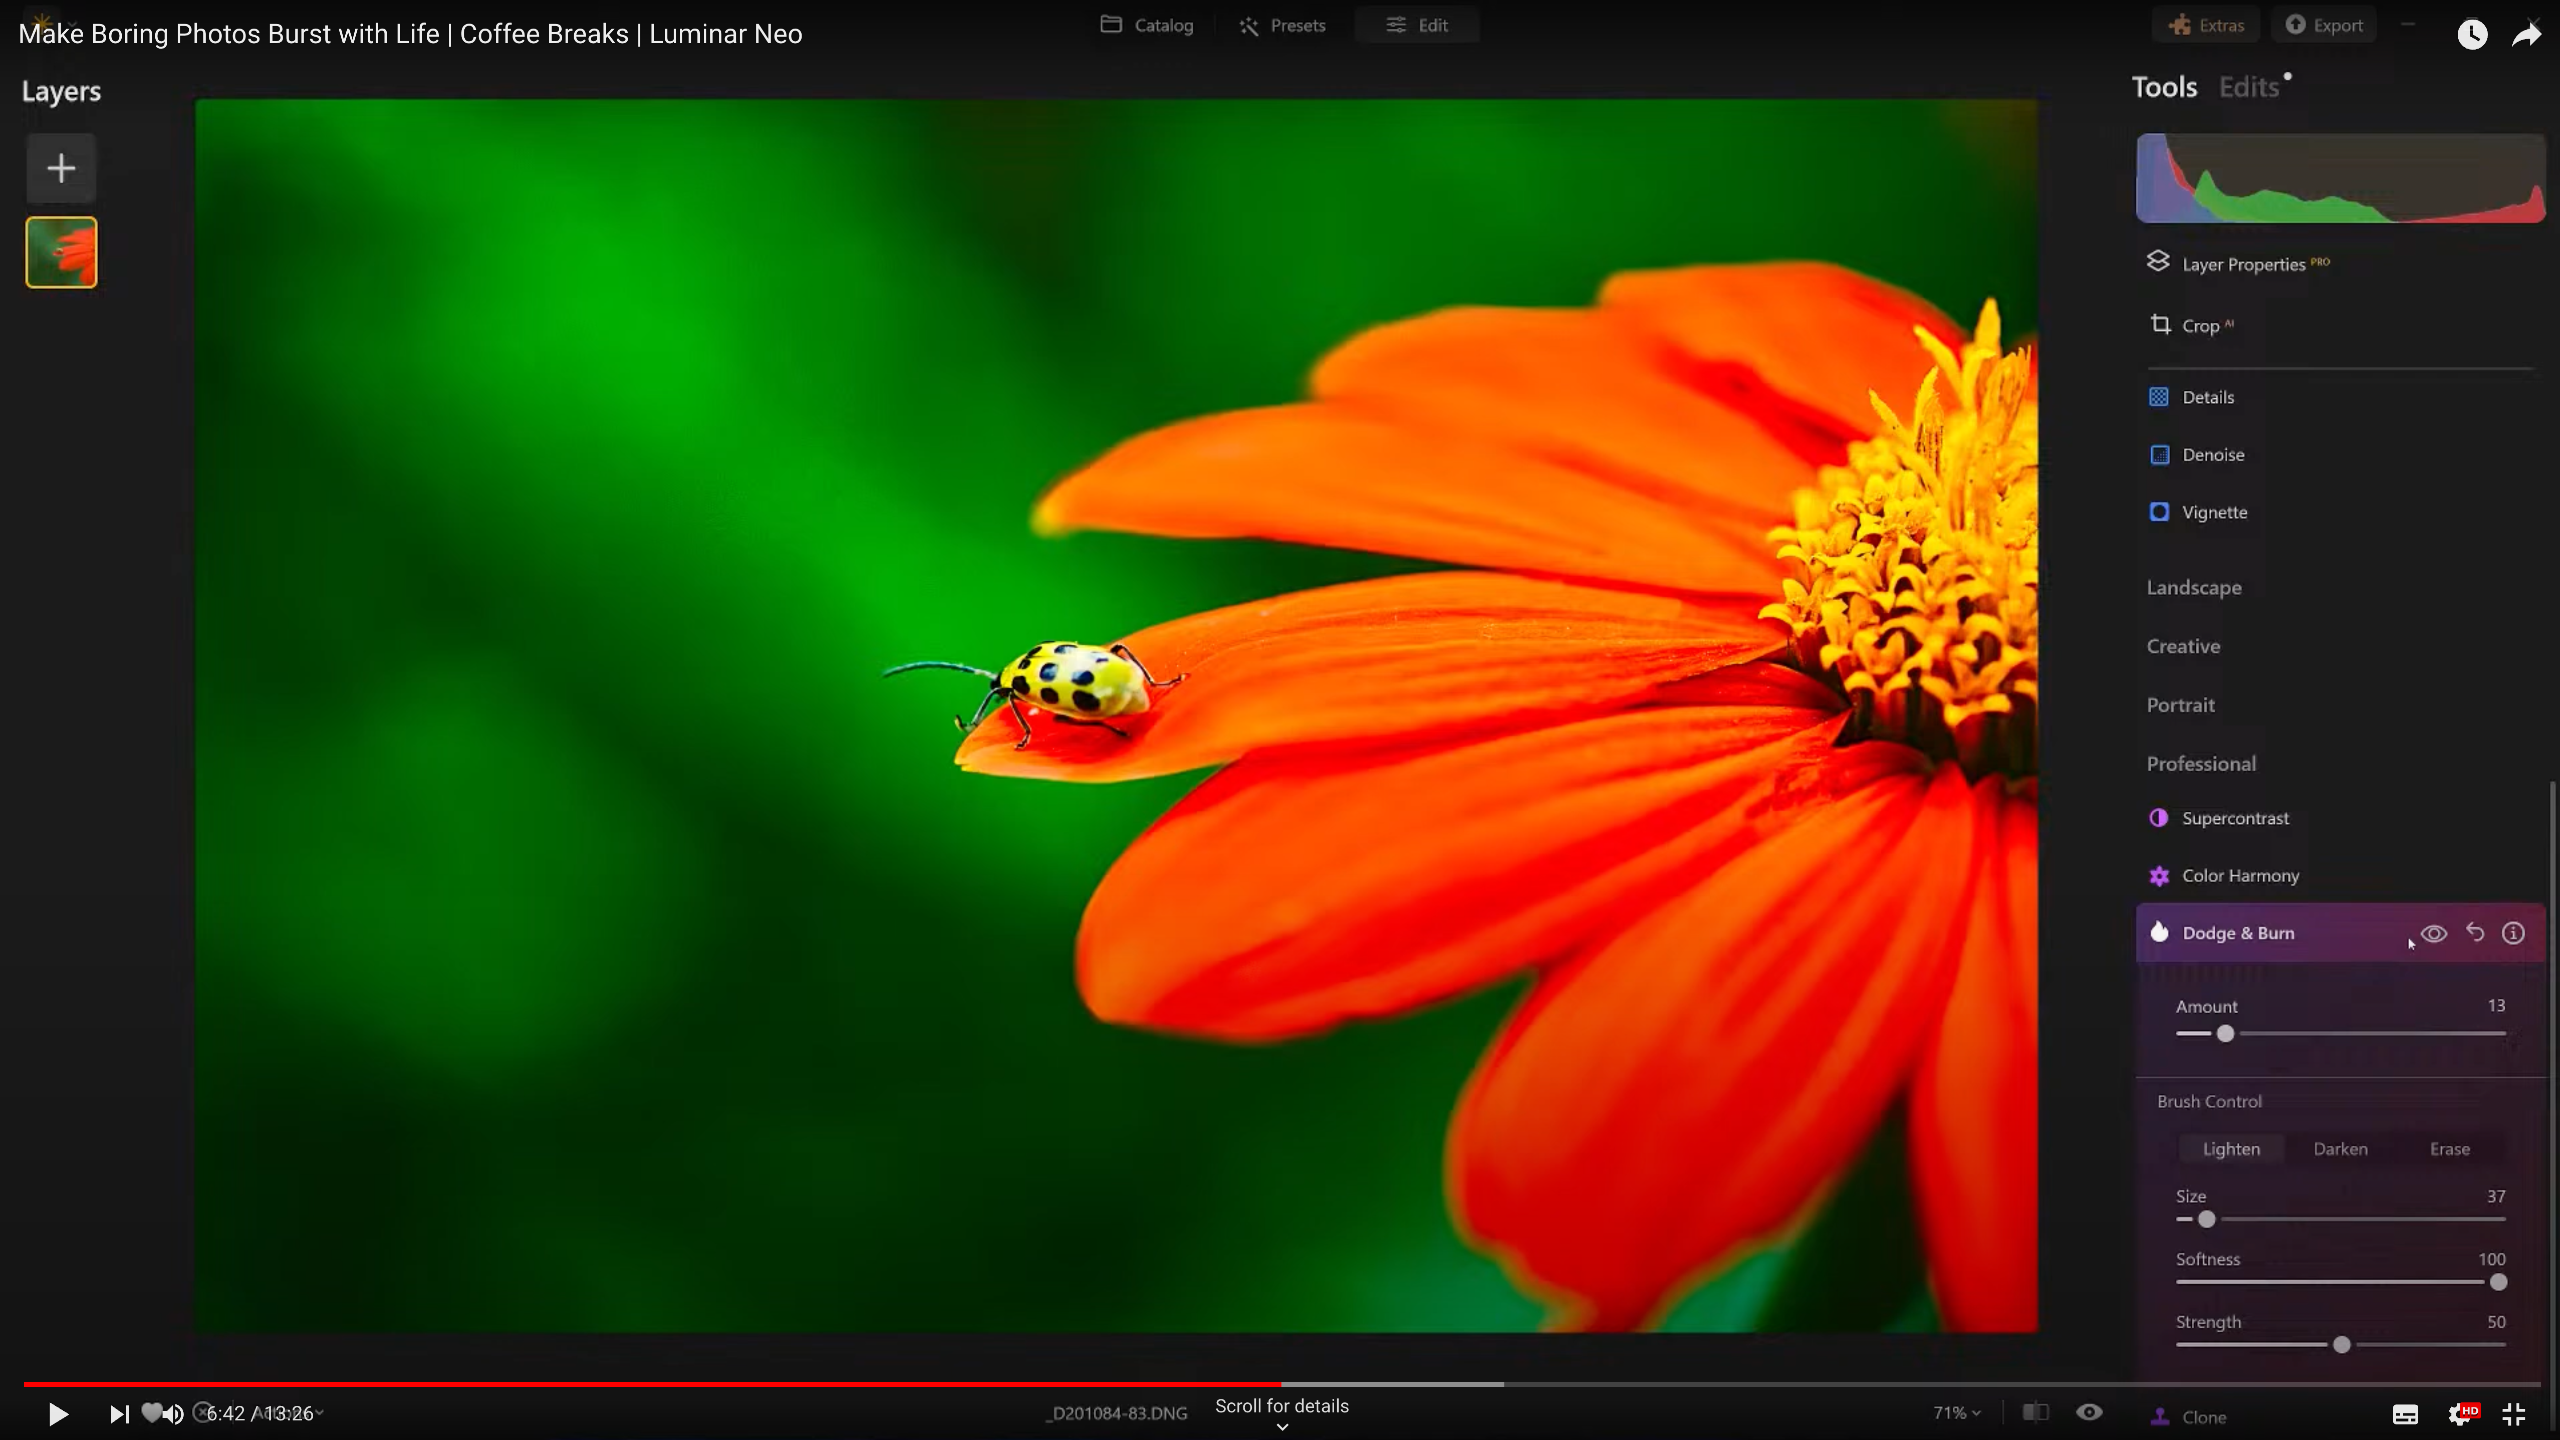
To add depth and dimension to the image, the presenter utilized the Dodge and Burn tool:
- Dodge and Burn Tool: Selectively lightened and darkened areas of the image, creating a more dynamic and three-dimensional effect.
Adding Texture and Final Touches
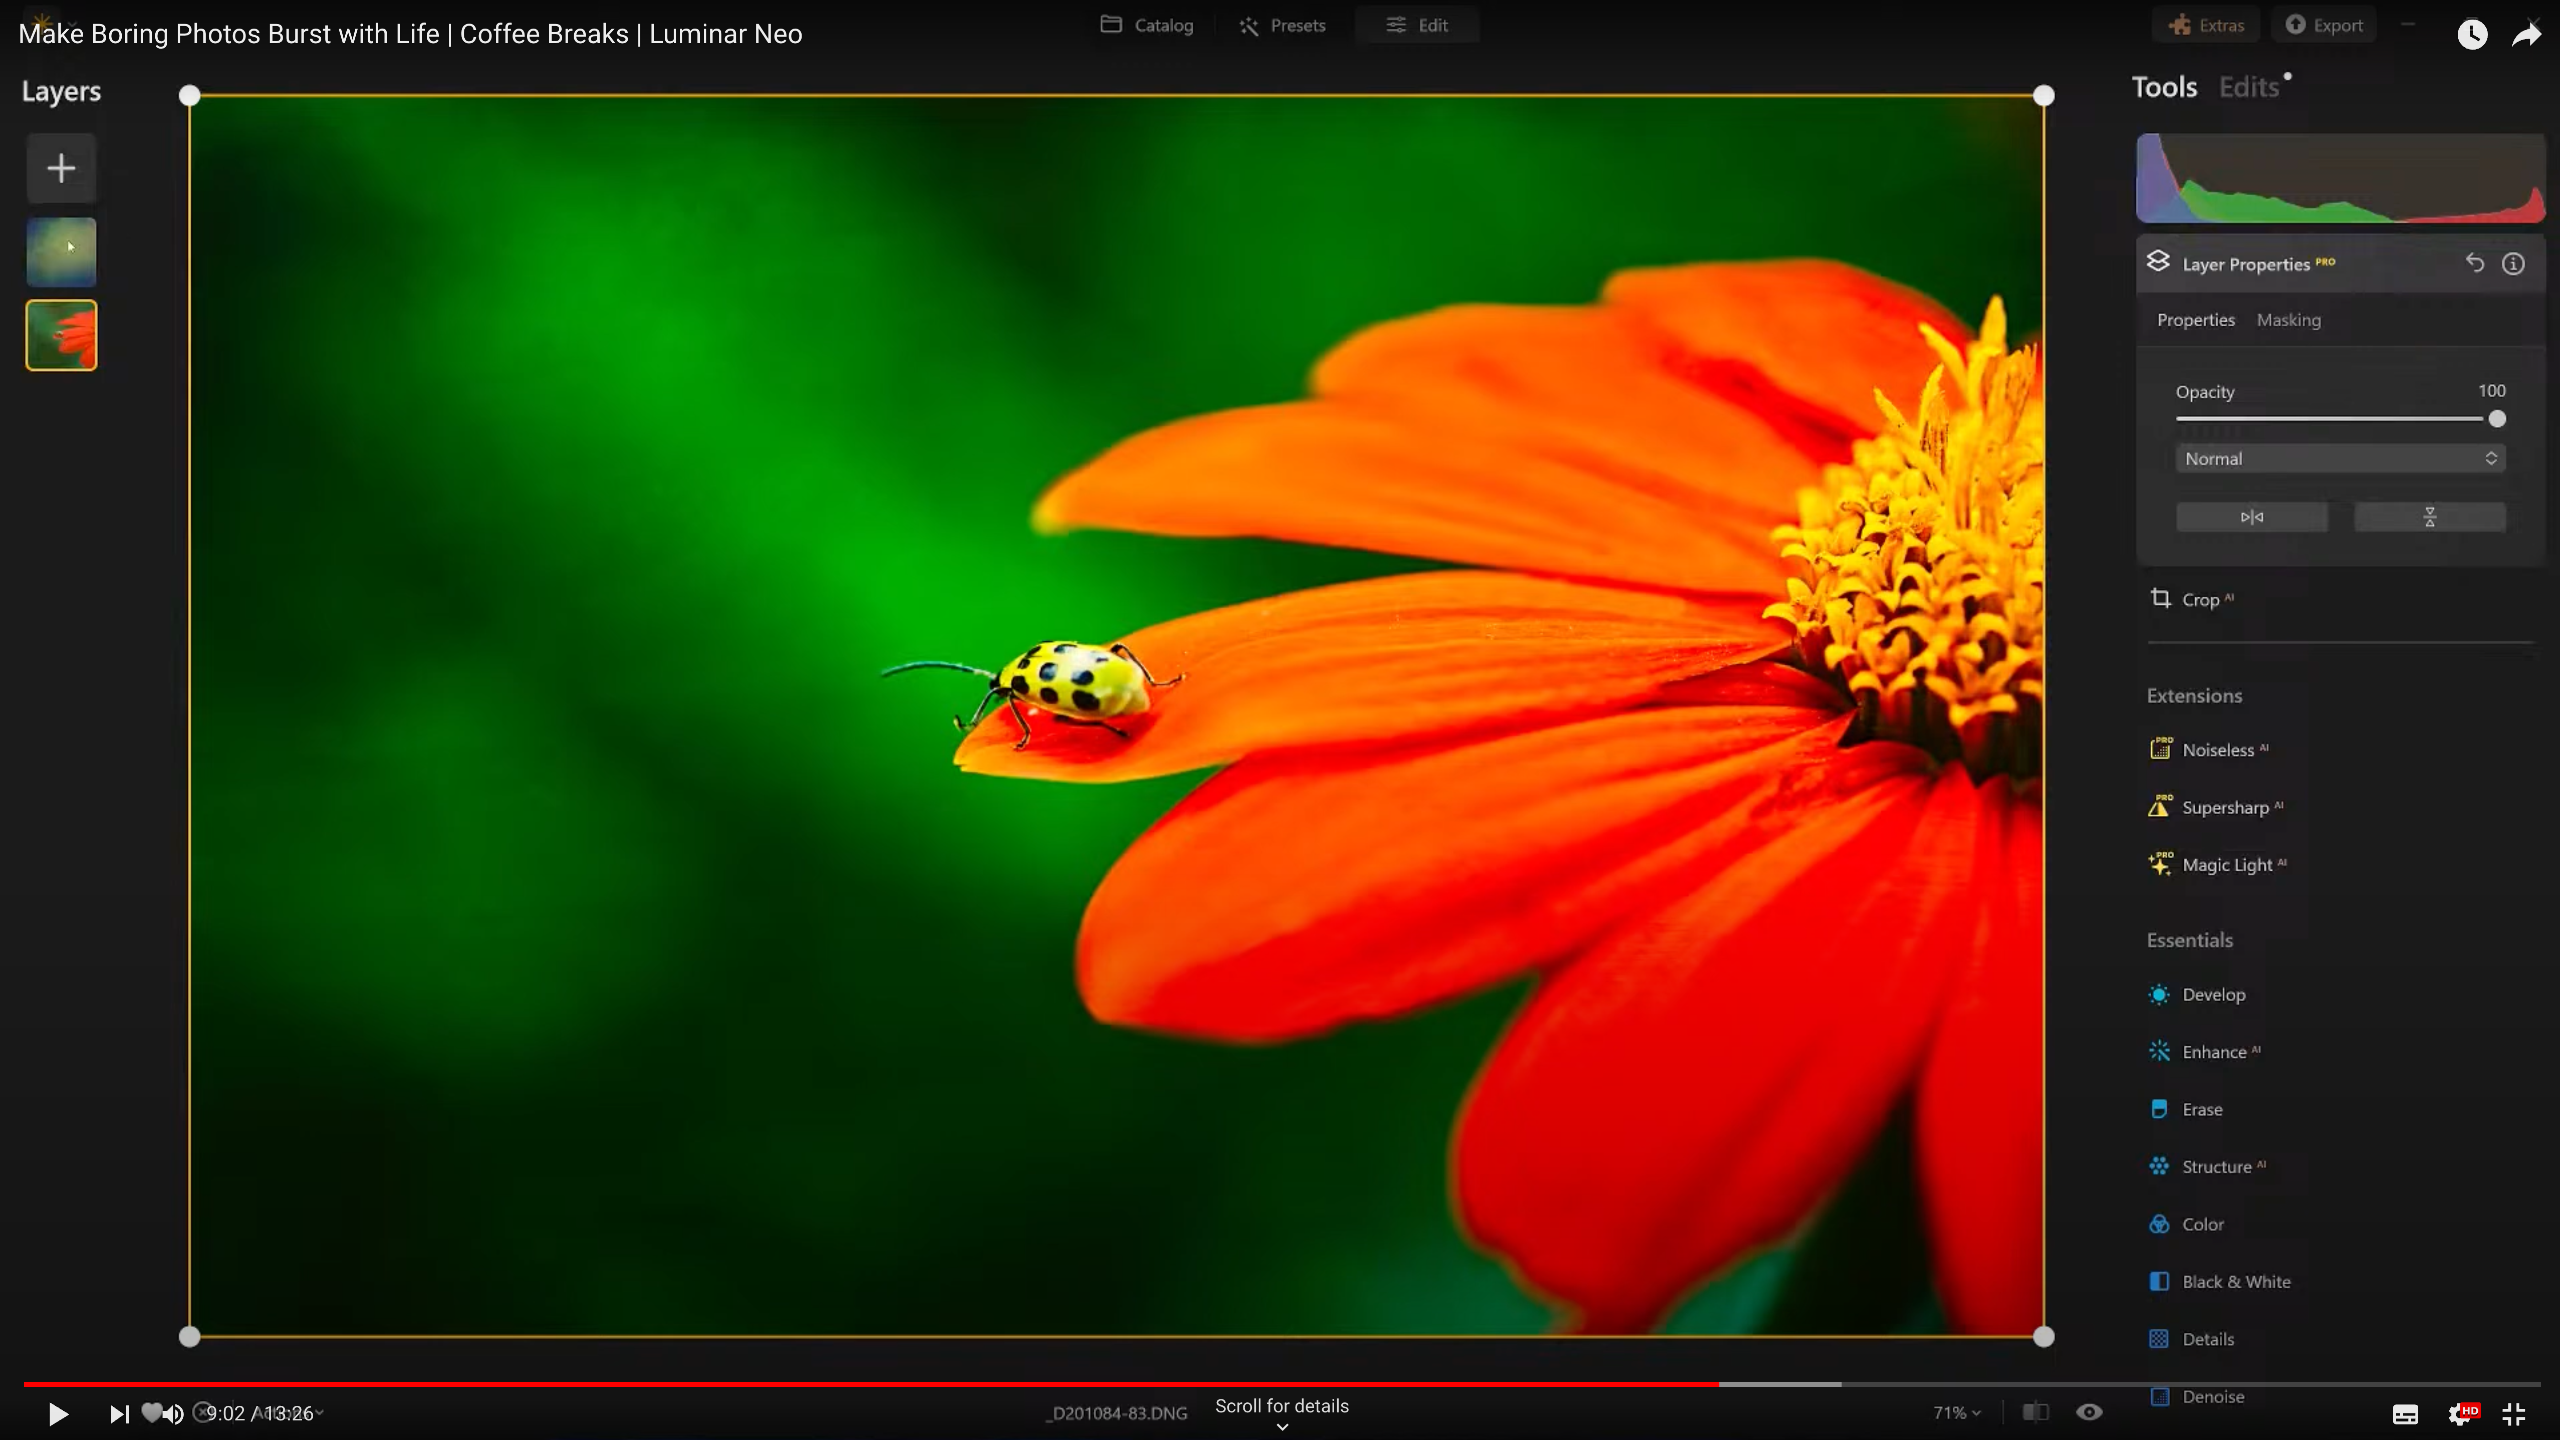
The final steps involved adding creative effects and fine-tuning the image:
- Texture Overlay: Applied to give the image a painterly effect, adding a unique and artistic touch.
- Enhance AI Tool: Used again, specifically focusing on the ladybug to draw attention to the subject.
- Vignette: Added to further emphasize the ladybug and create a more professional finish.
Exporting and Organizing
Finally, the presenter provided guidance on exporting and organizing the final edited image:
- Exporting the Image: The final edited image was exported to a designated folder for easy access.
- Organizing: The presenter suggested organizing the edited images in subfolders, such as ‘_complete’ within the original image folder, making them easy to locate for future use, printing, or sharing on social media.
Action Items
To summarize, here are the key action items for enhancing your photos:
- Start with either the Develop Raw or the Enhance AI tool and gradually work through various editing techniques.
- Use the Erase tool to remove imperfections.
- Apply Super Sharpening to improve focus on the subject.
- Utilize the Dodge and Burn tool to add depth and dimension.
- Consider adding a texture overlay for a creative effect.
- Use the Enhance AI tool again to focus on the main subject.
- Add a vignette to emphasize the subject.
- Know when to stop editing to avoid over-processing.
- Export the final edited image to a designated folder for easy organization.
By following these steps, you can transform any lackluster photo into a vibrant and visually appealing masterpiece. Whether you’re a beginner or an experienced photographer, these techniques will help you make the most of Luminar Neo’s powerful editing tools and breathe new life into your images.