
- Visual storytelling transforms photographs from pretty pictures into images that convey meaning, emotion, and narrative — it’s the difference between documenting and communicating.
- Every visual story needs five elements: a subject, emotion, context, light, and composition working together.
- Photographer Finn Beales breaks photo stories into three pillars: location, character, and event — master these and you can tell stories anywhere.
- Practical storytelling uses composition techniques, intentional lighting, and precise timing to guide viewers through your narrative.
- Jump to 6 hands-on exercises you can try today to strengthen your visual storytelling.
Most photographs show what something looks like. A visual story shows what something feels like — and that distinction changes everything about how your images connect with people.
Visual storytelling in photography is the deliberate use of images to communicate a narrative, evoke emotion, and give viewers an experience that goes beyond surface-level aesthetics. It’s the reason a war photograph by Dorothea Lange can make you feel the weight of the Great Depression, or why Steve McCurry’s “Afghan Girl” haunts you decades after you first see it.
The good news? You don’t need to photograph wars or travel to Afghanistan. Visual storytelling happens everywhere — in your neighborhood, your kitchen, your daily commute. This guide breaks down exactly how to do it, drawing on techniques from professional storytellers like Finn Beales, principles from masters like Henri Cartier-Bresson, and practical exercises you can start today.
When you buy through links on our site, we may earn a commission at no cost to you. We evaluate products independently. Commissions do not affect our evaluations.
What Is Visual Storytelling in Photography?
Visual storytelling is the craft of using photographs to convey a narrative — communicating who, what, where, when, and most importantly, why it matters. It transforms photography from a recording tool into a communication medium.
Think about the difference between a snapshot of a birthday cake and a photograph that captures a child’s face lit by candlelight, eyes wide with anticipation, the room dark around them. Both show a birthday. Only one tells a story.
The distinction matters because storytelling photographs do three things that “nice photos” don’t:
- They create emotional connection. Viewers don’t just see your image — they feel something.
- They’re memorable. Stories stick in the mind far longer than beautiful compositions alone.
- They communicate meaning. A storytelling image has a point — something it’s trying to say about the human experience.
As Finn Beales puts it in his Photography Storytelling Workshop: “The thing I love most about photography, over other mediums, is that something is always left to the viewer’s imagination.” That space between what’s shown and what’s implied is where stories live.
The Five Elements of a Visual Story
Every compelling visual story — whether it’s a single frame or a 50-image photo essay — contains five core elements working together.
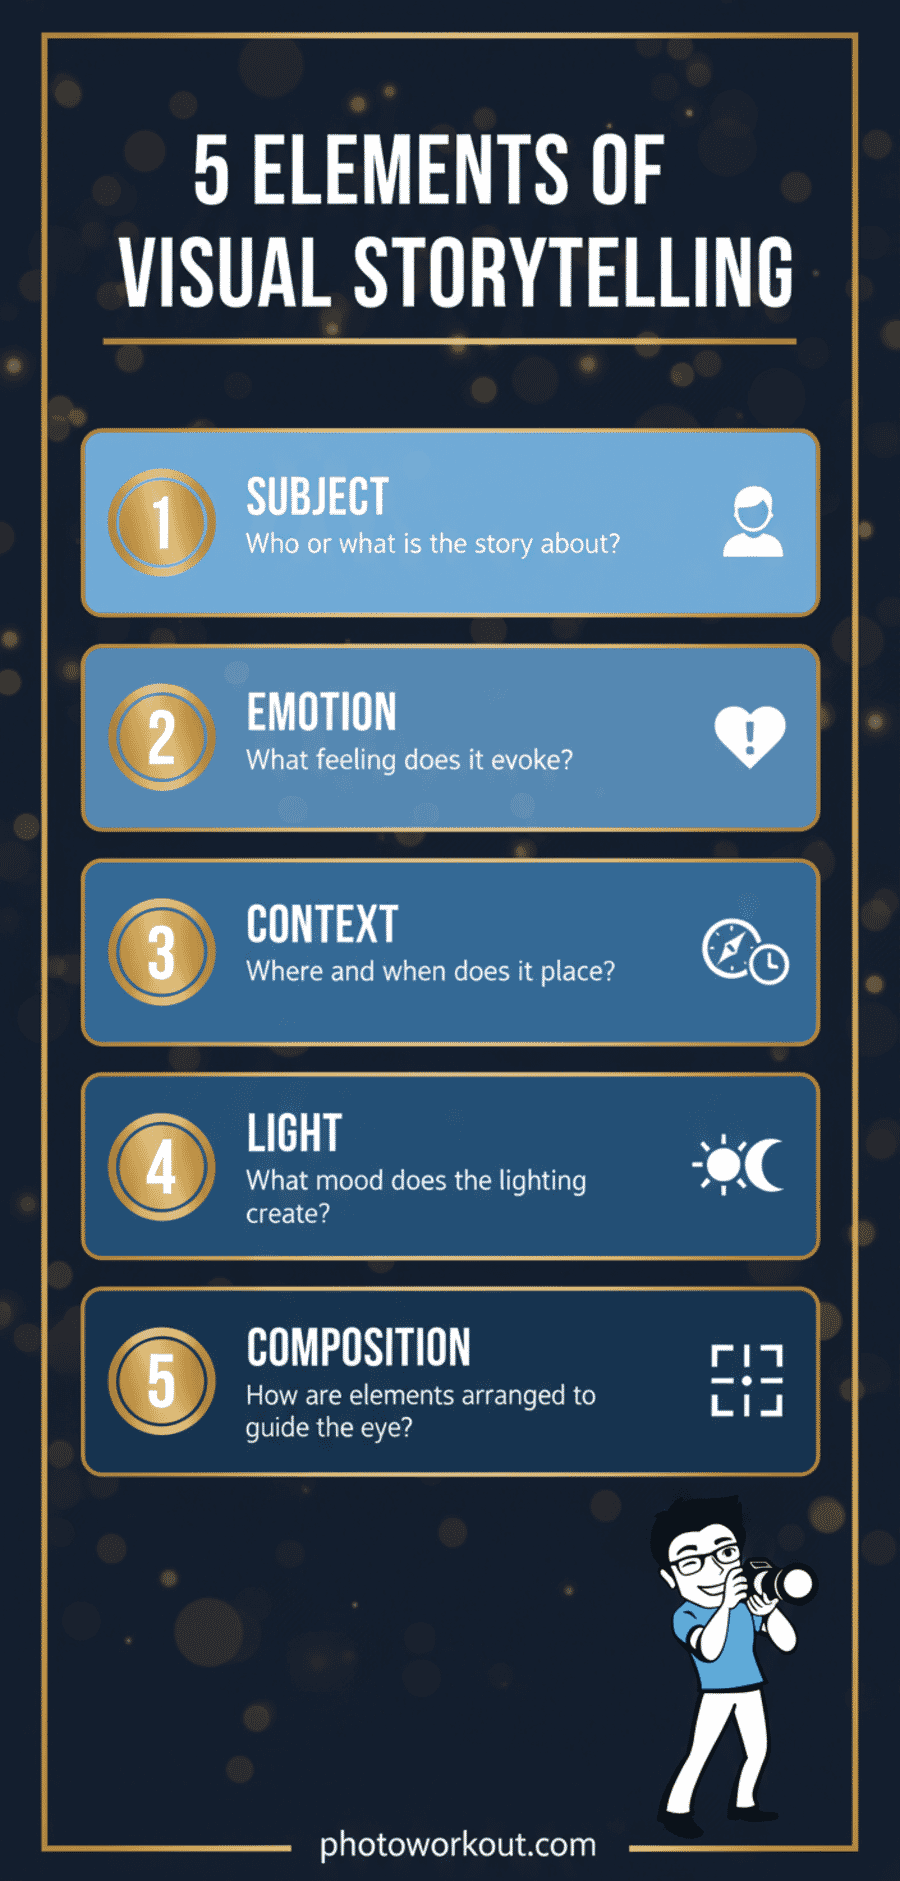
1. Subject — The Anchor of Your Story
Every story needs a protagonist. In photography, your subject is the anchor that everything else orbits around. This could be a person, an animal, an object, or even a place — but it must be clear. If a viewer can’t immediately identify what your photo is about, the story falls apart before it begins.
Strong subjects have something at stake. A fisherman hauling nets at dawn. A child reaching for something just out of grasp. A building being demolished. The subject should suggest a before and after — that something is happening or about to happen.
2. Emotion — The Heart of the Story
Emotion is what separates documentation from storytelling. A photograph of a house is documentation. A photograph of a house with a “SOLD” sign, shot through a rain-streaked window, evokes something entirely different — nostalgia, transition, the bittersweetness of change.
Emotion in photographs comes from multiple sources: facial expressions, body language, color temperature, lighting quality, and the relationships between elements in the frame. The goal isn’t to tell viewers what to feel — it’s to create conditions where feeling happens naturally.

3. Context — The Setting That Grounds the Story
Context answers “where and when” — and it does far more than provide a backdrop. The environment surrounding your subject adds layers of meaning. A portrait of a chef tells one story in a Michelin-starred kitchen and a completely different story in a food truck at 2 AM.
Finn Beales calls these “visual clues that will help orientate your audience, keeping them interested and connected.” Architecture, weather, signage, vegetation, clothing — all of these contextual elements bring your audience deeper into the narrative without you saying a word.
4. Light — The Mood Setter
Light is your most powerful narrative tool (we’ll go deep on this in a dedicated section below). Hard, direct light creates drama and tension. Soft, diffused light suggests intimacy and gentleness. Backlighting creates mystery. The same subject photographed in different light tells a fundamentally different story.
5. Composition — The Visual Grammar
Composition is how you arrange elements within the frame to guide the viewer’s eye and control the narrative flow. It’s the visual equivalent of sentence structure — the same words (elements) arranged differently tell a different story. We’ll explore this in depth in the composition section.
Composition as a Storytelling Tool
Most photographers learn composition as a set of rules: rule of thirds, golden ratio, leading lines. These are useful starting points, but when you understand composition as storytelling grammar, your images gain a new dimension.
Here’s how specific composition techniques serve narrative purposes:
Leading lines don’t just create visual flow — they control the sequence in which viewers read your image. A road leading to a distant figure tells the story of journey and destination. Leading lines toward a subject say “this is what matters.” Leading lines away from a subject create a sense of departure or loss.
Frames within frames create intimacy and voyeurism. Shooting a subject through a doorway, window, or arch tells the viewer they’re glimpsing something private — a story they weren’t meant to see. This technique is powerful in street photography and documentary work.
Negative space communicates isolation, freedom, or insignificance depending on context. A lone figure surrounded by vast empty space tells a story of solitude. The same technique in a landscape suggests the overwhelming scale of nature.
Filling the frame creates urgency and intimacy. There’s nowhere for the viewer’s eye to escape — they’re forced into close contact with the subject. This is why tight portraits of faces showing emotion are so powerful. There’s no context to soften the impact.
Point of view (POV) shapes the power dynamic of your story. Shooting from below makes subjects appear dominant, powerful, heroic. Shooting from above makes them appear vulnerable or small. Eye-level creates equality and connection. Every angle is a narrative choice.
Simplicity strengthens stories. As Finn Beales emphasizes, “A good story doesn’t overcomplicate matters.” The same applies to composition — remove everything that doesn’t serve the narrative. Every element in your frame should earn its place.
Light as a Narrative Tool
Light doesn’t just illuminate your subject — it tells the audience how to feel. Cinematographers have understood this for a century, and photographers who master light as a storytelling device gain an enormous advantage.

Here’s how different light direction and quality choices shape your narrative:
Front light is flat, honest, and unflinching. It hides nothing. Use it when your story is about transparency, directness, or confrontation — think passport photos versus fashion lighting.
Side light creates drama through contrast. Half the subject is illuminated, half falls into shadow. This split naturally suggests duality, conflict, or hidden aspects of character. Rembrandt lighting — where a triangle of light falls on the shadowed cheek — has been used for centuries to add psychological depth to portraits.
Backlight creates mystery, separation, and ethereal beauty. When you shoot silhouettes, you strip your subject down to pure form — no detail, no color, just shape. This forces the viewer to project their own meaning onto the figure, making the story more personal and universal simultaneously.
Hard light (direct sun, bare flash) creates harsh shadows and high contrast — perfect for stories about conflict, intensity, or harsh realities. Soft light (overcast skies, diffused sources) wraps around subjects gently, suggesting comfort, tenderness, or dreaminess.
Golden hour and blue hour carry built-in emotional associations. The warm tones of golden hour suggest endings, nostalgia, romance. The cool blues of twilight suggest solitude, contemplation, transition. Use these natural emotional triggers intentionally.
Color and Mood: Painting Emotion Into Your Images
Color is one of the fastest ways to establish mood in a photograph. Before viewers consciously register your subject, their brain has already responded emotionally to the color palette.
Warm tones (reds, oranges, yellows) trigger feelings of energy, passion, warmth, and urgency. A street scene bathed in warm tungsten light feels alive and intimate. Cool tones (blues, greens, purples) evoke calm, sadness, distance, or contemplation. The same street in blue moonlight feels lonely and quiet.
Color harmony — using complementary or analogous colors — creates visual coherence that supports your narrative. A portrait with a warm orange subject against a cool blue background creates visual tension that subconsciously tells the viewer something is at stake.
Color restriction is equally powerful. Limiting your palette to one or two dominant colors creates simplicity and focus. Sebastião Salgado famously works exclusively in black and white, stripping his images of color’s emotional shortcuts and forcing viewers to engage with form, light, and human expression alone.
Intentional color choices start before you press the shutter. Scout locations for their color palette. Choose wardrobe colors for portrait subjects. Shoot at times of day when natural light provides the color temperature you want. In post-processing, refine — don’t invent — the color story you captured.
The Decisive Moment: Timing as Storytelling
Henri Cartier-Bresson coined the term “the decisive moment” — the split second when all elements in a scene align to create a photograph that could never be repeated. It’s the peak of the action, the height of emotion, the instant when a gesture says everything.
This concept is central to visual storytelling because stories live in moments of change. The fraction of a second before a wave breaks. A child’s face the instant they see a birthday cake. Two strangers making eye contact on a train. These transitional moments carry narrative weight precisely because they’re fleeting.
Capturing decisive moments requires three skills:
- Anticipation. Study human behavior. If someone is walking toward a puddle, the splash is coming. If a speaker is building to a punchline, the audience reaction is coming. Position yourself, pre-focus, and wait.
- Patience. Cartier-Bresson famously waited. He’d find a compelling background or scene, then wait for the right person to walk into it. This is the opposite of spray-and-pray.
- Technical readiness. You can’t capture a decisive moment if you’re fumbling with settings. Know your camera so well that exposure and focus are automatic, freeing your attention for the story unfolding in front of you.
Movement in photography is closely tied to timing — the choice to freeze motion or allow blur is itself a storytelling decision. A frozen splash is about precision and power. A blurred dancer is about grace and fluidity.
Creating a Photo Essay: Multi-Image Storytelling
While a single photograph can tell a story, a photo essay (or photo series) tells a richer, more complete one. This is where Finn Beales’ methodology becomes invaluable.
Beales breaks every photo story into three fundamental pillars:
- Location — Where does the story take place? The setting establishes mood and context.
- Character — Who is the story about? What do they want? Desire drives narrative.
- Event — What happens? The event is where location and character intersect to create a story.
“Where do you start? Simple: you need a plot. And for that you need three main elements: location, character, event,” Beales writes. “If you’re a wedding or a portrait photographer you probably already have these, and the beauty of this method is in its simplicity.”
Shot Types That Build a Story
A photo essay needs variety in shot types, just like a film needs different camera angles. Beales identifies four essential shot types:
- Establishing shots — Wide views that set the scene. These orient the viewer: where are we? What’s the environment like? Think sweeping landscapes, building exteriors, or wide street scenes.
- Transition shots — Medium shots that move the narrative forward. These show your character interacting with the environment, traveling between locations, or engaging in activity.
- Cutaways and details — Close-up shots that reveal texture, emotion, and the small things that make a story feel real. A weathered hand, a steaming coffee cup, tools of a trade. These add richness and authenticity.
- Reveals — The payoff shots. These are the emotional climax of your story — the moment of arrival, achievement, or transformation.
“The best stories take you on a journey, revealing information bit by bit,” Beales explains. Mixing these shot types creates rhythm and pacing, preventing visual monotony and keeping viewers engaged from the first image to the last.
Sequencing: The Narrative Arc
The order of images in a photo essay matters as much as the images themselves. A strong sequence follows a narrative arc:
- Opening — Hook the viewer with a strong establishing shot or a provocative detail that raises questions.
- Rising action — Build the story with transition shots and details. Introduce your character, show the environment, create tension or curiosity.
- Climax — Your strongest, most emotionally charged image. This is the reveal — the moment everything builds toward.
- Resolution — Close the story. This might be a quiet detail, a departure shot, or an image that provides closure while leaving room for reflection.
Beales emphasizes starting with your character’s desires: “Desire is at the heart of everything we do and identifying that in your character and relaying it to your audience is a great way to get them to connect with your story on an emotional level.” Once you know what your character wants, obstacles and setbacks create natural story tension.
Storytelling in Different Genres
Visual storytelling principles apply across all photography genres, but each genre offers unique storytelling opportunities.
Portraits: Telling Character Stories
The strongest portraits go beyond capturing what someone looks like — they reveal who someone is. Environmental portraits, where you photograph people in their natural habitat (a mechanic in their garage, a baker in their kitchen), use context to tell character stories without a single word.
Pay attention to hands, eyes, and posture. A subject’s hands tell you about their life’s work. Their eyes reveal their emotional state. Their posture communicates confidence, exhaustion, defiance, or peace. Direct these elements intentionally, or wait patiently for them to emerge naturally.
Street Photography: Urban Narratives
Street photography is storytelling in its purest, most unpredictable form. You can’t direct the scene — you can only observe, anticipate, and react. The best street photographs capture the poetry of everyday life: unexpected juxtapositions, moments of connection between strangers, the absurd and beautiful chaos of human existence.
Look for visual irony (a “NO PARKING” sign next to parked cars), moments of human connection (strangers sharing an umbrella), and layered scenes where foreground and background tell different stories simultaneously.
Landscape: Creating a Sense of Place
Landscape storytelling is about more than beautiful scenery — it’s about conveying the experience of being in a place. What does this landscape feel like? What’s its character? Is it welcoming or forbidding, ancient or changing, peaceful or turbulent?

Include human elements when possible — a footpath, a fence, a distant figure — to provide scale and suggest narrative. Weather and atmospheric conditions (fog, storms, dramatic clouds) add emotional weight. Shoot the same location at different times of day to discover when its story is strongest.
Documentary: Bearing Witness
Documentary photography carries a special responsibility: to tell true stories honestly. Photographers like Dorothea Lange, Sebastião Salgado, and James Nachtwey used their cameras to bear witness to human struggle, resilience, and dignity.
Documentary storytelling requires deep research, extended time with subjects, and a commitment to showing reality rather than constructing it. The power comes from authenticity — the viewer trusts that what they’re seeing is real, and that trust makes the emotional impact far greater than any staged image could achieve.
6 Practical Exercises to Strengthen Your Visual Storytelling
Theory matters, but storytelling is a skill that improves through practice. Here are six exercises you can start today.
Exercise 1: The One-Subject Story (Single Frame)
Choose one subject and tell their story in a single photograph. Include at least three storytelling elements: the subject, environmental context, and an emotional element (expression, gesture, light quality). Before pressing the shutter, ask yourself: “What story is this image telling? Would a stranger understand it?”
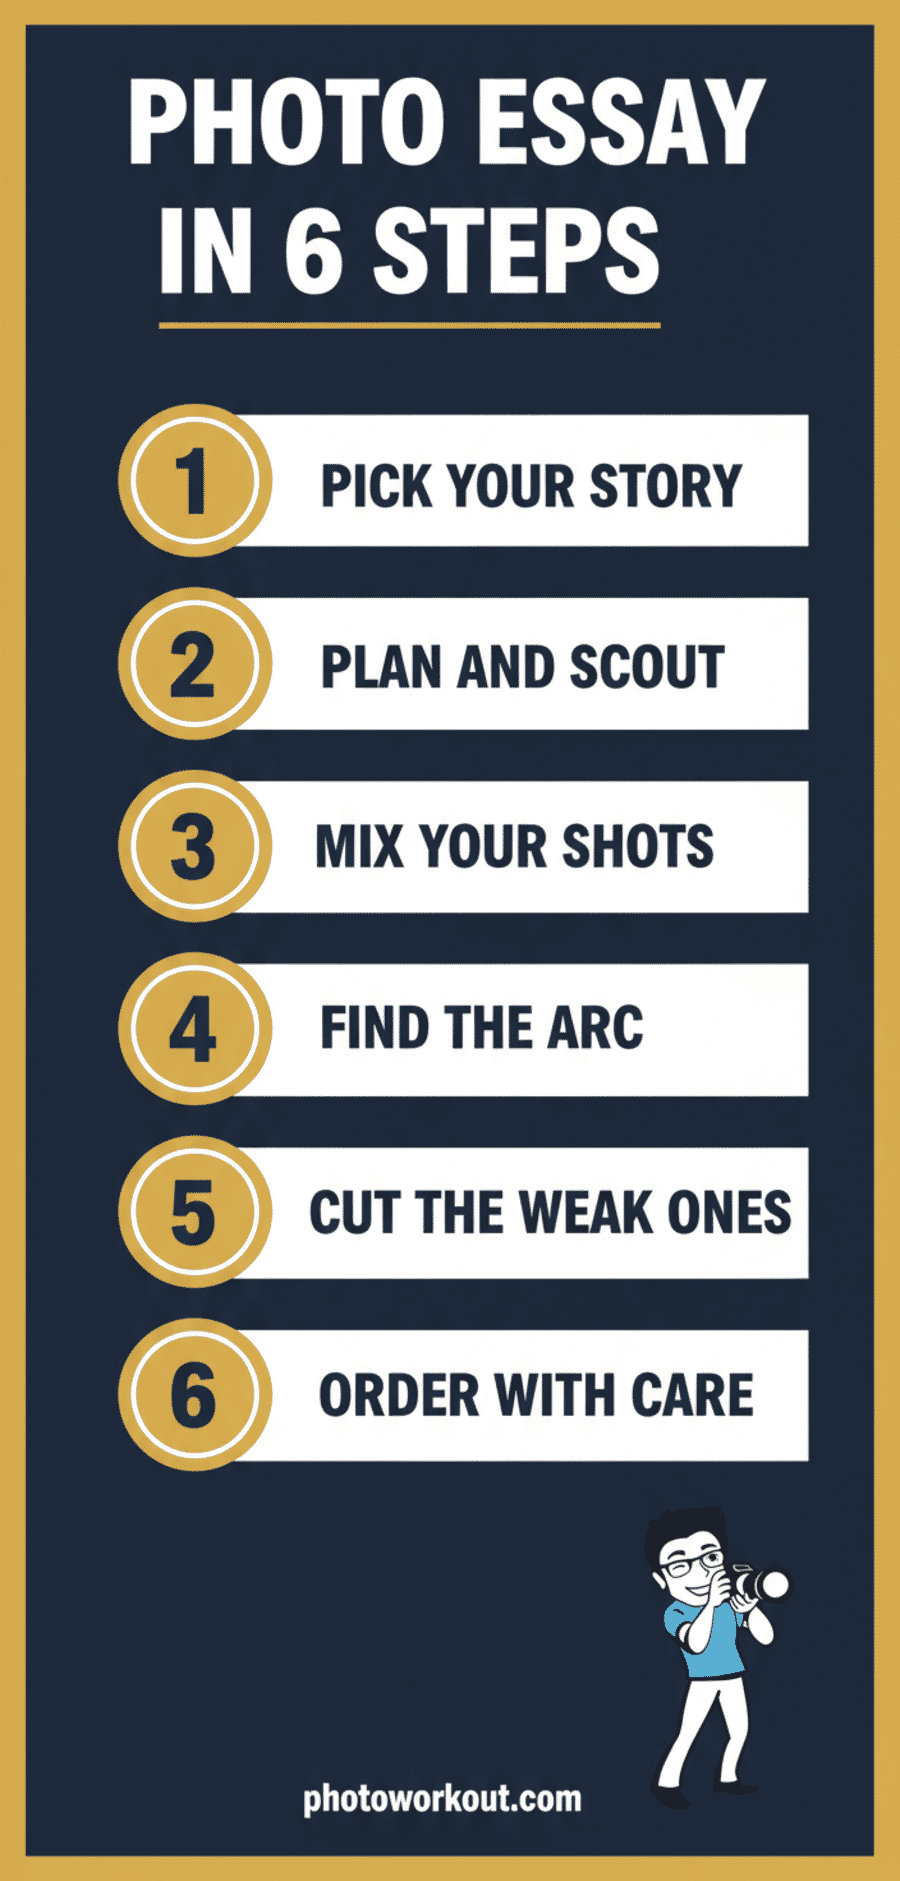
Exercise 2: The 10-Shot Story (Photo Essay)
Using Finn Beales’ framework, plan and shoot a 10-image photo essay. Start by defining your location, character, and event. Then shoot using all four shot types: establishing, transition, detail, and reveal. Sequence the images to create a clear narrative arc with a beginning, middle, and end.
Exercise 3: Same Subject, Different Stories
Photograph the same subject three times, each telling a different story through composition, light, and angle alone. A park bench can tell a story of loneliness (empty, cold light, negative space), romance (two coffee cups, warm light), or community (wide shot showing the bench as part of a bustling park). This exercise teaches you that the photographer — not the subject — creates the story.
Exercise 4: The Light Study
Photograph a single scene or subject at four different times of day: early morning, midday, golden hour, and after dark. Don’t change your composition or angle. Let the light alone change the story. Notice how dramatically the mood and narrative shift with nothing but a change in illumination.
Exercise 5: The Decisive Moment Challenge
Go to a busy public space (market, train station, playground) and spend one hour practicing anticipation. Don’t shoot constantly — observe, predict, and wait for moments of peak action or emotion. Limit yourself to 20 frames in the entire hour. This forces you to be selective and intentional, developing the patience Cartier-Bresson mastered.
Exercise 6: The “Day in the Life” Mini-Project
Document a full day in someone’s life — a friend, family member, or willing stranger. Use the photo essay structure: begin with establishing shots of their environment, transition through their daily activities, capture close-up details that define their world, and end with a reveal or quiet moment that encapsulates who they are. This exercise combines every technique in this guide into a single project.
Common Mistakes That Kill Visual Stories
Even technically skilled photographers make storytelling mistakes. Here are the most common ones and how to avoid them.
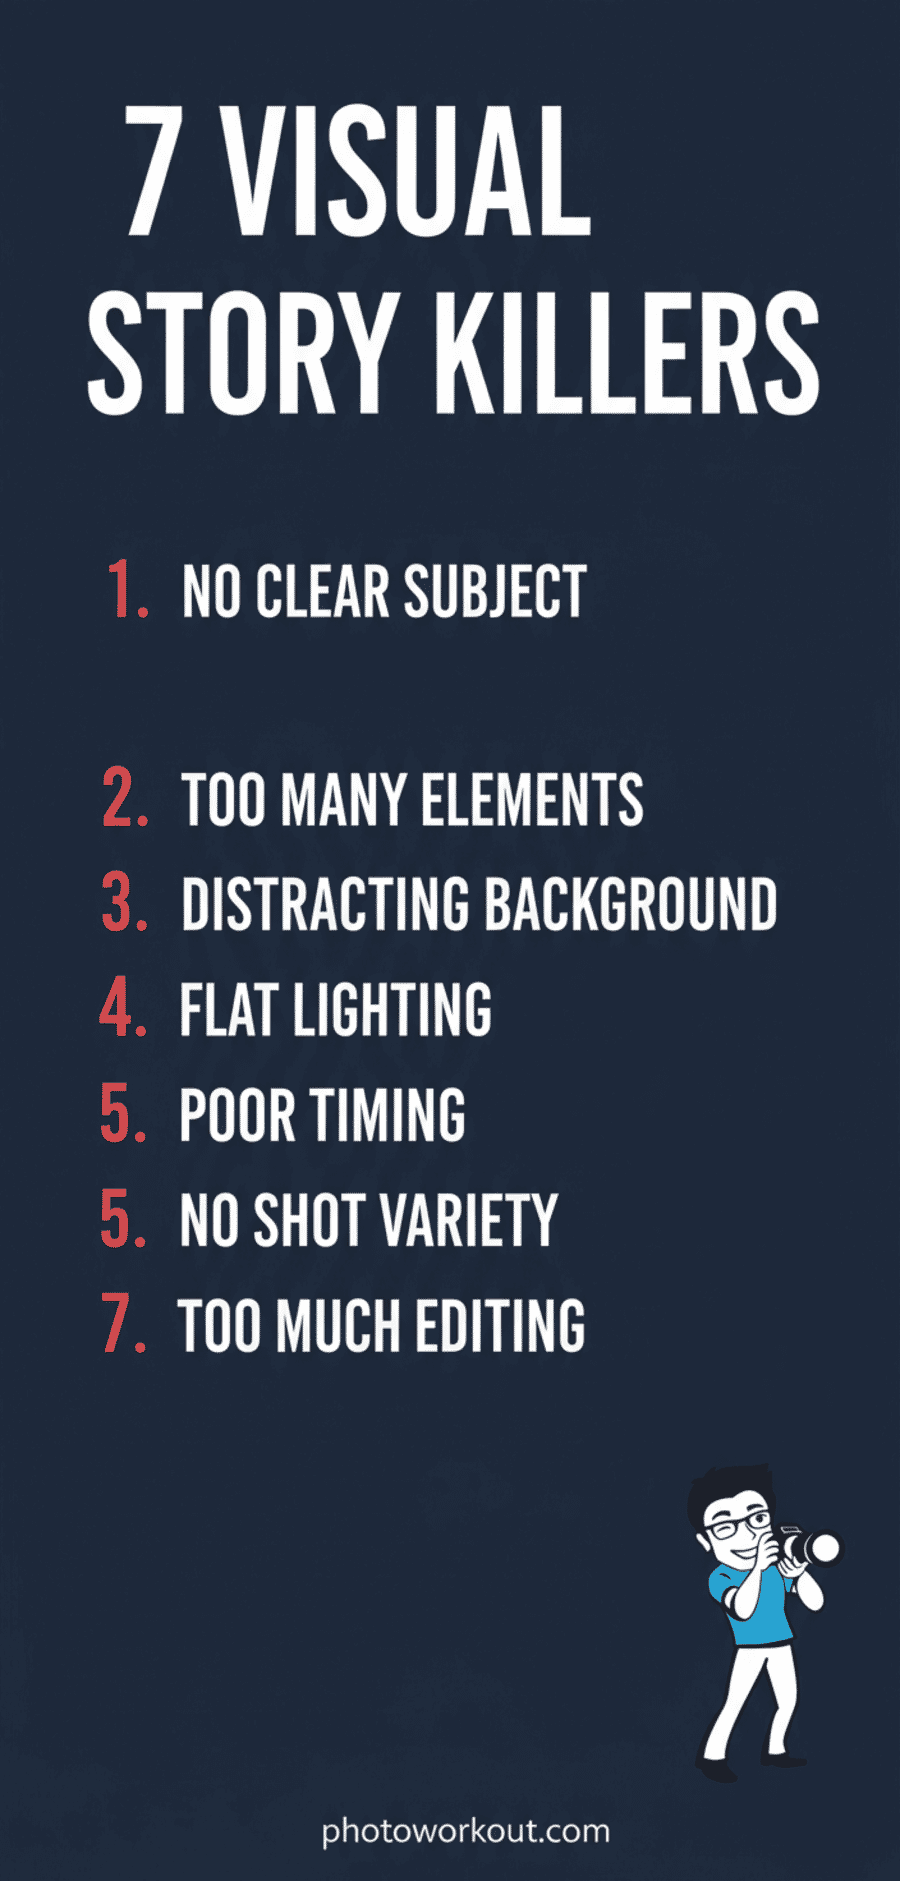
1. No clear subject. If everything in the frame competes for attention, nothing wins. Before you shoot, identify your subject and make deliberate choices to emphasize it — through focus, light, placement, or contrast.
2. Prioritizing aesthetics over meaning. A beautifully composed, perfectly exposed photograph that says nothing is forgettable. Ask yourself: “Beyond looking nice, what does this image communicate?”
3. Over-explaining. Just as Finn Beales warns against overcomplicating stories, resist the urge to include every detail. Leave something for the viewer to imagine. The most powerful photographs are the ones that raise questions rather than answer them all.
4. Shooting from eye level only. Changing your perspective changes your story. Get low, get high, shoot through objects, find unusual vantage points. A photograph from an unexpected angle immediately signals to viewers that this image has something new to say.
5. Ignoring the edges of the frame. Distracting elements at the edges of your image pull viewers out of the story. Before pressing the shutter, scan the entire frame — not just the center. What’s entering or leaving the edges? Does it help or hurt your narrative?
6. Relying on post-processing to add mood. Heavy filters and dramatic editing can’t save a photograph that lacks a story. Build mood at the point of capture through your choice of light, timing, and composition. Post-processing should enhance what’s already there — not manufacture what’s missing.
7. Not spending enough time with your subject. The best documentary photographers spend hours, days, or weeks with their subjects before picking up a camera. Familiarity breeds trust, and trust produces authentic moments that staged sessions never capture.
What is visual storytelling in photography?
Visual storytelling in photography is the deliberate use of images to communicate a narrative, evoke emotion, and give viewers an experience beyond surface-level aesthetics. It combines subject, emotion, context, light, and composition to create photographs that convey meaning — not just beauty.
How do you tell a story through a single photograph?
Tell a story in a single frame by including a clear subject with something at stake, environmental context that adds meaning, and an emotional element (facial expression, body language, dramatic light, or visual tension). Strong single-image stories leave something to the viewer’s imagination.
What is a photo essay and how do you create one?
A photo essay is a series of photographs that together tell a complete story. Create one by defining your location, character, and event (the three pillars of visual storytelling), then shooting a mix of establishing shots, transition shots, detail close-ups, and reveal moments. Sequence them to create a narrative arc with a beginning, middle, and end.
What is Henri Cartier-Bresson’s decisive moment?
The decisive moment, coined by Henri Cartier-Bresson, refers to the split second when all visual elements in a scene align perfectly to create a photograph that could never be repeated. It requires anticipation, patience, and technical readiness to capture peak action or emotion at exactly the right instant.
How does lighting affect storytelling in photography?
Lighting shapes the emotional tone of a photograph. Hard side light creates drama and conflict; soft diffused light suggests intimacy and calm; backlighting creates mystery and silhouettes; golden hour light evokes warmth and nostalgia. Changing the light on the same subject fundamentally changes the story the image tells.
What are the best photography genres for visual storytelling?
All genres support storytelling, but documentary, street, portrait, and landscape photography are particularly suited to it. Documentary tells true stories through extended coverage, street captures spontaneous human narratives, portraits reveal character, and landscape conveys the emotional experience of a place.