
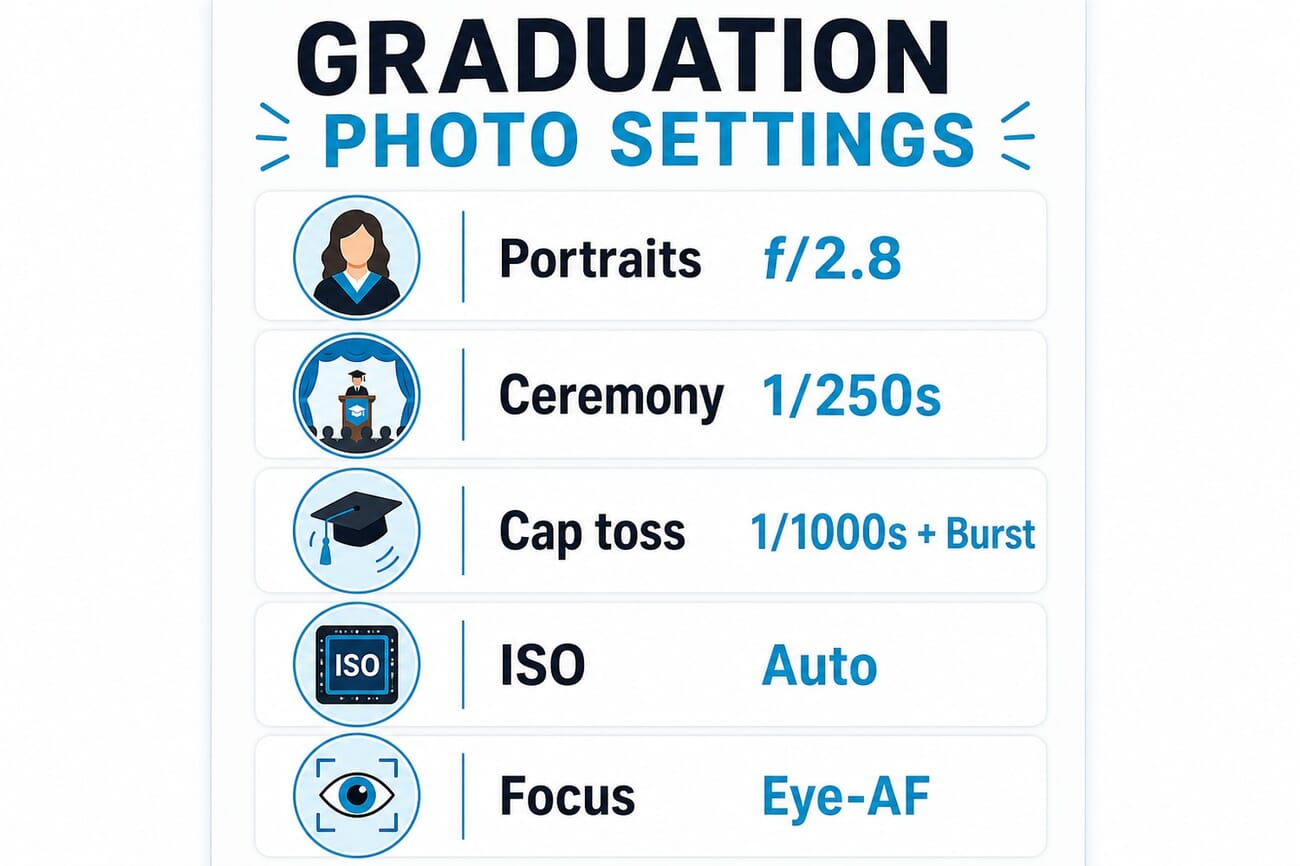
- Graduation photos live or die on two settings: a wide aperture (around f/1.8–2.8) for flattering portraits, and a fast shutter (1/1000s or quicker) plus burst mode to freeze the cap toss.
- You don’t need a pro kit. A phone in good light works; a budget mirrorless body with a 50mm f/1.8 lens is the single best upgrade for the money.
- Manage the light: shoot in open shade or at golden hour, add a reflector or fill flash for backlit subjects, and lift your ISO (don’t use flash) in dark auditoriums.
- Plan a shot list — the stage walk, the cap toss, a posed portrait, candid emotion, family, friends, and detail shots of the cap, tassel, and diploma against campus landmarks.
- Scout the location for light and rules beforehand, and balance posed shots with candid ones to capture both polish and real emotion.
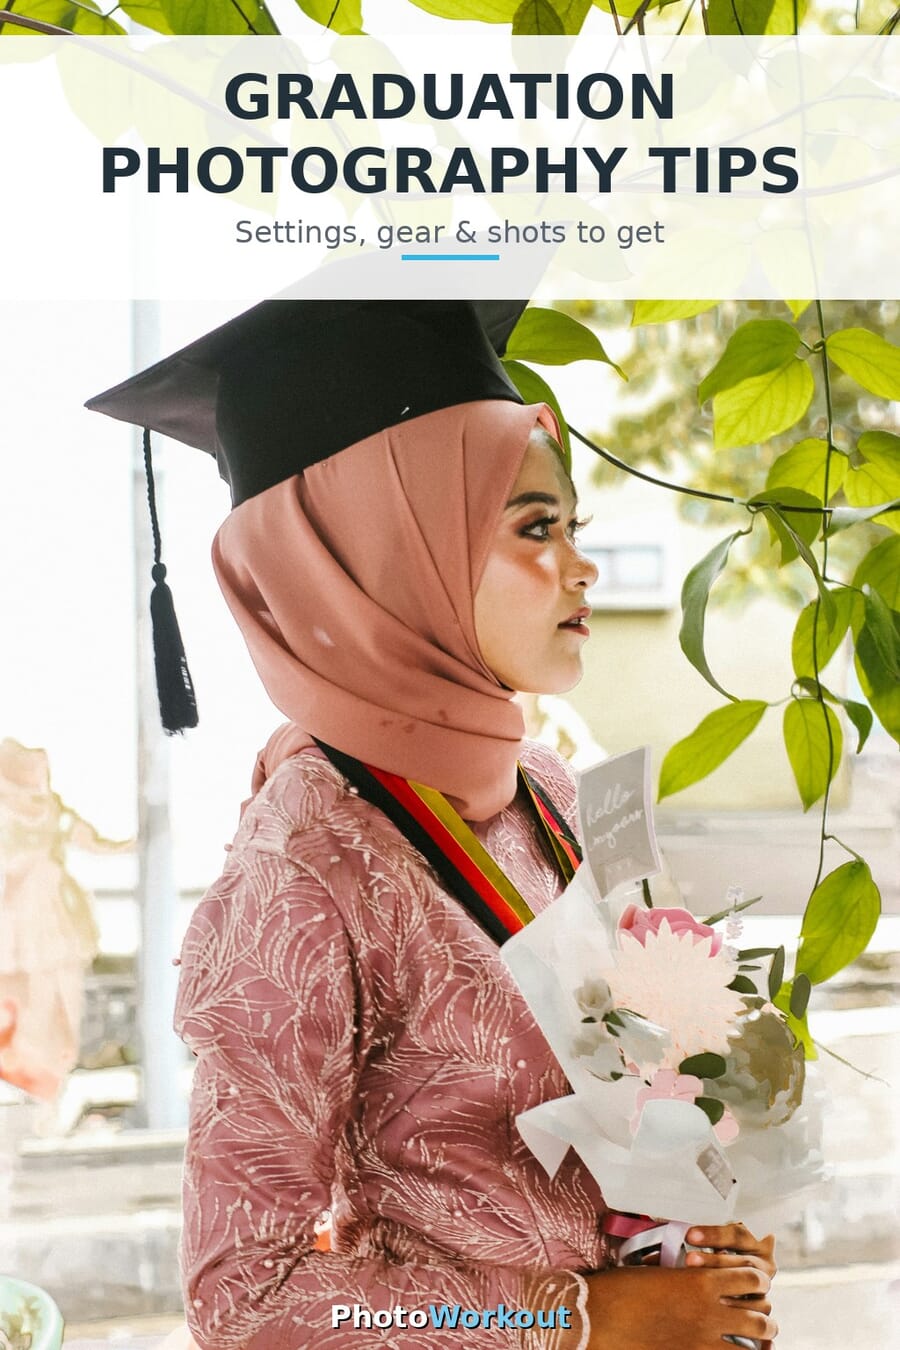
Graduation is one of the most photographed moments of a young person’s life — and one of the easiest to get wrong. Harsh midday sun, dark ceremony halls, fast-moving caps in the air, and a graduate who’d rather be celebrating than posing all conspire against you. The good news: a handful of settings and a simple plan will get you sharp, flattering, emotional photos whether you’re shooting on a phone or a full-frame camera. Here’s how to nail graduation photography in 2026, gear and budget aside.
Gear for Every Budget
Great graduation photos are far more about light and timing than gear — but the right tool helps. Pick the tier that matches what you already own:
Smartphone (free)
A modern phone is genuinely capable in good light. Use Portrait mode for posed shots, tap to lock focus and exposure on the face, and switch to the regular photo mode with burst for the cap toss (Portrait mode is too slow to freeze motion). Avoid digital zoom — move closer instead.
Entry level (best value)
A budget mirrorless or DSLR body paired with a 50mm f/1.8 “nifty fifty” is the single best upgrade for the money. That fast aperture gives you the soft, blurred background that makes a portrait look professional, and it gathers enough light for dim ceremonies. See our guide to the best camera settings for portraits to get the most from it.
Enthusiast and pro
Step up to an 85mm f/1.8 for flattering tight portraits, or a versatile 24-70mm f/2.8 zoom to cover wide group shots and close details without swapping lenses. A full-frame body helps most in low light. Round it out with a 5-in-1 reflector to bounce light into faces, and an off-camera flash for creative outdoor portraits.
The Camera Settings That Matter
You can simplify graduation photography to a few settings decisions. Get these right and the rest is composition:
- Aperture: f/1.8–2.8 for portraits (soft background, subject pops). Stop down to f/5.6–8 for group shots so everyone’s in focus.
- Shutter speed: at least 1/250s for the ceremony and walking shots; 1/1000s or faster to freeze a cap toss or jump cleanly.
- Drive mode: continuous/burst for anything moving — the stage walk, the toss, the jump. You’ll pick the one frame where everything lines up.
- ISO: use Auto ISO with a minimum-shutter floor so the camera keeps motion sharp and only raises ISO when the light drops. Don’t fear higher ISO in a dark hall — a slightly noisy sharp photo beats a clean blurry one.
- Focus: continuous AF (AF-C) with Eye-AF or face tracking, so a moving graduate stays sharp.
- Format: shoot RAW if you can — it gives you room to rescue highlights and shadows in mixed graduation light.
Handling Tricky Ceremony Light
Graduation light is rarely kind. Three common situations and the fix for each:
Harsh midday sun
Direct overhead sun creates raccoon-eye shadows and squinting. Move your subject into open shade (the edge of a building or tree) for soft, even light, or position them with the sun behind them and use a reflector or a touch of fill flash to light the face. Better yet, schedule posed portraits for golden hour, when the light is warm and flattering.
Dark auditoriums
Indoor ceremonies are dim and often ban flash (and it wouldn’t reach the stage anyway). Open your aperture wide, raise the ISO, and keep your shutter at 1/250s or faster to freeze the walk across the stage. A fast lens earns its keep here.
Backlit subjects
If your graduate is lit from behind, your camera will underexpose their face. Meter for the face (or use exposure compensation to brighten), and add a reflector or fill flash to balance the bright background. Backlight done right gives you a beautiful rim-lit, glowing portrait.
The Shots to Get
Walk in with a shot list so you don’t miss the moments that matter:
- The stage moment — crossing the stage, the handshake, the diploma. Burst mode, fast shutter, pre-focus where they’ll be.
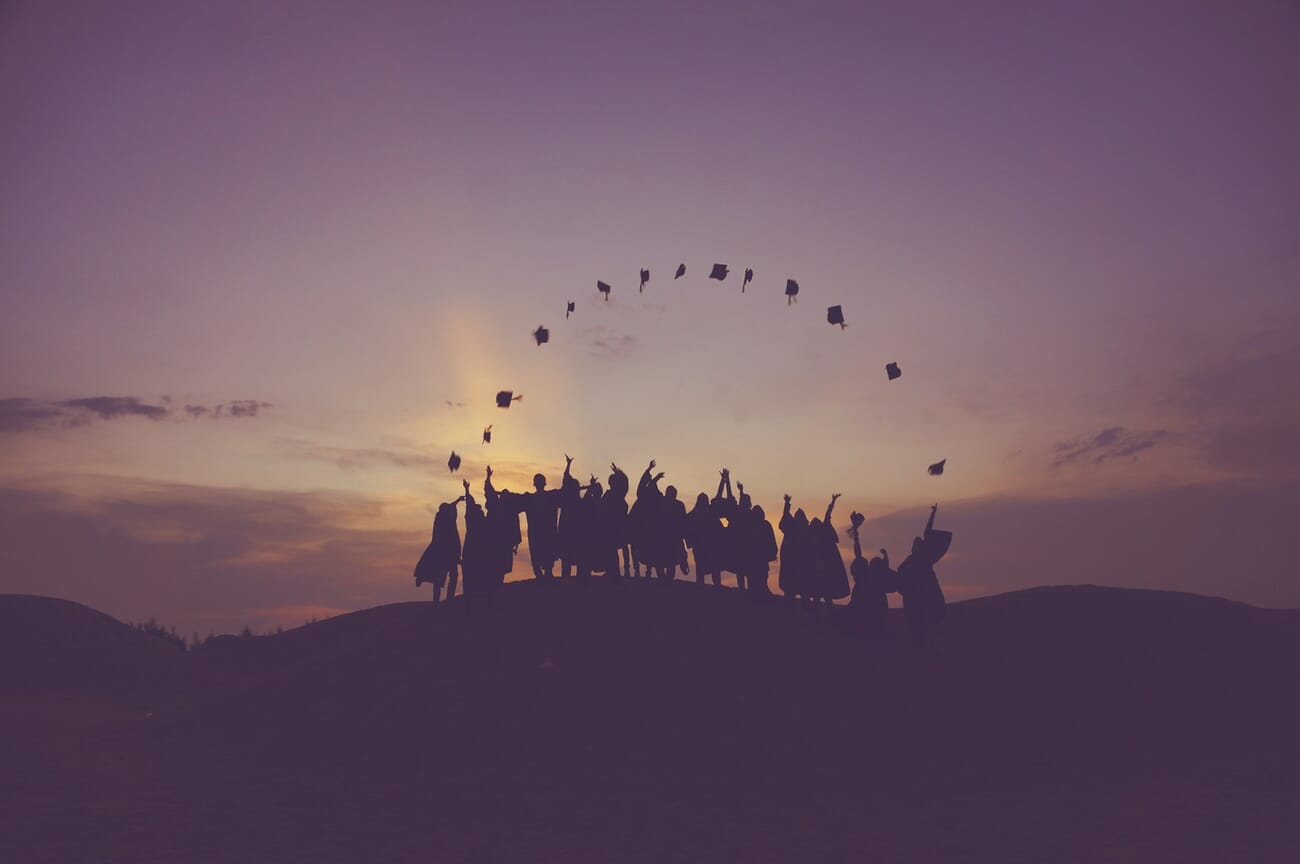
- The cap toss — the signature shot. 1/1000s, burst, and shoot a little wide so caps don’t clip out of frame.
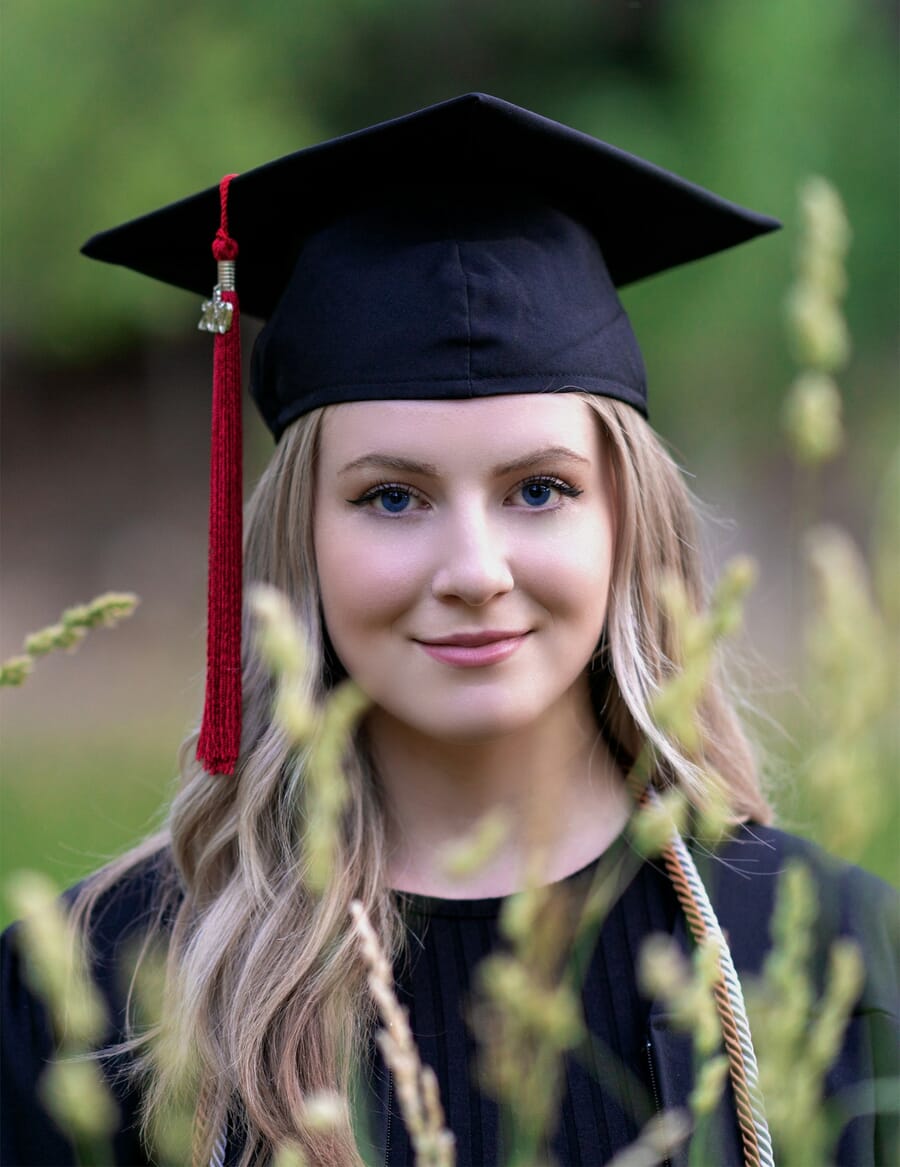
- A posed portrait — the keeper for the wall and the frame. Wide aperture, golden-hour or open-shade light, a campus landmark behind.
- Candid emotion — hugs, tears, laughter. These age better than any pose; keep shooting between the formal shots.
- Family and friends — group photos with parents and the friend group. Stop down to f/5.6–8 and watch for blinks (shoot a burst).
- Detail shots — the cap, tassel, diploma, year on the stole, and school-specific spots tied to the grad’s major. These add story to the gallery.
For more posing inspiration, our photoshoot ideas guide and headshot tips both translate directly to grad portraits.
Posing and Directing
Most graduates aren’t models, so keep direction simple and specific: give them something to do (walk toward you, look back over the shoulder, hold the diploma up) rather than vague “just relax” instructions. Mind the basics — weight on the back foot, a slight angle to the shoulders, chin slightly forward — and shoot both posed frames and the candid moments right after, when they break into a real smile. The best grad photo is usually the one taken half a second after you said “got it.”
Plan Before the Day
A little preparation prevents most graduation-day disasters. Scout the location in advance for the best light and any photography restrictions, and ask the graduate about spots that mean something to them — their department building, a favorite study corner, the steps where they hung out. Build a quick shot list (or a moodboard with the grad) so you’re not improvising, charge batteries and clear cards the night before, and check the ceremony’s rules on where photographers can stand. Then leave room for the unscripted moments — they’re usually the best ones.
Common Mistakes to Avoid
Most disappointing graduation galleries come down to the same handful of avoidable errors. Watch for these:
- Cropping the cap. Frame a little wider than feels natural — mortarboards and tossed caps need headroom, and it’s heartbreaking to clip the cap out of the one perfect toss.
- Shooting only posed shots. The stiff lineup is the photo people expect; the candid hug or laugh is the one they keep. Shoot through the in-between moments.
- Forgetting the details. The tassel, the diploma, the year on the stole, the shoes — these close-ups give the gallery story and rhythm, and they take ten seconds.
- Chimping and missing the moment. Don’t spend the ceremony reviewing shots on the back screen. Trust your settings, keep your eye to the viewfinder, and check later.
- Letting harsh sun ruin faces. Squinting, raccoon-eye shadows, and blown highlights are all fixable in 30 seconds by moving the subject into open shade — don’t shoot the whole session in direct midday sun.
- Not backing up. Graduation happens once. Offload the cards to two places before you celebrate, and never format a card until everything is in two locations.
After the Shoot: Editing and Sharing
The photos aren’t finished when you put the camera down. A quick, consistent edit makes the whole set look intentional:
Cull first. Go through quickly and flag the keepers — the sharp cap toss, the best posed frame, the genuine laugh — before you edit anything. For a typical session you only need 30–50 strong images, not 500 near-duplicates.
Edit for consistency. Get one image looking right — correct the white balance (graduation gowns and tassels make stray color casts obvious), recover any blown highlights or dark faces, add a touch of contrast and warmth — then copy those settings across the set so the whole gallery matches. Shooting RAW gives you the latitude to rescue the tricky high-contrast frames. If you’re newer to editing, our roundup of portrait fundamentals pairs well with a simple, repeatable edit.
Deliver thoughtfully. Share a tight edited set quickly while the excitement is fresh, in both a web-friendly size for phones and full resolution for prints. A few of these belong on the wall — a printed cap-toss or a framed portrait is the natural end point for the day.
Frequently Asked Questions
What camera settings are best for graduation photos?
For portraits, use a wide aperture (f/1.8–2.8) and a shutter of at least 1/250s. For the cap toss or any motion, switch to 1/1000s or faster with burst/continuous drive. Use Auto ISO with a minimum-shutter floor, continuous autofocus with Eye-AF, and shoot RAW if you can.
How do I photograph a cap toss?
Set your shutter to 1/1000s or faster to freeze the caps, use burst mode so you catch the peak of the throw, frame a little wider than you think you need so caps don’t clip out, and count it down so everyone tosses together. Shoot several attempts.
What lens is best for graduation photography?
A 50mm f/1.8 is the best value — flattering and great in low light. An 85mm f/1.8 gives tighter, more professional portraits, and a 24-70mm f/2.8 zoom covers everything from wide group shots to details without changing lenses.
How do I handle harsh sun or a dark ceremony hall?
In harsh sun, move your subject into open shade or backlight them and add a reflector or fill flash. In a dark hall, open your aperture, raise the ISO, keep the shutter at 1/250s or faster, and skip the flash (it’s often banned and won’t reach the stage anyway).
Graduation happens once, fast, and in difficult light — but with a wide aperture for portraits, a fast shutter and burst for the cap toss, a plan for the light, and a simple shot list, you’ll come away with photos worth framing. Charge your batteries, scout your spot, and don’t forget to catch the real smiles between the posed ones.
Image credits and further reading are listed in the sources below.
Further Reading
- SLR Lounge — Graduation Photography Tips and Ideas – Gear, posing, and shot-idea reference
Image Sources
- Pang Yuhao — graduation cap toss (featured) – via SampleShots
- Donald Teel — graduate portrait – via SampleShots
- Baim Hanif — golden-hour cap toss – via SampleShots
- Falaq Lazuardi — graduate portrait (pin) – via SampleShots


