Editor’s Key Takeaways: Master Night Photography: Essential Techniques and Settings

The blog post discusses night photography, detailing the importance of proper camera settings, which can result in magnificent pictures of nighttime urban cityscapes or solid black infrared shots including amazing light trails from car headlights. It primarily focuses on the recommended equipment and settings to tackle the common challenge of camera shakes prevalent in night time photography.
- Equipment: The article underscores the significance of an equipment setup that consists of a tripod and a remote shutter. A tripod provides a stable base, eliminating the risk of blurred photos that may occur when handheld. The remote shutter helps to fire the camera’s shutter without touching the camera, thereby reducing possible camera movement.
- Camera Settings: The recommended shooting mode for most instances is the manual mode. Other settings to be mindful of are the correct setting of image format, white balance, ISO, aperture and shutter speed, as these settings go hand in hand with the equipment setup and affect the final outcome of the photograph.
Introduction
Night photography is one of the most difficult types of photography for beginners to learn. This is because it requires greater attention to the camera settings. Once you have mastered the best camera settings for night photography, however, you can create some epic photos.
This includes dramatic photos of nighttime urban cityscapes, beautiful photos of the night sky, and photos with amazing light trails of car headlights, for example.
So without further ado, let’s take a closer look at the top night photography settings!
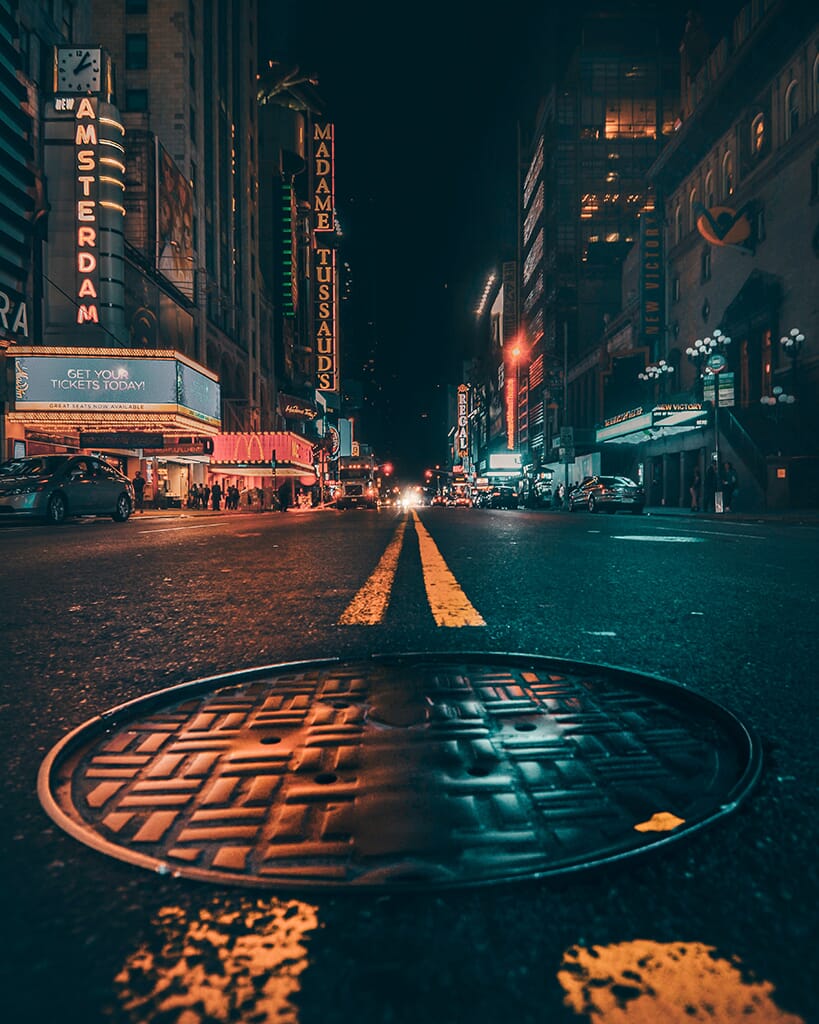
Camera Equipment and Settings for Night Photography:
Equipment
Before we look at the best camera settings for night photography, we must look at the equipment. After all, equipment and camera settings go hand in hand!
For most types of photography, you can simply use your camera handheld. However, night photography presents a challenge. Oftentimes you have to use larger apertures and slower shutter speeds.
Therefore, camera shake is a common problem. To combat this, you can use a tripod and a remote shutter.
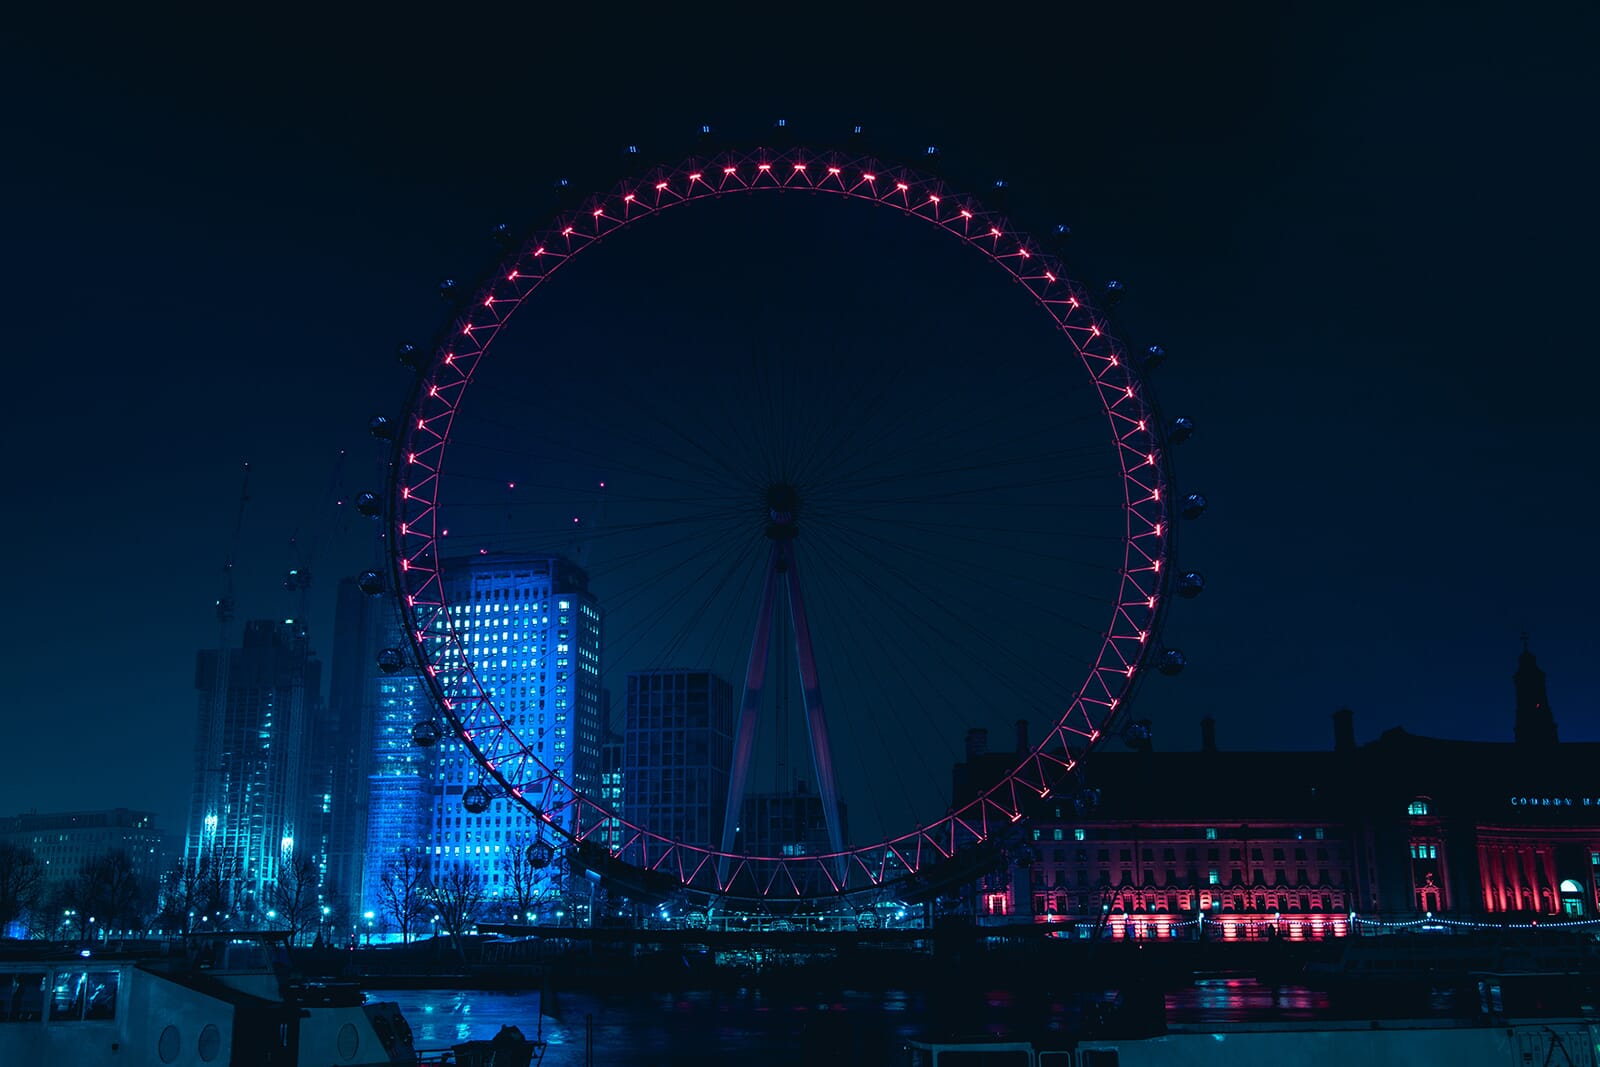
Tripod
A tripod is a fantastic tool for night photography. It provides a stable base, and it means that you do not have to use the camera handheld and risk blur from your movements.
Using a tripod also means that you can concentrate more on the composition and settings.
Remote Shutter
A tripod provides essential stability for night photography. However, you still have to press the shutter button, which can result in camera movement that reduces image sharpness.
To negate this, you should grab a remote shutter. A remote shutter fires your camera’s shutter without you needing to touch the camera.
General Camera Settings
The best camera settings for night photography start with the basics:
Shooting Mode
In most instances, it is advisable to use Manual mode. If you have never used this mode before, it is usually identified as an “M” on your Mode dial or in your camera menu. Similarly, there is usually an Auto mode, an “AV” (Aperture Priority) mode, and a “TV” (Shutter Priority) mode.
In Manual mode, you essentially control everything: the aperture, shutter speed, and ISO.
If this is your first time using Manual mode, we advise spending some time testing it before heading out to shoot at night. At home, switch your camera to Manual mode and see how it works. Look at what happens when you change your settings. Make sure you are comfortable!
Image Format
The other general setting to consider is the image format. Images are saved on your camera as a specific file format.
The best format to use for night photography is RAW. A RAW image is uncompressed and contains all of the original sensor data. This means that you can edit it far more intensely.
The downside is that RAW images are much larger in size and can take longer to export from your camera to a device like a computer or a laptop.
White Balance
We would advise using your camera’s Auto White Balance setting. In night photography scenarios, there are often multiple light sources. These light sources have varying colors and can often change, too. As a result, trying to select a white balance can be difficult.
If you find the balance is off, you can always correct it in post-processing.
Best Camera Settings for Night Photography: The Exposure Triangle
To take amazing night photos, you must understand and utilize the exposure triangle. This consists of shutter speed, aperture, and ISO. Below, we look at each part of the triangle and how you should use it for night photography.
ISO in Night Photography
ISO refers to how sensitive your camera is to light.
The higher the ISO setting, the more sensitive your camera is, and the better it is for night photography (as it’ll produce brighter photos). However, the drawback is that, at higher ISO settings, you get increased digital noise; this can reduce the overall quality of your photos.
As a result, you have to find a balance. An ideal ISO range for night photography is between 200 to 800. Many people prefer an ISO range of 1600 to 3200 for night photography. This also works great, but it results in much more digital noise.
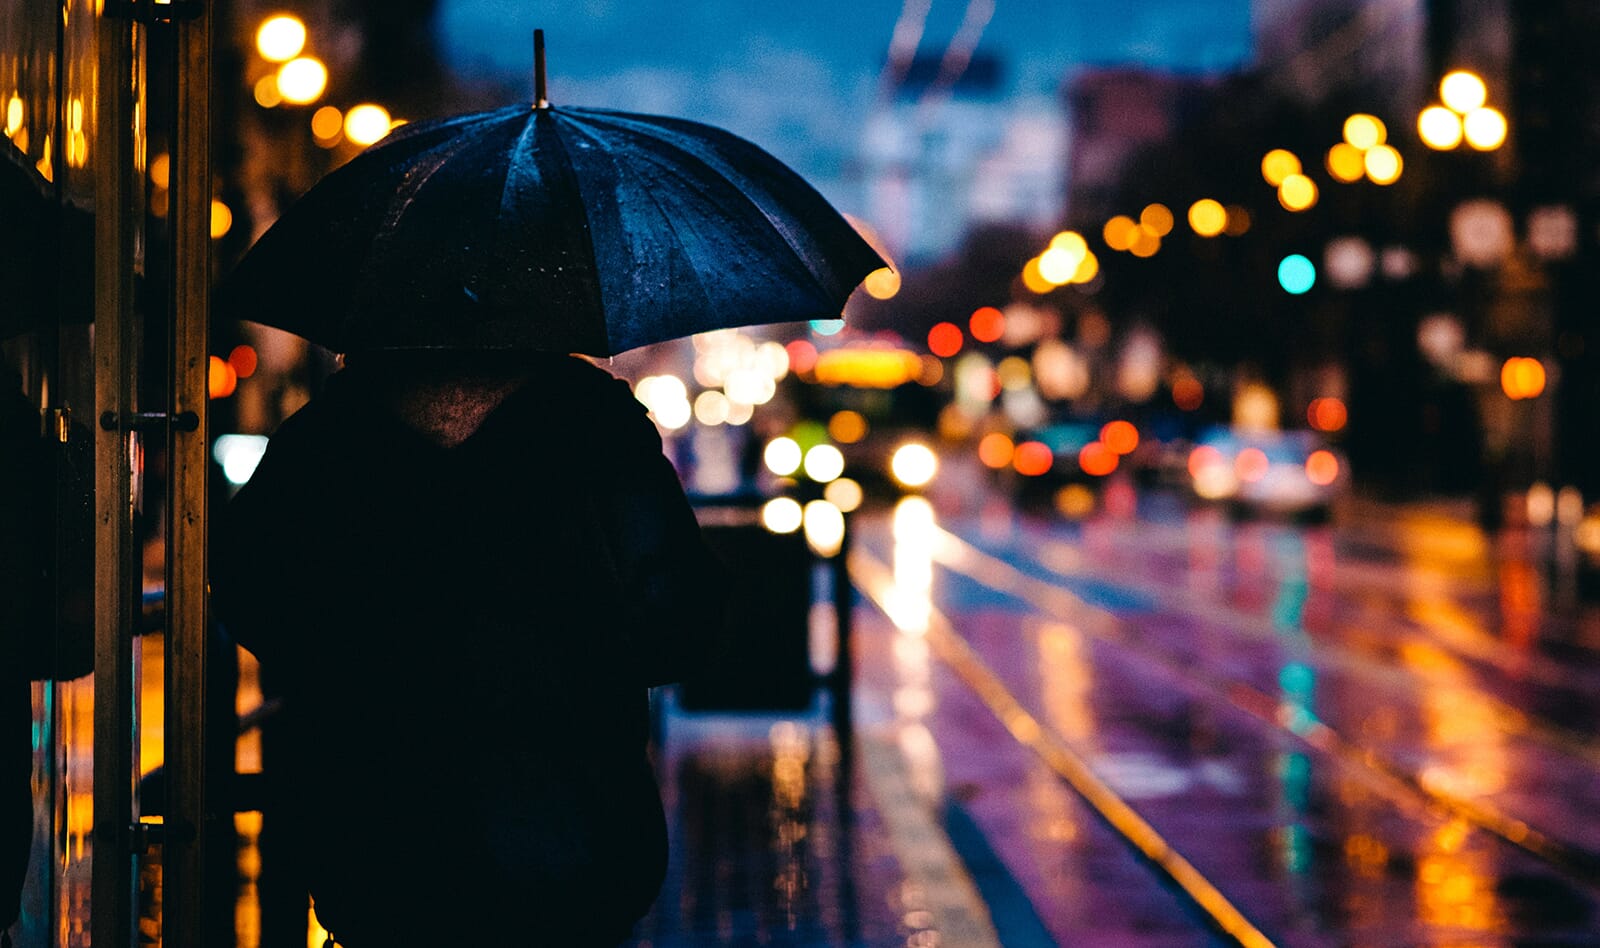
If possible, use an ISO of less than 800. To keep the ISO low, you’ll often need to use a large aperture and/or a slow shutter speed.
The main point is to try and use as low an ISO setting as possible while still having the flexibility you need to adjust your aperture and shutter speed.
Aperture in Night Photography
In night photography, a larger aperture is preferable – even for landscape photos.
This might seem confusing; after all, photographers typically use small apertures when photographing landscapes!
But a larger aperture is required to let more light into the camera. It also allows you to use a lower ISO setting to reduce background noise. The drawback is that, with a larger aperture, you have a shallower depth of field and thus not everything is in focus. However, in night photography, this often doesn’t matter; much of each photo will turn out dark and shadowy, anyway.
An ideal aperture range for night photography is between f/2.8 to f/5.6. If there are plenty of dark areas in the scene, an aperture of around f/2.8 will work fine. However, if there are not as many dark areas, an aperture around f/5.6 should work better.
Shutter Speed in Night Photography
The shutter speed is how long the shutter of your camera is open. This directly affects how much light enters the camera. The longer the shutter is open, the more light that is let in, and the brighter the photo.
In night photography, you typically want to use a longer shutter speed to compensate for the low level of brightness. A great shutter speed range to use is between 10 and 30 seconds. Now you can see why a tripod is essential. Imagine trying to hold your camera perfectly still for 30 seconds! You couldn’t do it – the photo would be a blurry mess from the camera shake.
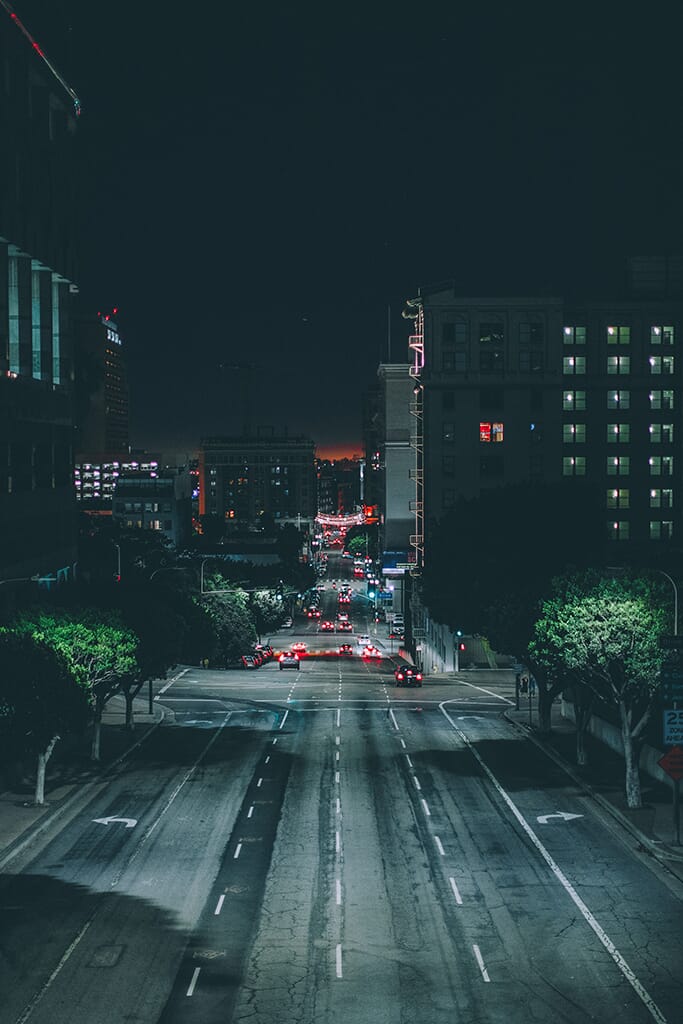
If you like, start with a two-second shutter speed. See how dark the photo is. If it’s still too dark, increase the shutter speed to 5 seconds. Repeat this process until you get a shutter speed that creates an ideal photo.
Note that the shutter speed also depends on the amount of light present in the night scene. For example, if you have a cityscape bursting with skyscrapers and artificial light, a 20-second shutter speed may be too long. If you used a 20-second shutter speed here, the lights would probably look too bright.
Different Types of Night Photography
Now that we’ve covered the basics, let’s look at specific types of night photography. The best camera settings for night photography often need to be tweaked in different circumstances!
Cityscapes/Urban Landscapes
Cityscapes and urban landscapes can be tricky to photograph at night. This is due to the conflicting light sources and colors. These scenes look amazing, but getting balanced photos is difficult.
You can often use faster shutter speeds for this type of photo due to the increased lighting. Try to use an aperture of around f/5.6 so you have a deeper depth of field and more of the cityscape is in focus. Also, use as low an ISO setting as possible.
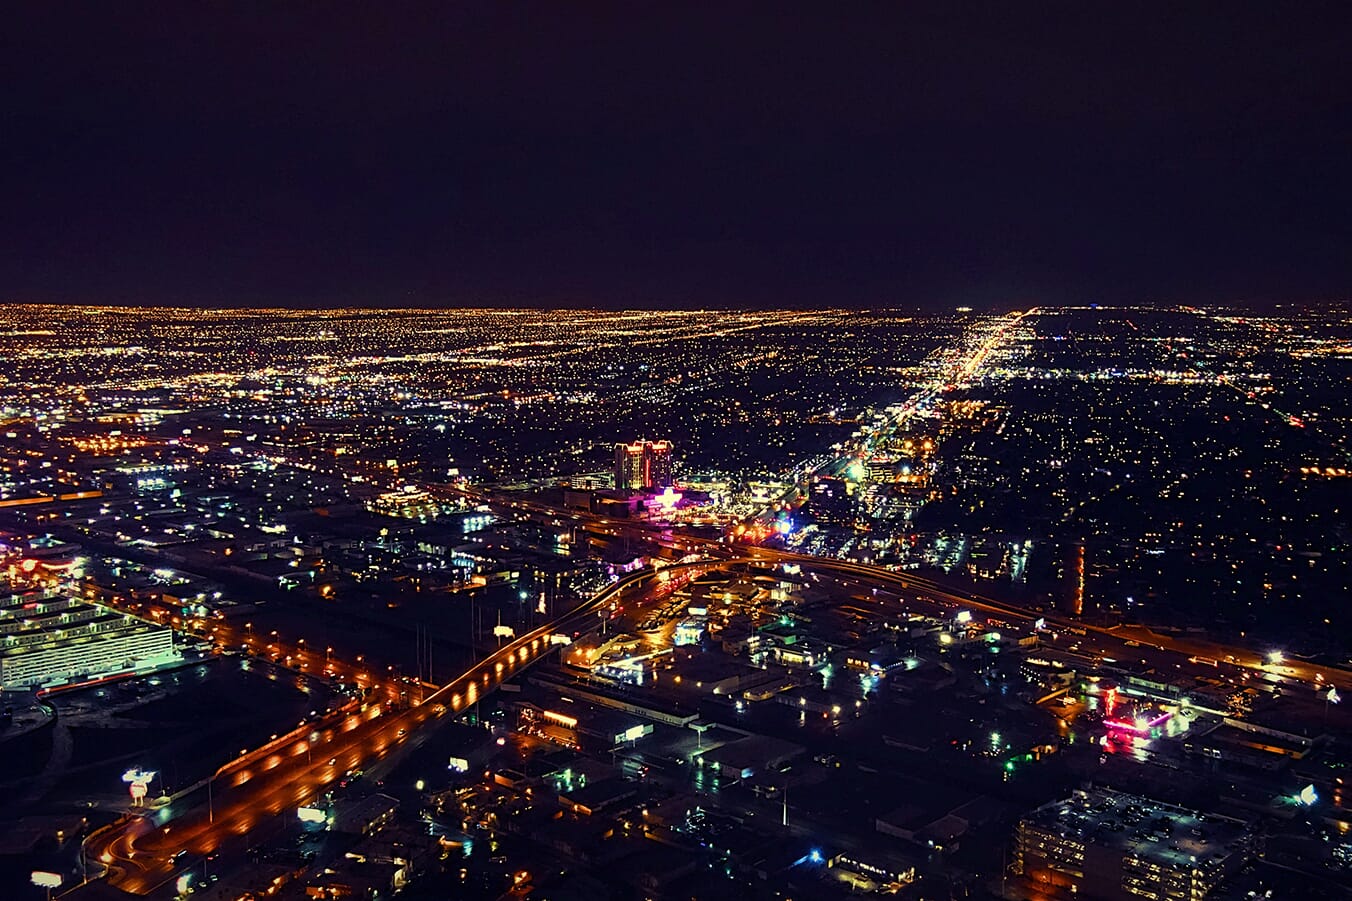
Start with a one-second shutter speed and see what you get. You may need to make the shutter speed slower or faster depending on the light levels.
Light Trails
I love light trail photography! It’s a fascinating type of photography where you capture the motion of moving light sources such as car headlights. The result is a beautiful trail of light as shown in this next example:
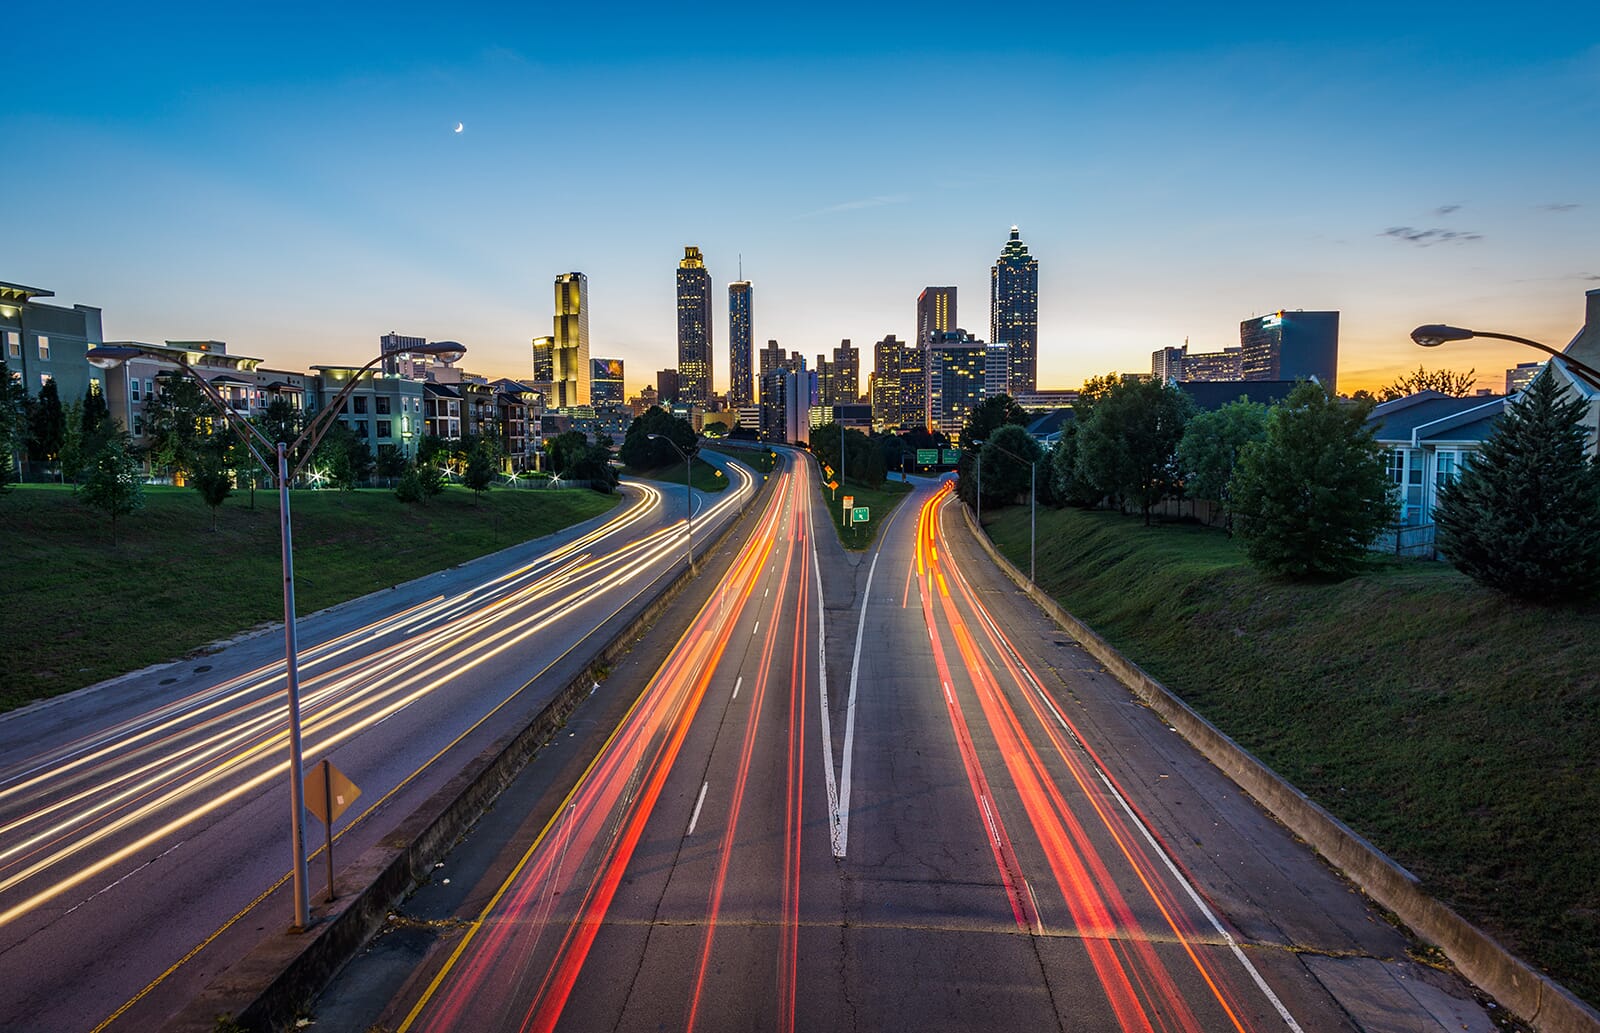
This type of photo requires a longer shutter speed. Typically, a shutter speed of 10 to 30 seconds will work.
To get the best light trail photos, you need to find a safe area with a continuous flow of traffic such as a highway or the busy part of a city.
Star Trails
In most night photography, the aim is to capture stars as sharp, single points of light. However, star trail photography features the opposite. Star trails use a long shutter speed to show the rotation of our planet – and the long exposure allows you to create amazing circular trail patterns in the night sky:
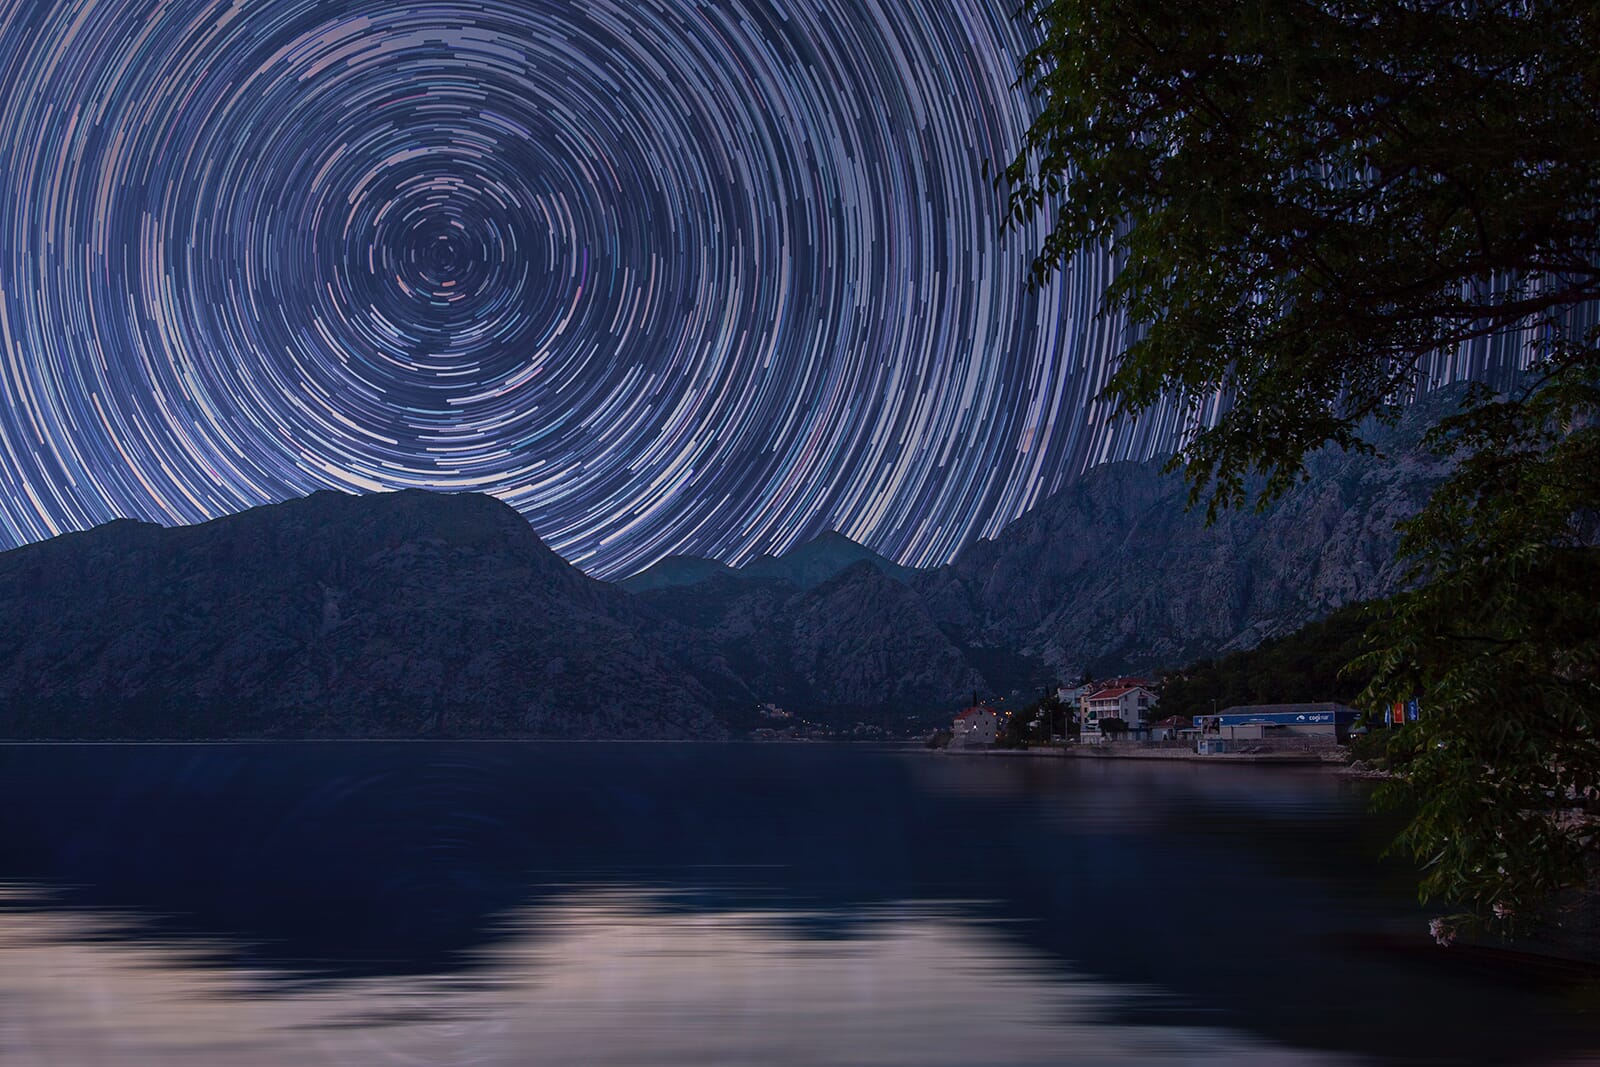
This type of photography typically involves shutter speeds of 60 minutes or longer. The ISO should be as low as possible – 100 or 200 – and a moderate aperture of f/4 should work well.
These photos often involve trial and error, too. Start with a 30-second test shot. From here, you can see the effect and increase the shutter speed. Progress to a 15-minute shutter speed and see what the resulting star trails look like. You should then be able to gauge how to move forward.
For this type of photography, be wary of your camera overheating. Also, it is advisable to turn off any automatic noise reduction settings as this can greatly increase the processing time.
Use These Camera Settings on Your Next Nighttime Adventure
We hope you found this guide to the best camera settings for night photography useful. Shooting at night may seem daunting. However, once you understand the exposure triangle and how each setting affects your night photography photos, your confidence should increase and your results will soar.
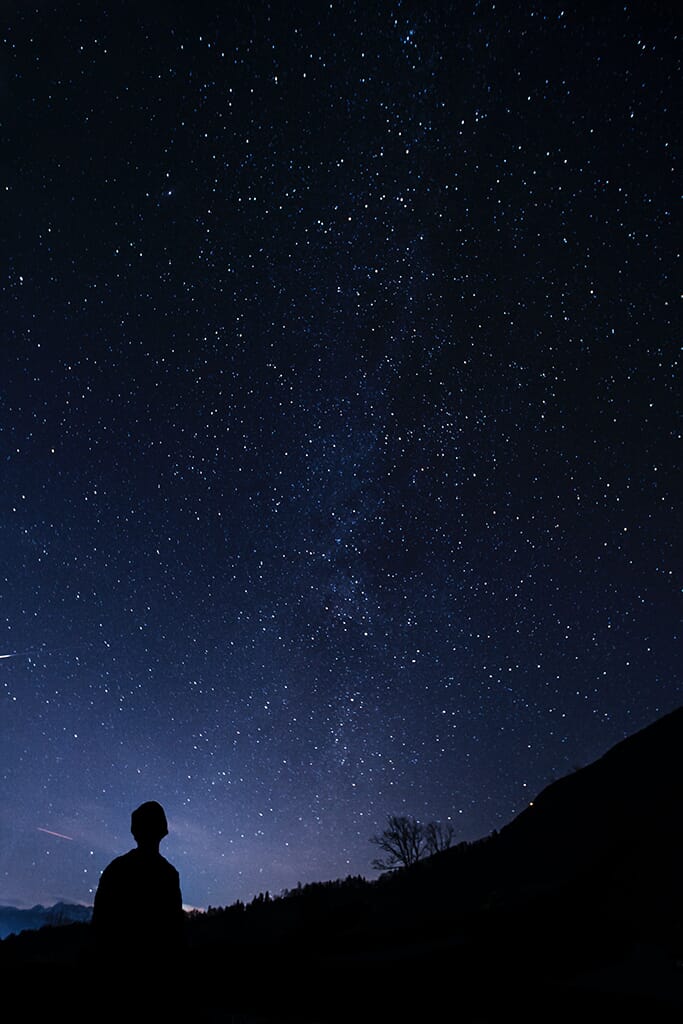
With your newfound skills and knowledge, you can head out into the night and capture an entirely different world. As you can see from the examples featured throughout this guide, the possibilities are endless and the photos you can create are incredible.
