
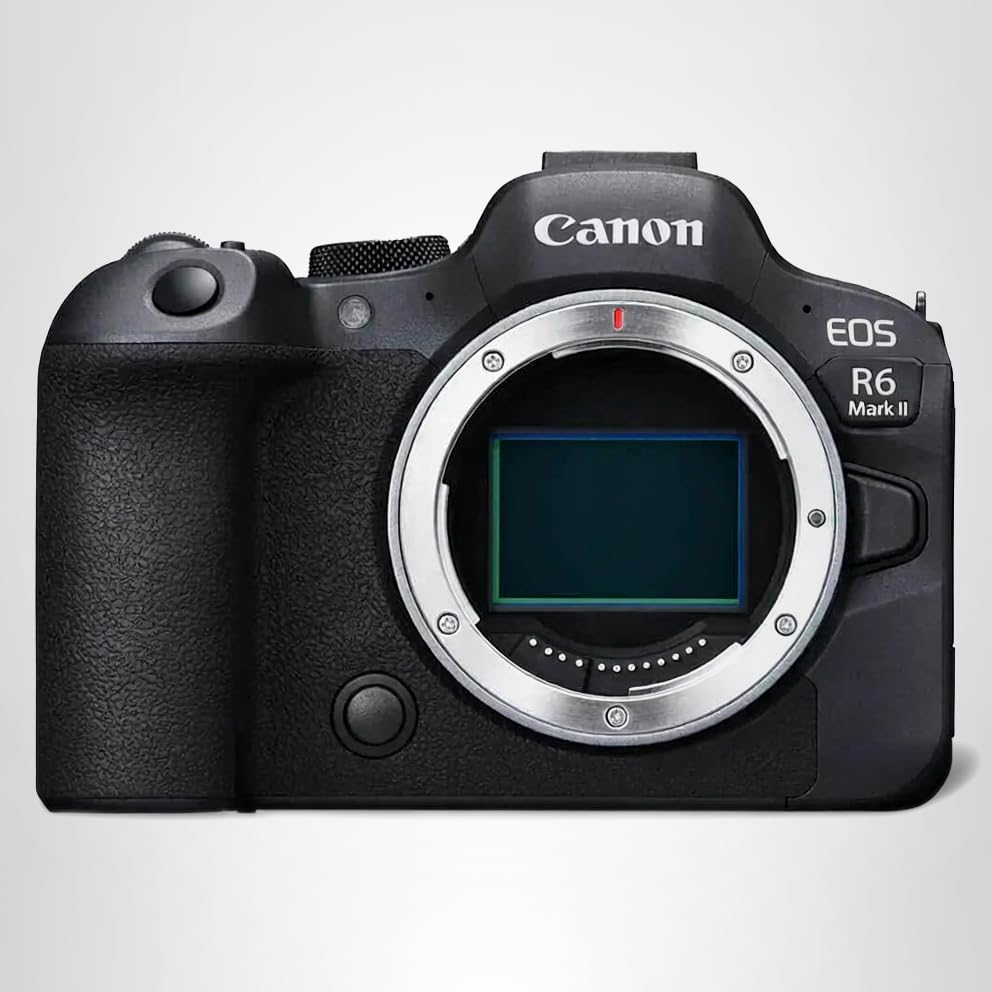
- The Canon EOS R6 Mark II is the best overall night photography camera — fast AF down to -6.5 EV, clean ISO 12800, and 8-stop IBIS
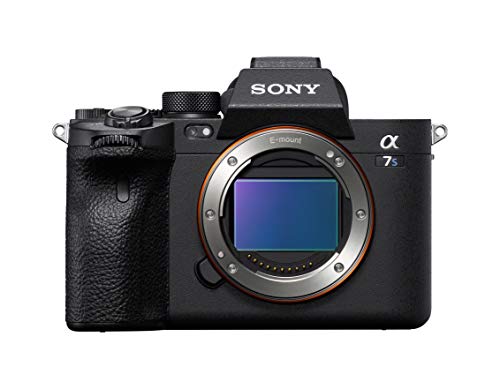
- The Sony A7S III delivers the best low-light video and stills with its 12.1MP sensor optimized for massive light-gathering pixels
- Full-frame sensors outperform APS-C and Micro Four Thirds in noise control — larger pixels capture more light per shot at high ISO
- Look for autofocus rated to -4 EV or better, 5+ axis IBIS, and native fast primes (f/1.4–f/2.8) when choosing a night camera
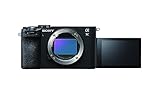
- Budget pick: the Canon EOS R8 at under $1,500 (as of March 2026) delivers full-frame low-light performance with Dual Pixel CMOS AF II
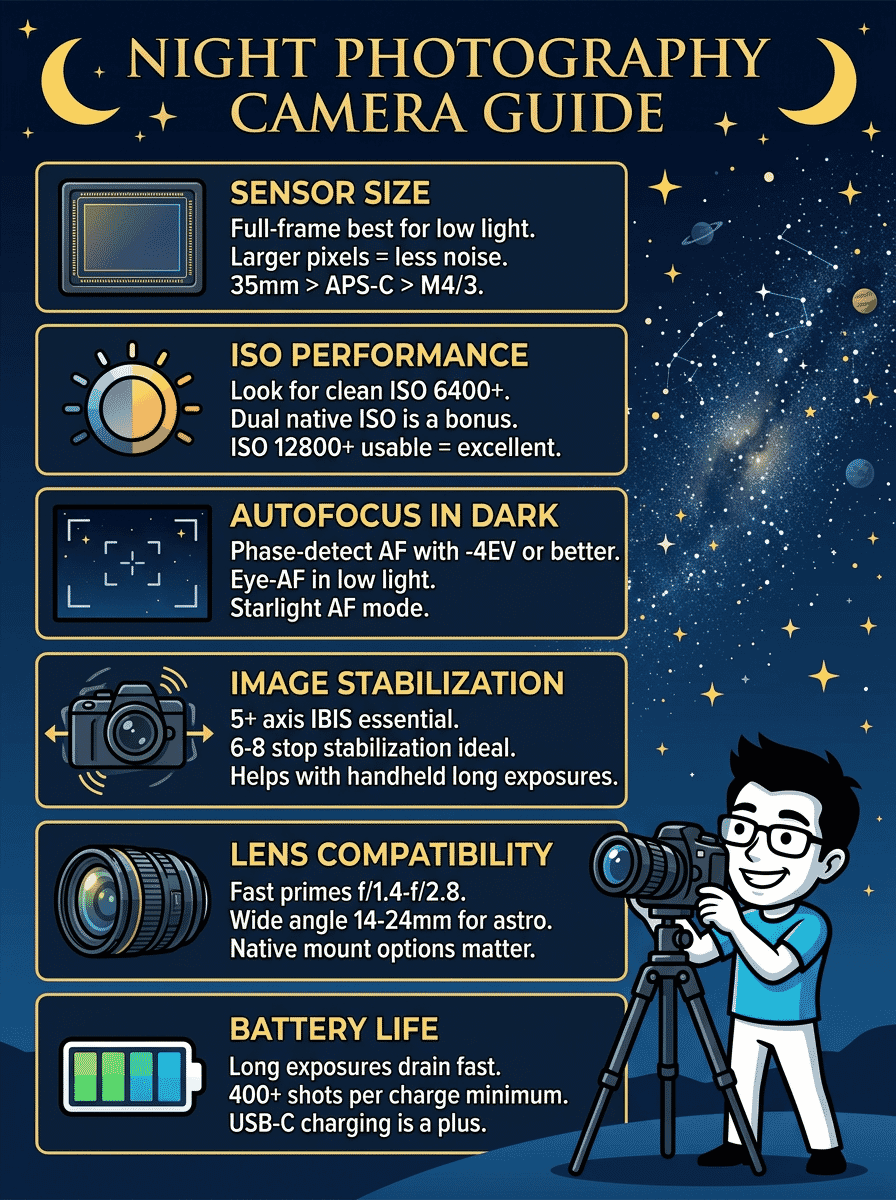
Clean night shots demand a camera that handles high ISO without turning everything to mush. Weak autofocus hunts in the dark, shaky handheld frames blur beyond saving, and limited dynamic range crushes shadow detail that makes night scenes compelling.
This guide ranks and compares 10 full-frame cameras built for night photography – from Milky Way landscapes and star trails to neon-lit cityscapes and handheld street scenes after dark. The Canon EOS R6 Mark II (92/100) leads the pack with an unbeatable mix of clean high-ISO output, 8-stop IBIS, and fast low-light AF at a fair price. The Sony A7S III (90/100) follows as the ultimate low-light specialist with its 12MP sensor designed to dominate in darkness.
Each camera is evaluated on sensor performance at high ISO, autofocus sensitivity in low light, image stabilization, long-exposure tools, lens ecosystem, and battery endurance for extended night sessions.
When you buy through links on our site, we may earn a commission at no cost to you. We evaluate products independently. Commissions do not affect our evaluations. As an Amazon Associate, we earn from qualifying purchases.
Top Night Photography Cameras


When you buy through links on our site, we may earn a commission at no cost to you. We evaluate products independently. Commissions do not affect our evaluations.
How to Choose a Camera for Night Photography
Night photography pushes cameras harder than any other genre. The right body needs clean high-ISO output, confident autofocus in near-darkness, effective stabilization, and battery life that lasts through multi-hour sessions. Here are the six factors that matter most.
10 Best Cameras for Night Photography Compared
| Specifications | ||||||||||
|---|---|---|---|---|---|---|---|---|---|---|
| Score | 92/100 | 90/100 | 88/100 | 87/100 | 85/100 | 83/100 | 81/100 | 79/100 | 77/100 | 75/100 |
| Resolution | 24.2 MP | 12.1 MP | 24.5 MP | 45 MP | 33 MP | 61 MP | 24.2 MP | 45.7 MP | 24.2 MP | 33 MP |
| IBIS | 8 stops | 5.5 stops | 8 stops | 8.5 stops | 5.5 stops | 8 stops | 5 stops | 5 stops | No | 7 stops |
| AF Sensitivity | -6.5 EV | -6 EV | -10 EV | -6.5 EV | -4 EV | -4 EV | -4 EV | -3 EV | -6.5 EV | -4 EV |
| Max ISO (Native) | 102,400 | 102,400 | 64,000 | 51,200 | 51,200 | 32,000 | 51,200 | 25,600 | 102,400 | 51,200 |
| Release Year | 2022 | 2020 | 2024 | 2024 | 2021 | 2022 | 2023 | 2020 | 2023 | 2023 |
| Best For | Overall Night | Low-Light King | Astro Features | Premium Night | Hybrid Night | Night Landscapes | Night Video | Value High-Res | Budget Entry | Compact Travel |


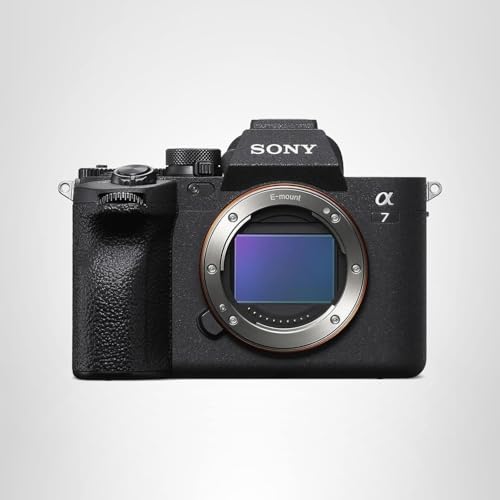
Canon EOS R6 Mark II
Night photographers who want clean high-ISO files, reliable AF in darkness, and effective IBIS in one versatile body – without paying flagship prices.
- Clean high-ISO output up to ISO 12800 with usable results at ISO 25600
- 8-stop IBIS enables handheld night shooting at slower shutter speeds
- Built-in bulb timer (up to 900 seconds) and intervalometer eliminate need for remote
- Dual Pixel CMOS AF II works down to -6.5 EV with fast subject tracking
- 24.2MP limits cropping headroom compared to 45-61MP bodies
- No dedicated astrophotography mode or pixel-shift multi-shot
The strongest all-around night photography camera at this price. Delivers clean Milky Way frames, sharp handheld cityscapes, and reliable AF in near-darkness. The built-in intervalometer and bulb timer simplify long-exposure workflows that previously required accessories.
The Canon EOS R6 Mark II takes the top spot at 92/100 for night photography because it balances every factor that matters: sensor performance, stabilization, AF speed, and long-exposure tools – all at under $2,000.


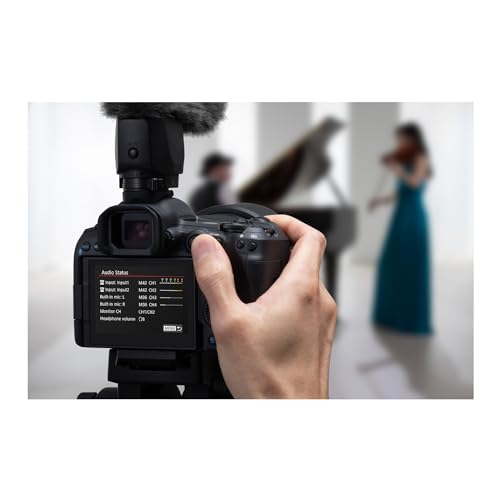
The 24.2MP full-frame CMOS sensor paired with DIGIC X processing delivers remarkably clean files at ISO 6400-12800. Shadow recovery is excellent at base ISO, preserving foreground detail in single-exposure Milky Way shots. The 8-stop IBIS lets handheld shooting at 1/4 second or slower, which transforms urban night photography – no tripod needed for lit cityscapes and street scenes.
What sets this camera apart for night work is the built-in bulb timer (up to 900 seconds) and intervalometer (up to 999 shots). Star trail sequences, meteor shower captures, and timelapse sessions no longer require a separate remote or app. Dual Pixel CMOS AF II detects and tracks subjects to -6.5 EV, covering faces, animals, and vehicles under minimal ambient light.
Canon’s RF lens ecosystem offers excellent fast primes for night work: the RF 15-35mm f/2.8L, RF 16mm f/2.8, and third-party options like the Sigma 14mm f/1.4 Art (now native RF). The vari-angle touchscreen simplifies low-angle compositions, and 40 fps electronic shutter captures fleeting aurora or lightning.
Pricing & Where to Buy
The Canon EOS R6 Mark II body is priced at $1,999 (as of March 2026). LP-E6NH battery included.
- Buy on Amazon – Prime shipping available
- Check price at B&H Photo
- Check price at Adorama
- Buy used at KEH Camera – save with certified pre-owned
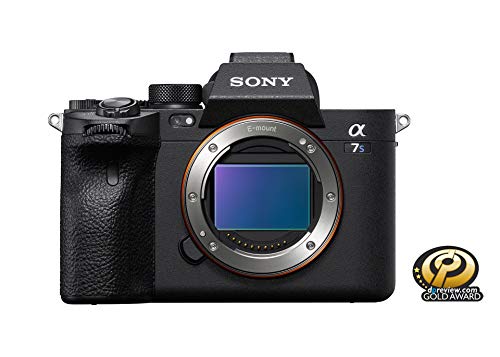
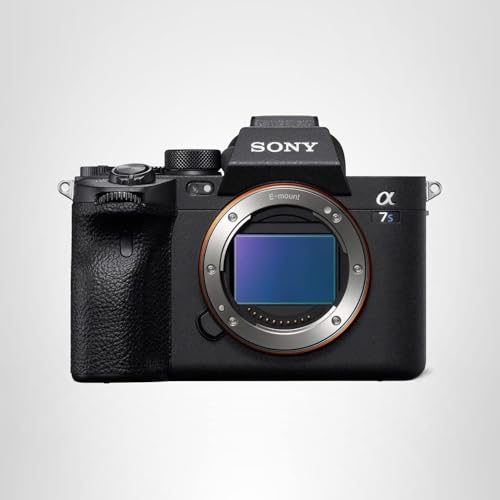
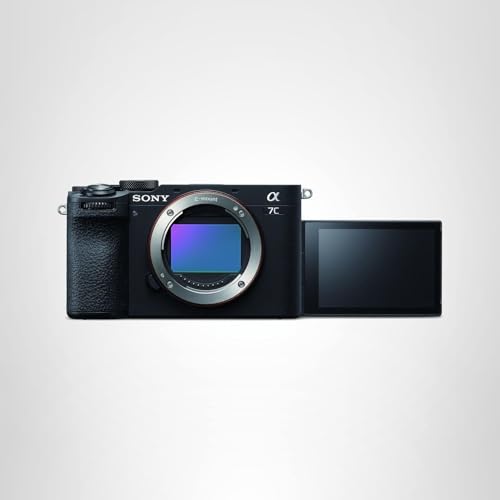
Sony A7S III
Dedicated night and astrophotography shooters who prioritize the cleanest possible high-ISO files and maximum light-gathering ability over resolution.
- 12.1MP sensor with 8.4-micron pixels produces the cleanest high-ISO files of any full-frame camera
- 15+ stops of dynamic range preserves extreme shadow and highlight detail in night scenes
- Usable images at ISO 51200 and beyond – unmatched for handheld low-light and video
- 4K120p and 16-bit RAW video output for cinematic night footage
- 12MP limits print size and cropping flexibility for detailed night landscapes
- Premium price at $3,698 for a body that launched in 2020
Nothing captures light like this camera. The massive 8.4-micron pixels produce images at ISO 25600 that look like other cameras’ ISO 3200 output. For anyone who regularly shoots in near-total darkness – aurora, deep-sky work, dimly lit events, or night documentary – this is the reference standard.
The Sony A7S III at 90/100 is the undisputed low-light king. Its 12.1MP full-frame sensor with 8.4-micron pixels gathers more light per pixel than any other camera on this list, producing astonishingly clean images at extreme ISO values.


Where other cameras start showing noticeable noise at ISO 6400, the A7S III stays remarkably clean through ISO 25600 and remains usable well beyond ISO 51200. This transforms what’s possible handheld in dark environments – candlelit scenes, dim interiors, moonlit landscapes, and astronomical events all benefit from the sensor’s extraordinary light sensitivity.
Dynamic range exceeds 15 stops at base ISO, meaning single exposures can capture both bright city lights and deep shadow detail without resorting to HDR bracketing. The BIONZ XR processor handles noise intelligently, preserving color accuracy and fine texture even at extreme ISO values. 5.5-stop IBIS adds stability for handheld work.
The tradeoff is resolution: 12MP files limit print size and cropping flexibility. For Milky Way landscapes where fine star detail and large prints matter, higher-resolution bodies offer more versatility. But for anyone prioritizing clean light capture over pixel count – night events, aurora chasing, astrophotography video, or documentary work in darkness – nothing else comes close.
Pricing & Where to Buy
The Sony A7S III body is priced at $3,698 (as of March 2026).
- Buy on Amazon
- Check price at B&H Photo
- Check price at Adorama
- Buy used at KEH Camera – save with certified pre-owned
Nikon Z6 III
Astrophotography enthusiasts who want the best manual focus aids, exceptional low-light AF, and modern features for star work combined with everyday versatility.
- Autofocus works down to -10 EV – the best low-light AF sensitivity in this roundup
- Partially stacked CMOS sensor with excellent high-ISO noise control and dual-gain readout
- 4000-nit EVF (highest brightness here) makes composing and focusing in darkness significantly easier
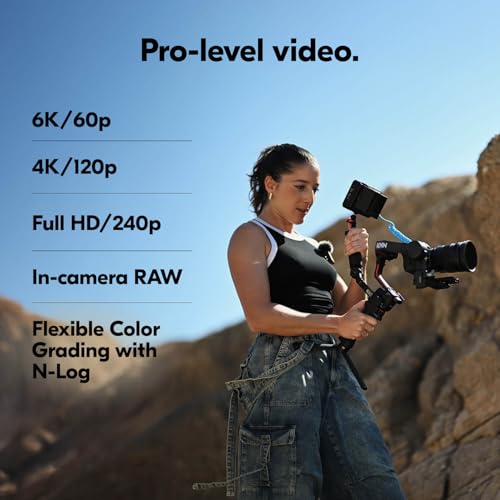
- 8-stop IBIS and 6K/60p internal RAW for hybrid night work
- 24.5MP is modest for heavy cropping or very large prints from night landscapes
- No built-in astrophotography mode or star tracking feature
The newest body on this list brings genuinely useful night features: AF that works in near-total darkness (-10 EV), a blindingly bright EVF for composing star shots, and a modern partially stacked sensor that handles noise cleanly. An excellent choice for astrophotographers who also want a capable everyday camera.
The Nikon Z6 III earns 88/100 and the #3 spot thanks to its class-leading -10 EV autofocus sensitivity and a partially stacked CMOS sensor that represents genuine technological progress for night shooting.


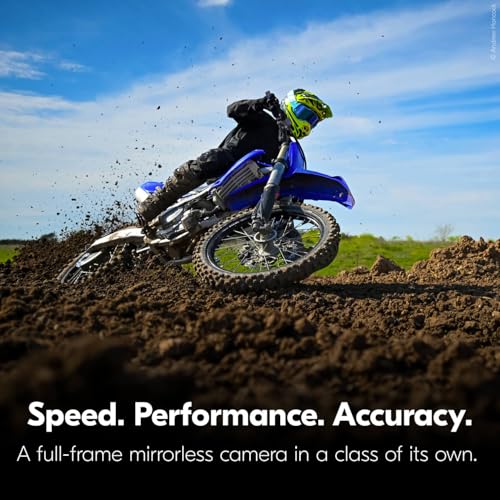


That -10 EV AF specification means the camera can acquire focus in conditions where most competitors give up entirely. For urban night scenes, the deep-learning subject detection tracks people and vehicles reliably in dim ambient light. For astrophotography, the 4000-nit EVF (the brightest in any mirrorless camera) makes composing and manually focusing on stars dramatically easier than squinting at a dim viewfinder.
The partially stacked sensor design with dual-gain readout delivers clean files at ISO 6400-12800 with excellent color retention. 8-stop IBIS supports handheld night work, and 6K/60p internal RAW recording opens up serious night video and timelapse possibilities. Nikon’s Z-mount glass lineup includes excellent night photography lenses like the NIKKOR Z 14-24mm f/2.8 S and Z 20mm f/1.8 S.
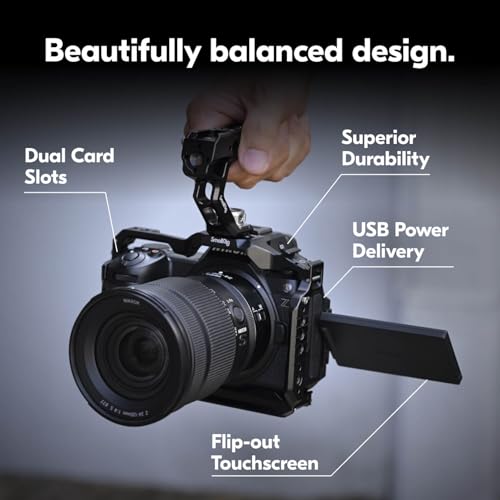
USB-C Power Delivery supports continuous operation during all-night sessions, and dual card slots (CFexpress + SD) protect long exposures from card failures. The tilting touchscreen and illuminated buttons help navigate menus in darkness without losing night-adapted vision.
Pricing & Where to Buy
The Nikon Z6 III body is priced at $2,097 (as of March 2026).
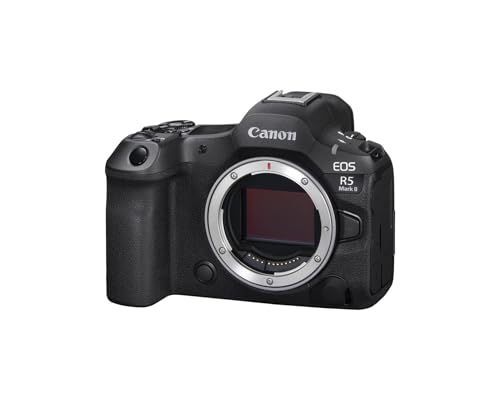
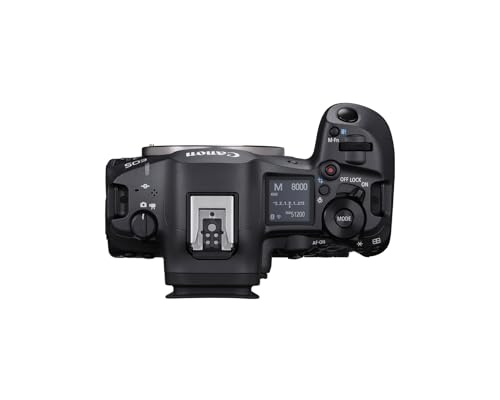
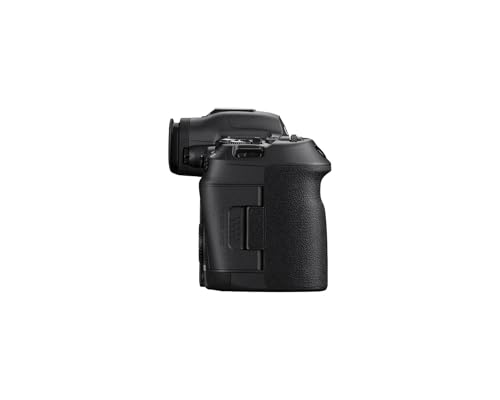
Canon EOS R5 Mark II
Photographers who want flagship-level 45MP resolution for detailed night landscapes and Milky Way panoramas without sacrificing low-light usability.
- 45MP resolution captures fine star detail with excellent cropping headroom for astro landscapes
- Improved DIGIC accelerator with better noise reduction compared to the original R5
- 8.5-stop IBIS – the highest stabilization rating on this list
- Eye Control AF helps recompose quickly in darkness without moving AF point manually
- Premium price at $3,899 makes it the most expensive option here
- Smaller pixel pitch (3.7 micron) means higher per-pixel noise at extreme ISO compared to 24MP bodies
The best camera here for night landscape photographers who need resolution AND performance. The 45MP sensor captures star fields with impressive detail for large prints, while the improved processing engine handles noise better than the original R5. Eye Control AF is genuinely useful for night work – look at where you want to focus and the camera follows.
The Canon EOS R5 Mark II at 87/100 represents a meaningful upgrade over the original R5 for night photography. The DIGIC accelerator processor improves noise handling at high ISO, and 8.5-stop IBIS (the highest here) expands handheld possibilities after dark.

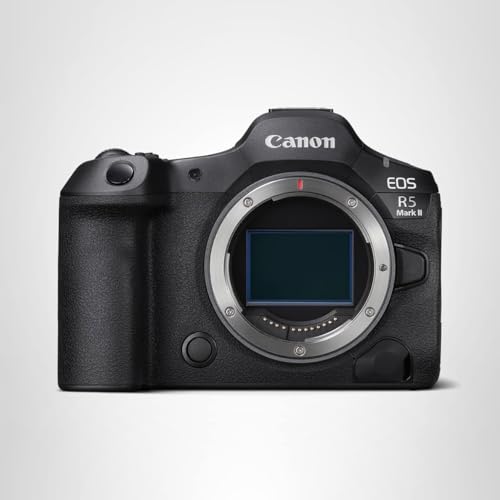
The 45MP sensor resolves fine star detail that 24MP bodies miss, producing Milky Way frames that survive heavy cropping and print beautifully at large sizes. Eye Control AF is a standout feature for night work – calibrate it once and the camera moves the AF point wherever you look through the viewfinder, eliminating the fumble of repositioning AF points in the dark.
Dynamic range at base ISO is excellent for single-exposure night landscapes. The back-illuminated stacked sensor design reads faster with less noise than the original R5, and the improved thermal management allows longer recording sessions. 8K RAW internal recording opens up extreme crop flexibility for night video.
The price is steep at $3,899. For shooters who primarily need clean high-ISO over resolution, the R6 Mark II delivers better noise performance at half the price. But for night landscape specialists who want both detail and performance in a flagship body with the latest Canon technology, this is the pick.
Pricing & Where to Buy
The Canon EOS R5 Mark II body is priced at $3,899 (as of March 2026).
Sony A7 IV
Hybrid shooters who want a strong night photography body that also excels at 4K video, offering 33MP detail with competitive low-light performance.
- 33MP back-illuminated sensor balances resolution and noise handling well at ISO 3200-6400
- Excellent dynamic range for single-exposure night landscapes with recoverable shadows
- 4K60 10-bit video with S-Log3 for flexible night footage grading
- Strong real-time tracking AF works reliably in urban night scenes
- 5.5-stop IBIS is adequate but trails the 8-stop systems from Canon and Nikon
- Aging 2021 design with a smaller, lower-resolution EVF than newer competitors
A proven performer that delivers excellent results for both night stills and video. The 33MP sensor strikes a practical balance – enough resolution for detailed Milky Way crops, but manageable file sizes and good per-pixel noise performance. The deepest E-mount lens ecosystem adds flexibility.
The Sony A7 IV scores 85/100 as a versatile hybrid that handles night photography confidently while also excelling at daytime work and video. The 33MP back-illuminated sensor offers a practical sweet spot between the resolution of 45-61MP bodies and the noise advantage of lower-pixel designs.


Dynamic range is excellent – single-exposure Milky Way shots retain usable shadow detail in foreground elements, reducing the need for HDR blending. RAW files at ISO 3200-6400 stay clean with good color fidelity, and the 33MP resolution provides enough cropping headroom for detailed star field compositions.
Sony’s E-mount ecosystem is the deepest full-frame system available, with outstanding night lenses from Sony, Sigma, Tamron, and Samyang. The 14mm f/1.8 GM, 20mm f/1.8 G, and 24mm f/1.4 GM are among the best nighttime photography lenses available. Real-time tracking AF handles urban night portraits and street scenes reliably.
The 5.5-stop IBIS is competent but not class-leading. For pure night stills performance, the R6 Mark II and Z6 III offer more stabilization. But the A7 IV’s combination of resolution, video quality (4K60 10-bit S-Log3), and lens selection makes it an excellent all-around choice at $2,198.
Pricing & Where to Buy
The Sony A7 IV body is priced at $2,198 (as of March 2026).
Sony A7R V
Night landscape photographers who prioritize maximum resolution for detailed star fields, large prints, and heavy cropping – with enough processing power to handle 61MP files efficiently.
- 61MP sensor captures extraordinary star field detail and supports extreme cropping
- AI-powered AF processor with improved subject detection in challenging light
- 8-stop IBIS for handheld night shooting despite the high resolution
- Pixel Shift Multi Shooting produces 240MP composites for ultimate night landscape detail
- Smaller 3.7-micron pixels show more noise at extreme ISO than lower-resolution bodies
- Large files (120MB+ RAW) demand fast storage and powerful editing hardware
The resolution champion for night landscapes. When detail matters more than anything – fine Milky Way structure in large prints, tight crops on distant subjects under moonlight, or stitched panoramas of night skies – 61MP captures what other cameras cannot. Pair it with shorter exposures and stacking for the cleanest results at high ISO.
The Sony A7R V at 83/100 is the resolution king. Its 61MP sensor resolves fine nebula structure, individual stars in dense fields, and city textures that lower-resolution cameras cannot distinguish. Night landscape photographers who print large or crop aggressively will see the difference immediately.


The dedicated AI processing unit improves AF subject detection in low light, and 8-stop IBIS compensates for the resolution penalty that typically makes high-MP cameras harder to shoot handheld. Pixel Shift Multi Shooting combines 16 frames into a 240MP composite – devastating detail for tripod-based night landscapes when conditions allow.
The tradeoff is noise at high ISO. With 3.7-micron pixels, the A7R V shows more per-pixel noise at ISO 6400+ than 24MP bodies. The workaround: shoot at moderate ISO with shorter exposures and stack in software like Sequator or Starry Landscape Stacker. The extra resolution makes stacking more effective, and the results rival or surpass what lower-resolution cameras achieve in a single frame.
At $3,298, this is a specialized tool. Night shooters who want clean, easy files should look at the R6 Mark II or Z6 III. But for those who chase detail – gallery prints, astrophotography composites, and night panoramas – the A7R V is in a class of its own.
Pricing & Where to Buy
The Sony A7R V body is priced at $3,298 (as of March 2026).
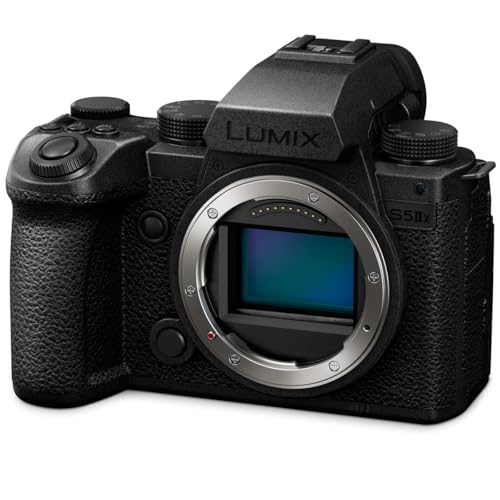
Panasonic LUMIX S5IIX
Hybrid creators who shoot both night stills and video – concert footage, night documentary, cityscapes combined with timelapse and cinematic b-roll.
- Phase-detect AF with strong low-light performance and subject tracking
- V-Log/V-Gamut with 14+ stops of dynamic range for flexible night footage grading
- 5.8K ProRes internal recording and unlimited record time with active cooling
- Excellent codec flexibility with 5.8K ProRes, RAW over HDMI, and unlimited recording
- 5-stop IBIS trails the 8-stop systems in Canon and Nikon bodies
- L-Mount lens ecosystem is smaller than Canon RF, Sony E, or Nikon Z
The best camera here for creators who combine night stills with video. Unlimited recording with pro codecs (5.8K ProRes, RAW over HDMI) opens up night documentary, concert, and timelapse work that other bodies restrict. L-Mount gives access to excellent Sigma Art primes for night work, and IP streaming adds live-broadcast capability.
The Panasonic LUMIX S5IIX at 81/100 stands out for hybrid creators who need both stills and video from dark environments. The body delivers phase-detect AF, 5.8K ProRes, and unlimited recording with active cooling – pair it with a fast prime like the Sigma 35mm f/1.4 Art (L-Mount) for exceptional night capability.


The 24.2MP full-frame sensor delivers clean files at ISO 3200-6400 with 14+ stops of dynamic range in V-Log. Phase-detect hybrid AF (Panasonic’s first) tracks subjects more reliably than the older contrast-detect systems, and the active cooling enables unlimited recording for night documentary, event, and timelapse projects.
5.8K ProRes internal recording, RAW over HDMI, and IP streaming capabilities make this the strongest video-oriented option for night work. Concert photographers, night documentarians, and creators who need both stills and motion from dark environments will appreciate the codec flexibility and thermal management.
L-Mount gives access to excellent Sigma Art primes (14mm f/1.4, 20mm f/1.4, 24mm f/1.4) that are among the best astrophotography lenses available. The 5-stop IBIS is adequate but not exceptional, and the smaller L-Mount ecosystem offers fewer total options than Sony E or Canon RF.
Pricing & Where to Buy
The Panasonic LUMIX S5IIX body is priced at approximately $2,198 (as of March 2026). Look for kit bundles with the 20-60mm lens for additional value.
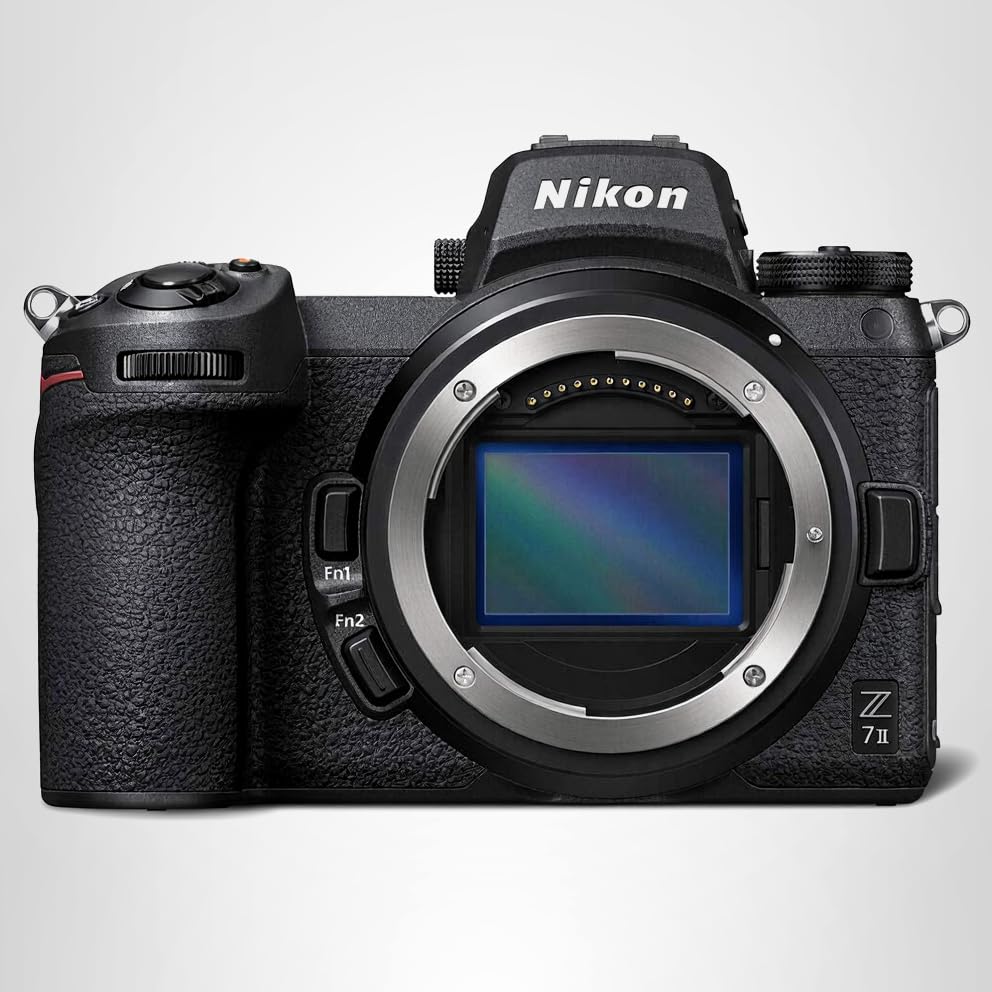
Nikon Z 7II
Value-minded night landscape photographers who want 45.7MP resolution and strong dynamic range without paying flagship prices.
- 45.7MP sensor with no optical low-pass filter for razor-sharp star field detail
- Outstanding base-ISO dynamic range for single-exposure night landscapes
- Proven reliability with dual card slots, strong battery, and weather sealing
- Available under $1,900 – exceptional value for high-resolution full-frame
- Older AF system with -3 EV sensitivity trails newer bodies significantly in darkness
- 5-stop IBIS is functional but behind the 8-stop systems in current cameras
The most affordable path to 45.7MP night landscapes. Base-ISO dynamic range is outstanding – single-frame Milky Way shots with recoverable foreground shadows are entirely practical. The older AF system is the main limitation; plan on manual focus for star work (which most astrophotographers prefer anyway).
The Nikon Z 7II at 79/100 delivers remarkable value: 45.7MP resolution with class-leading base-ISO dynamic range at under $1,900. For tripod-based night landscape photography, the price-to-performance ratio is hard to beat.


The 45.7MP BSI sensor with no optical low-pass filter produces razor-sharp star field detail. Base-ISO dynamic range is outstanding – 14+ stops means deep shadow recovery in single exposures, reducing the need for complex HDR blending during Milky Way sessions. The resolution supports large prints and aggressive cropping.
Built-in interval timer and exposure smoothing handle star trail and timelapse sequences natively. Dual card slots (CFexpress + SD), weather sealing, and a solid EN-EL15c battery support extended field sessions. The Z-mount lens ecosystem includes the excellent NIKKOR Z 14-24mm f/2.8 S for wide-field astro work.
The main limitation is the older AF system with -3 EV sensitivity – less useful for urban night shooting than the Z6 III’s -10 EV system. But for tripod-based astrophotography where manual focus is standard practice, this matters less. At its current price, the Z 7II is a compelling option for resolution-focused night shooters on a budget.
Pricing & Where to Buy
The Nikon Z 7II body is priced at $1,897 (as of March 2026).
- Buy on Amazon
- Check price at B&H Photo
- Check price at Adorama
- Buy used at KEH Camera – save with certified pre-owned
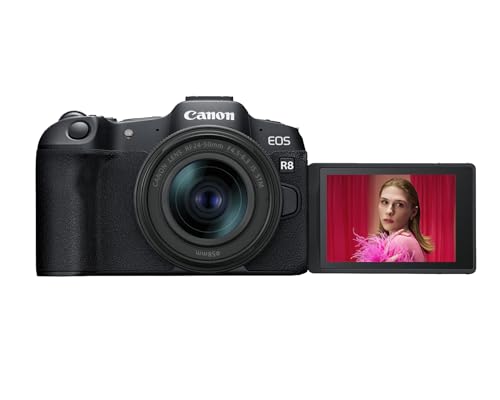
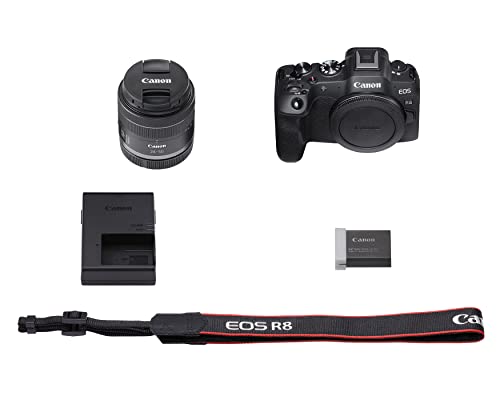
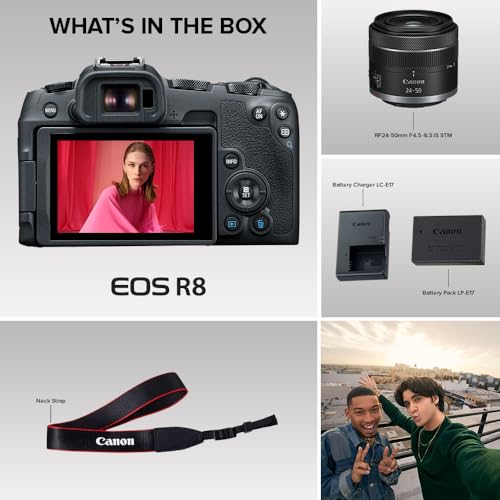
Canon EOS R8
Budget-conscious photographers who want full-frame low-light quality in the lightest, most affordable package – a great entry point for night photography.
- Same DIGIC X processor as the R6 Mark II delivers competitive high-ISO performance
- Lightest full-frame body here at 461g – ideal for hiking to dark-sky locations
- Dual Pixel CMOS AF II with -6.5 EV sensitivity works well in low light
- Most affordable full-frame option at $1,649 (with kit lens)
- No in-body image stabilization – relies entirely on lens IS
- Single SD card slot limits backup protection during long night sessions
The gateway to full-frame night photography. The DIGIC X processor delivers high-ISO results competitive with cameras costing $500+ more. The missing IBIS means tripod work is standard (fine for astro) and IS-equipped RF lenses help handheld. At $1,649 with a kit lens, it leaves more budget for fast primes – where the money matters most for night shooting.
The Canon EOS R8 at 77/100 is the most accessible full-frame night camera here. Sharing the R6 Mark II’s DIGIC X processor means high-ISO noise performance punches well above the price point.


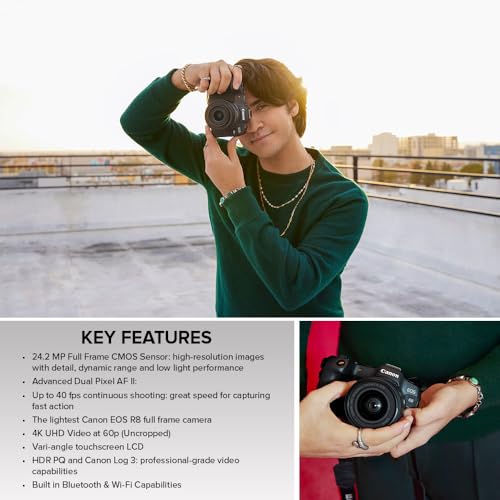
At 461g, the R8 is the lightest full-frame camera in this roundup – meaningful when hiking to dark-sky locations with a travel tripod and lenses. The 24.2MP sensor produces clean files at ISO 6400 with usable results through ISO 12800, and Dual Pixel CMOS AF II works to -6.5 EV for reliable focus in dim conditions.
The lack of IBIS is the primary limitation. For tripod-based astrophotography this barely matters, but handheld night shooting requires IS-equipped lenses. The RF 16mm f/2.8 STM ($299) and RF 35mm f/1.8 IS Macro offer affordable, stabilized options. Canon’s RF-mount also supports excellent third-party night lenses from Sigma and Tamron.
The strategic advantage: at $1,649, the R8 leaves significantly more budget for fast glass than a $3,000+ body. Pairing the R8 with a Sigma 14mm f/1.4 Art creates a more capable night photography kit than an expensive body with a slow zoom – glass matters more than body for night work.
Pricing & Where to Buy
The Canon EOS R8 with RF 24-50mm kit lens is priced at $1,649 (as of March 2026). Body-only also available.
- Buy on Amazon – Prime shipping available
- Check price at B&H Photo
- Check price at Adorama
Sony A7C II
Travel night photographers who need a compact, lightweight full-frame body they can carry all day and shoot all night.
- 33MP sensor in the smallest full-frame body with built-in IBIS (7 stops)
- AI-based subject detection AF works reliably in dim urban scenes
- Full access to Sony’s deep E-mount lens ecosystem including compact primes
- 4K60 10-bit with S-Log3 for travel night video
- Smaller body compromises ergonomics during extended tripod sessions with heavy lenses
- Smaller battery (NP-FZ100) drains faster in cold conditions than larger bodies
The smallest full-frame camera with built-in IBIS on this list. Perfect for travel photographers who want night capability without carrying a full-size body. The 33MP sensor and 7-stop IBIS deliver capable night results, and the compact form factor means it actually comes with you on trips where a bigger camera stays home.
The Sony A7C II at 75/100 is the night photographer’s travel companion. The 33MP sensor shares the same basic design as the A7 IV but lives in a rangefinder-style body that weighs just 514g with battery.


7-stop IBIS is impressive in this compact form factor, enabling handheld night shooting that the Canon R8 (no IBIS) cannot match. The AI-based subject detection tracks people and vehicles reliably in urban night scenes, and the articulating touchscreen simplifies low-angle compositions on a tripod.
Sony’s compact E-mount primes pair naturally with the small body: the FE 24mm f/2.8 G, 40mm f/2.5 G, and 50mm f/2.5 G create a pocket-friendly night kit. For wider astro work, the Sigma 20mm f/1.4 Art and Sony 14mm f/1.8 GM are available but create a front-heavy setup on the small body.
The compromises are ergonomic. Extended tripod sessions with heavy glass reveal the smaller grip’s limitations, and the battery drains noticeably faster than larger bodies in cold conditions. Pack a spare NP-FZ100 (or two) for all-night sessions. For travel-focused night photographers who value portability over ergonomics, the A7C II makes the right tradeoffs.
Pricing & Where to Buy
The Sony A7C II body is priced at $2,298 (as of March 2026).
Choose the Best Night Photography Camera
The right night camera depends on shooting style, budget, and whether resolution or noise performance matters more for the kind of night work planned.
For the best all-around night photography experience, the Canon EOS R6 Mark II delivers the strongest combination of clean high-ISO, 8-stop IBIS, and built-in long-exposure tools at a fair price. For extreme low-light work where noise performance trumps everything, the Sony A7S III is unmatched.
Astrophotography enthusiasts should look closely at the Nikon Z6 III for its -10 EV AF and bright EVF, or the Sony A7R V when maximum resolution for detailed star fields is the priority. Budget shoppers will find the Canon EOS R8 delivers surprisingly competitive high-ISO performance at the lowest price point here.
Regardless of body choice, budget for at least one fast wide-angle prime. The best night photography lenses and a sturdy travel tripod make more difference than any body upgrade. Check our complete night photography guide for settings, techniques, and step-by-step instructions, and for Canon shooters, the best Canon lenses for astrophotography roundup covers lens selection in detail.
Best Night Photography Cameras: Final Picks by Use Case
Canon EOS R6 Mark II
Sony A7S III
Nikon Z6 III
Canon EOS R5 Mark II
Canon EOS R8
Related Articles
Disclosure/Disclaimer: As an Amazon Associate, we earn from qualifying purchases. Certain content was provided "as is" from Amazon and is subject to change or removal at any time. Product prices and availability: Amazon prices are updated daily or are accurate as of the date/time indicated and are subject to change. Any price and availability information displayed on Amazon.com at the time of purchase will apply to the purchase of this product.
