Key Takeaways: Mastering Aperture: A Guide to Stunning Photos

This guide discusses the effects of adjusting the aperture of a camera lens on the quality and artistry of photos. The writer notes that the aperture, which is a hole in the lens, can dramatically influence the clarity, detail, brightness, and artistic results of an image. However, the author notes that choosing an appropriate aperture can be challenging. An excessively broad aperture might result in overly soft images, whilst a too narrow one could result in distracting background elements.
- Wide vs Narrow Aperture: Aperture settings can be larger or smaller, represented by f-numbers. Larger f-numbers like f/11 mean a contracted aperture (narrow), while smaller numbers like f/2.8 mean expanded aperture (wide).
- Light and Aperture: Larger apertures allow more light to the camera sensor resulting in brighter photos. Conversely, narrower apertures produce darker images.
- Depth of Field & Aperture: Describes how blurry or sharp the region beyond your main subject (the background and foreground) appears.
- When to use different Apertures: The writer gives various scenarios for different apertures – narrow apertures for landscape, architectural, and macro photography while wide apertures for portrait and bird photography.
Thus, understanding and making the right decisions on aperture settings can significantly enhance your photography skills and results.
Introduction
Adjusting the aperture of your lens can dramatically affect your photos. By carefully selecting the aperture, you can create breathtaking images full of crisp, clear detail. You can also create stunningly artistic photos that feature gorgeous background bokeh.
However, choosing the right aperture can be tricky. If you pick a setting that’s exceedingly wide, the result may look unpleasantly soft. And if you go too narrow, background elements can become far too distracting.
One time-consuming way to determine the perfect settings is through lots of trial and error. Fortunately, I’ve spent years experimenting with cameras and lenses, and in this article, I share everything I’ve learned, including how different apertures affect your images and when you should use wide vs narrow for amazing results.
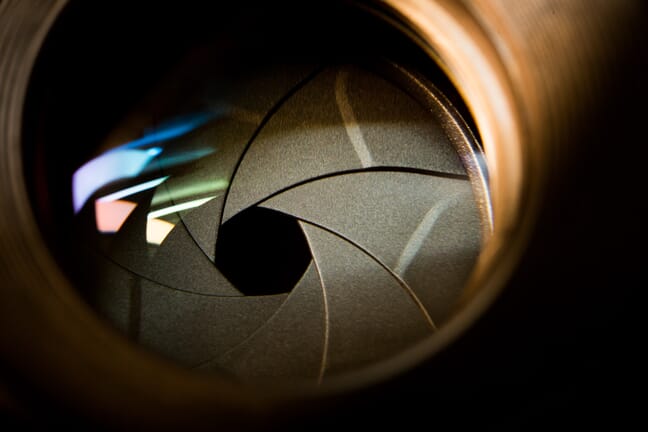
Light and Aperture

The aperture refers to a hole, or diaphragm, in the lens. When you dial in a large f-number, such as f/11, the aperture contracts. And when you dial in a small f-number, such as f/2.8, the aperture expands.
This matters for a few reasons. First, larger apertures allow more light to reach the camera sensor, which results in brighter photos. (There are other camera settings that affect brightness as well, so brightness changes may not immediately be obvious; shutter speed and ISO are the other two key settings that you use to set the overall exposure.)
But all else being equal, if you widen the aperture, the photo becomes brighter:
And if you narrow the aperture, the photo becomes darker:

So brightness is one big reason you should pay attention to the aperture. You’ll often be faced with situations where your camera doesn’t have enough light to get a good exposure unless you widen the aperture.
There’s another big reason why the aperture matters:
Depth of Field and Aperture
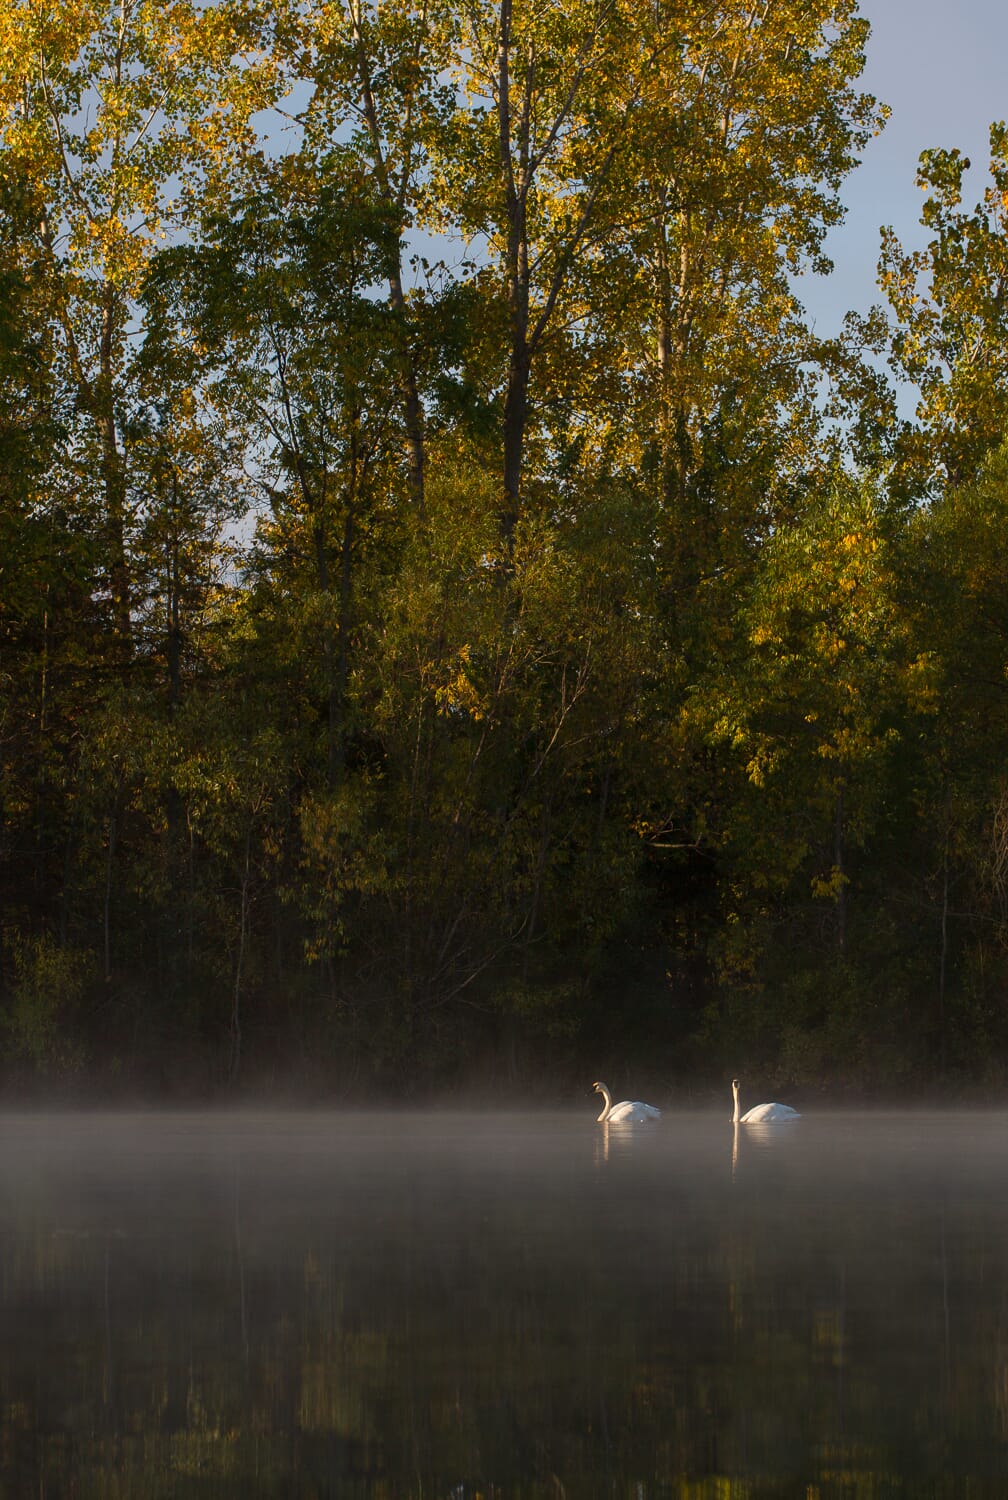
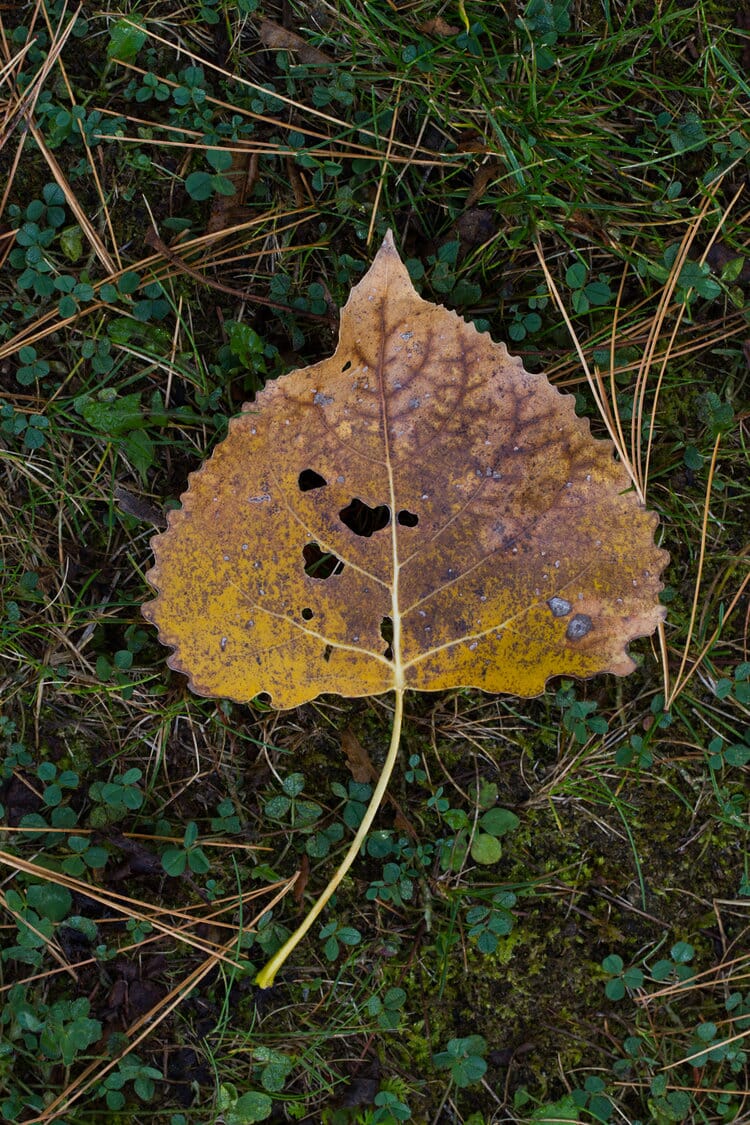
The depth of field refers to the amount of a photo that’s in focus. Therefore, a photo that has a deep depth of field has a lot in focus, from the main subject in the foreground to areas of the distant background. Here’s an example of a photo with a deep depth of field:
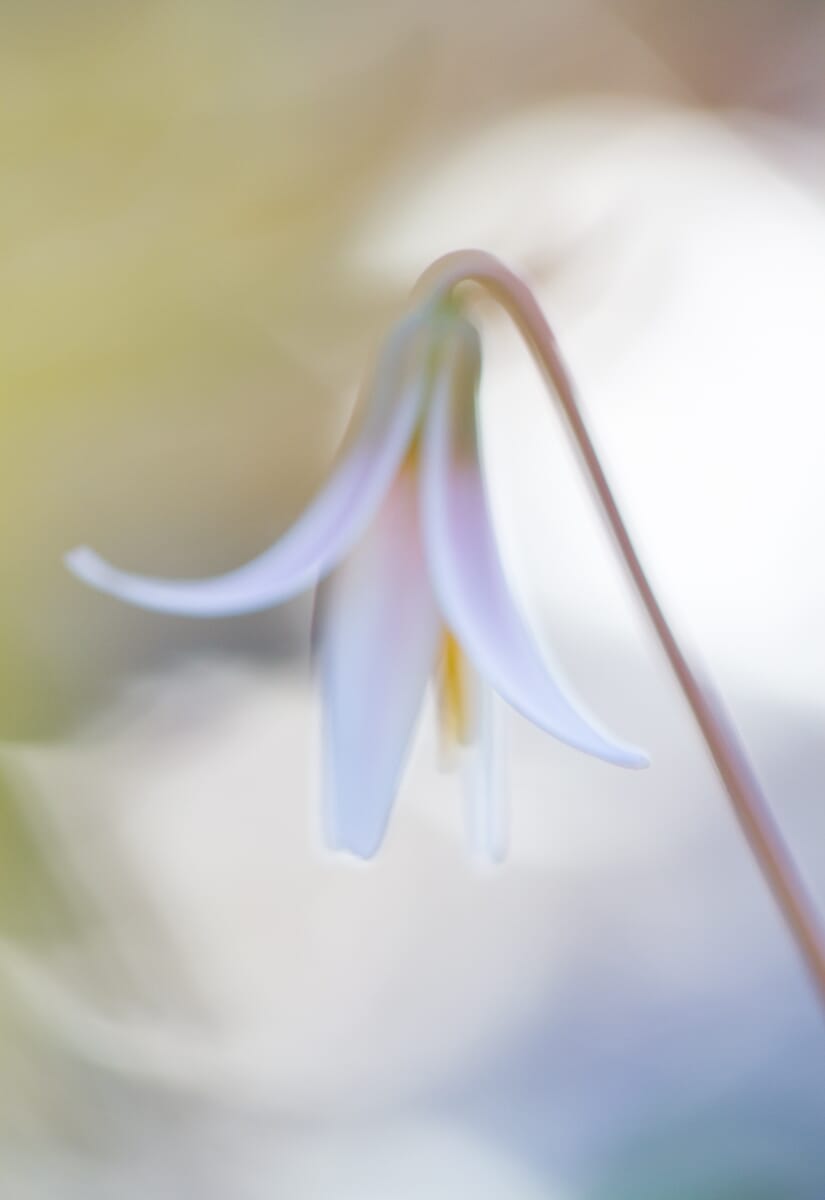
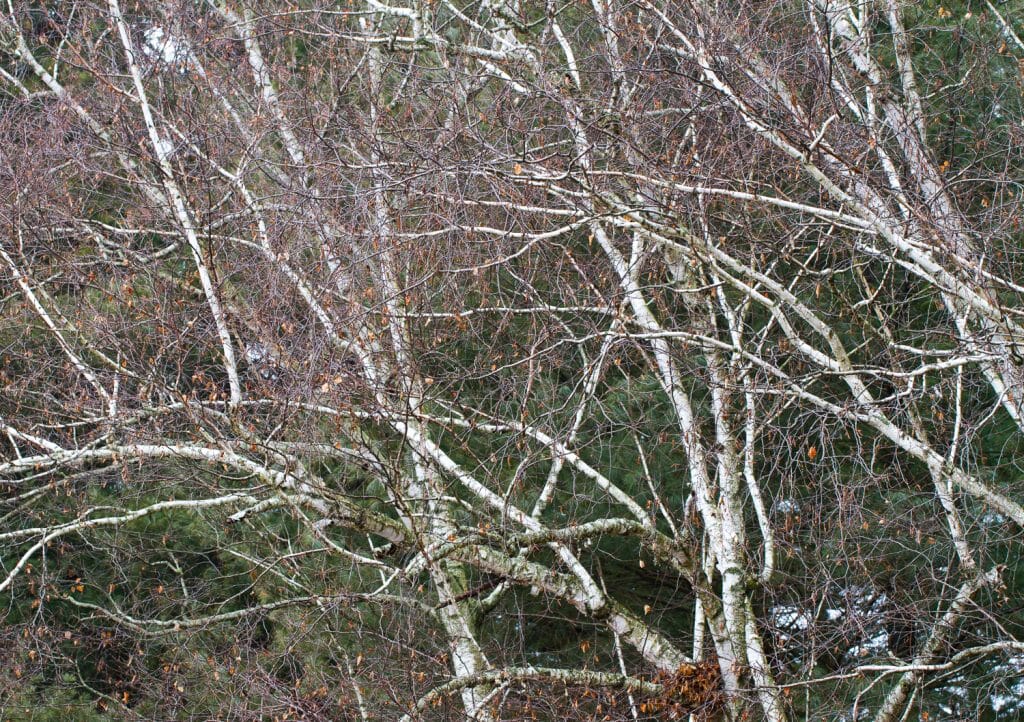
A photo with a shallow depth of field, on the other hand, has very little in focus. The main subject will be sharp, but the areas in front and behind will be blurry, like this:
Note that neither a shallow depth of field nor a deep depth of field is actually better. Instead, they’re just different ways to produce creative photos. While some subjects do look best with a shallow depth of field effect and other subjects look best with a deep depth of field effect, there are occasions where photographers go against convention and get something truly unique.
So what does the depth of field have to do with the aperture? Well, the aperture heavily influences the depth of field. If you use a wide aperture – say, f/2.8 – you’ll get a very shallow depth of field. You’ll also get a brighter photo (for the reasons stated above).

And if you use a narrow aperture – e.g., f/16 – you’ll get a very deep depth of field, and you’ll get a darker photo (all else being equal).
In other words, just by adjusting the aperture, you can creatively control the amount of your photo that is sharp.
When to Use a Narrow Aperture
In this section, I explore several photographic genres where a narrow aperture tends to produce amazing results:
Landscape Photography
Landscape photographers commonly use narrow apertures. For a comprehensive guide to all landscape photography camera settings, see our complete walkthrough. This is because landscape compositions often look best when the entire scene is in focus, from the river in the foreground to the mountains in the background.
For landscape photographers, the deep depth of field is what keeps the scene engaging. It helps the viewer appreciate every aspect of the scene, including both foreground and background details.
To capture a deep depth-of-field landscape photo, you’ll need to use an aperture of at least f/8, though you may need to go all the way to f/16 or f/18. The required aperture really depends on the distance from your camera to the nearest subject; in cases where the nearest subject is very close to the camera, you’ll need a greater depth of field, and in cases where the nearest subject is far from the camera, a shallower depth of field will be fine.
Note that if the nearest subject is really close, such as ice cracks in the foreground of a winter mountain shot, your lens may not have the aperture capabilities to keep the entire scene sharp. You’ll need to do something called focus stacking, where you take multiple photos with the focus set on different areas of the scene and blend them together during photo editing. This is a fairly complex technique and not one I recommend for beginners.
So if you find yourself focusing on a subject that’s extremely close, try to back up a bit and see if you can find an alternative composition.
One more thing to note about aperture in landscape photography: If you want to nail both foreground and background sharpness, you need to focus about a third of the way into the frame (known as the hyperfocal distance). This will ensure that you maximize depth of field coverage and get a photo that’s sharp throughout.
Architectural Photography
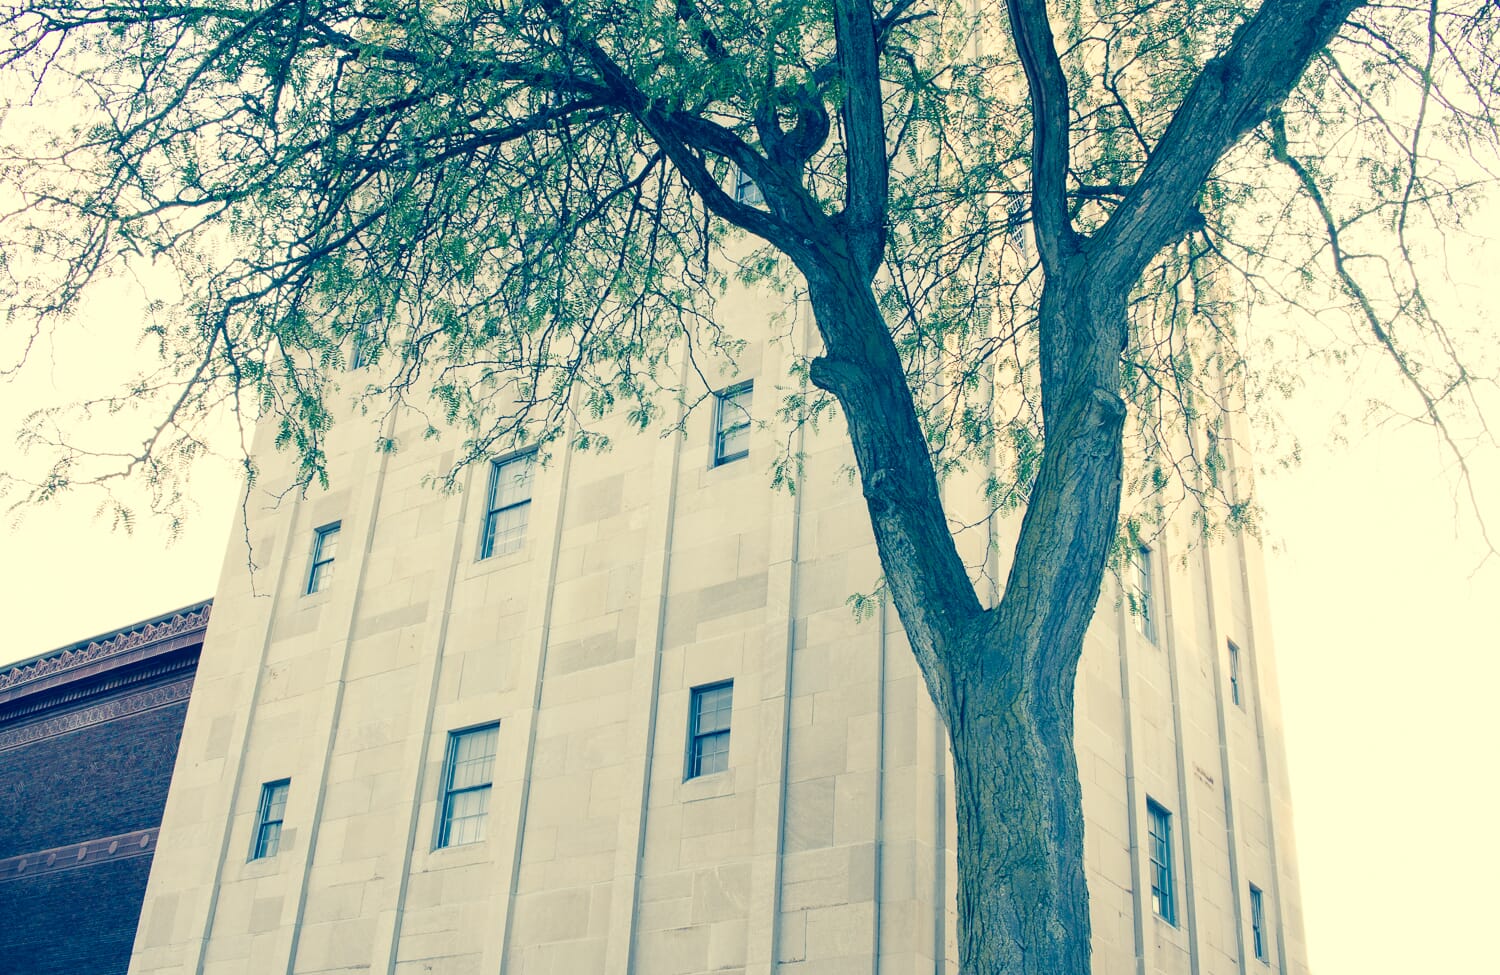
Architectural photography is another area where a narrow aperture is very common. An aperture of f/8 and beyond is often required to ensure that the entire building is sharp, especially when capturing more creative compositions.
For instance, this photo required a deep depth of field to keep things sharp:
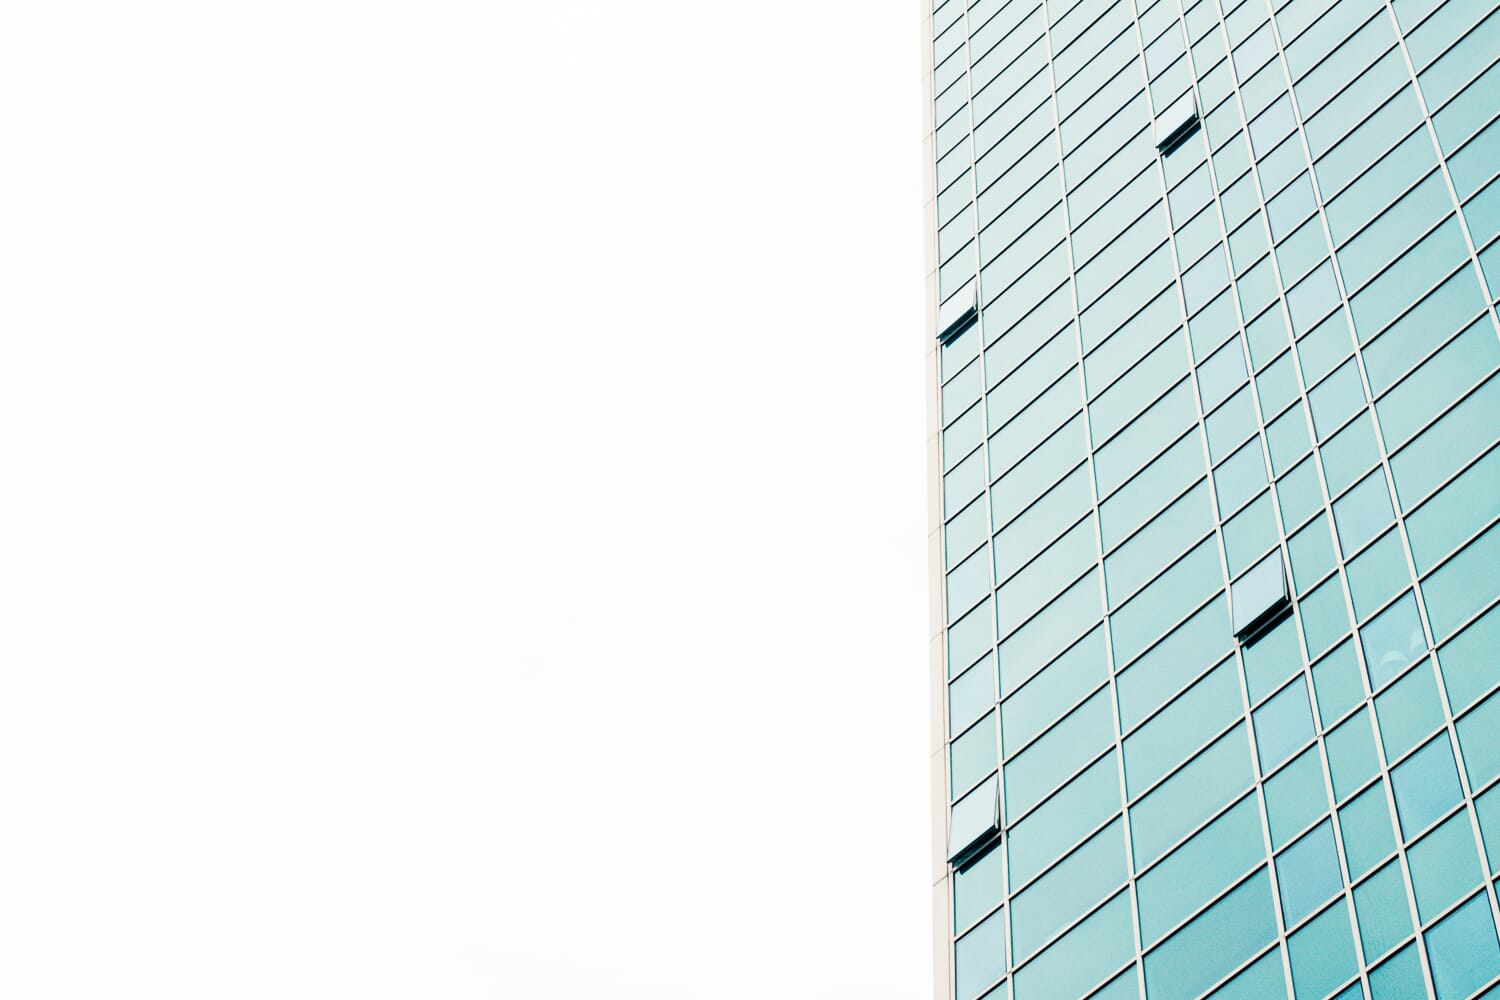
If you decide to capture architectural photos that depict buildings in sharp detail, you’ll need to choose an aperture based on the nearest area you’d like in focus (just the same as in landscape photography). However, you’ll also want to take into account the area farthest from your camera that you’d like to be sharp. If the only depth of field you require is for the front and back of a small building, your lens may not need a deep depth of field at all!
However, if you position an edge of a building very close to your lens and want to keep the entire structure sharp, you will need an aperture of f/8 and beyond.
Macro Photography
If you’re looking to do macro photography, a narrow aperture is generally a good choice. It’ll allow you to get shots that are sharp throughout:
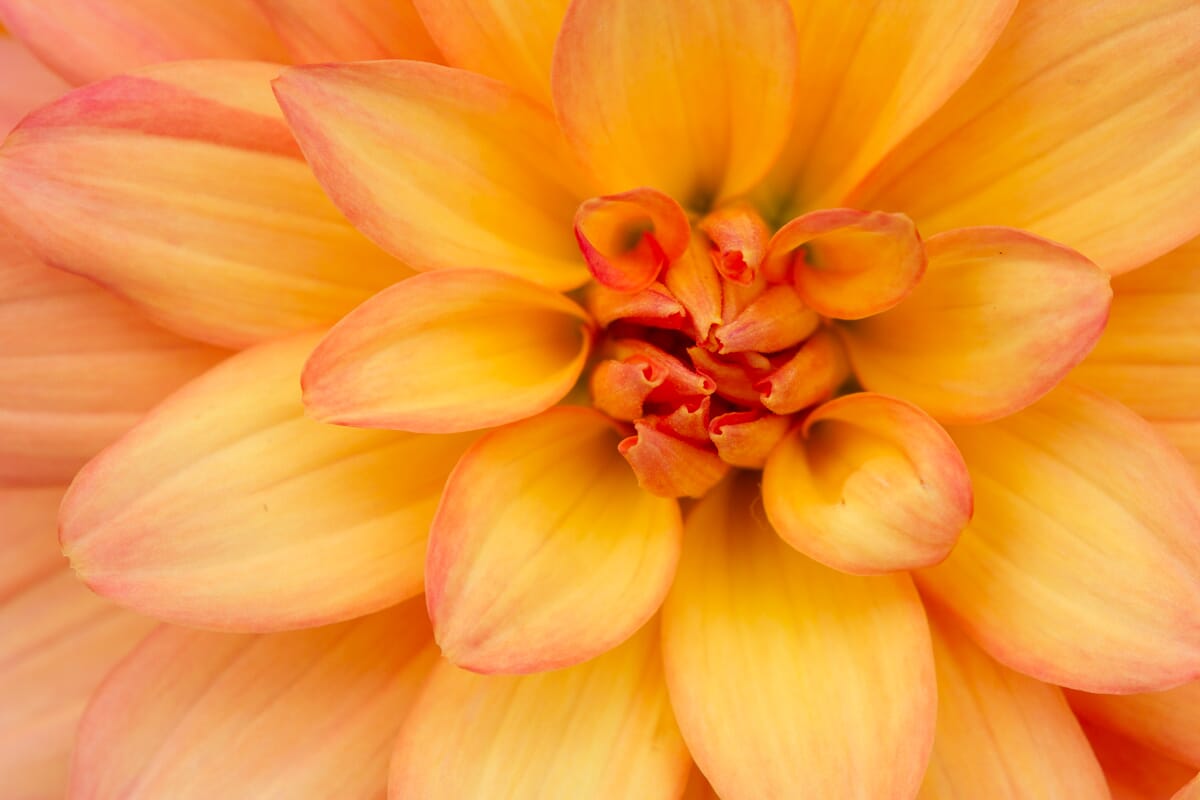
The file will show plenty of nice details and may even feel unusually intimate:

Deep depth of field macro photography can become very difficult, however, when you get into high-magnification shooting. Your lens won’t have an aperture narrow enough to create a shot that’s sharp from front to back. Instead, you’ll have to use the focus-stacking process I mentioned above.
Because this involves a more technical approach, some macro photographers avoid using a deep depth of field when working at high magnifications. Instead, they use a wide aperture for a shallow depth-of-field look:

When to Use a Wide Aperture
While a narrow aperture often gives great results, you shouldn’t neglect the potential offered by wide apertures. Here are two genres that benefit from a wide-aperture approach:
Portrait Photography
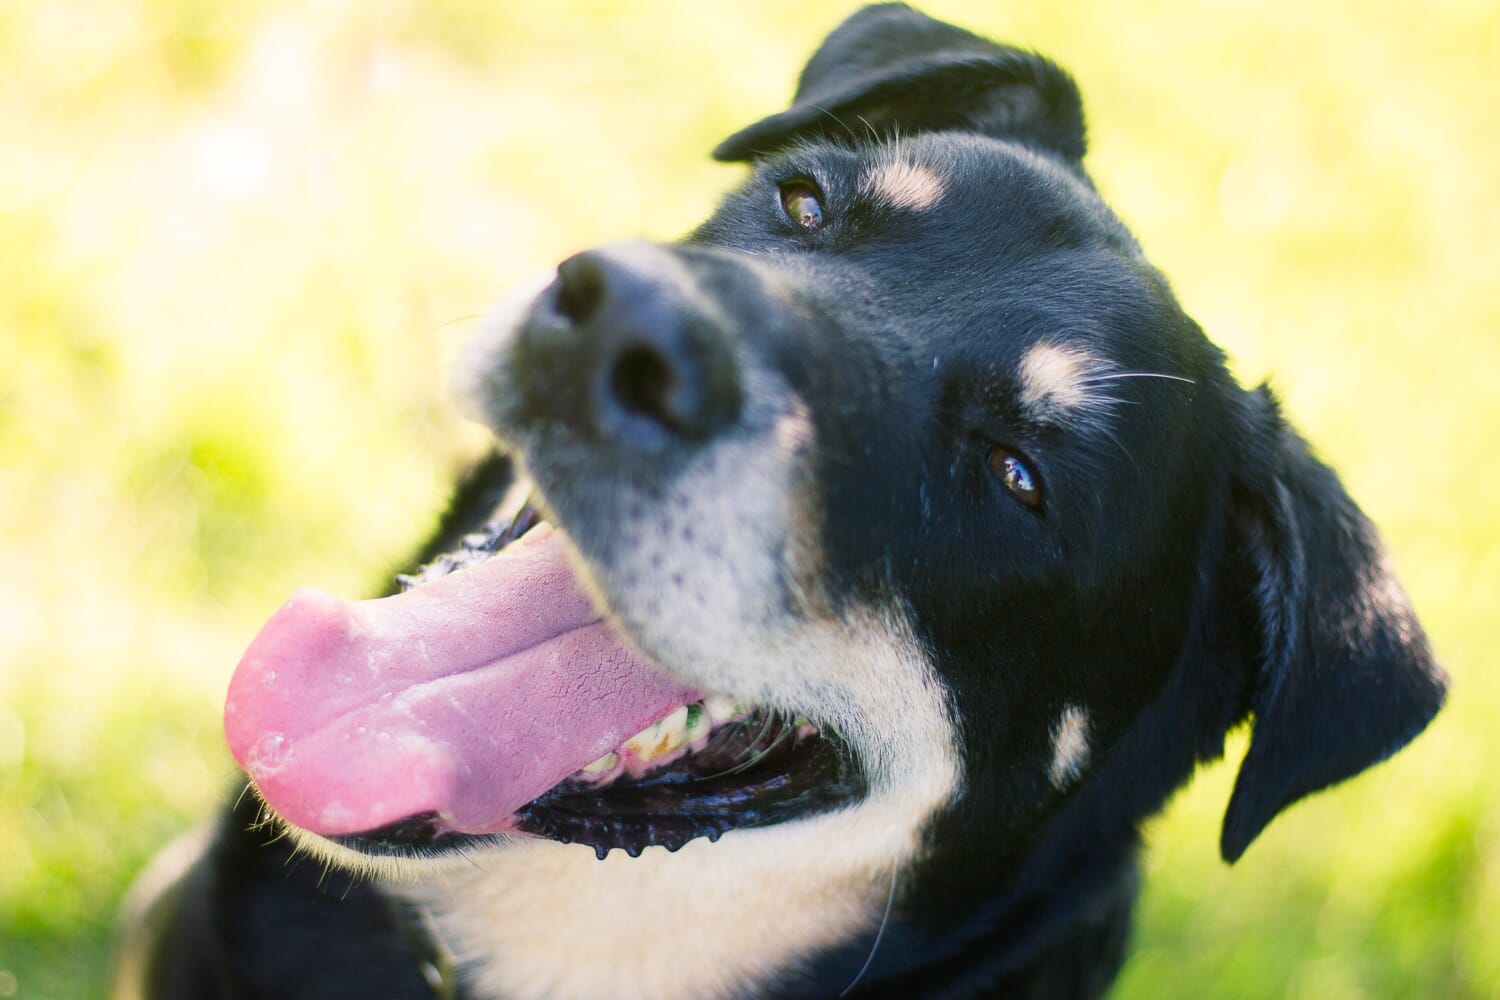
A wide-aperture approach will blur the background and make the main subject stand out, which is a great way to create stunning outdoor portraits.
This next image was shot with a wide aperture; notice the nice background bokeh.
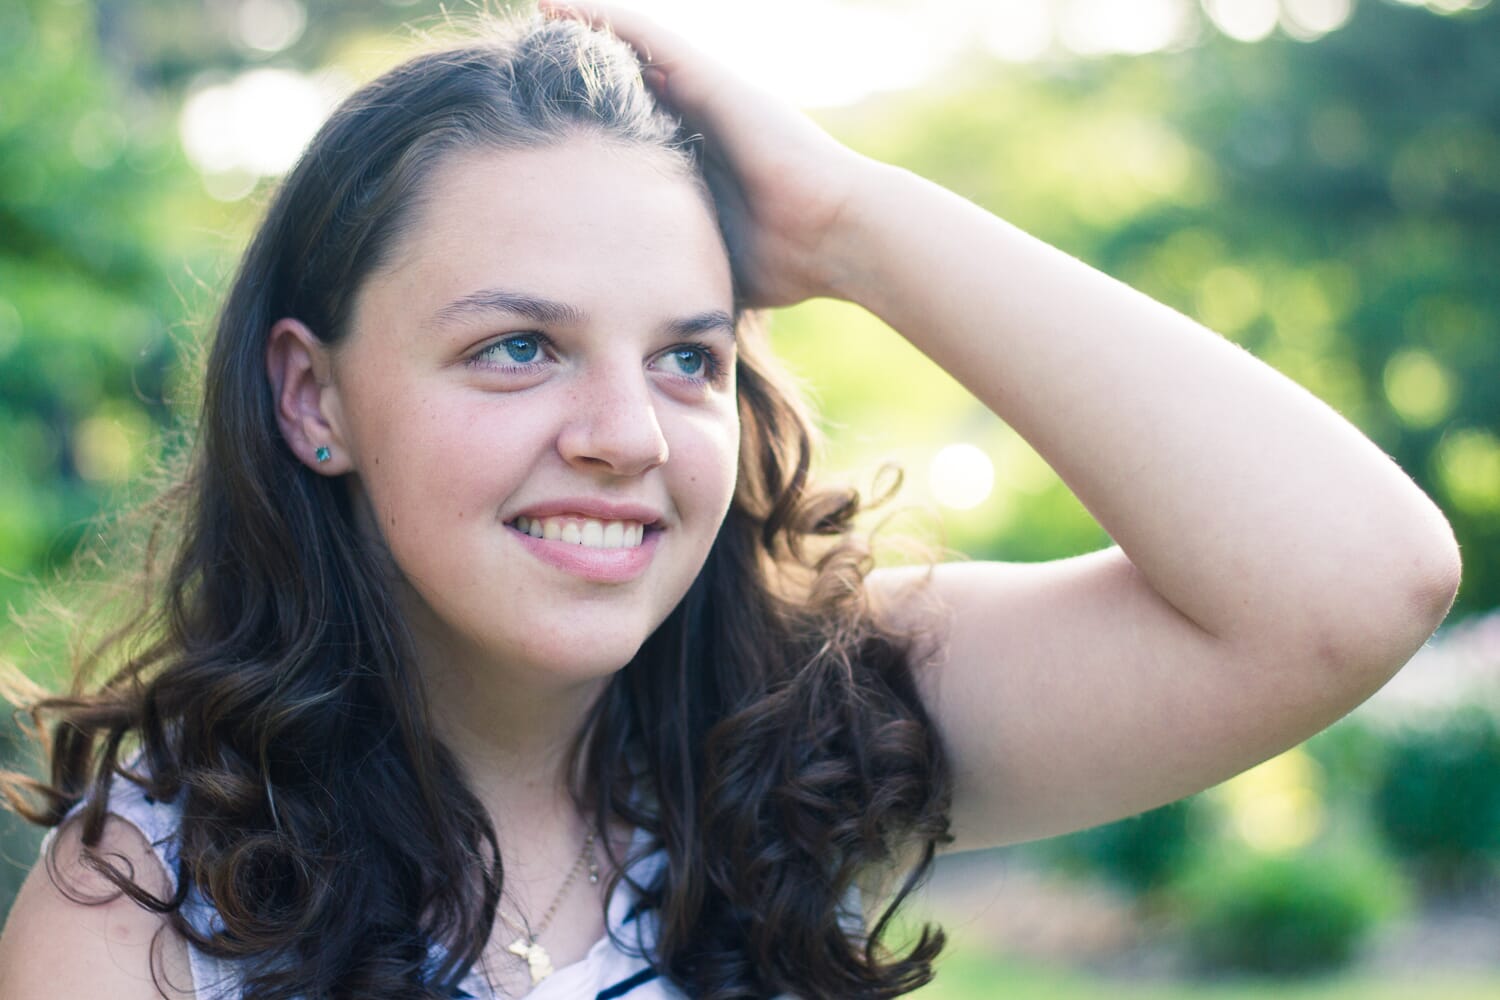
Generally, an aperture of f/1.2 to f/4 should create beautiful results. Be careful not to go too wide, however, or you’ll end up blurring out parts of your subject that you want to stay sharp!
Also, note that you don’t want to just position your portrait subject in front of any old background and rely on the shallow depth of field effect to take care of distractions. Instead, you should find a pleasing backdrop, one that’s simple and fairly uniform. That way, when it’s blurred by the wide aperture, it’ll really enhance your photo.

Bird Photography
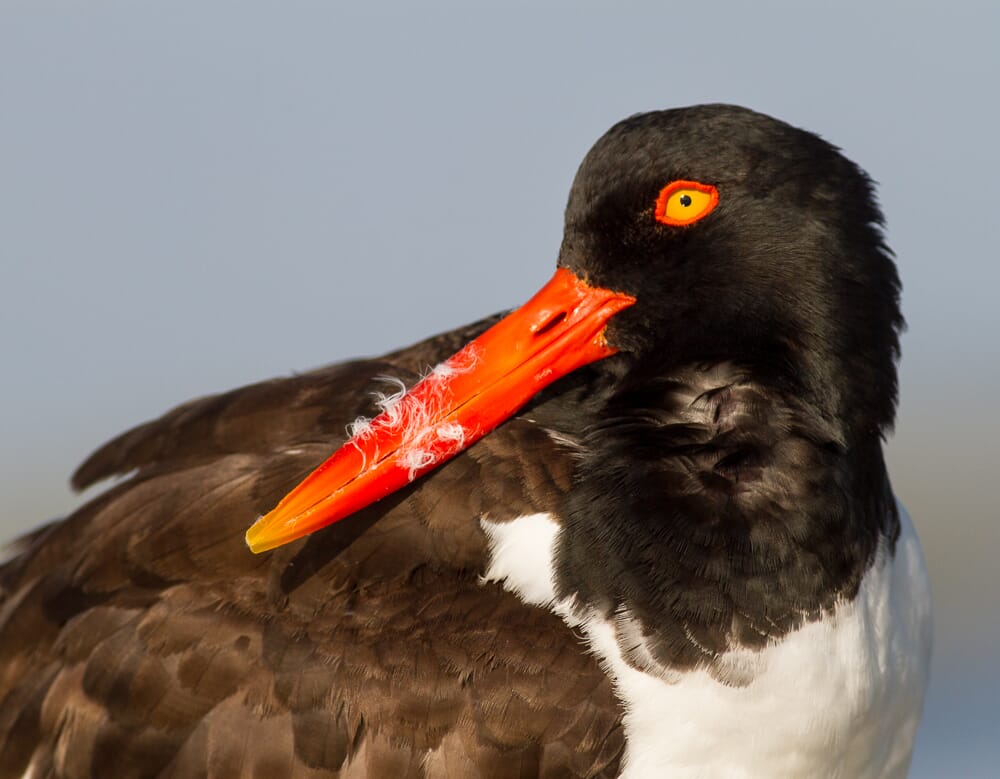
Bird photographers like a shallow depth of field effect for the same reason as portrait photographers: It makes the main subject stand out.
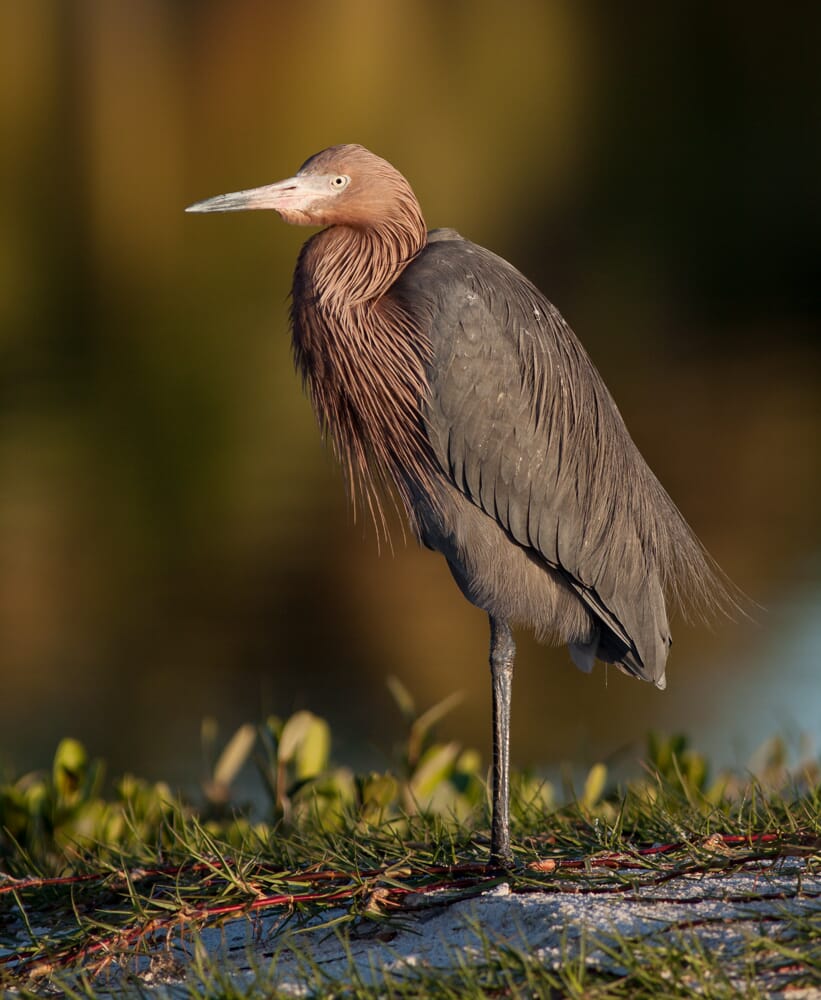
A nicely blurred background can work wonders for making a bird pop off the page. So it’s extremely common to see shallow depth-of-field bird photos just like this one:
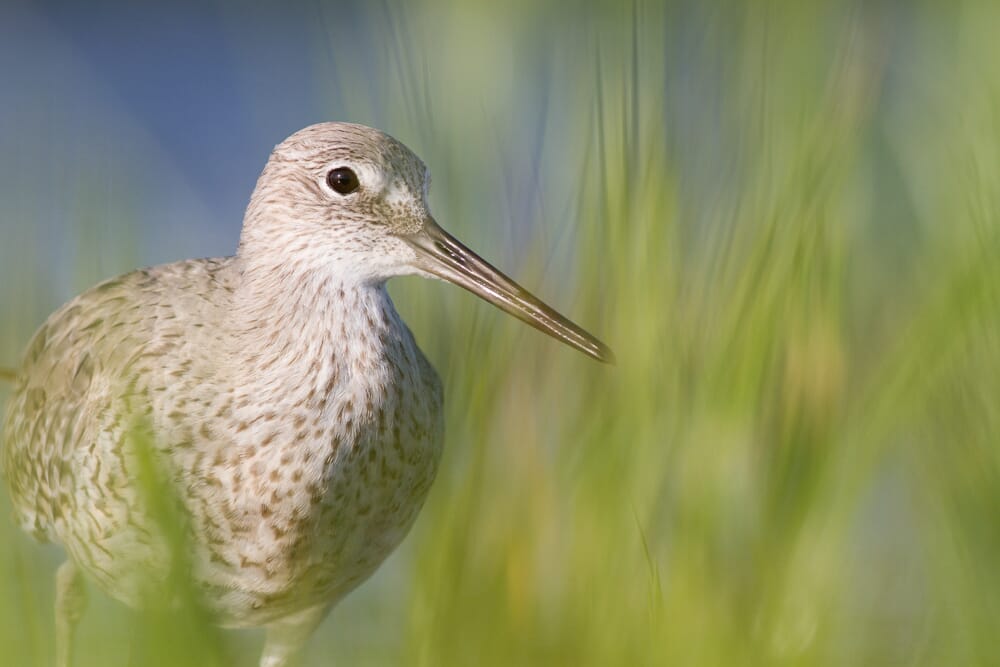
Do you see how the blur pushes your attention to the bird? Note that the background was already fairly clean before I used a wide aperture to create bokeh – but the aperture really completed the effect.
It’s important to realize that you don’t need to widen your lens’s aperture too much to achieve the type of shot shared above. When photographing birds at high magnifications, you can often get a nice background blur when shooting at f/6.3.
That said, you’ll sometimes face situations where an f/4 or f/5.6 aperture is entirely necessary. It’s really a matter of experimenting and figuring out what works for your subject and background!

Pick an Aperture to Enhance Your Images
Now you know all about wide apertures, narrow apertures, and the key differences between them. You also know how you can use different apertures for stunning photos.
So get out and start testing different aperture options. Work at f/2.8, f/16, and everything in between. There’s a whole world of potential photos out there!
Wide vs Narrow Aperture FAQ
Are wide or narrow apertures better?
Neither is better; they’re just different. A wide aperture will give you a softer look with very little in focus and a beautifully blurred background. A narrow aperture will give you a sharper look with the entire photo in focus.
How do I achieve a shallow depth of field look?
To achieve a shallow depth of field look, simply use a wide aperture such as f/2.8. It’ll blur the background and ensure that your main subject stands out.
Should I use a narrow aperture for landscape photography?
Landscape photography generally does involve using a narrow aperture. The narrow aperture ensures front-to-back sharpness, which makes images more impactful.
How do I make sure a photo is sharp throughout?
To make sure a photo is sharp throughout, you should use a narrow aperture. I’d also recommend focusing about a third of the way into the scene.
