Editor’s Key Takeaways: Guide to Film Development at Home: From Basics to Mastery

This blog post offers an in-depth guide on how to develop film at home. With the rise of digital photography, film has become more of a niche passion, leading to the disappearance of public darkrooms or film development services. Thus, for many photography enthusiasts, developing film at home may be the only feasible option. Additionally, it can be more enjoyable to have hands-on participation in the photographic process.
- Why Develop Film at Home?: Due to the prevalence of digital photography, film has become a niche passion leading to the disappearance of public darkrooms or services that develop film.
- Can You Develop Film Without Chemicals?: The short answer is no, developing film requires chemicals. However, safer alternatives can reduce potential risks.
Consequently, the blog post highlights the necessity of learning how to develop film at home for film photography enthusiasts. It also touches on the safety aspect, noting that while chemicals are necessary in the development process, safer alternatives can be used.
When you buy through links on our site, we may earn a commission at no cost to you. We evaluate products independently. Commissions do not affect our evaluations. As an Amazon Associate, we earn from qualifying purchases.
Introduction
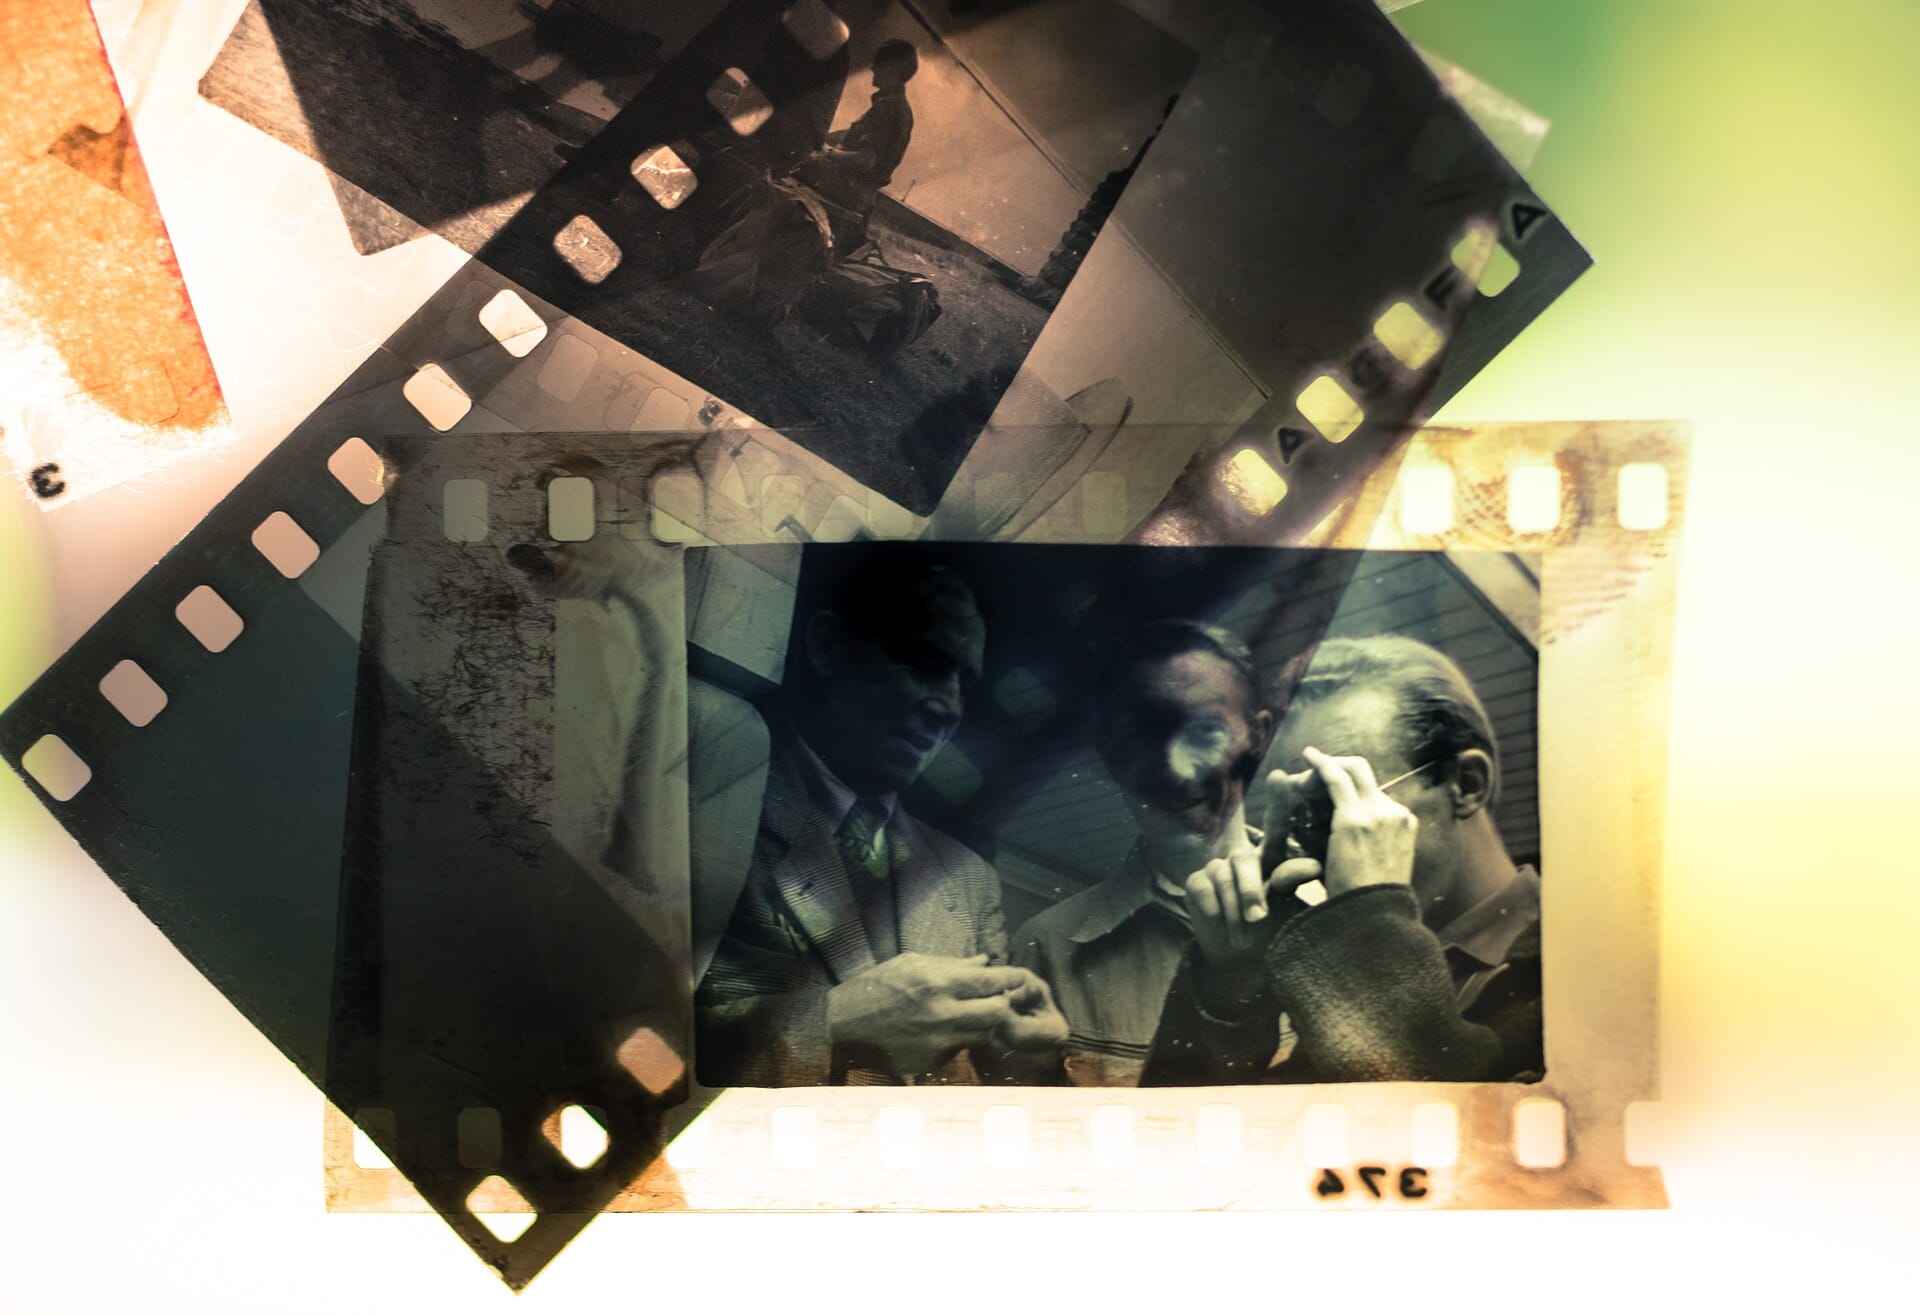
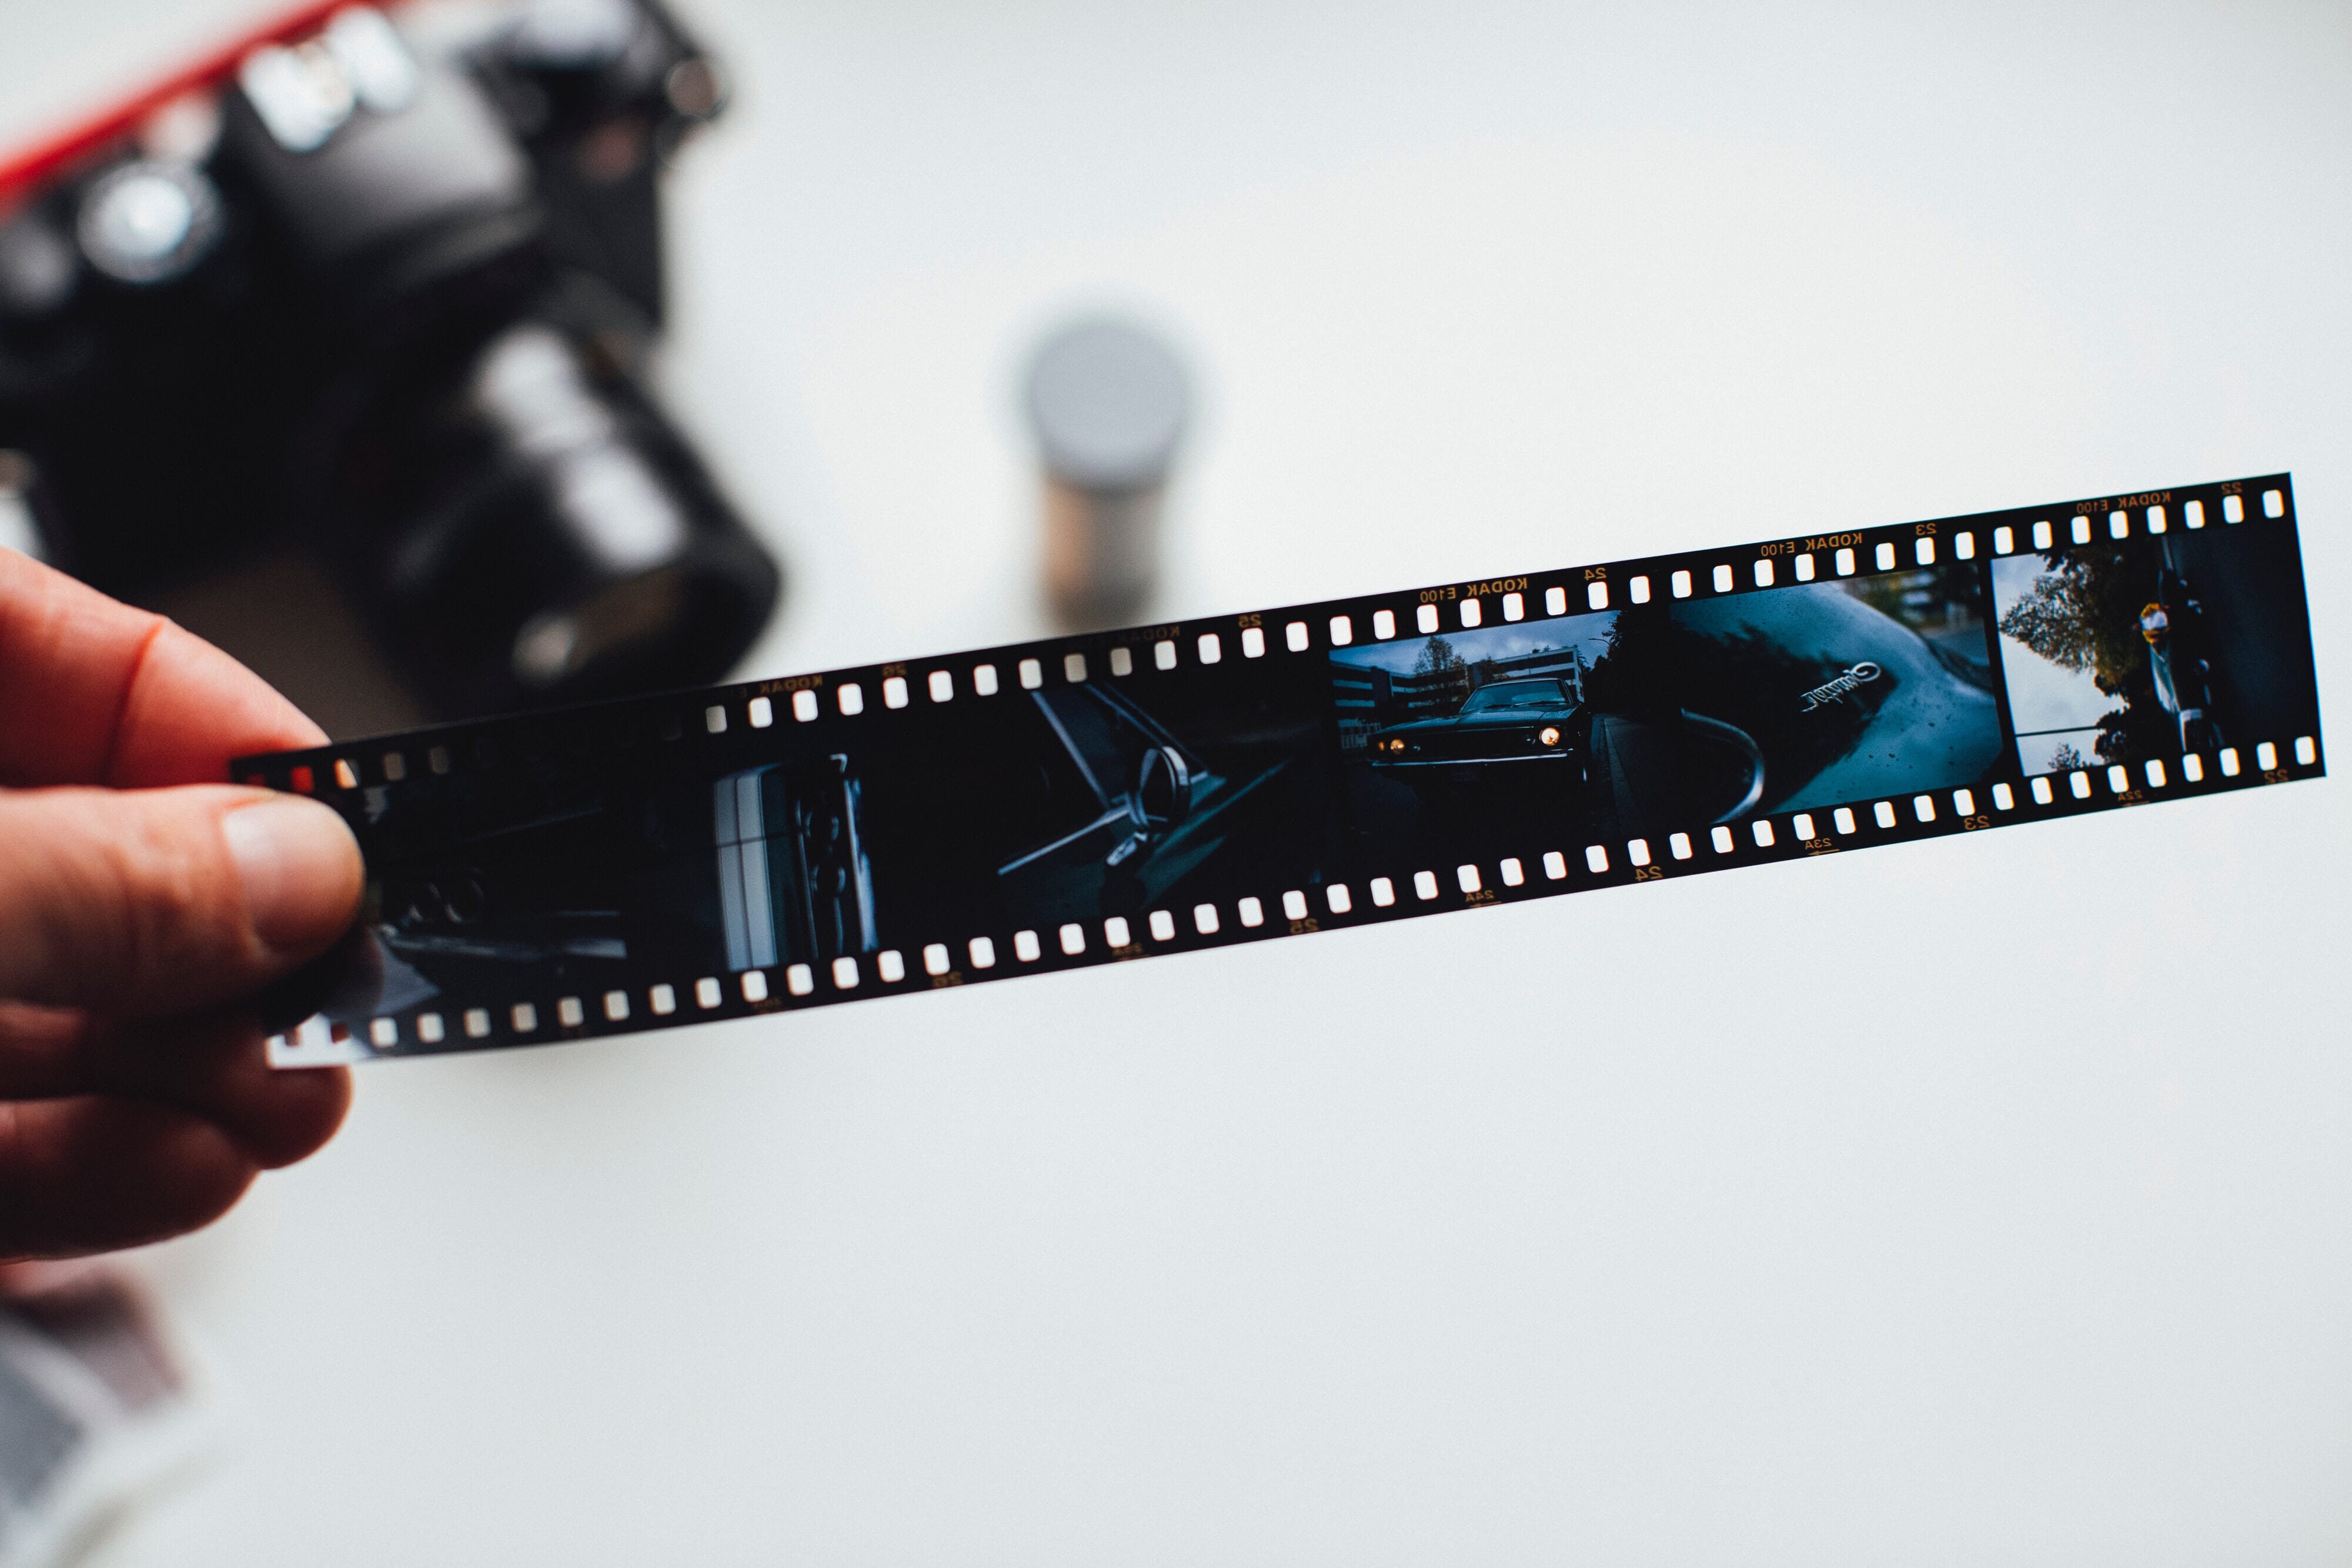
For some photographers out there, film photography remains a lifelong passion and endeavor. Once you master the art of all of the manual settings and choosing the right film itself, you have another task falling onto your shoulders: developing the film and turning it into, well, an actual photograph!
Believe it or not, you can achieve this at home. Welcome to our guide on how to develop film at home, from the supplies you need to the step-by-step explanation of how to do it!
How to Develop Film at Home:
Why Develop Film at Home?
Truth be told, you may not have much choice but to develop film at home.
Why? Well, the art of public or rentable darkrooms and film development services may be a thing of the past, with digital having taken over in such a tremendous way.
With DSLR and Mirrorless systems having gained tremendous prevalence, film became more of a niche passion rather than a profitable business. As such, many services that used to develop a film on your behalf either went out of business or changed their business model to provide services for digital cameras instead.
The likelihood of finding a film development business near you may be slim depending on your location, or if you can find it, the service may be pricey.
You can, however, find plenty of labs that will scan a fully developed negative for you.
Can You Develop Film Without Chemicals?
The short answer? No, you cannot develop film without chemicals. Even using a non-toxic product like Vitamin C is a chemical. But, what you can do is develop film with a higher degree of safety.
Likely the most off-putting aspect of developing film at home has to do with the chemicals involved in the process. Once upon a time, very toxic and harsh chemicals were used to make that negative. It was just the sacrifice that photographers had to make in order to pursue their craft.
Today, you’ll be thrilled to find that you can still develop film without the need to use those health-risk chemicals that were once mandatory. Black and white film can be developed pretty easily without any harsh chemicals, color film is a bit trickier but still doable with a level of safety.
In terms of reducing toxic exposure, there are many less toxic developers, non-toxic fixers, you can even use vinegar or citric acid! Once we get into the how-to aspect, you’ll see how this comes together. The point being, you’ll be much safer nowadays than photographers ever were in years past.
But, as a general rule, still don’t prepare the chemicals needed for film development anywhere near where you eat, your pets, or children. Better safe than sorry!
Developing Black and White Film vs. Color Film
Hold your horses! Before we get to it, we have to pause for a moment to talk about the difference between developing monochromatic film and film with color.
Generally speaking, black and white film is easier to develop because it’s far more forgiving if you make a mistake here and there. You can develop black and white film at room temperature, and some temperature fluctuations won’t make much of a difference. There is also a slew of products available for black and white development, more than there is for color film!
Color, on the other hand, requires a steady and consistent 104°F or 38.9°C. Muck this up and you’ll have some trouble. But on the upside, you can use the same formula (C-41) for every film stock regardless of what ISO or company it is, so that’s super cool!
This being said, if you’re brand new to developing film at home – start with black and white and then move up to color once you get the hang of it.
What You Need

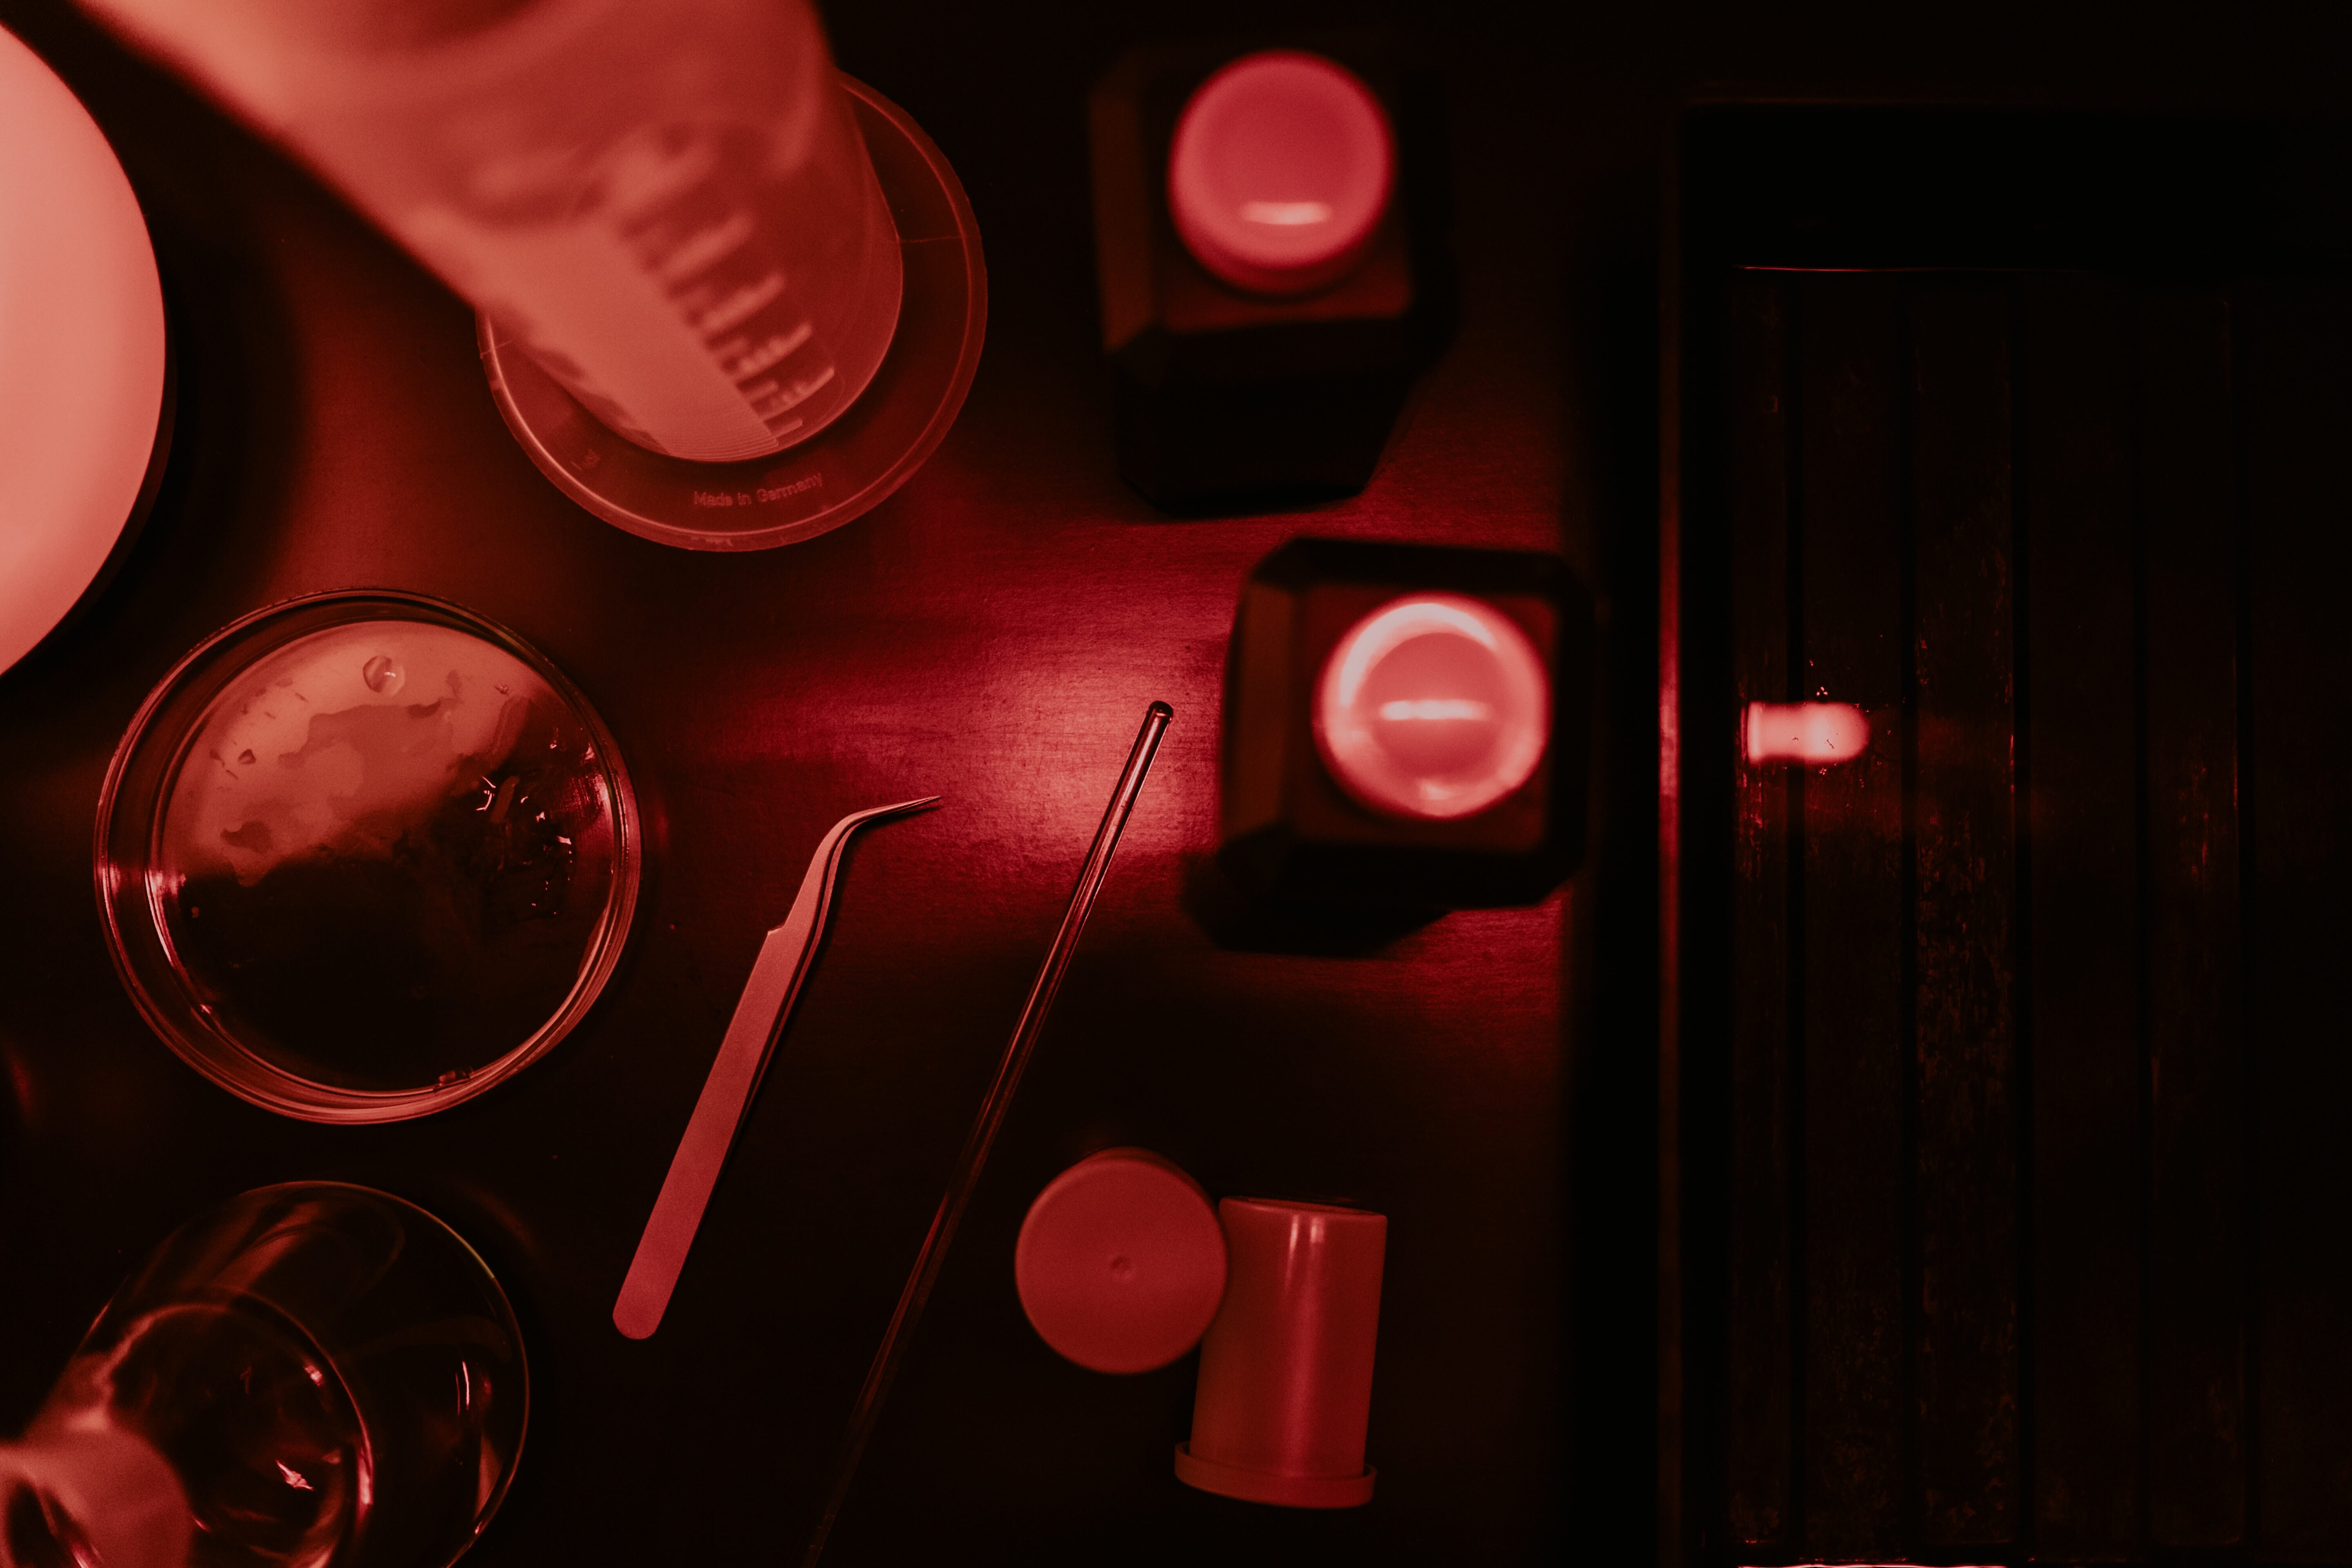
Gathering your supplies first is always the best course of action! To develop film at home, you need:
- Developing tank. A developing tank is, well, a tank that you will be placing your film and chemical concoction into to prevent light from popping in and ruining your process. The Adorama Stainless Steel Film Developing Tank is a popular choice!
- Film reels. This is where you load up your film. Plastic reels tend to be easier to use, but stainless-steel ones are considered better quality. The Paterson Kaiser Spiral Reel is a frequently used option for plastic and the Hewes Heavy Duty Stainless Steel Film Developing Reel is good for steel.
- Changing bag. Films have to be loaded in complete darkness, if you don’t have a totally dark room, this is your best bet! You can pick up a HODA Darkroom Film Changing Bag for a fairly low price.
- Your chemicals: developer, stop bath, and fixer. Developing film just needs these three chemical components in order to work.
For black and white, you’ll likely need to buy all three components individually and they come in both liquid and powder forms. Kodak and Ilford are the two brands you’ll be looking at for black and white developer, such as the Kodak D-76 Developer Powder and Ilford Ilfosol-3 General Purpose Developer for Black & White Film.
For black and white stop baths and fixers, you can pick up something like the Kodak Indicator Stop Bath and Kodak Kodafix Black & White Film and Paper Fixer.
For color, you only need a C-41 kit to get you by (which, if not for the temperature sensitivity, would actually make color the easier one to develop. That finicky temperature problem though makes color difficult for new people in the craft). A popular kit is the CineStill Cs41 Color Simplified. - Measuring vessels. You’ll want to be able to accurately measure your chemical mixtures, anything will do. Just make sure you don’t use your cooking ones, you certainly don’t want all of that mixing together!
- Storage bottles. You’ll likely have left over chemicals and mixes, don’t let it go to waste. Pro tip, definitely label what you have in there so you don’t end up mixing things up!
- Thermometer. Temperature is very important for film, more so for color than black and white – so have a thermometer present!
- Scissors. Snip snip, photographers should always have this.
- Film clips or clothespegs. You’ll need to hang your prints up to dry.
- Bottle opener. Just makes it easier to open stuff, no need to fuss with your hands!
- Distilled water. This is really only suggested for those who live in a place with a high mineral content in their water from the tap, because the minerals can leave unsightly spots on your negatives.
Ideally, you also need an actual dark room (hence the term ‘darkroom’). But if not, as mentioned above, a changing bag can help.
Related Posts
How to Develop Film at Home
Once you have everything ready and at your disposal, it’s time to get to work.
Step 1: Place Your Film Canister, Bottle Opener (If Needed), Scissors, and Developing Tank Into the Changing Bag
Your films need to be opened in complete darkness, so go ahead and have all of your needed supplies at the ready inside of the changing bag. If you have a truly dark room with no light, then you may not need the changing bag – but it’s good to have in either case.
Step 2: Open the Film Canister and Load It Onto the Film Reel
Use the bottle opener to help open the film canister in complete darkness (very important) and load the film strip onto your film reel. When removing the film from the canister, be careful to make sure you are only touching the edges of the film! Use the scissors to cut off the extra film at the beginning of the film roll, typically called the ‘film leader’.
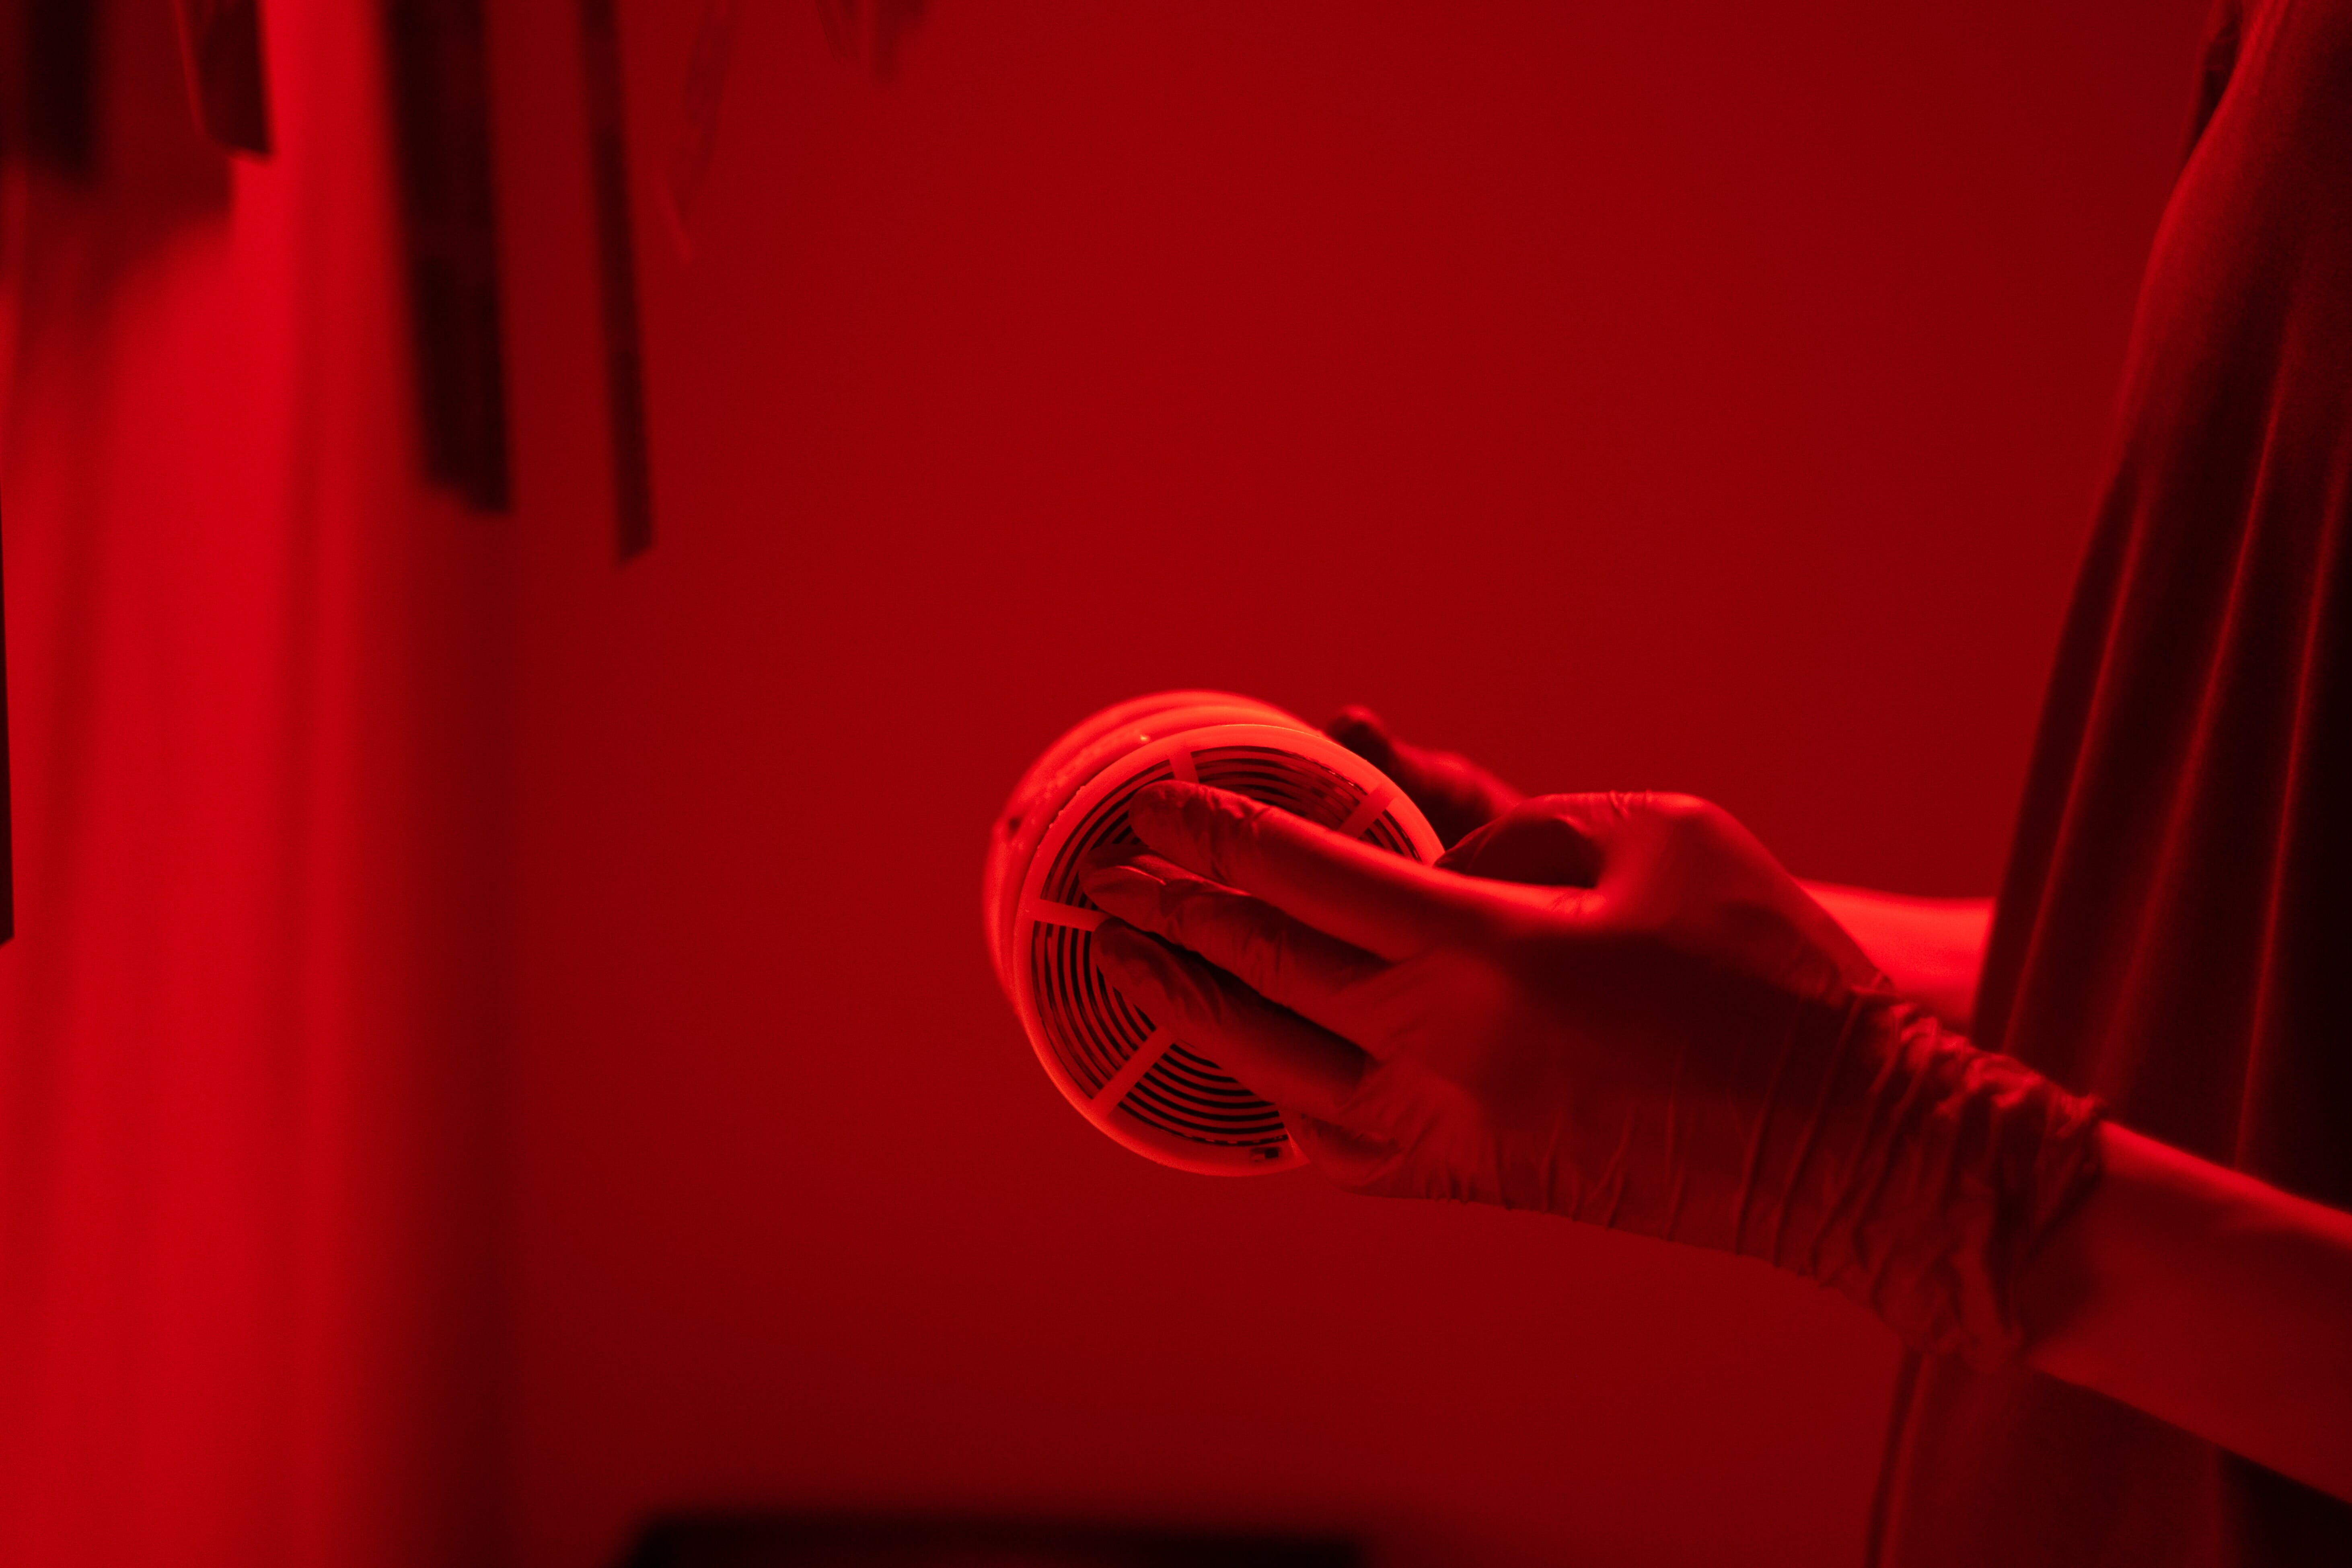
Step 3: Put the Film Reel Into the Developing Tank
Once the film is properly loaded on the reel, go ahead and place the loaded film reel into the developing tank. Your developing tank should have a post sticking up from the bottom of it, make sure your film reel has its center holes slide onto this post. Once in place, put the cap back on the developing tank and turn it until it clicks into place. This makes the inside of the tank light-tight so you can take it out of the changing bag safely.
Step 4: Mix the Chemicals
This is the step where you start to feel like a mad scientist! Use your measuring vessels and tools to mix the right amounts of each chemical, following the directions on each chemical’s instructions. Whether black and white or color film, you’ll still be mixing chemicals together.
There are lots of DIY ways to use natural ingredients such as citric acid and vinegar in lieu of these chemicals, but truth be told, it’s much easier to use the film chemicals. They really are made much safer these days than they once were.
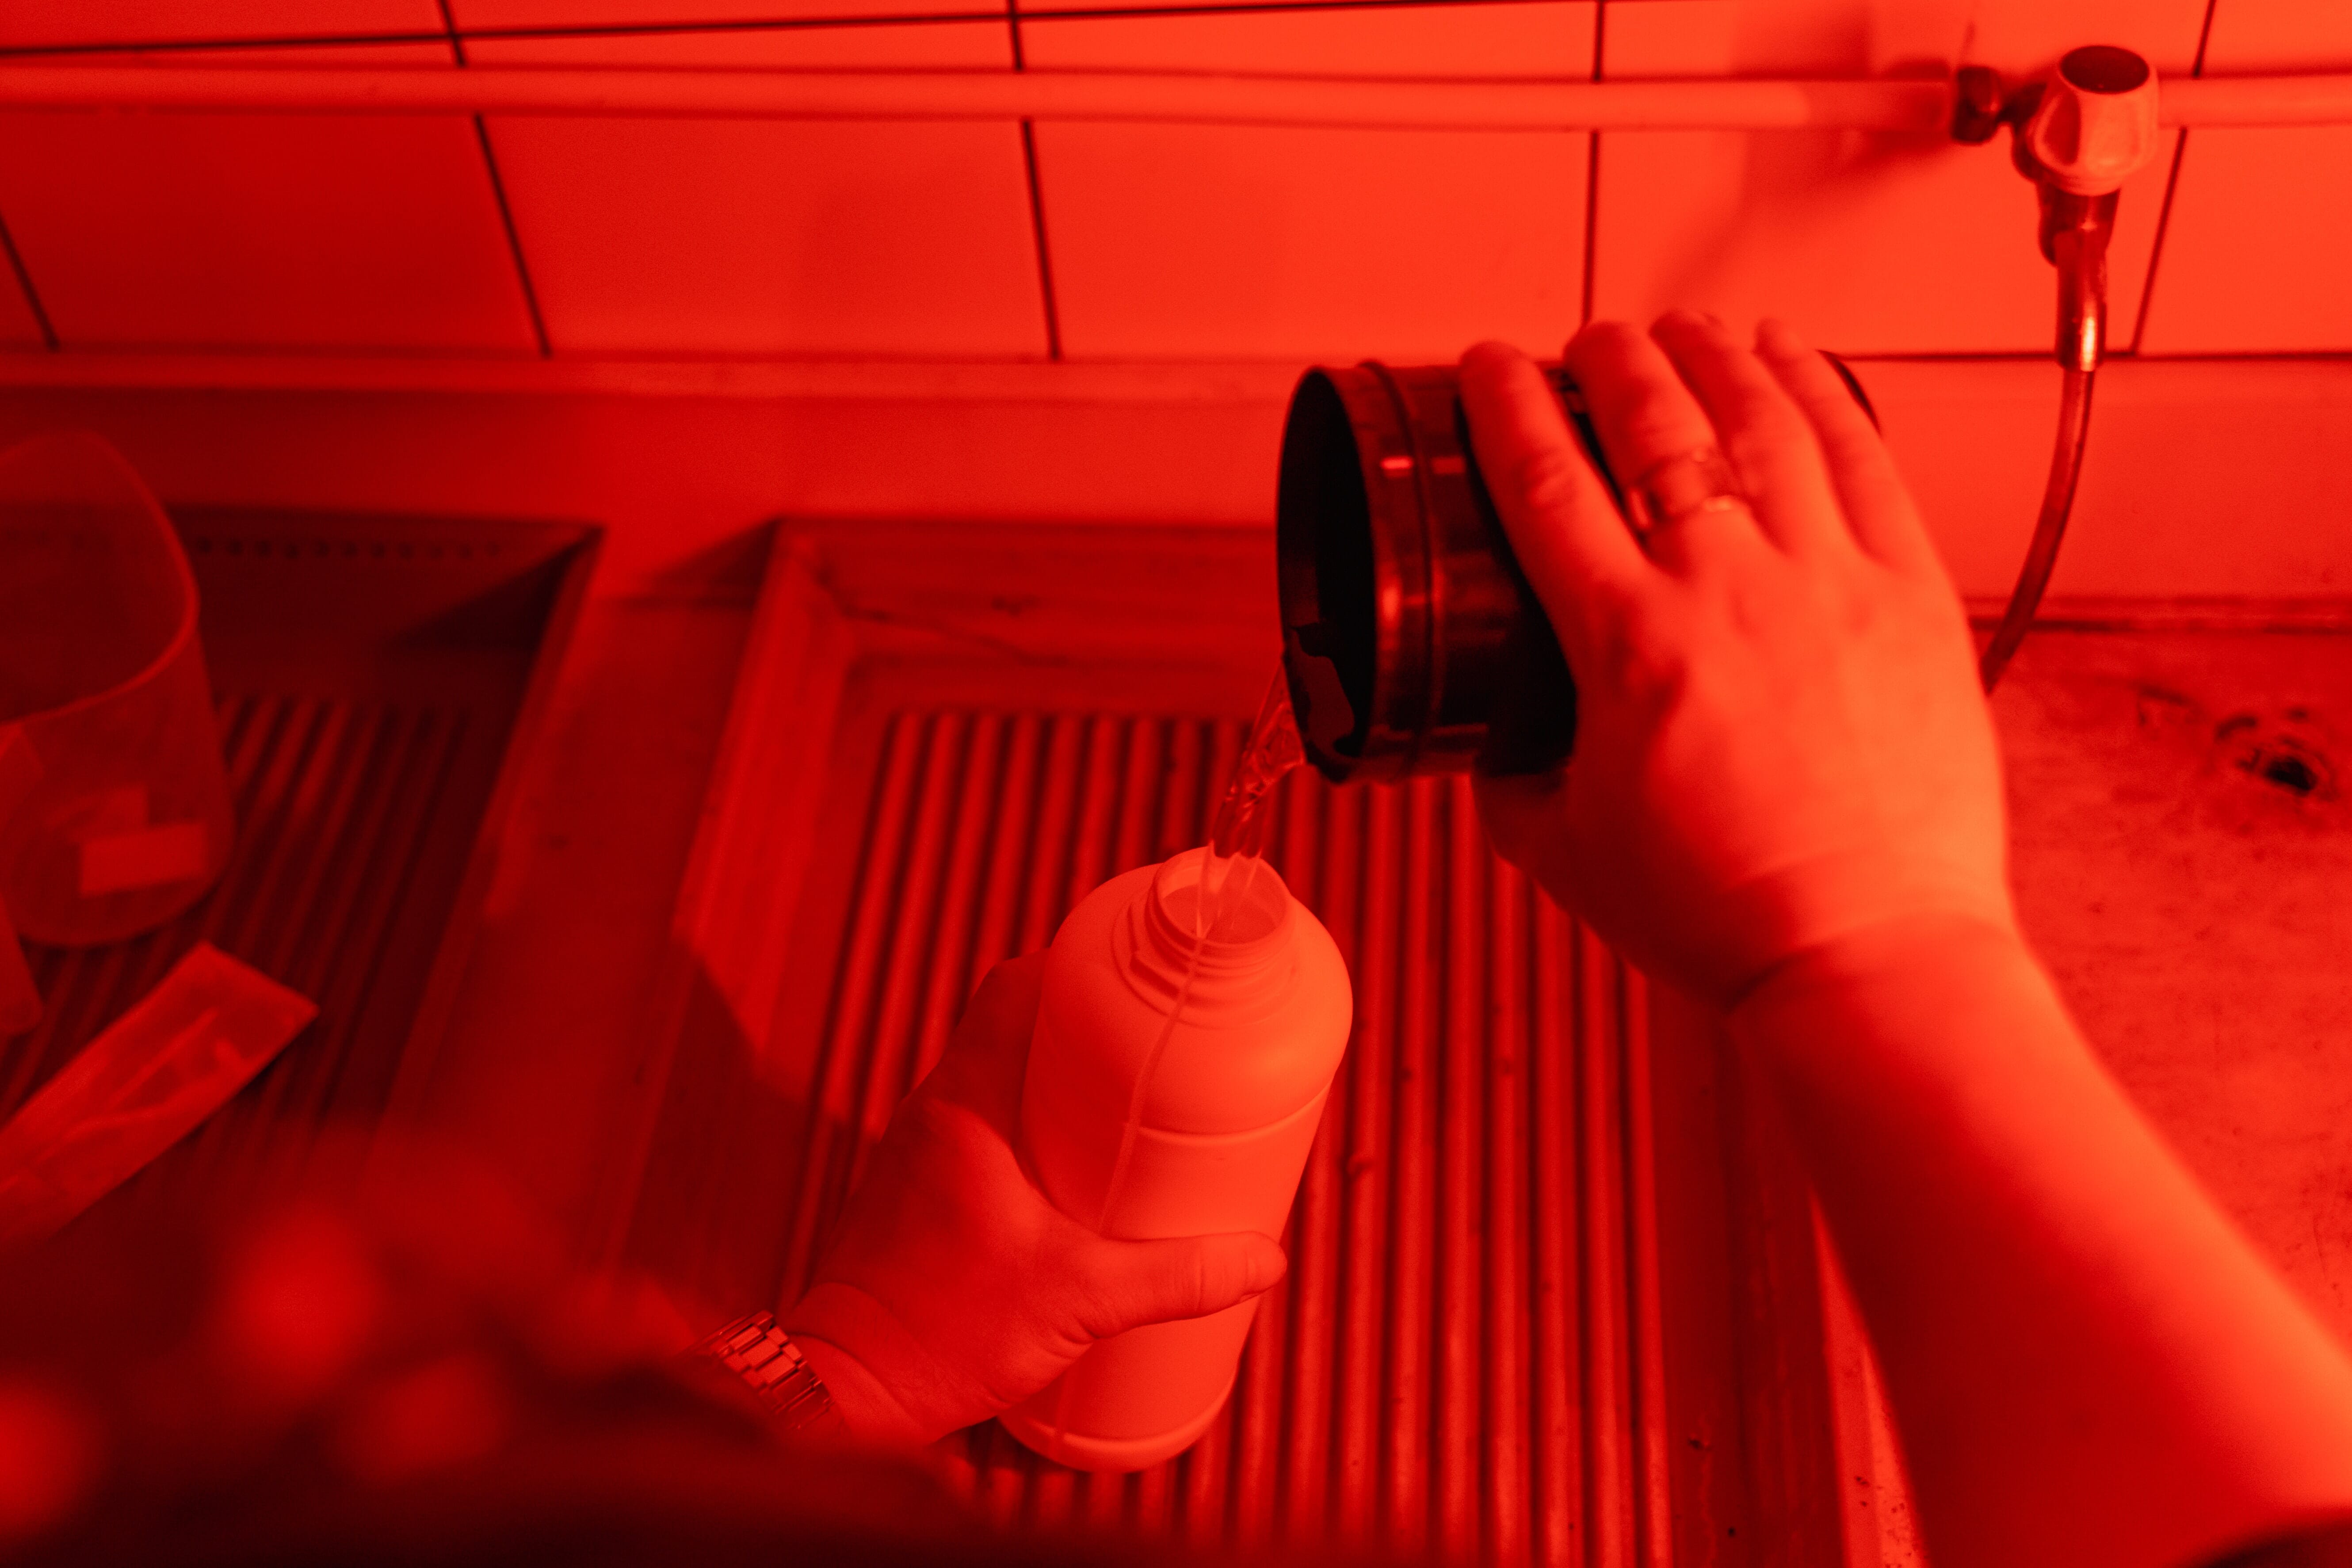
Step 5: Temperature Matters
Fill up on water and use the thermometer to make sure your water is at the correct temperature. For black and white, the temperature can remain at room temp and be okay, but for color, it has to be about 104°F or 38.9°C. Heat or cool the water as necessary to hit that right temperature.
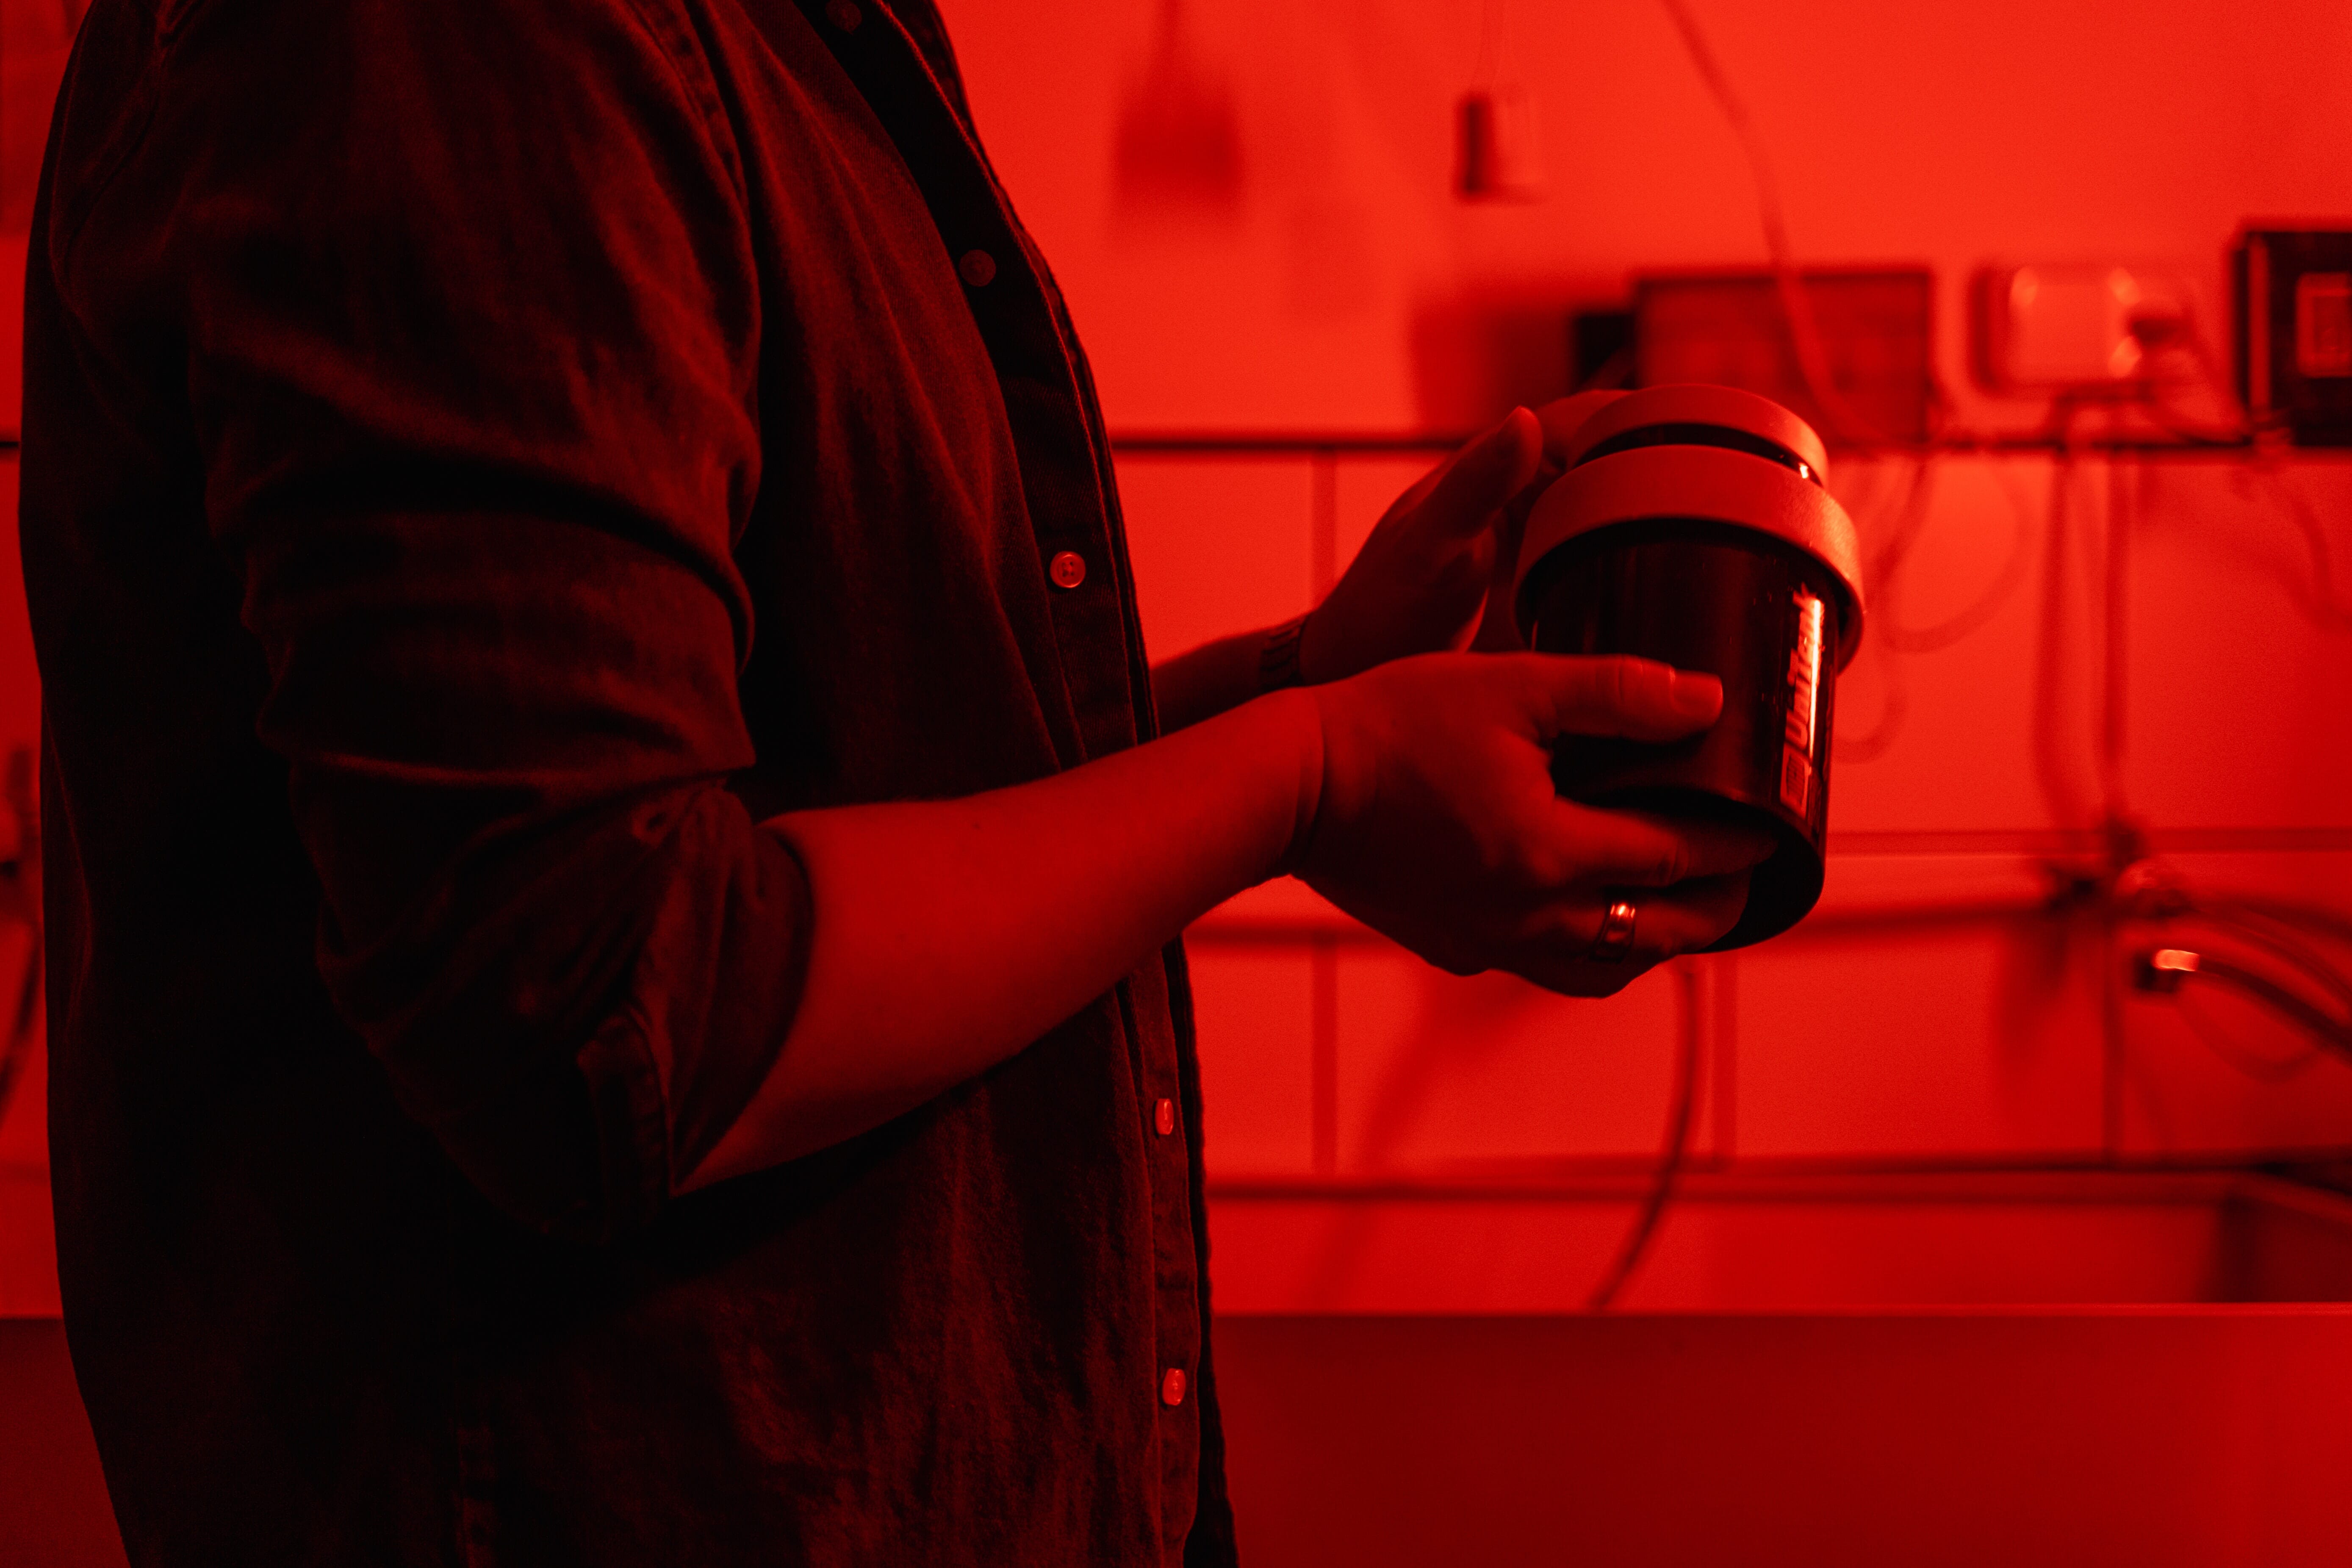
Step 6: Pour Developer Into the Tank
Pour that developer in! Gently tap the bottom of the tank to remove and loosen any bubbles that might have formed around your film.
Next, gently (and I mean gently) rouse the tank for about 30 seconds. Do one inversion where you turn the tank upside down for 10 seconds and then right side up for every minute that the developer is in there. Refer to the instructions on the developer to indicate how many minutes you need to do this for.
Once the developer has run its course, pour the developer out of the tank. If it’s the kind of developer you can reuse, go ahead and drain it into storage containers.
Step 7: Pour Stop Bath Into the Tank
Next up is the stop bath. Pour this in, agitate or rouse for 30 seconds, then let sit for 30 seconds. Pour it out of the tank.
Step 8: Pour Fixer Into the Tank
The final chemical step, pour the fixer into the tank. Rouse for about 30 seconds and do the same inversion as we did with the developer every minute. You usually only keep the fixer in there for five minutes but still refer to the instructions to make sure.
Pour the fixer out and your film is officially developed! As a fun fact, the fixer can typically be reused about three times, so go ahead and save it.
Step 9: Wash Your Film
Run some water into your developing tank to wash the film.
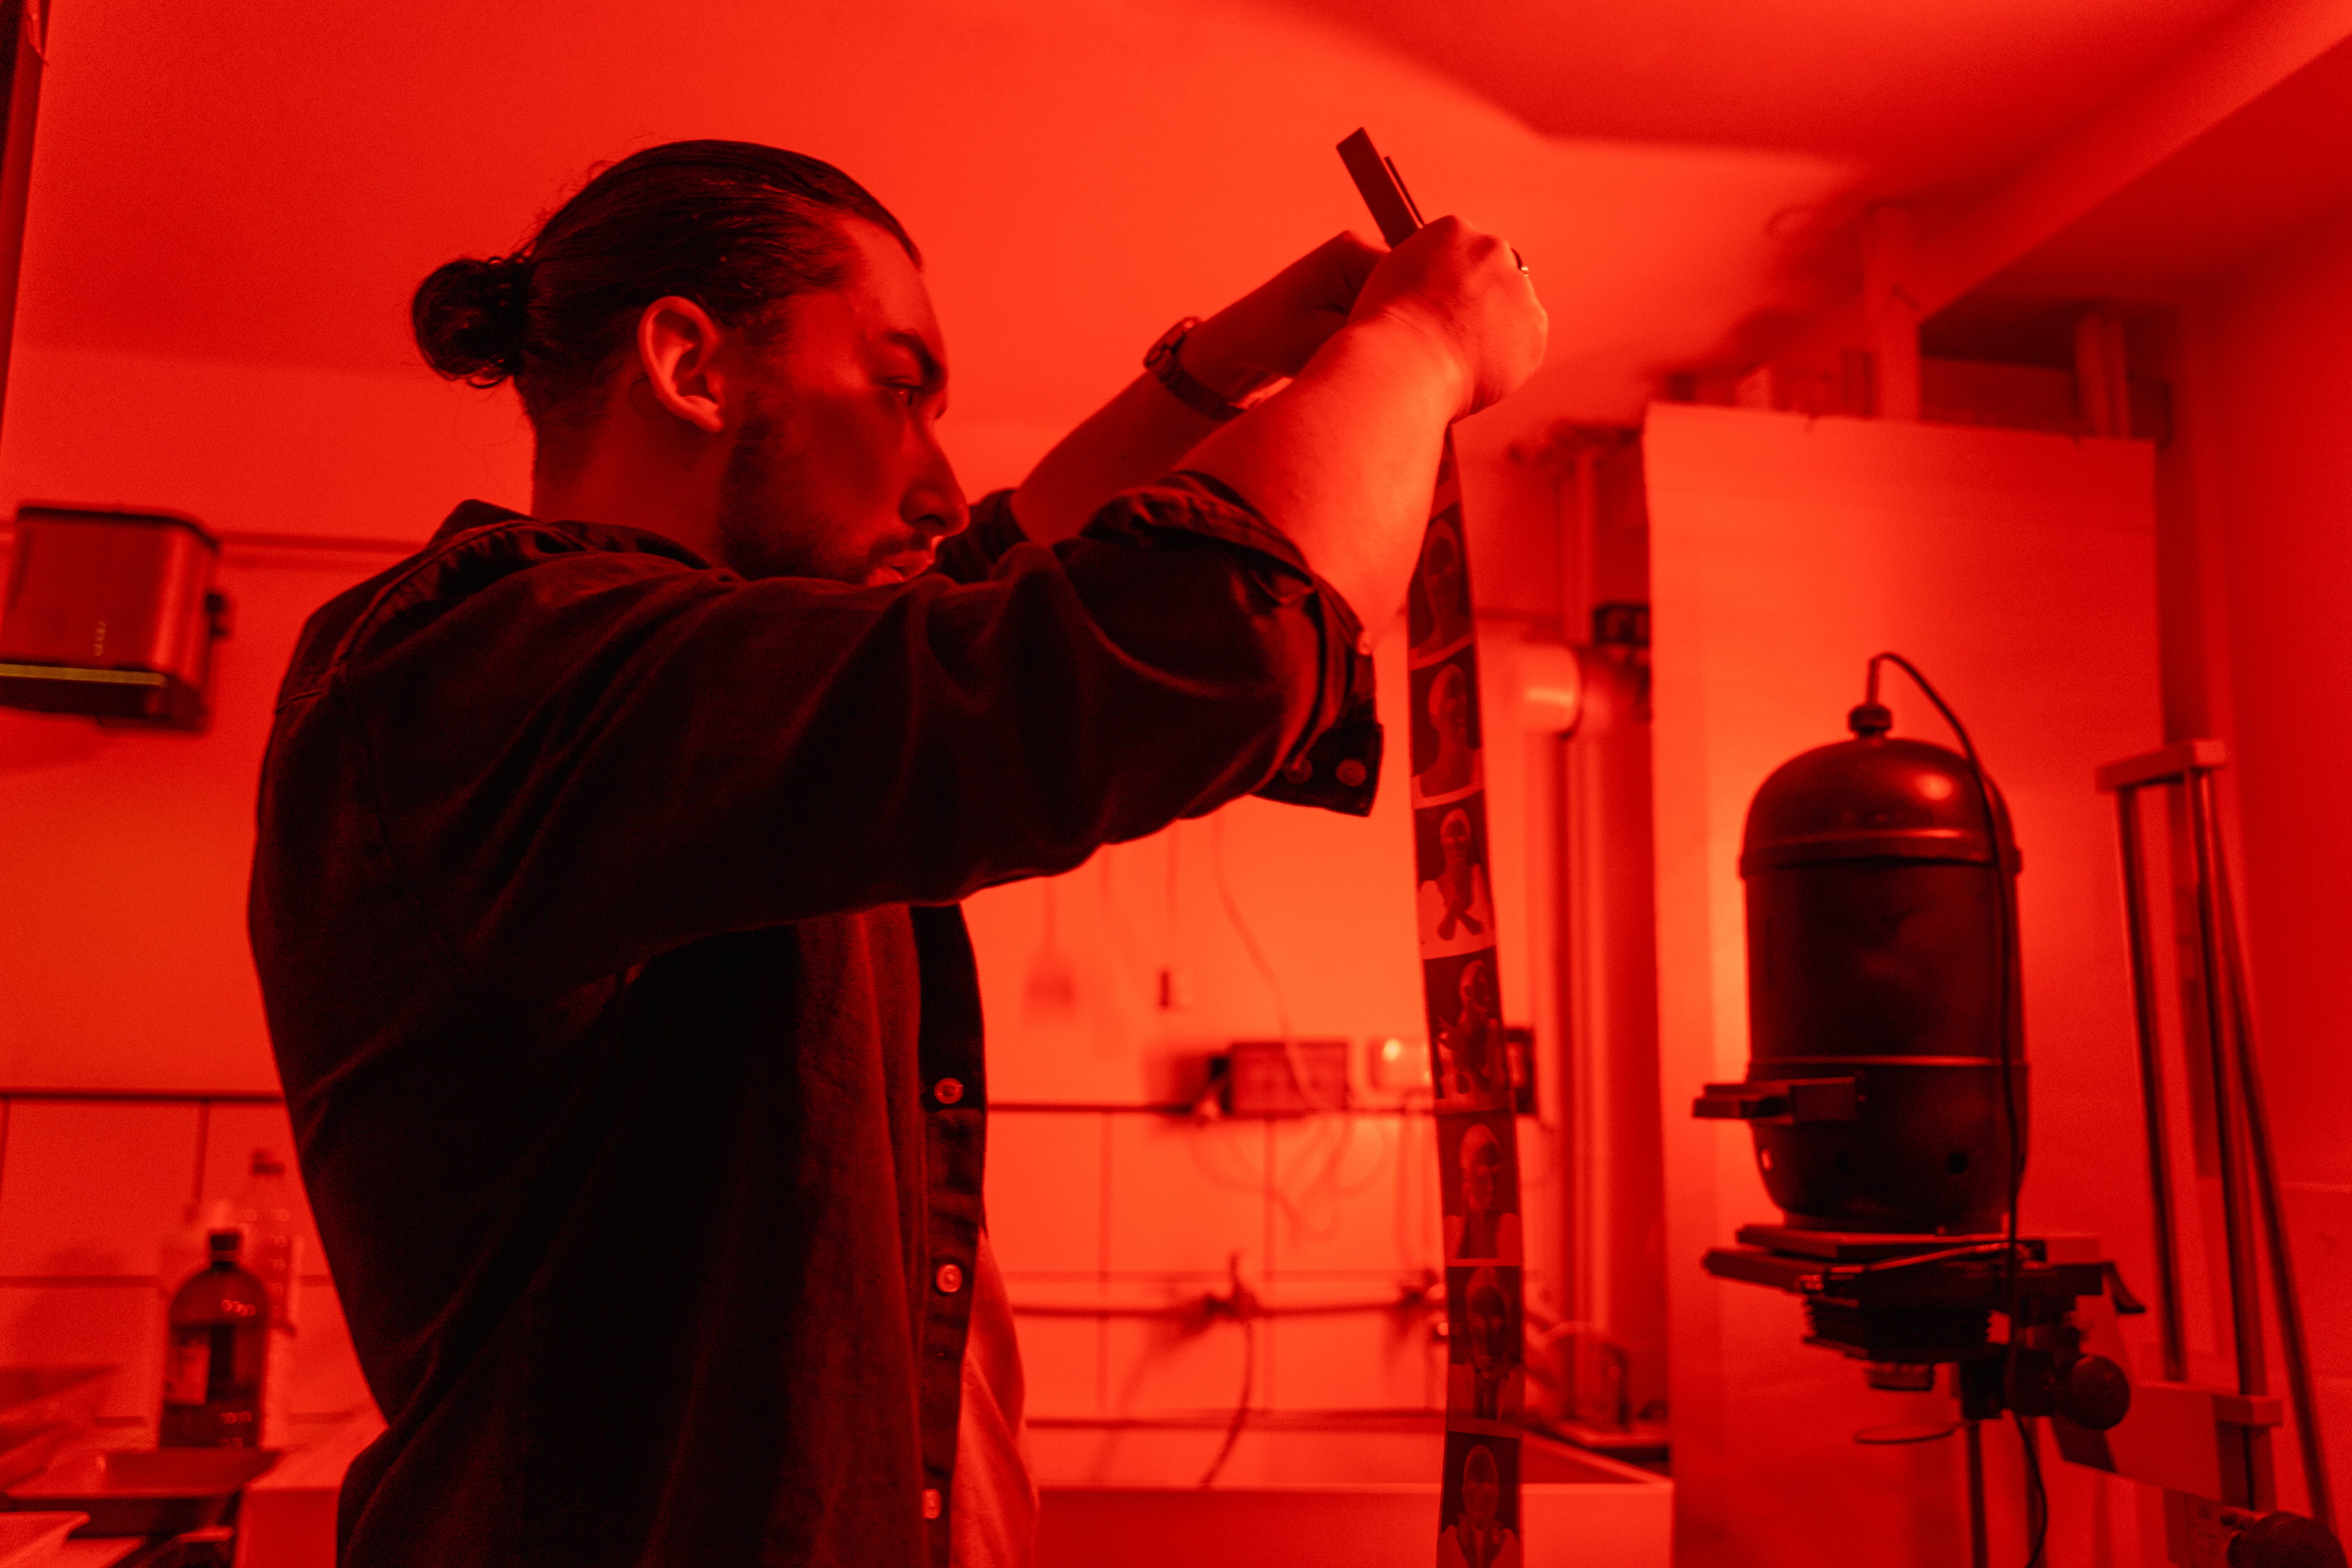
Step 10: Remove the Film and Hang It Up to Dry
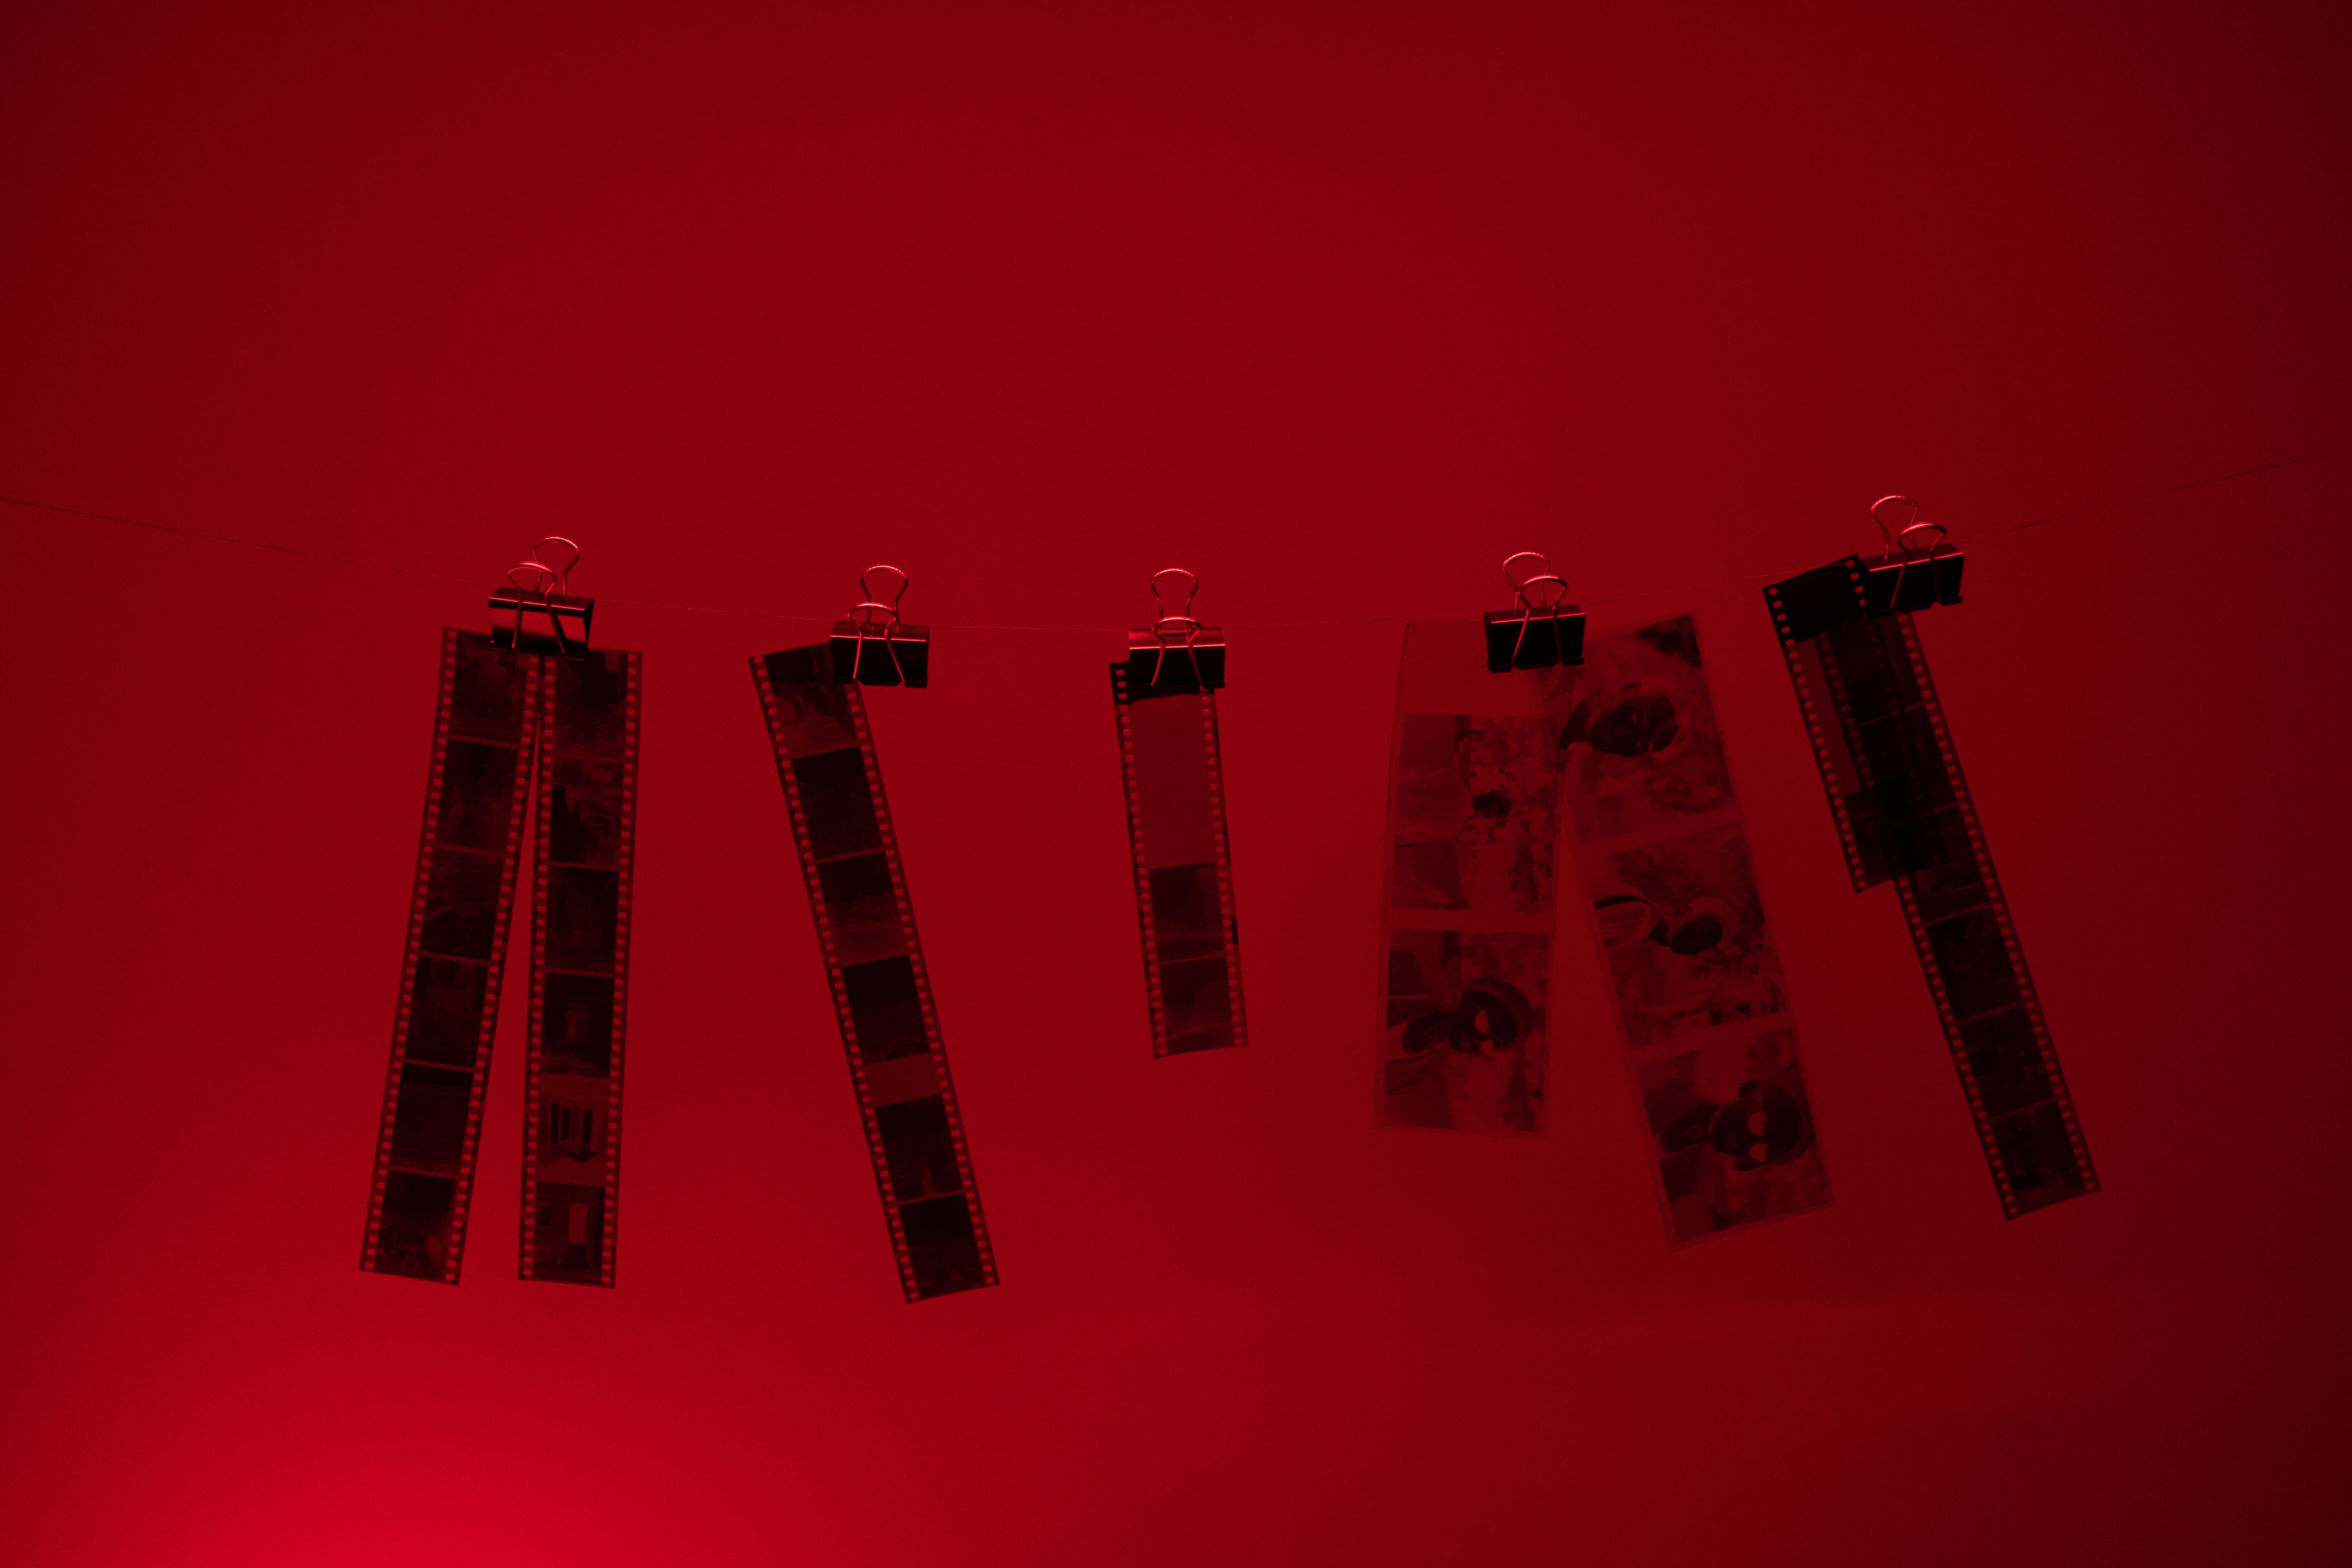
Once you’ve washed the film, it’s time to pull it out of the developing tank. Open the tank up and start to gently pull the film off of the reel. If you see any water still left on it, you can use a sponge to gently get it off by absorbing the water.
Once you’ve gotten them out, take the clothespeg or film pin and hang the negatives up to dry! Clotheslines tend to be used pretty frequently for this, but really anything will work so long as nothing touches the film on either side. Look for a dust-free environment to do this in as much as you can. Clip a small weighted object of some sort on the bottom of the negatives to prevent them from curling.
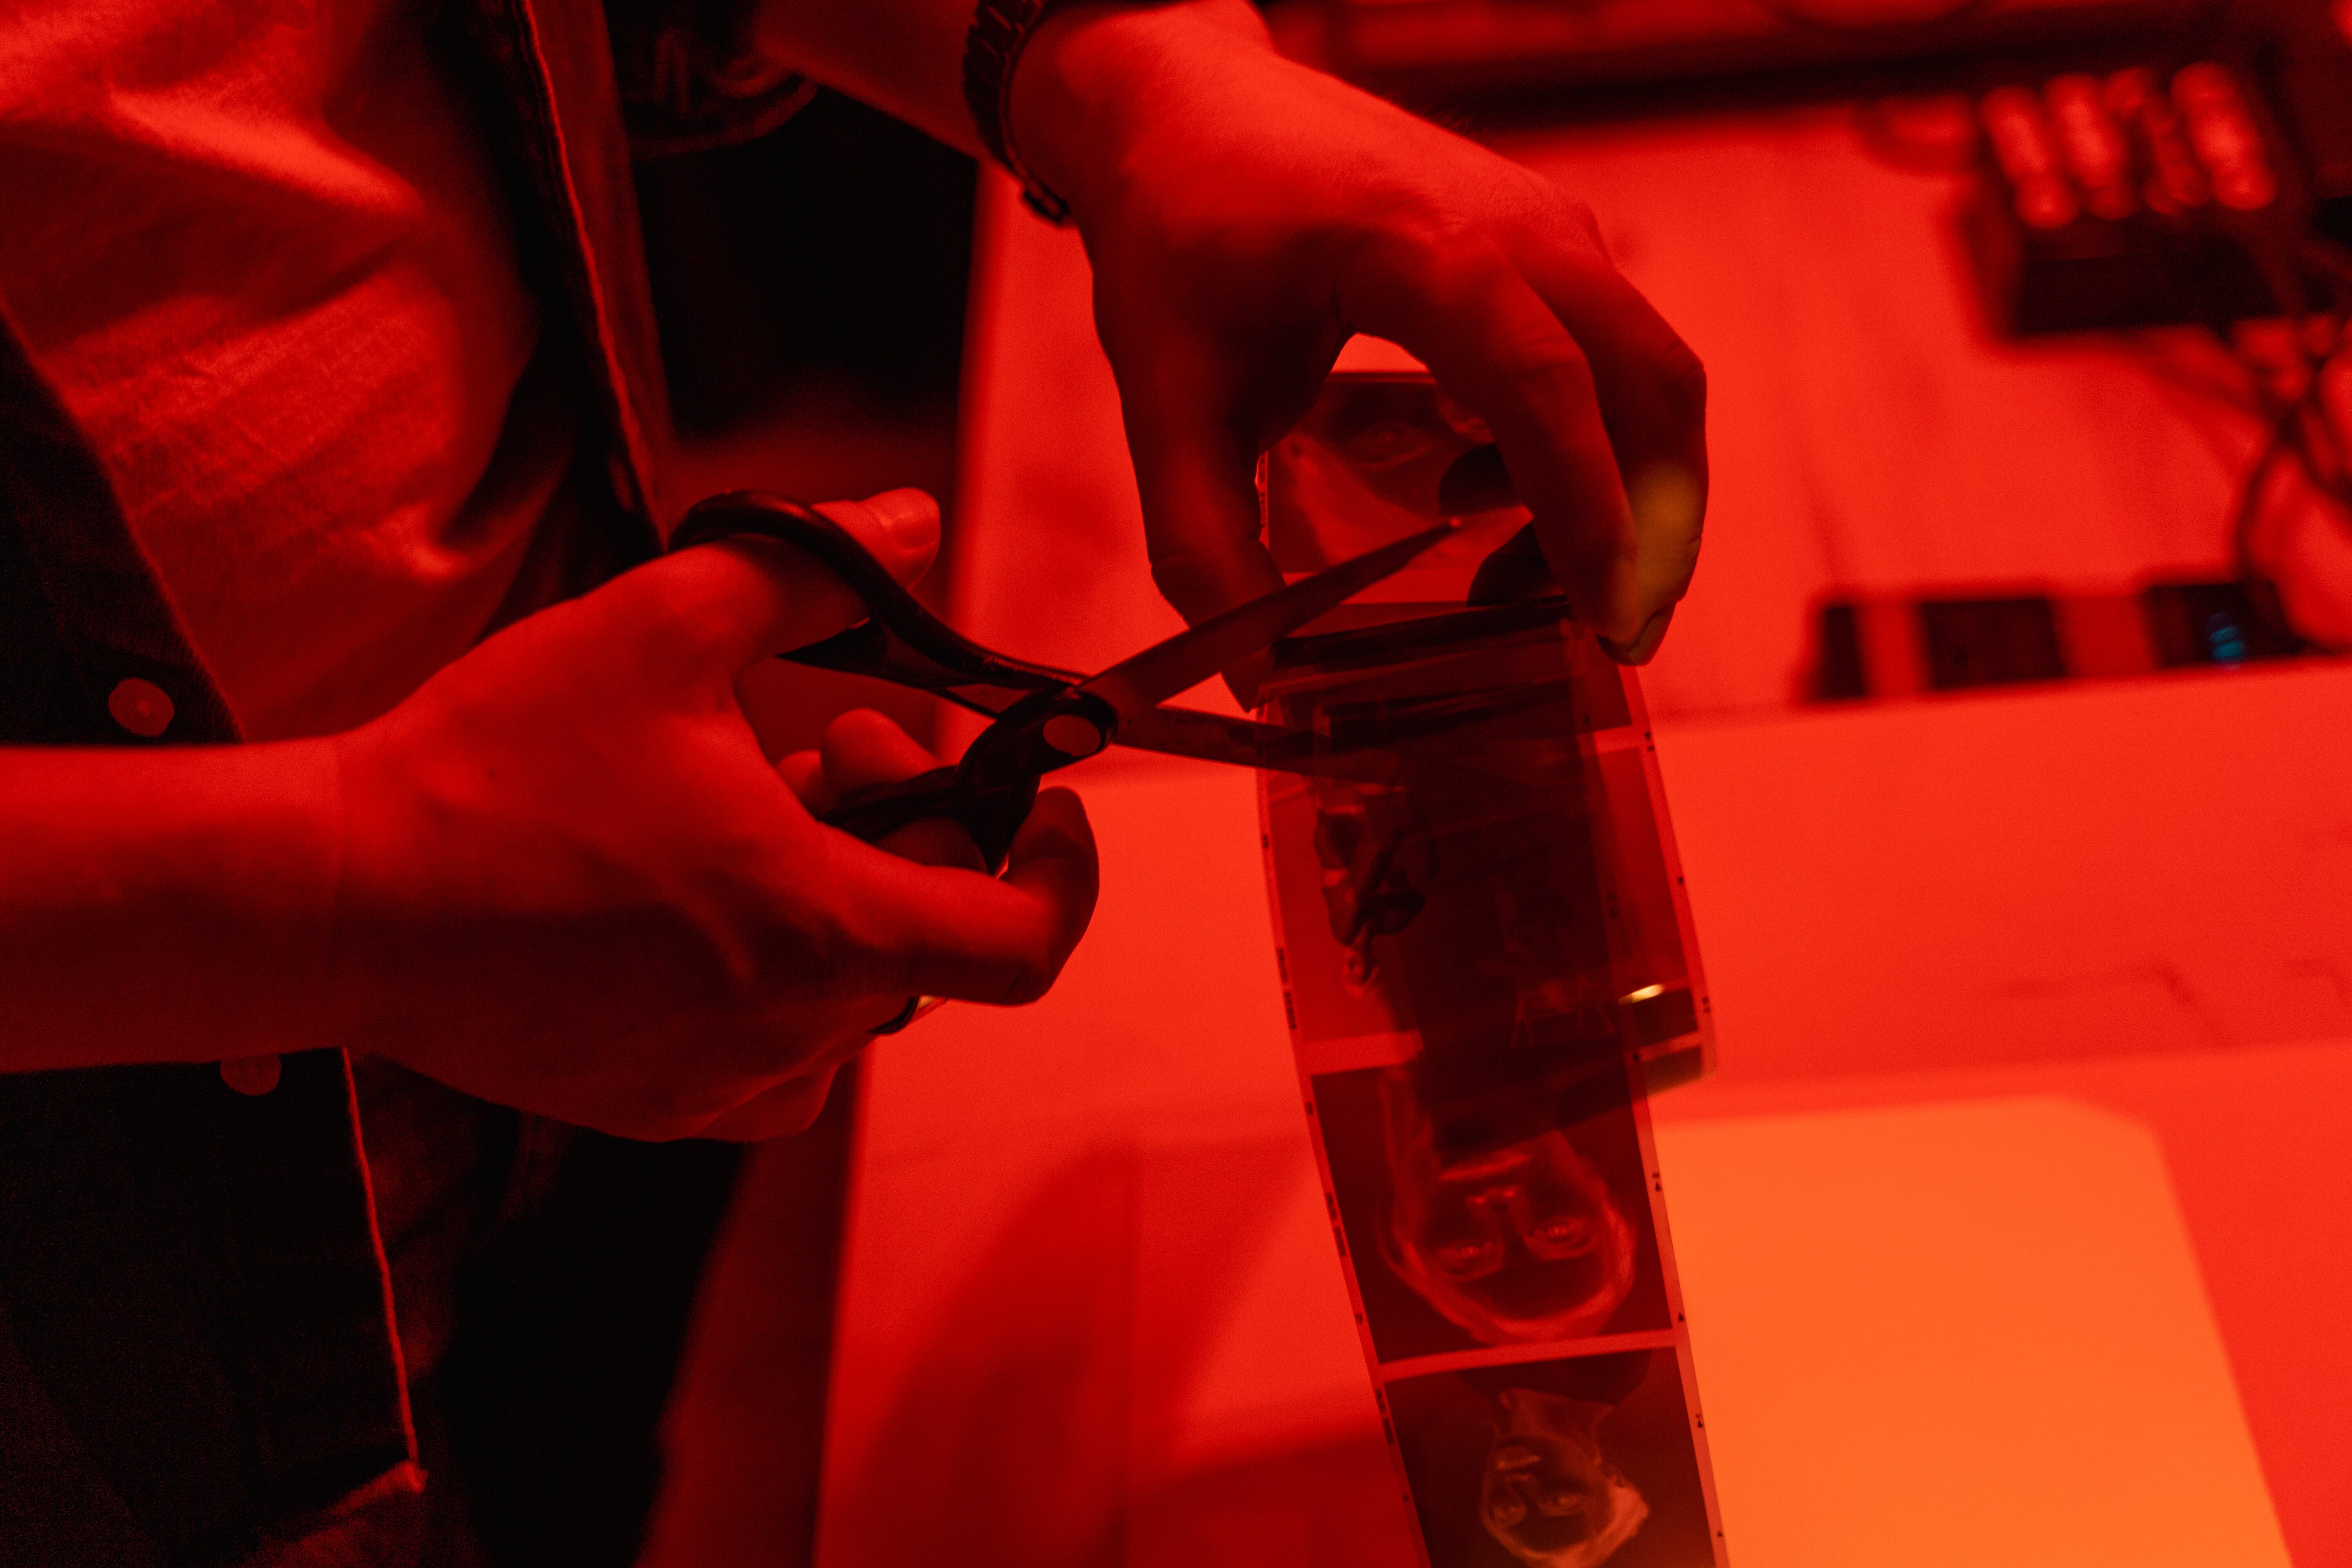
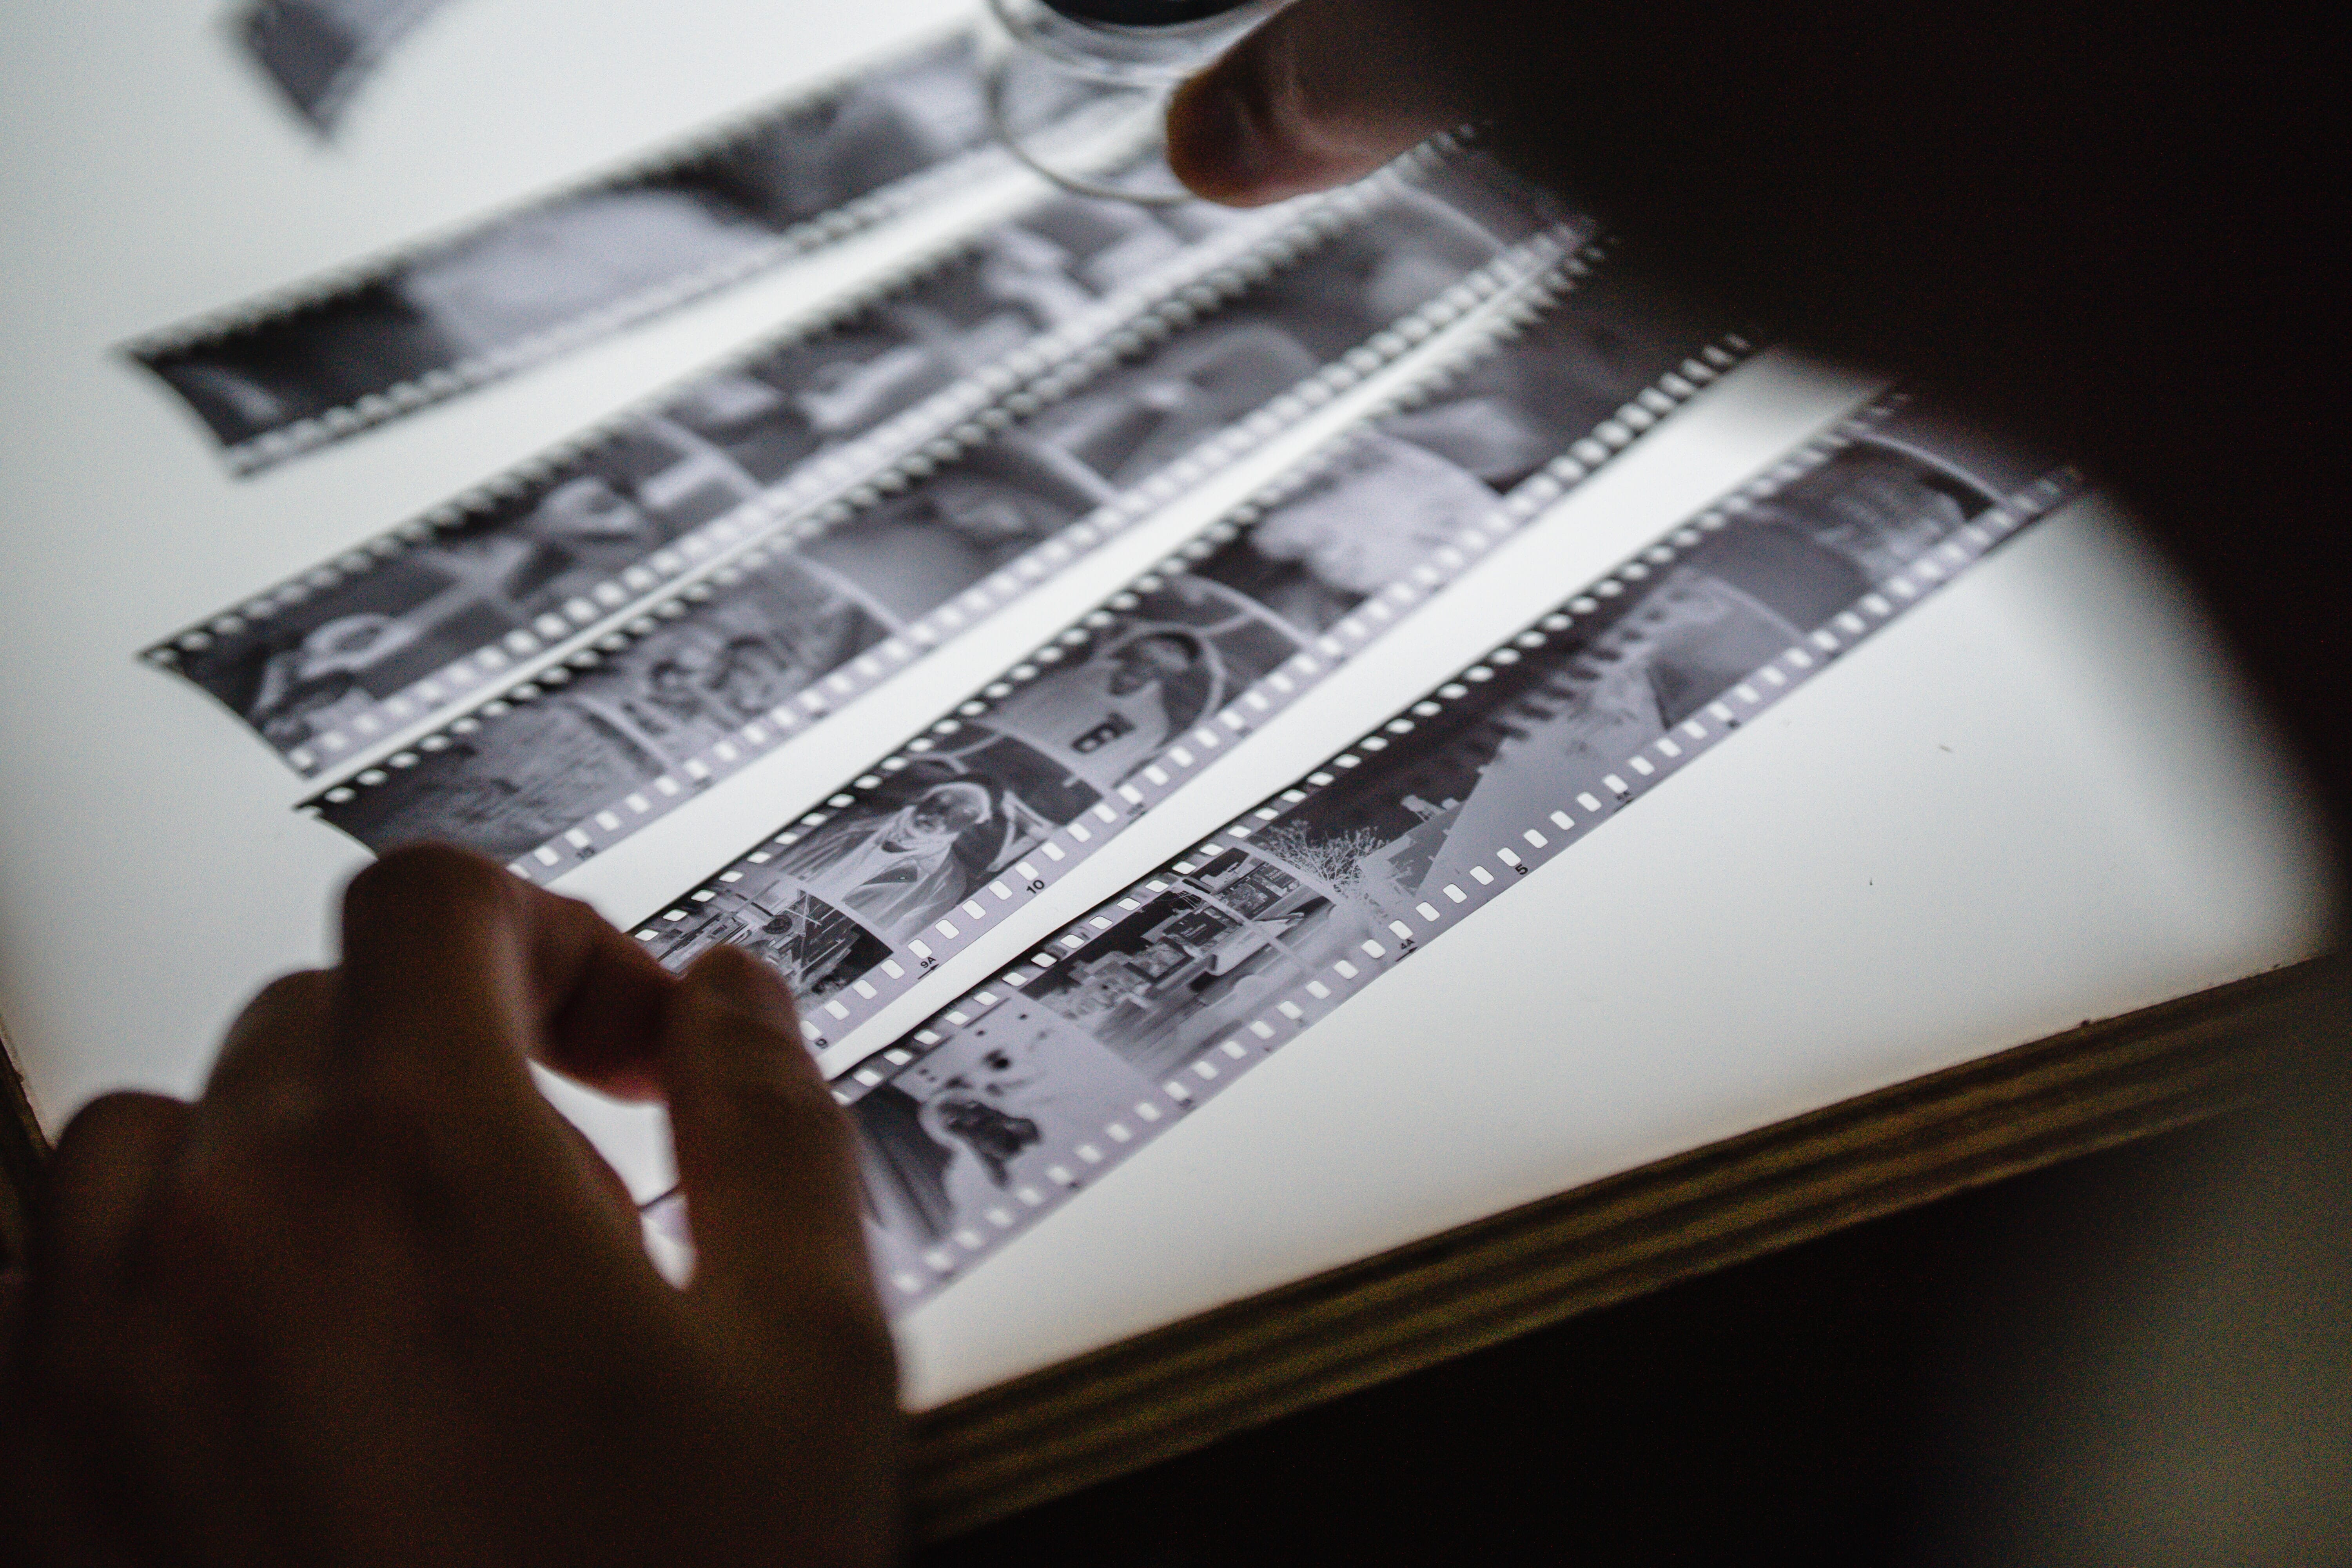
Wait a few hours, and you’ll be all set! You should cut the strip now as well. You can now scan the negative to a computer.
Developing Film at Home: Conclusion
Developing film at home really isn’t as daunting as it may appear – it just takes some practice. Start with black and white and move on up to color film when you feel ready. Keep this guide handy as you go through the steps and you’ll be a pro in no time!
Disclosure/Disclaimer: As an Amazon Associate, we earn from qualifying purchases. Certain content was provided "as is" from Amazon and is subject to change or removal at any time. Product prices and availability: Amazon prices are updated daily or are accurate as of the date/time indicated and are subject to change. Any price and availability information displayed on Amazon.com at the time of purchase will apply to the purchase of this product.