Editor’s Key Takeaways: Master Camera Settings: Key Tips for Stunning Photos

The blog post by Jaymes Dempsey emphasizes the importance of mastering camera settings to capture stunning photos, highlighting five key settings. Here’s a concise summary:
- Shutter Speed: Essential for sharp photos, especially to freeze motion. Recommended settings range from 1/200s for general scenarios to 1/4000s for fast-moving subjects.
- Aperture: Controls the depth of field. Wider apertures (e.g., f/1.8) are for a shallow depth of field, while smaller apertures (e.g., f/8) provide a greater depth of field.
- ISO: Impacts the photo’s brightness. Lower ISO (e.g., 100) for bright environments and higher ISO (e.g., 3200) for low-light conditions to avoid noise.
- White Balance: Ensures accurate color reproduction. Adjust according to the lighting (e.g., daylight, tungsten) or use auto mode.
- Focus Mode: Choose between single-shot AF for still subjects or continuous AF for moving subjects. Use manual focus for precision.
By mastering these settings, photographers can effectively control their camera and consistently produce high-quality images.
Introduction
There’s no way around it:
If you want to capture amazing photos, then you absolutely have to master camera settings.
Fortunately, camera settings are far simpler than most people realize. There’s not any math involved. And there’s not a lot of technical material, either.
All you have to know are a few basic tools.
And you’ll be on your way to fantastic photos in no time at all.
That’s what this article is all about:
Giving you the five key camera settings that you need to know–so that you can create beautiful photos every time you turn on your camera.
Let’s dive right in.
Setting #1: Shutter Speed
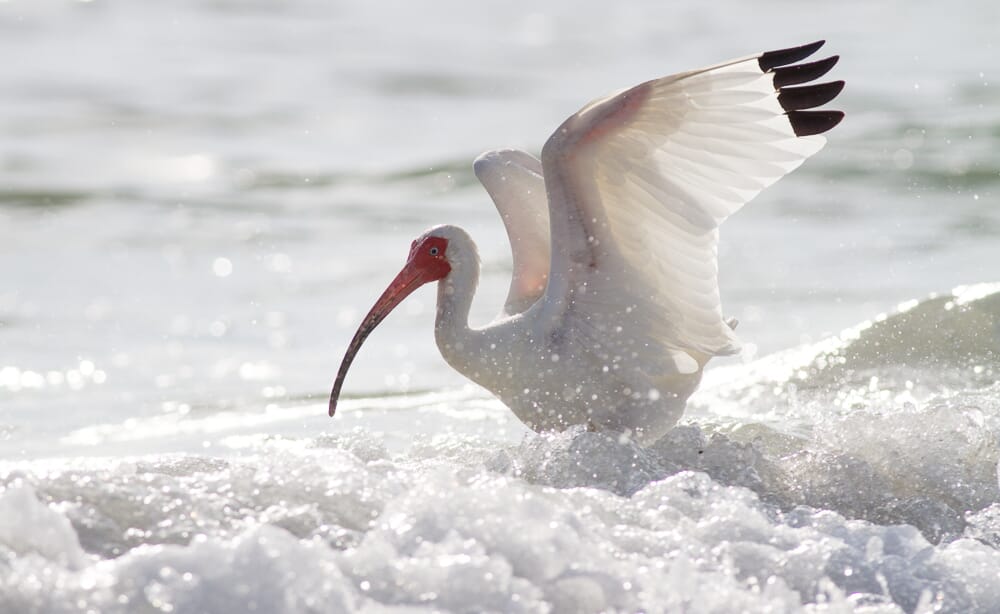
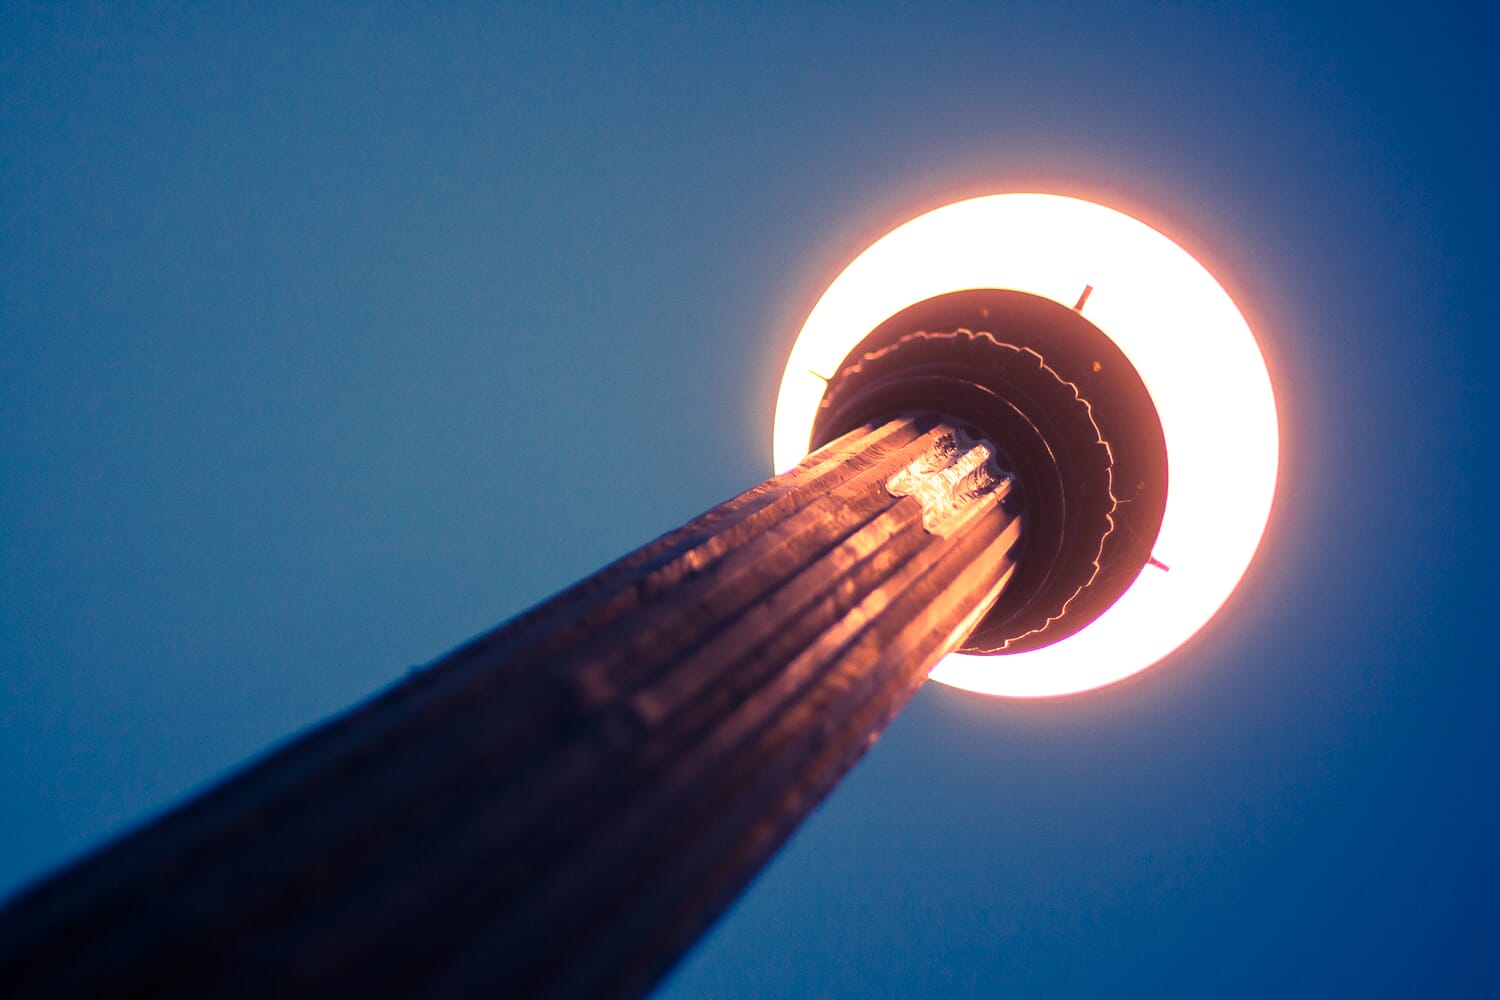
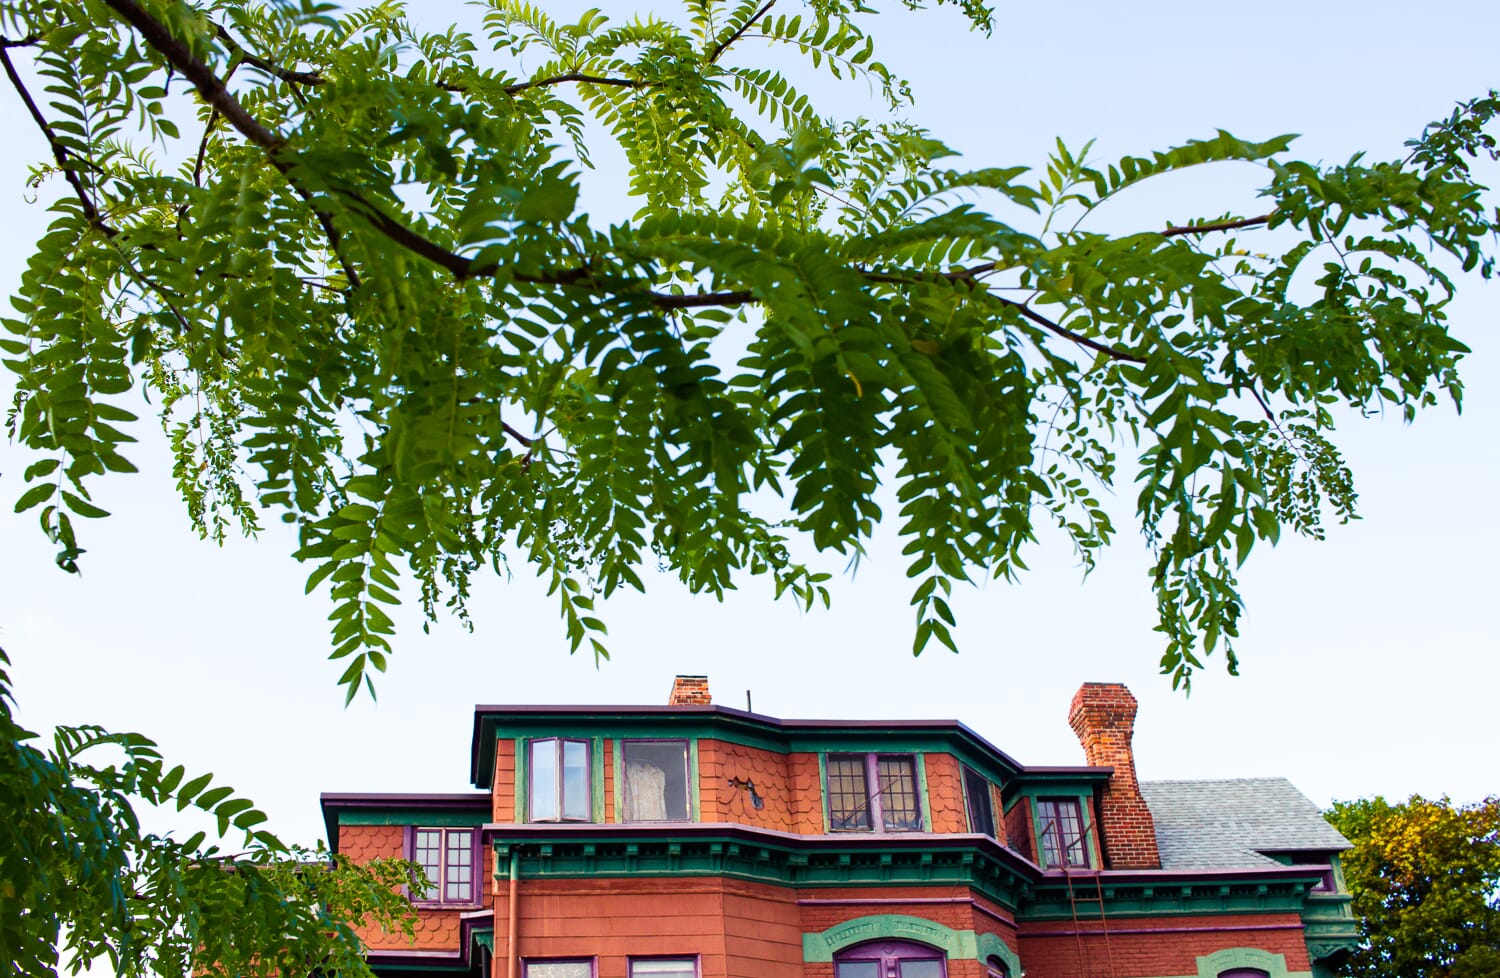
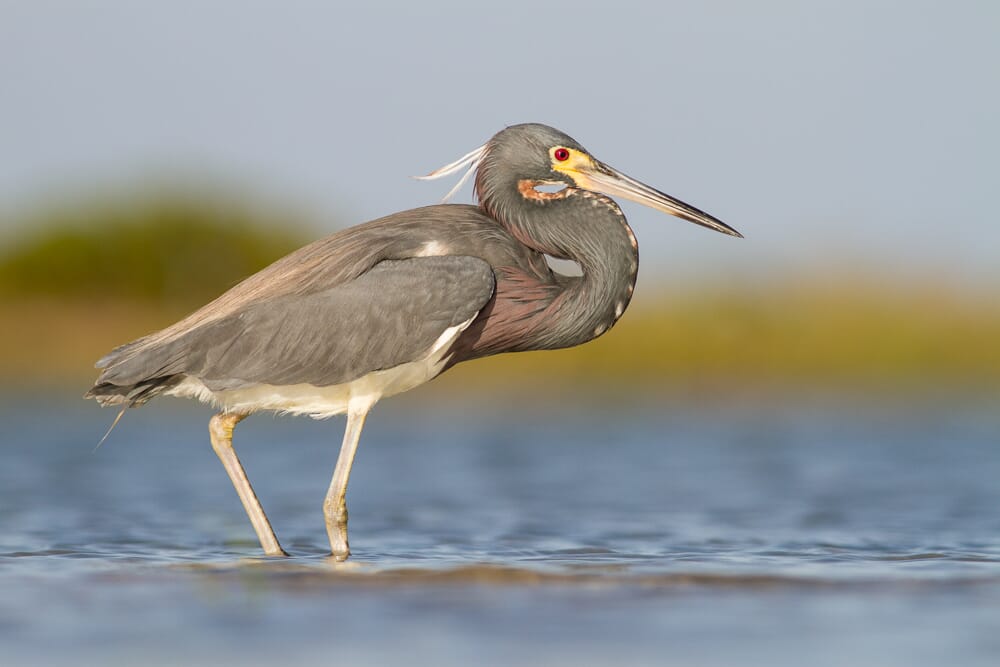
Capturing amazing images starts with your shutter speed.
Because if you don’t choose the proper shutter speed, then you’re not going to end up with sharp photos.
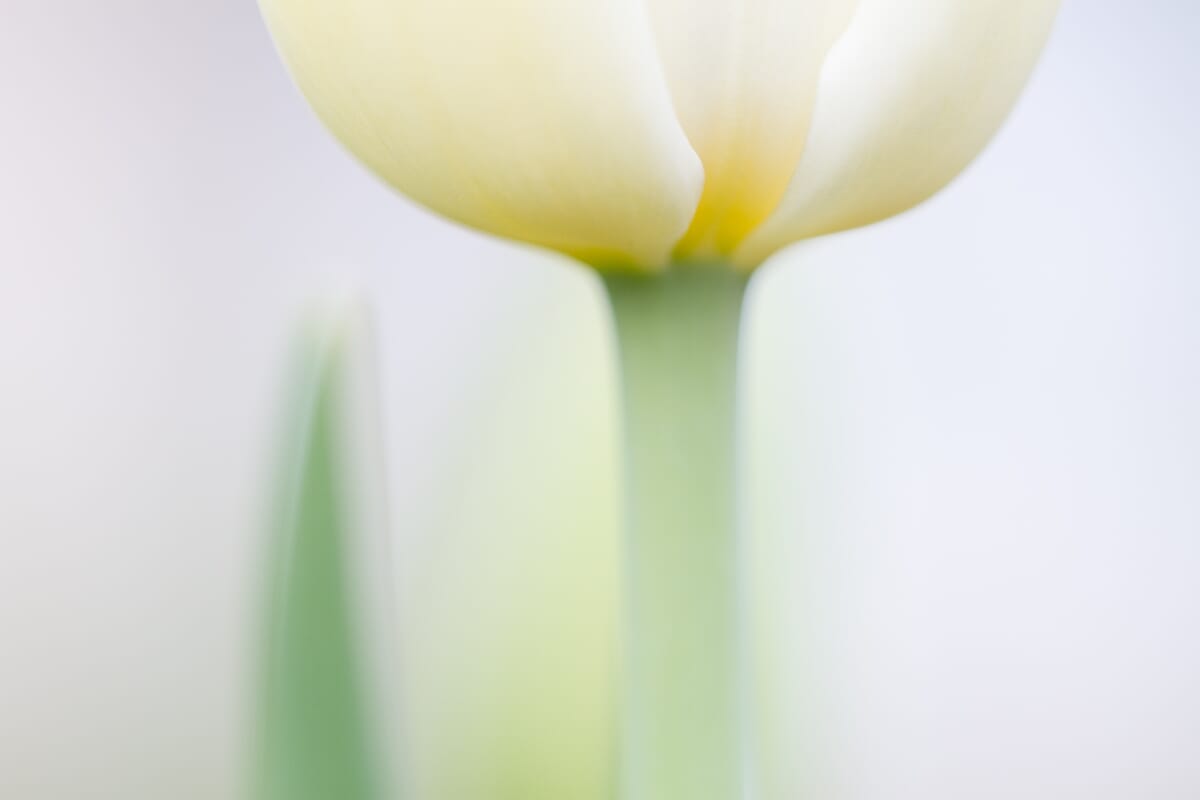
Instead of photos like this:
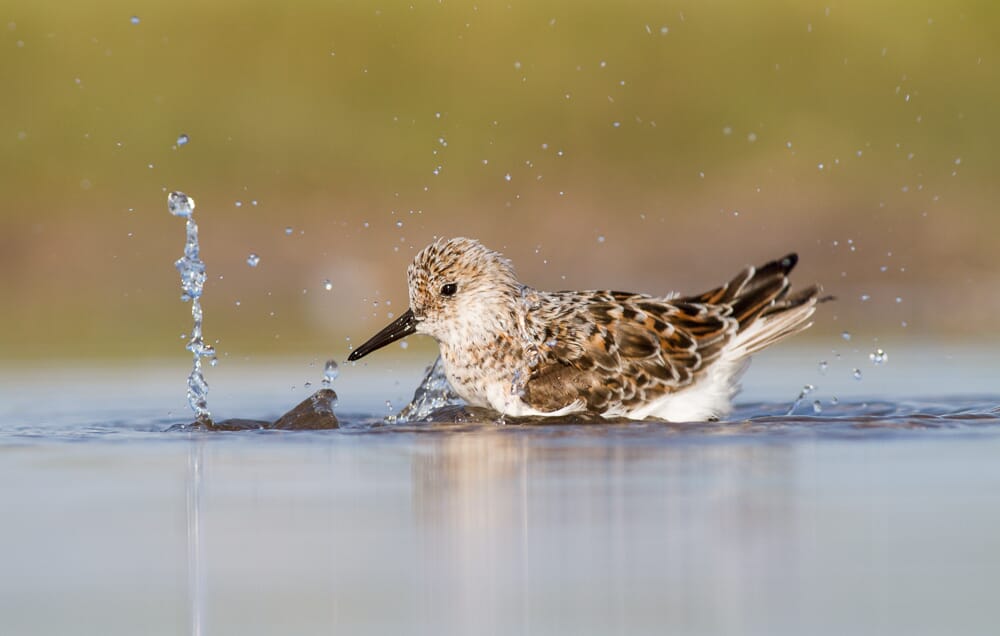
You’re going to end up with photos that are full of blur. Photos that just don’t look nice.
Photos that you won’t want in your portfolio.
You see, your shutter speed is the length of time for which your camera takes a photo.
Shutter speed is measured in seconds, though it’s often used in fractions of a second, like this: 1/2s, 1/100s, 1/250s, etc. Shutter speeds can range from seconds (or even minutes) to 1/4000s or 1/6400s and beyond.
Now, here’s a basic shutter speed guide:
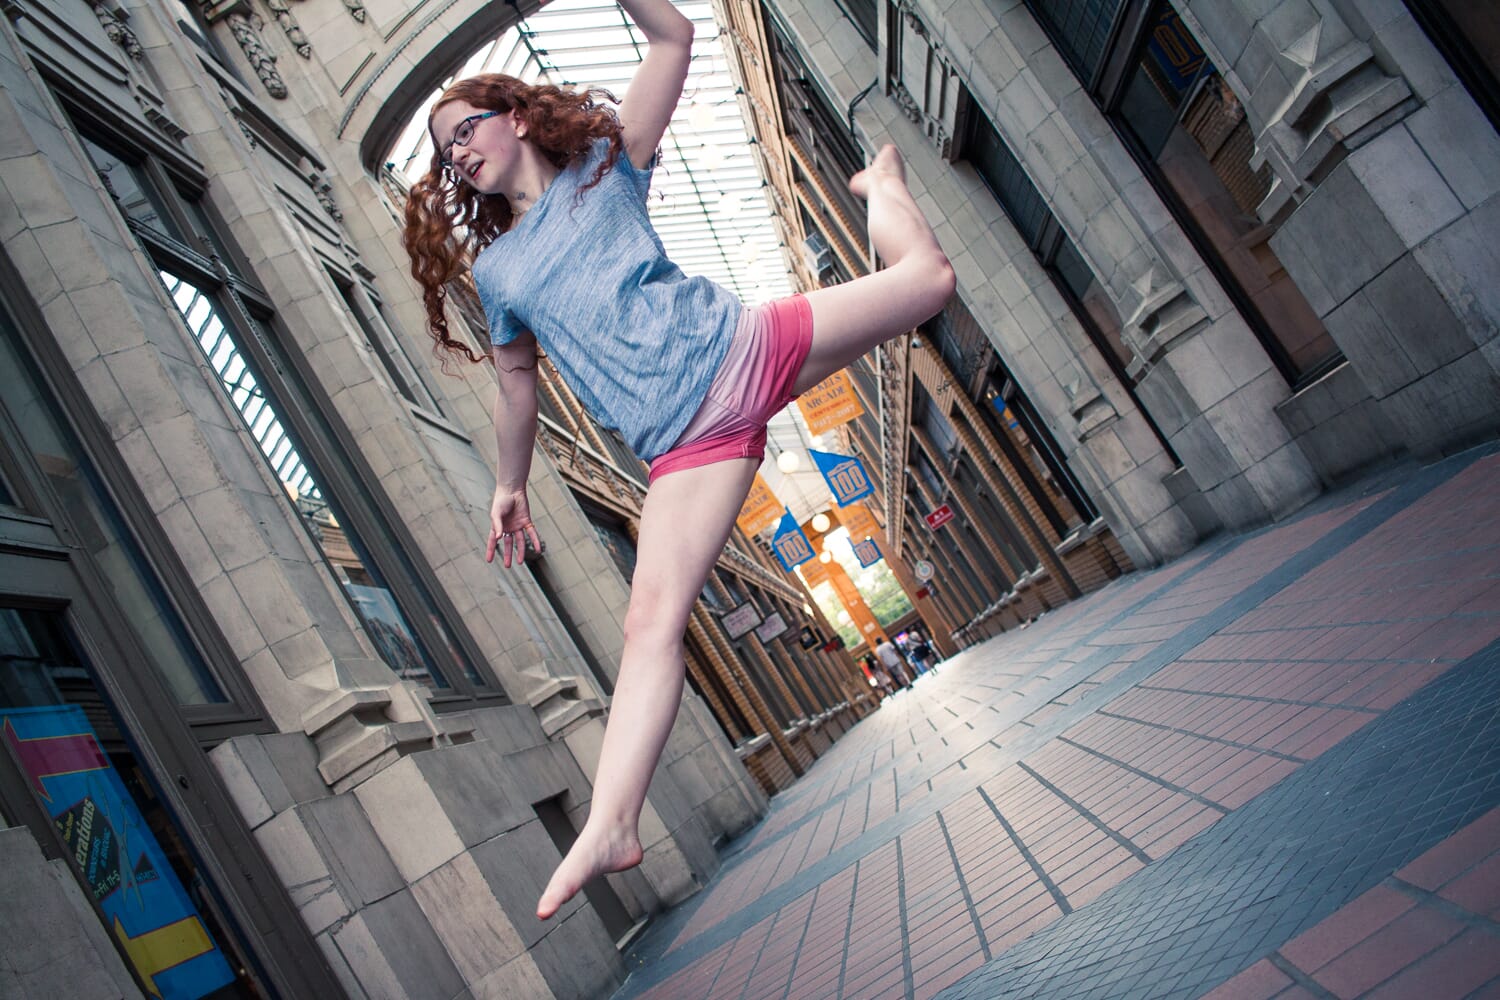
The shorter the shutter speed, the sharper the shot, and the more likely it is to freeze motion. So if you’re photographing a fast-moving object, such as a person running, you’ll need a fast shutter speed to prevent motion blur.

If you use a long shutter speed, you’ll just be setting yourself up for failure.
Plus, longer shutter speeds don’t just cause blur due to motion in the scene. They also cause blur due to camera shake (that is, your camera moving ever-so-slightly when you take a shot).
In general, it’s a good idea to keep your shutter speed above 1/200s. For slow-moving subjects, 1/500s is a good starting point. And for fast-moving subjects, 1/1000s is the minimum, while 1/2000s and even 1/4000s is required for the speediest subjects, such as birds in flight.
Now, you may be wondering:
Why not just use a fast shutter speed all the time? If a slow shutter speed causes blur, why can’t you just set your camera to 1/4000s and be done?
It’s a good question. The answer is that faster shutter speeds let in less light, causing your photos to appear darker (all else being equal). So if you shoot at 1/4000s in a poorly-lit area, you’ll end up with a photo that’s completely black. Instead, you’ll have to use a slower shutter speed to keep the photo looking bright–but a shutter speed that’s not so slow it’ll blur the image.
In other words, shutter speed involves considering the tradeoff between brightness and sharpness. So while you should always choose the fastest shutter speed you need to keep your photos sharp, it’s not a good idea to go past that; otherwise, you’ll end up with a too-dark image that just won’t work.
Note that there are other ways to compensate for a too-dark image, however. So if you’re shooting a fast-moving bird in low light, you can still use a high shutter speed and keep things looking bright.
One of these methods of compensation works via the aperture:
Setting #2: Aperture
The aperture refers to a diaphragm (i.e., opening) inside your camera lens.
The aperture setting determines how large the aperture opening is–where a larger opening allows in more light, and a narrower opening allows in less light.
Aperture is represented by f-numbers, like this: f/2.8, f/5.6, f/11, etc.
Note that the lower the f-number, the wider the aperture. So an aperture of f/1.2 is extremely wide, while an aperture of f/8 is middle-of-the-road, and an aperture of f/16 is very narrow.
Every lens has a maximum aperture and a minimum aperture, usually somewhere from around f/2.8 (maximum) to f/22 (minimum).
And you, as the photographer, can choose which aperture should be used.
As I mentioned above, your aperture setting can compensate for a fast shutter speed. A wide aperture will brighten your photos, while a narrow aperture will darken your photos.
So if you’re using a shutter speed of 1/2000s, you’ll probably want to use a wider aperture (unless you have an amazing amount of light to work with!).
Unfortunately, like shutter speed, the aperture setting comes with a second factor to consider.
Because the aperture doesn’t just determine the amount of light let in.
It also determines something called the depth of field.
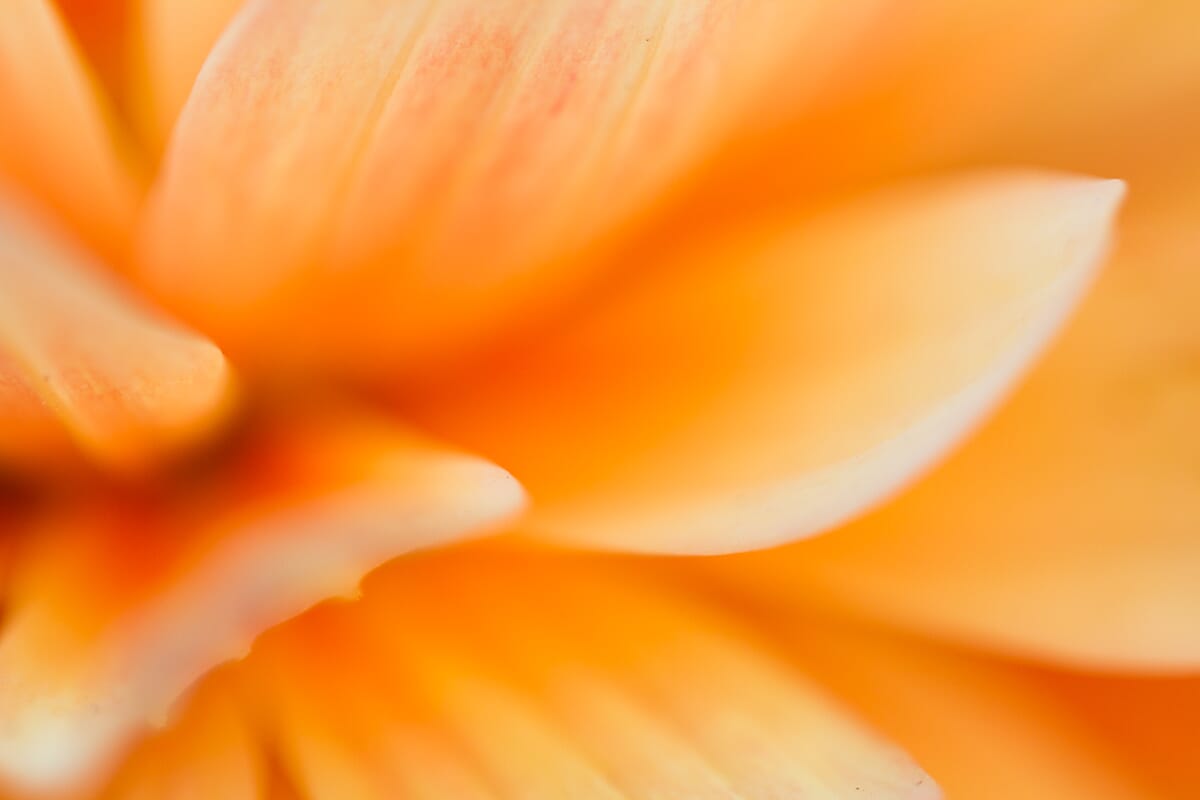
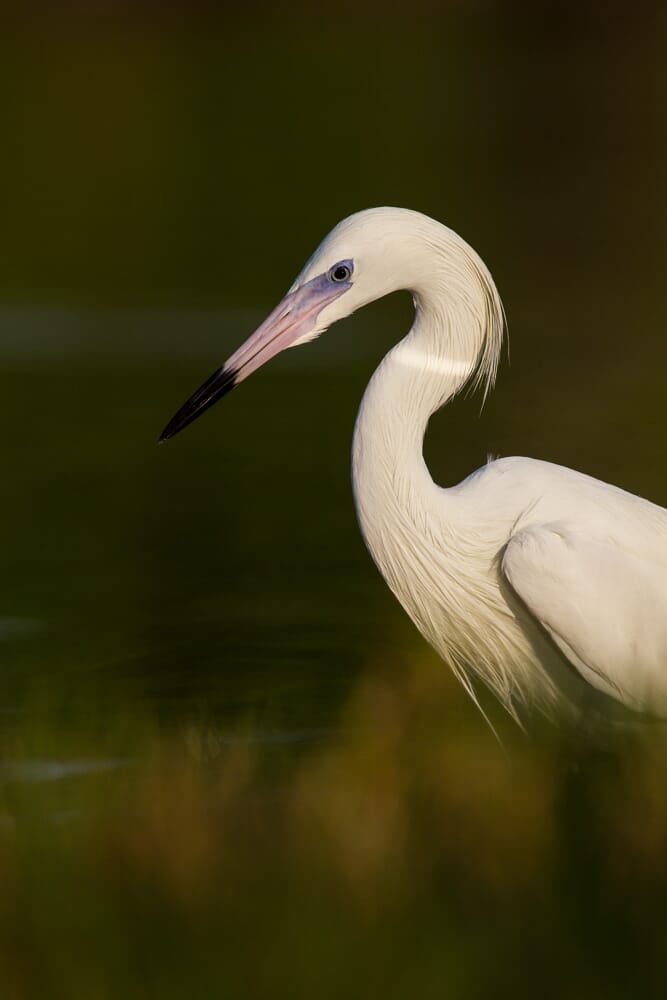
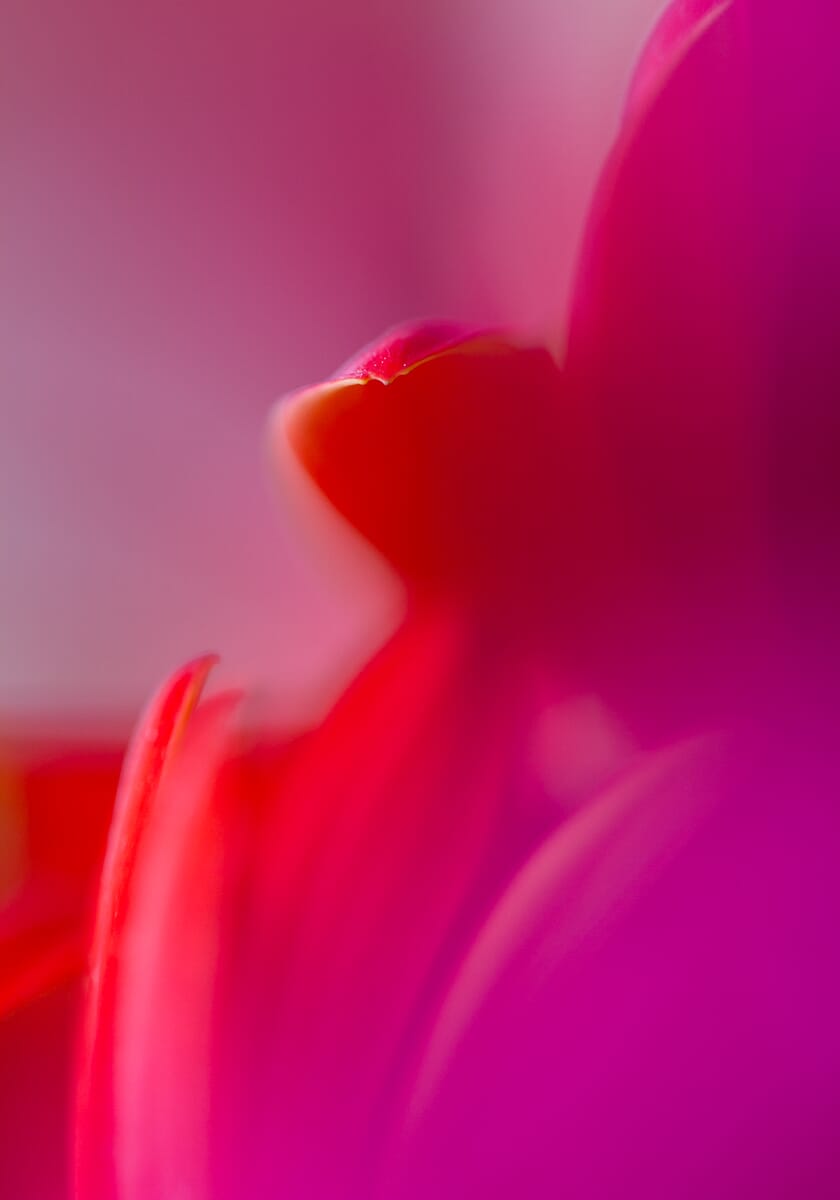
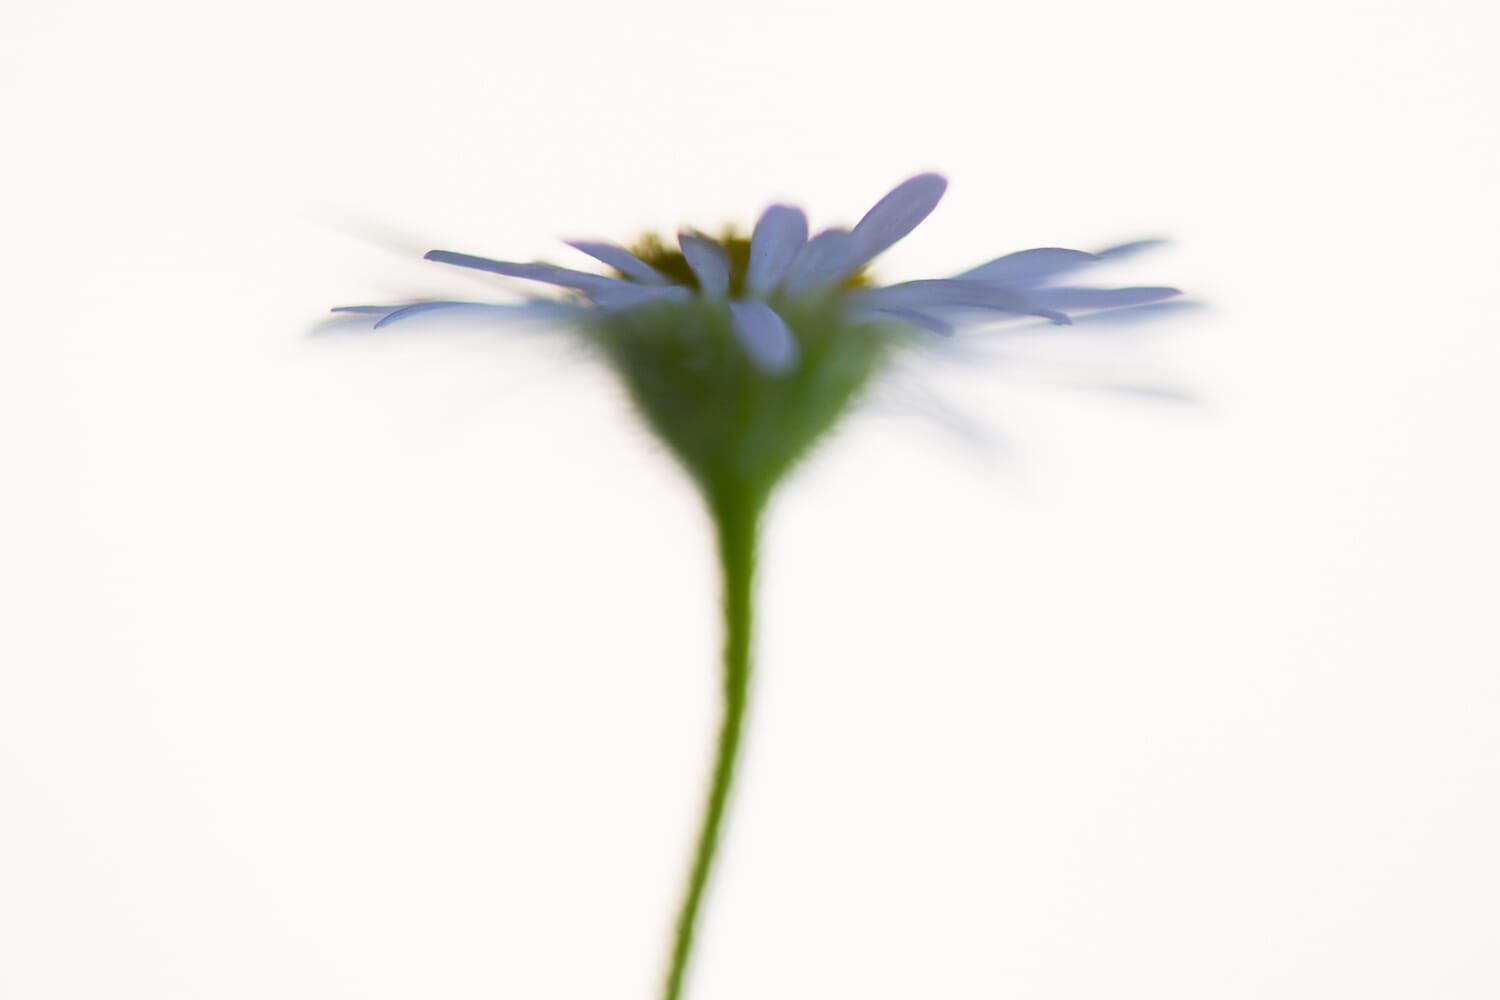
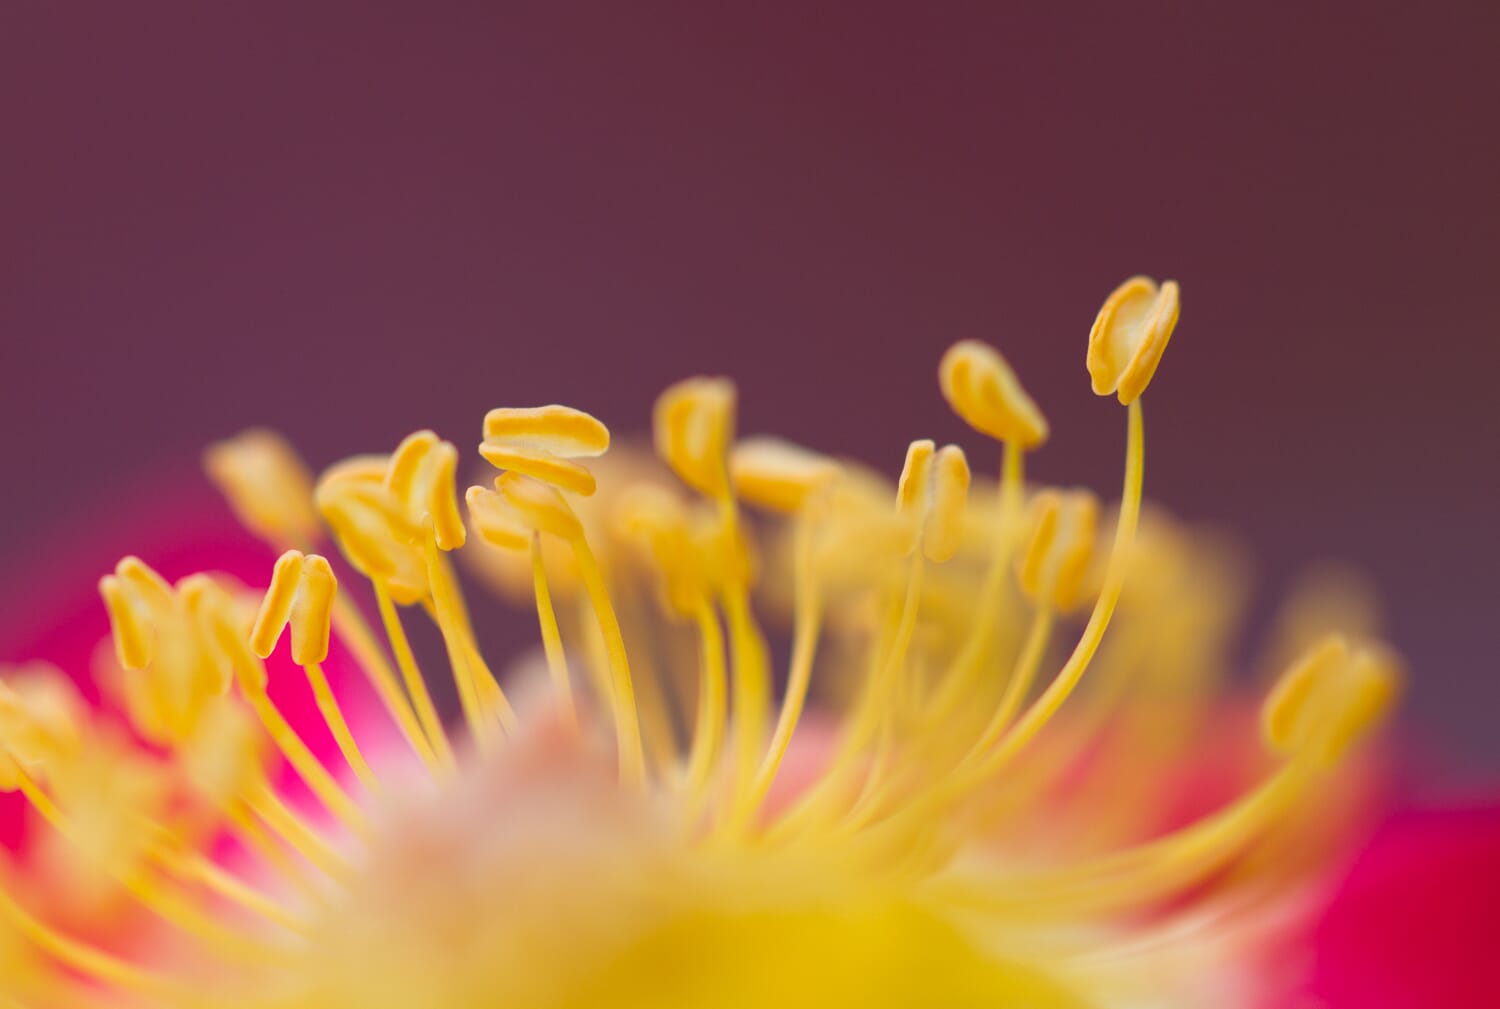
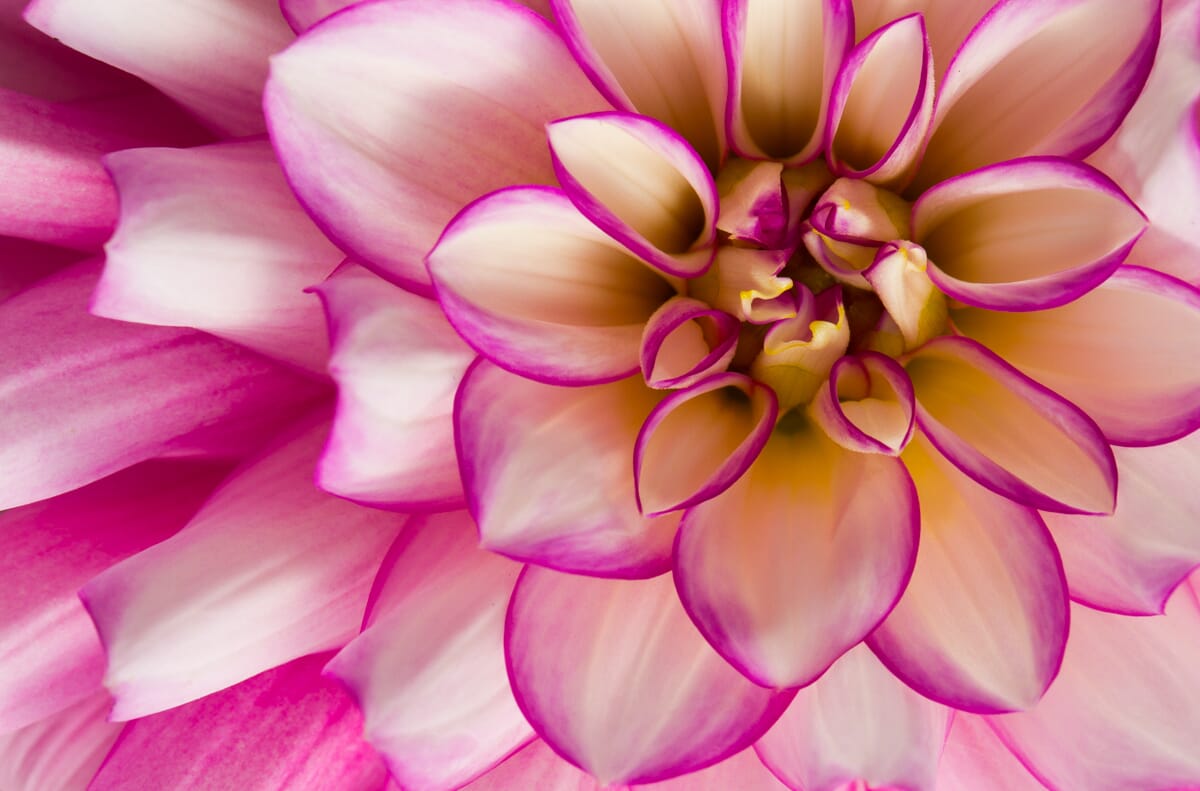
The depth of field refers to the amount of the photo that’s sharp. A photo like this has a shallow depth of field, because only a sliver is in focus:
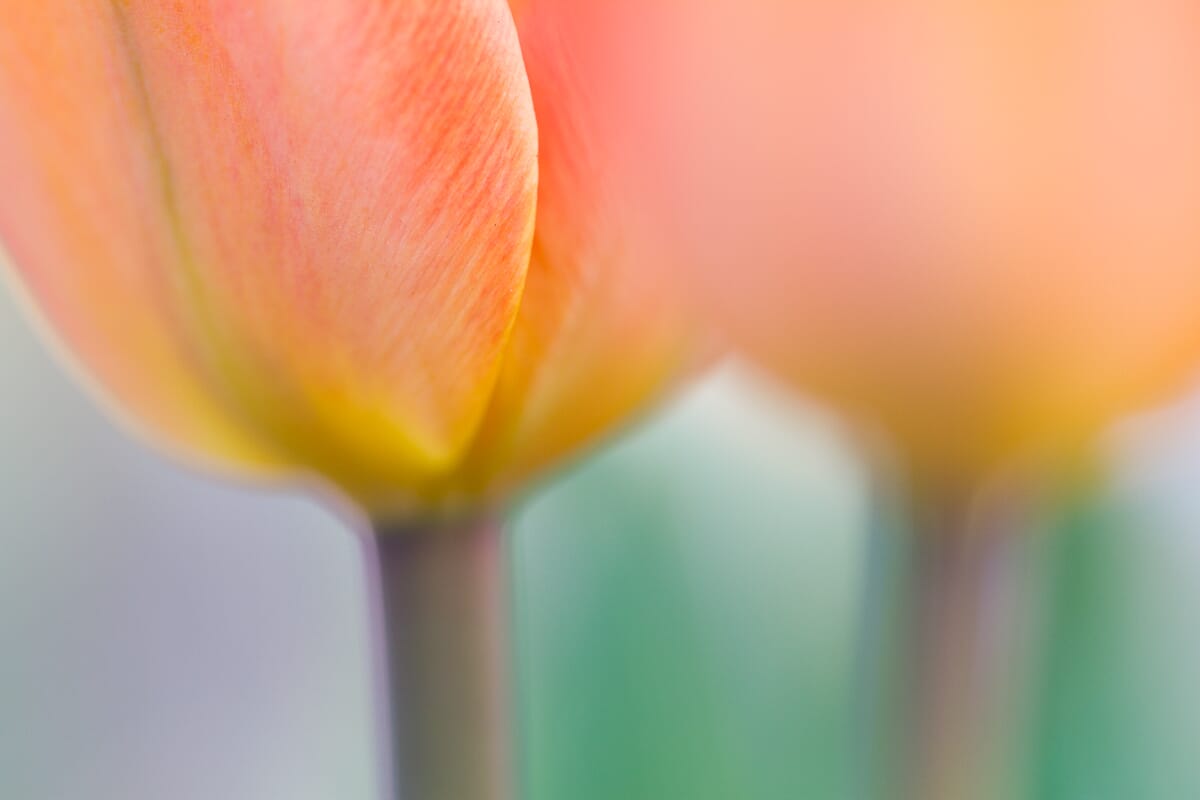
That’s caused by a wide aperture, such as f/2.8.
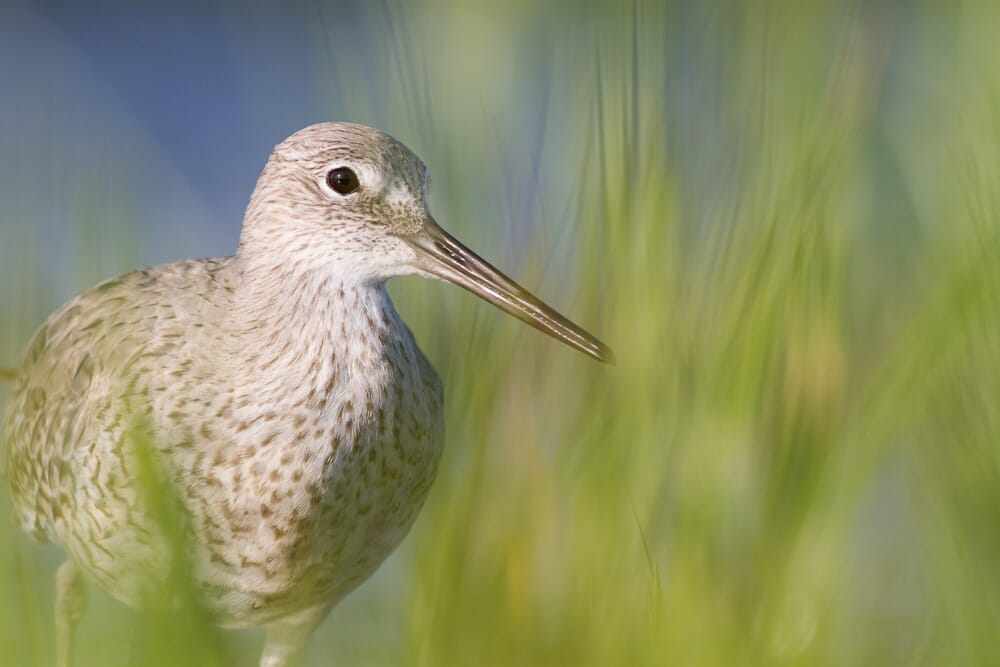
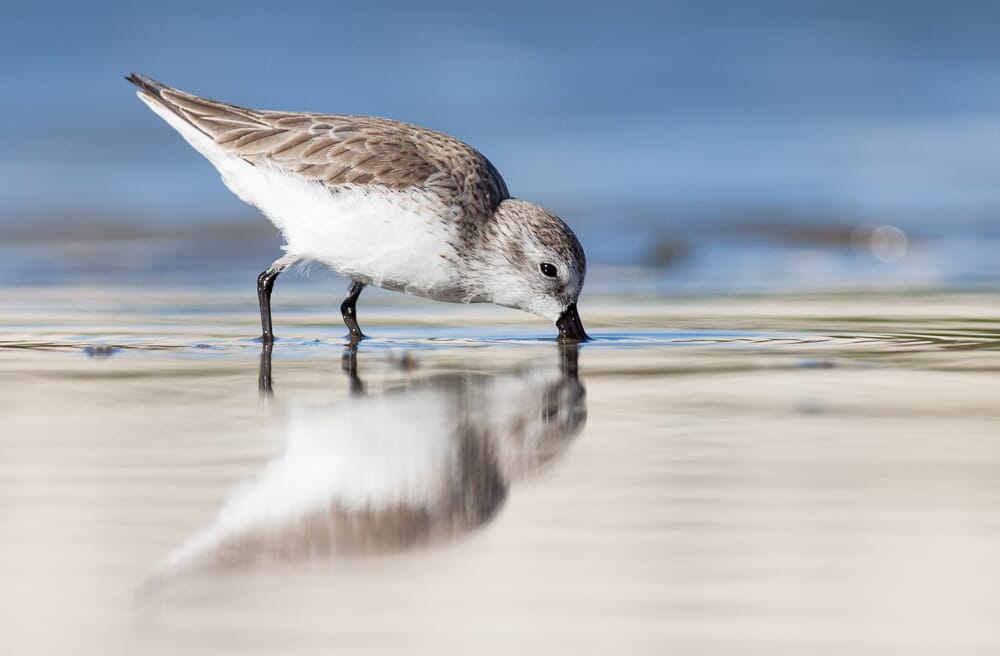
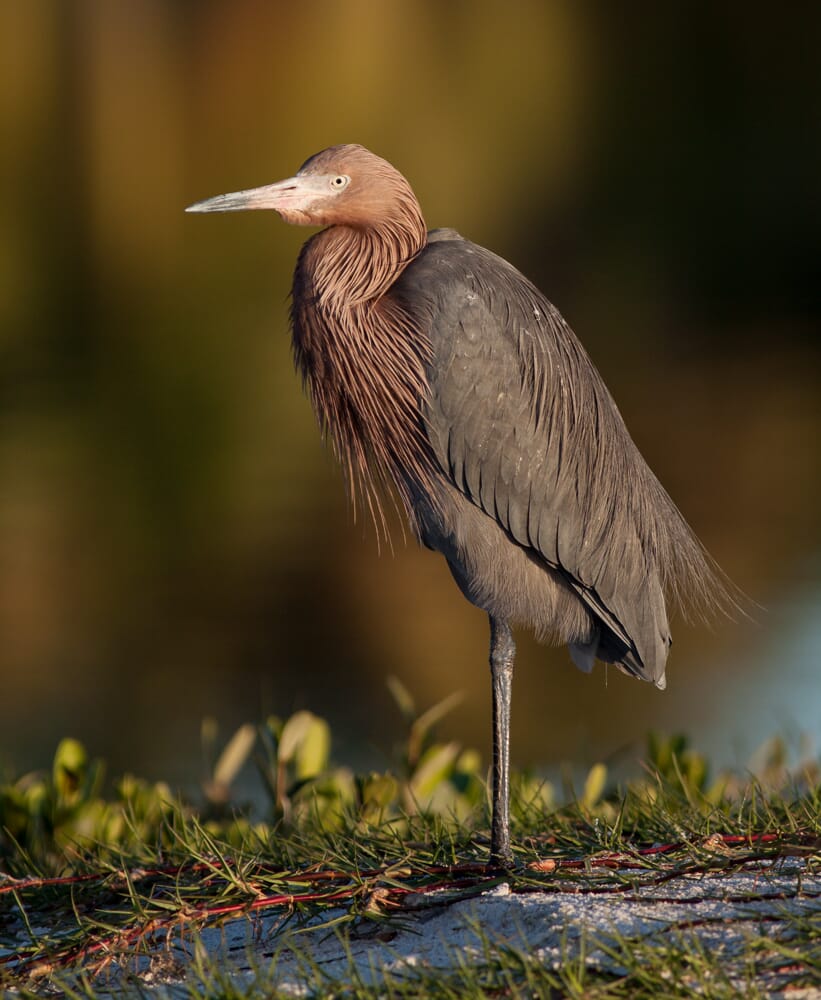
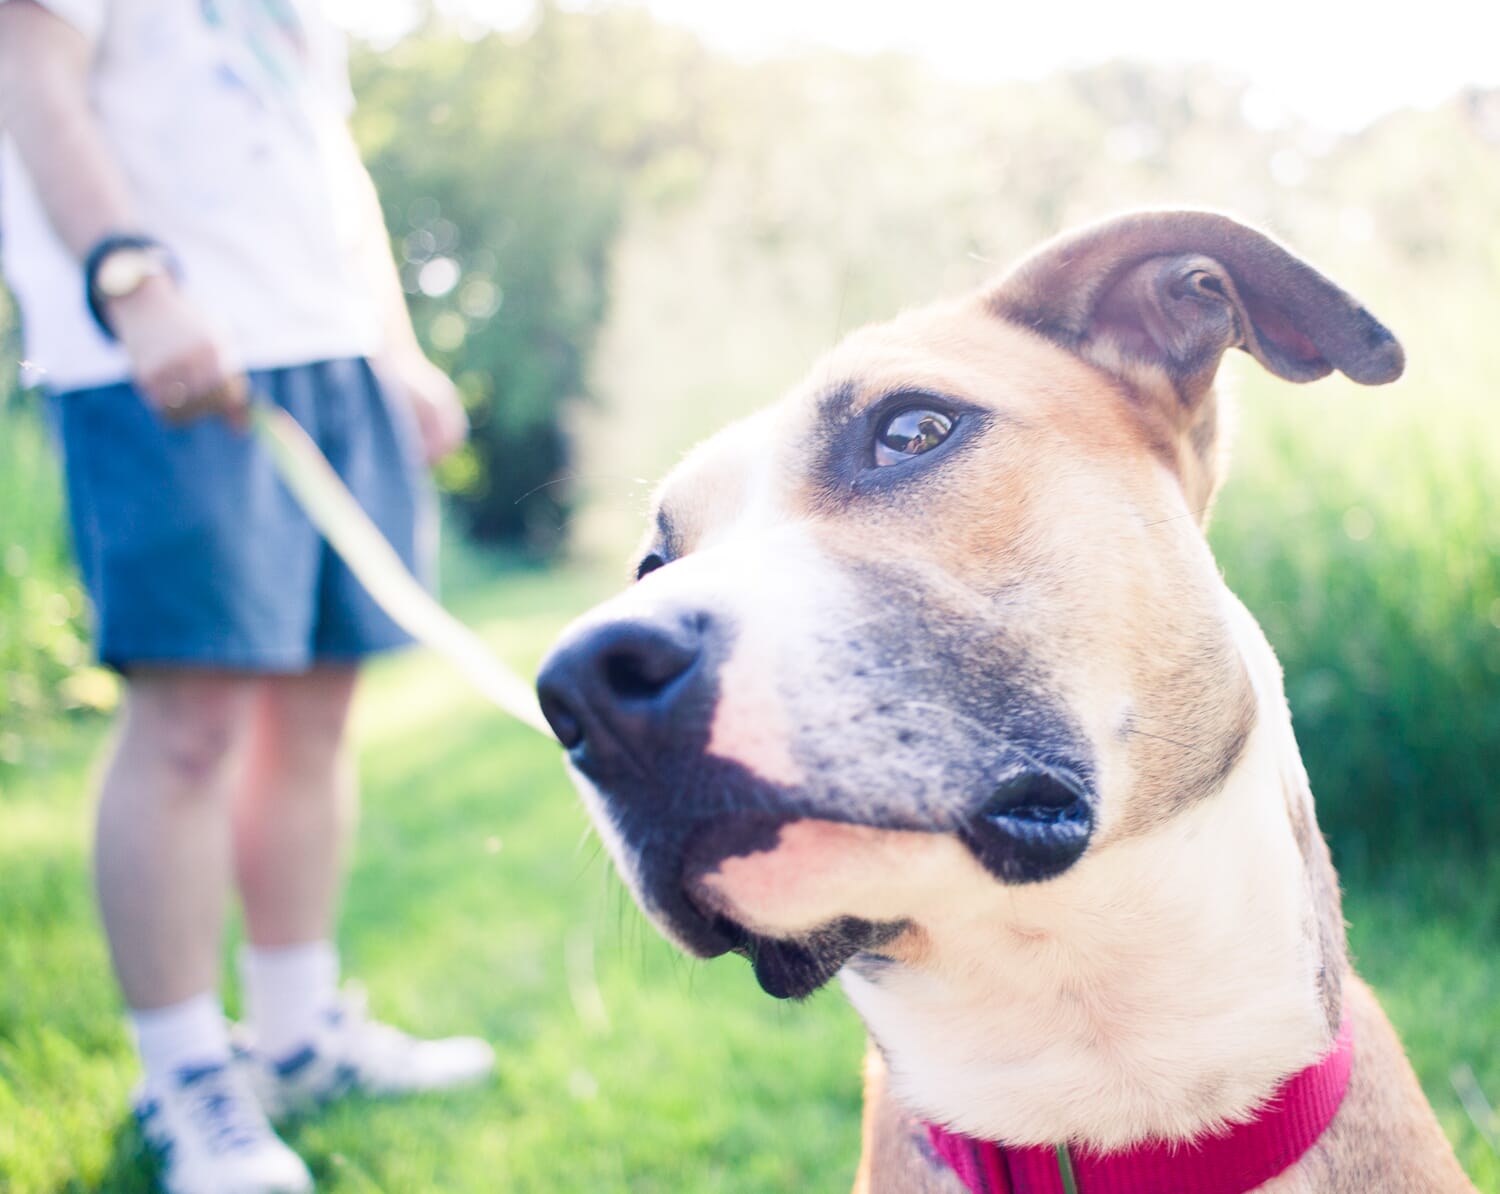
Whereas this photo has a deep depth of field, because it’s sharp throughout:
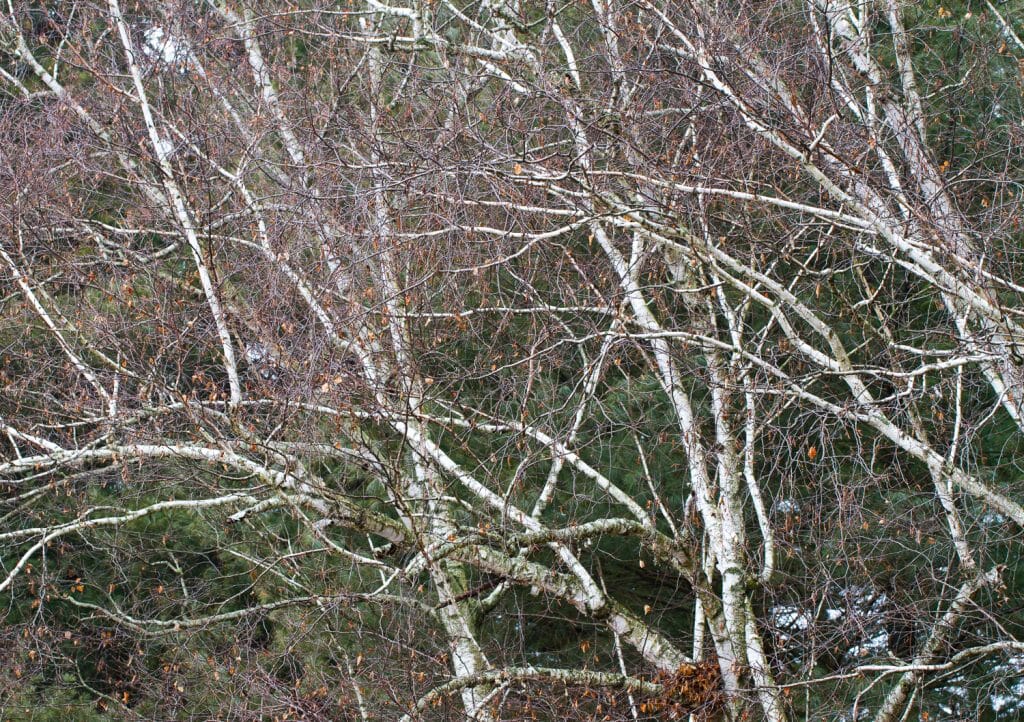
That’s caused by a narrow aperture, such as f/11.
Note that there’s no one ‘best’ depth of field; instead, different depth of field choices suit different subjects and different styles.
So you see: Aperture is a key camera setting, one that you absolutely need to control.
Setting #3: ISO
ISO is the third and final piece of the “exposure triangle,” as it’s called.
In other words, ISO, along with the shutter speed and the aperture, determines the overall brightness (i.e., exposure) of your photos.
ISO is written like this:
ISO 100, ISO 200, ISO 400, etc.
And the higher the ISO, the brighter your photos will appear, because the ISO is the camera’s sensitivity to light.
Most cameras have a minimum ISO of around 100 or 200, and I recommend you use this setting whenever possible. If you have enough light, there’s no need to crank up the ISO.
Why?
Because the higher the ISO, the more you get noise in your images, which is unpleasant-looking spots of color in your photos.
So you have to choose an ISO that will get you the exposure you want, without making things so noisy that the image has to be trashed.
In fact, I recommend you only ever choose the highest ISO that you absolutely need, and go no higher. Because the more you raise your ISO, the more you’re setting yourself up for trouble.
Note that you can always reduce noise in post-processing. But removing noise decreases the image quality of your photos, making them less sharp overall.
That’s why I recommend that you reduce noise in-camera as much as possible!
Setting #4: Aperture Priority Mode
Now that you’ve discovered the three key exposure settings, it’s time to look at the most useful camera mode:
Aperture Priority is accessed via the Mode dial on your camera, and it gives you control over the aperture and the ISO.
So you can dial in your preferred aperture. You can dial in your preferred ISO.
And your camera will automatically set the shutter speed, one that will keep things looking nice and bright.
Aperture Priority is extremely useful because it lets you select the aperture, which is an important artistic choice–and in situations where you need to keep your shutter speed as fast as possible, you can choose the maximum (widest) aperture, and let the camera determine the fastest shutter speed you can get away with.
Then, if the shutter speed is too slow for your purposes, you can always boost the ISO. Your camera will follow suit with the shutter speed, increasing it to compensate for the increased ISO value.
Note that while your camera will generally do a good job with exposure in Aperture Priority mode, it’s not perfect. There will be times when the scene is too dark or too bright for your tastes.
When that happens, you can use something called exposure compensation, which allows you to overexpose or underexpose your image relative to what the camera decides. So if you take a photo and the shot is too dark, you can use a bit of exposure compensation in your next photo.
Setting #5: AI-Servo (Also Known as Continuous AF)
Here’s the final DSLR setting you should know:
AI-Servo.
This is an autofocus setting, and therefore determines how your camera focuses on different subjects.
You see, when you press down the shutter button halfway, your camera will lock focus on the subject. But with One-Shot AF, the camera will stop focusing once it has acquired focus.
Whereas with AI-Servo, your camera will adjust focus every time your subject moves. So if your camera acquires focus on a dog, but the dog runs forward toward the lens, your camera will track it–even as you take dog photos.
Now, both AI-Servo and One-Shot autofocus have their place. It’s not a good idea to use AI-Servo all the time, because there are situations where you want to lock focus then move your camera, and you don’t want it to reacquire focus elsewhere.
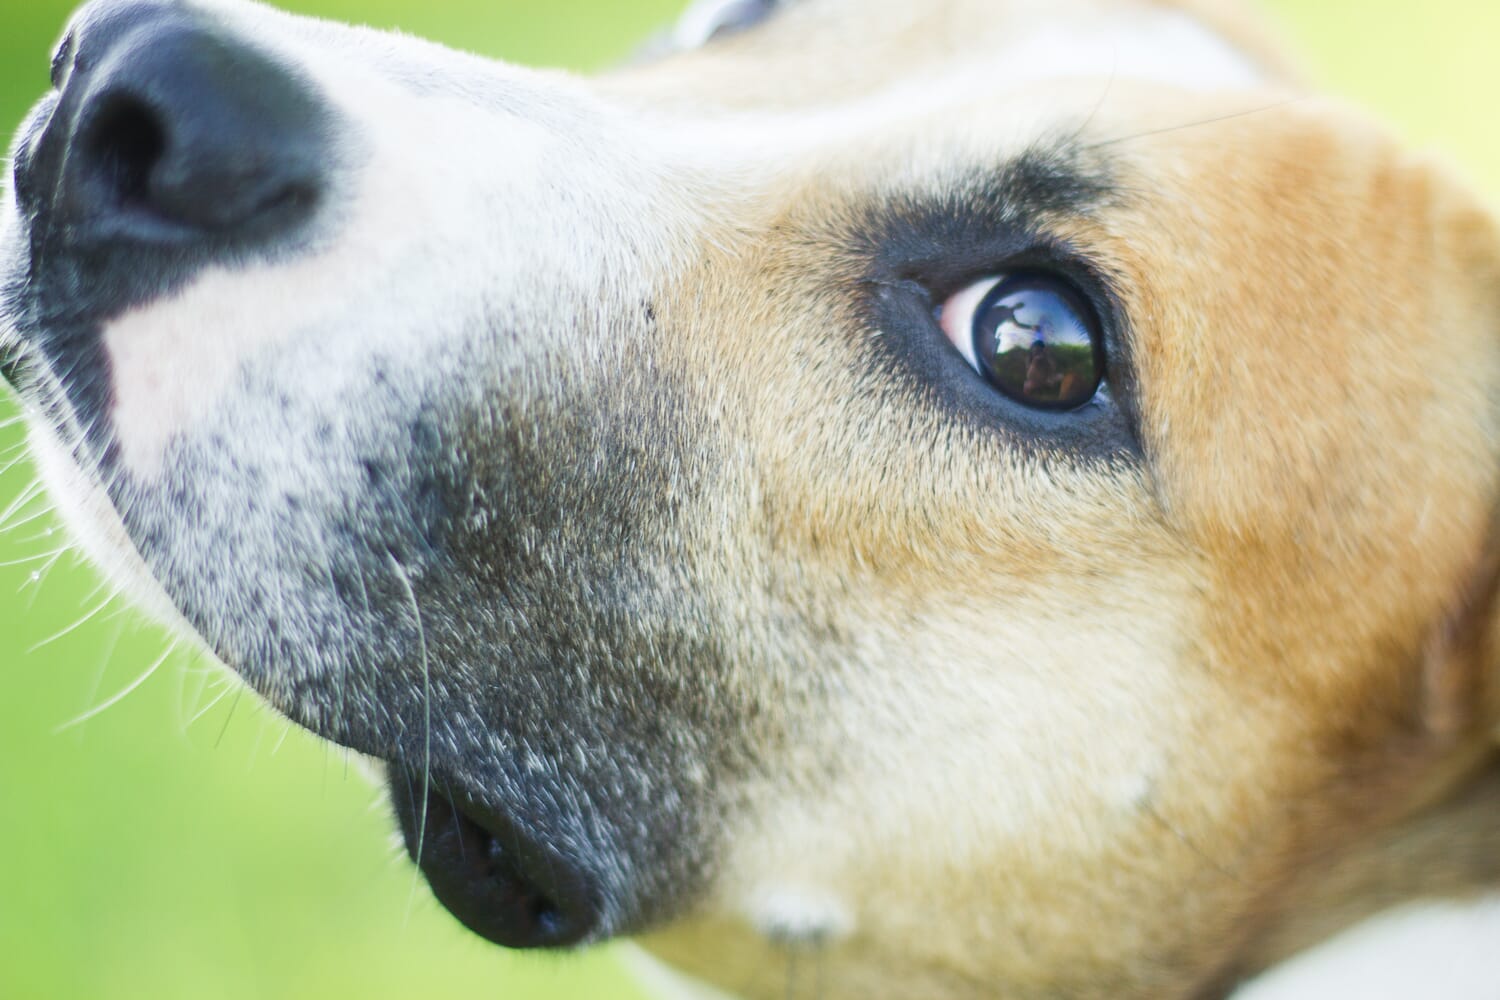
For instance, when doing a portrait session, you might want to lock focus on the subject’s eyes, but then change the framing–without having your camera reacquire focus on background elements, or on the subject’s chin, etc.
That’s what I did for this dog photo:
But most beginners leave their camera on One-Shot AF, and never explore anything else.
Instead, I recommend you use AI-Servo when dealing with action situations, and One-Shot when you’re working with still subjects.
The key is to remember you have AI-Servo in your arsenal–and to bring it out when you need it!
That way, you’ll get some stunning action shots.
5 Simple DSLR Settings Every Photographer Should Know (For Stunning Photos): Conclusion

You should now be familiar with a number of key DSLR settings…
…which will very quickly take you from a beginner to a more serious photographer.
I’d also recommend you practice working with the different controls on your camera, so that you know how to adjust them quickly in the field.
Good luck, and happy shooting!
What is the aperture in photography?
The aperture is a diaphragm in your camera lens, which controls the amount of light the camera lets in, as well as the depth of field (i.e., the amount of the photo that’s sharp).
What is the shutter speed in photography?
The shutter speed is the length of time you actually take a photo for. So when you press down the shutter button, the shutter speed determines whether you’ll take a long exposure or a quick shot. The faster the shutter speed, the sharper the photo–but faster shutter speeds also result in darker photos, all things being equal.
What is AI-Servo?
AI-Servo is an autofocus mode that continuously grabs focus, rather than focusing once for a photo and locking the point of focus. It’s the perfect mode for action photography!
What are the key settings in photography?
There are five key settings in photography: the shutter speed, the aperture, the ISO, Aperture Priority mode, and AI-Servo. If you want to capture great pictures, you should be familiar with all of these, and you should be able to use them easily in different situations.