Editor’s Key Takeaways: Master Lightroom Preset Sales: A Step-by-Step Guide

This article outlines a comprehensive guide to creating and selling Lightroom presets, perfect for both beginners and seasoned photographers. The process involves thoughtful editing, effective marketing, and delivering a quality product that resonates with your audience.
- Step 1: Edit a Series of Photos in Lightroom
- Step 2: Create Presets in Lightroom
- Step 3: Find Your Preset Folder
- Step 4: Package the Presets in a ZIP File
- Step 5: Put Your Presets Up for Sale
- Step 6: When a Preset Pack Sells, Send It to the Customer!
- Advanced Tips
Start by editing photos with a specific theme or mood in mind to create cohesive presets that attract your target audience.
Save your custom edits as presets to streamline the editing process for future photos, ensuring that they are easy to apply and diverse.
Locate where Lightroom stores your presets on your computer for easy access and packaging.
Compress your preset files into a ZIP folder for easy delivery and customer access.
Upload your presets to a selling platform or your own website, ensuring a professional presentation and clear pricing.
Promptly deliver the preset files to the buyer once a sale is made to ensure customer satisfaction.
This article also includes advanced tips to enhance the quality and marketability of your presets, helping to increase interest and revenue.
Overall, creating and selling Lightroom presets can be a rewarding venture if done correctly, from the initial editing process to the final sale and delivery, allowing you to monetize your photography skills effectively.
Introduction
This article shares the step-by-step process for creating and marketing Lightroom presets, including the ins and outs of preset export, packaging, and delivery. Advanced preset-making tips are also provided for photographers looking to increase preset interest, revenue, and customer satisfaction.
Whether you’re creating your first preset pack or looking for helpful tips as a seasoned seller, you’ll find valuable insights here.
How to Sell Lightroom Presets: Step-By-Step Guide
Creating and selling presets in Lightroom can be an involved process, but it’s easier than you might think. If you’re willing to put in the work, you can achieve great results.
Here’s the exact step-by-step process you need to get a preset business up and running:
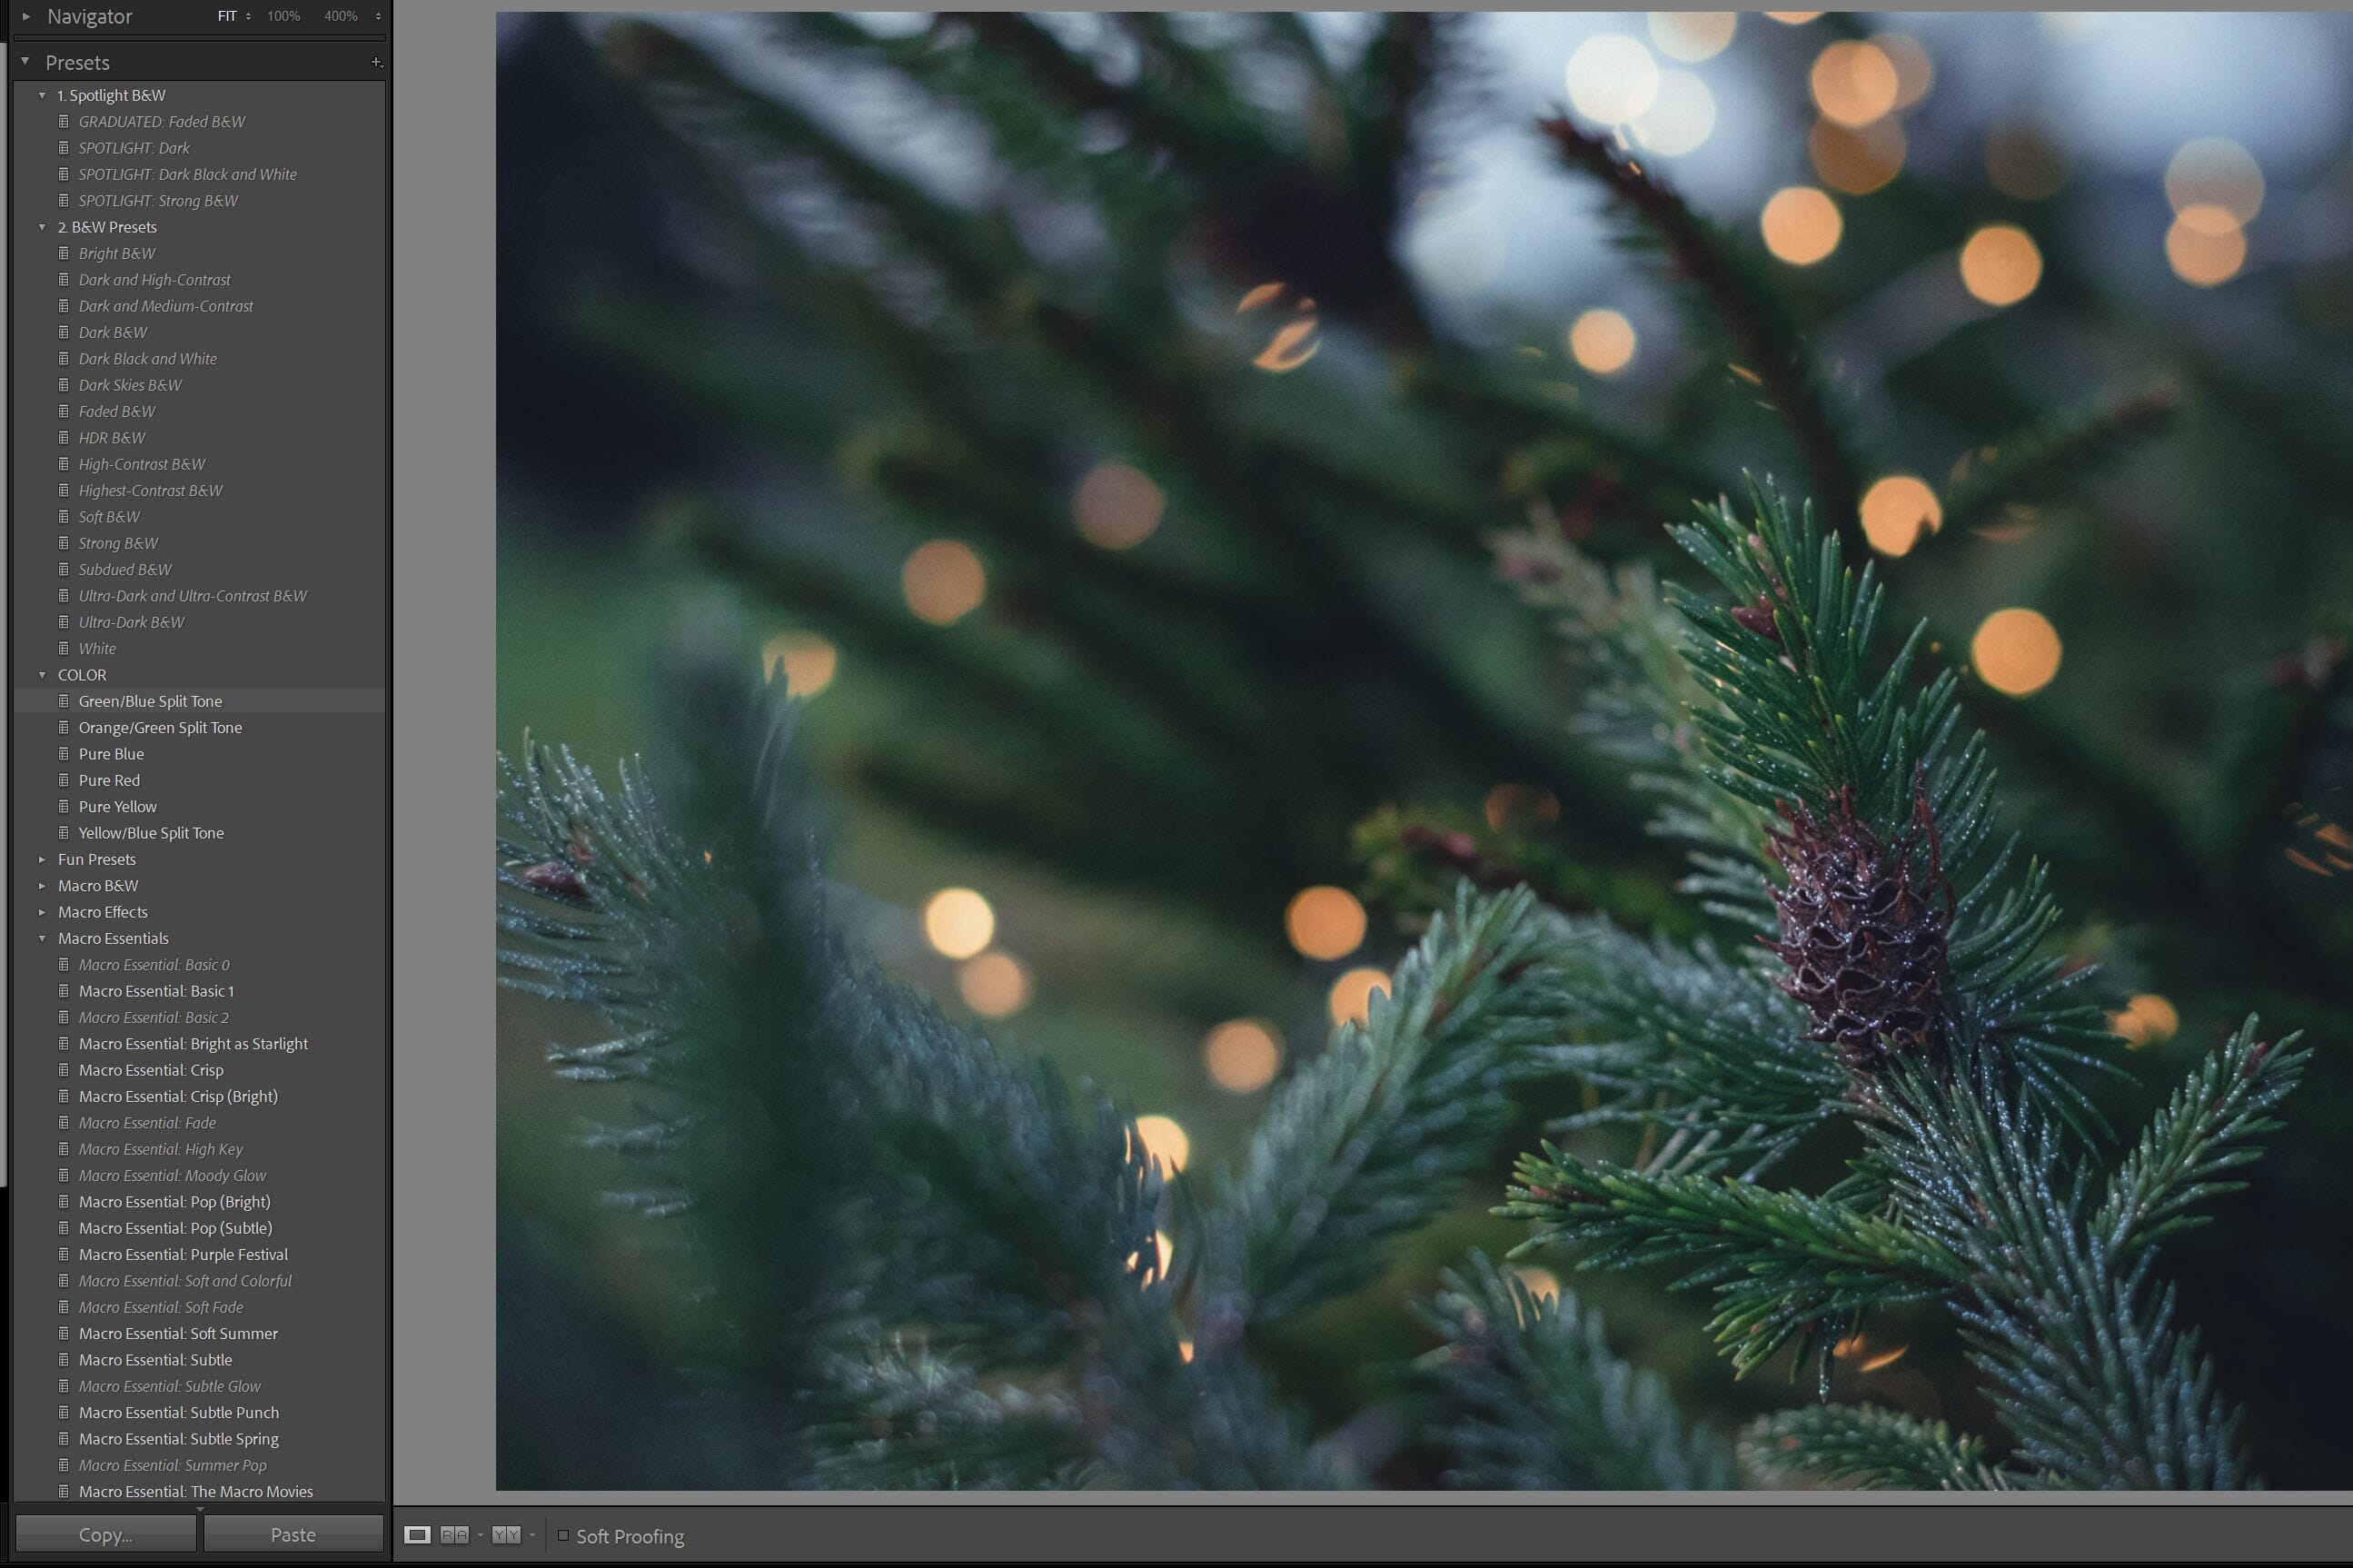
Step 1: Edit a Series of Photos in Lightroom
Preset creation begins with Lightroom editing; after all, you can’t create presets without quality edits to sell.
Before editing, identify the feeling or mood you want your preset pack to convey. This approach allows for a cohesive series of edits centered around a specific theme. For instance, if you aim to create dark and moody presets, edit a set of 10 to 40 images to achieve that dramatic look by adjusting exposure, contrast, and adding vignettes. Experimentation is encouraged, but focus on creating cohesive edits rather than identical ones.
If you’re struggling to find a theme, refer to photography styles you admire or revisit your past edits for inspiration.
By the end of this step, you should have at least 10 edits you’re satisfied with, ideally 20 to 25.
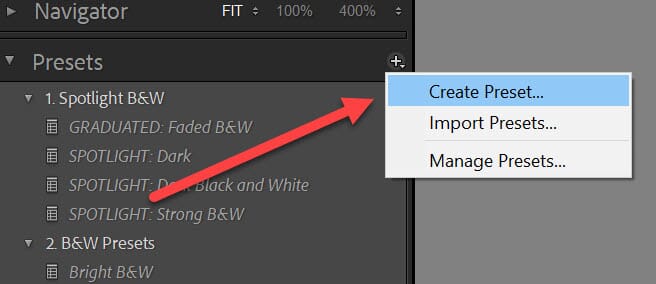
Step 2: Create Presets in Lightroom
Gather all your edited images into a Lightroom Collection.
Select each image, click the + icon, and choose Create Preset.
Assign a name to your preset and click Check All to ensure all key edits are included.
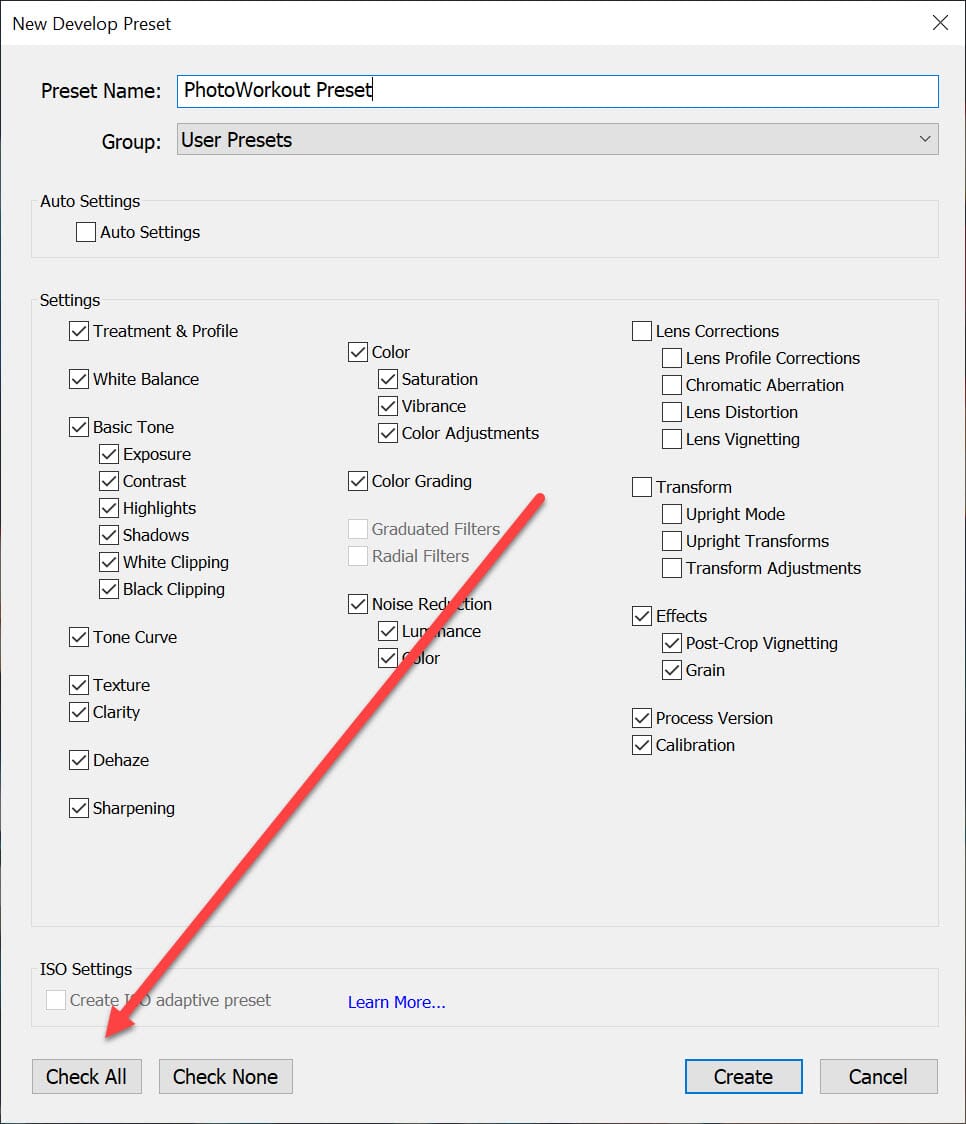
Finally, click Create to finalize your presets.
Your presets should now appear in the Lightroom Presets panel under User Presets.
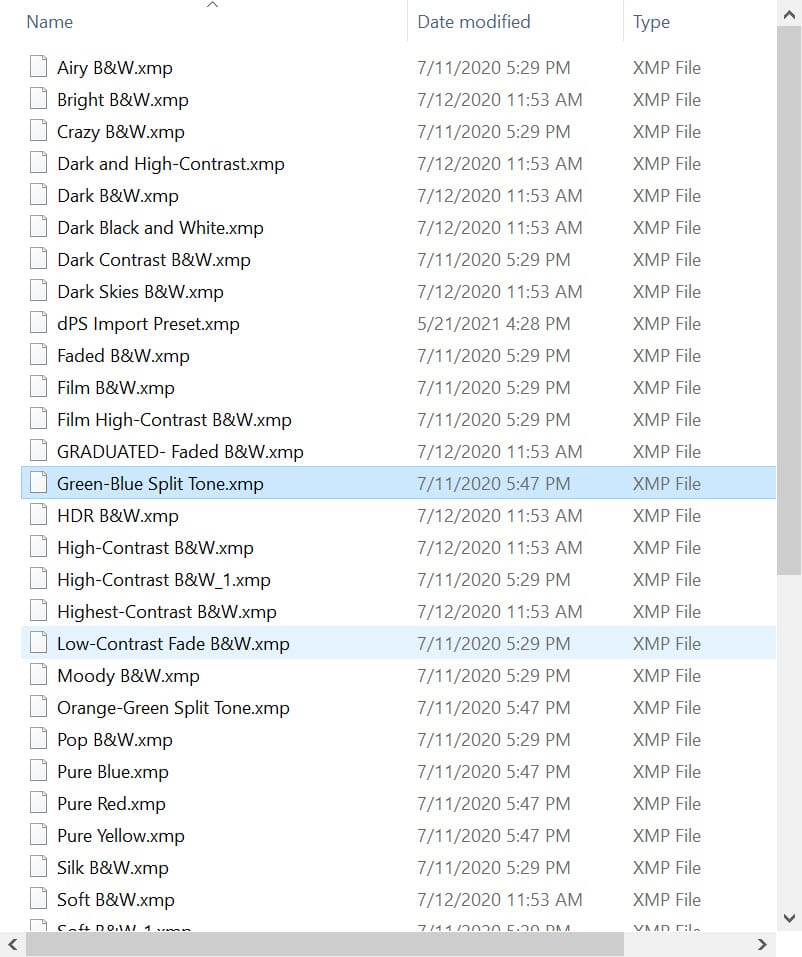
Step 3: Find Your Preset Folder
Now that you’ve created your presets, locate them on your desktop for packaging.
Right-click on your first preset, and select Show in Explorer (or Show in Finder on a Mac):
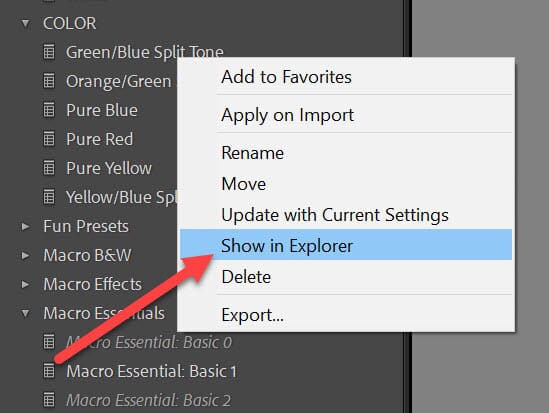
A window will pop up, displaying your selected preset among all other user presets.
If any presets are missing, they might be in a neighboring folder. Check other preset options by going up one level.
If you still can’t locate all your presets, right-click on the missing presets in Lightroom to find each one individually.
Step 4: Package the Presets in a ZIP File
Highlight all your user presets, right-click, and select Send To > Compressed (zipped) folder:
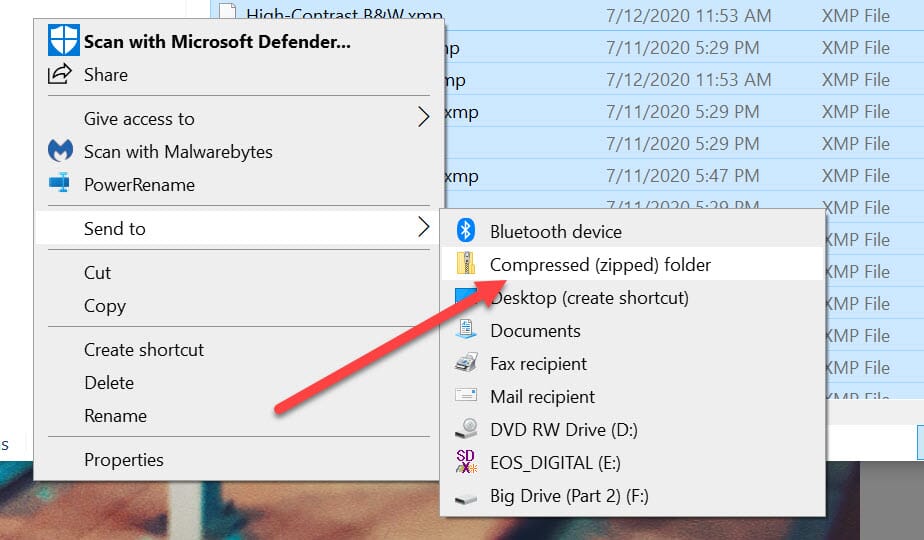
On a Mac, right-click and select Compress (folder X), where “folder X” is your folder’s name.
Label the folder descriptively for your customers, such as “Jaymes’s Moody Presets.” This will be the true “Preset Pack” you send upon purchase.
Step 5: Put Your Presets Up for Sale
Now it’s time to market your presets. You can sell them on various platforms like Etsy, but I highly recommend setting up your own website. This way, you retain the full revenue without marketplace fees.
If you don’t have a website, consider starting with WordPress. To accept credit cards or PayPal, add the WooCommerce plugin, which is free and easy to install.
Alternatively, you can create an online store using platforms like Squarespace or Shopify, although these may limit your flexibility for future projects. They are great for beginners, but weigh the pros and cons carefully.
Once your preset pack is on your website, add a catchy title, a description, and examples of the presets in action. Set a price for your presets, and if you’re unsure, refer to the pricing tips section below.
Next, leverage your social media and contact channels to generate interest. Instagram is popular for advertising presets; consider placing a link in your bio and mentioning your presets in posts, including before/after comparisons.
Other marketing avenues include Facebook, Twitter, Tumblr, a blog, and an email list, which will be discussed in detail below.
Step 6: When a Preset Pack Sells, Send It to the Customer!
Once sales begin, it’s crucial to deliver your presets promptly and as promised to avoid refunds and frustrated customers.
You have two options for delivering presets:
- Include a download link right after checkout.
- Send the presets in an automated email triggered by the checkout process.
The second option is preferable, as it feels more personal and allows for follow-up emails. However, it may require setting up email autoresponder software, such as Mailchimp, which offers a free plan with WooCommerce integration.
Most importantly, ensure easy access to your presets. A smooth delivery experience increases the likelihood of referrals and repeat customers for future preset packs.
Respond promptly to customer service inquiries to maintain satisfaction. Quick resolutions can prevent complaints and refund requests.
Tips for Selling Lightroom Presets
Now that you’re familiar with the basics of selling presets, here are some tips to improve both the quality and sales of your presets.
1. Test Your Checkout Process as Soon as Possible
While eCommerce systems are powerful, they can also be complicated. A small mistake can cause significant issues, such as orders not being processed correctly.
Before your preset packs go live, or as soon as they do, test the checkout process multiple times. Ensure you check every detail, including credit card information, PayPal integration, and preset delivery.
Most selling platforms offer an option to use a fake credit card for testing, so you don’t need to worry about making real purchases.
2. Keep Your Presets Targeted
Maintain cohesion in your presets by clustering them around a single theme (e.g., a feeling, atmosphere, or season).
Aim to target specific types of photographers, such as portrait or landscape photographers. This specificity increases customer confidence that the presets will suit their needs, making them more likely to choose your pack over a generic option.
You can also consider targeting based on season, as autumn presets are particularly popular, or by style, like vintage presets.
3. Be Careful With Selective Adjustments
While you can make various adjustments in your presets, be cautious with selective adjustments using the Adjustment Brush, Radial Filter, and Graduated Filter.
For example, a preset that includes an exposure adjustment applied to a subject’s eyes may not work universally; the adjustment could misalign on different images, leading to awkward results.
If you choose to include such adjustments, ensure you inform your customers about the necessary actions they must take to achieve the desired effect.
4. Spread the Word (Especially Among Your Fans)
Once your preset pack is live, actively market it. A “Build it and they shall come” approach is unlikely to succeed, as potential customers need to know where to find your presets.
While social media is effective for marketing presets, creating an email list is crucial. Use a service like Mailchimp to send emails to your fans, encouraging them to check out your presets.
To start building your email list, consider creating a blog. Write about topics that interest your audience, such as photography and editing, and include a sign-up form to attract subscribers.
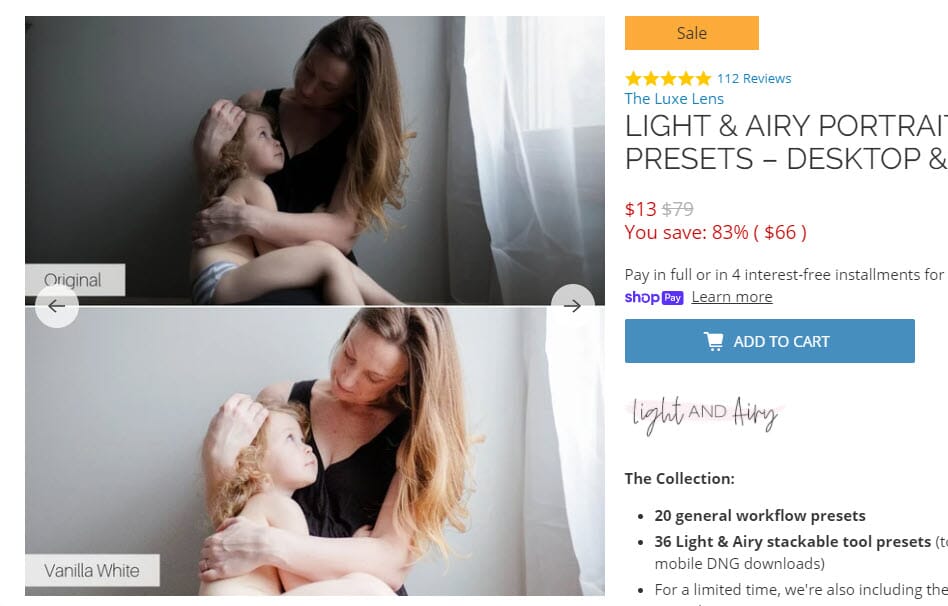
5. Include Plenty of Before/After Images
Presets are visually driven products. While descriptions are helpful, visual marketing is essential. Include before and after comparisons to demonstrate the effectiveness of your presets.
Showcase at least five before and after comparisons. Export images before and after applying your presets, and consider using plugins that allow viewers to slide between the two.
6. Don’t Try to Undercut the Competition on Price
Pricing presets can be challenging, with options ranging from free to hundreds of dollars.
It’s essential to value your presets appropriately. While it may be tempting to sell them cheaply, I recommend pricing them at a minimum of $10 USD if you’ve invested genuine effort into their creation.
If initial pricing is too high and sales are slow, you can always reduce the price for a future sale.
7. Give Your Customers an Instruction Sheet
Providing an instruction sheet with your presets is crucial to help customers navigate the setup process.
Include essential information on extracting files from the ZIP folder and installing presets in Lightroom, along with tips for optimal use.
Selling Lightroom Presets: Conclusion
In summary, this guide provides clear steps for successfully selling Lightroom presets. With the right approach, you can confidently create and market your presets. Good luck!