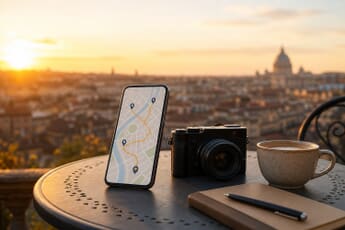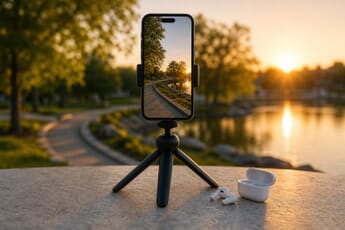
New York Photo Tour: The Perfect One-Day Route — With a Free Downloadable PDF
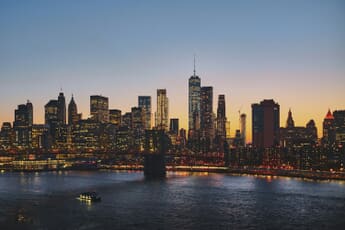
A complete one-day New York photo tour, sequenced around the light – DUMBO sunrise, Brooklyn Bridge golden hour, the Oculus and Grand Central, SoHo, and the skyline at sunset. Includes a free printable PDF with a Google Maps QR code for every stop.