Editor’s Key Takeaways: Mastering Studio Lighting: Ultimate Guide to Photography Umbrellas

Photography umbrellas are essential, versatile light modifiers that offer simplicity and portability for studio photographers. They soften and even out light from external flashes.
- Different umbrellas – Shoot-Through, Reflective, and Parabolic – serve unique purposes.
- Shoot-Through umbrellas diffuse light directly onto the subject.
- Reflective umbrellas bounce light back, creating a softer look.
- Parabolic umbrellas offer more focus and control over light shape and direction.
Using umbrella lighting involves strategic positioning:
- The One Overhead arrangement positions the umbrella above the subject for balanced lighting.
- The Triangle Arrangement uses three umbrellas for a dynamic light setup.
Umbrellas are excellent for both studio portraits and outdoor shoots, providing consistency and ease across various setups.
Although they lack the versatility of other modifiers like softboxes paired with grids, their affordability and portability make them a valuable addition to any photographer’s toolkit.
When you buy through links on our site, we may earn a commission at no cost to you. We evaluate products independently. Commissions do not affect our evaluations. As an Amazon Associate, we earn from qualifying purchases.
Introduction
With so many different lighting options available for studio photographers, it can be overwhelming to figure out what to use. Umbrellas are coming to your rescue!
The most commonly seen item in a studio, photography umbrellas help you light up your subject beautifully with ease – lessening the headache of more complex lighting equipment.
Here is our ultimate guide on how to set up umbrella lighting for photography, granting you all the knowledge to take stunning photographs!
How to Set Up Umbrella Lighting:
When Should You Use Umbrellas in Photography?
With so many lighting modifiers on the market today, from softboxes to beauty dishes, where do umbrellas come into play? Everywhere!
Umbrellas are great to soften the light of an external flash and help modify it. Modifying light refers to being able to control how the light comes out. Umbrellas help ensure that your flash isn’t super harsh and instead looks nice and evenly spread.
Umbrellas are the least expensive option of all of the flash and strobe lighting modifiers and they are also the most portable. Opening and closing like your standard rain umbrella, this product is easy to store and carry.
The con to umbrellas is that they’re really just a one-trick pony; they don’t provide a lot of options. For example, softboxes can be paired with grids to prevent light from spilling into an area you do not want. But having been built for just one purpose, they do that purpose well.
You can use an umbrella anywhere – from capturing studio portraits to outdoor photographs at dusk.
Which Type of Umbrella Is Best?
Photography umbrellas come in three distinct variations, each with its own purpose.
Shoot-Through Umbrellas
As the name implies, these are umbrellas in which your light source is shot through the umbrella itself and the light that comes out is softened and spread. The umbrella acts as a diffuser, being placed between your subject and the light source that is being aimed at your subject! These umbrellas are completely white, consisting of a fabric that lets light pass through but isn’t completely translucent.
Reflective Umbrellas
Reflective umbrellas help direct the light instead of softening its output. They are solid black on the outside with a silver reflective material on the inside. With this umbrella, the light source is pointed into the umbrella so that it bounces out of it. The umbrella is placed in such a way that the light source is not actually shooting towards the subject, instead, it’s shooting into the reflective part of the umbrella to then bounce the light back onto the subject!
Convertible Umbrellas
Best for photographers that are constantly adapting their light on the spot (or those that are unsure what umbrella to use) convertible umbrellas are the hybrid between shoot-throughs and reflectives. These types of umbrellas have a black cover that can be taken off and put back on; off for a shoot-through and on for a reflective. The caveat is that when using this umbrella on its reflective side, it will not be as powerful a light bouncer as a true reflective umbrella.
Neither is better than the other, they’re just different! Many photographers actually use different types of umbrellas simultaneously. As to which one you should use, that depends entirely on what subject you are capturing and what you’re looking to accomplish.
For product or still life photographers, most prefer the shoot-through umbrella. This is because the light simply needs to be softened and evened rather than offering a heavy illumination. Plus, shoot-through umbrellas also need to be placed fairly close to the subject, which is much easier to do with objects that won’t sprout legs and run away.
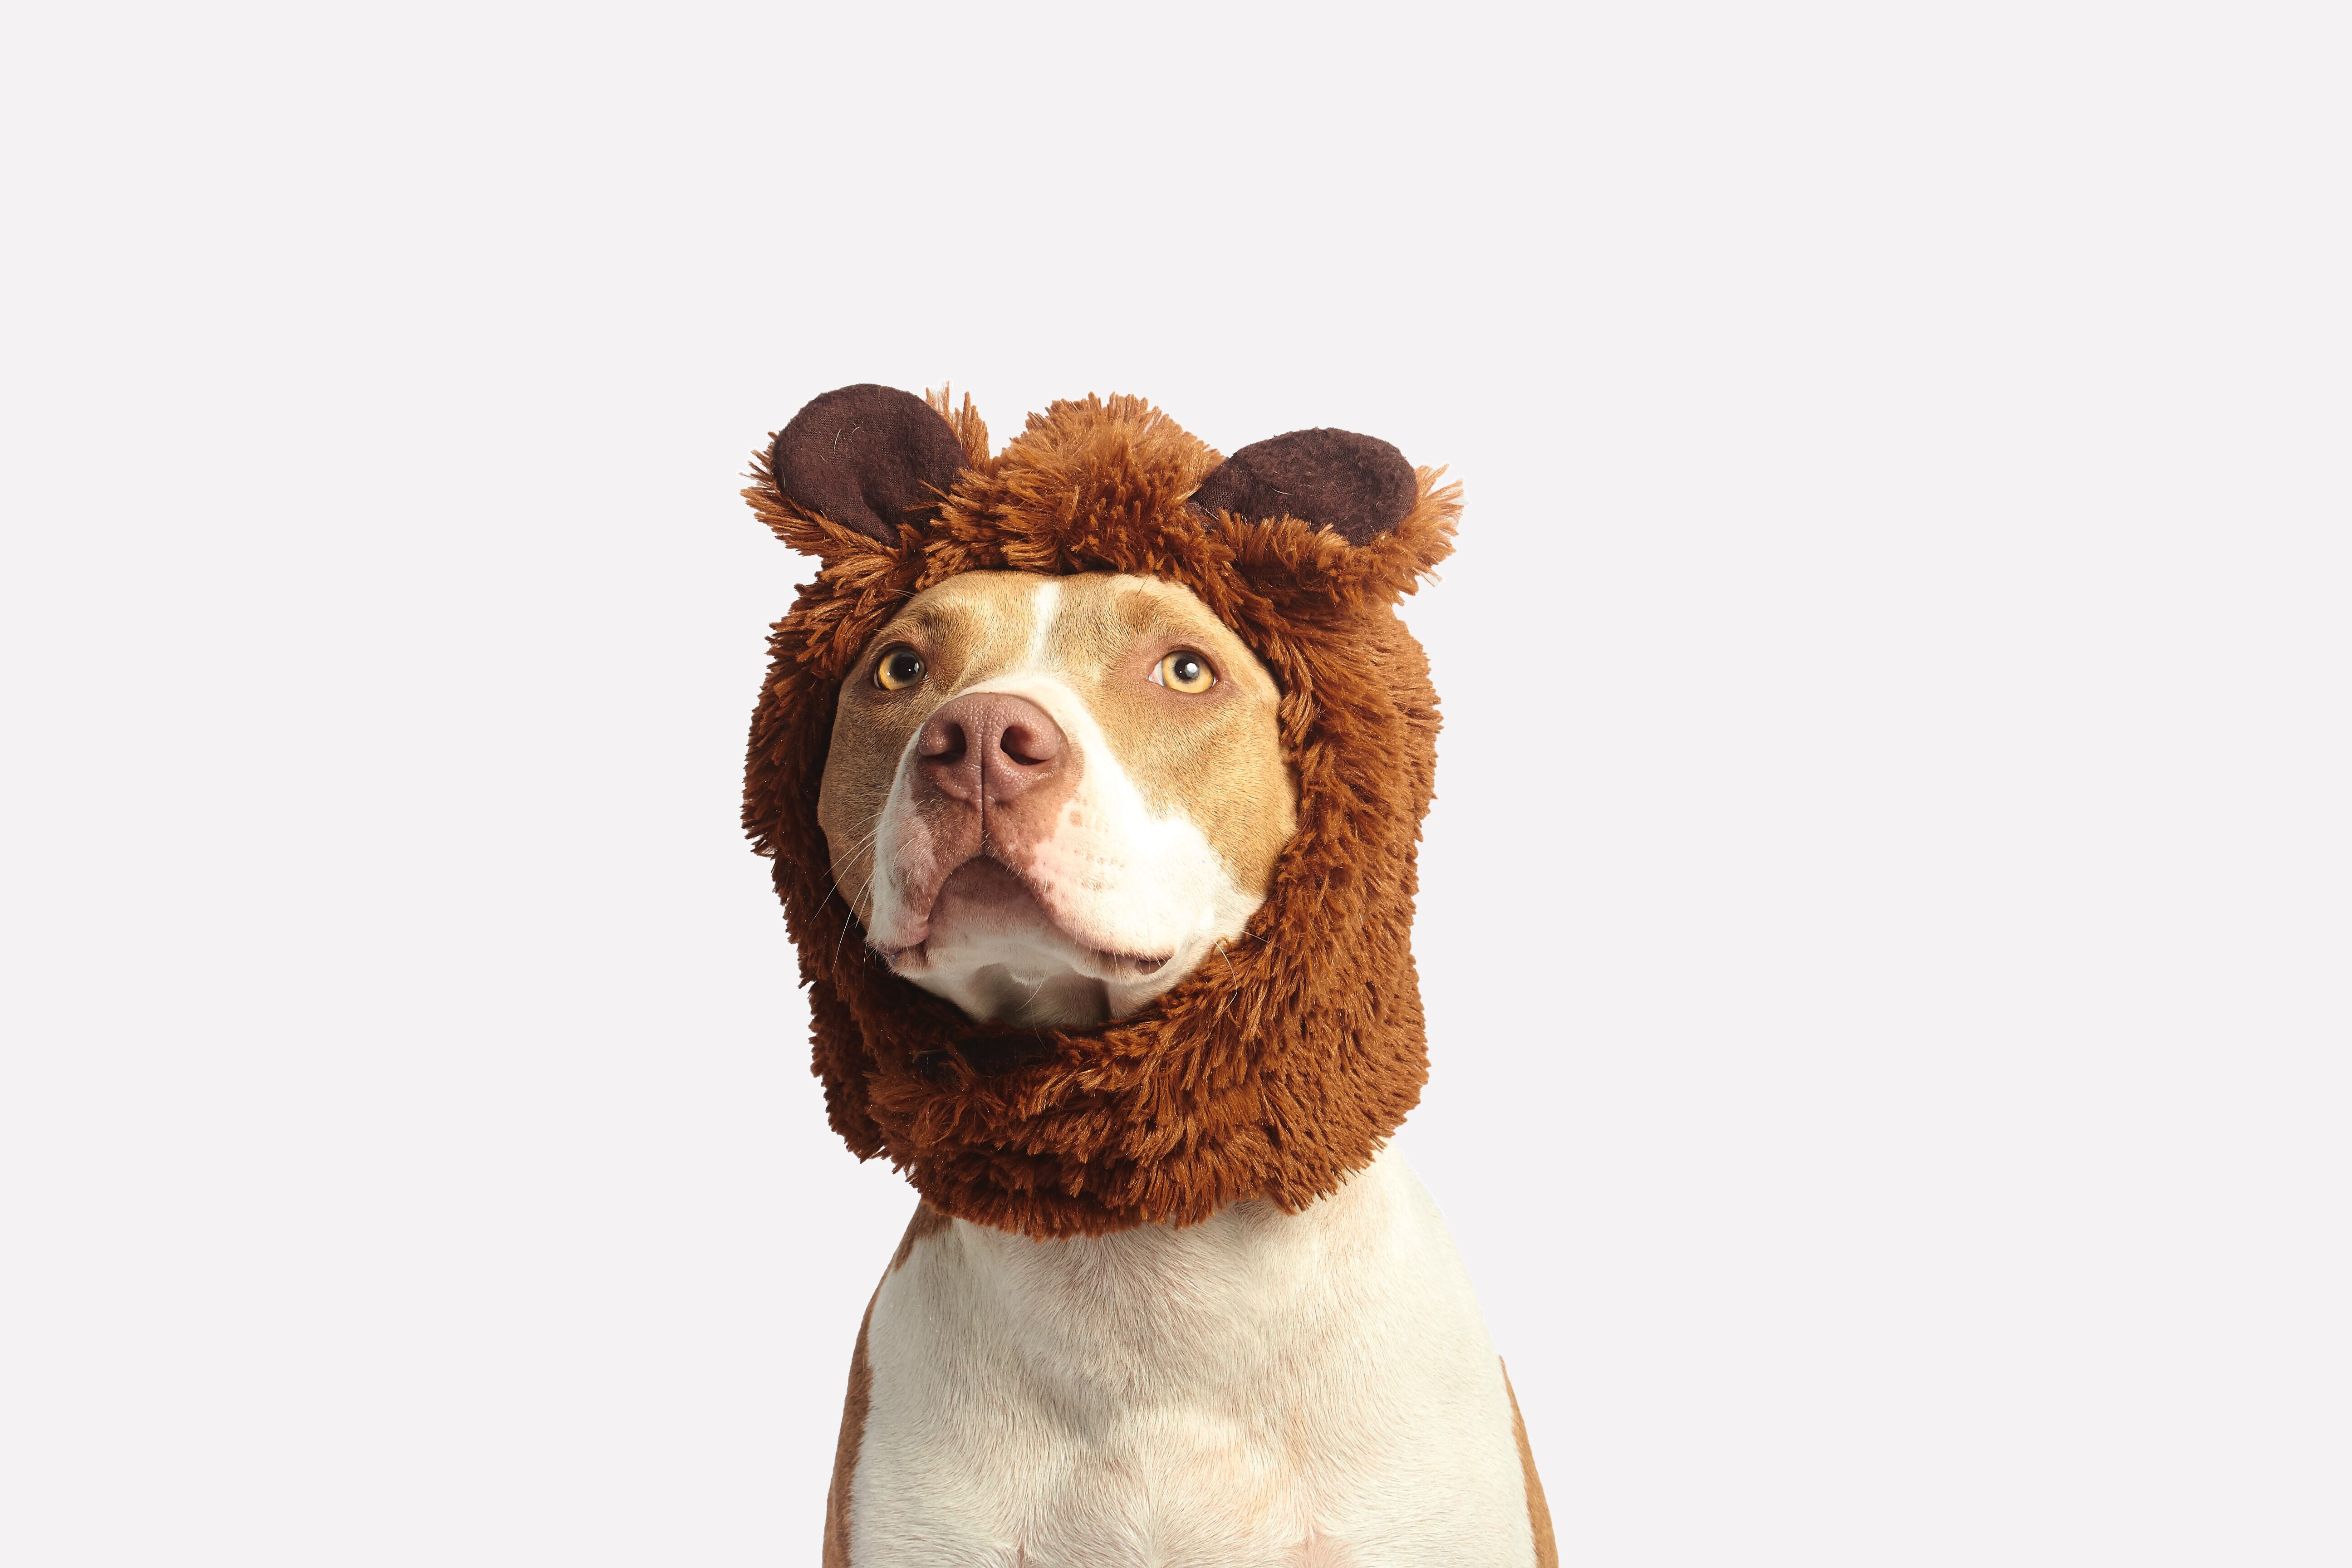
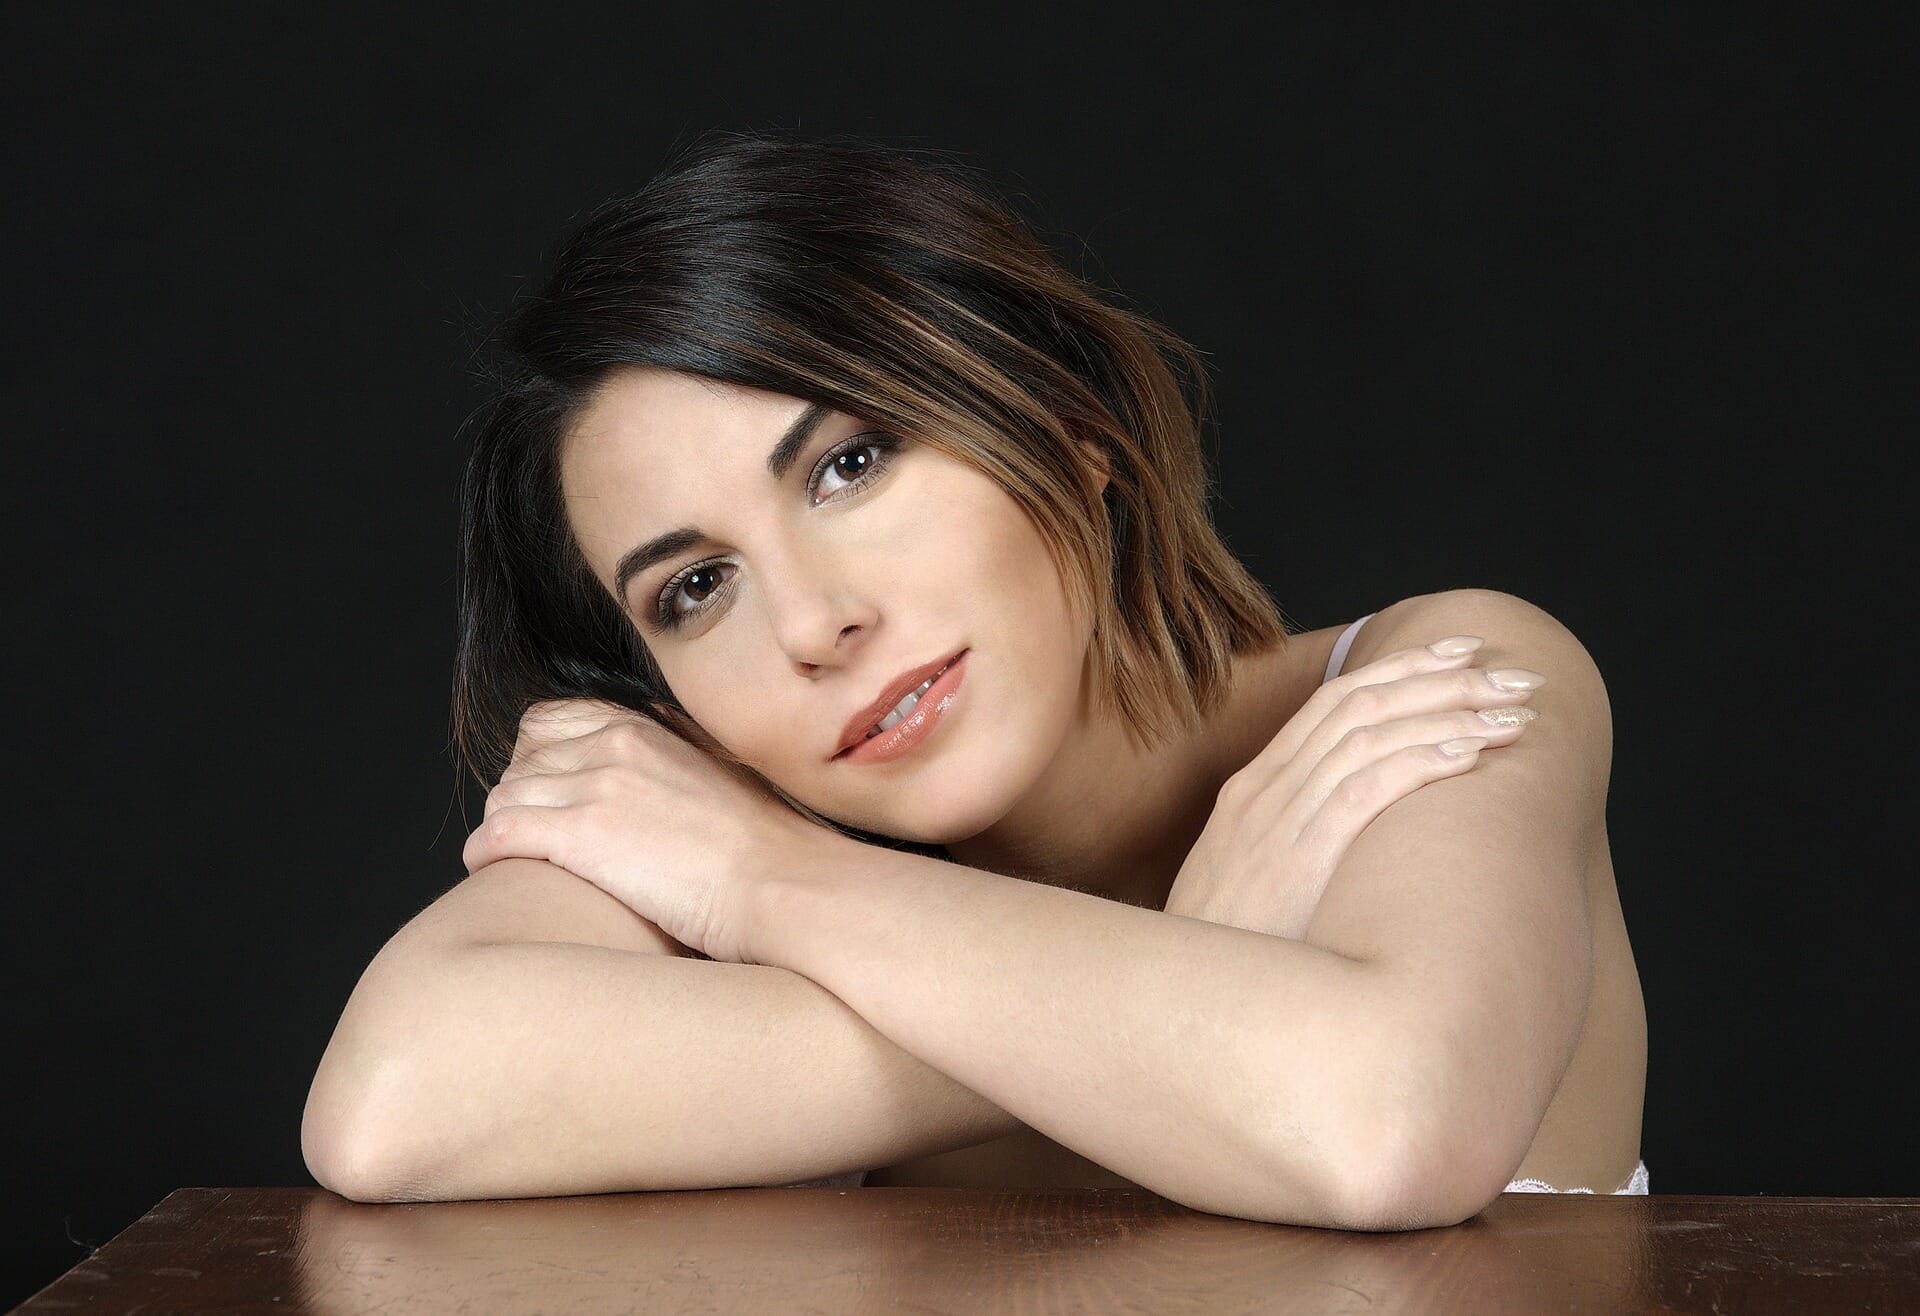
For those that capture portraits of living subjects, such as people or pets, reflective umbrellas tend to be commonplace. Reflective umbrellas direct and spread the light significantly, which allows the umbrella to be placed further away from the subject. This is great for pet photography where having something too close to the animal might be problematic. That being said, if you’re looking to take portraits of people with a softness or glow to them, shoot-through umbrellas are a great choice.
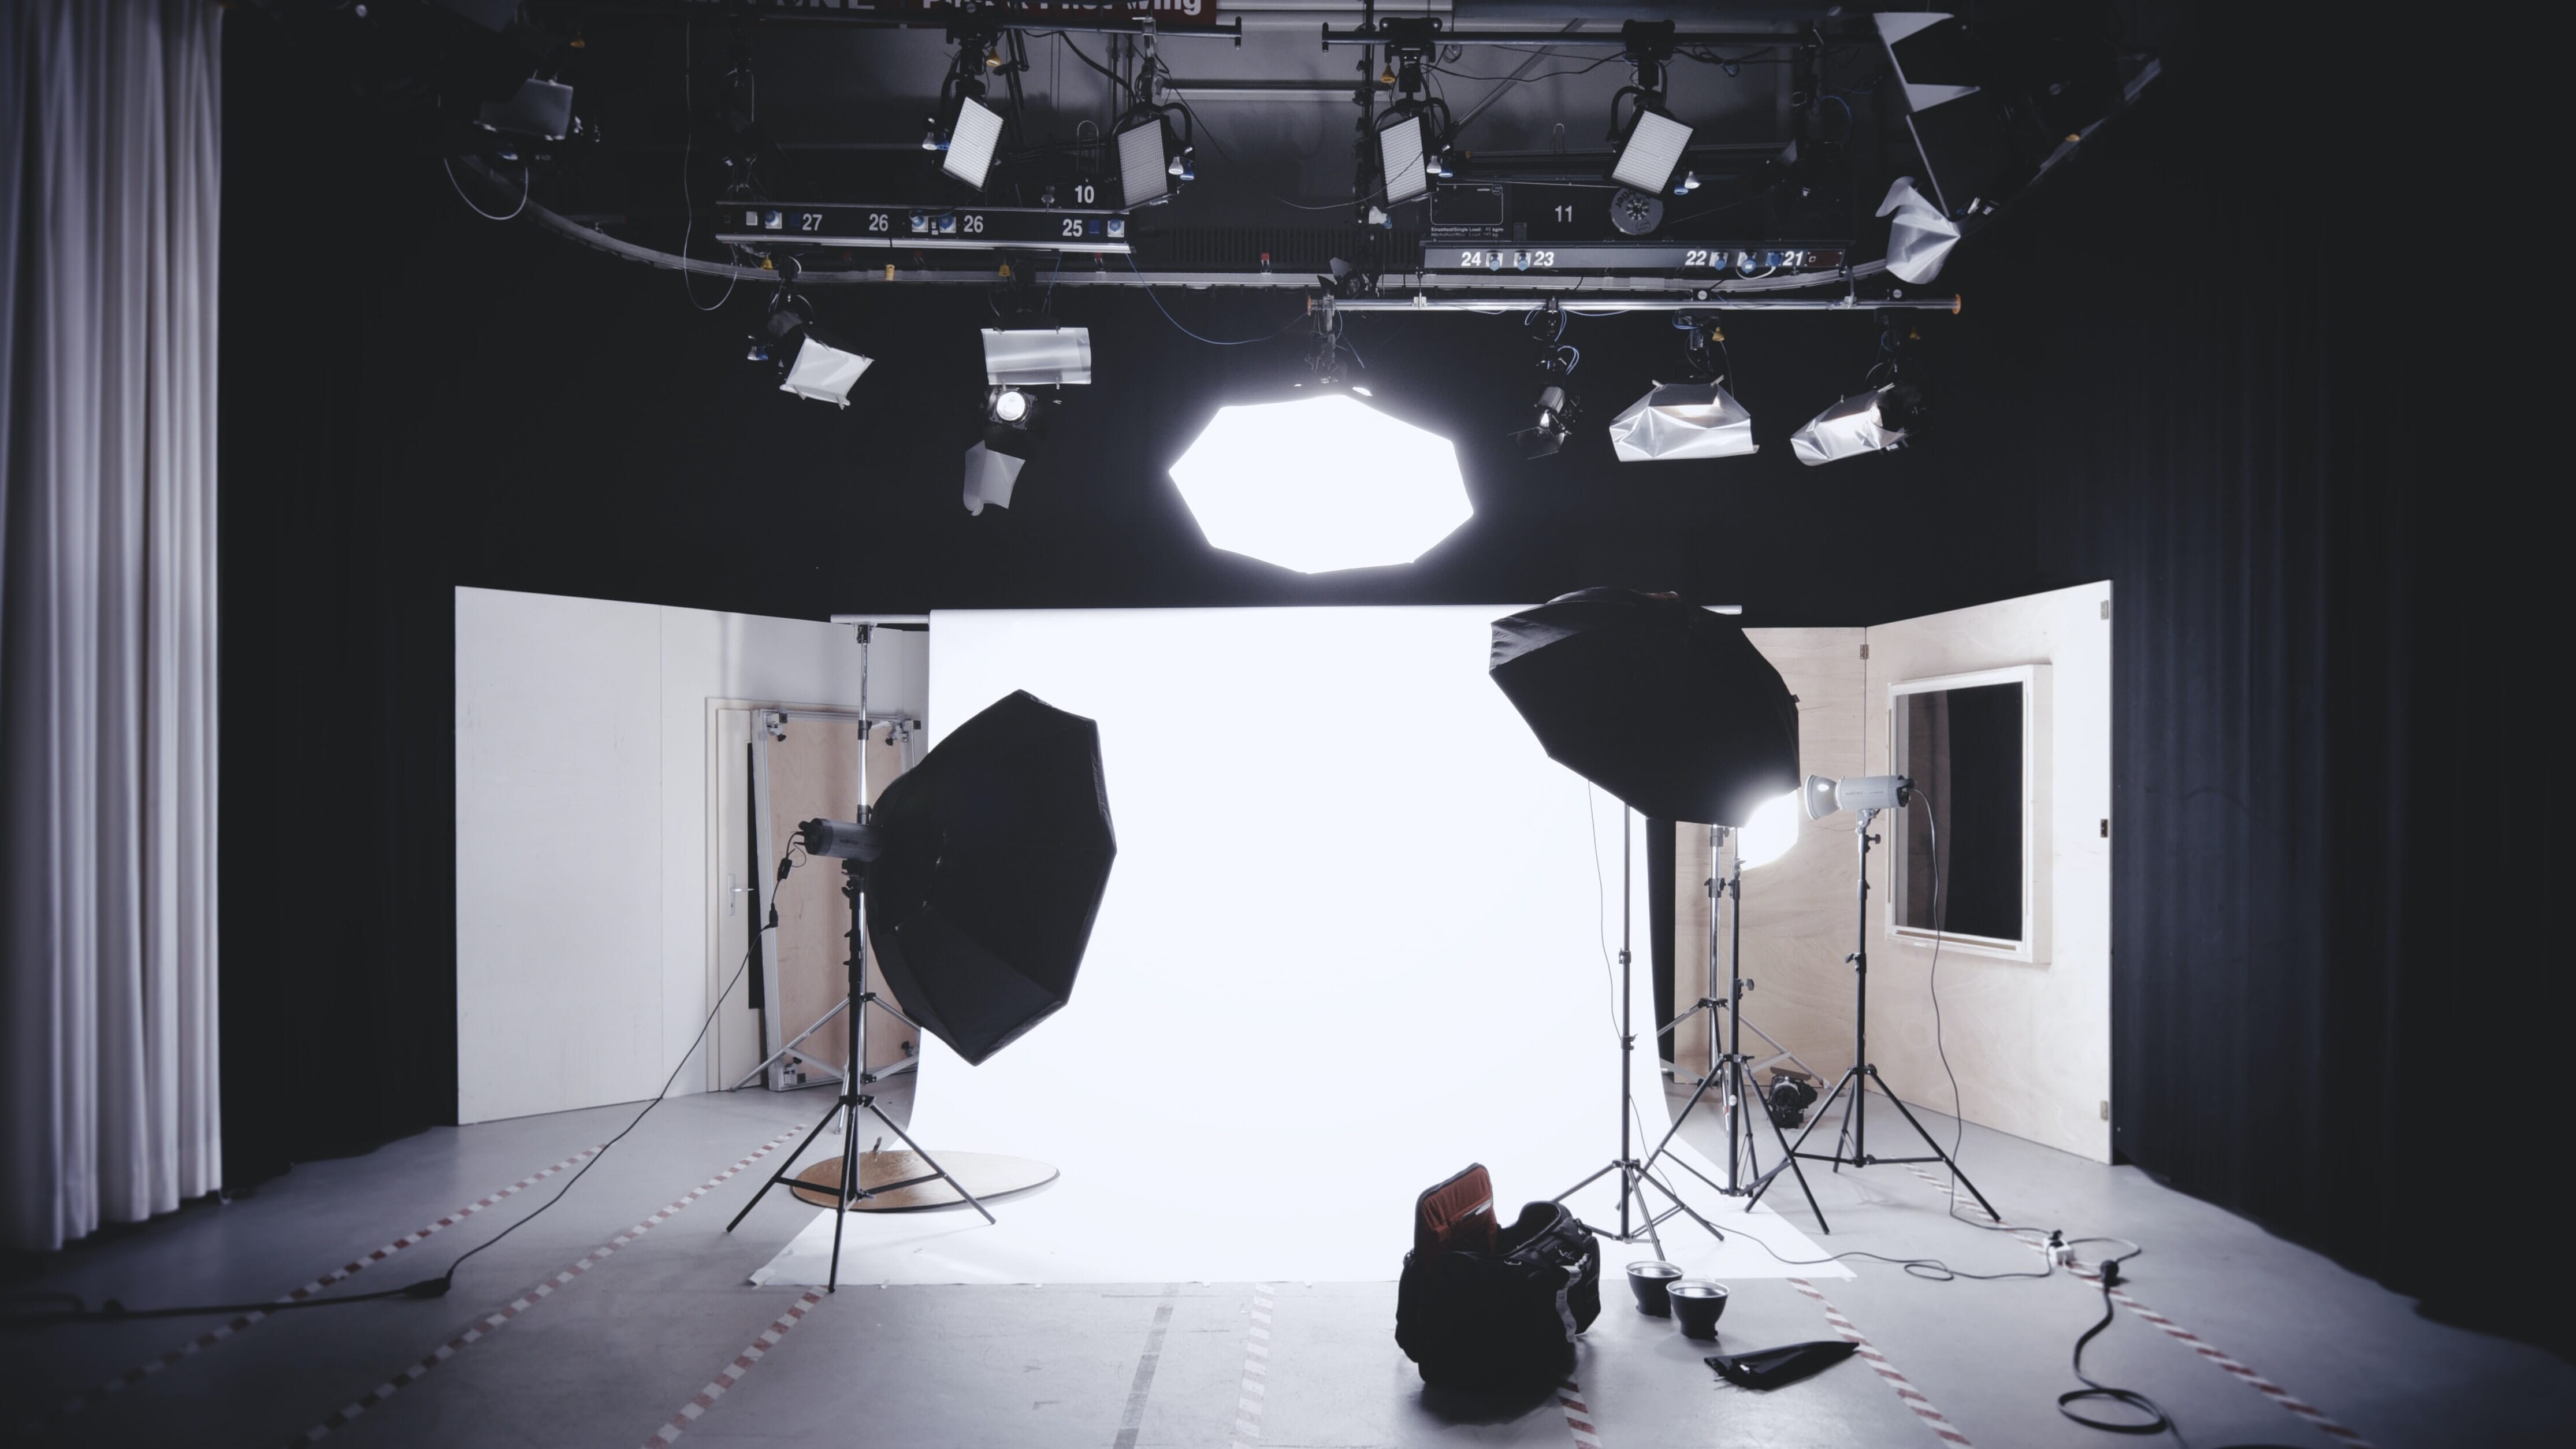
How to Set Up Umbrella Lighting: Step By Step
Setting up umbrella lighting isn’t rocket science – trust me, you can do it!
Step 1: Mount the Umbrella
First things first, set up the umbrella! Many studio lights (strobes and even continuous lights that hold bulbs) have a little hole in them known as the umbrella receptacle. You slide the umbrella shaft into the hole after opening the umbrella and it’ll hold it.
Also, if you are using a light that does not have the receptacle in it, such as a flash unit, you can buy a shoe mount bracket with a built-in umbrella receptacle. A shoe mount bracket looks like the same mount that exists on the top of your DSLR or mirrorless camera that the flash slides into, for those that aren’t familiar with the terminology!
Of course, this all sits on top of a tripod.
Optional Step: Mount Your Light Source to the Umbrella
If you’re using a shoe mount bracket, you’re going to need to attach your light source to your mounted umbrella. You want the light pointed into the umbrella, not pointing out of it, regardless of whether you are using a shoot-through or reflective umbrella.
Step 2: Position the Umbrella Relative to Your Subject
Now it’s time to actually do your lighting arrangement! Depending on the type of umbrella you are using, place it as needed in relation to your subject.
For reflective umbrellas, you’re going to want the umbrella opening (the side where all the silver stuff is) pointed towards the subject.
For shoot-through umbrellas, you’ll want the opposite – the opening of your umbrella needs to be pointed away from the subject.
Additionally, the distance between the umbrella and your subject depends on the look you want to achieve and the intensity of the light you are going to use from your light source.
Bonus tip: for lights that flash and strobe, turn on the Modeling Lamp option to see where the light will be directed. This helps position your umbrella!
The “One Overhead” Arrangement
The one overhead umbrella is a simple way to capture great portraits – just have one umbrella mounted taller than your subject (so extend that tripod up!) pointed down at your subject in an approximately 45-degree angle. You want the light directly in front of your subject, with you essentially positioned under it.
The Triangle Arrangement
The triangle arrangement requires three lights. Place one umbrella in front of the client and two umbrellas on either side of them. Aim all of the umbrellas at the subject. The one overhead provides uniform illumination, whilst the ones on either side form a nice rim around your subject and offer separation from the background!
Related Posts
Step 4: Get Your Camera Settings in Order and Take the Shot!
Next, adjust your camera settings relative to the light you’re working with. Fire off some test shots if you need to. Then, press down on that shutter and capture your image!
Tips for Working with Umbrellas
Now that you’ve mastered the set-up, here are some helpful tips to keep in mind.
Tip 1: Know What Size Umbrella You Need
The size of the umbrella affects how the light travels! Depending on the look you’re wanting to create, the size of the umbrella will make a great impact.
The larger the umbrella, the wider the spread, the softer the shadows and light. You can also, of course, illuminate more subjects with a larger umbrella. Smaller umbrellas allow the light to be more fixated on a specific area and are a little easier to manage with light spills.
Umbrellas range in size from very small for tabletop product photography all the way to 7+ feet for full-body model photoshoots.
Tip 2: You Can Use an Umbrella to Soften Harsh Outdoor Light
Did you know that if you find yourself stuck shooting outdoors at high noon with the sun blazing, you can use a photography umbrella to help you out?
Grab a shoot-through umbrella and either mount it on a tripod or have an assistant hold it above your subject. It’ll soften the light from the sun and calm down those dark shadows and ultra bright highlights!
Tip 3: Use Umbrellas to Illuminate Your Backdrop
Umbrellas don’t just have to be used for your subject. You can take two reflective umbrellas, place them on either side of the backdrop at a diagonal, and use them to light up your backdrop evenly! You can even gel the light from the umbrellas to change the color of your backdrop.
The benefit of using umbrellas for backdrop lighting is that the light will be nice and even. This helps separate the subject from the background in those cases where the background plays a role or you don’t want a rim light around your subject.
Tip 4: Experiment with Angles and Catchlights
At the end of the day, photography is all about experimentation; get creative! Play around with different angles and options. Photography umbrellas are very easy to maneuver, so you have every opportunity to place them anywhere.
Depending on where you place your umbrella, you will impact the catchlights in your subject’s eyes. Catchlights refer to the reflection of light in the eye, a fun trick that brings attention to that part of your subject’s portrait.
Because catchlights rely on your light source for their reflection, you can play with different umbrella positions to move the catchlight around. Because umbrellas are round, the catchlight will look more natural and attractive to the viewer of your photograph.
Conclusion
In conclusion, umbrellas are an excellent option for photographers; from being easy to use and carry to keeping the wallet happy. Just keep in mind what type of umbrella is used for what purpose and you’ll be solid!
Disclosure/Disclaimer: As an Amazon Associate, we earn from qualifying purchases. Certain content was provided "as is" from Amazon and is subject to change or removal at any time. Product prices and availability: Amazon prices are updated daily or are accurate as of the date/time indicated and are subject to change. Any price and availability information displayed on Amazon.com at the time of purchase will apply to the purchase of this product.