Editor’s Key Takeaways: Mastering Photo Merging in Photoshop
Here is a concise summary of the blog post on how to merge two photos in Photoshop:
- Why Merge Images? – Merging images helps overcome limitations of a single exposure and enhance photo quality.
- Exposure/Focus Bracketing – Capture more detail by combining multiple exposures, especially useful in landscape photography.
- Double Exposure Photography – Use merging to create artistic double exposure effects.
- Open your images in Photoshop
- Align your layers (optional)
- Mask out unwanted details on the top layer
- Adjust the opacity (optional)
- Double-check the results
- Combine the two layers
How to Merge Images in Photoshop:
See the results and appreciate how combining images can dramatically improve your photography.
Introduction
In some circumstances, the most effective way to get a great shot is to make more than one. It may seem counterintuitive, but working in chunks allows artists to focus on one area of a photograph between exposures. And, luckily for us, compositing a series of images is easier than ever. Today, we’re going to go over the steps of how to merge two photos in Photoshop.
In this detailed walkthrough, you’ll find simple instructions with clear screenshots to help you achieve the perfect final product. You’ll also see some transformative firsthand results. The process is easy enough, and the end composites speak for themselves.
How to Merge Two Photos:
Why Merge Images?
So, what good comes from merging images? There are two primary reasons photographers choose to combine two or more images into one:
Exposure/Focus Bracketing
Sometimes, it’s just not possible to capture all the detail you’d like to include in a single exposure. At this point, it becomes necessary to know how to merge photos in Photoshop.
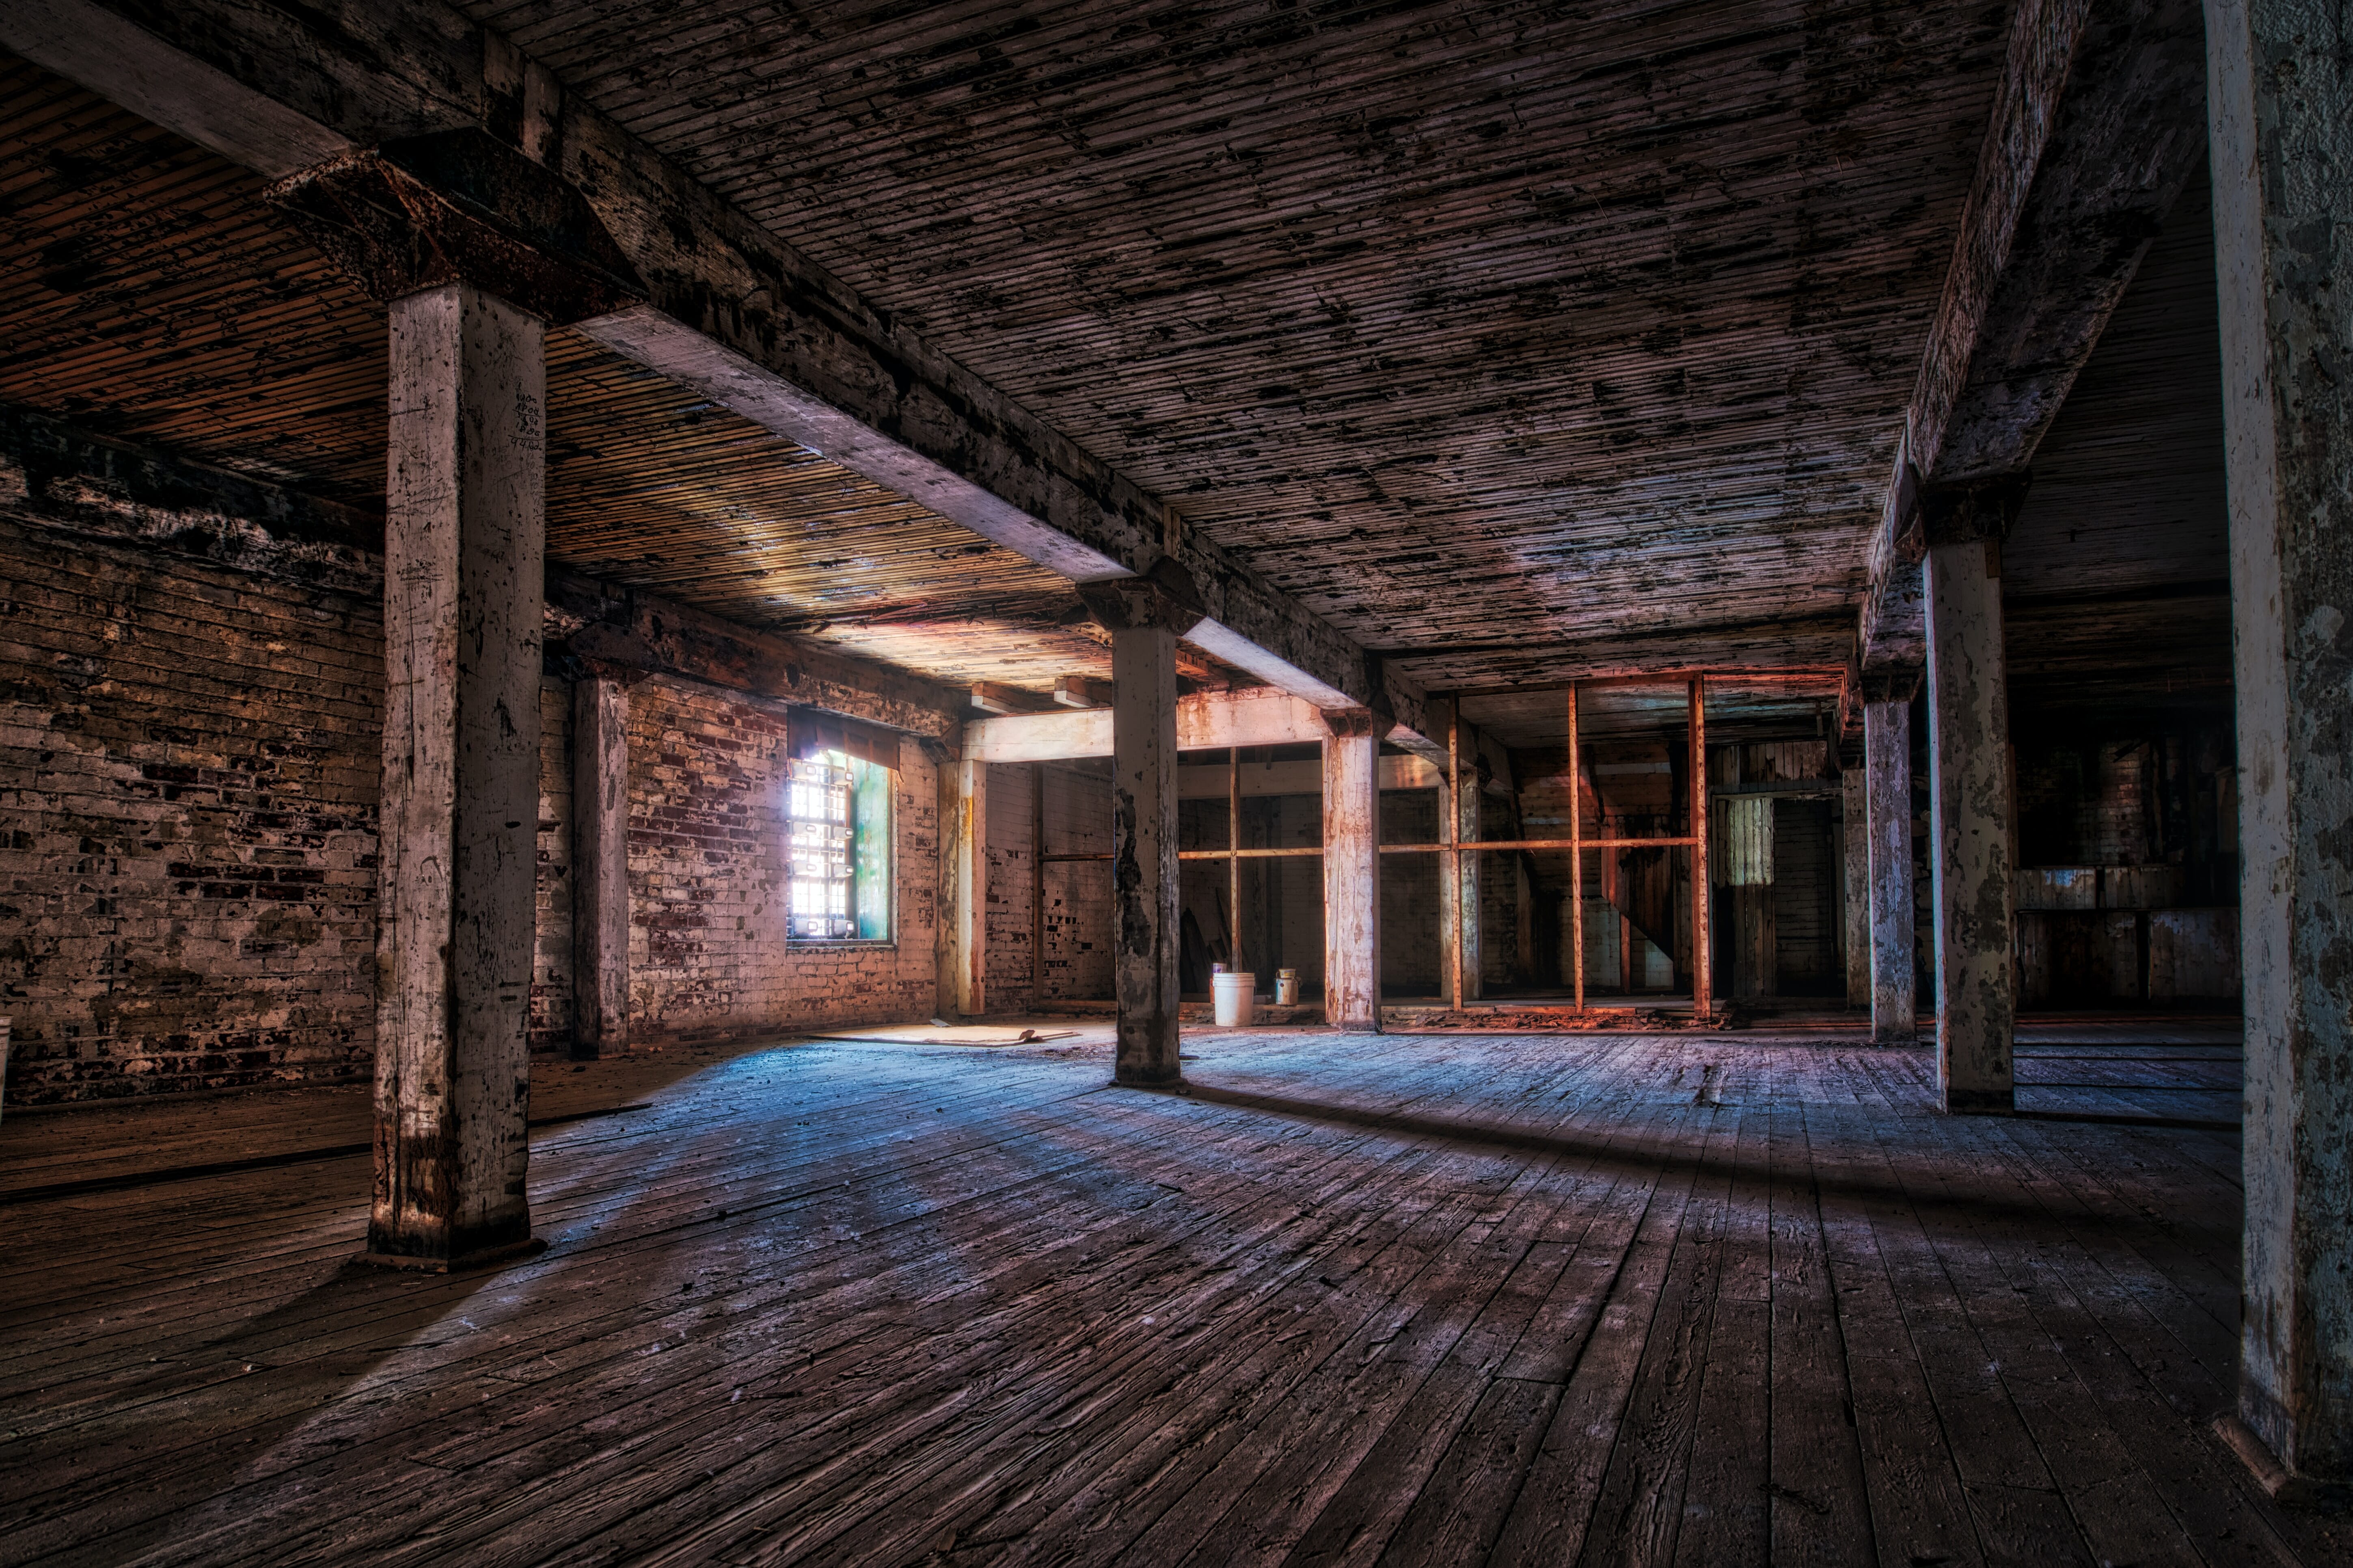
For instance, a landscape photographer without access to artificial lighting may not have the range to capture every tone in a scene. So, they may opt to make one exposure dedicated specifically to the bright and vibrant sky. Afterward, they might make a separate exposure for the comparatively dark foreground details.
Likewise, photographers with a limited lens may want to focus one shot on interesting foreground details, and then capture a second shot focused further away.
Related Posts
The truth is, with the ability to pick and choose image elements at your disposal, you can significantly amp up your shots.
Double Exposure Photography
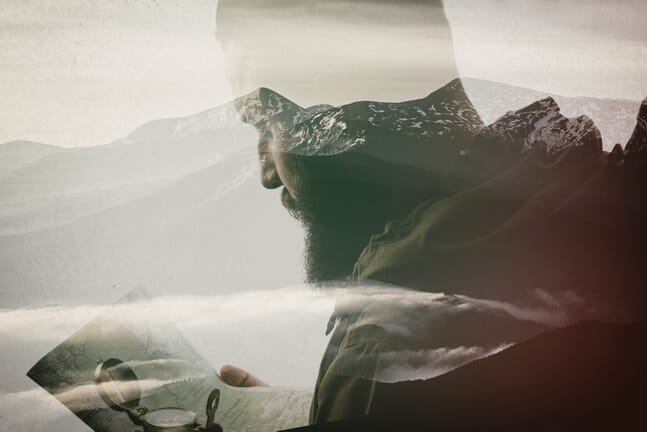
At PhotoWorkout, we often focus on the technical aspects of practicing photography. However, you don’t have to limit merging photographs to purely exposure and focus bracketing. It’s also a great way to create your own double exposure photography.
Back when film was the standard, photographers made double exposures by shooting two exposures on a single frame in-camera. With advances in digital post-processing, photographers nowadays have more control over their work. Using Photoshop, you can now combine any two photographs into one.
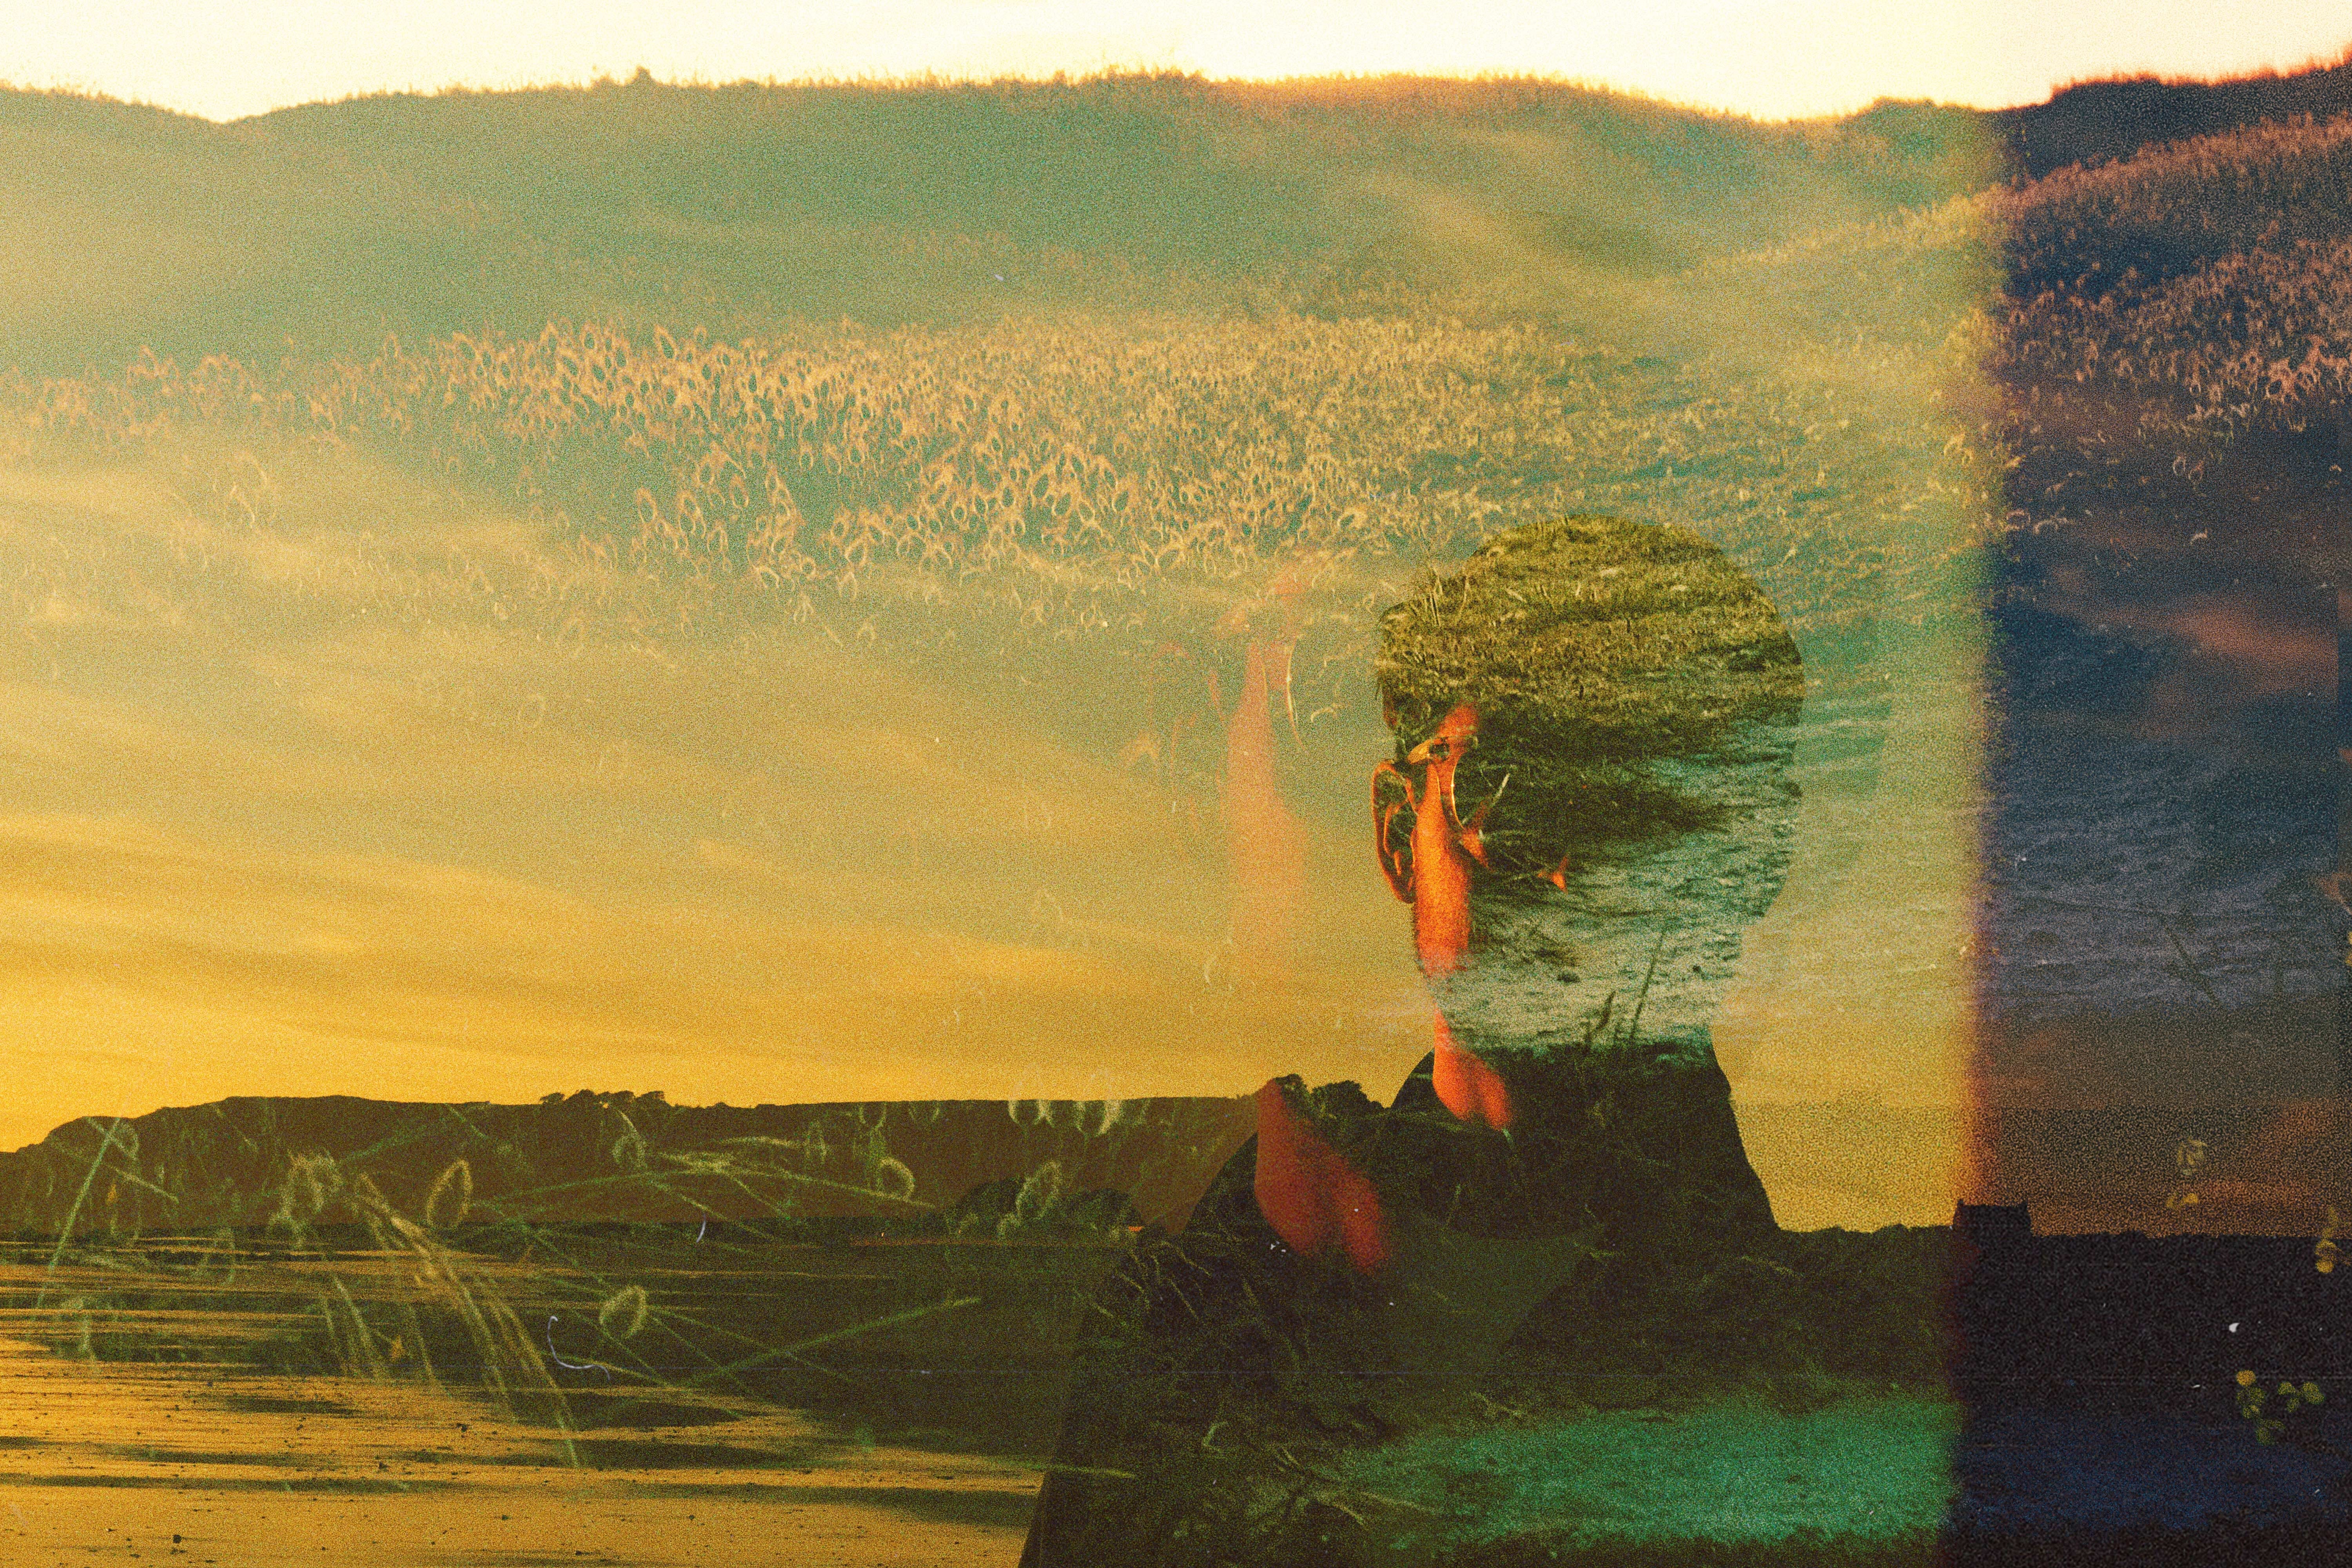
Double exposure photography lends a dreamy look to your images, creating composites that bend and defy reality. Artists often use the technique to convey visual metaphors or set a certain mood.
How to Merge Images in Photoshop
Six simple steps explaining how to merge images in Photoshop
Total Time: 5 minutes
Open your images in Photoshop
Open up the base image that you’d like to use in Photoshop. Generally, you can do so by right-clicking on the file in Finder, Lightroom, etc., and selecting ‘Photoshop’ under the ‘Open With’ option. Then, drag the image that you’d like to overlay into the same Photoshop tab.
Align your layers (optional)
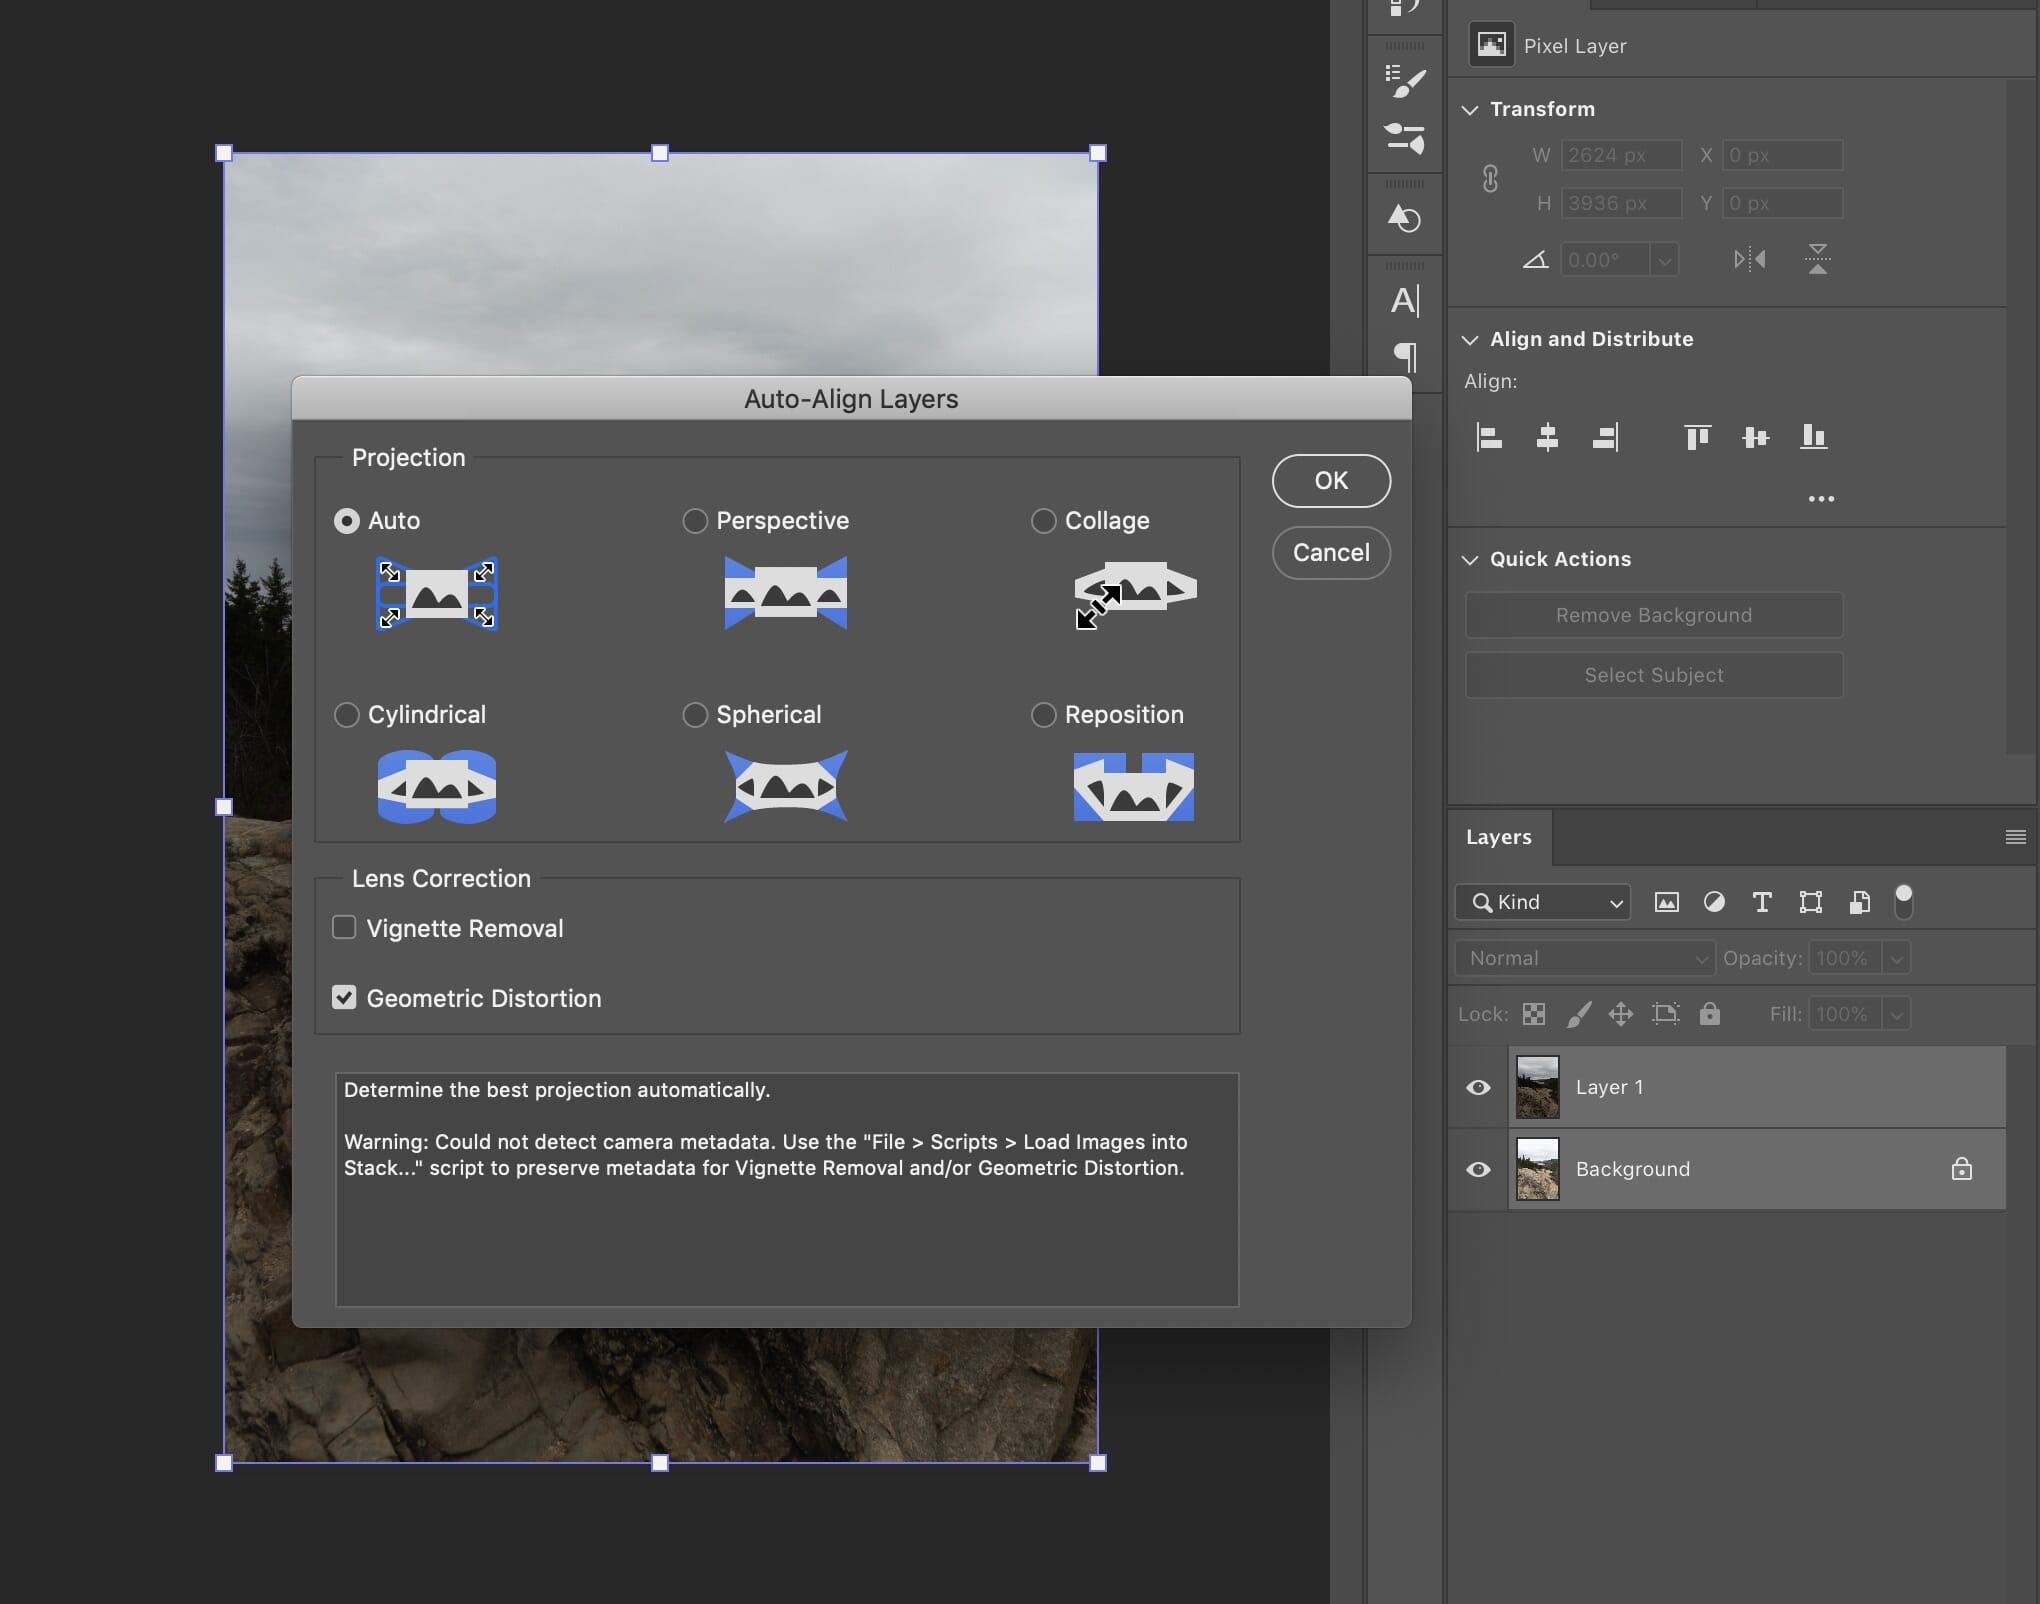
If you’re working with two bracketed/nearly identical images, you’ll want to get the details in each image lined up as closely as possible. First, select the layers that you want to align. Then, open the ‘Edit’ option in Photoshop, then choose ‘Auto-Align Layers’. A dialog box will pop up, here you’ll select the ‘Auto’ projection option. Press OK, and then Photoshop will automate the rest.
Mask out unwanted details on the top layer
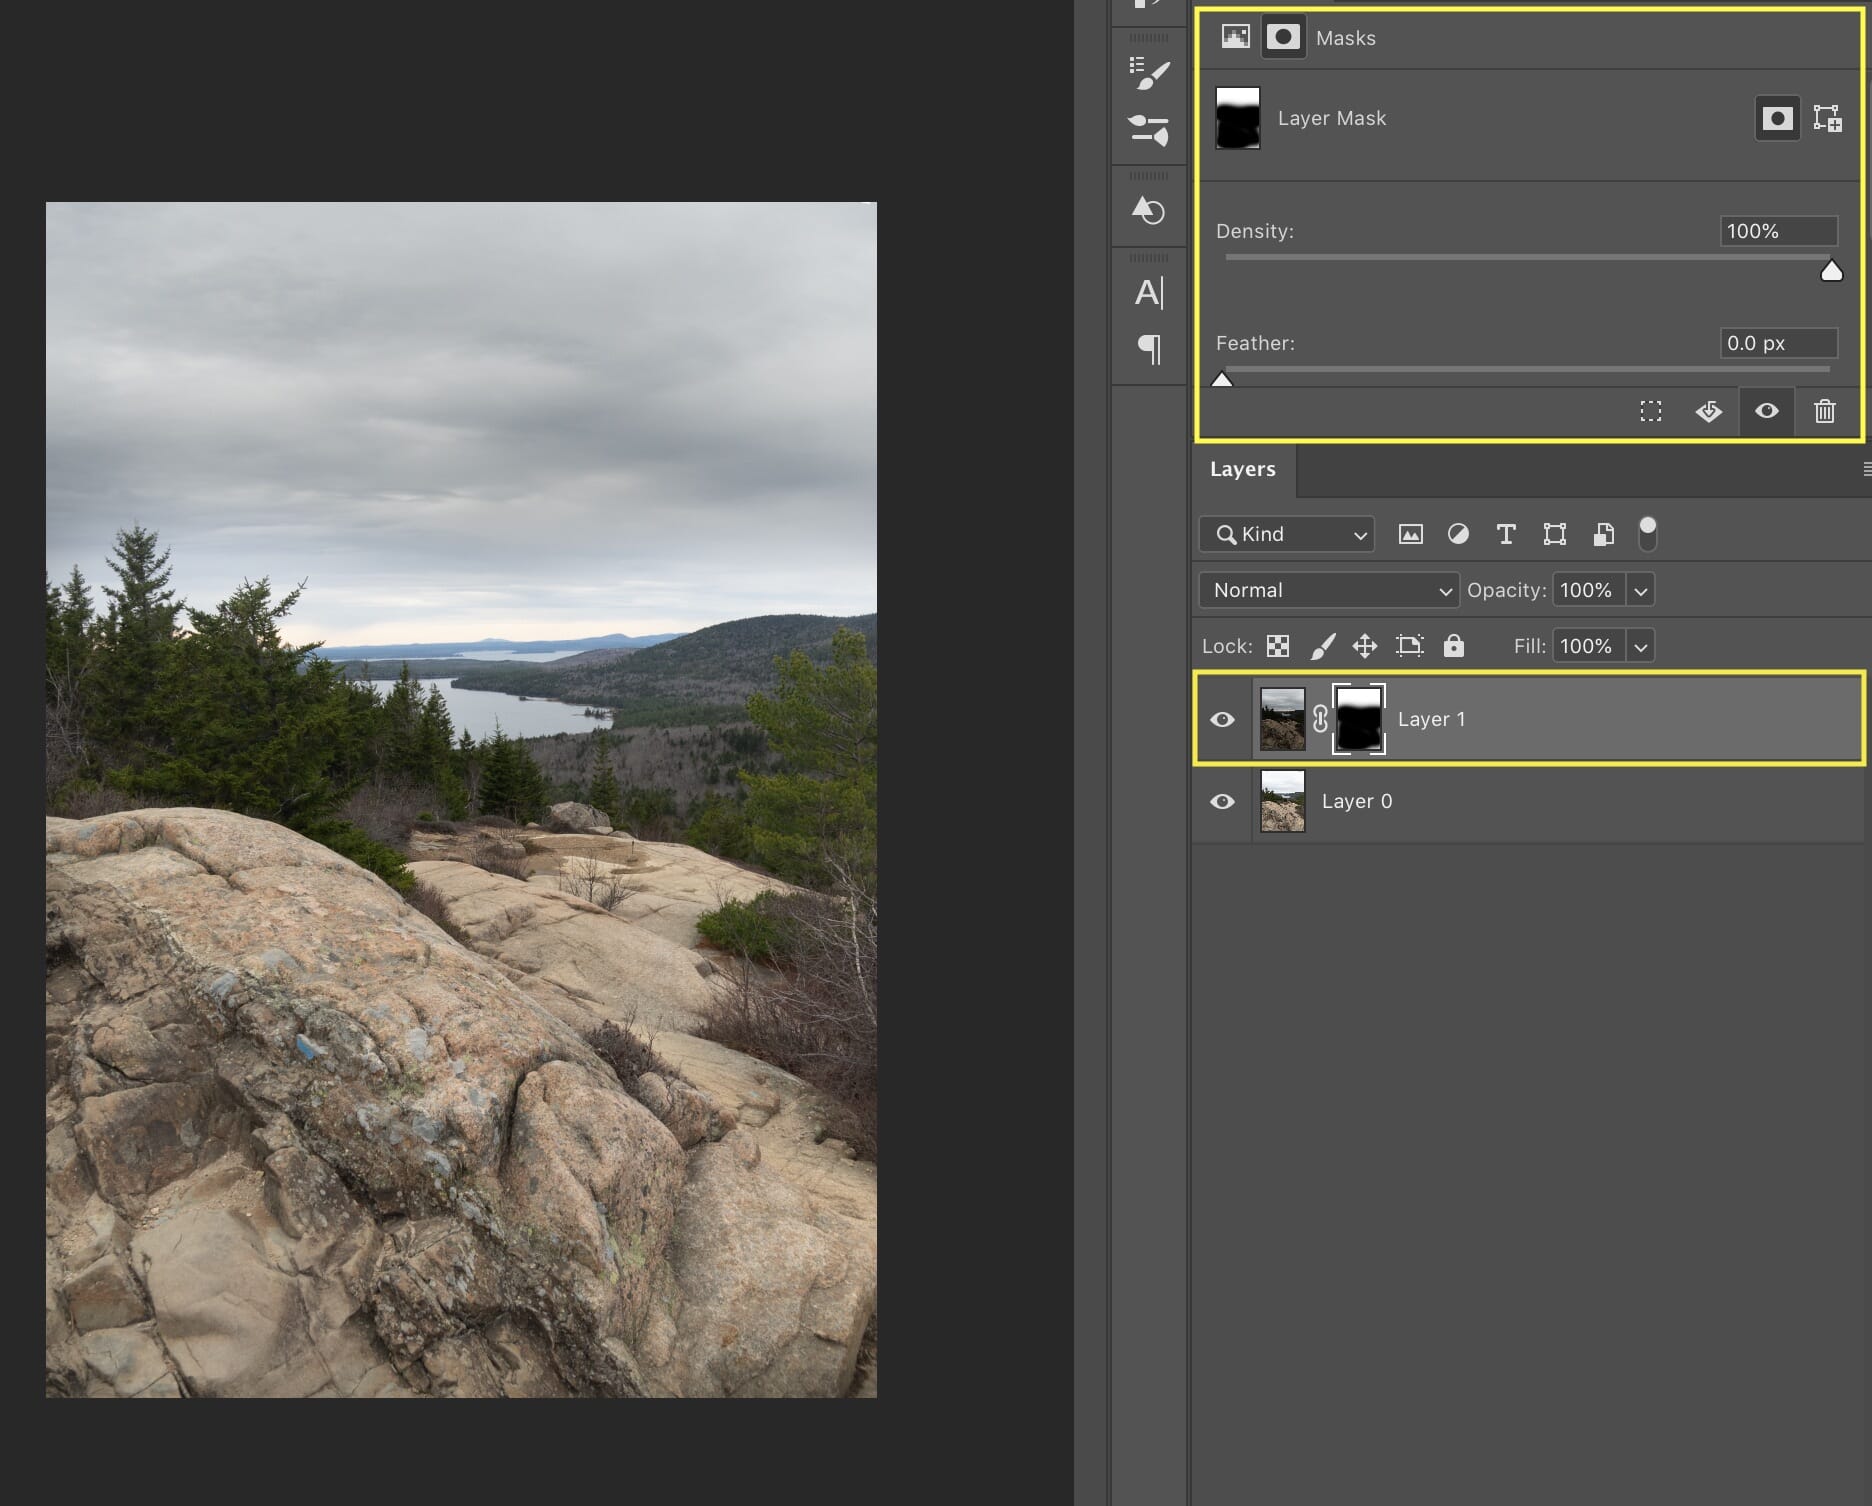
On the top layer of the composition, add a layer mask. Use Photoshop’s brush tool to block out any unwanted details. Alternatively, you can fill the layer mask, then erase the areas in where you’d like detail to shine through. Use a soft brush around the edges to create more natural-looking transitions between separate layers.
Adjust the opacity (optional)
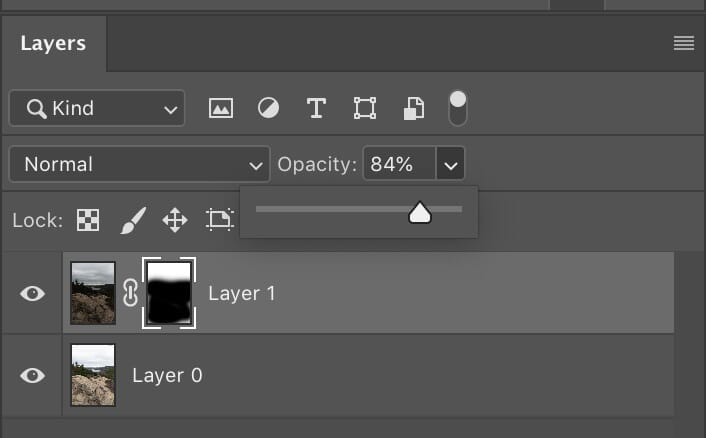
To further get the tones and details in your composition just right, play around with the opacity of your top layer. This is especially crucial for those making artistic ‘double exposure’ images.
Double-check the results
Before saving and exporting, be sure that you’re satisfied with the look of your composition. Add any finishing touches to mask edges and opacity. At this stage, you may want to make any global edits that apply to both image layers.
Combine the two layers
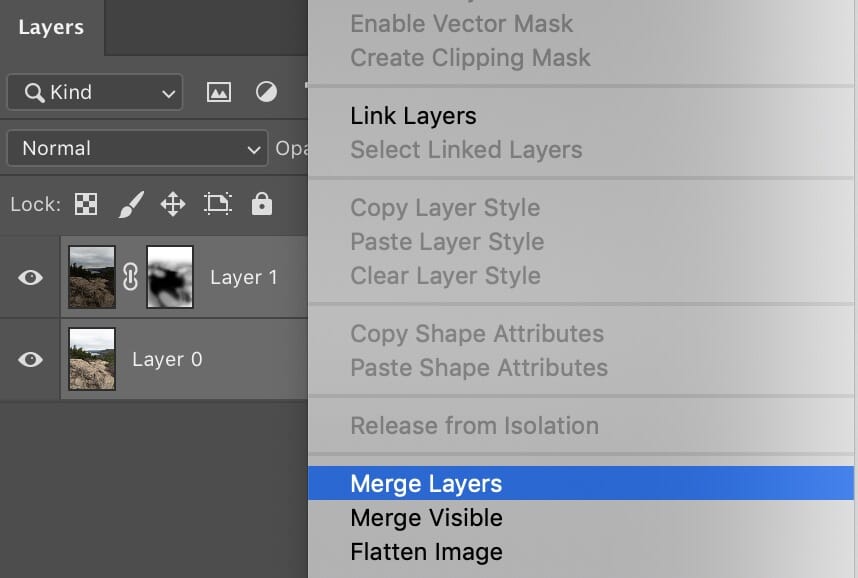
Select both layers (as well as any additional adjustments you’ve applied). Right-click and select ‘Merge Layers’. Voila!
See the Results
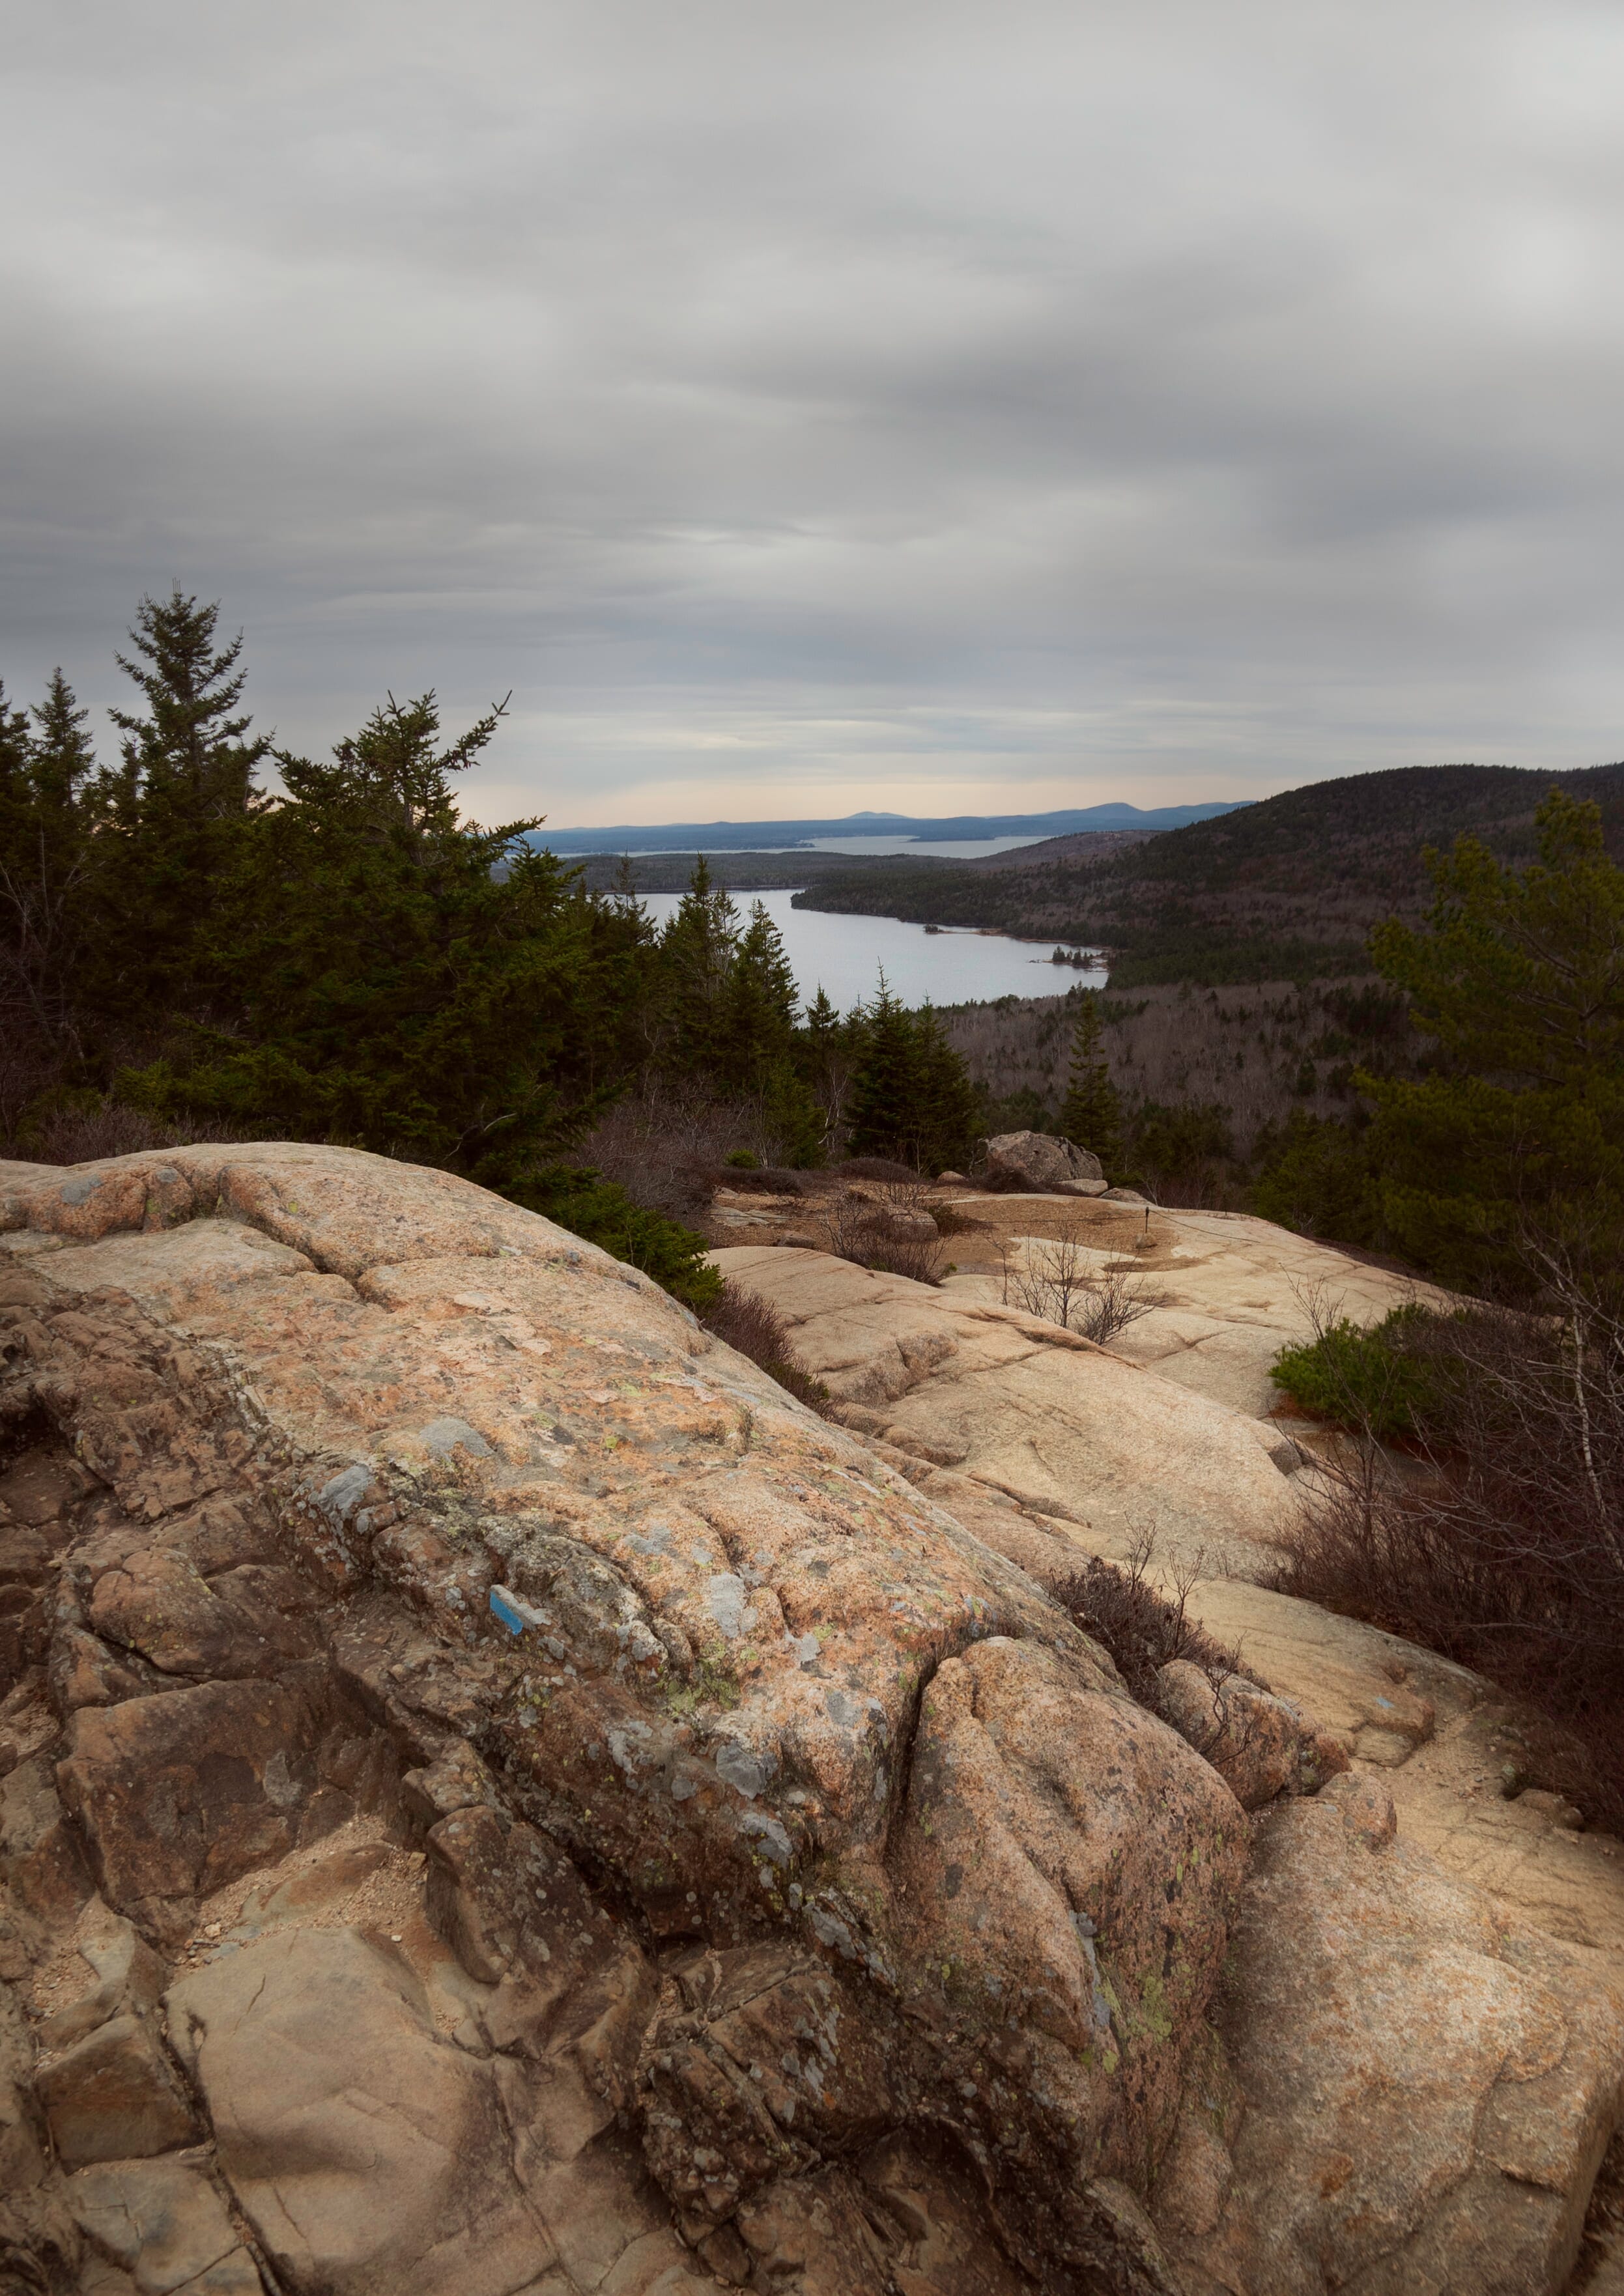
Recently, I took a hike through Acadia National Park in northern Maine. The views were absolutely spectacular. But the overcast sky that afternoon presented some serious problems when I reached an overlook and took out my camera.
My initial exposure got an acceptable range of highlights and shadows within the surrounding granite and trees. The grey sky hanging overhead, on the other hand, was almost entirely blown out. When I adjusted my settings to better capture some of the clouds in the distance, I found that I was starting to lose some of the finer details in the dark tree branches.
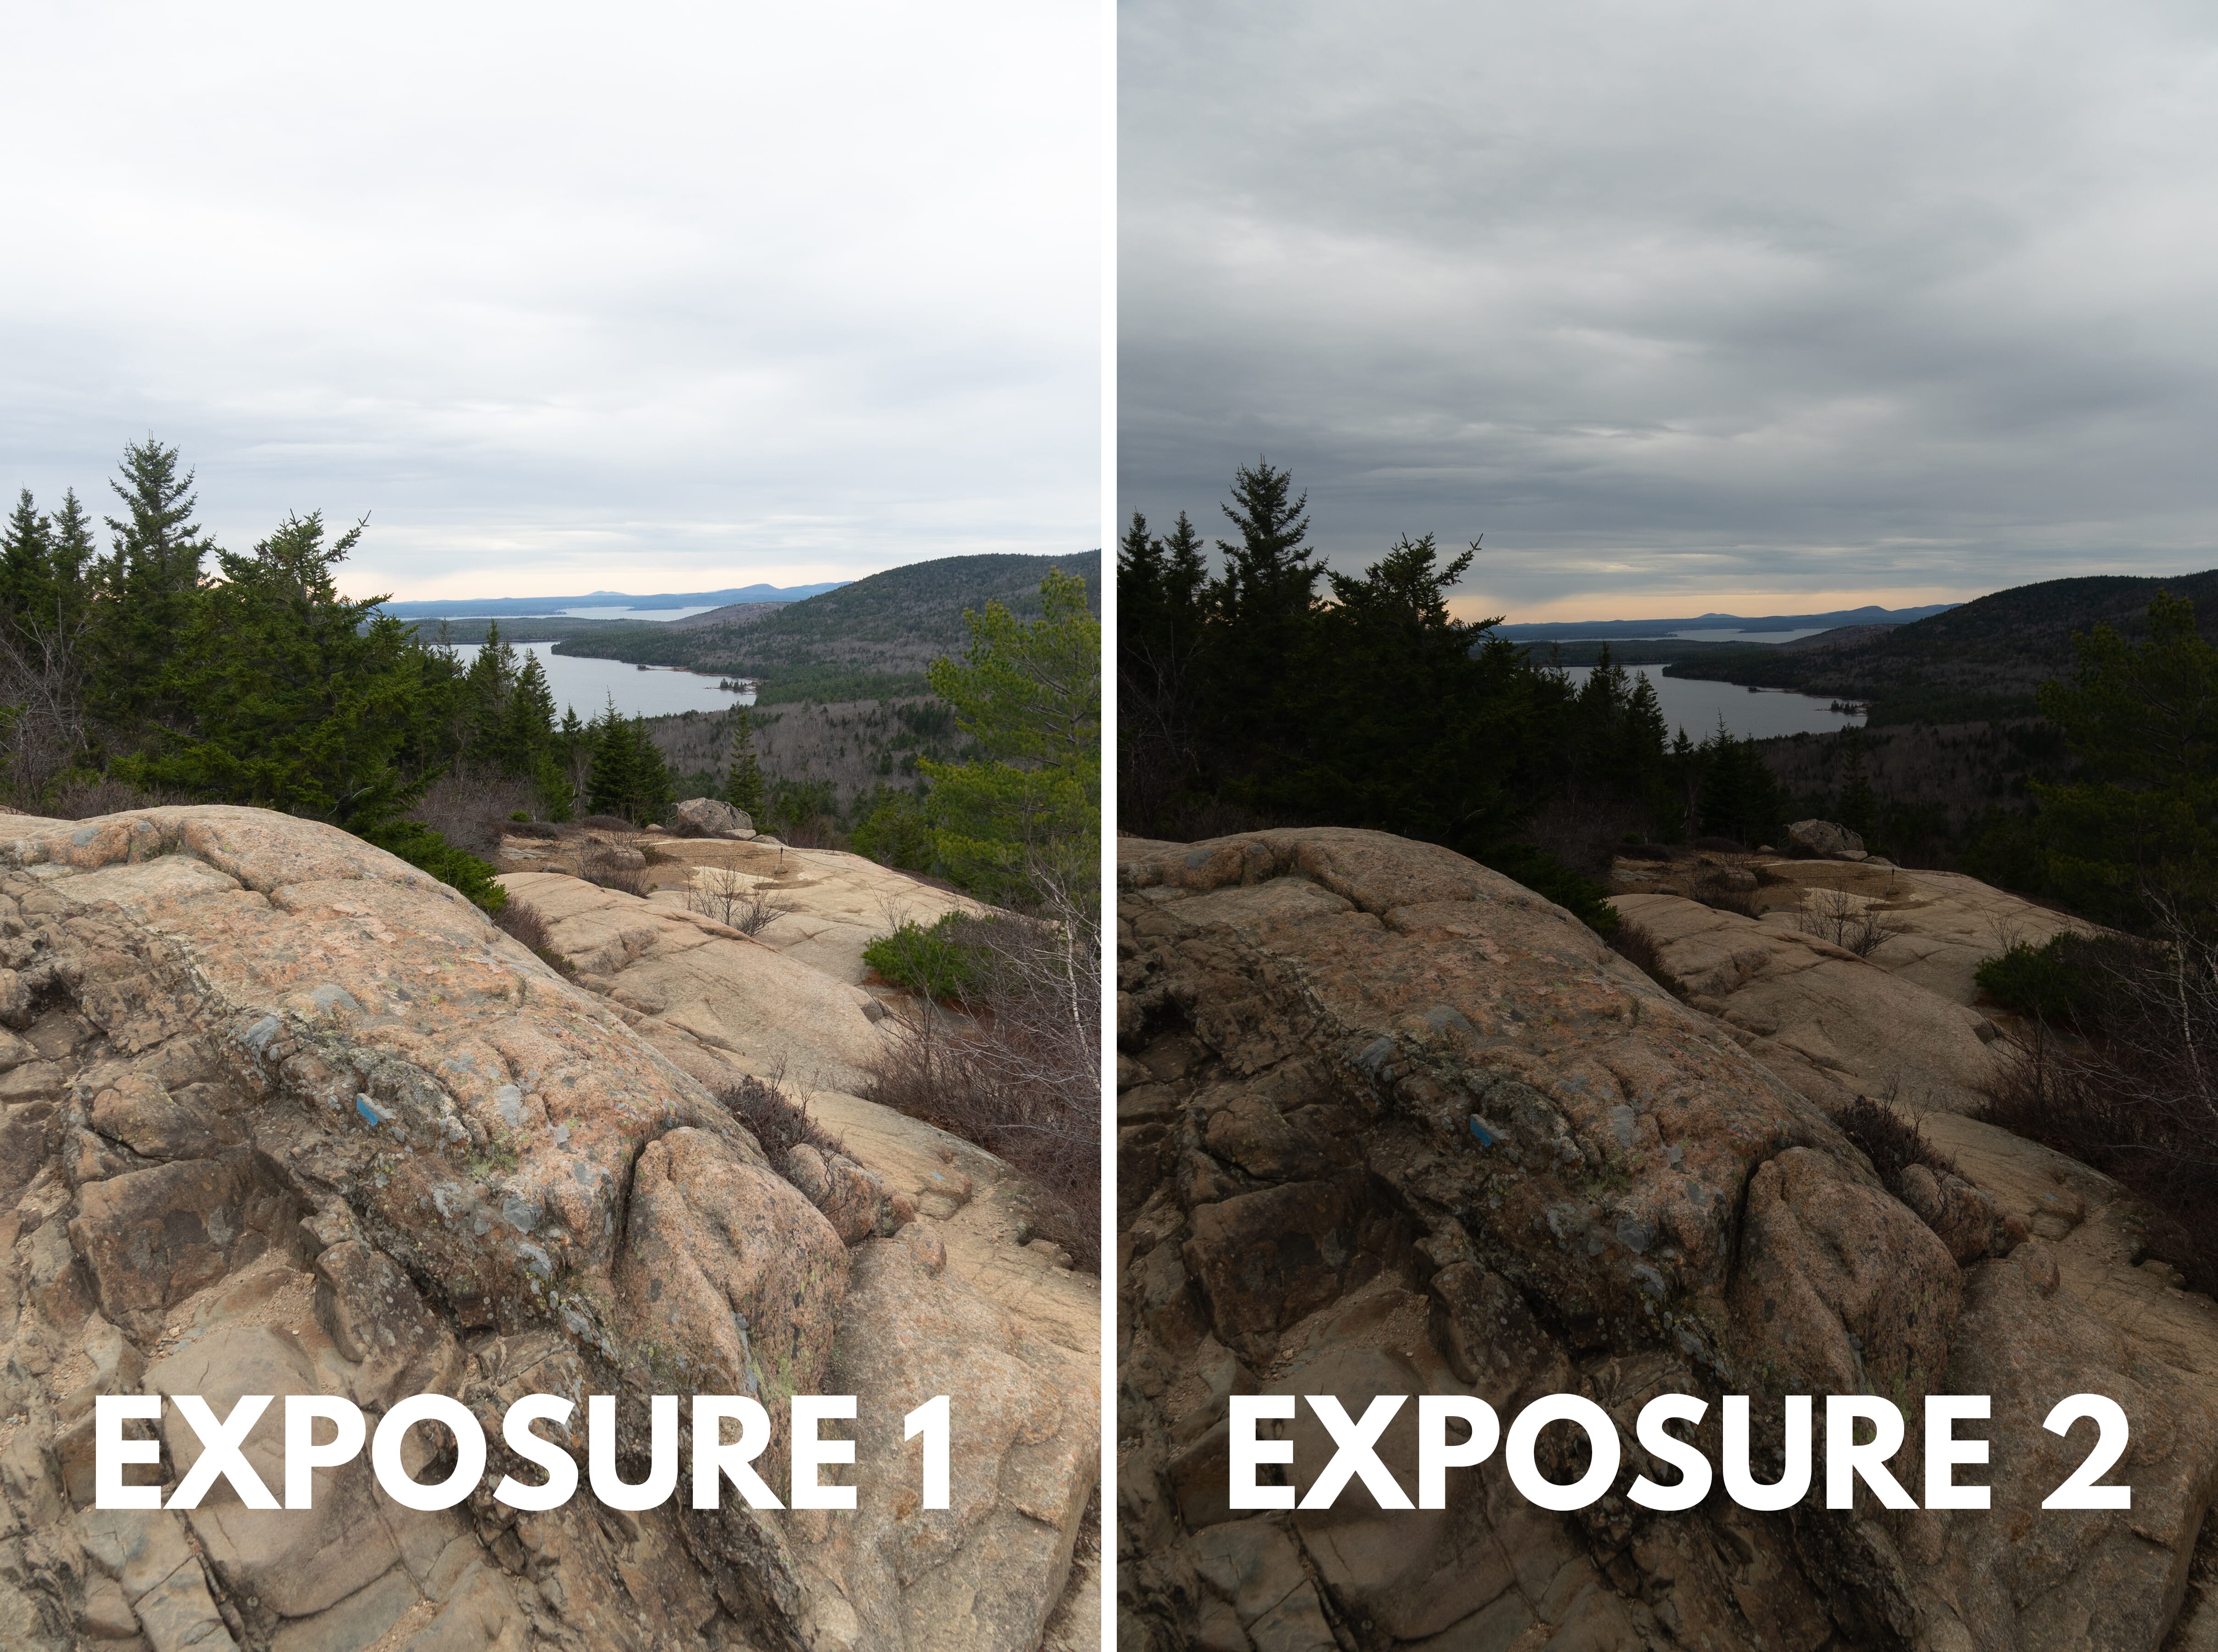
Of course, I could have done some dodging and burning and attempted to restore some detail from one of the individual raw files. However, merging the two shots and masking, when appropriate, was an easier, less time-consuming solution. Following the steps listed above, I was able to get a much more striking photograph while still maintaining an authentic, realistic look to my image.
I also took some time to play around and I tried creating my own double exposures. First, I chose two separate images from a trip to the desert last year:
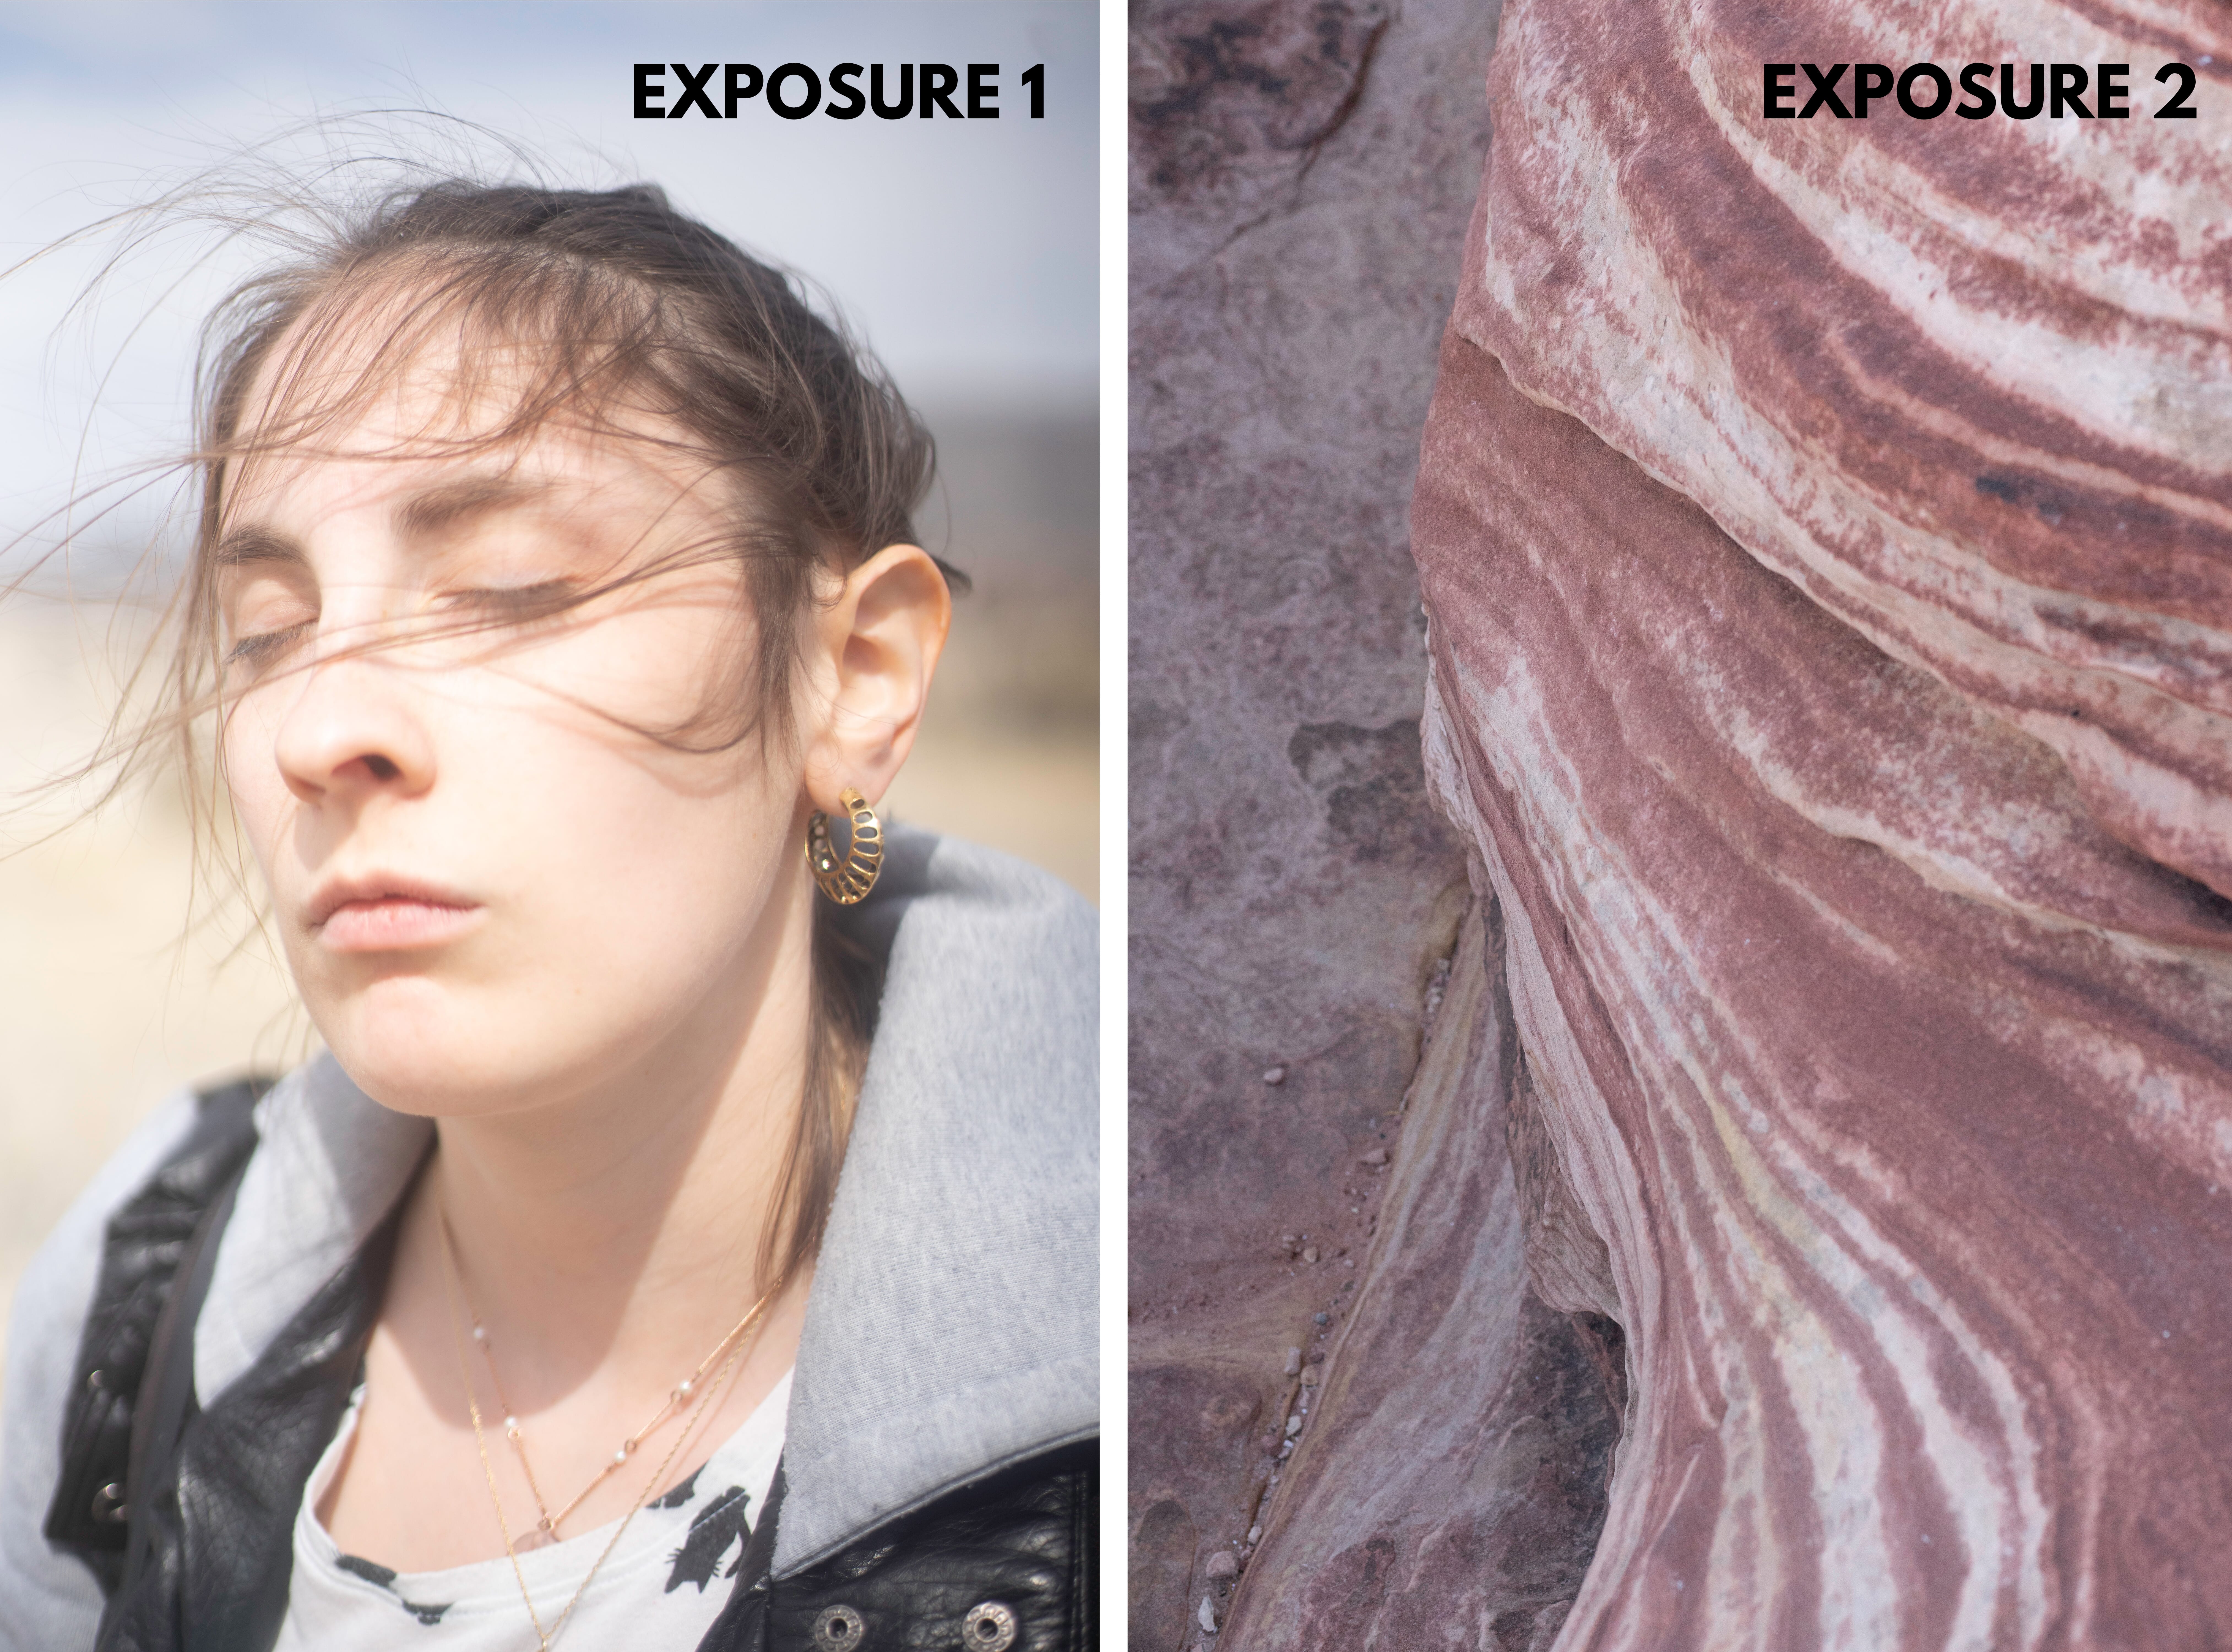
By flipping the second exposure 180°, playing around with the opacity, and applying a gradient mask, I was able to create the image below. Keep in mind that combining exposures isn’t an exact science. Experiment with Photoshop’s settings to make every composition your own!
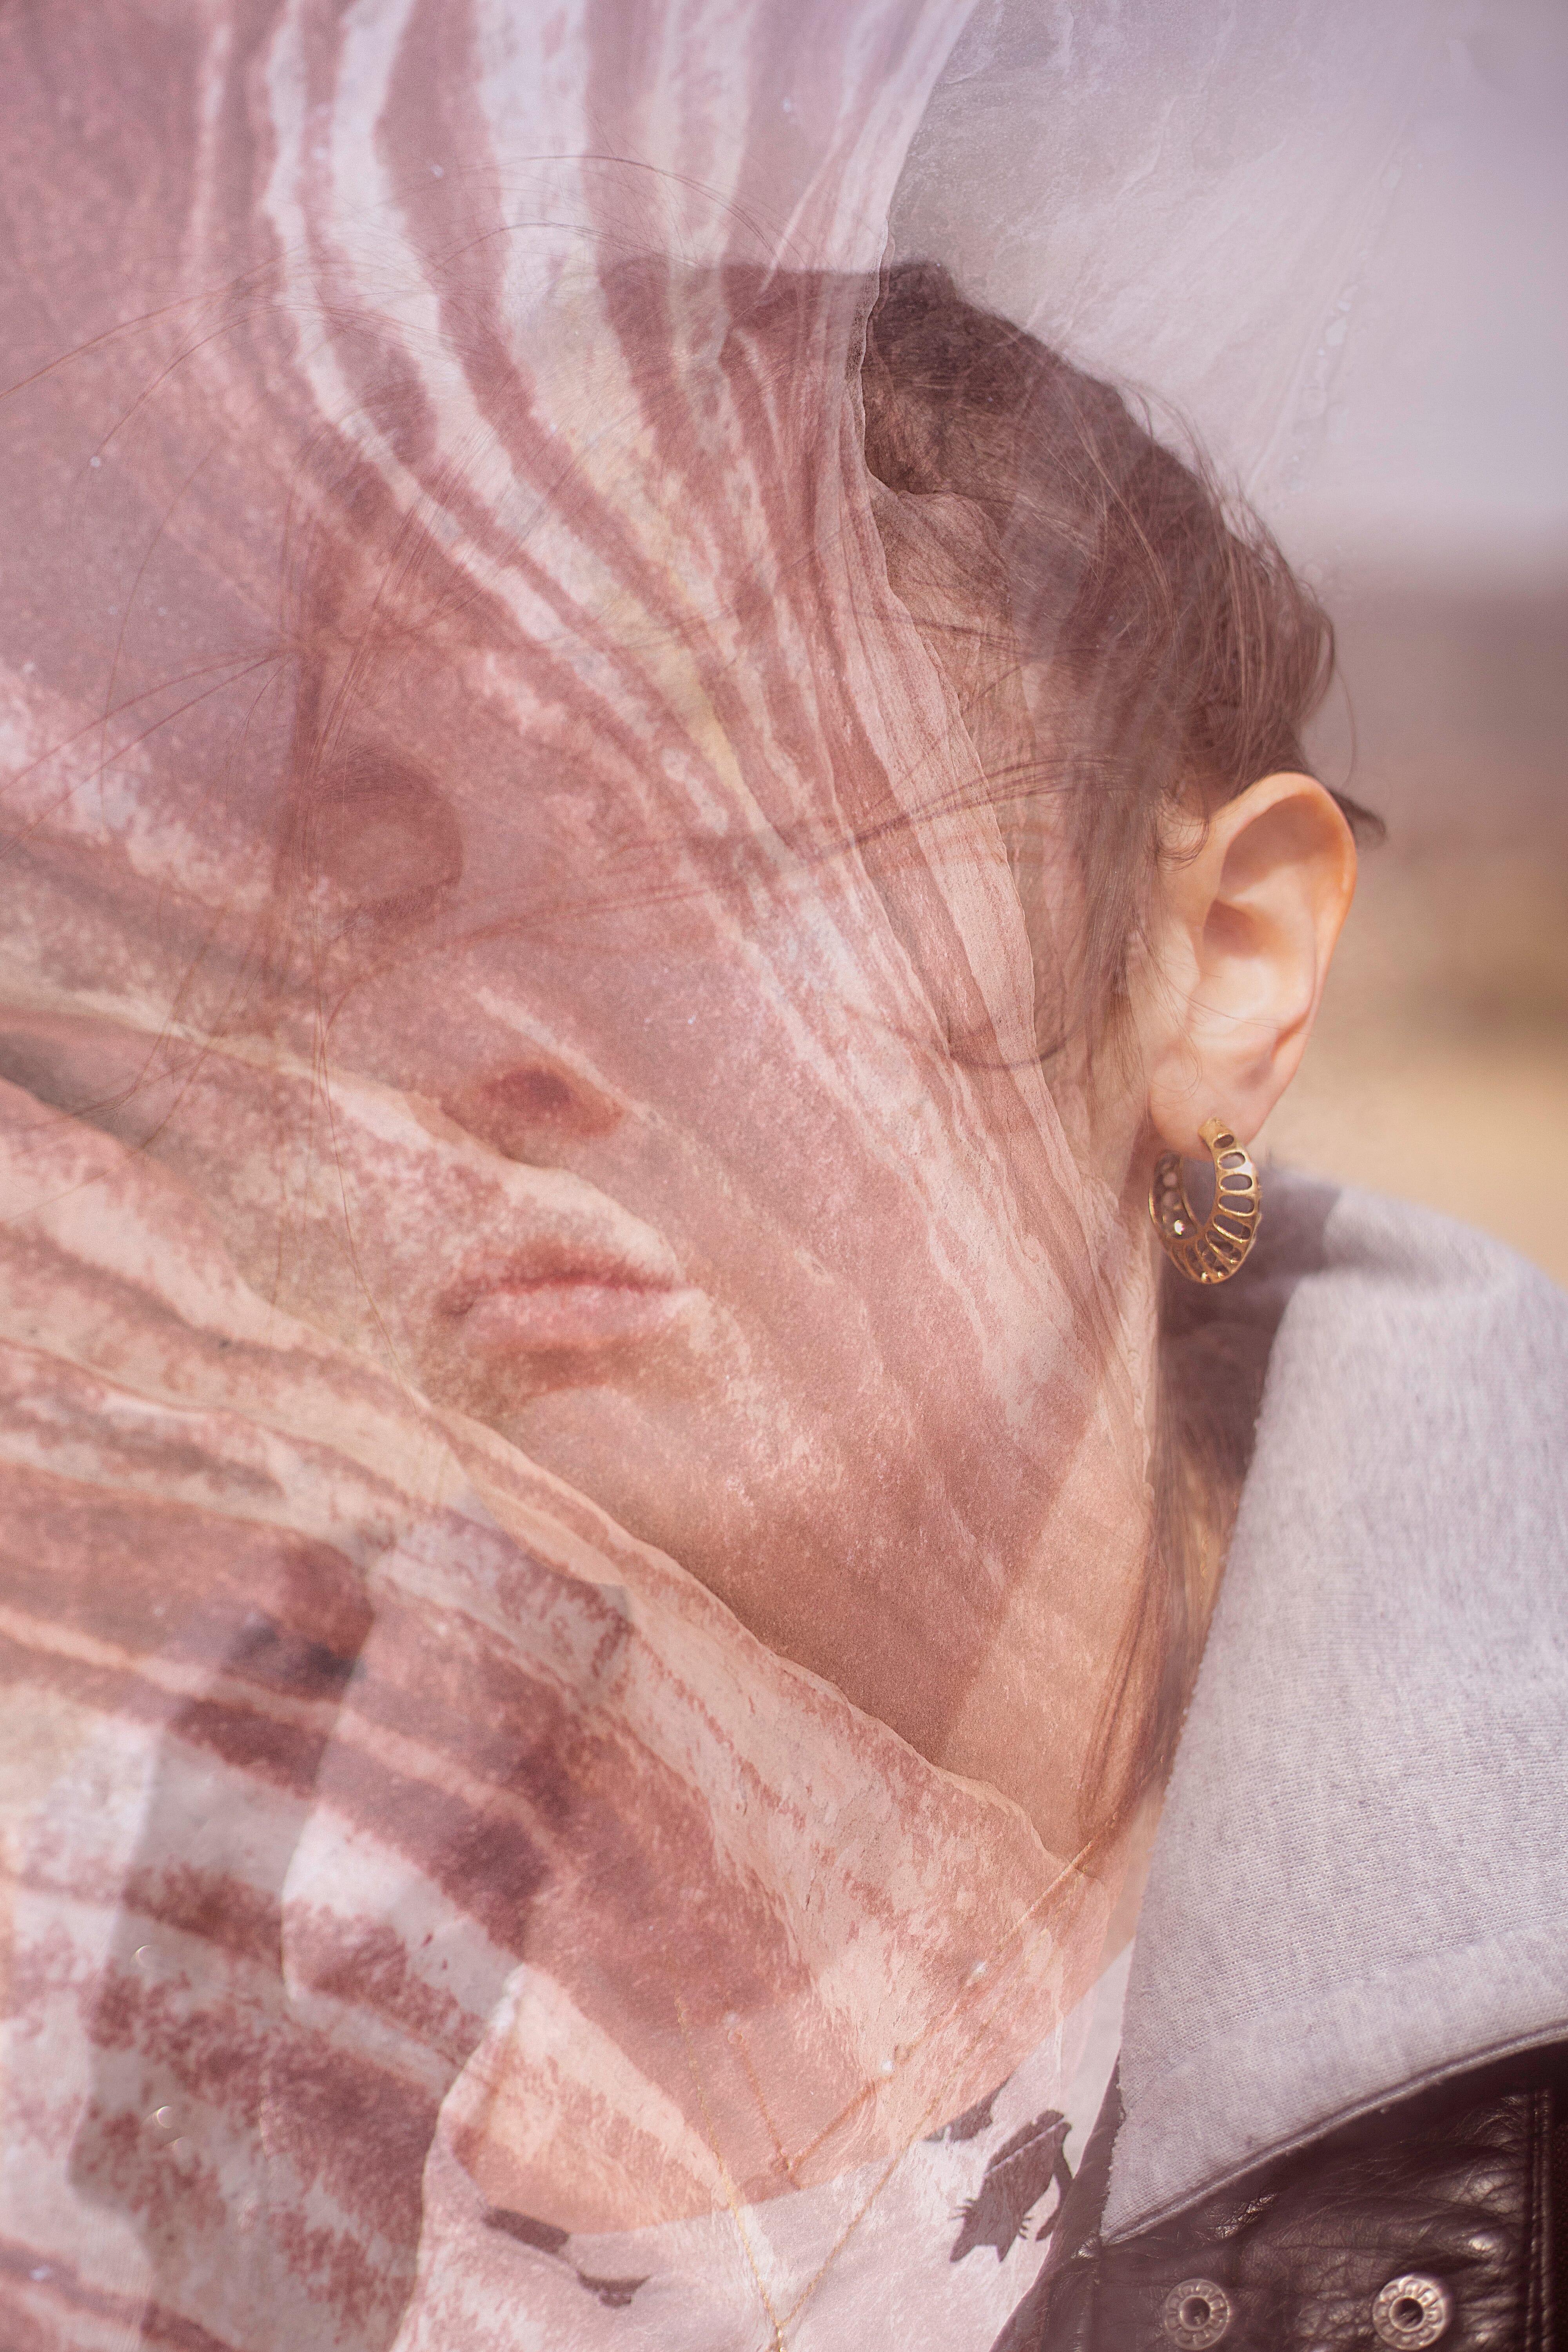
Double exposure photography is a great way to incorporate surprising shapes, textures, and colors into your images. For a long time, these two shots sat in my archives. Both felt as though they were missing something – they fall a little flat individually. But, when I brought them together in Photoshop, magic started to happen.
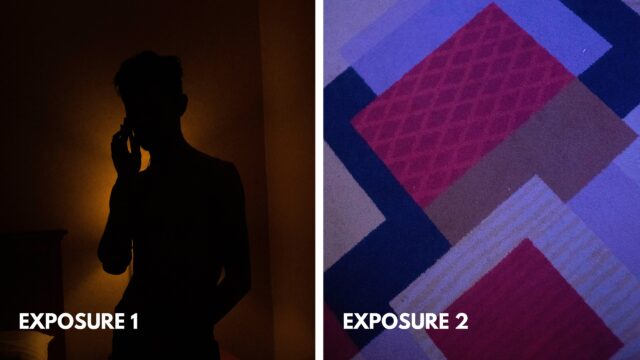
The cool blues of the casino carpet created a striking clash against the warm backlight of the hotel room. What’s more, the sharp geometric peaks of the second exposure contrast against the natural curves of the silhouette. With a little bit of masking, I was even able to “weave” the human figure through the thick blue lines.

Concluding Thoughts on How to Merge Two Photos in Photoshop
No matter how you slice it, merging images in Photoshop can make a massive impact and even enhance images that would be deemed unusable as standalone shots. This process is useful for subtle adjustments and massive transformations alike. It is one trick that every photographer should have up their sleeve!
Related Posts
Whether you’re new to this technique, or you’re a seasoned photo merger, we hope this guide has provided useful tips and tricks. If you have your own experiences, questions, or comments, why not share them in the comments below?
