Luminar AI Review: A Powerful Editor That’s Great for Beginners

In this article, I’m going to share a comprehensive, hands-on Luminar AI review.

I’ve spent many hours testing out Luminar AI, and I can now confidently reveal the program’s benefits and drawbacks, as well as its editing effectiveness, speed, and much more. 

Plus, I can answer the key question:

Is Luminar AI the right photo editor for your needs? 

So if you’re ready to discover whether Luminar AI is a worthy purchase…

…read on!

When you buy through links on our site, we may earn a commission at no cost to you. We evaluate products independently. Commissions do not affect our evaluations.

Luminar AI: Overview

Luminar AI Review
Luminar AI review 02

Product Name: Luminar AI

Product Description: Luminar AI is a groundbreaking photo editing program for beginners and serious photographers alike. If you're a photographer wanting to double your editing speed, or you're a non-photographer aiming to enhance your photos, then Luminar AI is the perfect tool for you.

Brand: Skylum

Offer price: 79

Currency: USD

Availability: OnlineOnly

  • Subscription Price
  • User Interface
  • Editing Power
  • Speed
4.3

Luminar AI Review Summary

Luminar AI is a brand-new, AI-powered photo editor from Skylum, one that photographers of all stripes, from beginners all the way up to professionals, won’t want to miss. Its next-gen AI technology helps you swap skies, add atmospheric effects, select compositions, and more – while ensuring that you remain in charge of the creative process.

Pros
Easy to use
Simple, sleek layout
Powerful artificial intelligence tools
Offers custom-made editing suggestions
Simple ways to give your photos a little extra flair
Offered as a Lightroom or Photoshop plugin
Inexpensive
Cons
Still not as fast as competitors
Lack of digital asset management features
Loss of easy-to-use Luminar Looks

Luminar AI is, according to Skylum, the world’s first AI-powered photo editor. 

In other words:

It’s the first editor where the editing work is done for you – by intelligent software that analyzes your photos, suggests changes, and even implements them on an image-by-image basis. 

If you’ve used Luminar 4, then you’re familiar with aspects of Luminar’s AI tools, but you won’t have experience with the AI workflow that Luminar AI now offers. This allows you to open an image, review editing suggestions from the program’s AI, and – with a single click – apply the entire set of edits to the file.

As you can imagine, this has the potential to be a huge timesaver. Think of the possibilities: Instead of spending minutes (or even hours) on a single image, you can scroll through a list of AI suggestions, then apply sophisticated, high-level edits to each one.

Now, Luminar AI isn’t just an AI editor. Yes, there is the option to do one-click editing, but the Luminar Edit view also contains a comprehensive post-processing suite, so you can tweak and enhance photos to your heart’s content. So if you’re a more experienced editor looking for the latest and greatest Skylum software, Luminar AI does have something to offer, even if the program isn’t tailor-made for your needs.

Interestingly, Skylum claims that Luminar AI is not a successor to Luminar 4, though Luminar AI seems to have inherited most of its editing tools, albeit with a few frustrating omissions.

In fact, I’d like to get one of the most serious omissions out in the open right away:

While previous iterations of Luminar never offered an especially comprehensive system for digital asset management (i.e., organizing your photos)…

…Luminar AI performance is even more disappointing on this front because several of its most useful DAM features seem to have been lost, presumably in service to speed or simplicity (or maybe both).

This isn’t a dealbreaker, especially if you’re more of a content creator than a photographer, but if you were hoping for an improvement over Luminar 4, then you’re out of luck.

On the other hand, Luminar AI does offer quite a few tools that you can’t find anywhere else on the market, plus you can always use Luminar as a Lightroom plugin. So for those who like the power of Luminar AI but aren’t ready to ditch their Lightroom catalog, Luminar AI is still an option.

Now let’s take a closer look at Luminar AI, and really dive into the individual features and performance.

Ease of Use and Layout

Luminar AI is ridiculously simple to use. 

Unlike Lightroom, which offers an overwhelming number of tabs, tools, and panels, the Luminar interface is wonderfully minimalistic. You have just five tabs across the top of the program:

An import button (for adding photos to Luminar), a Catalog button (for organizing images), a Templates button (for viewing AI-editing suggestions and the corresponding preset-like templates), an Edit button (for accessing Luminar AI’s powerful editing tools), and an Export button (for saving and sharing images).

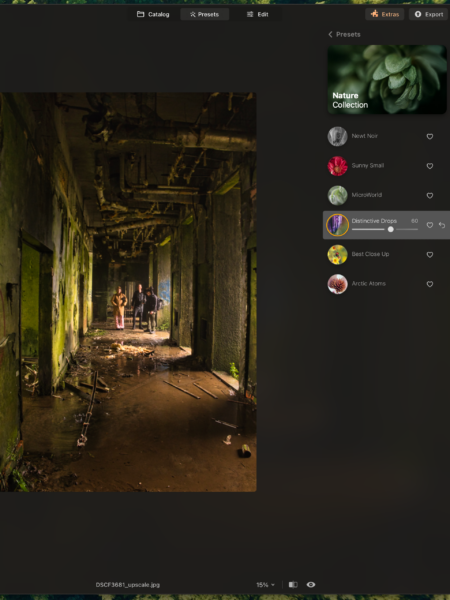
And take a look at the layout of these individual modules, which prioritize simple, image-first design. Here’s the Templates view in action:

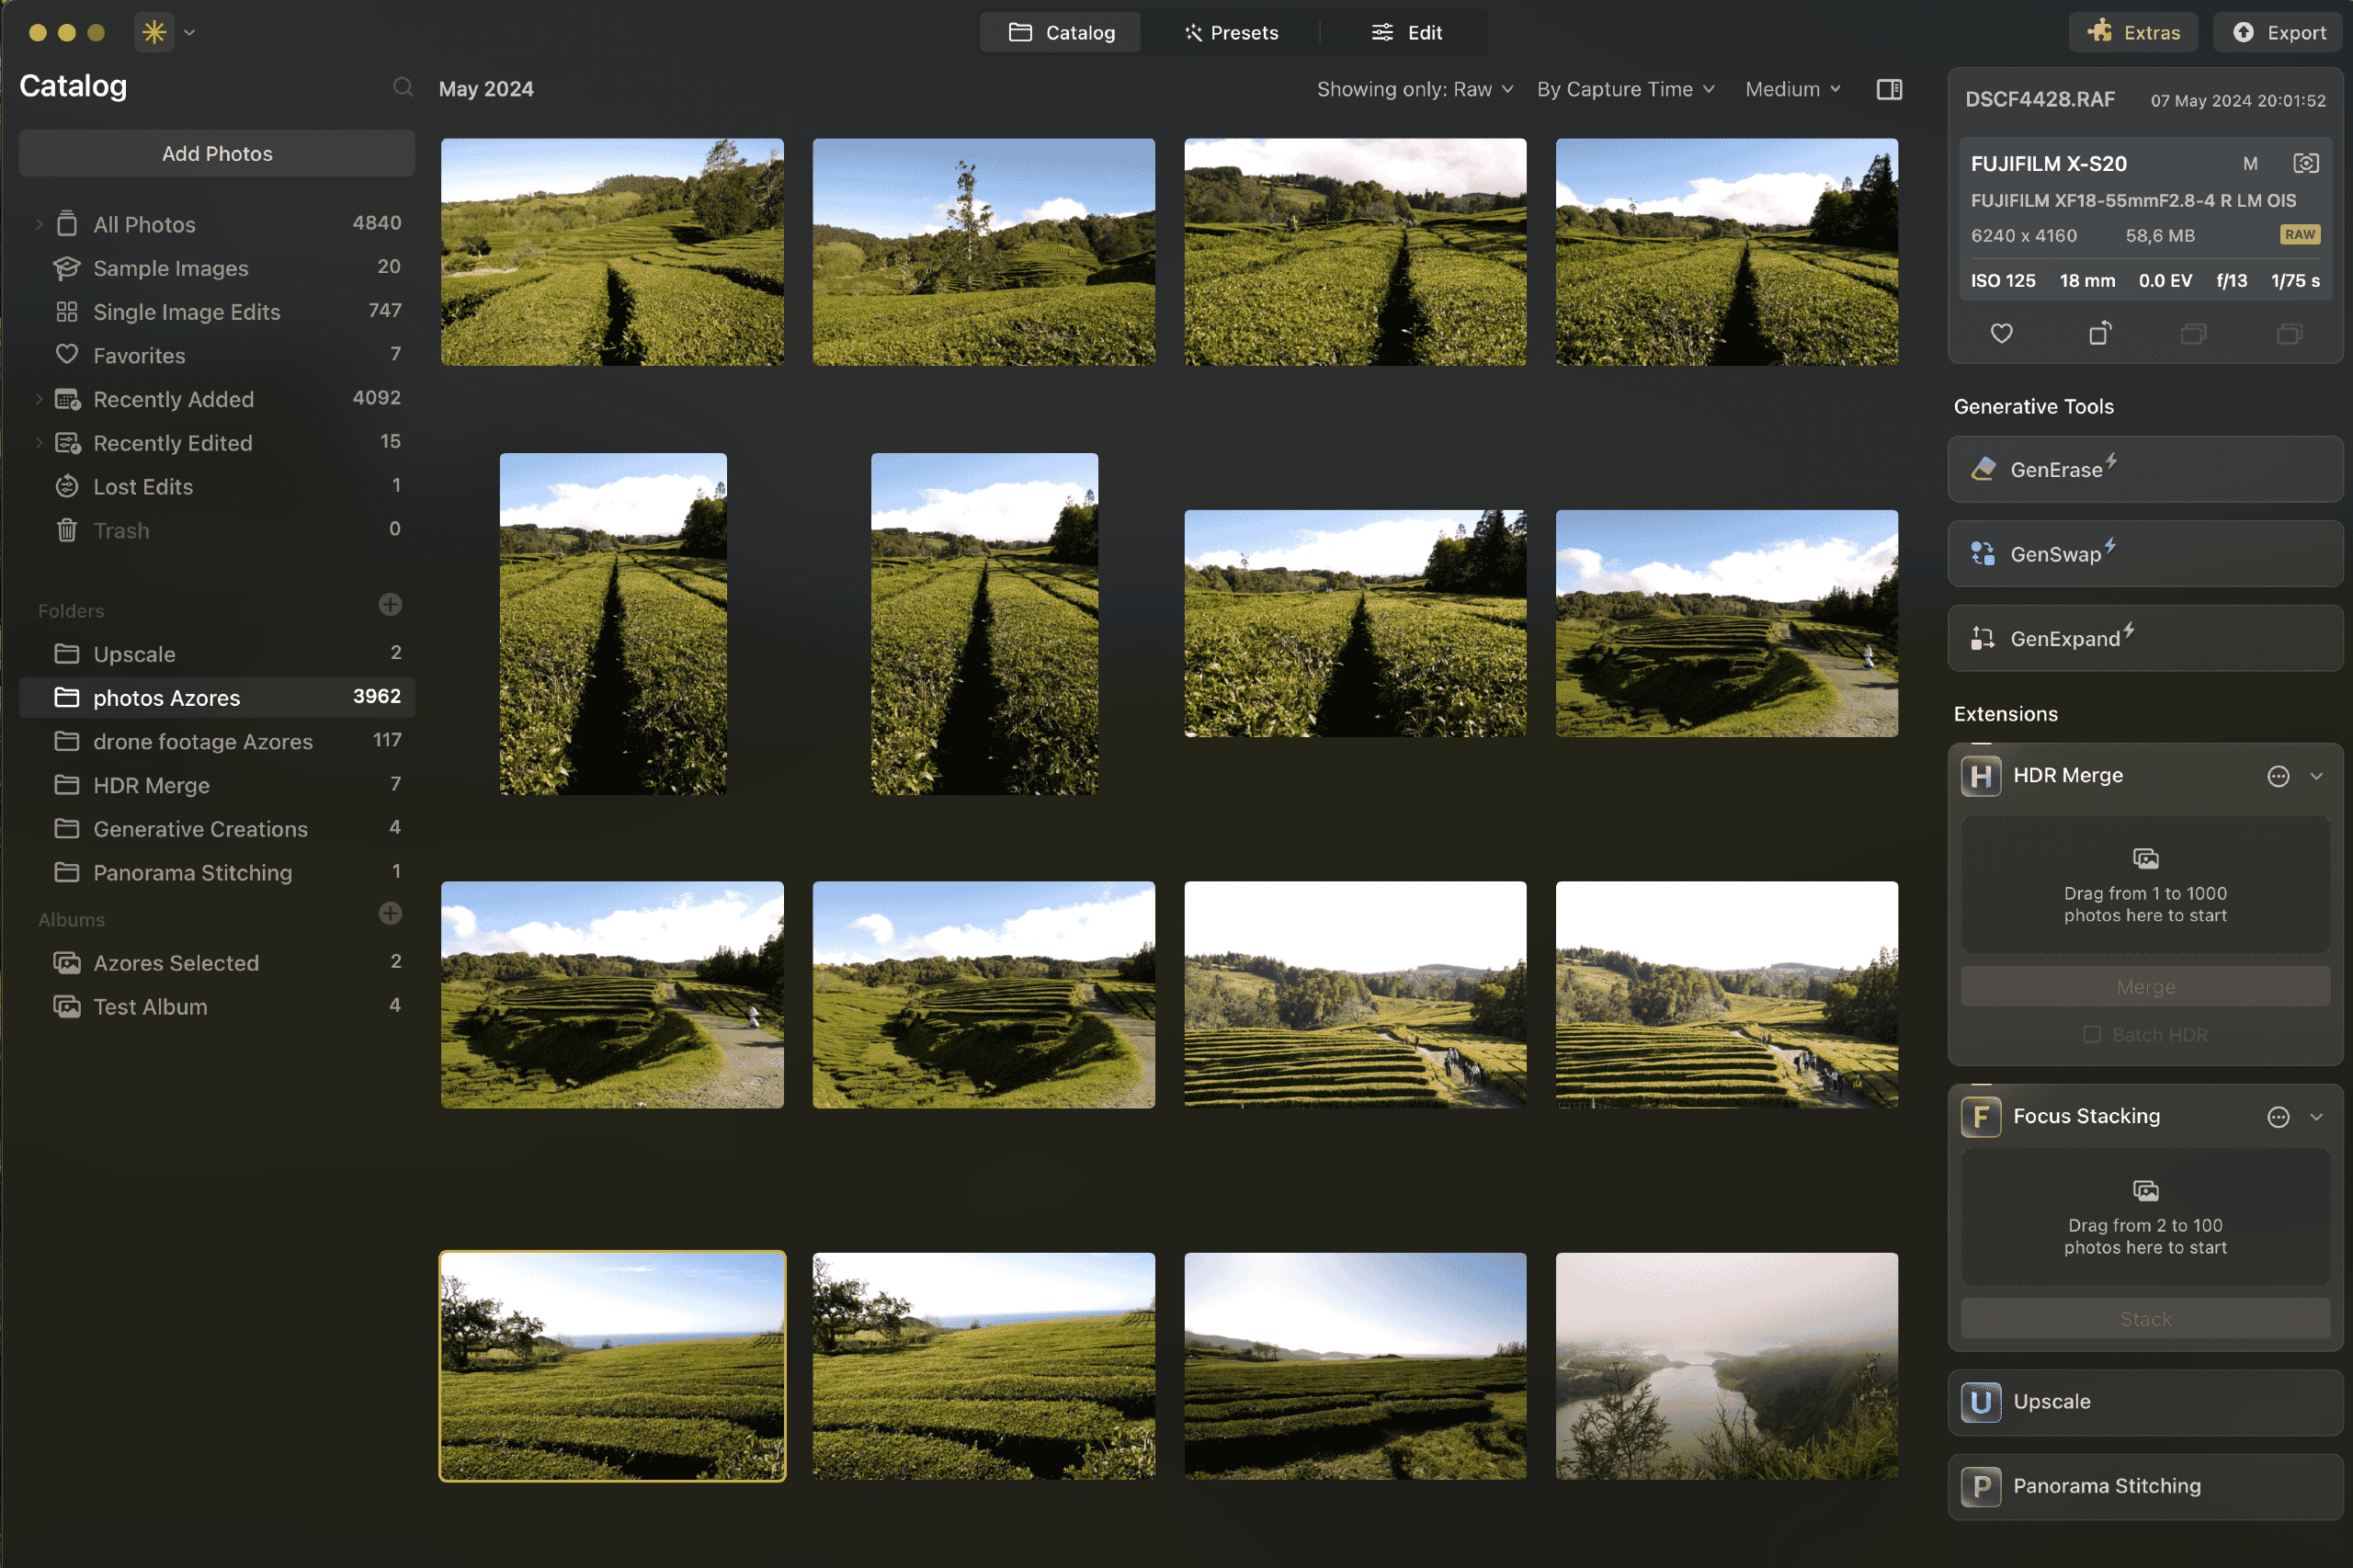
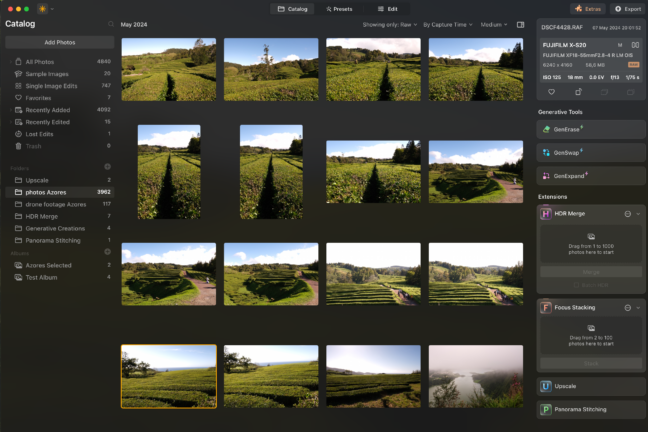
The Catalog:

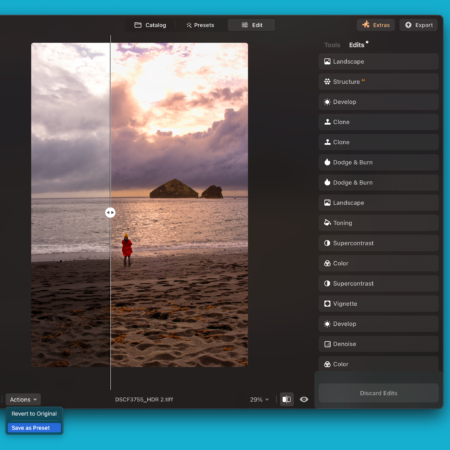
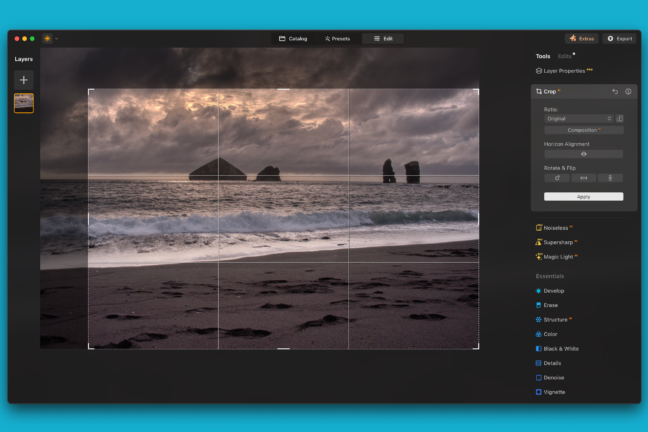
And the Edit view:

Now, things in the Edit view can get more complex – the editing tools drop down on the right-hand side, offering a whole lot of functionality – but even in the midst of a complex edit with 5+ active tools, you’ll remain pretty darn comfortable, no matter your level of experience. 

And you don’t have to enter the Edit view if you don’t want to; that’s the beauty of the “AI” in “Luminar AI,” and it’s what makes the program spectacularly effective for folks who have never even touched a photo editing slider before. As soon as you open an image, you can proceed to the Templates view, which will offer templates for that specific photo.

You can click to test out different options.

And as soon as you find a template you like, you can hit the Export button – at which point, well, you’re done!

Plus, say you sort of like the AI suggestions, but you still want to make a couple of small tweaks to the shot (e.g., you want to brighten it up, you want to desaturate it, etc.). Then you can open the Edit view, where you’ll see the exact changes that your selected AI Template made. And you can modify these changes, or add new changes, to improve your photo further.

Easy, peasy, right? 

Even the Import and Export menus are impressively painless. When importing, you’re given just two options: 

To select a file, or to select a folder. 

And when exporting, the menu is only slightly more extensive:

Obviously, the bare-bones feature set will be a hindrance for some photographers, especially those who want to apply presets or labels upon importing and do batch renaming when exporting. But for non-photographers or photographers who don’t plan to go beyond simple image organization and sharing, Luminar AI offers more than enough.

Honestly, it’s easy to sneer at the lack of features compared to Lightroom or Capture One – but I really do think it’s important to emphasize the simplicity of the entire Luminar AI workflow here. Never before has editing been so effortless, so painless, or so incredibly accessible to all folks, including photography beginners and casual snappers who want to improve their photos with as little time and effort as possible.

Image Management

I previously complained about Luminar 4’s lack of image organization features, also known as digital asset management features (or “DAM”). 

Unfortunately, Luminar AI seems to have taken a step backward when it comes to image management. This is a major strike for any photographers hoping Luminar AI would finally be an image management suite on par with Adobe Lightroom Classic, and also just frustrating for Luminar fans in general (after all, even if you were satisfied by the DAM capabilities of Luminar 4, Luminar AI forces you to get by with even less functionality).

Related Posts

So what, specifically, can you do with images in Luminar AI?

Aside from the basic importing and exporting features (discussed in the section above), nearly all of the image organization tools are found in the Catalog view:

When you import a folder into Luminar AI, it’ll appear under the Folders section:

You’re also free to create Albums, which you can use to organize images by genres, sessions, dates, or whatever else you care about:

You can Favorite a photo by toggling the heart icon in the Catalog:

Or you can mark a photo as Rejected by toggling the “X”:

Finally, you can sort through images by file name, file type, capture time, designation (i.e., Favorites or Rejected), plus a few other options. 

And…

That’s about it. 

For some photographers, as well as non-photographers looking to do quick image edits for branding, this may be enough; it does allow for simple image management, thanks to the Albums tool, and you can do rudimentary labeling and sorting. 

But for many photographers, including those looking for a true Lightroom alternative, those who have an extensive image catalog, or those who must organize hundreds of folders for portrait clients, it’s just not enough. 

Because Luminar AI doesn’t offer: 

  • The ability to nest albums in a hierarchy
  • The ability to add keywords to your images
  • The ability to search for images based on metadata
  • The ability to add ratings or labels beyond “Favorite” and “Rejected”

Even Luminar 4, as thin as its DAM features may be, included star ratings and labels, which is a very basic image organization function, one that almost every editor includes in some way.

Overall, the image management tools just aren’t up to snuff. So unless you only require the most basic organizational capabilities, I’d recommend looking elsewhere – or at least considering whether you want to use Luminar AI solely as a Lightroom plugin.

Editing Features

The Skylum team has clearly put a lot of time and energy into developing Luminar’s editing features this time around, and it’s what makes the program stand out, despite its lackluster DAM capabilities.

You get all the standard editing options, including exposure adjustments, color adjustments, black and white conversion, sharpening, noise reduction, cloning, and cropping.

And you get plenty of advanced editing tools, including vignetting, split toning, film grain, dodging and burning, plus some of Skylum’s own inventions, such as the Landscape tool for improving foliage, and the Glow tool for adding soft focus effects.

But Skylum goes far, far beyond these conventional editing options, packing in unique AI options left and right, along with a couple of other clever tools. 

Let’s take a quick look at the highlights, starting with:

Composition AI

Composition AI is a standard cropping and perspective tool – except that you can also just hit the Composition AI button, which prompts Luminar to identify ideal crops for you, based on the program’s understanding of composition guidelines

If you’re only just getting familiar with photographic composition, or if you’re not interested in understanding composition principles, the Composition AI tool can help you create well-composed images in about two seconds.

I tested the Composition AI out on quite a few photos, and it did a decent job with a few obvious exceptions (where it cut people in half, or cut out clearly important aspects of the shot).

Enhance AI and Structure AI

Enhance AI packs an Accent AI slider, which just generally improves the look of your image when slid to the right (mostly by adding contrast, it seems).

You also get the Sky Enhancer AI slider, which quickly targets and adjusts skies for more detail and drama.

So you go from this:

To this:

Then there’s Structure AI, which boosts texture in your images for a bit more clarity and pop.

While none of these tools work well all the time, they’re certainly worth a try; you’ll often find you can simplify a lot of editing just with a couple light moves of these sliders.

Sky AI and Augmented Sky AI

Earlier iterations of Luminar were (and still are) famous for their AI sky editing features, so it comes as no surprise that Luminar AI boasts these tools in their most impressive form.

Sky AI allows you to swap out skies with a literal click of a button (or, well, two clicks, because you have to open the Sky Selection dropdown menu first).

You can take a photo with a bland sky:

Then quickly turn it into a sunset:

Or a lovely summer day:

Or even something much more dramatic:

As illustrated by the examples above, the sky replacement feature really is superb. It’s able to regularly identify the sky and cleanly add your selected alternative, though it does struggle with low contrast boundaries between the sky and the background, leading to misfires like this one:

Overall, though, I’m impressed. And for the beginning landscape photographer, the ability to replace skies in a few seconds is a huge deal. Especially because learning to use Photoshop (which was the only way you could replace skies previously) is a long and hard journey, plus even Photoshop experts aren’t quite as fast as Luminar.

As for Augmented Sky AI, it allows you to add objects to your images, such as moons, birds, and (weirdly) a lone giraffe. Unfortunately, these objects are pretty unrealistic, with the possible exception of the birds, so I don’t know exactly when you might find them useful – but it’s kind of cool that the feature exists, nonetheless.

Atmosphere AI

Atmosphere AI is newly introduced in Luminar AI, and it’s primarily designed to enhance your landscape photos by intelligently adding fog, layered fog, mist, or haze. 

Honestly, while I was pretty skeptical, the filter isn’t half-bad. I was able to add some nice fog to this image:

Of course, you can’t just go adding atmospheric effects to your photos willy-nilly. But with judicious use, Atmosphere AI can definitely add a little something extra to your photos.

Portrait AI 

Luminar AI includes three portrait AI tools, all of which identify portrait subjects and allow you to change different facial features, colors, and body shapes.

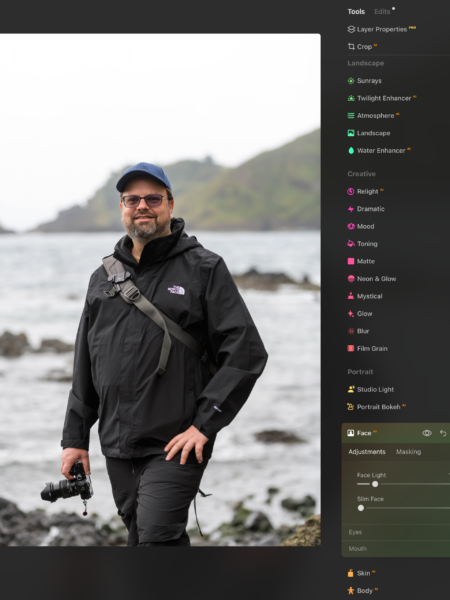
The Face AI tool, for instance, lets you lighten or slim a face, adjust eye colors, and improve lips and teeth, while the Skin AI tool removes defects and smoothes out skin.

For instance, look carefully at the original:

And compare it to the shot after I’ve done some work with the Face AI tool:

The differences are subtle, but still very present, which is exactly what you want in a portrait retouch.

Finally, the Body AI tool lets you adjust body shape and size, which I find to be more than a little uncomfortable, though advanced portrait retouchers would probably argue that you can already do it with Photoshop, so why not make it faster? 

All three of these portrait AI tools are very well implemented, and I was stunned by how carefully and subtly the AI technology went to work on a portrait subject. If you’re a beginner to intermediate portrait photographer and you want to speed up your editing workflow, I highly recommend you check out Luminar AI – because the Portrait AI alone is probably worth the money.

Templates

Templates are the bread and butter of Luminar AI. Here’s how they work:

First, you open an image. 

Then you head into the Template view.

AI technology analyzes your image, then spits out suggestions for different presets. For instance, a portrait image might get suggestions for Easy Portraits or Experimental

And a landscape image might get suggestions for Sunsets or Overcast.

When you click on these options, your photo will immediately be transformed, at which point you can head into the Edit view and tweak sliders, or you can declare the edit complete and save/export it.

The whole template workflow was a heavily-advertised aspect of Luminar AI, but honestly, I’m a bit underwhelmed. It is essentially a set of presets, except that the software suggests which template to use. And if you don’t like Luminar’s suggestions, or you want to test out different options, applying other templates is a bit of an annoying process – you have to go through several layers in the menu until you can click on individual templates and see their effects.

Masking

One last set of Luminar AI features that deserve mention are the masking options. Luminar 4 used layers, but these have been tossed for Luminar AI, and what remains is individual masking options for each tool, plus a Local Masking feature.

In other words:

Once you’ve applied the edits from a tool (e.g., Denoise), you can activate a mask, then paint the effect onto your photo with a brush, a linear gradient, or a radial gradient:

And if you want to apply multiple masks using the same tool to the same image, you can head down to the Local Masking tab, which lets you add simple masks to your heart’s content. Bear in mind, though, that you’ll only be able to adjust a few image aspects with these Basic masks, such as Warmth, Shadows, AI Structure, and Saturation.

This implementation isn’t terrible, but I do think it’s a step down from Luminar 4, and sort of a draw with Lightroom (Lightroom’s implementation is simpler and smoother, but the options are less flexible). I also think that most editors who are interested in masking probably won’t use Luminar AI as a standalone program.

Performance

Skylum specifies these system requirements for Windows computers running Luminar AI:

  • Intel Core i5, AMD Ryzen 5, or better
  • Windows 10 operating system
  • 8 GB of RAM, with 16 GB recommended
  • 10 GB of space
  • 1280×768 screen resolution

And here are the requirements for Mac devices:

  • A MacBook, MacBook Pro, iMac, iMac Pro, Mac Pro, MacBook Air, or Mac Mini
  • At least Intel Core i5
  • At least macOS 10.13.6
  • 8 GB of RAM, with 16 GB recommended
  • 10 GB of space
  • 1280×768 screen resolution

Now, I’ll be the first to admit that the computer I used to test Luminar AI isn’t especially high-powered. It runs Windows 10, with 12 GB of RAM and an Intel Core i7 processor, but it can handle Lightroom and Photoshop just fine, and it’s certainly not what I’d consider a laggy PC. 

And yet…

Luminar AI is slow.

I’ve read other reviews claiming that Luminar AI’s speed is impressive. And maybe it is – if you’re using the latest iMac Pro with 32 GB of RAM.

But running Luminar AI on my PC was an exercise in patience. I often experienced a slight delay when moving sliders, and the masking features were a disaster because I would paint, then wait for the mask to catch up, then paint some more, and so on. Surprisingly, applying the Templates wasn’t too slow, and I had fun testing out different Template suggestions.

But overall, I was frustrated. I even opened my copy of Luminar 4 to compare the programs side by side, and there was literally no competition; Luminar 4 worked beautifully in comparison, handling basic editing tasks with ease, and even more serious edits (e.g., masking) were at least five times faster than Luminar AI.

If you have a high-powered computer, you’ll probably be fine. 

And if you don’t mind waiting a bit for edits to be performed, you’ll also be fine. 

But if you’re like me, someone with a decent-but-not-fast PC and a lot of images to edit, Luminar AI’s speed leaves something to be desired, and is soundly beaten by competitors such as Lightroom, ACDSee, and more.

Related Posts

Luminar 4 vs Luminar AI

If you’re trying to decide whether to purchase Luminar AI, you’re probably also thinking about purchasing Luminar 4, or you’re considering whether upgrading from Luminar 4 makes sense. 

So does it? Which is better, Luminar 4 or Luminar AI? And what’s the difference?

Luminar AI offers a handful of advanced AI features not present in Luminar 4, including:

  • AI Template suggestions and Template implementations
  • Plenty of AI features, such as Composition AI and Atmospheric AI
  • A simpler, more streamlined interface

Whereas Luminar 4 offers some advanced features no longer present in Luminar AI:

  • Layer-based editing
  • More advanced digital asset management
  • Significantly faster performance
  • An extensive collection of Looks (i.e., presets)
  • Batch processing for quick, preset-based editing

Conveniently, pretty much every other feature exists in both programs. 

Overall, I think Luminar AI is the better photo editor of the two, assuming you have a fast-enough computer. Luminar AI is also sleeker, simpler, and easier to use.

Luminar 4, on the other hand, offers layer editing and better photo organizational capabilities – so if you’re after an all-in-one editor on par with Lightroom, I’d recommend grabbing Luminar 4. I also prefer Luminar Looks to Luminar Templates, simply because they’re easier to use for quick edits (especially if you want to batch process). 

As for whether it makes sense to upgrade from Luminar 4 to Luminar AI, that depends on the type of editing you do. If any of the new AI features appeal to you, then, by all means, pay for Luminar AI. 

But otherwise, Luminar 4 is probably enough.

Is Luminar AI Right for You?

Ultimately, I think Luminar AI is a mixed bag, perfect for some photo editors, and unsatisfying for others. 

Specifically, I’d recommend you purchase Luminar AI if you fit any of these profiles:

You find photo editing frustrating or boring and dramatically want to speed up your workflow.

You have no desire to learn editing and just want a quick way to make your photos look better.

You’re just starting out in photo editing or photography and want help making your pictures look their best, while still retaining room to grow.

You’re a portrait shooter who wants to spend less time retouching and more time shooting.

You’re excited by cutting-edge AI features.

You don’t mind the lack of digital asset management capabilities, or you plan to use Luminar AI as a Lightroom plugin.

On the other hand, if you have an extensive image catalog and don’t want to limit yourself to Luminar’s basic DAM features, or you’re after a more extensive editor with increased functionality, then Luminar AI probably isn’t right for you. Instead, I’d recommend you check out Lightroom Classic (for improved DAM features), Capture One 2021 (also for improved DAM features, but also for more advanced editing capabilities), or Photoshop (for the highest-level editing capabilities).

You can currently grab Luminar AI for $79 USD for a single download, or $99 USD for two downloads.

You can also get a free trial by using this link: https://skylum.evyy.net/trial (copy/paste in your browser for the download to start).

For those who want to buy Luminar AI, we have a special coupon code which gives our readers $10 OFF at checkout: Save $10 on any Skylum Software like Luminar (Once you are in the checkout area, click on “Enter Promotional Code” and insert PHOTOWORKOUT to get $10 OFF.)

Is Luminar AI worth it?

That depends on you and your requirements! If you’re looking for an easy way to edit your photos, or if you’d like to speed up your workflow, or if you want to use powerful AI tools to enhance your images, then Luminar AI is absolutely worth it. It’s pretty competitively priced, too, at just $79 USD for a download.

How much is Luminar AI?

You can purchase a single download of Luminar AI for $79 USD. There are additional options at higher prices, however – such as a two-download (that is, two computer) Luminar AI purchase for $99 USD.

What’s the difference between Luminar 4 and Luminar AI?

Luminar 4 and Luminar AI are similar in a lot of ways. But Luminar AI offers a whole suite of new AI features, including Composition AI and Atmospheric AI. Luminar AI also offers an AI-based editing experience, where the software analyzes your photo and offers suggestions for different templates. Luminar 4, on the other hand, offers enhanced asset management capabilities and includes the famous Luminar Looks (i.e., Luminar’s version of presets).

Does Luminar AI replace Luminar 4?

No. Skylum has indicated that Luminar AI and Luminar 4 are not part of the same lineup. We may see a Luminar 5 one day, or Luminar AI may be a turning point for Skylum, where catering to beginners becomes an even greater focus (so that Luminar 5 never comes).

Is Luminar AI better than Photoshop?

That depends on what you’re after. Luminar AI certainly allows you to do certain edits faster than Photoshop, such as switching skies. However, Photoshop offers far more customization, and is more comprehensive and flexible overall compared to Luminar AI. Photoshop’s a lot more difficult to learn, though, which is why Luminar AI is far better for beginners, whereas Photoshop is a good buy for advanced editors.

Is Luminar AI good for beginners?

Yes! Luminar AI is incredible for beginners, thanks to its simple design, easy-to-use tools, and powerful features. With Luminar AI, you don’t need any photo editing experience; instead, you can get started creating stunning edits right away (it only takes a couple of clicks!).

About The Author

2 thoughts on “Luminar AI Review: A Powerful Editor That’s Great for Beginners”

  1. Very Good Article but what you didn’t mention is this software is as slow as a wallowing pig in spring mud. What good is it if it is not usable as a real tool. Its great that it has these features but it is a non starter if you are a PC user with a serious high end ULTRA fast PC and you can’t get through an edit because it lags so far behind with every mouse click. At this point, Luminar AI is nothing more than an aspirational work in progress.

Leave a Comment

Your email address will not be published. Required fields are marked *