Luminar Neo, currently at version 1.24.0, is a treasure trove for photography enthusiasts looking to elevate their photo editing game. From organizing your photos in the new catalog section to leveraging nearly unlimited editing capabilities, the latest Luminar Neo has it all.
When you buy through links on our site, we may earn a commission at no cost to you. We evaluate products independently. Commissions do not affect our evaluations.
Review Summary
 PhotoWorkout’s Rating: 5/5
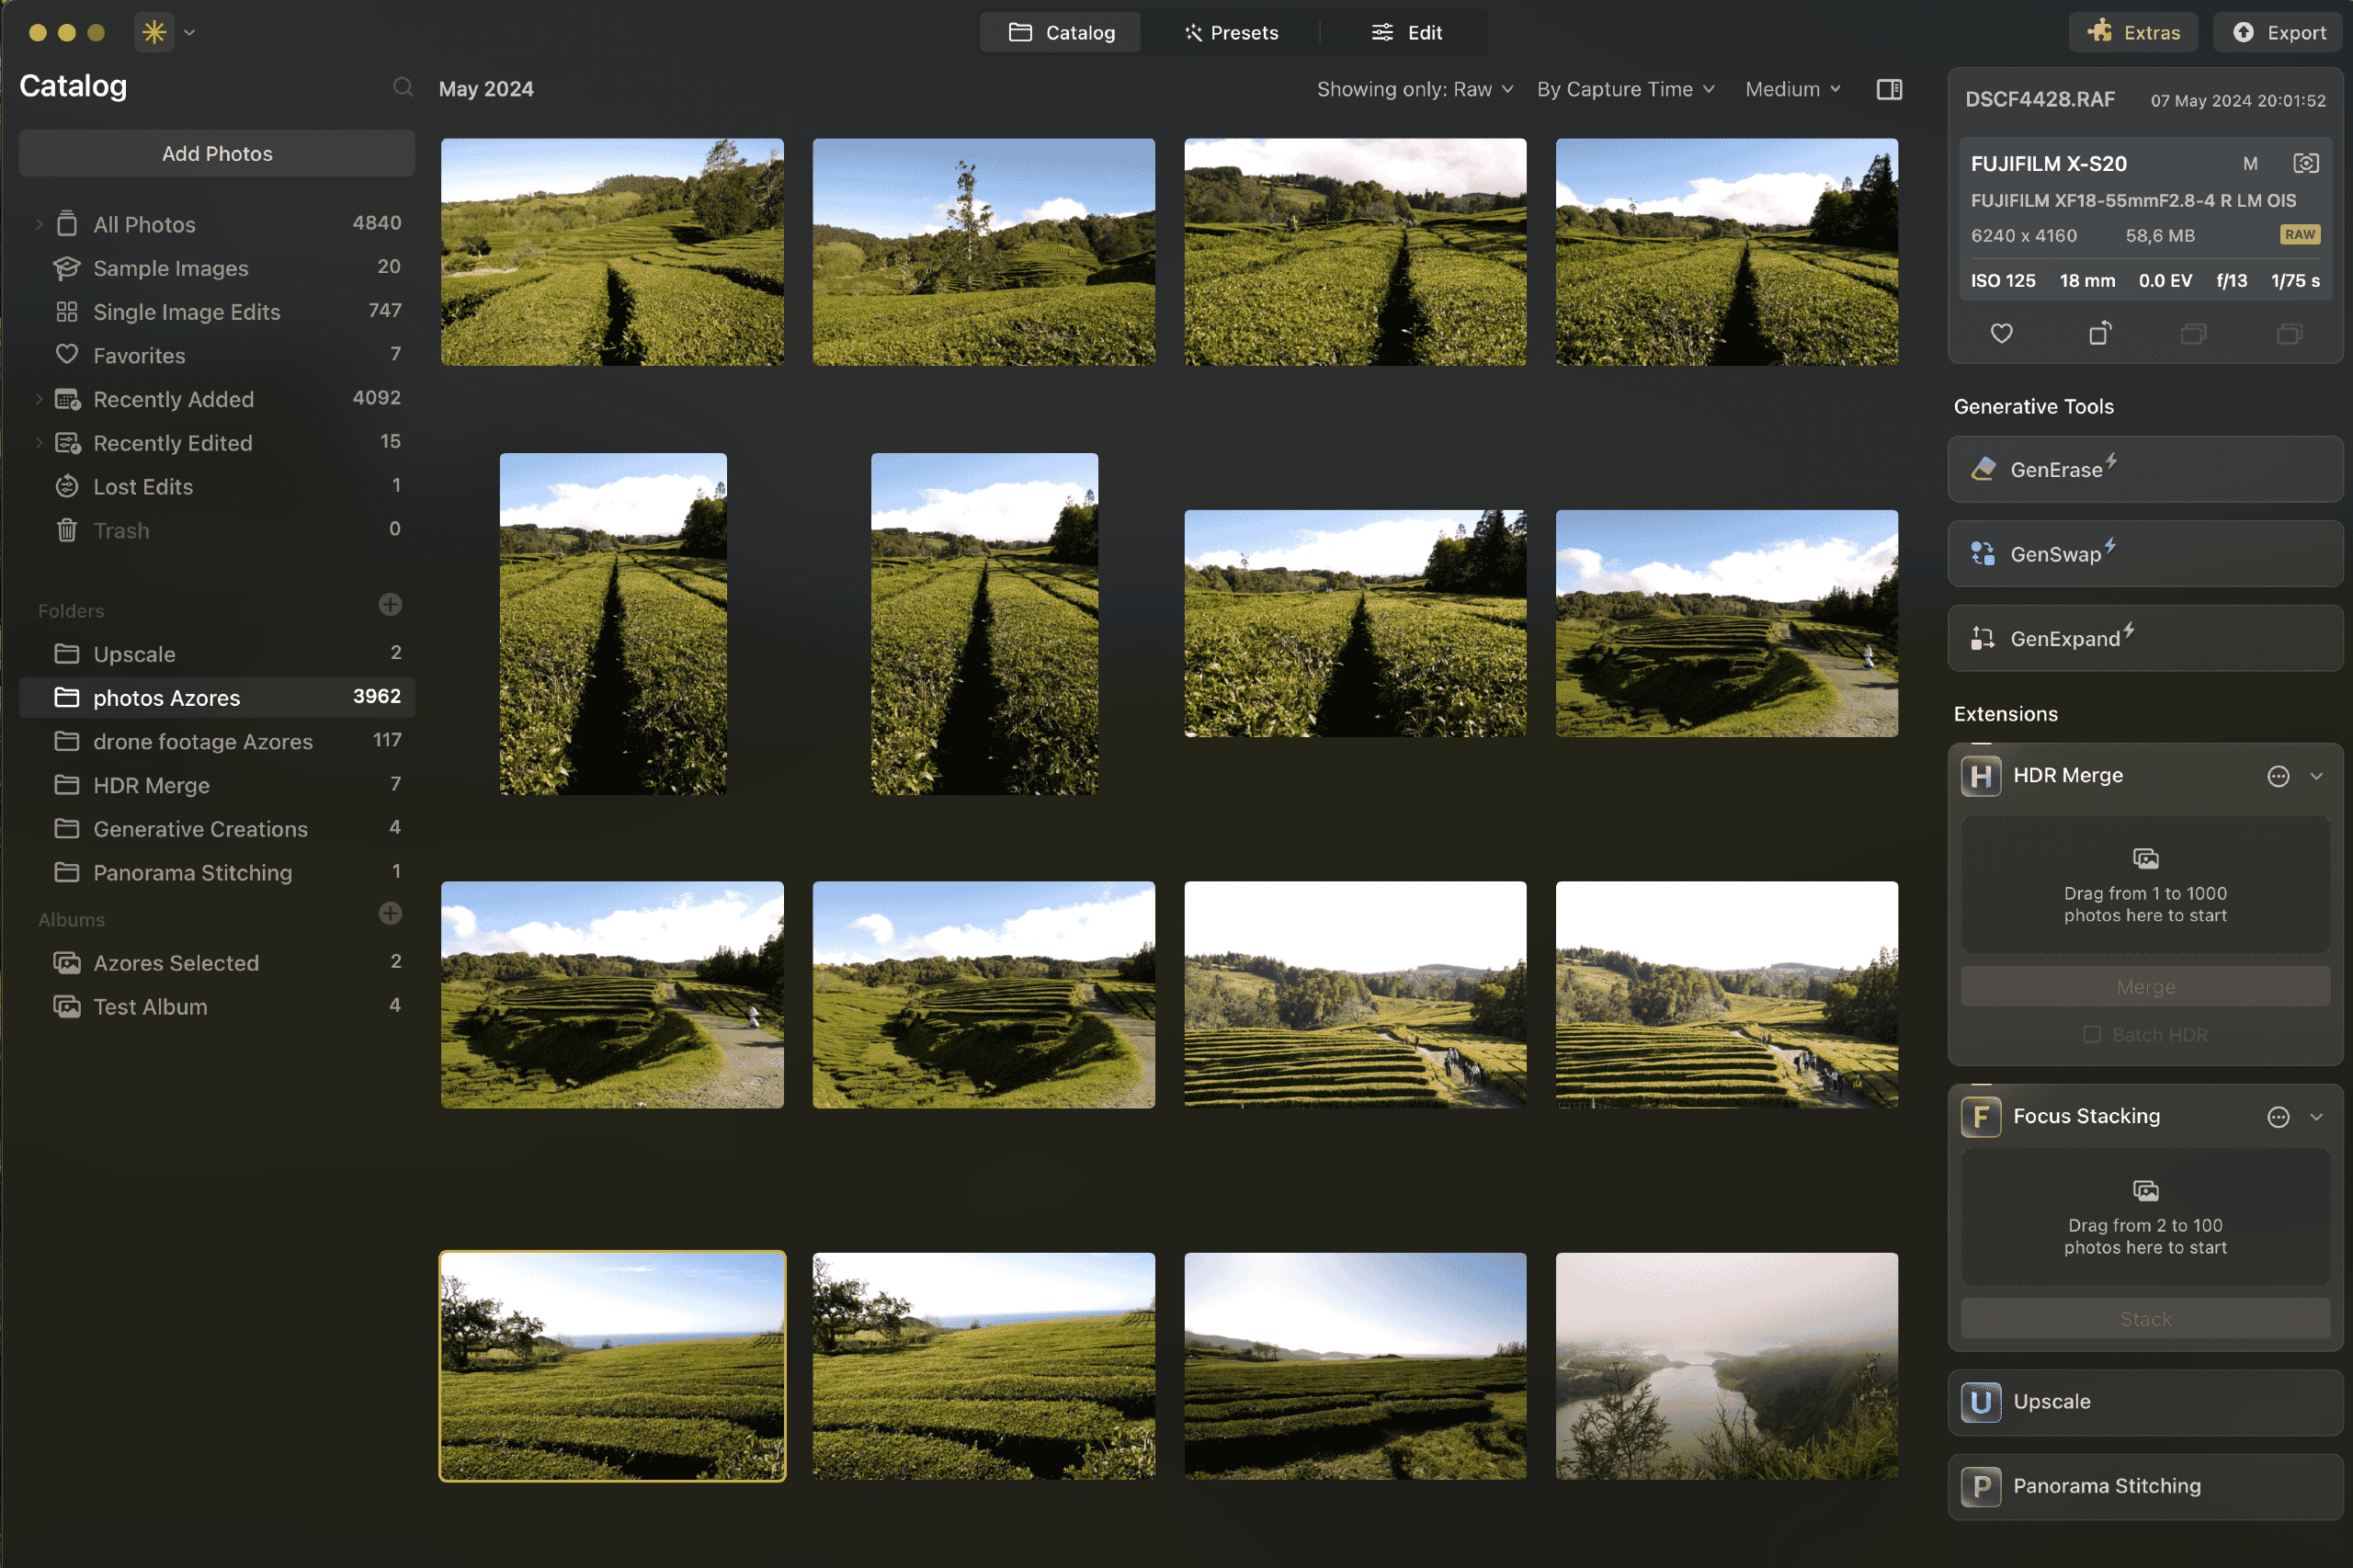
Luminar Neo is an ideal choice for photography beginners and enthusiasts seeking comprehensive photo organizing and editing software. With built-in extensions and editing modules, many of which are AI-powered, it offers exceptional value for money. In 2025, Luminar Neo stands out as the top photo editing software available.
Luminar Neo Works with Mac and Windows.
- Easy learn and use
- Do everything in one application
- Affordable
- Fun to use
- Rare and infrequent performance issues, mostly resolved since the latest update.
- $49/year to update — but lower overall cost than Lightroom
About the Author

As the founder and editor at PhotoWorkout, I bring over a decade of experience in photo software. My passion for photography fuels my exploration of top gear and software.
Join me to discover the best photography tools and tips. Share your thoughts in the comments below!

As an avid Skylum software user for about a decade, dating back to when the company was known as Macphun, I’ve witnessed significant changes over the years. While frequent changes can be frustrating, Luminar Neo brings it all together seamlessly.
With the latest Luminar Neo, I can now do everything within one application. Organizing photos in folders and albums, a feature previously missing and forcing reliance on Lightroom, is now integrated.
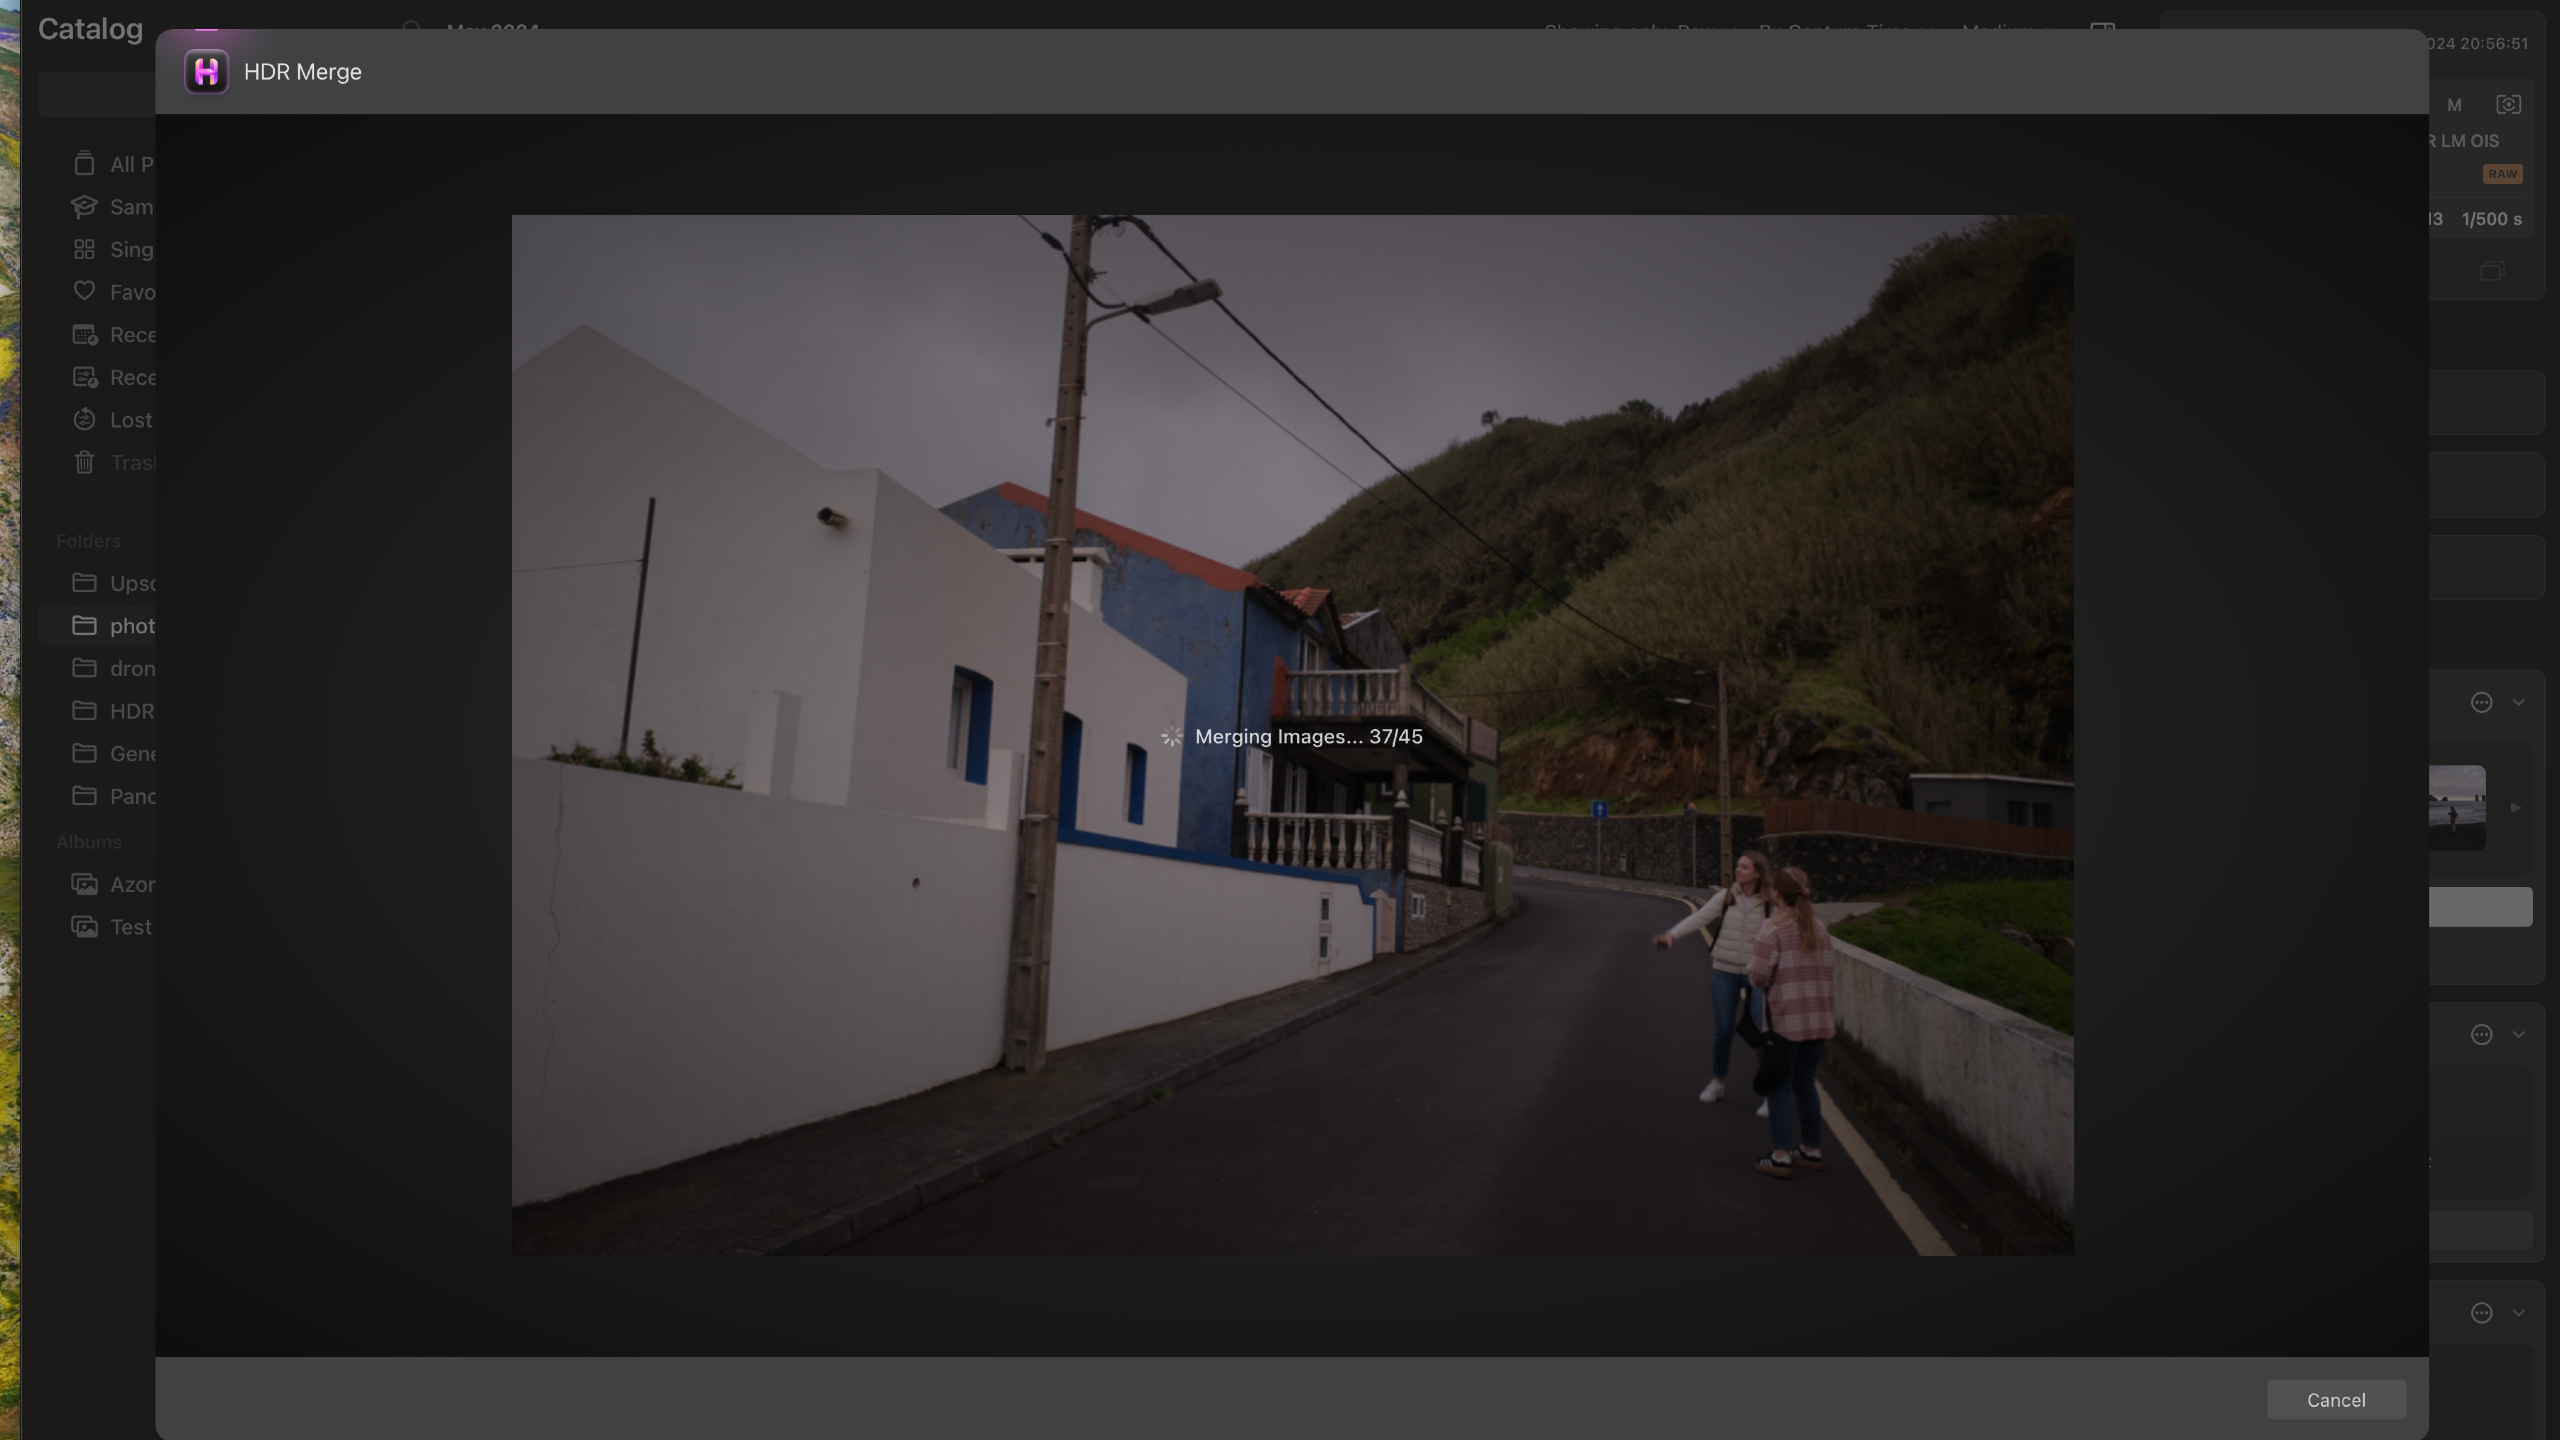
HDR photo processing, image upscaling, and even focus stacking is fully supported within Luminar Neo, allowing me to replace stand-alone software applications saving me hundreds of dollars annually.
What I Like the Most About Luminar Neo
The standout feature of the latest version of Luminar Neo is its exceptional ease of use.
Enhanced by numerous AI-powered tools, it allows for quick adjustments, such as brightening a face with a simple slider, eliminating the need for manual masking.
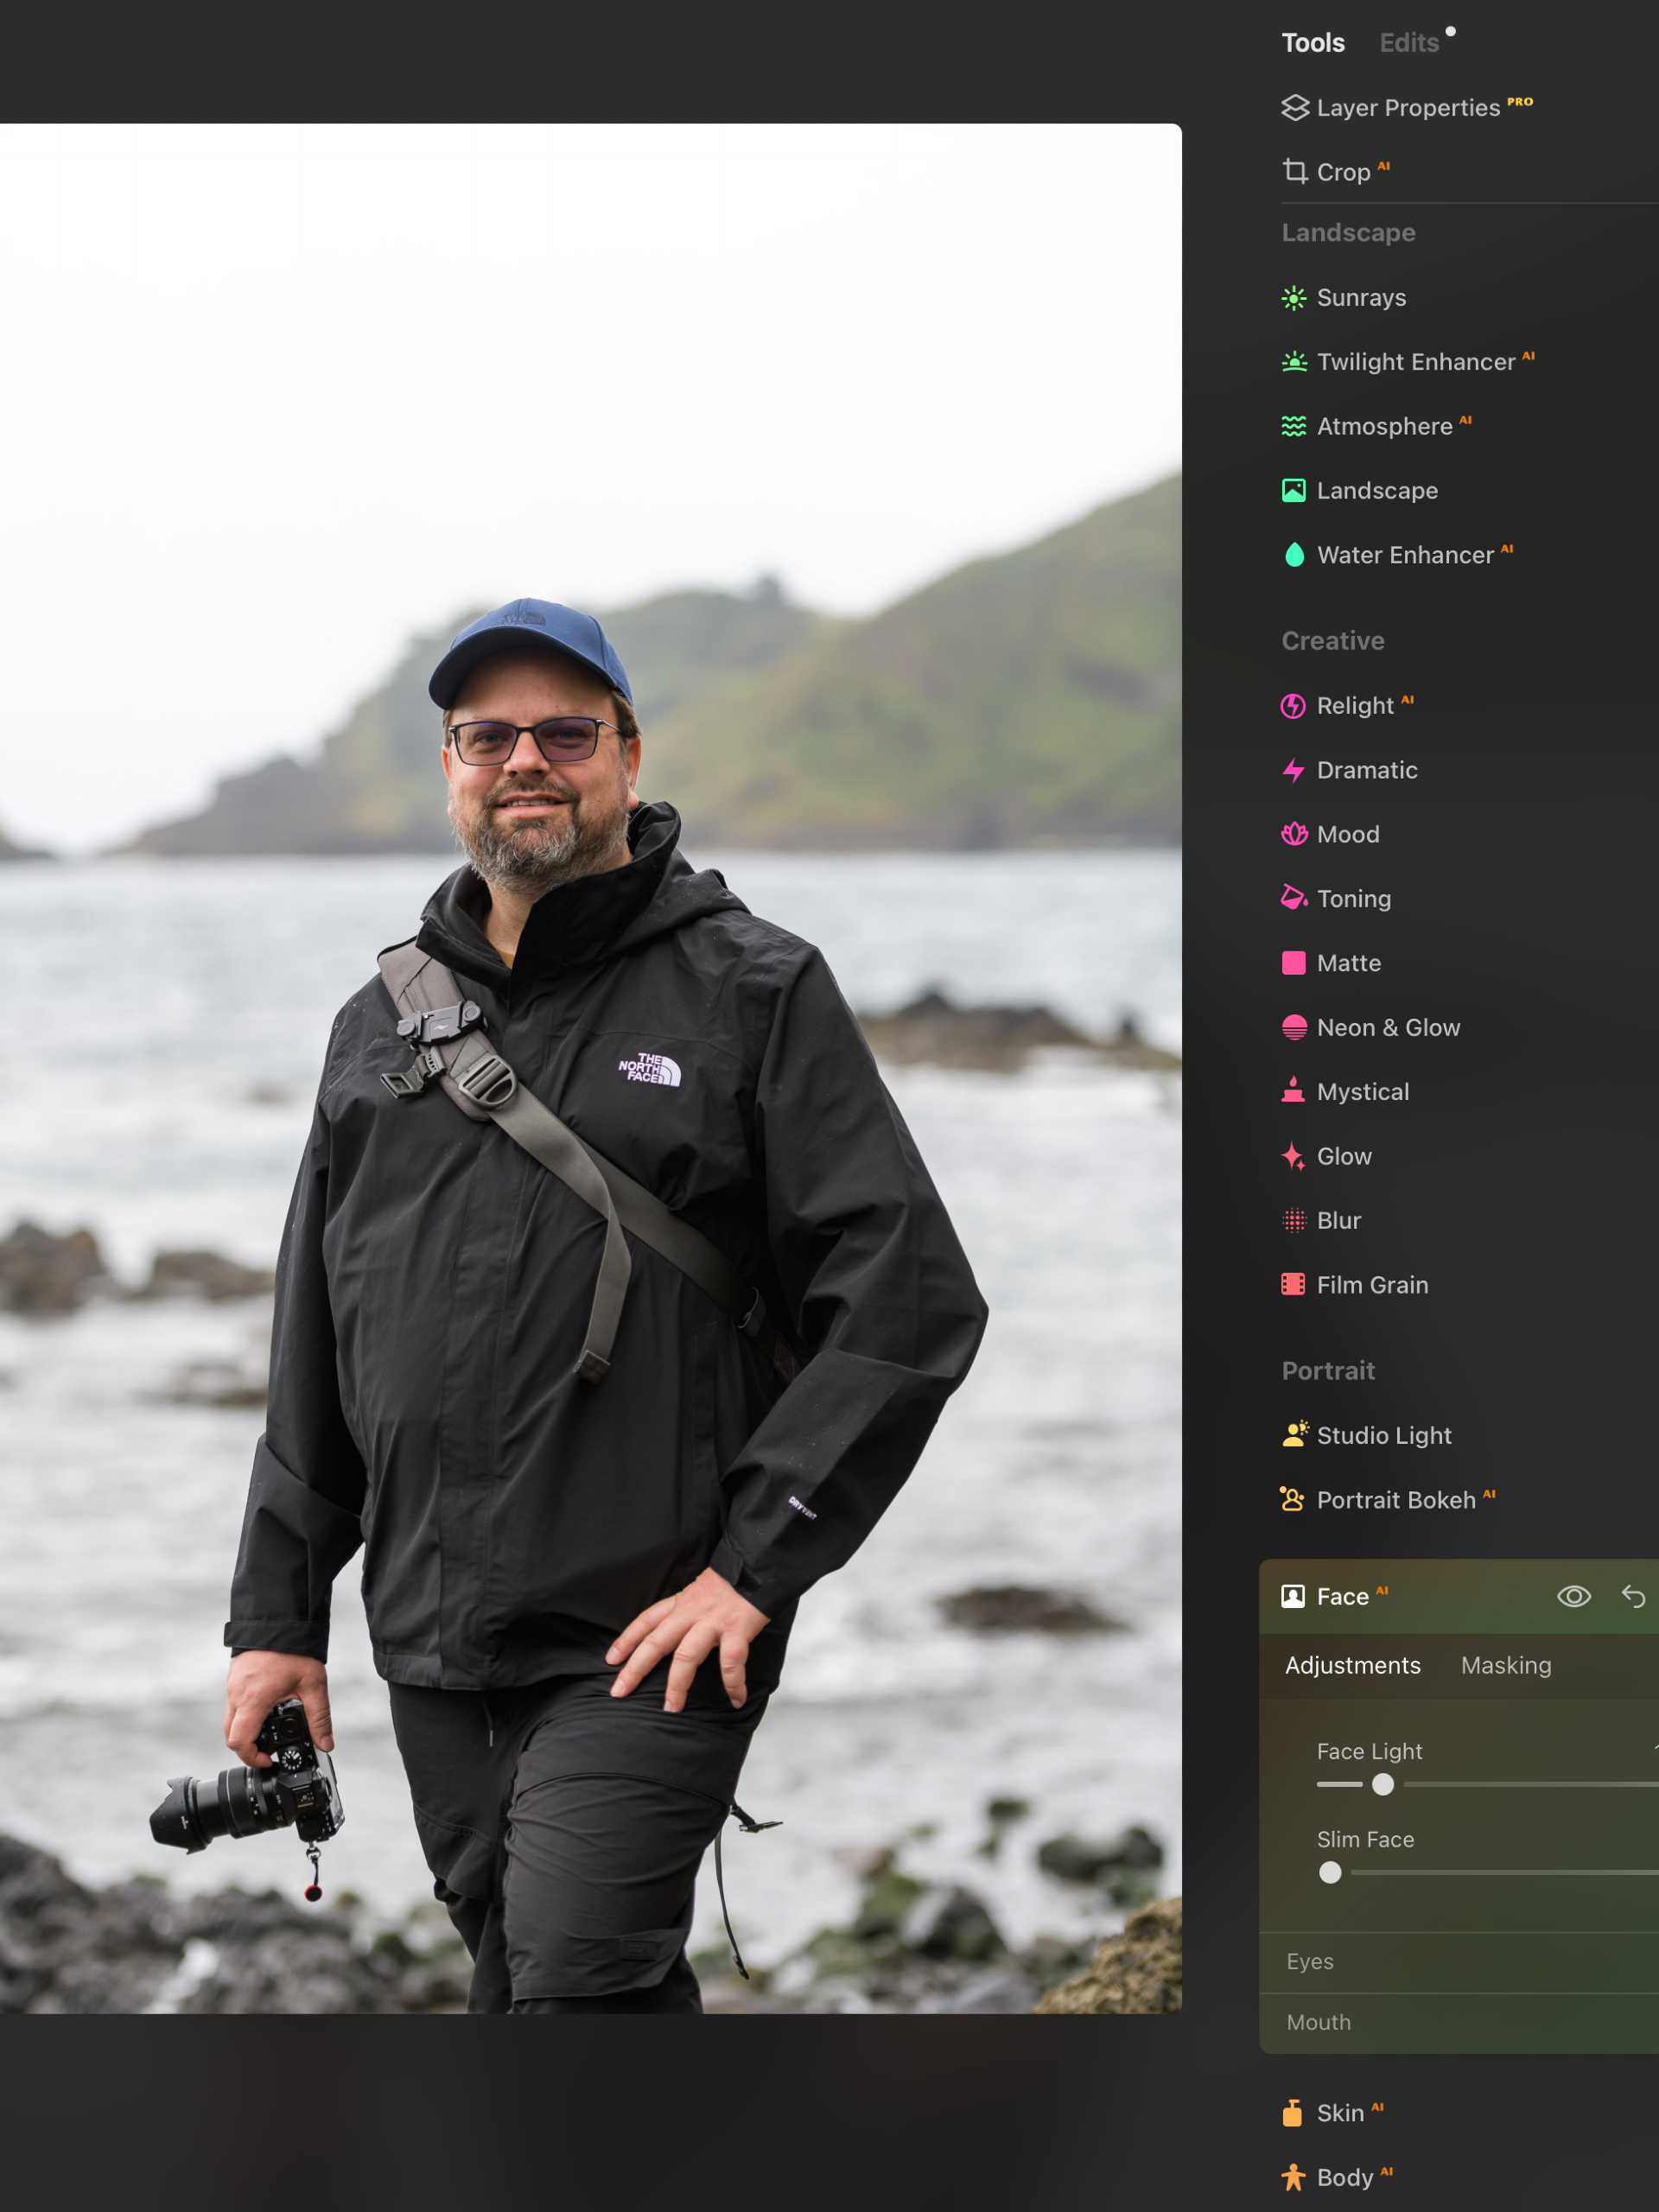
Luminar’s advanced detection capabilities effortlessly identify faces, cars, boats, water, skys, and any object you highlight, streamlining the selection process.
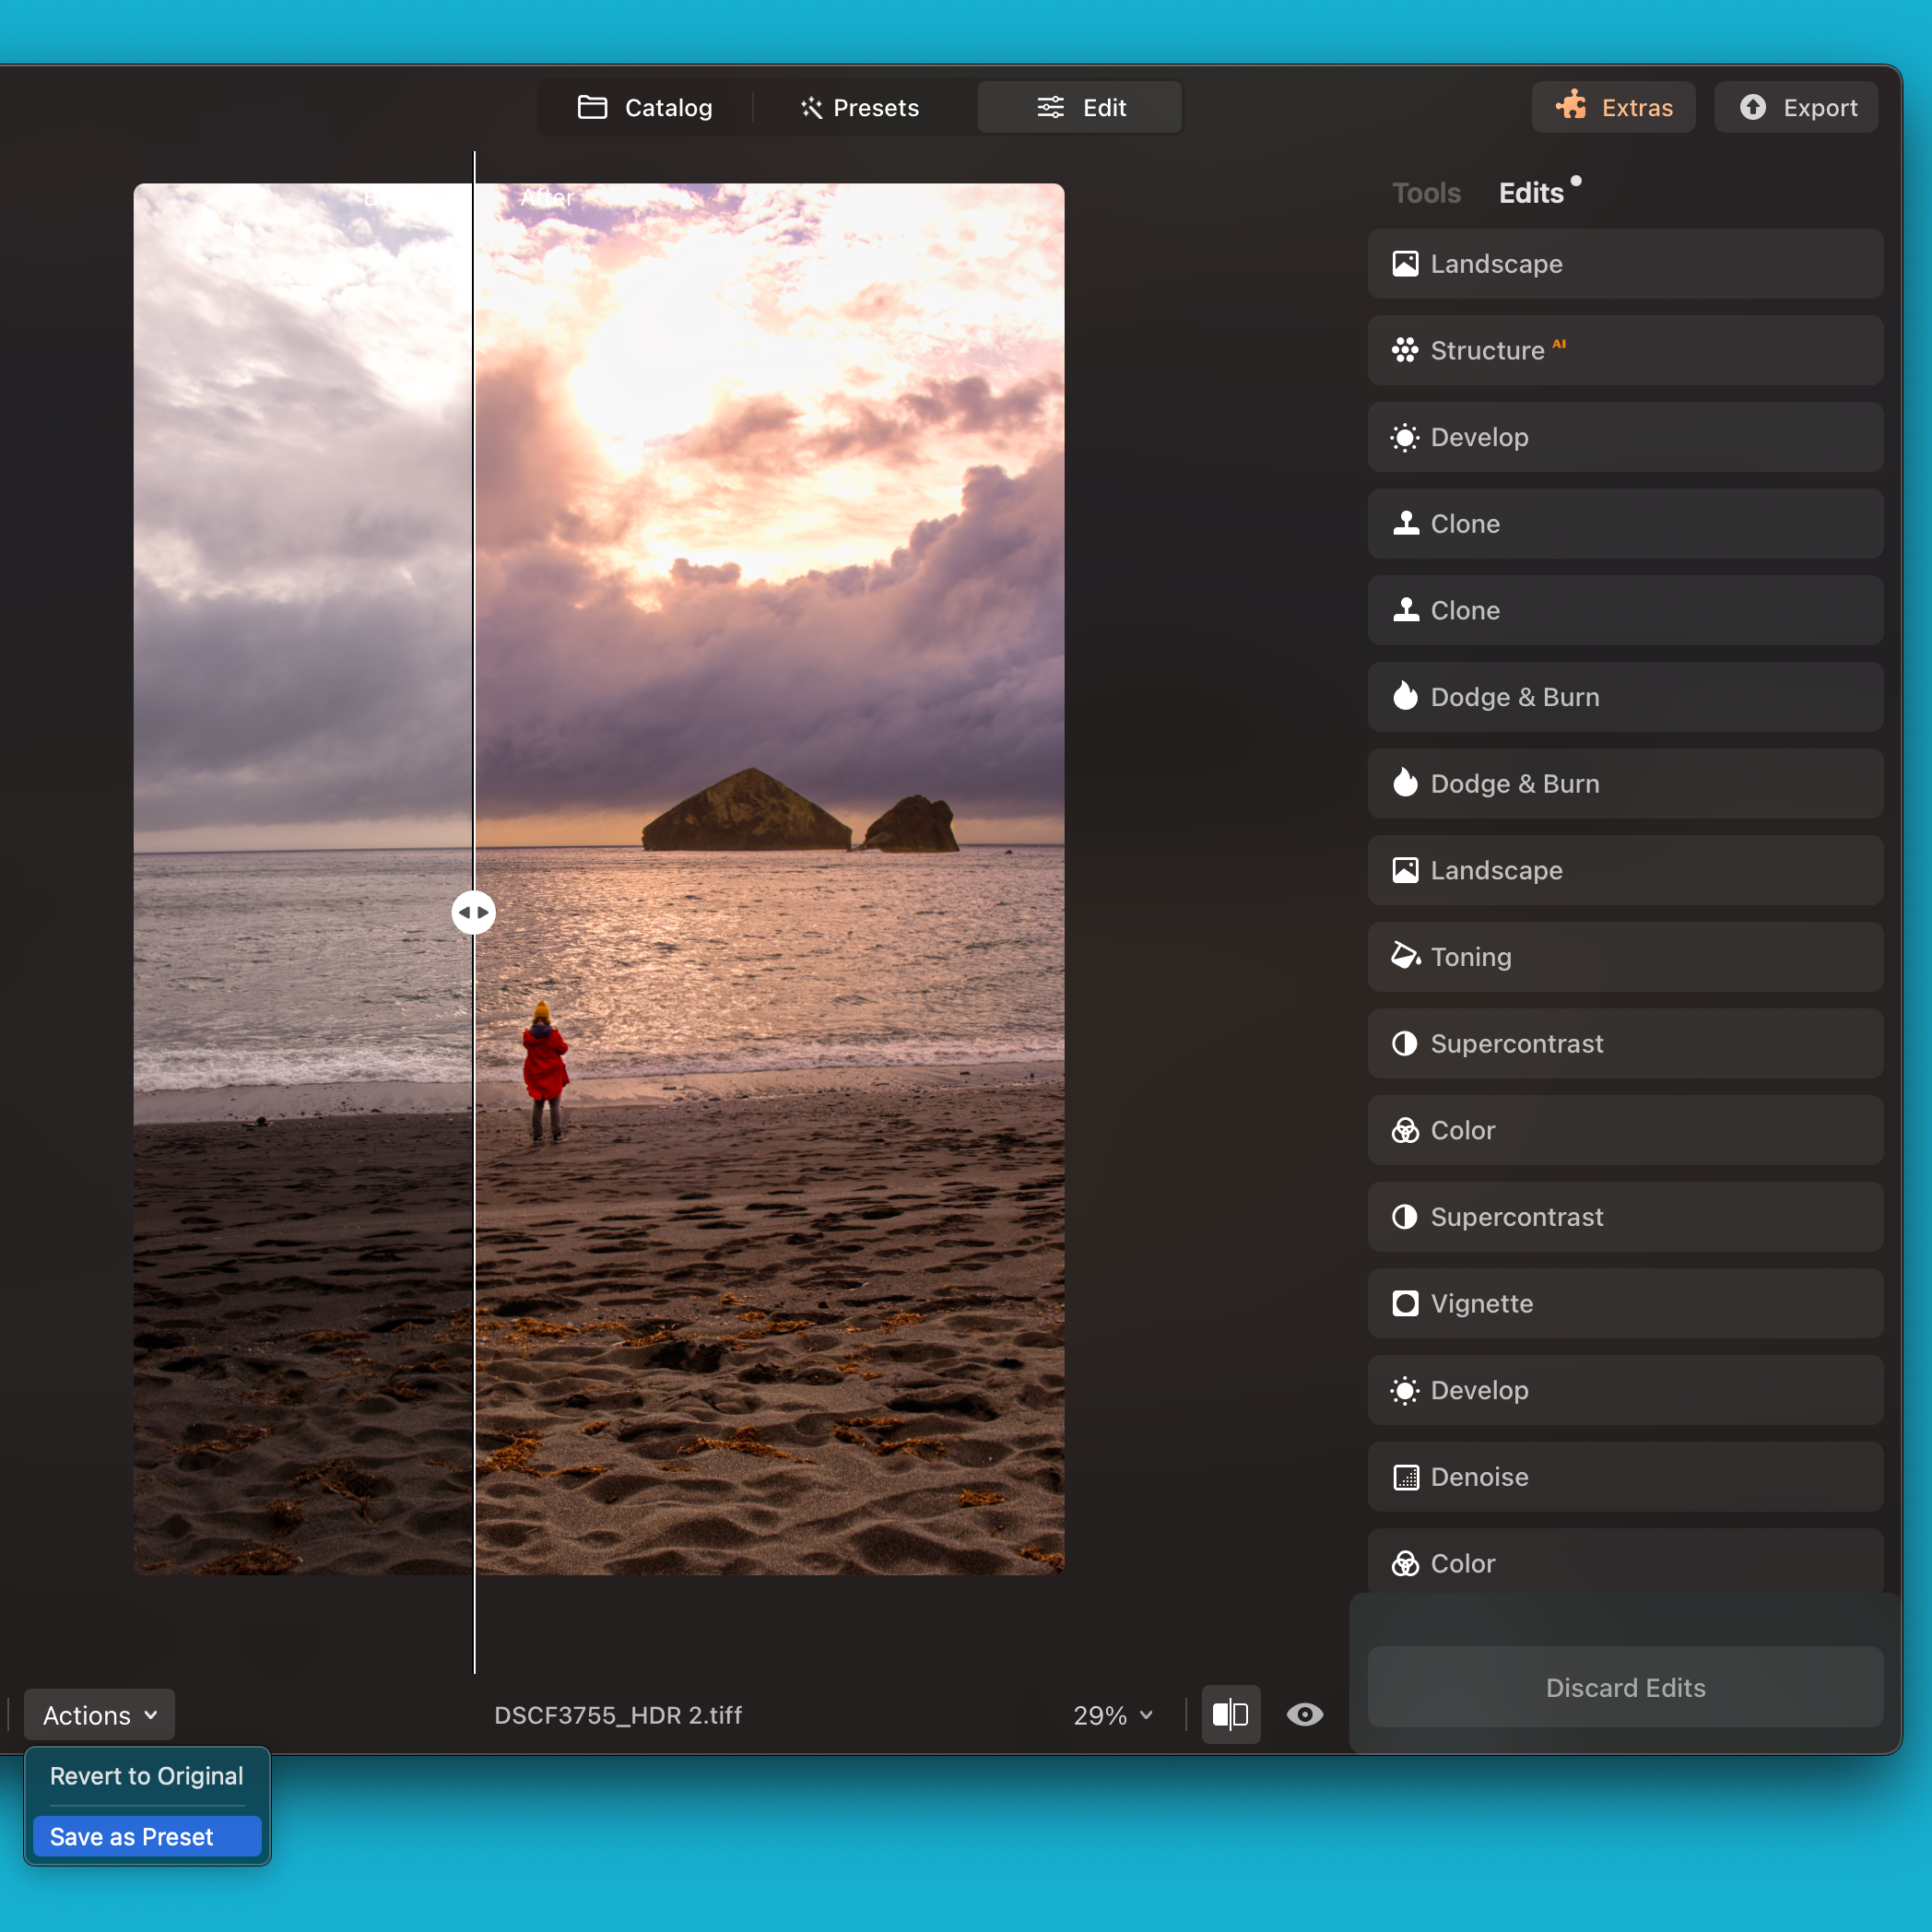
Another feature I love in Luminar Neo is the easy edit overview panel. This panel allows users to revert or delete individual edits or all edits at once, providing flexibility and control. Combined with the before/after slider, it gives you complete command over your editing workflow. Additionally, if you want to reuse a particular set of edits, you can save them as a Preset for future use.
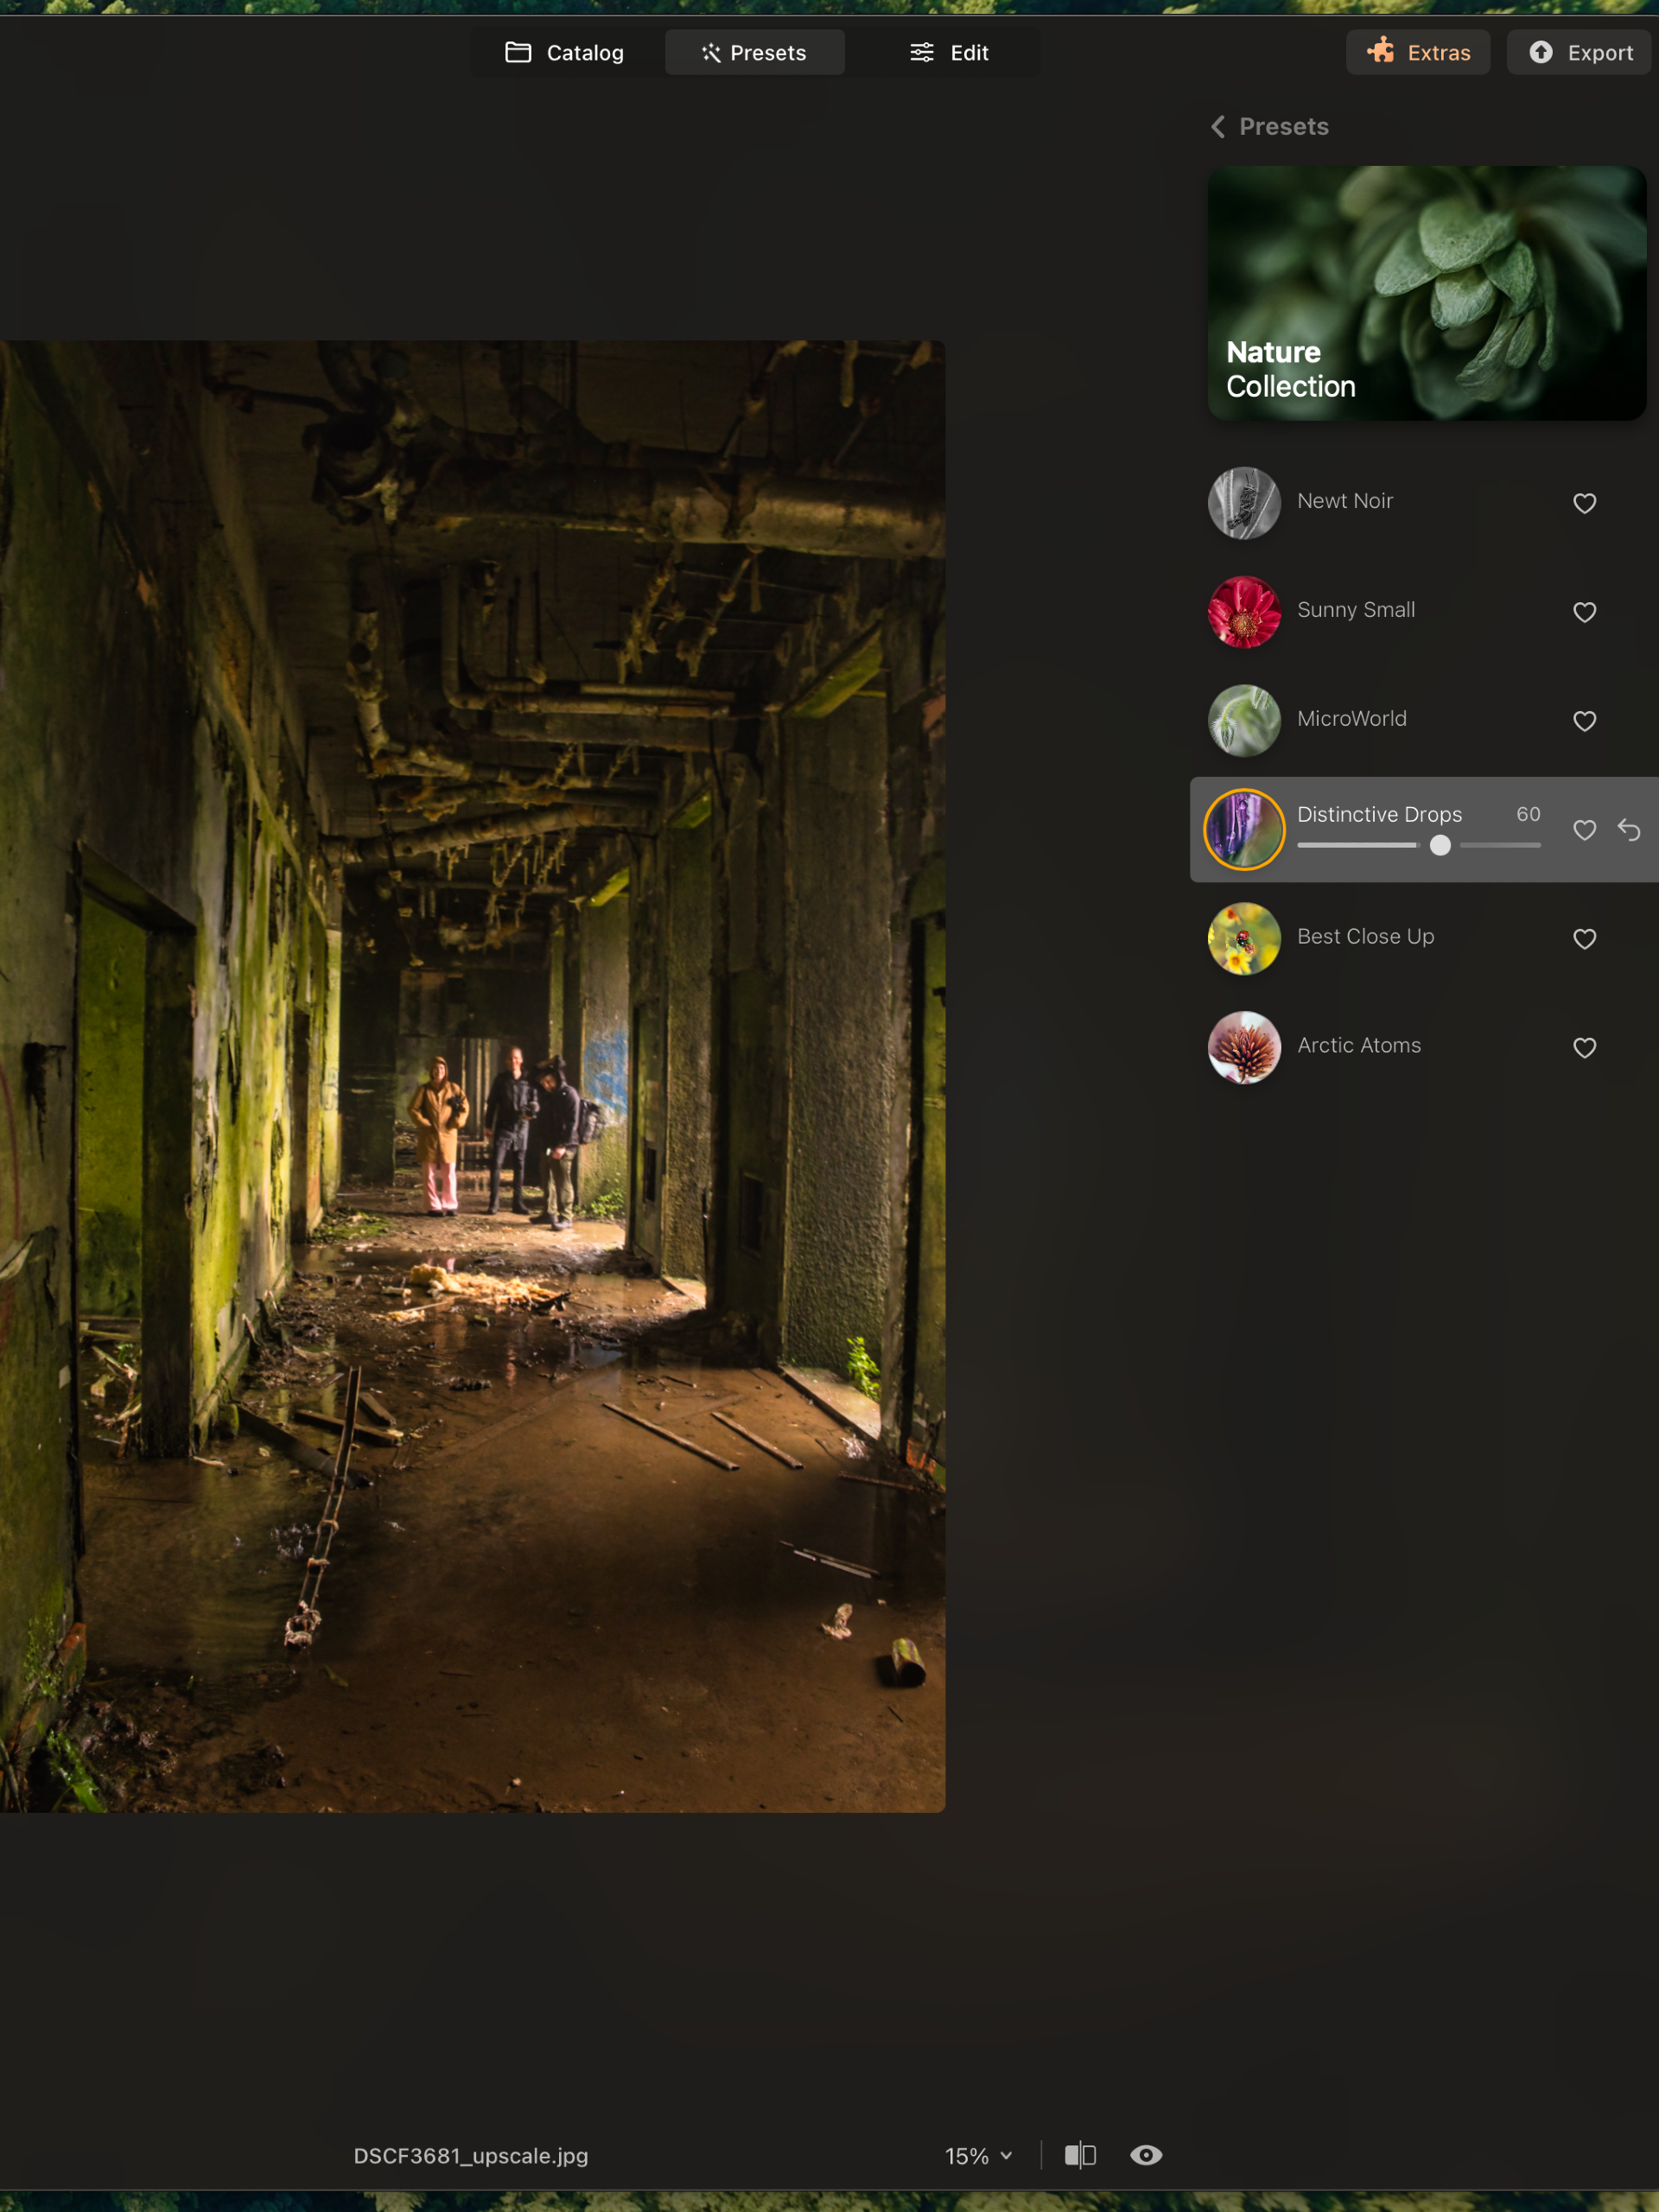
Luminar Presets
Luminar Neo has plenty of presets to choose from in the Preset section. Just hover over any of the plenty pre-installed presets and see the effect immediately. You can add your own presets or buy additional presets from known photographers or the Skylum team, starting at just $19 per preset pack.
Advanced Functionality for Pros
Despite the user-friendly features, Luminar Neo doesn’t compromise on advanced functionality. It supports advanced layer and masking capabilities, pro adjustments, and specific tools for landscape and portrait editing. For professionals, there are tools like Super Contrast, Color Harmony, Dodge & Burn, and Clone.
For roughly half the cost of an Adobe Lightroom/Photoshop subscription, Luminar Neo offers everything Lightroom does plus advanced capabilities like focus stacking, upscaling, and panorama stitching.
Performance and Considerations
So, what’s the catch? How can one software do it all at half the price? There isn’t one. Previous performance issues with Luminar have been resolved.
Depending on your hardware, you might experience minor delays in effect application. Additionally, internet speed can influence generative AI effects like image expansions. However, with a decent computer and internet connection, it’s smooth sailing.
In conclusion, Luminar Neo offers a robust, versatile, and cost-effective solution for photo editing enthusiasts and professionals alike.
Luminar Neo Key Features:
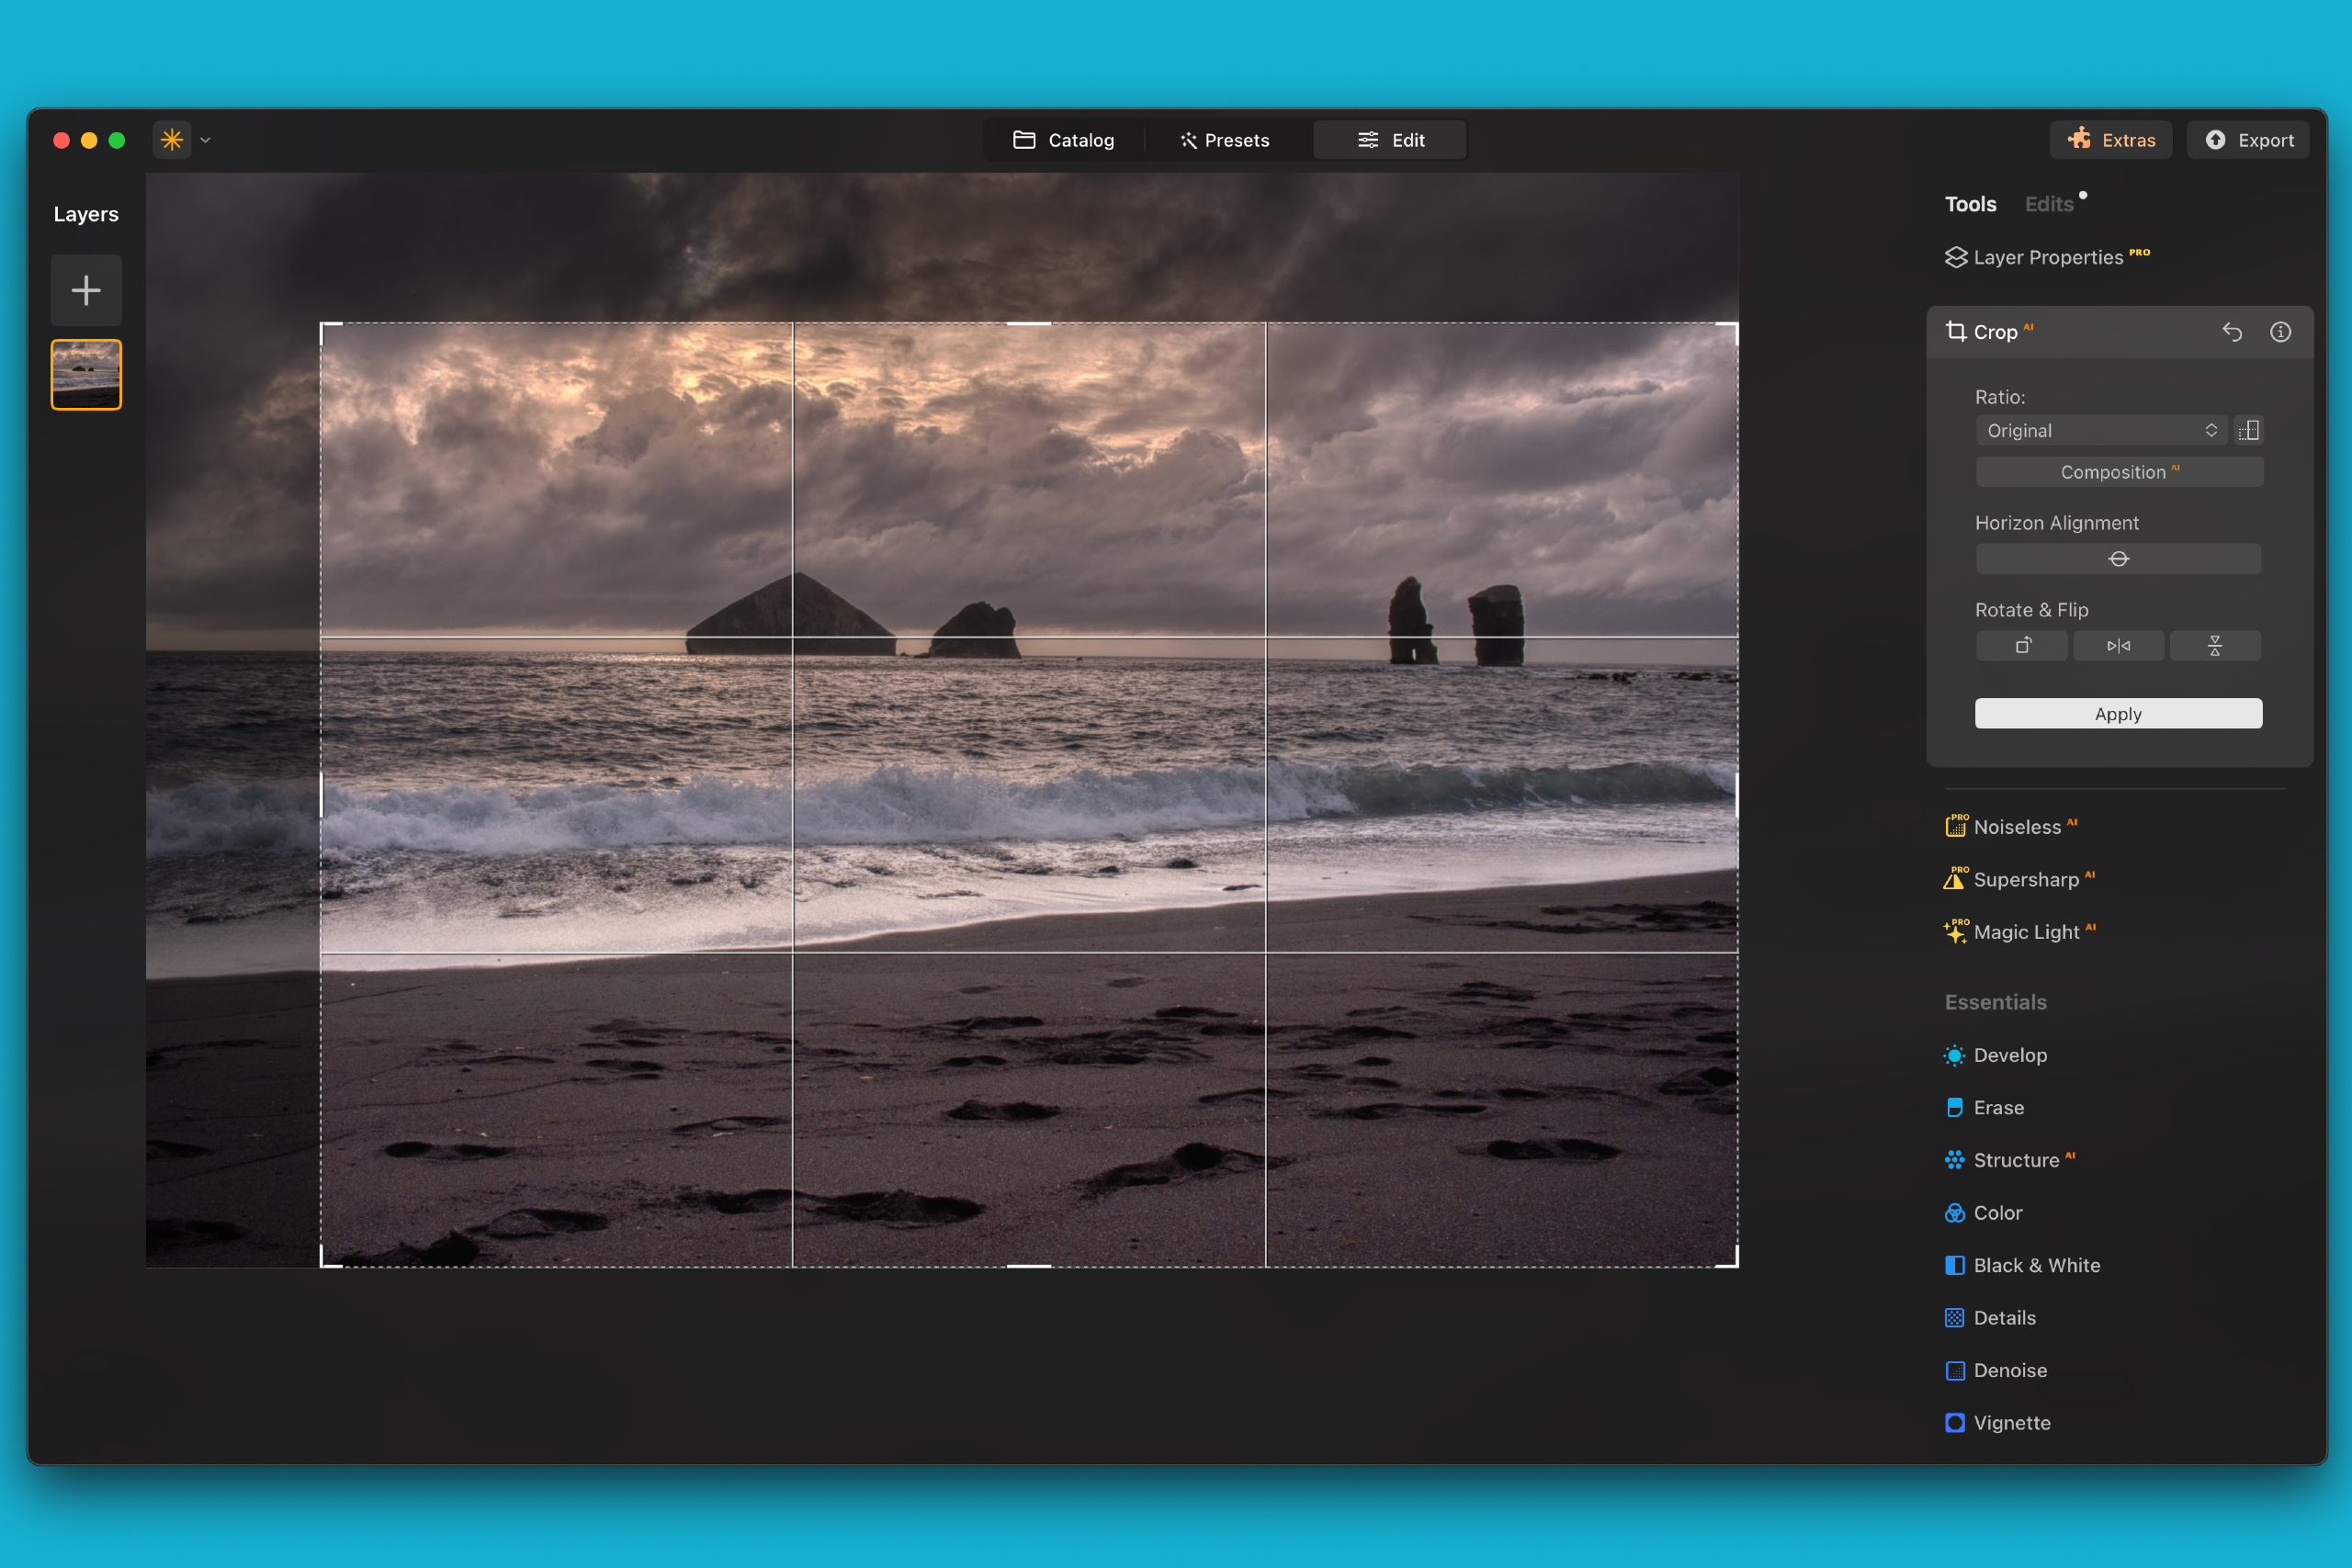
- Effortless Standard Editing and Cropping: Handle basic edits and cropping with ease.
- AI Enhance Slider: Simplify adjustments with a single, intelligent slider.
- Sky Replacement: Seamlessly swap out skies to transform the atmosphere of your photos.
- AI Object Removal and Swapping: Effortlessly remove or replace objects using advanced AI technology.
- AI Photo Expansion: Intelligently expand the boundaries of your photos for more creative freedom.
- Built-in Extensions: Includes powerful tools such as HDR Merge, Focus Stacking, Upscale AI, and Panorama Stitching.
- Specialized Landscape and Portrait Tools: Tailored tools for enhancing landscape and portrait photos.
- Creative Effects: Apply artistic effects like neon, glow, blur, and film grain to your photos.
- Water Enhancer AI: Adjust and refine the color and texture of water in your images.
- Batch HDR: Efficiently process up to 1000 images simultaneously with dynamic bracket creation and organization.
- Object Select AI: Quickly create masks for specific subjects and details for precise edits.
- Luminosity Masking: Target specific areas of an image based on brightness levels for selective adjustments.
- Twilight Enhancer AI: Enhance the colors of dawn and dusk in landscape photos with a single slider.
- Erase: Remove unwanted objects with a precise and smart sample texture that blends seamlessly.
- Skin AI: Achieve flawless portraits by removing skin imperfections.
- Sunrays: Add and control the intensity of sun rays in your photos.
- Studio Light: Replicate studio lighting effects to enhance portraits.
- Mood AI: Apply color grading quickly using professional lookup tables (LUTs).
- Dramatic: Add a gritty, cinematic look to your photos.
- Mystical: Create a dreamy look by softening luminance and increasing contrast.
- Film Grain: Emulate analog film stock by adding stylized grain to your images.
- Clone: Fix imperfections by replacing unwanted pixels with ones from another area of the photo.
- High Key: Achieve bright, high-contrast images perfect for fashion and beauty photography.
- Black & White: Convert photos to monochrome and enhance them.
- Crop AI: Get stronger compositions and perspectives with intelligent cropping.
- Vignette: Emphasize the subject by darkening or lightening the edges of the image.
Discover the latest tools and features by visiting the Luminar Neo website. Ready to purchase?
Use the coupon code PHOTOWORKOUT at checkout for a 10% discount.
What are your thoughts on the latest Luminar NEO photo editor? Share your experience in the comments below!
What’s New in Luminar Neo
Features, Improvements & Fixes
Feb 20 – Merging layers, post-crop vignette, improved Presets
Oct 10 – Color Transfer and more enhancements
Aug 08 – Added support for new cameras
Jun 20 – Czech language support
Apr 25 – New features and visual refresh
Nov 16 – GenSwap (AI content replacement)
Oct 26 – GenErase (AI object removal), new camera support
Sep 26 – Neon & Glow, Tilt Shift
Aug 31 – Studio Light, Blur Tool
Jul 20 – Panorama Stitching Extension
Jun 01 – Upscale AI improvements, new cameras support
Apr 27 – Undo and Redo functionality
Apr 05 – Histogram in Edits, Presets amount, hover previews
Feb 23 – Plugin support, Presets preview
Jan 26 – New onboarding, camera support
Nov 10 – Four new Extensions
Sep 22 – Clone tool, new camera support
Aug 30 – Noiseless AI Extension
Jul 28 – HDR Merge, Dodge & Burn
Jun 30 – Duplicate Layers
Jun 16 – Portrait Background Removal
May 26 – Favorite tools selection
May 12 – Mask AI, Histogram
Apr 21 – Presets improvements
Mar 31 – Smart Objects support