How-To Photography Category
Our How-To Category shares practical how-to photo tips.
Latest How-To Photography Posts
 Bokeh Tutorial: How to Capture Stunning Bokeh in Your Photos Step-by-step process to capturing bokeh so you can create a beautiful background blur in your photos using any camera and lens!
 White Background Portrait: How to Capture Portraits with a Pure White Backdrop We share easy techniques to capture perfect white background portraits. Create refined portraits, no matter your level of experience!
 How to Take a Good Headshot (Simple DIY Steps for Non-Pros) Need a good, professional-looking headshot? Learn a simple process for capturing beautiful headshots (no experience necessary!).
 How to Shoot Full-Body Portrait Photography A step-by-step guide to full-body portrait photos. Learn how to use careful lighting, posing, and more to create stunning images.
 How to Manage and Back Up Lightroom Photos (8 Simple Tips) Simple tips for easy image management in Lightroom. Learn how to back up your images, organize your folders, and more.
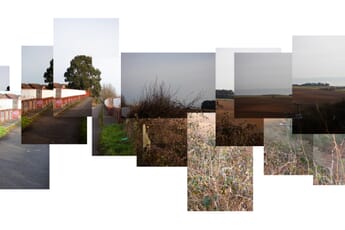 Joiner Photography: How to Make a Joiner Photo Like David Hockney A step-by-step guide to Hockney-style joiner photos. Create artistic masterpieces with a few images and some Photoshop tricks!
 How to Develop Film at Home (and All of the Things You Need) If you're looking to get your prints developed, discover the easy way to do it from home. This article has everything you need to know!
 How to Set Up Umbrella Lighting for Photography (The Must-Know Guide) Here is our ultimate guide on how to set up umbrella lighting for photography. Get all of the knowledge you need to take stunning photographs!
 How to Photograph Paintings for Prints (Perfectly Digitizing Your Artwork!) Digitizing paintings is best done with a camera and a lens, so here is our nifty guide on how to photograph paintings for prints!
How-To Photography Posts Ranked by Popularity
 The Best Way to Store Digital Photos: The Ultimate Guide Keeping your digital photos safe is a tricky task. Find out the best way to store digital photos so you don't have to worry about losing your photos.
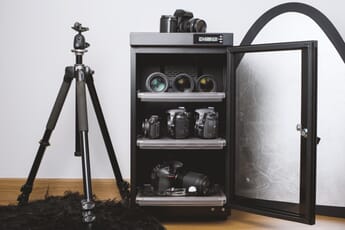 How to Store Cameras and Lenses at Home (Top 10 Tips) From ensuring you don’t visit the repair shop to keeping the resale value, here is our guide on how to store cameras and lenses at home!
 How to Brighten a Part of Your Image in Photoshop If you want to brighten a part of your image Photoshop offers great tools to do so. The Gaussian Blur and the Polygonal Lasso Tool help you brighten a spot.
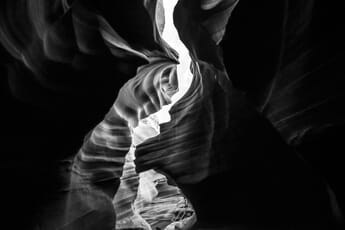 The Zone System: How to Nail Your Exposure Every Time What is the zone system, and how can you use it to get consistently perfect exposures? Learn all about this technique pioneered by the photography greats!
 How to Merge Two Photos in Photoshop: A Step-By-Step Guide Want to make landscapes pop? Give your photos an artistic flare? Learn how to merge two photos in Photoshop to give you images that something extra!
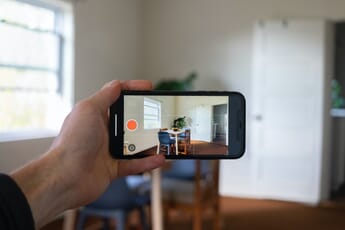 How to Take Real Estate Photos with Your iPhone: 10 Easy Tips Discover 10 simple tips to capture beautiful iPhone real estate photography. Create jaw-dropping photos for your house listing!
 How to Create Forced Perspective Photography Forced perspective photography is infinitely interesting and creating. We look at how to create forced perspective photography and share a plethora of mind-boggling examples for your benefit.
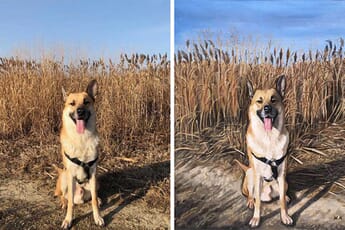 How to Turn Photos into Paintings: 5 Options for Creating Painted Masterpieces! Have you captured a photo you desperately want to showcase as a painting? Read on to discover 5 ways to turn a photo into a painting!
 How to Fix Overexposed Photos: The Ultimate Guide Do you want to know how to fix overexposed photos, fast? These step-by-step instructions will tell you everything you need to know!
 How to Get the Best Lighting for Your Portrait Photography Portrait photography lighting might seem hard, but it doesn't have to be. Discover how to create gorgeous portraits with these simple lighting tips!
 How to Take Long Exposure Photos: The Ultimate Guide for Day & Night Do you want to learn how to take stunning long exposure photographs? Read on for our tips on mastering long exposure photography.
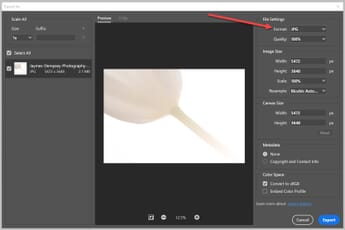 How to Convert RAW to JPEG on Mac, Windows, and More Want to convert your RAW photos to JPEGs? We share several quick-and-easy methods for Mac and Windows users!
 How to Quickly Open Your Smartphone Camera (On Any Model) Discover how to quickly open your smartphone camera. Never miss a photo opportunity again! Pixel, iPhone, Huawei, and Samsung.
 Camera Settings for Blurred Backgrounds: How to Create Stunning Bokehs How to blur the background and create bokeh for your portrait images by using either a DSLR, point and shoot camera, iPhone or Photoshop.
  How to Plan a Photoshoot Are you a photographer with clients, or a team? These essential tips will help you to plan a photoshoot regardless of the event.
Discover How-To Photography Posts on PhotoWorkout
The “How-to Photography” category of PhotoWorkout.com is your go-to source for learning and mastering different photography techniques. This diverse category covers a range of topics from basic shooting techniques to more advanced photographic concepts. The aim is to help both amateur and professional photographers improve their skills, and make the most of their photography equipment.
Our most recent posts include a comprehensive Bokeh Tutorial, teaching you how to capture beautiful background blur in your photos, and a guide on White Background Portrait, offering easy techniques to capture perfect white background portraits. If you’re in need of a good, professional-looking headshot, we’ve shared a simple process for capturing beautiful headshots.
For those of you who are looking to step up their engagement photo game, we’ve shared a guide on How to Take Great Engagement Photos, featuring 10 tips by pro photographer mentor Jeff Brown.
Ranked by popularity, we have topics covering the Best Way to Store Digital Photos, How to Brighten a Part of Your Image in Photoshop, and How to Convert RAW to JPEG on Mac, Windows, and More, to name a few.
Intrigued about turning your photos into painted masterpieces? Check out our post on How to Turn Photos into Paintings. We also share insightful guides on How to Get the Best Lighting for Your Portrait Photography and How to Set Up Umbrella Lighting for Photography, which will surely help you elevate your portrait photos.
If you’re curious about merging two photos in Photoshop or focus stacking in Lightroom, we’ve got you covered with our step-by-step guides on How to Merge Two Photos in Photoshop and How to Focus Stack in Lightroom and Photoshop.
The “How-to Photography” category is packed with so much more, with guides on How to Take Long Exposure Photos, and How to Quickly Open Your Smartphone Camera, among others.
Whether you’re just starting out, or you’re an experienced photographer looking to hone your skills, our “How-to Photography” category provides an extensive selection of resources to help you become better at your craft. Dive in and start exploring our vast collection of tutorials and guides to enhance your photography journey.
