

- Start with a 35mm or 50mm f/1.8 prime lens: sharper images, real background blur, and two extra stops of light for under $250.
- A travel tripod and a $25 5-in-1 reflector improve more photos per dollar than any camera upgrade.
- Memory and SSD prices are elevated in 2026 due to the NAND supply squeeze. Buy storage when needed, not speculatively.
- The complete 11-item kit runs about $300 for a semester starter, $700 for a solid foundation, or $1,500+ for the full setup.
- Every product link below was re-verified in stock July 2026, with current models replacing discontinued listings.
Introduction
Building a photography kit involves more than just buying a camera. The right accessories can dramatically improve image quality, expand creative possibilities, and make shooting more enjoyable. This guide covers the essential photography equipment that beginners should consider after purchasing their first camera body.
The recommendations focus on mirrorless cameras, which dominate the market in 2026. Whether shooting with Sony, Canon, Nikon, Fujifilm, or other systems, these accessories work across brands and will remain useful as skills develop.
When you buy through links on our site, we may earn a commission at no cost to you. We evaluate products independently. Commissions do not affect our evaluations. As an Amazon Associate, we earn from qualifying purchases.
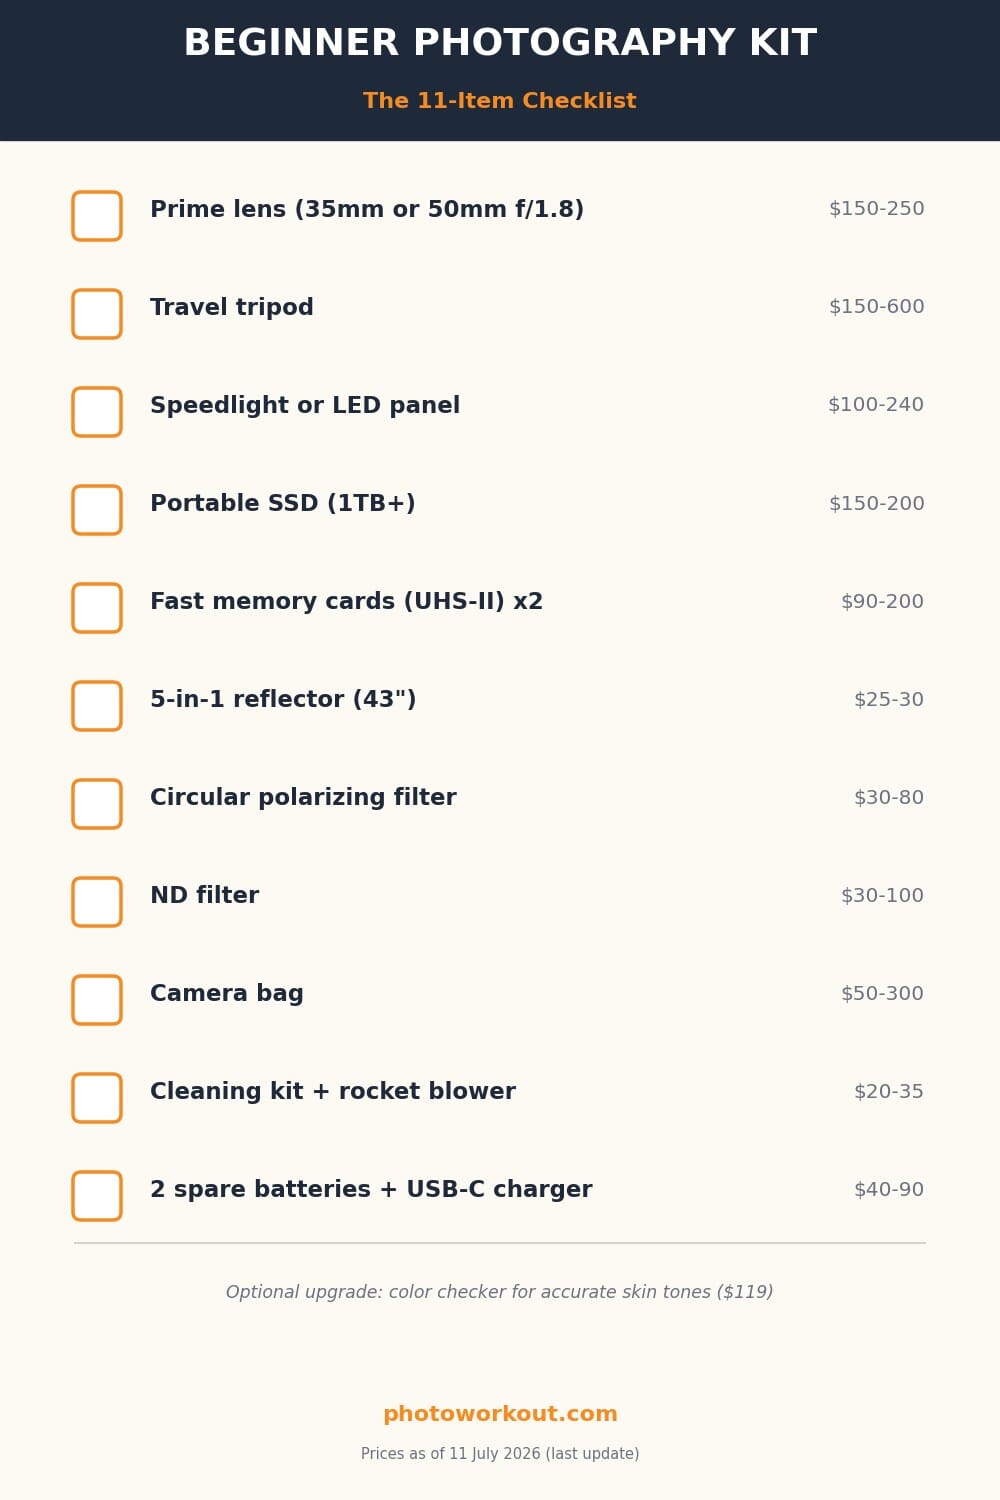
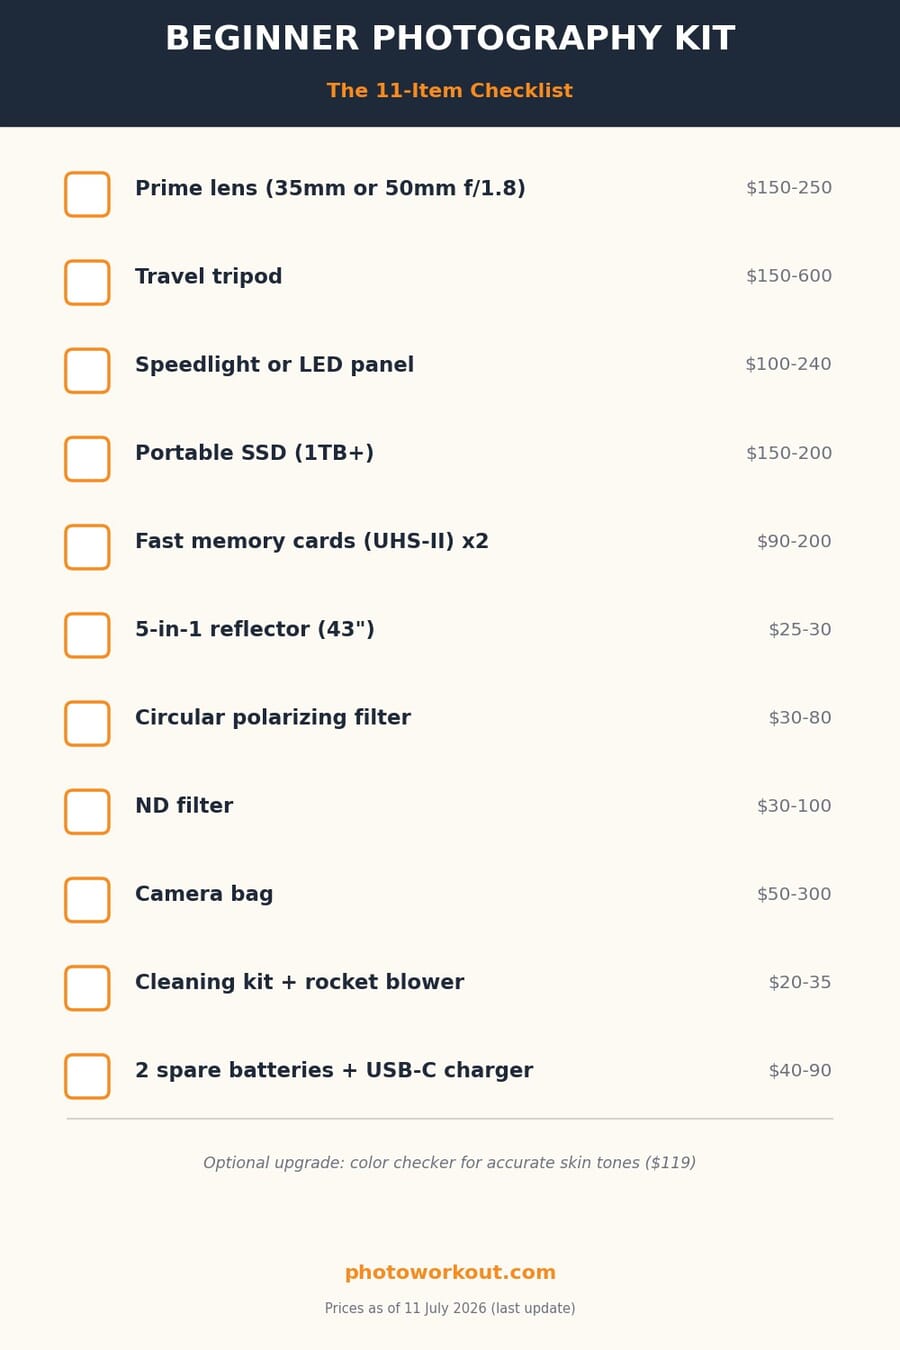
For students heading into a fall photography class (or anyone using back-to-school season as the excuse to finally build a real kit), the printable checklist below covers everything a semester of shooting demands. The budget tiers further down show three sensible ways to spread the cost.
The Quick List: A Printable Kit Checklist
Every item on this photography equipment list, on one page. Download it, print it, and check things off as the kit comes together. Detailed reasoning and specific product picks for each item follow below.
Three Budget Tiers
- Semester starter (about $300): 50mm f/1.8 prime, 5-in-1 reflector, cleaning kit, one spare battery, one fast SD card. Enough for a full photography class.
- Solid foundation (about $700): add the Manfrotto Befree tripod, a Godox speedlight, and a 1TB portable SSD for backups.
- Complete kit ($1,500 and up): add premium support and carry (Peak Design tripod and backpack), polarizing and ND filters, and a color checker.
1. Prime Lens
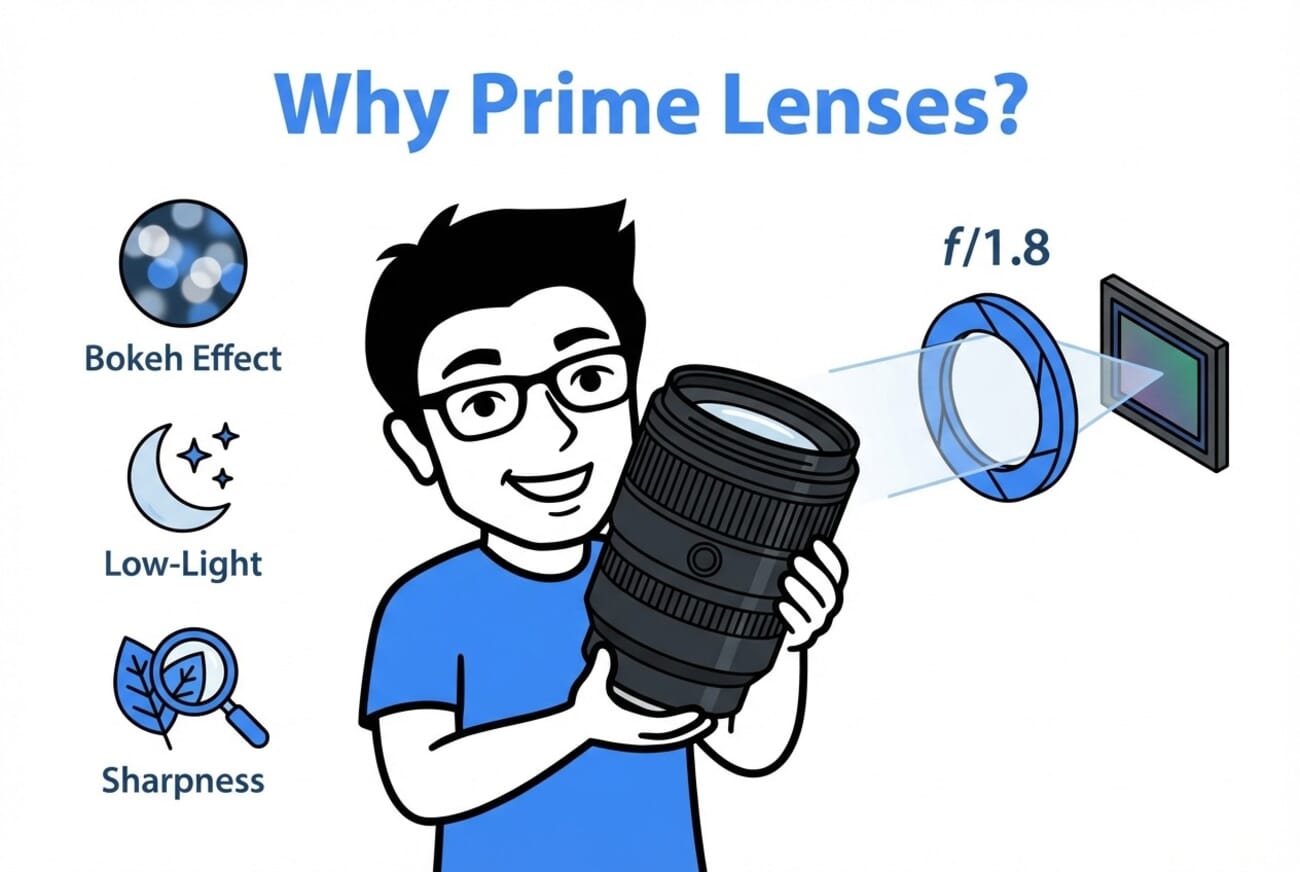
Most cameras ship with a kit zoom lens, typically an 18-55mm or 24-70mm equivalent. While versatile, these lenses have smaller apertures (f/3.5-5.6) that limit low-light performance and background blur. A prime lens with a fixed focal length delivers noticeably sharper images and opens creative possibilities.
The 50mm f/1.8 remains the classic first prime lens, offering a natural field of view similar to human vision. Every major manufacturer offers an affordable version:
- Sony FE 50mm f/1.8 — Lightweight full-frame option for Sony E-mount
- Canon RF 50mm f/1.8 STM — Sharp and affordable for Canon’s mirrorless system
- Nikon Z 40mm f/2 — Compact “pancake” lens for Nikon Z cameras
- Sigma 56mm f/1.4 (APS-C) — Excellent third-party option for crop sensor cameras
For street and environmental portraits, a 35mm lens provides a wider view while maintaining natural proportions, whereas portrait photographers often prefer 85mm for flattering compression and smooth background separation. Budget-conscious beginners can explore third-party options from Sigma, Tamron, and Viltrox, which deliver excellent quality at lower prices than first-party lenses.

2. Tripod
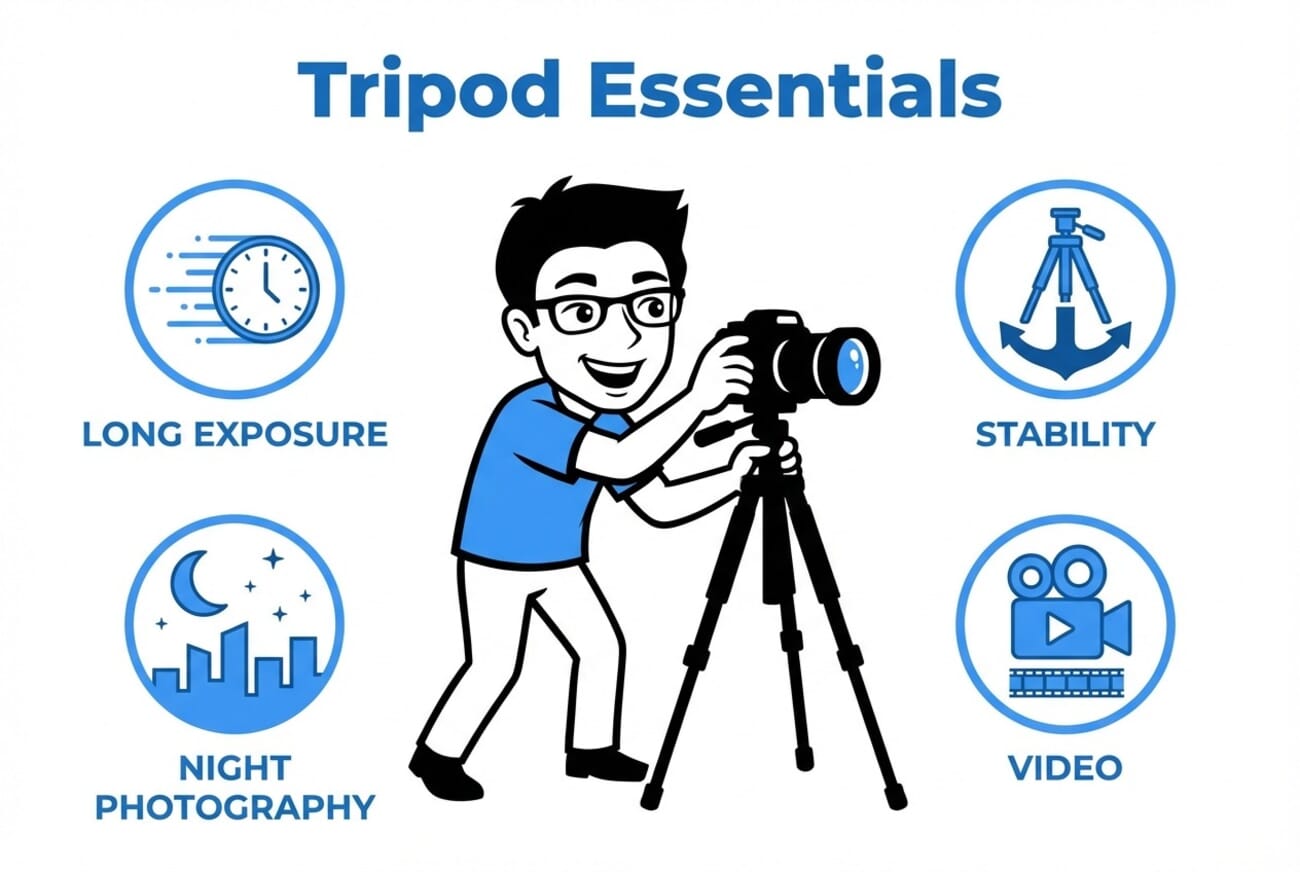
A tripod transforms what’s possible in photography. Long exposures for light trails, sharp landscape images at low ISO, precise composition for real estate shots, and stable video recording all require camera support that hand-holding cannot provide.
Modern travel tripods balance portability with stability. Carbon fiber construction reduces weight significantly compared to aluminum while maintaining rigidity. For mirrorless cameras (which weigh less than DSLRs), a tripod supporting 15-20 lbs handles any lens combination with margin to spare. With that foundation in place, these are the key features to consider:
- Ball head vs. pan-tilt — Ball heads allow quick repositioning; pan-tilt heads offer precise control for video
- Quick-release plate — Arca-Swiss compatible plates work across brands and accessories
- Folded length — Under 16 inches fits most carry-on luggage
- Center column — Removable columns allow low-angle shooting
The Peak Design Travel Tripod sets the standard for compact design, while the Manfrotto Befree Advanced offers excellent value. For tighter budgets, aluminum tripods from Neewer or Amazon Basics provide solid performance under $100.
3. Speedlight or LED Panel
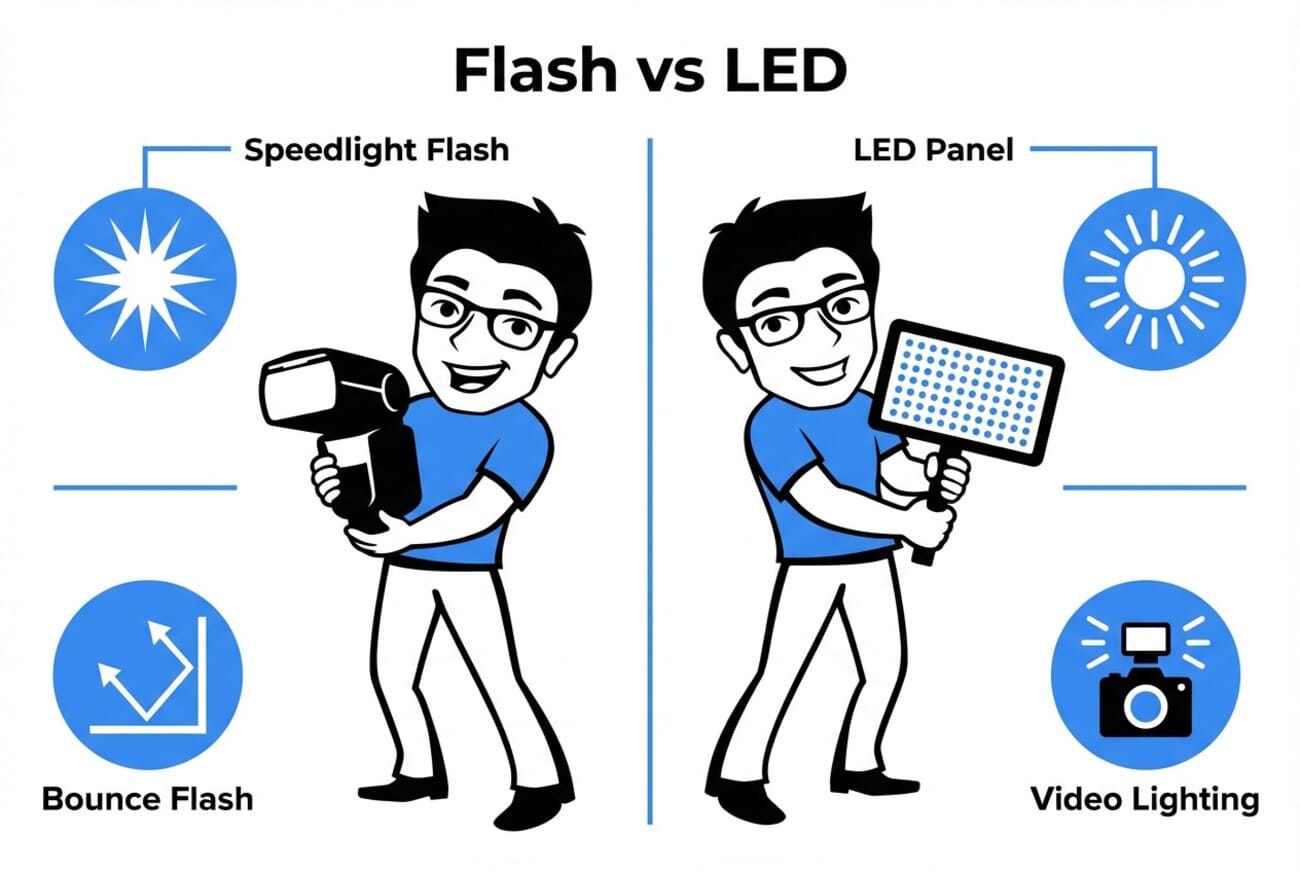
Controlling light separates snapshots from photographs. While natural light works beautifully outdoors, indoor and evening photography often requires additional illumination. Two main options suit beginners: speedlights (flash) and LED continuous lights.
Speedlights produce a brief, powerful burst of light synchronized with the camera shutter. They freeze motion, overpower ambient light, and create dramatic effects. The Godox TT685II offers TTL automatic exposure in versions for every major camera system at a fraction of first-party flash prices.
LED panels provide continuous light: what you see is what you get. This makes them easier to learn and essential for video. Bi-color LEDs adjust from warm tungsten (3200K) to cool daylight (5600K) to match ambient lighting, and the Neewer 660 PRO II RGB Panel delivers professional output at beginner prices. Both tools benefit from light modifiers, as softboxes and diffusers create flattering, soft illumination rather than harsh direct light.
Related: Portrait Photography Lighting Guide
4. Portable SSD
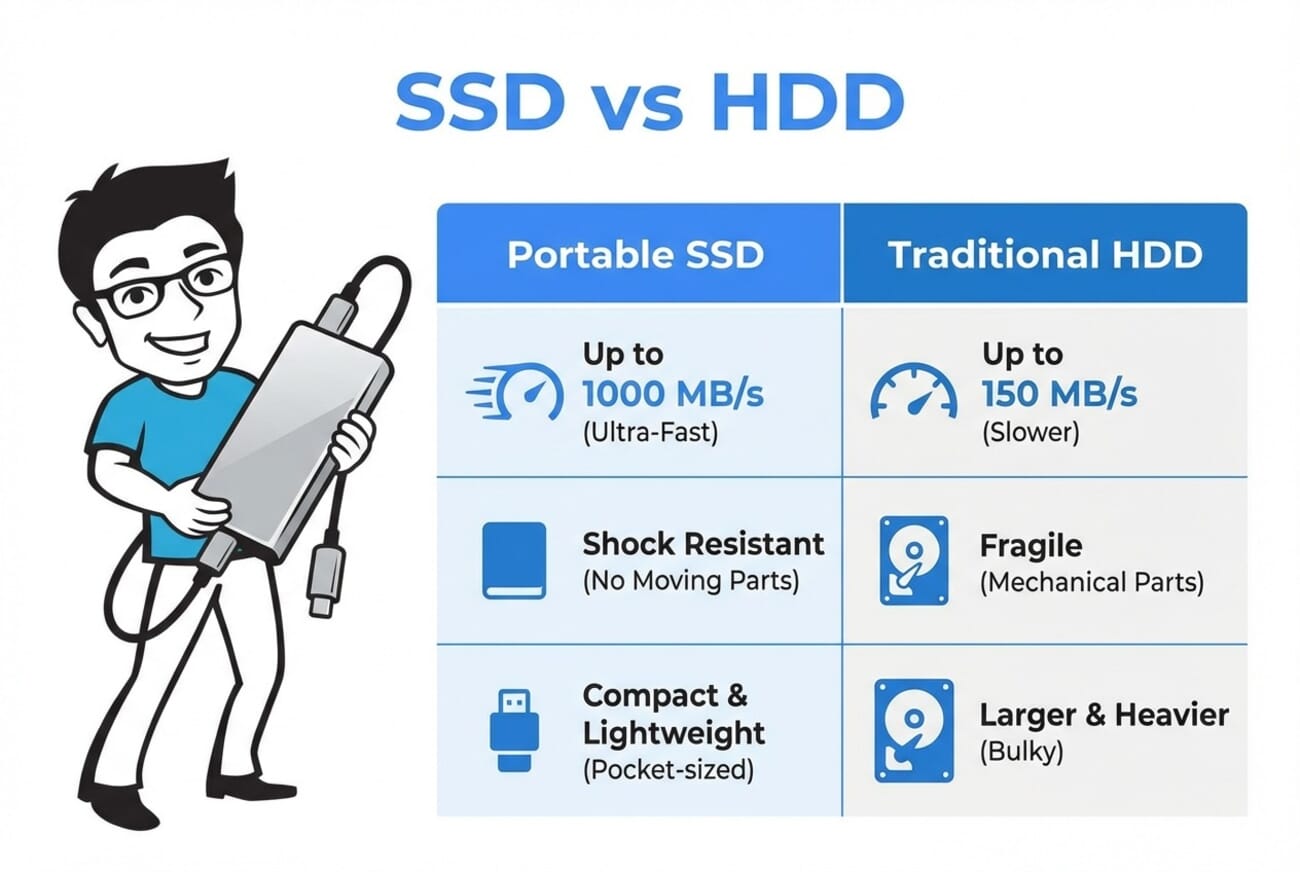
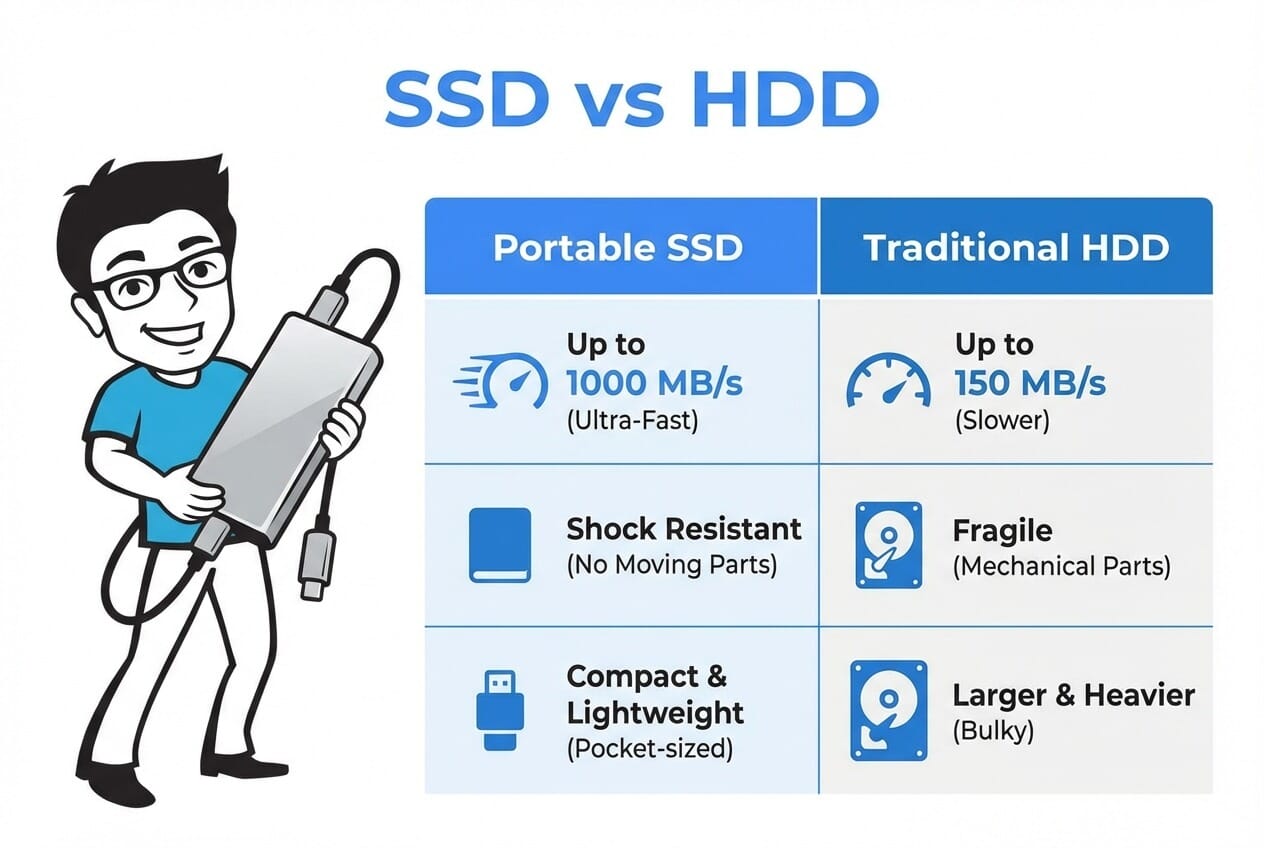
Modern cameras produce massive files. A single 45-megapixel RAW image exceeds 80MB, and 4K video consumes gigabytes per minute. Traditional spinning hard drives cannot keep pace with these demands, and their mechanical parts fail more often.
Portable solid-state drives (SSDs) solve both problems. With no moving parts, they survive drops, vibration, and temperature extremes. USB-C connections deliver transfer speeds of 1,000MB/s or faster, which means backing up an entire 128GB memory card takes under three minutes.
The Samsung T9 Portable SSD (1TB) offers excellent speed and durability with USB 3.2 Gen 2×2 connectivity. For tighter budgets, the SanDisk Extreme Portable SSD (1TB) delivers reliable performance at a lower price point. Whichever drive you choose, photographers should maintain at least two backup copies of important images: one on a portable drive for transport, another on a larger drive or cloud storage at home.
Related: Best Way to Store Digital Photos
5. Memory Cards
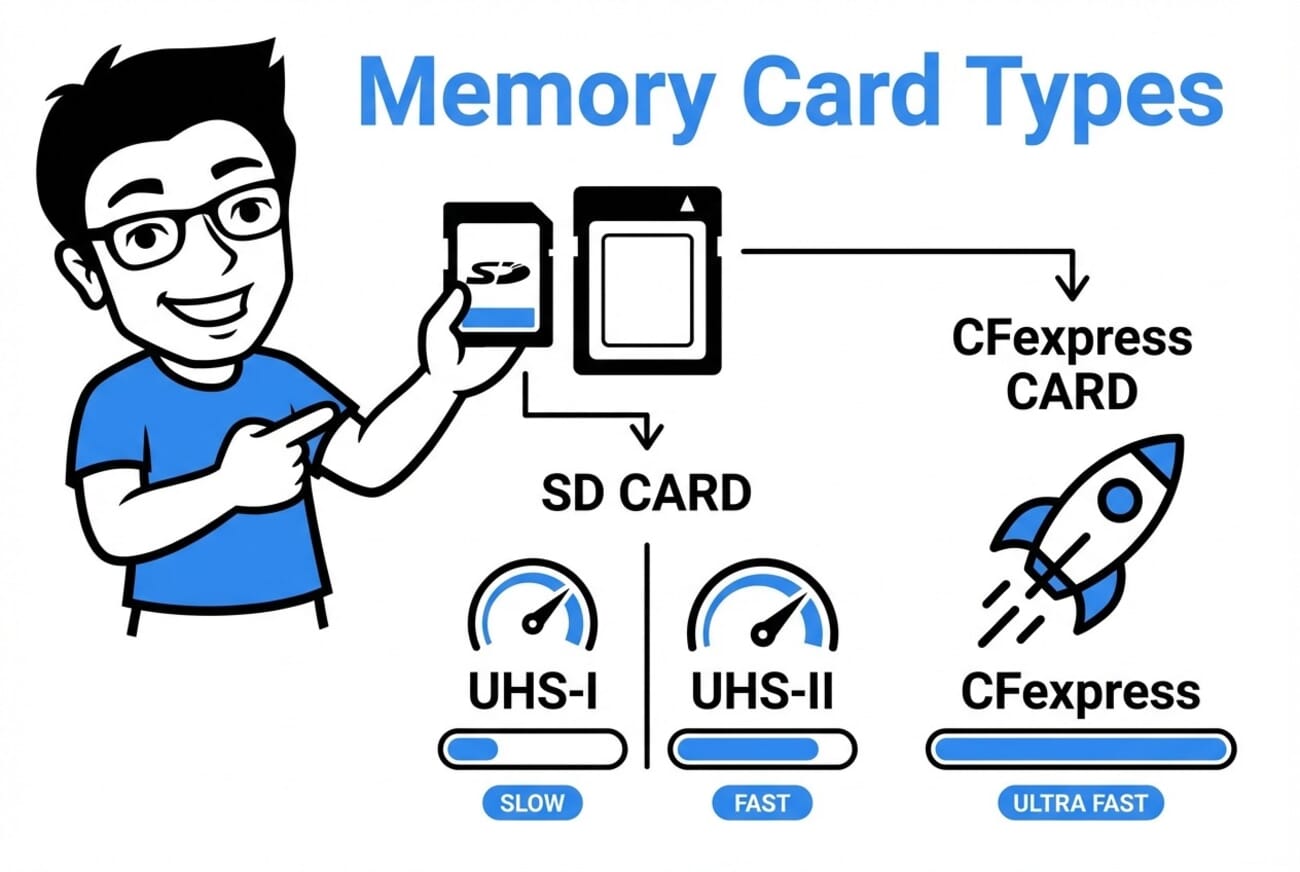
Memory card technology has advanced significantly. Modern mirrorless cameras demand faster cards to handle high-resolution burst shooting and 4K/8K video recording without buffer delays or dropped frames.
SD UHS-II cards support most mirrorless cameras with read speeds up to 300MB/s, dramatically faster than standard UHS-I cards. The Sony Tough-M (128GB) and SanDisk Extreme PRO UHS-II deliver professional-grade reliability.
CFexpress cards power high-end cameras like the Sony A7R VI, Canon R5 Mark II, and Nikon Z8. Type B cards (larger) offer the fastest speeds, while Type A cards (Sony cameras) balance size with performance. These cards represent a significant investment but eliminate all buffer limitations. Before you buy, keep a few practical tips in mind.
- Carry multiple smaller cards rather than one large card — if one fails, you don’t lose everything
- Format cards in-camera before each shoot for optimal performance
- Use a memory card case to organize and protect cards in the field
One 2026-specific buying note: SD card and SSD prices jumped sharply this year after NAND flash contract prices rose roughly 70 percent. The premium listings above reflect that market, not retailer greed. Buy the capacity actually needed now rather than stockpiling, and watch for legitimate sales from Amazon or B&H directly rather than tempting third-party “deals” on unknown storefronts.
6. 5-in-1 Reflector
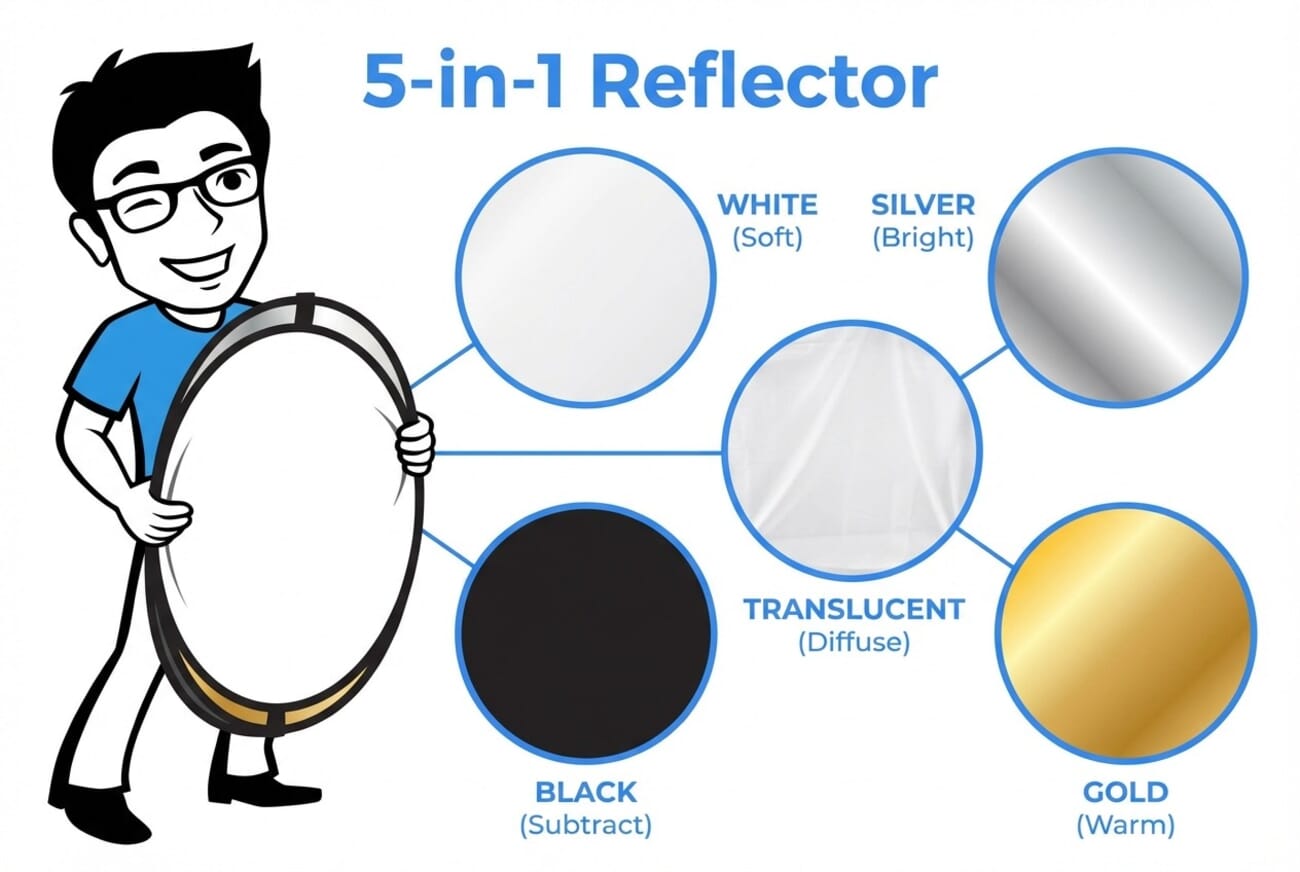
A collapsible reflector may be the most cost-effective lighting tool in photography. For under $25, a 5-in-1 reflector provides five distinct surfaces that shape and redirect natural light:
- White — Soft, neutral fill light ideal for portraits
- Silver — Bright, contrasty light that adds punch to shadows
- Gold — Warm light that simulates sunset tones
- Black — Subtracts light to deepen shadows and add drama
- Translucent — Diffuses harsh sunlight for softer illumination
Position a reflector opposite the main light source to fill shadows on a subject’s face. On sunny days, hold the translucent disc between the sun and subject to create even, flattering light without squinting. The Neewer 43-inch 5-in-1 Reflector collapses to fit in most camera bags and handles the majority of portrait and product photography needs.
7. Polarizing and ND Filters
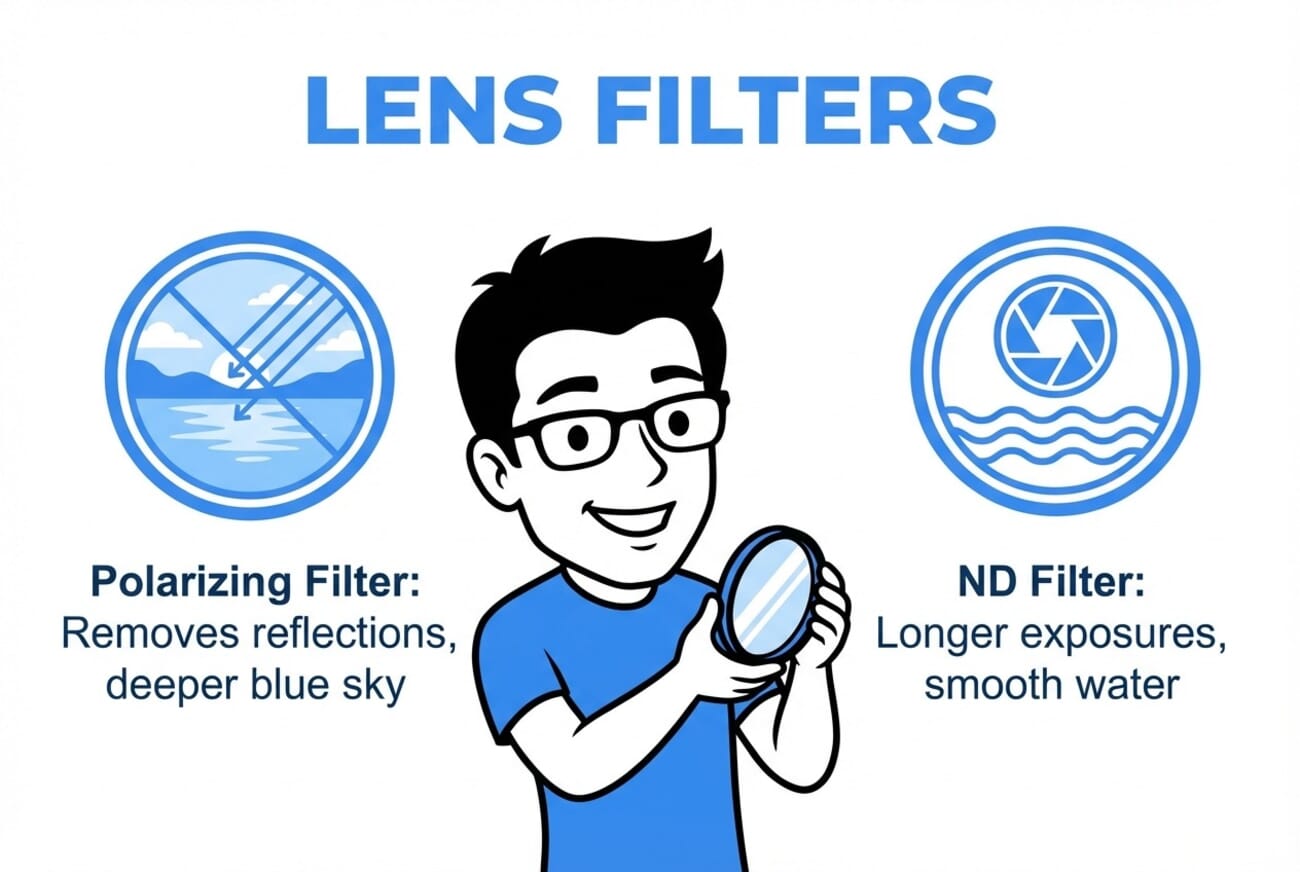
While many effects can be replicated in post-processing, two filter types remain essential because they capture information that software cannot create. Circular polarizing filters reduce reflections from water, glass, and foliage while boosting color saturation, and rotating the filter controls the strength of the effect. The result: deeper blue skies, richer greens, and clear views through windows, none of which can be accurately recreated in editing.
Neutral density (ND) filters reduce light entering the lens without affecting color. This allows longer exposures in bright conditions, creating silky waterfalls, motion-blurred clouds, or shallow depth of field in daylight. Variable ND filters adjust from 2 to 10 stops of light reduction.
Before purchasing, check your lens’s filter thread size (measured in millimeters). Buying filters to fit your largest lens, then using step-down rings for smaller lenses, provides the most flexibility.
Related: Best Polarizing Filters
8. Camera Bag
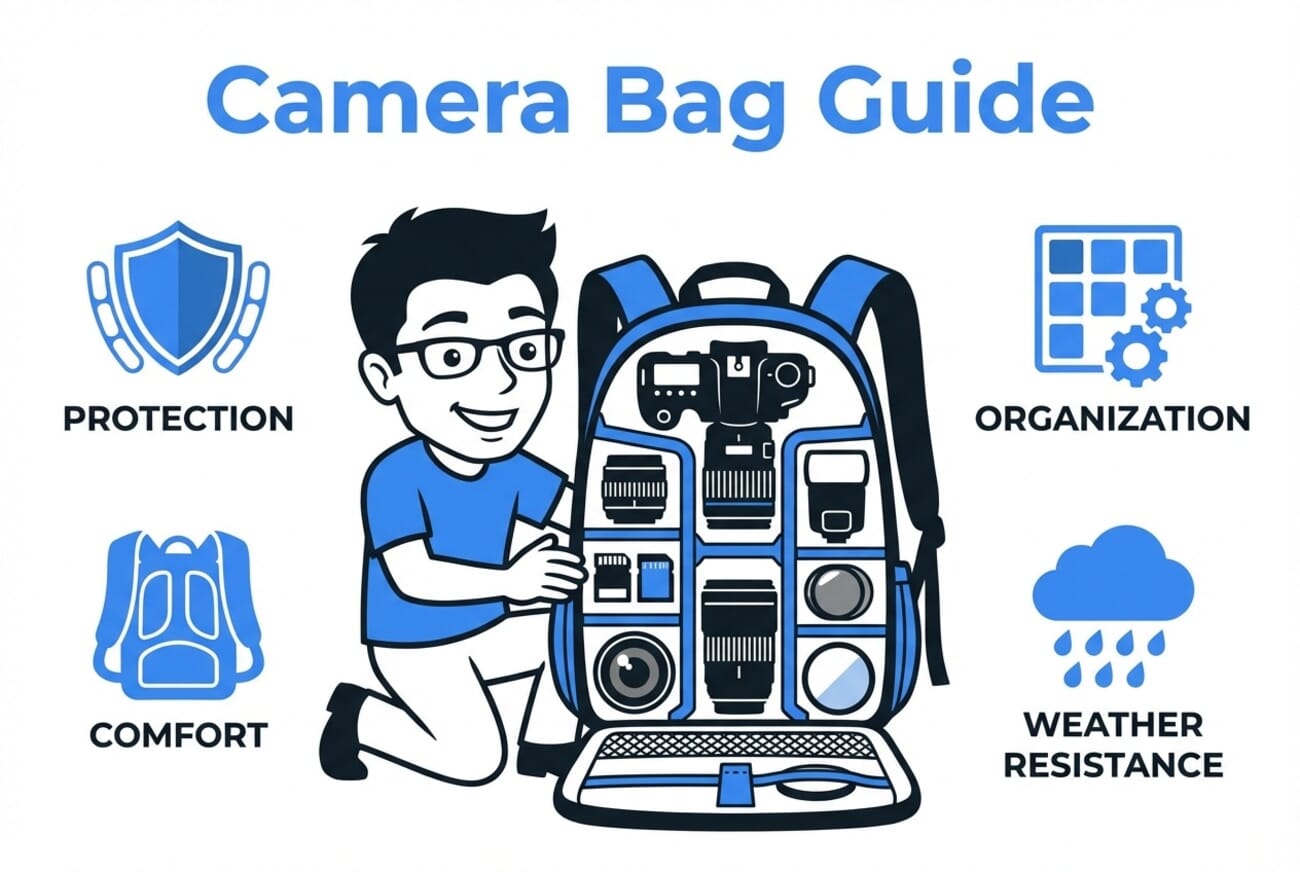
A dedicated camera bag protects equipment and keeps it organized for quick access. The best choice depends on how much gear you carry and how you travel.
Backpacks distribute weight evenly for all-day comfort and typically hold a camera body, 3-4 lenses, a laptop, and accessories. The Peak Design Everyday Backpack offers quick side access without removing the bag, while the Lowepro ProTactic provides modular organization for larger kits.
Shoulder bags/messengers allow faster access to gear while walking, which suits street photographers and journalists who need to react quickly. Hard cases like the Pelican 1510 offer maximum protection for air travel or extreme environments: they’re waterproof, crushproof, and meet carry-on size requirements. Whichever style fits your work, look for padded dividers that customize to your gear, weather-resistant materials, and comfortable straps rated for extended wear.
9. Cleaning Kit
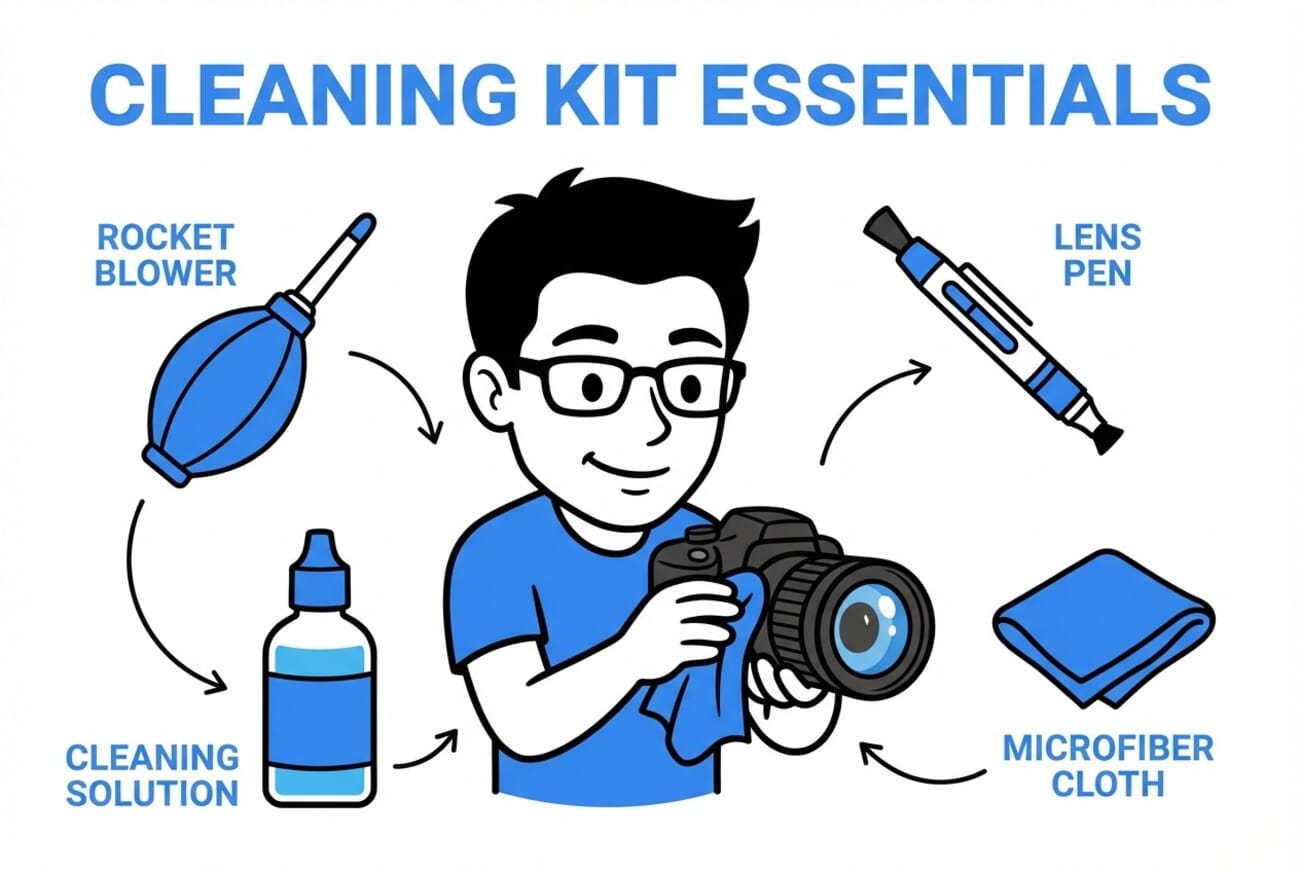
Dust, fingerprints, and debris affect image quality. Regular cleaning extends equipment life and prevents minor issues from becoming expensive repairs. A basic cleaning kit should include:
- Rocket blower — Removes loose dust from sensors and lenses without physical contact
- Microfiber cloths — Safely wipes lens glass and LCD screens
- Lens cleaning solution — Removes smudges and fingerprints
- Lens pen — Combines brush and cleaning tip for field use
- Sensor cleaning swabs — For stubborn sensor dust (use carefully)
The Altura Photo Professional Cleaning Kit bundles these essentials at a reasonable price. Clean lenses before each shoot and inspect sensors periodically, especially after changing lenses outdoors.
10. Extra Batteries and Charger
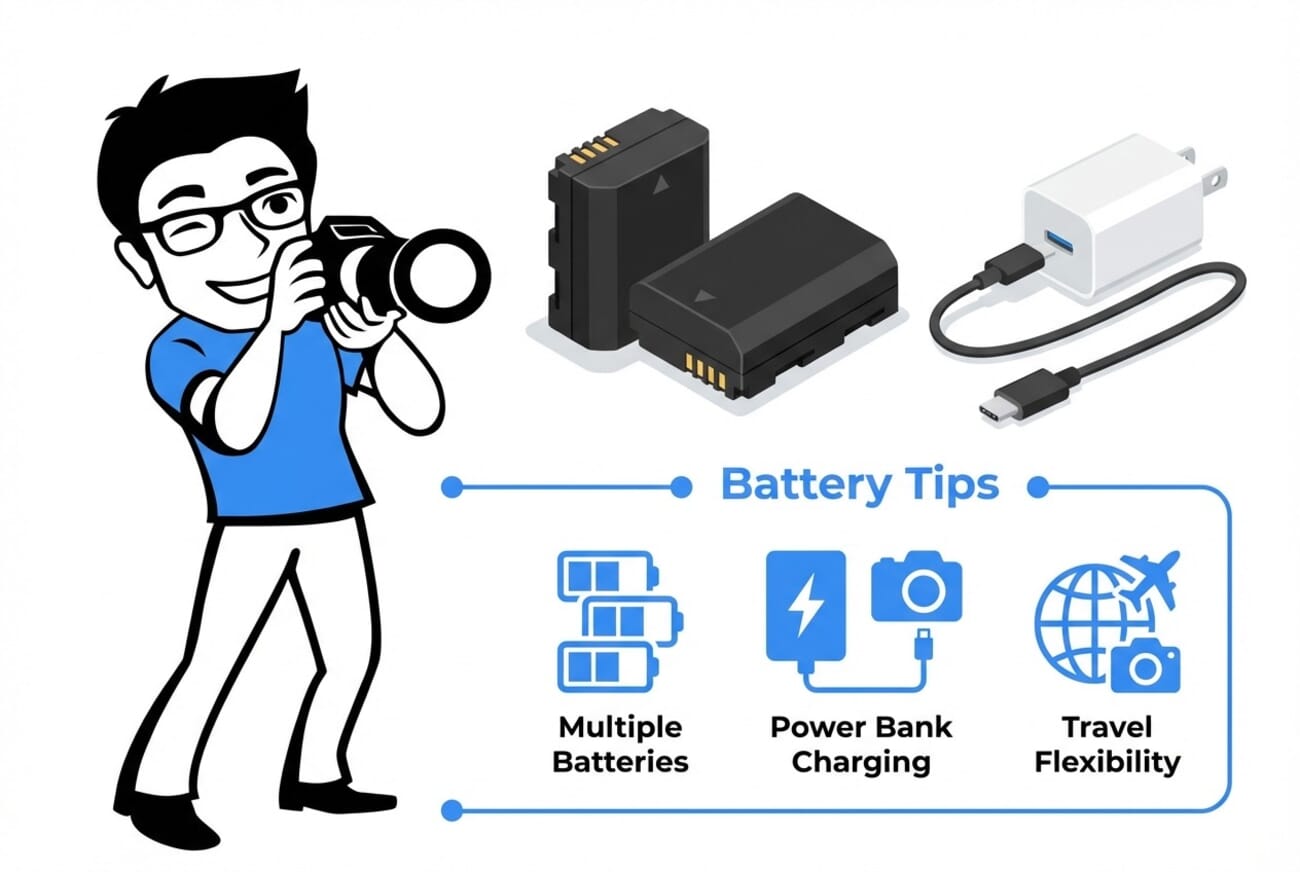
Mirrorless cameras consume more battery power than DSLRs due to electronic viewfinders and constant sensor operation, so running out of power during a shoot means missed opportunities, and extra batteries are essential insurance. First-party batteries from camera manufacturers offer guaranteed compatibility and safety certifications, but reputable third-party options from companies like Wasabi Power and Neewer provide similar performance at lower cost.
A USB-C charger that works with the camera directly adds flexibility: you can charge from a power bank during travel without carrying a separate wall charger, and many modern cameras support USB Power Delivery (PD) for faster charging. For accessories that use AA batteries (older flashes, remotes), rechargeable NiMH batteries like Panasonic Eneloop Pro deliver consistent power through hundreds of charge cycles.
11. Color Checker (Optional)
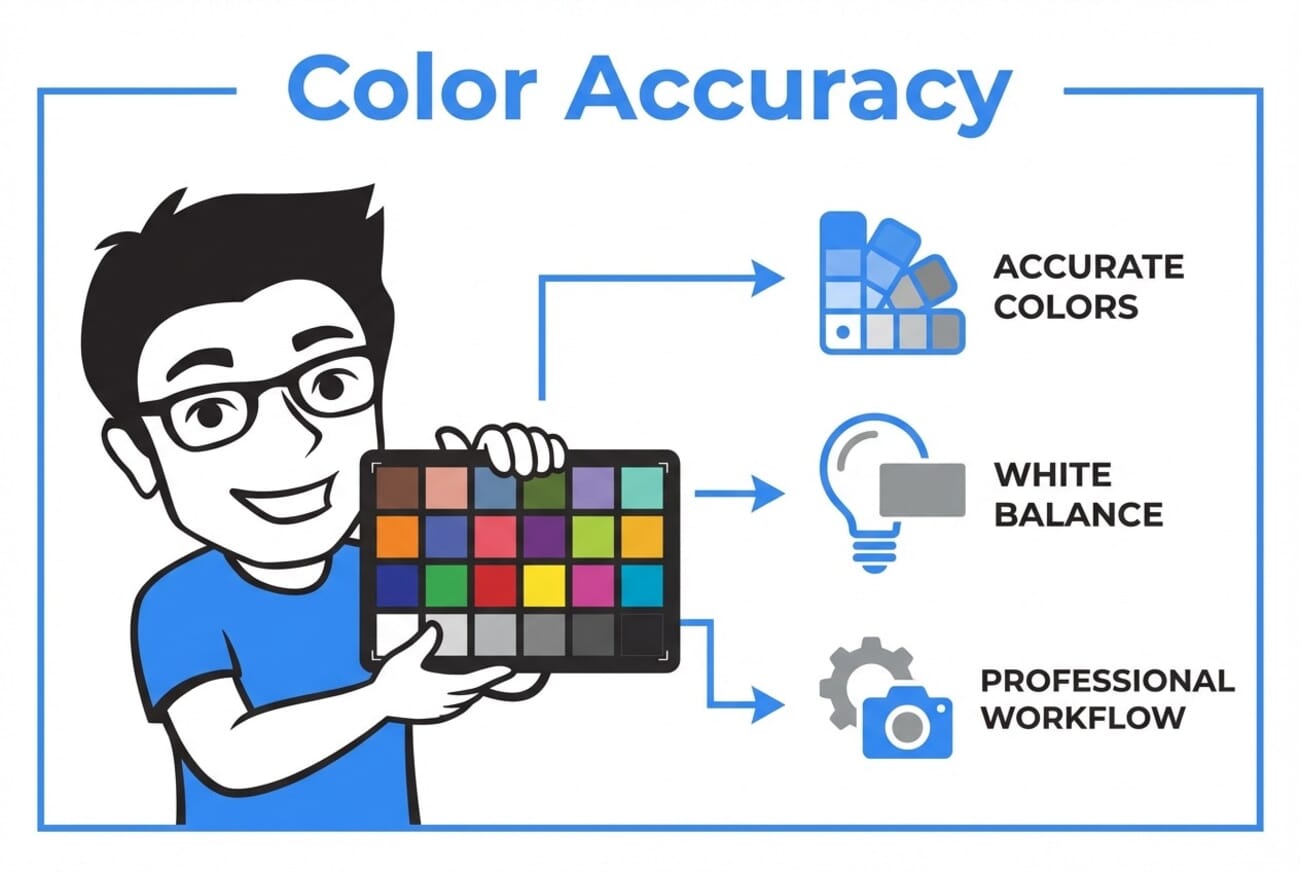
Achieving accurate colors becomes important for professional work, especially product photography and portraits. A color checker provides reference patches that calibrate white balance and color profiles in post-processing.
Photograph the color checker at the start of a session under the same lighting as your subjects. In editing software, use the gray patches to set accurate white balance, then apply the same adjustment to all images from that session.
The Calibrite ColorChecker Passport Photo 2 (Calibrite took over the X-Rite ColorChecker line) is the industry standard, fitting easily in a camera bag. For beginners on a budget, even a simple gray card provides significant improvement over guessing white balance, and the tool becomes more valuable as skills develop and color-critical work increases.
Photography Tools by Name: A Quick Glossary
New photographers constantly meet tool names that everyone else seems to already know. This table covers the devices and accessories used in photography most often, including several that did not make the essential 11.
| Tool | What it does |
|---|---|
| Camera body | The core device: houses the sensor, processor, and controls. Lenses attach to it. |
| Prime lens | Fixed focal length lens. Sharper and brighter than zooms at the same price. |
| Zoom lens | Variable focal length lens. Trades some sharpness and aperture for flexibility. |
| Tripod | Three-legged camera support for long exposures and precise framing. |
| Monopod | Single-leg support. Faster to move than a tripod; common in sports. |
| Speedlight | A small flash that mounts on the camera hot shoe or fires remotely. |
| LED panel | Continuous light source. What you see is what the photo gets. |
| Reflector | Collapsible disc that bounces existing light into shadows. |
| Diffuser | Translucent material that softens harsh light passing through it. |
| CPL filter | Circular polarizer. Cuts reflections and deepens skies, rotated to taste. |
| ND filter | Neutral density. Sunglasses for the lens, enabling long exposures in daylight. |
| Memory card | Removable storage the camera writes to (SD, microSD, or CFexpress). |
| Card reader | Transfers files to a computer far faster than cable-connecting the camera. |
| Portable SSD | Pocket solid-state drive for backing up and editing photos on the go. |
| Rocket blower | Hand-squeezed air bulb that removes dust without touching glass. |
| Lens pen | Pocket tool with a brush on one end and a cleaning tip on the other. |
| Color checker | Card of calibrated color patches for accurate white balance in editing. |
| Remote shutter release | Fires the camera without touching it, eliminating vibration on a tripod. |
| Camera strap | Underrated safety gear. A quality sling strap beats the branded neck strap. |
| Gimbal | Motorized stabilizer for smooth handheld video movement. |
Stepping Up: What Professional Photography Equipment Adds
The beginner list above covers 90 percent of real-world shooting. Professional photography equipment mostly buys speed, durability, and margin for error rather than fundamentally better images: constant f/2.8 zoom lenses that hold their aperture across the range, studio strobes with modeling lights and softbox mounts, V90-rated cards that swallow 8K video, dual-slot bodies that write every frame twice, and a hardware-calibrated monitor so edits survive printing.
None of it is worth buying before the basics are mastered. A photographer who has outgrown this list will know exactly which professional upgrade their work is bumping against; that friction, not a spec sheet, is the buying signal. The camera gear guides break down each category in depth when that moment arrives.
Frequently Asked Questions
What photography equipment does a beginner actually need first?
After the camera itself: a 50mm f/1.8 prime lens, a spare battery, a fast memory card, and a cleaning kit. That covers a working kit for about $300. A tripod and a reflector are the next two purchases, chosen by whichever problem appears first: camera shake or flat lighting.
How much does a full beginner photography kit cost in 2026?
Expect to spend roughly $300 for a semester-starter setup, $700 for a solid foundation with support and lighting, and $1,500 or more for the complete 11-item list with premium picks. Storage costs more in 2026 than in 2025 due to NAND flash supply constraints, so budget slightly more for cards and SSDs than older guides suggest.
Should a photography student buy a tripod or a flash first?
Match the purchase to the coursework. Landscape, architecture, and night assignments demand a tripod. Portrait and studio assignments benefit more from a speedlight or LED panel plus a reflector. When genuinely undecided, the reflector is the cheapest way to learn light control, at around $25.
Are third-party batteries and accessories safe to buy?
Reputable third-party brands like Wasabi Power and Neewer offer batteries and accessories at roughly half the first-party price with solid safety records. Avoid unbranded marketplace listings, especially for batteries and chargers, where certification claims are unverifiable. For memory cards, counterfeits of name brands are common enough that buying from Amazon directly (not third-party sellers) or an authorized dealer matters more than the brand choice.
Building Your Photography Kit
Starting with quality basics beats accumulating cheap gear that needs replacement. Prioritize items that solve immediate problems: a tripod if shooting landscapes, a flash if photographing indoors, fast memory cards if missing shots due to buffer delays.
The best equipment is what enables creativity without getting in the way. Build a kit gradually, learning to use each piece before adding more. Photography improves through practice, and the right tools make that practice more enjoyable and productive. For specific recommendations by photography type, explore the camera gear guides covering lenses, tripods, lighting, and accessories in depth.
Pricing and Availability
- Amazon product listings – All product links re-verified in stock with current-model ASINs on July 11, 2026
- PhotoWorkout — NAND flash price surge coverage – Context for elevated 2026 memory card and SSD pricing
Image Sources
- Section infographics and printable checklist: PhotoWorkout – Original PhotoWorkout editorial illustrations (11 infographics plus the downloadable kit checklist)
- Prime lens bokeh example — YUNAN WANG – Blue hydrangeas with creamy bokeh, shot on a Fujifilm X-T5, via SampleShots
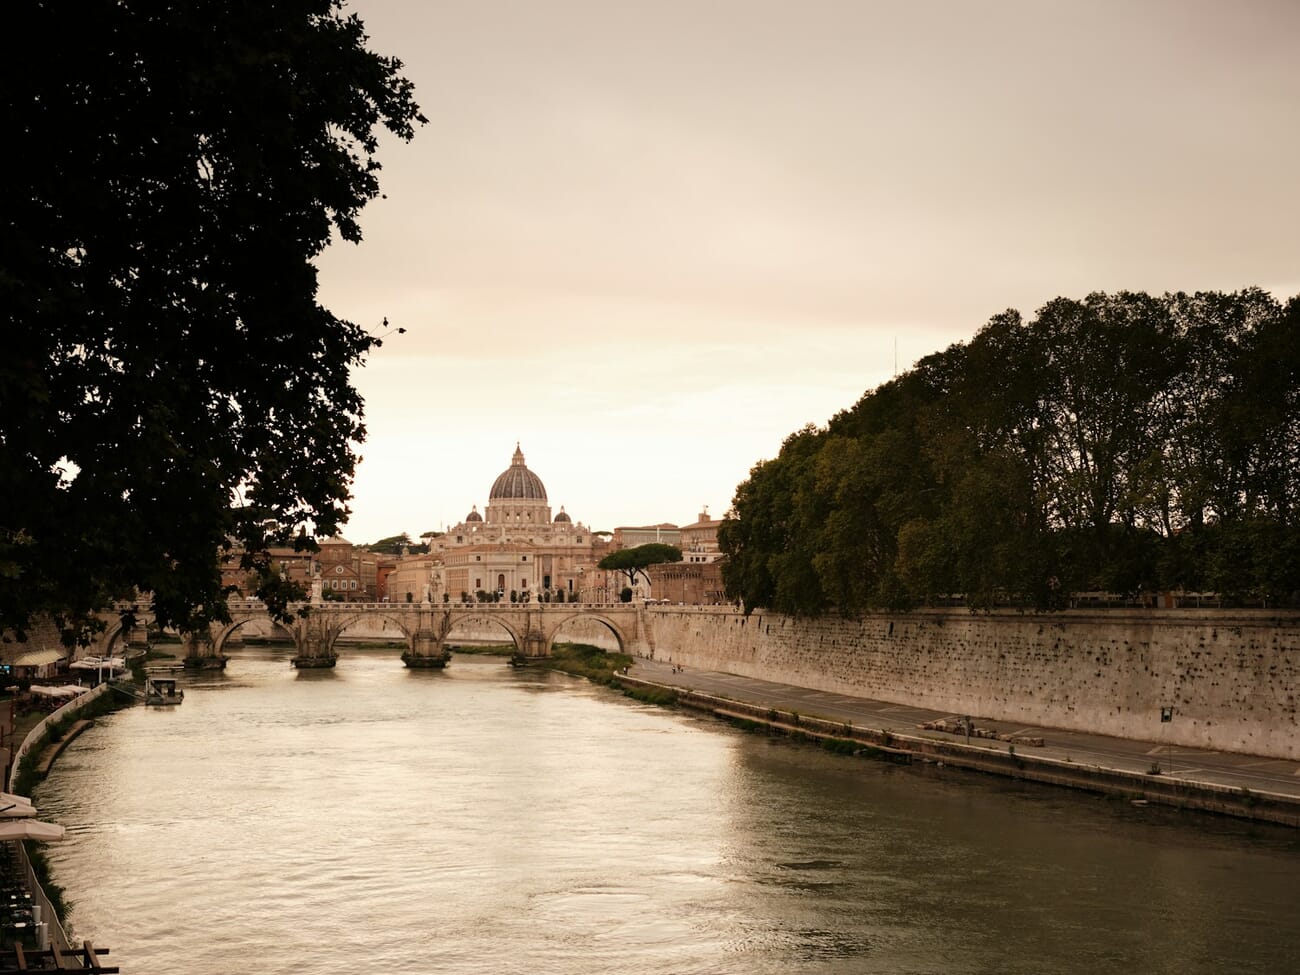
- Tripod long exposure example — Jens Freudenau – Rome riverbank at dusk with silky water, shot on a Fujifilm X-T5, via SampleShots
- Featured image: stock photograph – Camera gear flat lay, PhotoWorkout media library