
- OM System OM-1 Mark II is the best camera for focus stacking – the only mainstream camera with in-camera focus compositing (up to 999 frames).
- Focus bracketing vs. focus stacking: Most cameras only bracket (capture frames); OM System cameras composite in-camera too.
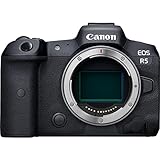
- Canon EOS R5 Mark II and Sony a7R V lead for full-frame shooters who stack in software like Helicon Focus.
- Side-by-side specs comparing resolution, bracket limits, IBIS, and macro lens compatibility across all 10 picks.
- OM System OM-5 Mark II delivers in-camera stacking at under $1,200 – the most affordable option with this feature.
Best Cameras for Focus Stacking
Focus stacking combines multiple images shot at different focus distances into a single frame where everything appears sharp from front to back. It is the standard technique for macro photography, product photography, and landscape work where depth of field is limited even at narrow apertures.
Not all cameras handle focus stacking equally. Some offer basic focus bracketing (capturing a sequence of images at incremental focus steps), while a few – notably OM System bodies – perform the entire composite process in-camera. The cameras below were selected based on their focus bracketing capabilities, image resolution, stabilization, and compatibility with dedicated macro lenses.
The top pick is the OM System OM-1 Mark II, which handles up to 999 focus-bracketed frames and composites them automatically. For full-frame shooters, the Canon EOS R5 Mark II offers the best balance of resolution, autofocus, and bracket control.
When you buy through links on our site, we may earn a commission at no cost to you. We evaluate products independently. Commissions do not affect our evaluations. As an Amazon Associate, we earn from qualifying purchases.
Best Cameras for Focus Stacking


How to Choose a Focus Stacking Camera
Focus stacking demands specific camera features that general-purpose bodies may lack. Here is what to prioritize when choosing a camera for this technique.
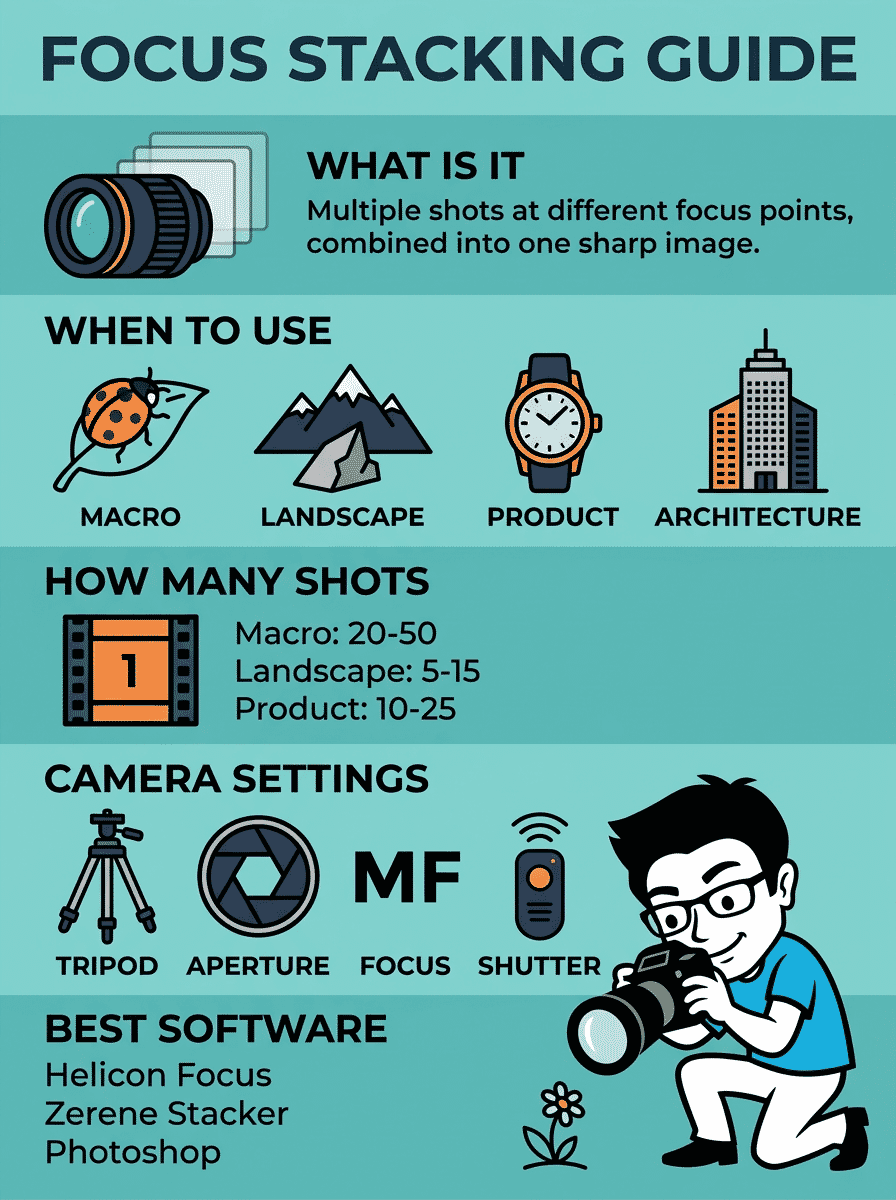
Focus stacking is essential when shallow depth of field limits sharpness – common in macro photography at magnifications of 1:1 or greater. A typical macro stack might use 10-30 frames for small subjects like flowers, while extreme macro work (insects, minerals) can require 50-200+ frames. Landscape photographers use fewer frames (3-10) to extend sharpness from foreground to background at wider apertures for better optical quality.
Focus Stacking Camera Comparison
Focus Stacking Camera Specs
| Specifications | ||||||||||
|---|---|---|---|---|---|---|---|---|---|---|
| Resolution | 20.4 MP | 45 MP | 61 MP | 45.7 MP | 20.4 MP | 45 MP | 24.5 MP | 52 MP | 33 MP | 24.2 MP |
| Sensor | Micro Four Thirds | Full Frame | Full Frame | Full Frame | Micro Four Thirds | Full Frame | Full Frame | Full Frame | Full Frame | Full Frame |
| Bracket Limit | 999 frames | 999 frames | 999 frames | 300 frames | 999 frames | 999 frames | 300 frames | 999 frames | 999 frames | 999 frames |
| In-Camera Stack | Yes | No | No | No | Yes | No | No | No | No | No |
| IBIS (stops) | 8.5 | 8.5 | 8.0 | 5.0 | 7.5 | 8.0 | 8.0 | 6.5 | 7.0 | 6.5 |


OM System OM-1 Mark II
Dedicated macro photographers and anyone who wants in-camera focus stacking without external software
- In-camera focus compositing up to 999 frames
- 8.5-stop IBIS for handheld macro work
- 120fps blackout-free EVF
- IP53 weather sealing for field work
- Deeper native DOF from M4/3 sensor
- 20MP sensor limits large prints vs full-frame
- Smaller sensor means more noise above ISO 3200
- Micro Four Thirds lens selection narrowing
The OM-1 Mark II is the only mainstream camera that captures and composites focus stacks entirely in-camera. Set the number of frames, press the shutter, and the camera delivers a single stacked JPEG. For photographers who prioritize the stacking workflow above all else, nothing else comes close.


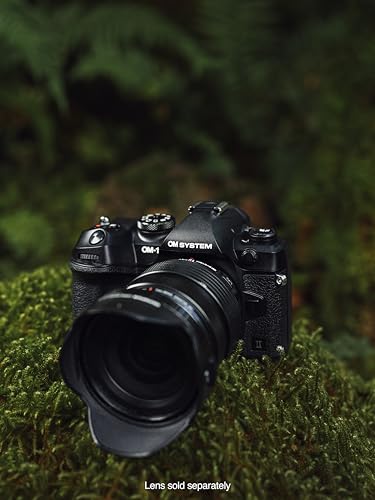
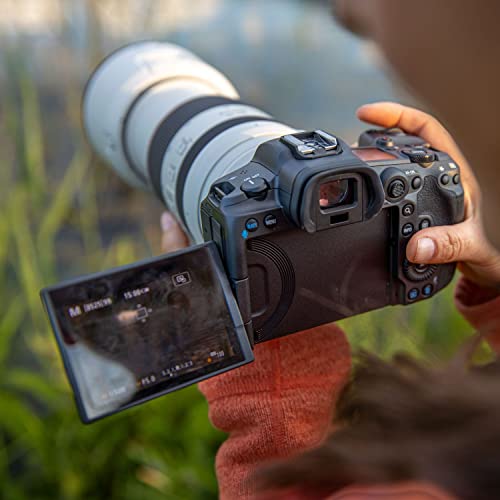
The OM System OM-1 Mark II is purpose-built for the kind of photography where focus stacking matters most. Its Focus Stacking mode captures up to 999 bracketed frames and composites them into a single image without needing a computer. The camera handles alignment, blending, and artifact removal internally – producing a stacked JPEG in seconds.
The 20.4MP stacked BSI Live MOS sensor and TruePic X processor deliver fast readout speeds critical for rapid bracket sequences. The 8.5-stop IBIS system enables handheld macro shooting that would require a tripod on most other bodies. Combined with OM System’s excellent M.Zuiko 60mm f/2.8 Macro or the 90mm f/3.5 Macro IS PRO, the system delivers sharp, well-stacked results in the field.
The Micro Four Thirds sensor provides an inherent advantage for macro work: greater depth of field at any given aperture compared to full-frame. This means fewer frames are needed per stack. The tradeoff is lower resolution (20MP vs. 45-61MP on full-frame competitors) and more noise at high ISO. For studio and daylight macro work, this rarely matters.
IP53 weather sealing and a compact, lightweight body make the OM-1 Mark II a strong field camera for nature macro. Pair it with the complete macro photography guide for technique tips that complement this camera’s capabilities.
Pricing & Where to Buy
The OM System OM-1 Mark II body is priced at $1,999 (as of March 2026). A kit with the M.Zuiko 12-40mm f/2.8 PRO II is also available. For dedicated macro, add the M.Zuiko 60mm f/2.8 Macro separately.
- Buy on Amazon – Prime shipping available
- Check price at B&H Photo
- Check price at Adorama
- Buy used at KEH Camera – save with certified pre-owned
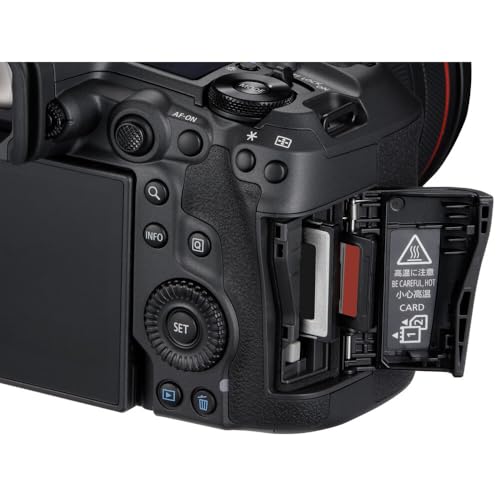
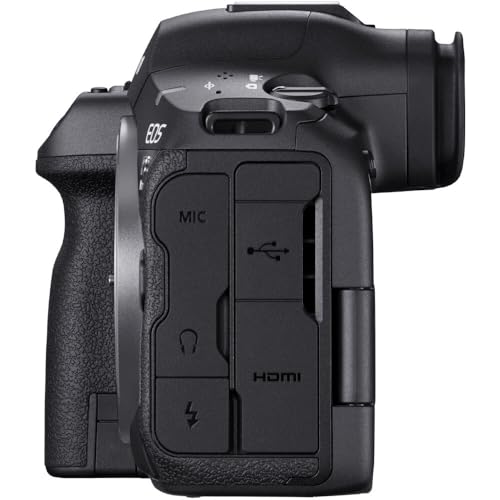
Canon EOS R5 Mark II
Full-frame shooters who want top-tier autofocus and resolution for macro and general photography
- 45MP full-frame sensor with excellent detail
- Advanced Dual Pixel CMOS AF II system
- 8.5-stop IBIS
- Focus bracketing up to 999 frames
- 8K video capability for documentation
- No in-camera focus compositing
- $3,899 body-only price
- Requires software like Helicon Focus to stack
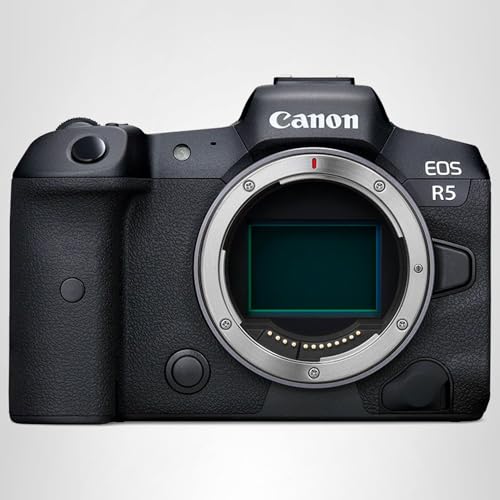
Canon’s flagship hybrid camera brings 45MP resolution, class-leading autofocus, and reliable focus bracketing to macro work. The lack of in-camera compositing means an extra software step, but the image quality and RF lens ecosystem make it worthwhile for photographers who shoot more than just macro.
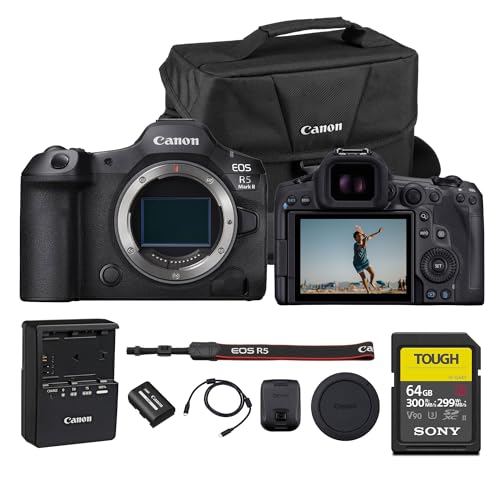
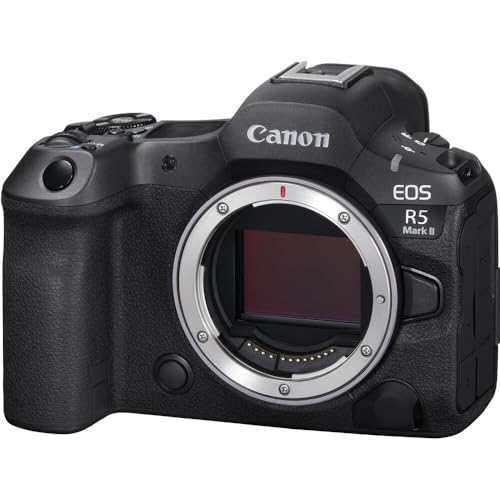

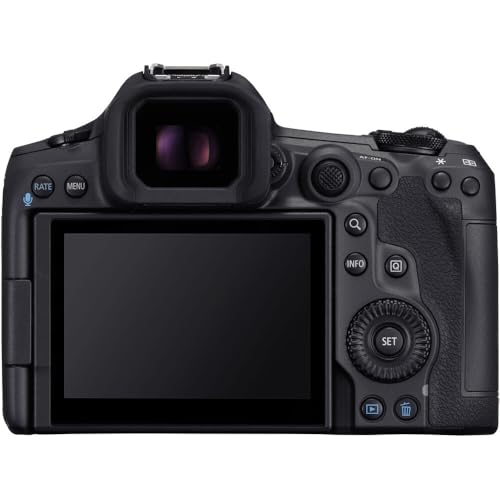
The Canon EOS R5 Mark II represents Canon’s best option for focus stacking photographers who want a full-frame system. The 45MP sensor resolves fine detail that macro subjects demand, and the focus bracketing mode steps through up to 999 frames with configurable step size.
Canon’s Dual Pixel CMOS AF II with AI-driven subject recognition is overkill for tripod-mounted macro work, but invaluable for tracking live subjects like insects. The 8.5-stop IBIS matches the OM-1 Mark II and allows handheld macro shooting in good light. The new accelerator unit improves AF computation speed, which helps maintain focus accuracy during bracket sequences.
The RF lens mount gives access to Canon’s best macro lenses, including the RF 100mm f/2.8L Macro IS USM with its unique SA control ring and 1.4x magnification. Focus stacking with this combination delivers exceptional results for product and nature photography.
The main limitation is price – at $3,899 body-only, this is a significant investment. Photographers who already own the original R5 may find the focus stacking improvements marginal enough to stay with the older body.
Pricing & Where to Buy
The Canon EOS R5 Mark II body is priced at $3,899 (as of March 2026). Kit options with the RF 24-105mm f/4L are available at a bundled price.
- Buy on Amazon – Prime shipping available
- Check price at B&H Photo
- Check price at Adorama
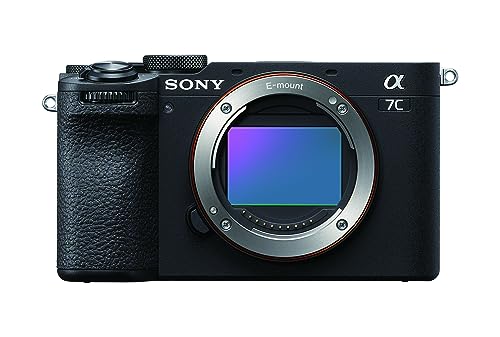
Sony Alpha 7R V
Photographers who need maximum resolution for extreme detail in focus-stacked composites
- 61MP sensor – highest resolution in this lineup
- AI-based Real-time Recognition AF
- Focus bracketing up to 999 frames
- 8-stop IBIS
- Excellent Sony E-mount macro lens options
- No in-camera compositing
- Large RAW files (120MB+ uncompressed)
- $3,298 body price
The a7R V’s 61MP sensor captures more detail per frame than any other camera on this list. For focus stacking, that means each slice of the stack contributes more resolution to the final composite. Pair it with the Sony FE 90mm f/2.8 Macro G OSS for outstanding macro results.
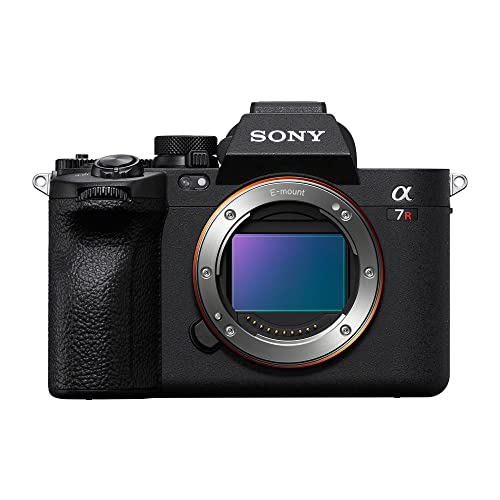


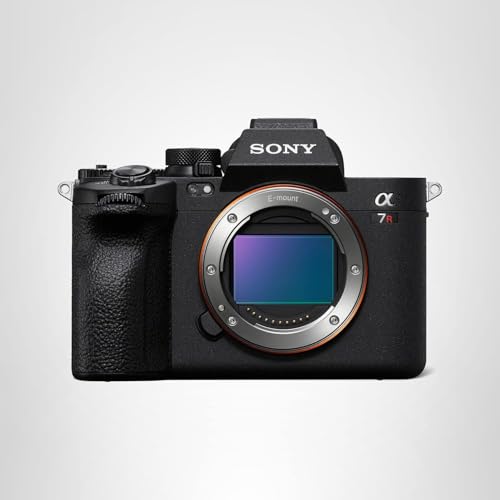
The Sony a7R V brings 61 megapixels to focus stacking – the highest resolution of any camera in this roundup. Each frame in a bracket sequence captures extraordinary detail, and when stacked in software, the results rival medium format output for macro and product photography.
Sony’s focus bracketing mode supports up to 999 frames with adjustable step width (1-10). The AI-based Real-time Recognition AF system handles subject detection well, though for macro work at high magnification, manual focus with the bracket automation is typically more reliable. The 8-stop IBIS helps with setup and framing.
The Sony E-mount ecosystem includes the excellent Sony FE 90mm f/2.8 Macro G OSS and third-party options from Sigma and Tamron. The 90mm Macro remains one of the sharpest macro lenses available for any system, making it an ideal partner for the a7R V’s resolution.
The downside is file size – 61MP RAW files consume storage quickly during long bracket sequences. A 100-frame stack generates 12GB+ of RAW data. Fast CFexpress Type A cards are recommended.
Pricing & Where to Buy
The Sony a7R V body is priced at $3,298 (as of March 2026).
- Buy on Amazon – Prime shipping available
- Check price at B&H Photo
- Check price at Adorama
- Buy used at KEH Camera – save with certified pre-owned
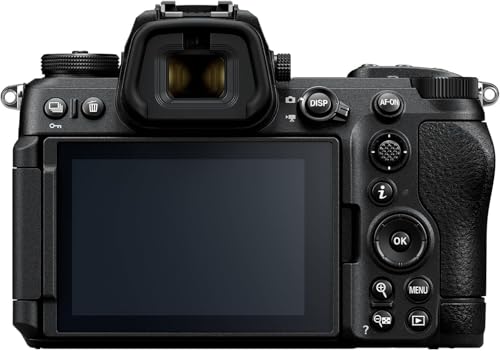
Nikon Z7 II
Nikon shooters who need high resolution and reliable focus shift shooting for macro and landscape stacking
- 45.7MP BSI CMOS sensor
- Focus Shift Shooting with 300 frame limit
- Dual EXPEED 6 processors
- Dual card slots (CFexpress + SD)
- Excellent Nikon Z macro lenses available
- 300 frame limit (vs 999 on competitors)
- No in-camera compositing
- 5-stop IBIS lags behind newer bodies
The Z7 II delivers 45.7MP of resolution through Nikon’s excellent Z-mount optics. Focus Shift Shooting automates bracket sequences up to 300 frames – sufficient for most macro work. The lower frame limit compared to competitors is rarely a practical issue outside extreme macro.


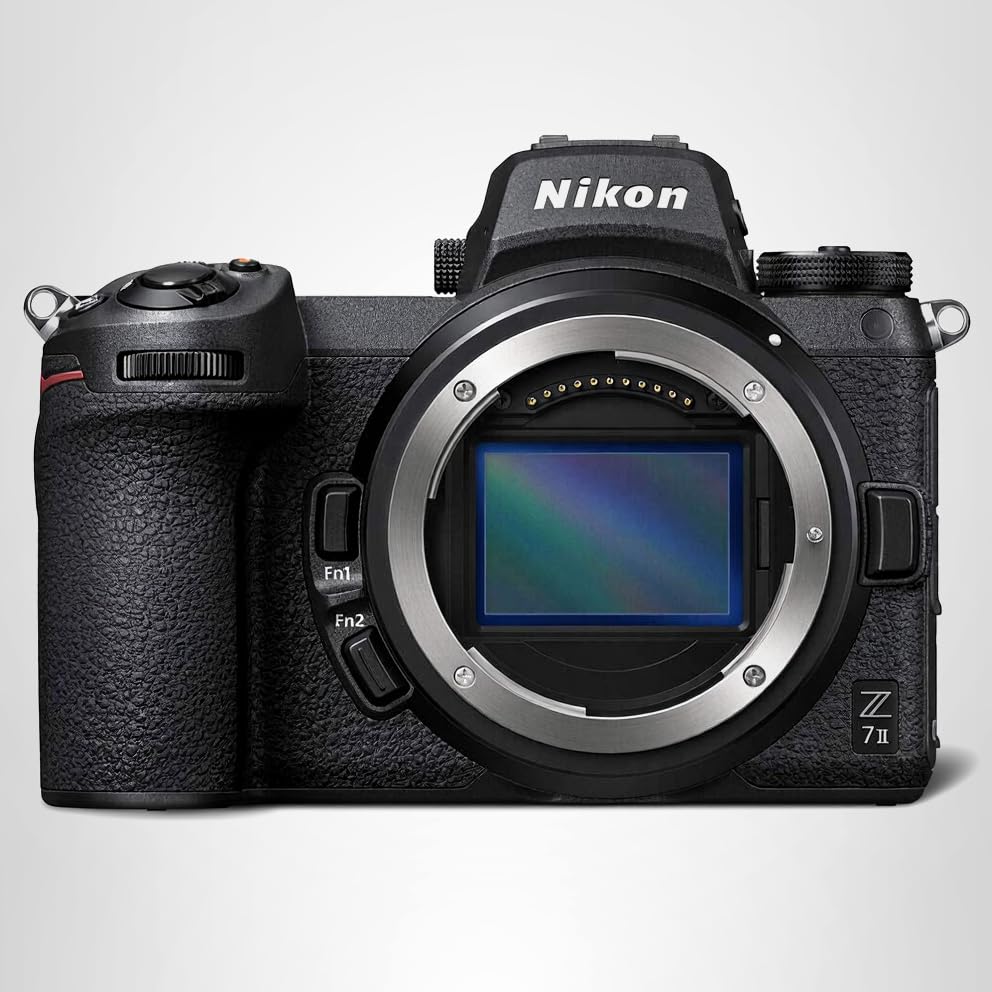
The Nikon Z7 II pairs a 45.7MP BSI CMOS sensor with Nikon’s Focus Shift Shooting mode, which automates focus bracket sequences up to 300 frames. The step width is adjustable from 1-10, and the camera can be set to wait between shots for flash recycling – a useful feature for studio macro.
Nikon’s Z-mount supports the outstanding NIKKOR Z MC 105mm f/2.8 VR S, widely regarded as one of the best macro lenses ever made. Its optical performance paired with the Z7 II’s resolution produces focus-stacked images with remarkable clarity and color accuracy.
The 300-frame focus shift limit is lower than the 999-frame capacity on Canon, Sony, and OM System bodies. In practice, 300 frames covers most macro scenarios – typical stacks use 15-100 frames. Only extreme macro at very high magnification might bump against this ceiling.
At $1,897 (as of March 2026), the Z7 II represents strong value for a 45.7MP body with focus stacking capability. It has been discounted since the Nikon Z8 launched, making it accessible for macro-focused photographers.
Pricing & Where to Buy
The Nikon Z7 II body is priced at $1,897 (as of March 2026).
- Buy on Amazon – Prime shipping available
- Check price at B&H Photo
- Check price at Adorama
- Buy used at KEH Camera – save with certified pre-owned
OM System OM-5 Mark II
Budget-conscious macro photographers who want in-camera focus stacking without full-frame cost
- In-camera focus compositing like the OM-1 II
- Under $1,200 body-only price
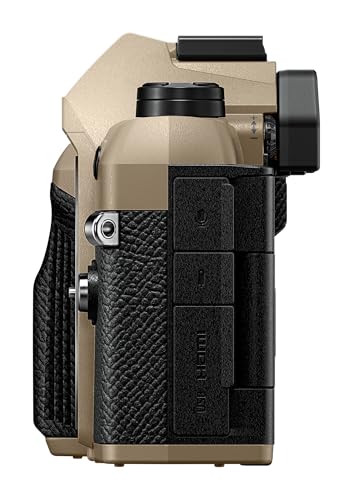
- Compact and lightweight (414g)
- 7.5-stop IBIS
- Weather-sealed body
- 20MP sensor limits print size
- Slower processor than OM-1 II
- No stacked sensor (lower burst speed)
The OM-5 Mark II shares the OM-1 II’s in-camera focus stacking capability at roughly 60% of the price. It produces identical stacked output for macro work. The tradeoffs are burst speed and AF performance – neither of which matters when the camera is on a tripod doing focus stacks.

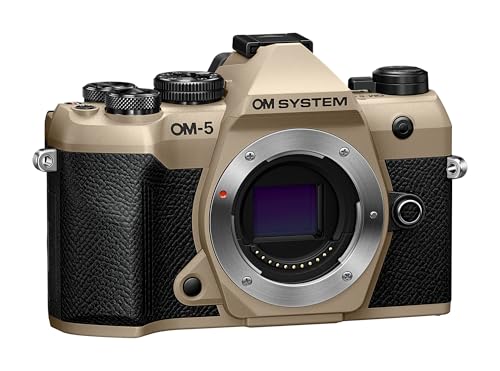


The OM System OM-5 Mark II delivers the same in-camera focus stacking technology as the flagship OM-1 Mark II at a considerably lower price. The camera captures up to 999 bracket frames and composites them internally – the exact same workflow and output as its more expensive sibling.
At just 414 grams, it is the lightest and most compact camera in this roundup. For field macro photography – hiking to find wildflowers, chasing insects in gardens – the weight savings add up over a full day of shooting. The 7.5-stop IBIS is slightly behind the OM-1 II’s 8.5 stops but remains excellent for handheld work.
The 20.4MP sensor is the same class as the OM-1 II (though not the same stacked design), meaning identical resolution in focus-stacked output. The practical differences emerge in burst shooting speed and AF tracking – areas irrelevant to tripod-based macro stacking.
For photographers whose primary goal is focus stacking and who do not need the OM-1 II’s sports/wildlife capabilities, the OM-5 Mark II is the smarter purchase. The money saved can go toward a quality macro lens like the M.Zuiko 60mm f/2.8 Macro.
Pricing & Where to Buy
The OM System OM-5 Mark II body is priced at $1,199 (as of March 2026).
- Buy on Amazon – Prime shipping available
- Check price at B&H Photo
- Check price at Adorama
Canon EOS R5
Canon shooters who want 45MP focus bracketing at a lower price than the R5 Mark II
- 45MP full-frame sensor, same resolution as R5 II
- Focus bracketing up to 999 frames
- 8-stop IBIS
- Proven, mature platform with years of firmware updates
- Lower price than the R5 Mark II
- No in-camera compositing
- Older Dual Pixel CMOS AF (no AI subject detection)
- Overheating in extended video, less relevant for stacking
The original R5 delivers the same 45MP resolution and 999-frame focus bracketing as the newer R5 Mark II. For focus stacking specifically, the differences between them are minimal. The price gap makes the original R5 the better value for macro-focused photographers.
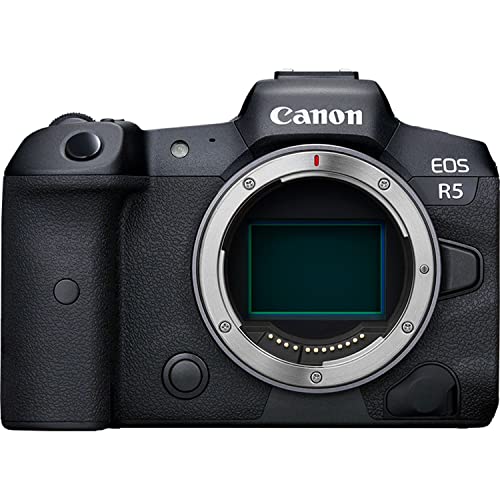


The Canon EOS R5 remains a strong focus stacking camera even after the Mark II’s release. It shares the same 45MP sensor resolution and supports focus bracketing up to 999 frames with adjustable step sizes. For the specific task of focus stacking, the original R5 performs nearly identically to its successor.
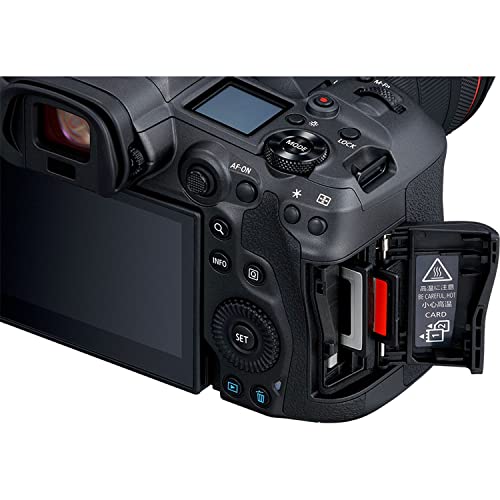
The R5 has benefited from multiple firmware updates since its 2020 launch, refining its focus bracketing behavior and overall reliability. The 8-stop IBIS, weather sealing, and dual card slots (CFexpress + SD) make it a dependable workhorse for both studio and field macro.
At $2,799 (as of March 2026), the R5 saves over $1,000 compared to the R5 Mark II while delivering the same stacking output. Pair it with the Canon RF 100mm f/2.8L Macro IS USM for a capable focus stacking system at a total cost below the R5 Mark II body alone.
Pricing & Where to Buy
The Canon EOS R5 body is priced at $2,799 (as of March 2026).
- Buy on Amazon – Prime shipping available
- Check price at B&H Photo
- Check price at Adorama
- Buy used at KEH Camera – save with certified pre-owned
Nikon Z6 III
Nikon users who want a modern all-rounder with solid focus shift capability at 24.5MP
- Partially stacked 24.5MP sensor with fast readout
- Focus Shift Shooting up to 300 frames
- 8-stop IBIS
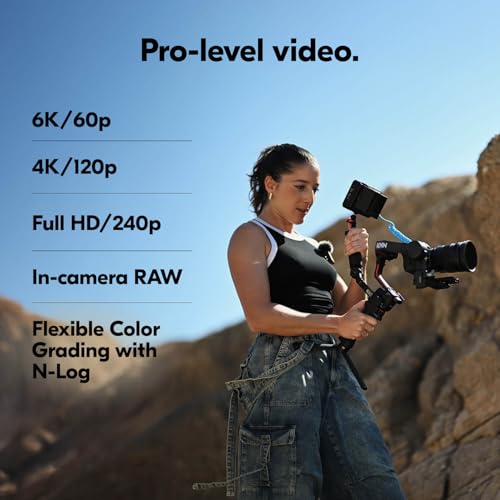
- 6K/60p internal RAW video
- Excellent high-ISO performance
- 24.5MP lower resolution than Z7 II for detail work
- 300-frame focus shift limit
- No in-camera compositing
The Z6 III is Nikon’s best all-around mirrorless camera. Its focus stacking capability is competent rather than exceptional – 300 frames at 24.5MP handles most macro scenarios. Choose this over the Z7 II if you also shoot video, sports, or events and want one camera for everything.
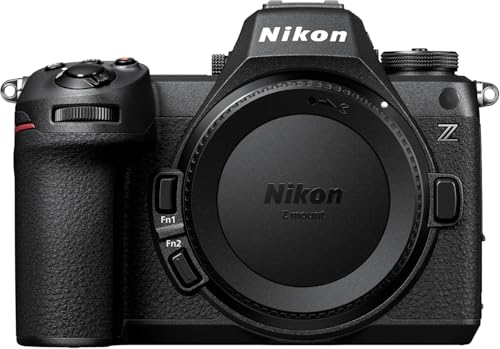

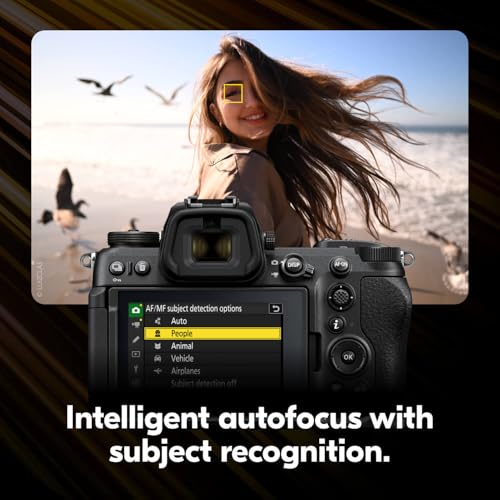


The Nikon Z6 III brings Nikon’s latest sensor technology and processing to focus stacking work. The partially stacked 24.5MP sensor delivers fast readout and excellent high-ISO performance. Focus Shift Shooting supports up to 300 frames with adjustable step width.
The 8-stop IBIS is a significant upgrade over the Z7 II’s 5-stop system, making the Z6 III better suited for handheld macro work. The new EXPEED 7 processor handles focus shift sequences efficiently, with minimal lag between frames.
The lower 24.5MP resolution is the main compromise for focus stacking. While sufficient for web use and moderate prints, photographers who need maximum detail from their stacks will prefer the Z7 II’s 45.7MP. The Z6 III’s advantage is versatility – it excels at video (6K/60p internal RAW), sports, and general photography alongside its stacking capability.
Pair it with the NIKKOR Z MC 105mm f/2.8 VR S for a versatile macro system that handles both focus stacking and general portrait/product work.
Pricing & Where to Buy
The Nikon Z6 III body is priced at $2,097 (as of March 2026).
- Buy on Amazon – Prime shipping available
- Check price at B&H Photo
- Check price at Adorama
- Buy used at KEH Camera – save with certified pre-owned
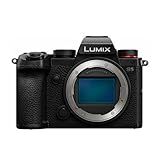
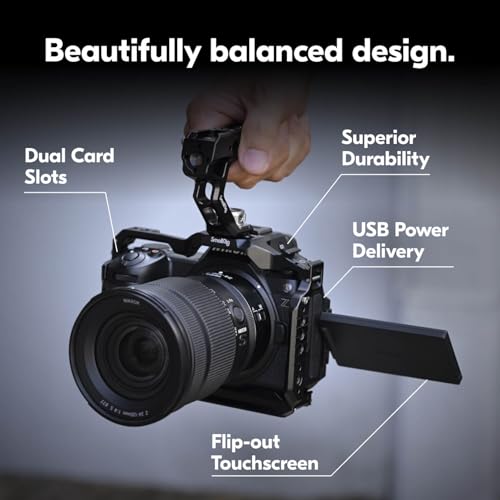
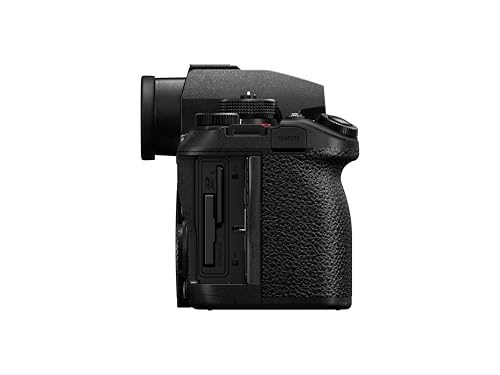
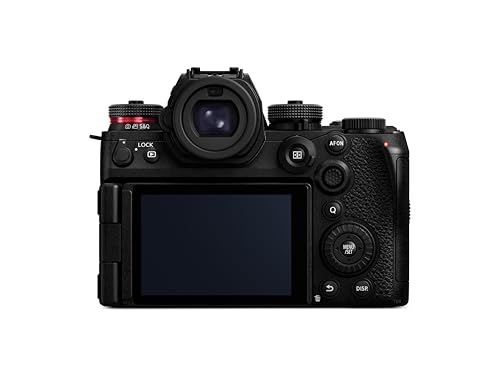
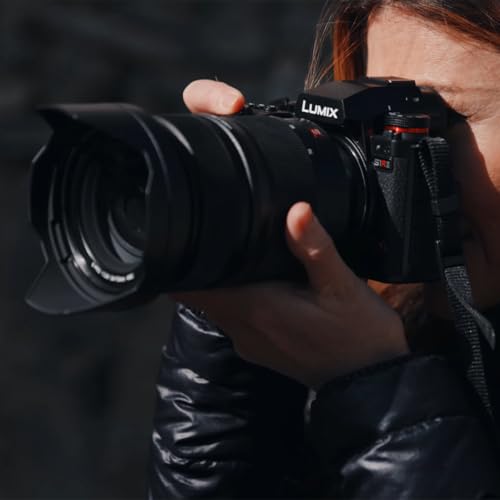
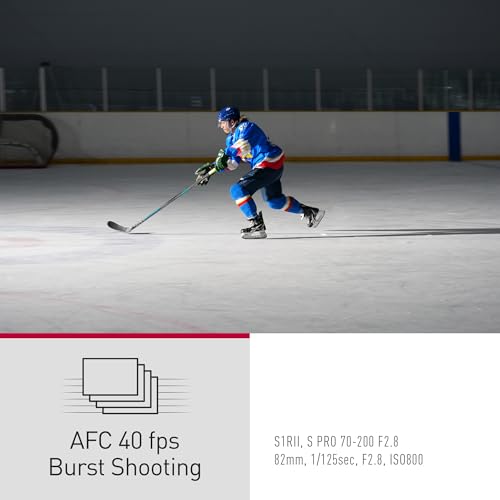
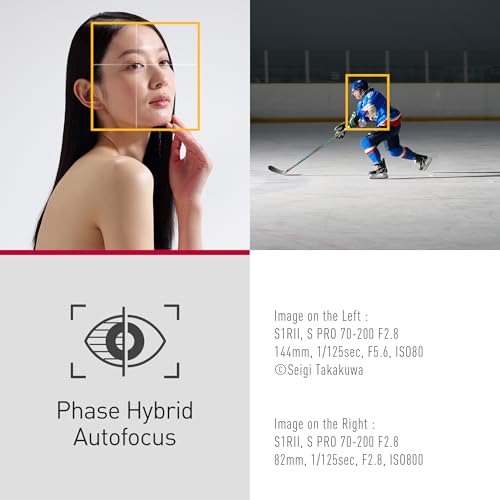
Panasonic LUMIX S1R II
L-mount shooters who want high resolution and focus bracketing with access to Sigma and Leica lenses
- 52MP full-frame sensor
- Focus bracket mode up to 999 frames
- L-mount alliance: Panasonic, Sigma, and Leica lenses
- 6.5-stop IBIS with Dual I.S. 2 support
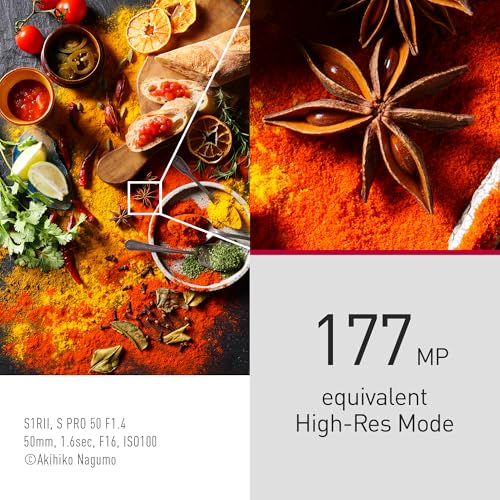
- 96MP High Resolution mode
- No in-camera compositing
- Contrast-based DFD AF less reliable than phase-detect
- $2,998 body price, heavier body
The S1R II offers 52MP resolution and access to the entire L-mount lens ecosystem including Sigma’s excellent macro lenses. The contrast-based autofocus is less relevant for focus stacking (which typically uses manual focus), but it can be a factor when tracking macro subjects.


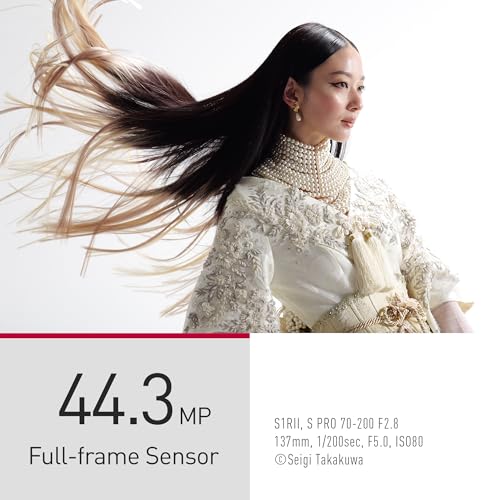

The Panasonic LUMIX S1R II brings 52 megapixels to the L-mount system along with a focus bracket mode supporting up to 999 frames. The sensor resolves fine detail at a level between the Nikon Z7 II (45.7MP) and Sony a7R V (61MP), making it competitive for detail-oriented macro work.
The L-mount alliance provides access to Panasonic’s own LUMIX S 100mm f/2.8 Macro, Sigma’s 105mm f/2.8 DG DN Macro Art, and other specialist lenses. This ecosystem flexibility is a genuine advantage for macro photographers who want to compare glass from multiple manufacturers on the same body.
The 96MP High Resolution mode, which composites multiple sensor-shifted exposures, pairs well with focus stacking for maximum detail in controlled studio environments. The 6.5-stop IBIS supports Dual I.S. 2 when paired with stabilized lenses.
Panasonic’s contrast-based DFD autofocus is the primary limitation – it hunts more than phase-detect systems in low light. For tripod-based focus stacking with manual focus, this is irrelevant. For handheld macro with moving subjects, it can be frustrating.
Pricing & Where to Buy
The Panasonic LUMIX S1R II body is priced at $2,998 (as of March 2026).
- Buy on Amazon – Prime shipping available
- Check price at B&H Photo
- Check price at Adorama
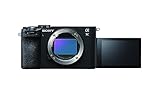
Sony Alpha 7C II
Photographers who want focus bracketing in the smallest possible full-frame body for travel macro
- 33MP full-frame in a compact rangefinder-style body
- Focus bracketing up to 999 frames
- 7-stop IBIS
- AI-based Real-time Recognition AF
- Full Sony E-mount lens compatibility
- No in-camera compositing
- Single card slot (SD only)
- Smaller EVF than dedicated macro cameras
The A7C II packs full-frame focus bracketing into a body barely larger than some APS-C cameras. At 33MP, it offers a good balance between resolution and file size. Ideal for travel macro photographers who need to pack light.


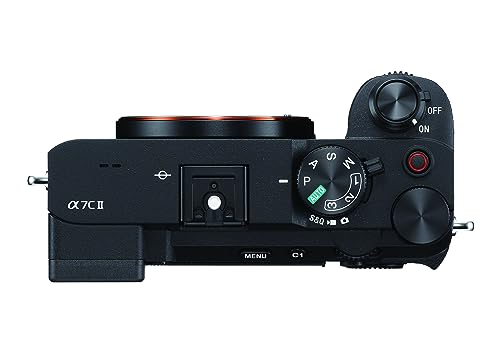
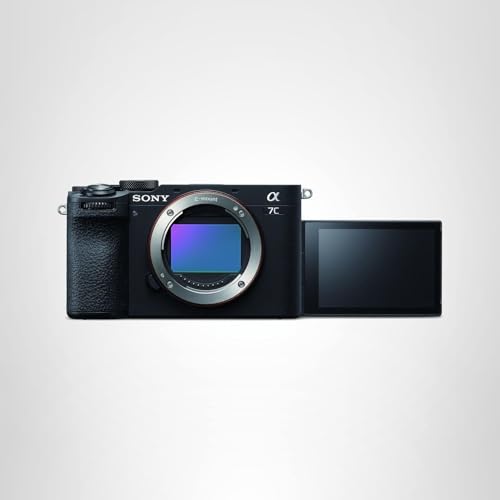
The Sony A7C II is the most compact full-frame camera on this list, borrowing the a7R V’s AI-powered AF system in a rangefinder-style body. Focus bracketing supports up to 999 frames, matching the capability of Sony’s larger bodies.
The 33MP sensor strikes a practical middle ground – enough resolution for detailed macro stacks while keeping file sizes manageable for long bracket sequences. A 100-frame stack generates about 6.5GB of RAW data, roughly half of what the a7R V produces.
The compact body is the A7C II’s defining feature for macro work. Travel macro photographers who hike to shooting locations or work from a backpack will appreciate the size and weight savings compared to full-size bodies. It accepts the same Sony E-mount macro lenses as the a7R V, including the excellent FE 90mm f/2.8 Macro G OSS.
The single SD card slot is the main compromise – no backup during critical macro sessions. For serious studio work, the a7R V’s dual card slots provide more safety.
Pricing & Where to Buy
The Sony A7C II body is priced at $2,298 (as of March 2026).
- Buy on Amazon – Prime shipping available
- Check price at B&H Photo
- Check price at Adorama
- Buy used at KEH Camera – save with certified pre-owned
Panasonic LUMIX S5
Budget full-frame shooters who want focus bracketing and L-mount lens access at the lowest price
- Most affordable full-frame with focus bracketing
- 24.2MP sensor with good dynamic range
- Dual I.S. 2 with 6.5-stop IBIS
- L-mount lens compatibility (Panasonic, Sigma, Leica)
- Compact body for a full-frame camera
- Contrast-based DFD autofocus
- Older processor and slower performance
- 24.2MP limits detail compared to higher-res options
The LUMIX S5 is the most affordable entry point to full-frame focus bracketing. At around $1,598, it costs less than most crop-sensor competitors while offering a larger sensor. The lower resolution and older AF system are acceptable tradeoffs for budget-conscious macro photographers.


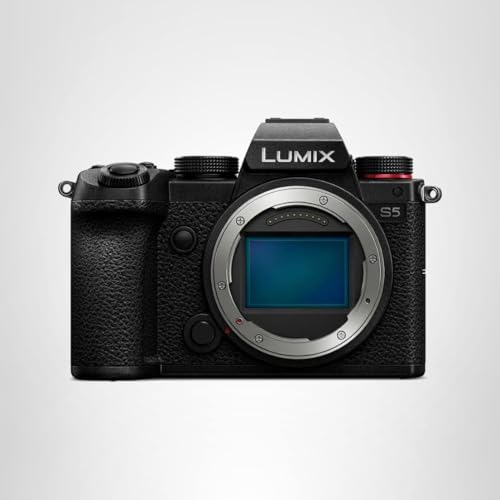
The Panasonic LUMIX S5 provides the most affordable path to full-frame focus bracketing. The 24.2MP sensor produces clean images with good dynamic range, and the focus bracket mode supports up to 999 frames – the same limit as cameras costing twice as much.
The L-mount system provides access to Panasonic’s LUMIX S 100mm f/2.8 Macro and Sigma’s Art-series macro lenses, giving budget-conscious macro photographers quality glass options. Dual I.S. 2 combines body and lens stabilization for effective handheld shooting.
The S5 shows its age in autofocus speed and processing – the contrast-based DFD system is slower than the phase-detect AF found in Canon, Nikon, and Sony competitors. For focus stacking, where manual focus and automated bracket sequences dominate the workflow, this limitation matters less than it would for general photography.
At $1,598 (as of March 2026), the S5 is the most budget-friendly full-frame option. Consider the OM System OM-5 Mark II at $1,199 as an alternative if in-camera compositing matters more than sensor size.
Pricing & Where to Buy
The Panasonic LUMIX S5 body is priced at $1,598 (as of March 2026).
- Buy on Amazon – Prime shipping available
- Check price at B&H Photo
- Check price at Adorama
- Buy used at KEH Camera – save with certified pre-owned
Choose the Best Focus Stacking Camera
The best focus stacking camera depends on whether in-camera compositing, resolution, or budget matters most. The OM System OM-1 Mark II is the clear winner for dedicated macro photographers – no other camera composites focus stacks internally. The OM-5 Mark II offers the same stacking capability at a lower price.
For maximum resolution in stacked composites, the Sony a7R V (61MP) and Panasonic S1R II (52MP) deliver the most detail per frame. Both require external stacking software like Helicon Focus or Zerene Stacker.
Canon and Nikon shooters should consider the Canon EOS R5 and Nikon Z7 II for the best combination of resolution and value within their respective lens ecosystems. Both offer 45MP+ resolution and reliable focus bracket automation. Pair any of these cameras with a quality dedicated macro lens and a sturdy tripod for the best focus stacking results.
Best Focus Stacking Cameras – Final Picks
OM System OM-1 Mark II
Canon EOS R5 Mark II
Sony a7R V
OM System OM-5 Mark II
Canon EOS R5
Related Articles
Disclosure/Disclaimer: As an Amazon Associate, we earn from qualifying purchases. Certain content was provided "as is" from Amazon and is subject to change or removal at any time. Product prices and availability: Amazon prices are updated daily or are accurate as of the date/time indicated and are subject to change. Any price and availability information displayed on Amazon.com at the time of purchase will apply to the purchase of this product.
