
- HDR in 2026 isn’t just bracketing anymore. AI “single-image HDR” (no brackets needed) and neural tone-mapping now handle everyday, high-volume work — but real brackets still win for fidelity-critical landscape, architecture, and client jobs.
- Best overall: Adobe Lightroom Classic + Photoshop — it merges, edits, and now exports true HDR for HDR displays, with AI Denoise in the same workflow. Our pick for a modern AI-first standalone: Skylum Luminar Neo + HDR Merge (the official successor to the discontinued Aurora HDR).
- Best no-subscription options: Photomatix Pro 7 ($99 one-time) for dedicated tone-mapping, and ON1 Photo RAW 2026 ($99.99 perpetual) for an all-in-one editor with HDR built in.
- New in 2026: cloud, pay-per-image AI HDR. Imagen AI merges brackets for about $0.05 a photo at scale; Autoenhance.ai is purpose-built for real-estate HDR with automatic window pulls.
- Aurora HDR is discontinued (folded into Luminar Neo HDR Merge), and Topaz Photo AI and Radiant Photo are great enhancers but are NOT HDR mergers — don’t buy them expecting tone-mapping.
High dynamic range (HDR) software exists to solve one stubborn problem: a single photo often can’t hold detail in both a bright sky and deep shadow at the same time. The fix is to capture (or generate) a wider tonal range and map it back down into a natural-looking image. What has changed dramatically since this guide first ran is how that happens — and which tools do it best in 2026.
The headline shift is AI. Skylum’s HDR Merge now leads with “No Brackets? No Problem!” — neural models can expand dynamic range and recover highlight and shadow detail from a single exposure, and cloud services merge brackets automatically for a few cents a photo. For high-volume work like real estate, HDR has quietly become an AI workflow rather than a camera-and-tripod one. But bracketing isn’t dead: when fidelity matters — landscapes, architecture, twilight interiors, or any client-sensitive job — real multi-exposure brackets still beat letting a network guess at texture. The honest 2026 rule is simple: bracket when fidelity matters, and let AI single-image HDR handle the everyday volume.
Below are the seven HDR tools worth your money in 2026 — a mix of AI-first newcomers and the classic mergers that still do the job — with current US pricing, real pros and cons, and who each one is for. Prices are listed in USD.
PhotoWorkout is reader-supported. Some links below are affiliate links; if you buy through them we may earn a small commission at no extra cost to you. It never affects our rankings.
When you buy through links on our site, we may earn a commission at no cost to you. We evaluate products independently. Commissions do not affect our evaluations.
What HDR Software Actually Does
Before comparing tools, it helps to see the problem they solve. The scene below — a dark stone archway opening onto a bright coastline — has far more dynamic range than a single exposure can capture. Expose for the bright exterior and the stonework falls into black; expose for the arch and the sky blows out. HDR software merges (or AI-expands) the range so both ends hold detail. Drag the slider to compare a flat single exposure with an HDR-tone-mapped result.
Single exposure vs. HDR tone-mapping
The Best HDR Software in 2026
Our ranking balances output quality, how modern the workflow is, pricing model (one-time vs. subscription vs. pay-per-image), and who each tool serves best — from solo landscape shooters to high-volume real-estate teams.
1. Skylum Luminar Neo + HDR Merge — Best Modern AI HDR
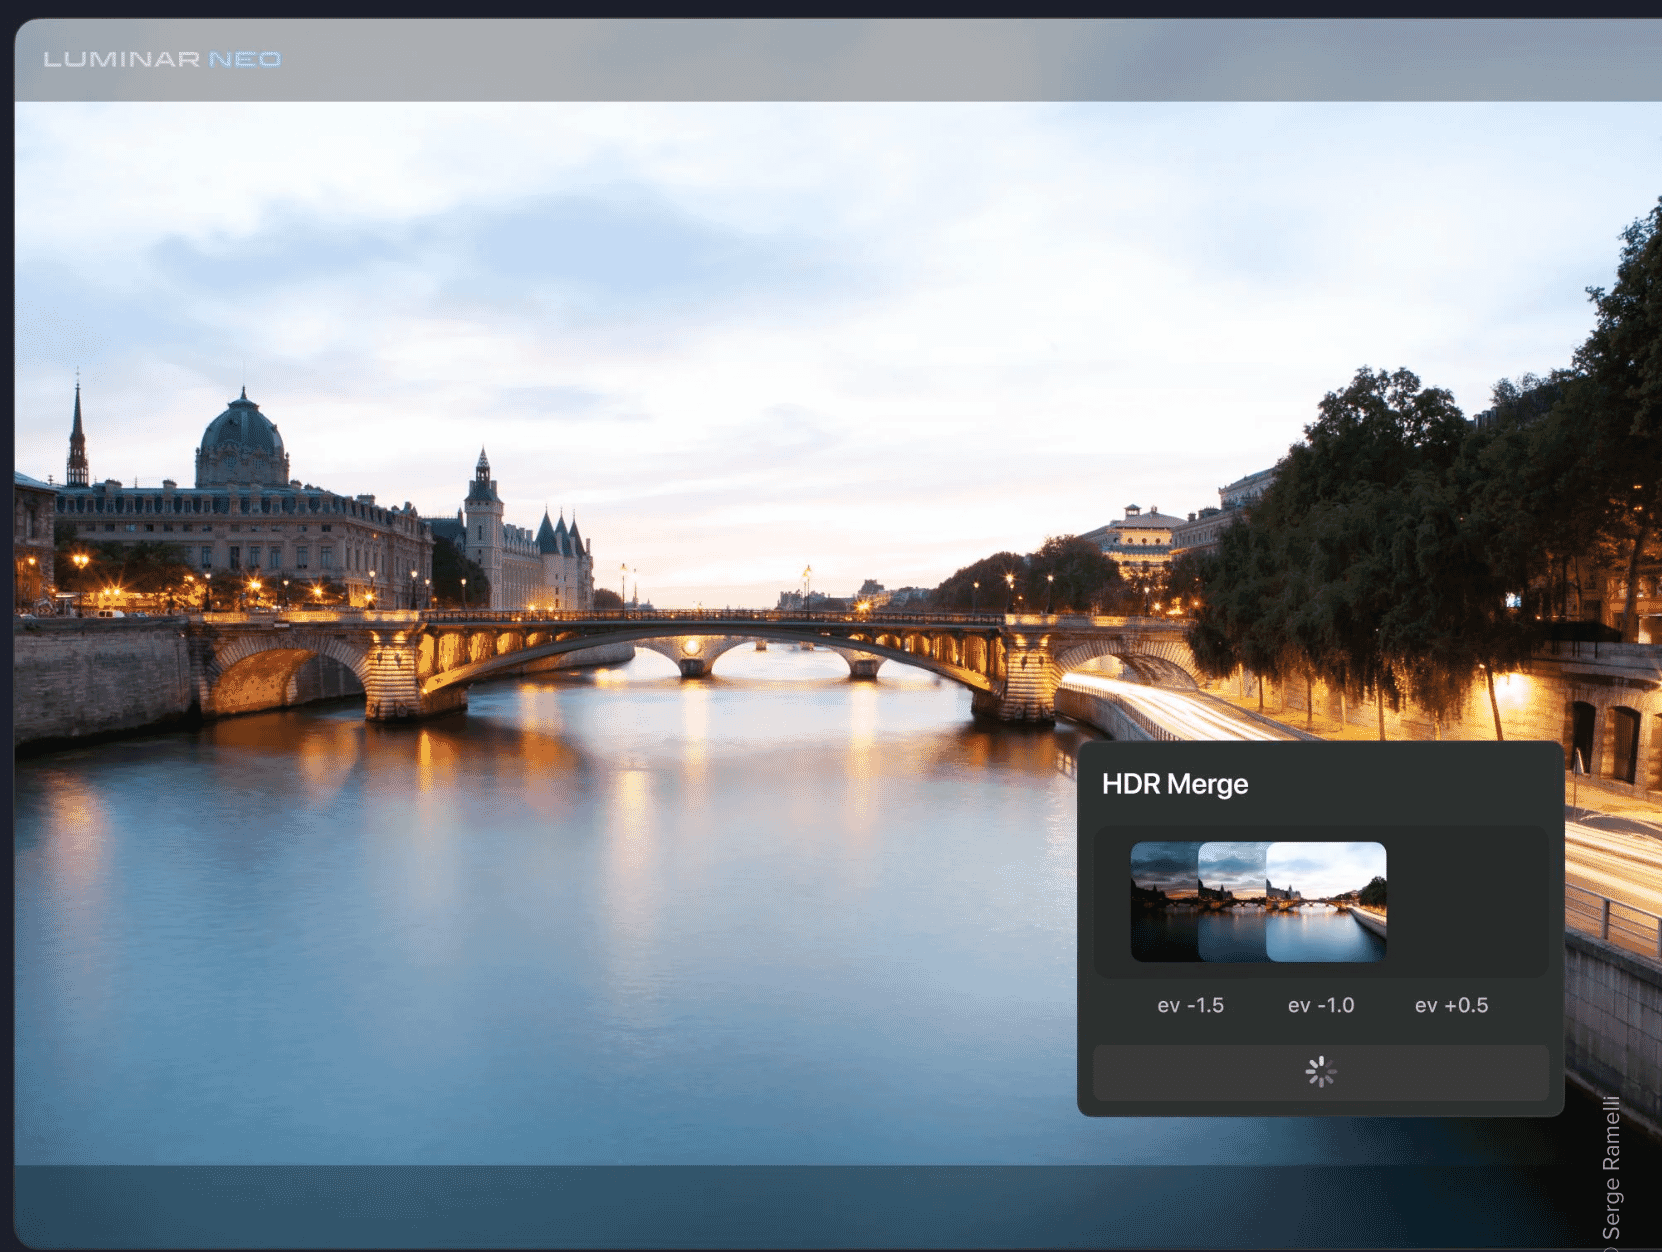
Skylum’s HDR Merge runs as an extension inside Luminar Neo. It merges brackets with auto-align and ghost reduction, can expand dynamic range from a single exposure with AI, and drops you into a full AI editor (sky replacement, relight, presets) afterward.
Perpetual from ~$119; use code PHOTOWORKOUT for 10% off
When Skylum retired Aurora HDR, HDR Merge inside Luminar Neo became its successor — and Skylum says the extension includes all of Aurora’s features. It’s the tool we reach for first in 2026 because it spans both worlds: real bracket merging when you want fidelity, and genuinely usable AI single-image HDR when you only have one frame. Merge up to 10 exposures with ghost reduction for moving subjects and auto-align for handheld sets, then keep editing in the same app. For more on the wider editor, see our full Luminar Neo review and what its AI sky replacement can do.
2. Adobe Lightroom Classic & Photoshop — Best Overall
Lightroom Classic’s Merge to HDR Photo aligns and deghosts brackets automatically, and 2025–2026 versions add true HDR display output (HDR-aware editing, AVIF/JPEG XL export) plus AI Denoise — all inside the editor most photographers already use.
Part of the Creative Cloud Photography plan
For most photographers, Lightroom Classic (with Photoshop alongside) is still the most sensible answer. The Merge to HDR Photo feature is fast and natural, and the genuinely new story is HDR output — you can now edit and export for HDR displays, not just tone-map back down to SDR. Pair it with AI Denoise and it handles noisy twilight brackets that used to need a dedicated tool. The only real catch is the subscription model; if owning your software outright matters, look at Photomatix or ON1 below.
3. Photomatix Pro 7 — Best Dedicated, No-Subscription Merger
Photomatix is the longest-running dedicated HDR app, and version 7 keeps its strengths: deep tone-mapping control, excellent selective deghosting, batch processing, and real-estate presets — all for a one-time price with no subscription.
Use code PHOTOWORKOUT for 15% off — perpetual, free 7.x updates
If you want a focused HDR merger you buy once and keep, Photomatix Pro 7 remains the benchmark. It gives you more granular control over the tone-mapping look than the AI tools — a blessing for fine-tuning and a slight learning curve for beginners. Its batch mode and real-estate presets make it a workhorse for high-volume interior shooters who still prefer a desktop app to a cloud service. Just go easy on the Details Enhancer slider, which is where the old “grungy HDR” look comes from; the Tone Balancer keeps things realistic.
4. ON1 Photo RAW 2026 — Best No-Subscription All-in-One

ON1 Photo RAW MAX 2026 bundles Merge to HDR with a complete RAW editor, panorama stitching, effects, and AI tools (NoNoise AI, Resize AI). It’s the strongest no-subscription alternative to Adobe, with HDR as one feature among many.
No subscription required; check for sale pricing
ON1 has folded its standalone HDR app into ON1 Photo RAW 2026, and that’s where you want to be — you get HDR merging plus a genuine Lightroom-style editor without a monthly bill. The merge process is fast on a decent machine, gives you live deghosting and local adjustments, and lets you edit each layer of the composite. If you’ve resisted Adobe’s subscription, this is the most complete one-time-purchase home for your whole workflow, HDR included.
5. Imagen AI HDR Merge — Best Cloud AI HDR at Scale
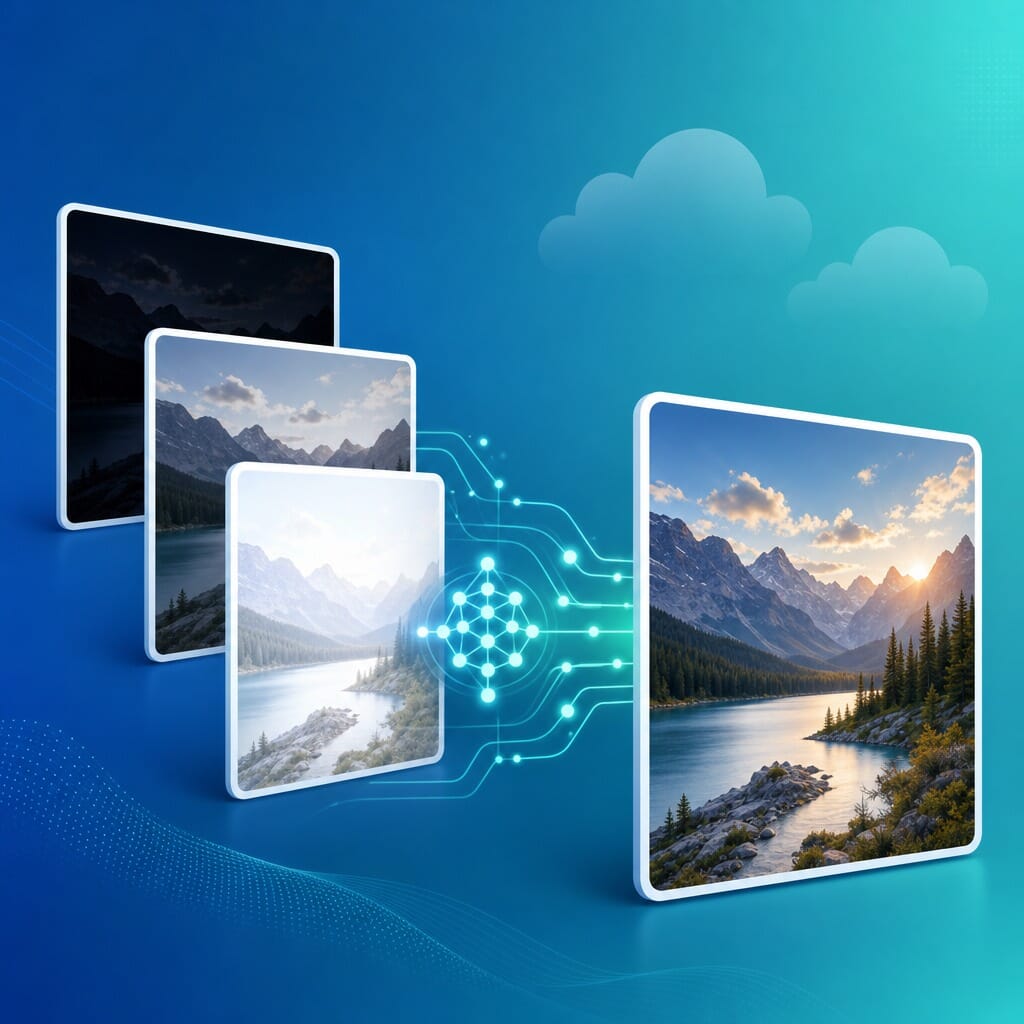
Imagen AI is a cloud service that merges bracketed sets automatically — about $0.05 per merged photo — and can fold HDR into AI culling and style-matched editing. Built for photographers processing hundreds or thousands of frames.
Cloud service — also offers AI culling and editing plans
This is the part of HDR that didn’t exist when most roundups were written. Imagen AI treats HDR as a batch operation in the cloud: upload your brackets, get merged, style-matched results back, and tie it into automated culling and editing for an entire shoot. At roughly five cents a merged photo it’s aimed at wedding, event, and real-estate volume rather than the single-hero-landscape crowd — if you’re hand-crafting one image, a desktop app gives you more control, but for hundreds of frames this is a different league of speed.
6. Autoenhance.ai — Best AI HDR for Real Estate

Autoenhance.ai is an AI service aimed squarely at property photography: it merges brackets instantly, automatically “pulls” blown-out windows to reveal the view, replaces dull skies, and runs at brokerage scale via batch and API.
Cloud + API; pricing is per image or credit-based
Real-estate HDR is its own discipline — bright windows, mixed indoor lighting, and a need to turn shoots around fast — and Autoenhance.ai is purpose-built for it. The automatic window pull alone (recovering the view through a blown-out window) replaces a fiddly manual mask that used to eat minutes per frame. With batch processing and an API, it scales to a brokerage’s whole pipeline. Two caveats: it’s not a general-purpose HDR editor, and because sky replacement and window pulls are generative, check your local MLS and NAR disclosure rules before delivering.
7. DxO Nik Collection — HDR Efex — Best Plug-in HDR
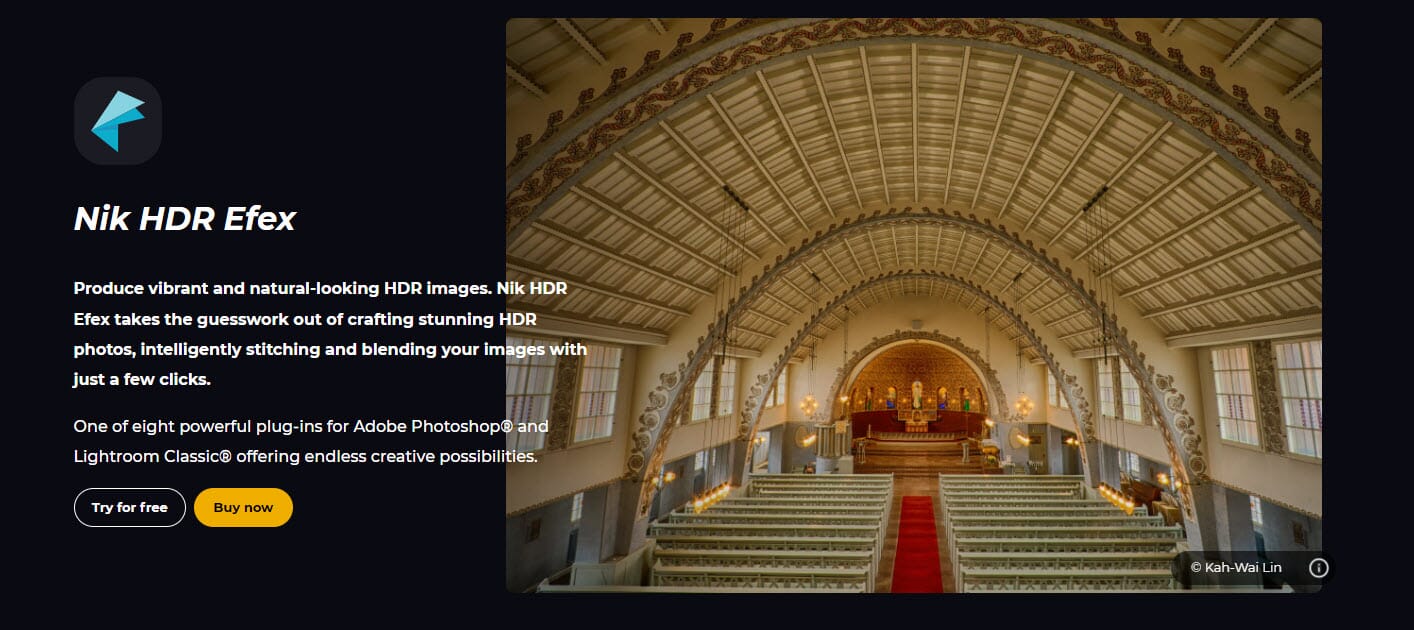
HDR Efex, part of the DxO Nik Collection, merges and tone-maps brackets with U-Point local control and a strong range of natural-to-artistic presets. It runs as a plug-in inside Photoshop, Lightroom Classic, Affinity Photo, and DxO PhotoLab.
Free trial available; includes the full Nik Collection
If you already live in Photoshop or Lightroom and just want HDR added to that workflow, Nik HDR Efex is the natural fit. The U-Point technology lets you push contrast or exposure on just one part of the frame without masks, and the preset categories (Landscape, Architecture, Artistic) get you to a starting point fast. It’s a plug-in rather than a standalone editor, which some shooters love and others find clunky — but as one piece of the broader Nik Collection, it’s excellent value.
Also Worth Knowing: easyHDR, Aurora HDR, and What to Skip
On a tight budget, easyHDR (about $33 for the Home license, $55 for Commercial — both perpetual) is the cheapest serious HDR tool, with natural results and a light footprint that runs on modest hardware. It lacks deep post-processing and any AI, but for straightforward merges it punches above its price.
A few important corrections for 2026: Aurora HDR is discontinued — Skylum no longer updates it and points users to Luminar Neo’s HDR Merge, so don’t buy Aurora as if it were current. We’ve also retired our old pick HDR Projects, whose development has stalled. And watch out for a common mix-up: Topaz Photo AI and Radiant Photo are excellent image enhancers (denoise, sharpen, one-click optimization) but they are not HDR mergers or tone-mappers — use them alongside an HDR workflow, not instead of one.
How to Create an HDR Photo, Step by Step
Whichever tool you choose, the core workflow is the same. Here’s the reliable path from capture to a finished, natural-looking HDR image — plus the AI shortcut when you only have one frame.
- Shoot a bracket (or one good frame). Set your camera to auto-exposure bracketing and capture at least three frames — one metered normally, one under-exposed to protect highlights, one over-exposed to open the shadows. A tripod keeps them aligned, but modern auto-align handles handheld sets. No bracket? A single RAW is enough for AI single-image HDR.
- Import and merge. Load the brackets into your HDR tool and run the merge. Turn on auto-align for handheld shots and deghosting if anything moved between frames (people, leaves, water). The software combines the exposures into one 32-bit high-range image.
- Tone-map to taste. This is where the look is made. Pull highlights down, lift shadows, and add local contrast until the scene looks like what your eye saw — not a cartoon. Start from a natural preset and back off the “detail/structure” slider; that’s what creates the over-cooked HDR cliche.
- Finish and export. Crop, fix color, remove spots, and apply any final local adjustments. Export to SDR for the web, or — in Lightroom Classic — export true HDR (AVIF or JPEG XL) if you’re publishing for HDR displays. A noisy night merge benefits from AI Denoise here.
The AI route collapses steps 2 and 3: drop a single image (or a bracket) into Luminar Neo’s HDR Merge or a cloud service like Imagen AI, and the model expands and tone-maps the range for you. It’s faster and great for volume; for a portfolio landscape, the manual path still gives you the last 10% of control.
How to Choose the Right HDR Software
There’s no single best tool — the right one depends on what you shoot, how much you shoot, and how you like to pay. Use these quick guides:
If you want one tool for everything: Adobe Lightroom Classic + Photoshop — it merges, edits, denoises, and now exports true HDR, and you probably already use it.
If you want a modern AI editor you own: Luminar Neo + HDR Merge — AI single-image HDR plus a full creative editor, perpetual license, the Aurora HDR successor.
If you refuse to pay a subscription: Photomatix Pro 7 (dedicated merger) or ON1 Photo RAW 2026 (all-in-one) — both one-time purchases.
If you shoot real estate at volume: Autoenhance.ai for automatic window pulls and batch speed, or Photomatix’s batch presets if you prefer a desktop app.
If you process hundreds of frames a week: Imagen AI — cloud HDR merging at ~$0.05/photo, tied into AI culling and editing.
If you’re on a tight budget: easyHDR (~$33) — a perpetual, no-frills merger that runs on modest hardware.
Whatever you pick, HDR work rewards a capable machine — merging and AI processing are memory- and GPU-hungry. If your editing rig is showing its age, our guide to the best desktops for photo editing is a good place to start.
Frequently Asked Questions
Is HDR software still relevant in 2026?
Yes — more than ever, just differently. Cameras and phones still can’t capture the full range of a backlit or high-contrast scene in one frame, so HDR software is what balances it. What’s changed is that AI now does much of the work automatically, especially for high-volume jobs like real estate and events.
Do I still need to shoot brackets?
Not always. AI single-image HDR (in Luminar Neo and others) can expand the range of one RAW file with good results for everyday work. But for the highest fidelity — landscapes, architecture, twilight interiors — real multi-exposure brackets still beat letting a model guess at detail it can’t see.
What’s the best HDR software for real estate?
For pure speed and scale, Autoenhance.ai (automatic window pulls, batch, API) or Imagen AI in the cloud. If you prefer a desktop app you own, Photomatix Pro 7’s batch mode and real-estate presets are a long-time favorite.
What’s the cheapest good HDR software?
easyHDR at about $33 (Home) is the cheapest serious, perpetual option. ON1 Photo RAW ($99.99, no subscription) and Photomatix Pro ($99 one-time) are the best value if you want a more complete toolset without a monthly bill.
Is Aurora HDR still available?
Aurora HDR is discontinued. Skylum no longer updates it and has folded its features into the HDR Merge extension inside Luminar Neo, which is its official successor. You can still run old copies of Aurora, but it won’t get new features or fixes.
Does Lightroom do real HDR now?
Yes. Beyond merging brackets to a balanced SDR image, recent Lightroom Classic versions add a true HDR display/output mode — you can edit for HDR monitors and export AVIF or JPEG XL files that preserve the extra range.
The Bottom Line
HDR in 2026 is a two-track world. For everyday volume and real estate, AI — Luminar Neo’s HDR Merge, Imagen AI, Autoenhance.ai — is fast, cheap, and good enough that brackets are optional. For fidelity-critical work, real brackets in Lightroom, Photomatix, ON1 Photo RAW, or Nik HDR Efex still win. Match the tool to the job — and your budget and subscription tolerance — and you’ll get natural, detail-rich images from the most stubborn high-contrast scenes.
HDR demonstration photo: Fabien Rousselot via SampleShots. Product tiles are stylized PhotoWorkout illustrations.
Pricing, features, and product status verified against vendor pages and 2025–2026 reviews.
Official product pages
- Skylum — Luminar HDR Merge – AI HDR features; Aurora HDR successor
- Adobe — Lightroom Classic HDR output – Merge to HDR and true HDR display/output
- HDRsoft — Photomatix Pro – Dedicated HDR merger, perpetual license
- ON1 — Photo RAW / HDR – All-in-one editor with Merge to HDR
- DxO — Nik Collection (HDR Efex) – Plug-in HDR with U-Point control
- easyHDR – Budget perpetual HDR app
- Imagen AI — HDR Merge pricing – Cloud pay-per-image HDR
- Autoenhance.ai – AI real-estate HDR and window pulls
Reviews & comparisons (2025–2026)
- Greg Benz — New HDR features in Lightroom 15 / Photoshop 2026 – HDR display/output deep dive
- SLR Lounge — Luminar Neo 2026 Review – Luminar Neo / HDR Merge evaluation
- Image Sources
- SampleShots — HDR demonstration photo (Fabien Rousselot) – High-contrast archway scene used for the before/after


