
- Topaz Gigapixel AI leads the pack with 9 AI models and diffusion-based upscaling that produces the sharpest results at extreme enlargements.
- ON1 Resize AI 2026 is the strongest option for photographers who print large, with dedicated gallery wrap, tiling, and batch export tools.
- Adobe Photoshop now includes Generative Upscale with integrated Topaz models — no extra purchase needed for Creative Cloud subscribers.
- Upscayl is the best free option — open-source, runs locally, and produces solid results with no account or subscription required.
- Magnific AI is the premium cloud choice for creative upscaling and AI art enhancement, though at $39/month.
When you buy through links on our site, we may earn a commission at no cost to you. We evaluate products independently. Commissions do not affect our evaluations.
Why Photo Enlargement Software Matters
There are three scenarios where every photographer eventually needs to make an image bigger: printing a photo at a size larger than the original resolution supports, cropping heavily into a shot and needing to recover the lost pixels, or restoring old family photos that were scanned at low resolution.
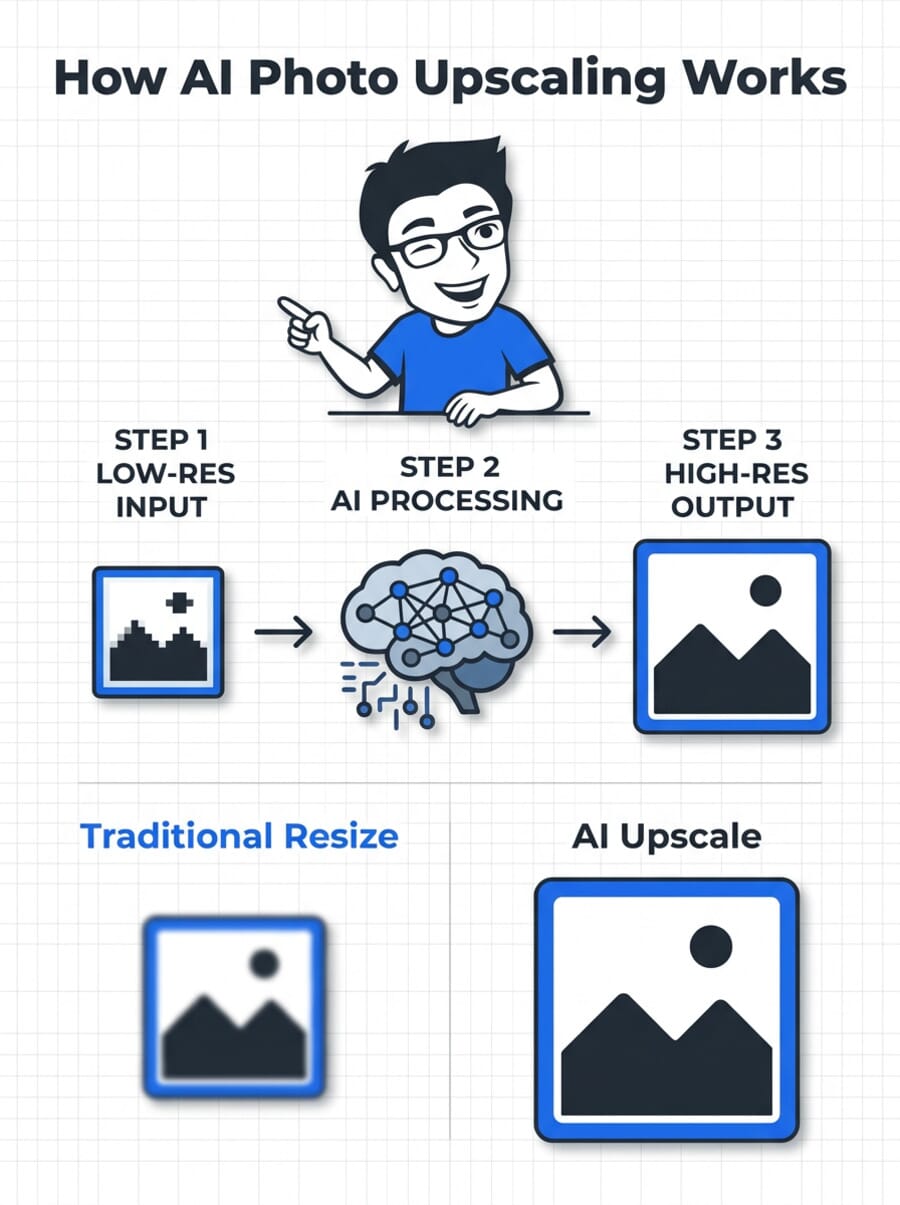
Traditional resizing (bicubic interpolation) simply stretches existing pixels, producing blurry, soft results. AI-powered photo enlargement software takes a fundamentally different approach – it uses neural networks trained on millions of images to predict and generate new detail that wasn’t in the original file. The difference is dramatic, especially at 2x enlargements and beyond.
The market has evolved significantly. Dedicated upscaling tools now compete with built-in features in major editors like Photoshop, cloud-based services that require no downloads, and free open-source alternatives. This guide compares the 8 best options available right now, covering desktop software, cloud tools, and free alternatives.
Quick Comparison
| Software | Type | Price | Best For |
|---|---|---|---|
| Topaz Gigapixel AI | Desktop | From $33/mo | Overall quality |
| ON1 Resize AI 2026 | Desktop | One-time or sub | Print workflows |
| Adobe Photoshop | Desktop | $22.99/mo (CC) | Adobe users |
| Magnific AI | Cloud | From $39/mo | AI art, creative |
| Upscayl | Desktop | Free | Budget/open-source |
| Let’s Enhance | Cloud | From $9/mo | E-commerce, quick jobs |
| Pixelmator Pro | Desktop (Mac) | $49.99 one-time | Mac users |
| Krea AI | Cloud | From $10/mo | Budget cloud option |
1. Topaz Gigapixel AI
Topaz Gigapixel AI offers nine specialized AI models – including diffusion-based options that can generate realistic detail at extreme enlargements. It processes locally on your GPU, supports batch processing, and integrates with Lightroom and Photoshop as a plugin. The newer Bloom and Astra cloud models deliver even higher quality for demanding enlargements.
Part of Topaz Studio subscription. Free trial available.
Topaz Gigapixel AI has been the benchmark in AI upscaling since it launched, and it continues to lead the category. The software offers nine distinct AI models, each tuned for different scenarios – Standard for general use, Low Resolution for severely degraded images, and newer diffusion-based models (Wonder, Starlight) that can hallucinate convincing detail at 4x-6x enlargements.
In September 2025, Topaz Labs transitioned entirely to a subscription model as part of Topaz Studio. The base plan starts at $33/month billed annually ($399/year) and includes Gigapixel plus Photo AI, Video AI, Bloom (cloud upscaling), and other tools. There’s no longer a one-time purchase option, which has been a point of frustration for some users.
For photographers processing high-volume work or demanding maximum quality from crops, Gigapixel remains the tool to beat. The local GPU processing means no file upload limits, and the Lightroom/Photoshop plugins keep it in a professional workflow.
2. ON1 Resize AI 2026
ON1 Resize AI 2026 introduces two new AI models: a diffusion-based Highest Quality model that adds realistic detail and reduces noise, and a faster Standard model for batch work. It includes print-specific features no other upscaler offers – gallery wrap simulation, image tiling for murals, and detailed print size presets.
One-time purchase available. Free trial.
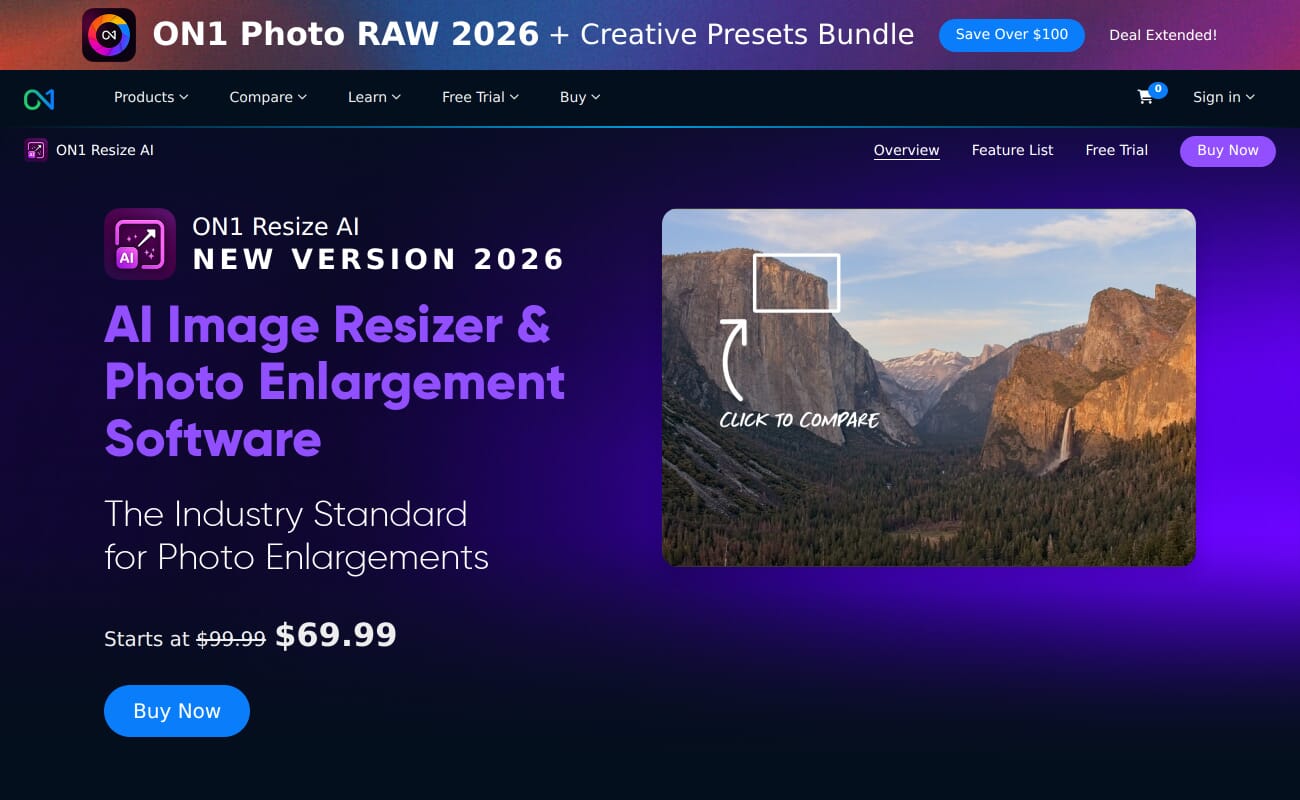
ON1 Resize AI 2026 stands out as the best option for photographers who regularly print large. While most upscaling tools focus purely on making images bigger, ON1 includes gallery wrap simulation (essential for canvas prints), image tiling for mural-sized output, and a library of print size presets that streamline the export process.
The 2026 version adds a diffusion-based AI model that performs noticeably better than previous versions on low-resolution originals and AI-generated artwork. A faster Standard model handles batch jobs efficiently even on older systems. The software enlarges up to 700% while maintaining detail.
Pricing is flexible: a one-time license for Resize AI alone, or a subscription through ON1 Photo Studio that bundles it with Photo RAW, NoNoise AI, and other tools. The perpetual license option is a meaningful advantage for photographers who prefer to own their software.
3. Adobe Photoshop (Super Resolution + Generative Upscale)
Photoshop now offers two upscaling methods: Super Resolution in Camera Raw (doubles pixel dimensions of RAW files) and the newer Generative Upscale feature. Photoshop 2026 integrates third-party models from Topaz directly into the Generative Upscale workflow, bringing high-end upscaling into the editor most photographers already use.
Requires Creative Cloud subscription ($22.99/mo Photography Plan).
If you already subscribe to Adobe Creative Cloud, Photoshop provides solid upscaling without any additional cost. Super Resolution in Camera Raw doubles the pixel dimensions of any RAW file with one click – a fast, reliable option for moderate enlargements.
The bigger news is Generative Upscale, introduced in Photoshop 2026. This feature uses Adobe’s Firefly AI engine and, notably, integrates third-party models from Topaz Labs (Gigapixel and Bloom). The integration means users can access some of Topaz’s upscaling quality directly inside Photoshop, though the full standalone Topaz experience offers more models and fine-tuning controls.
For photographers whose primary enlargement need is doubling the resolution of a cropped shot before printing, Super Resolution is fast and dependable. Those who need more extreme enlargements should consider whether the Generative Upscale option meets their needs or whether a dedicated tool like Topaz Gigapixel is worth the separate subscription.
4. Magnific AI
Magnific AI goes beyond traditional upscaling. Its Reimagine technology can add convincing detail, texture, and depth to images – particularly AI-generated artwork from Midjourney, Stable Diffusion, or DALL-E. The cloud-based platform requires no downloads or GPU power. Results are among the most visually impressive in the category, especially for creative and artistic applications.
Cloud-based. No free tier.
Magnific AI carved out a niche in the creative community by doing something other upscalers avoid: it doesn’t just enlarge an image, it reimagines it. The Reimagine technology adds convincing texture, depth, and detail that wasn’t in the original – making it especially popular among AI artists who generate images with Midjourney or Flux and need print-quality output.
For traditional photography, this creative approach is a double-edged sword. Magnific can produce stunning results on landscapes and textures, but it may alter small faces, fine text, or specific details in ways that aren’t always desirable. Photographers who need pixel-accurate enlargements should test carefully before committing.
At $39/month with no free trial, Magnific is the most expensive option on this list. The annual plan ($390/year) helps, but the cost is hard to justify unless creative upscaling is a regular part of your workflow. Topaz Bloom, which launched as a direct competitor at a lower price point, is worth comparing.
5. Upscayl
Upscayl is a completely free, open-source AI image upscaler built on Real-ESRGAN models. It runs locally on your machine using Vulkan GPU acceleration, supports batch processing, and offers multiple upscaling models including a High Fidelity option. No account, no subscription, no upload limits.
100% free and open-source (AGPL-3.0).
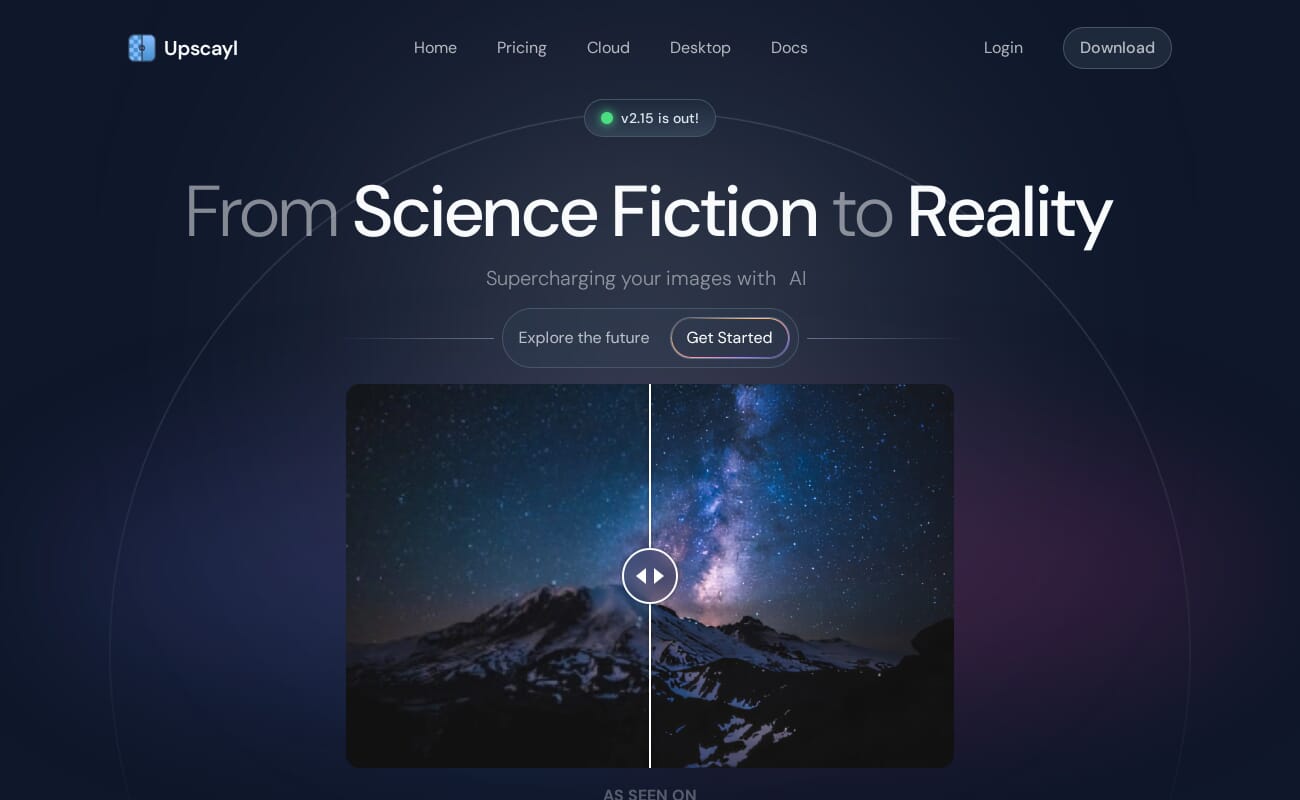
Upscayl (currently at v2.15.0) proves that quality AI upscaling doesn’t have to cost anything. Built on the Real-ESRGAN architecture with Vulkan GPU acceleration, it delivers respectable upscaling results – particularly at 2x and 4x – without requiring an account, subscription, or internet connection.
The software includes several models optimized for different scenarios: General (WDN), Digital Art, Sharpen, and a newer High Fidelity model for maximum detail preservation. Batch processing is supported, and the clean desktop interface makes it approachable for beginners.
The trade-off is predictable: at extreme enlargements (6x+) or with challenging source material, premium tools like Topaz Gigapixel produce noticeably better results. But for everyday enlargements – making a cropped image large enough for a good print, or upscaling web images for a presentation – Upscayl handles the job well. It’s the tool to try first before deciding if paid software is worth the investment.
6. Let’s Enhance
Let’s Enhance is a cloud-based platform that handles image upscaling, enhancement, and optimization directly in the browser. It offers multiple AI models for different use cases (photography, e-commerce, illustrations) and includes features like background removal and color correction alongside upscaling. An API is available for automated workflows.
Free tier available with limited credits.
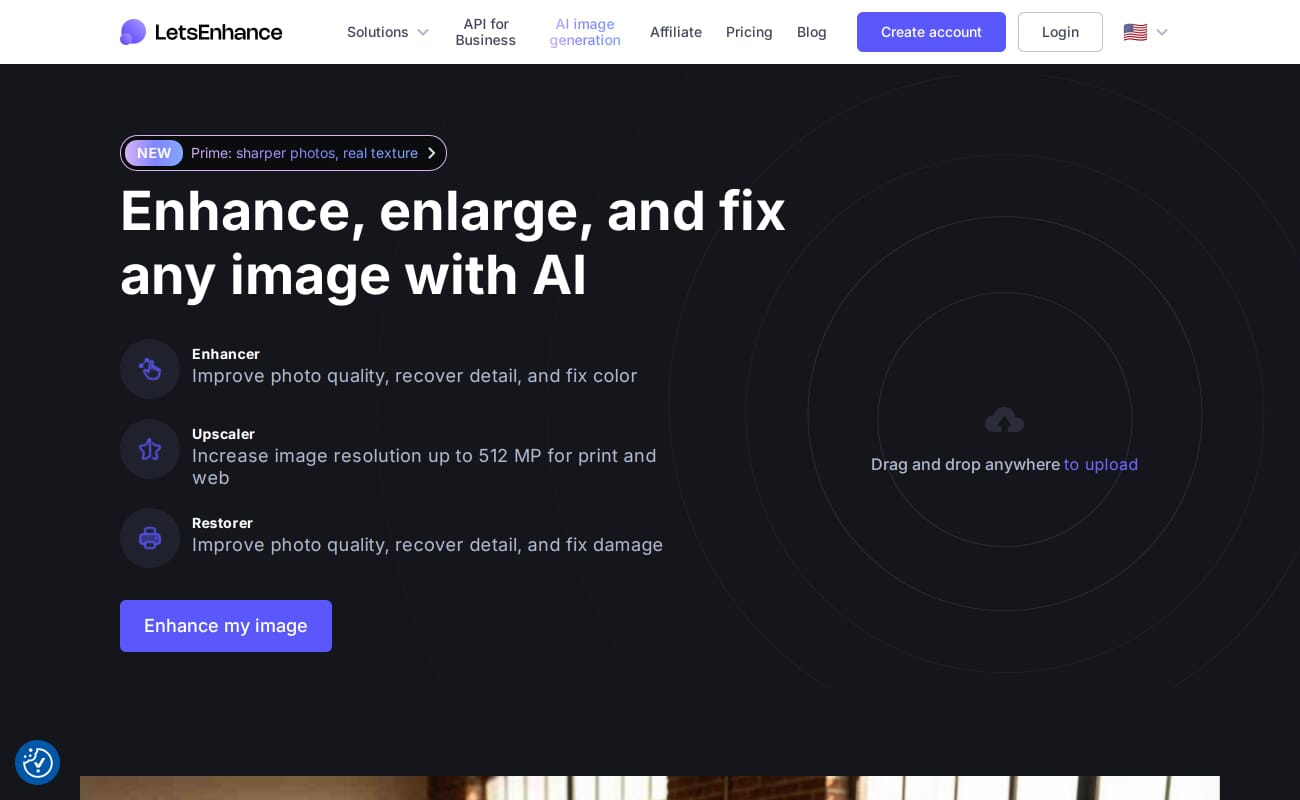
Let’s Enhance is the best option for photographers who need quick upscaling without installing software. The browser-based platform handles drag-and-drop uploading, processes images on cloud GPUs, and returns results in seconds. It works on any device with a browser, including tablets and Chromebooks.
The platform is particularly strong for e-commerce and product photography workflows, where batch upscaling, background removal, and color optimization often happen together. An API allows integration with automated publishing pipelines – useful for online stores processing hundreds of product images.
Plans start around $9/month for personal use. The free tier provides enough credits to evaluate quality before committing. For photographers who only occasionally need upscaling and don’t want to manage desktop software, Let’s Enhance is a practical choice.
7. Pixelmator Pro
Pixelmator Pro is a full-featured Mac image editor that includes ML Super Resolution – an Apple Core ML-powered upscaling tool built directly into the app. It upscales images up to 3x using a model trained to preserve sharpness and realistic detail. The one-time purchase price and native macOS performance make it exceptional value for Mac users.
Mac only. One-time purchase from the Mac App Store.
Pixelmator Pro is not a dedicated upscaling tool – it’s a full image editor that happens to include very capable ML-powered upscaling. The ML Super Resolution feature uses Apple’s Core ML framework and Neural Engine, which means it runs extremely fast on Apple Silicon Macs while maintaining strong quality.
The 3x maximum enlargement is lower than dedicated tools, but the quality at that level is competitive. For Mac users who already need an image editor and want upscaling as part of the package, the $49.99 one-time purchase is outstanding value – less than two months of most subscription-based alternatives.
The limitation is obvious: Mac only, no plugin integration with Lightroom, and no batch upscaling workflow. If your primary need is enlarging dozens of images for printing, a dedicated tool will serve you better. But if you want a capable editor that includes solid upscaling, Pixelmator Pro is hard to beat on value.
8. Krea AI
Krea AI is a cloud-based creative platform that bundles image generation, real-time editing, and upscaling into a single subscription. The Pro plan at $10/month includes access to seven different upscaling models – including integrations with Topaz Photo and Topaz Gigapixel. It’s a versatile option for creators who need upscaling alongside other AI image tools.
Free tier with basic upscaling (up to 2K).

Krea AI positions itself as a creative Swiss Army knife rather than a dedicated upscaler, but its upscaling capabilities are surprisingly strong for the price. The $10/month Pro plan grants access to seven different upscaling models, including integrations with Topaz Photo and Gigapixel models – meaning you can access premium-tier upscaling at a fraction of Topaz’s own subscription cost.
The free tier allows upscaling to 2K resolution with basic models, which is enough for social media and web use. Pro unlocks higher resolutions and access to the full model library. For photographers or creators who also need AI image generation and editing tools, the bundled approach delivers good value.
The downside is that Krea is still a young platform. Features evolve rapidly, documentation can lag behind updates, and the upscaling workflow isn’t as polished as dedicated tools. It’s best suited for creators who want flexibility and are comfortable with a cloud-based workflow.
How to Choose the Right Photo Enlargement Software
The right tool depends on three factors: how often you enlarge images, how large you need to go, and whether you prefer local or cloud processing.
For maximum quality: Topaz Gigapixel AI remains the gold standard. If you regularly print large, crop heavily, or restore old photos, the subscription pays for itself in output quality.
For print-focused workflows: ON1 Resize AI 2026 is purpose-built for photographers who output to paper. The gallery wrap, tiling, and print preset features save significant time compared to upscaling and then separately configuring print output.
For Adobe users: Try Photoshop’s built-in options first. Super Resolution handles moderate enlargements well, and Generative Upscale is improving rapidly. If you need more, Topaz integrates directly as a plugin.
For occasional use or tight budgets: Start with Upscayl (free) or Krea AI’s free tier. Both handle standard enlargements capably. If the results don’t meet your needs, consider paid options.
For AI art and creative work: Magnific AI produces the most visually striking results for AI-generated imagery, but at a premium price. Krea AI is the budget-friendly alternative.
One practical note: pair any upscaling tool with good noise reduction software for best results. Enlarging an image also enlarges noise, and running a dedicated denoiser before or after upscaling produces cleaner output than upscaling alone.
When preparing images for printing, remember that the final output quality also depends on your color management setup and output sharpening settings. Upscaling is just one step in the print preparation workflow. For choosing a print lab, see our guide to the best online photo printing services.
Frequently Asked Questions
What is the best free photo enlargement software?
Upscayl is the best free option. It’s open-source, runs locally on your computer, and produces quality results at 2x-4x enlargements using Real-ESRGAN AI models. No account or internet connection required.
How much can I enlarge a photo with AI?
Most AI upscalers support 2x to 6x enlargement with good results. Topaz Gigapixel goes further (up to 16x), and ON1 Resize AI supports up to 700%. However, quality degrades as you push beyond 4x – expect diminishing returns above 6x regardless of the tool.
Is AI upscaling good enough for large prints?
Yes, at moderate enlargements (2x-4x). AI upscaling has reached the point where a well-processed 12MP image can produce a good 24×36 inch print. For gallery or billboard sizes, start with the highest-resolution original possible and use a premium tool like Topaz Gigapixel or ON1 Resize AI.
Should I upscale before or after editing?
Generally, upscale after basic edits (exposure, color, cropping) but before output sharpening. This gives the AI model a clean, well-exposed image to work with. If your image is noisy, apply noise reduction before upscaling for the cleanest results.
What’s the difference between AI upscaling and traditional resizing?
Traditional resizing (bicubic, bilinear) interpolates between existing pixels, producing softer results. AI upscaling uses neural networks trained on millions of images to predict and generate new detail – effectively creating information that wasn’t in the original file. The visual difference is dramatic, especially at 2x and above.
Can I use these tools to upscale old scanned photos?
Absolutely. AI upscaling is one of the best applications for restoring low-resolution scans. Tools like Topaz Gigapixel and Let’s Enhance have specific models tuned for old or degraded images. For best results, scan at the highest resolution your scanner supports, then apply AI upscaling as a final enhancement step.
