
- DxO PureRAW 5 takes the #1 spot with DeepPRIME XD3 delivering the best pure noise reduction quality – and it’s a one-time $129 purchase (no subscription).
- Topaz Photo remains the best all-in-one tool for denoise + sharpen + upscale, but switched to subscription-only pricing ($399/year) in late 2025.
- Adobe Lightroom Classic AI Denoise is excellent for photographers already paying for the $9.99/mo Photography Plan.
- ON1 NoNoise AI 2026 is the best budget option at $49.99 with a perpetual license and solid AI denoising.
- For traditional (non-AI) noise reduction on a budget, Neat Image at $39.90 is hard to beat.
Introduction
Noise is still the biggest enemy of low-light photography. Even with modern sensors pushing usable ISO higher every year, shooting in dim venues, astrophotography, or fast action indoors inevitably introduces grain and color artifacts that can ruin an otherwise great image.
The landscape of noise reduction software shifted significantly heading into 2026. The biggest headline: Topaz Labs switched to subscription-only pricing in October 2025, eliminating the perpetual license that made it a favorite. That change pushed DxO PureRAW 5 – with its one-time $129 price and class-leading DeepPRIME XD3 engine – into the top spot for most photographers.
Meanwhile, Adobe improved its built-in AI Denoise, ON1 delivered a strong budget alternative, and traditional tools like Neat Image continue to serve photographers who prefer manual control over AI automation.
Here are my top 9 picks for noise reduction software, ranked by overall quality, value, and usability.
Editor’s Note: When you buy through links on our site, we may earn a commission at no extra cost to you. We only recommend software we’d use ourselves.
DeepPRIME XD3 delivers the best pure denoising quality available, with a one-time $129 perpetual license. Works as standalone and Lightroom/Photoshop plugin.

Still the best combined denoise, sharpen, and upscale tool – but now subscription-only at $399/year via Topaz Studio.

If you already pay for the $9.99/mo Photography Plan, Lightroom’s AI Denoise is excellent – no extra purchase needed.

Solid AI denoising at just $49.99 (sale) with a perpetual license. Part of the ON1 Photo RAW 2026 suite.
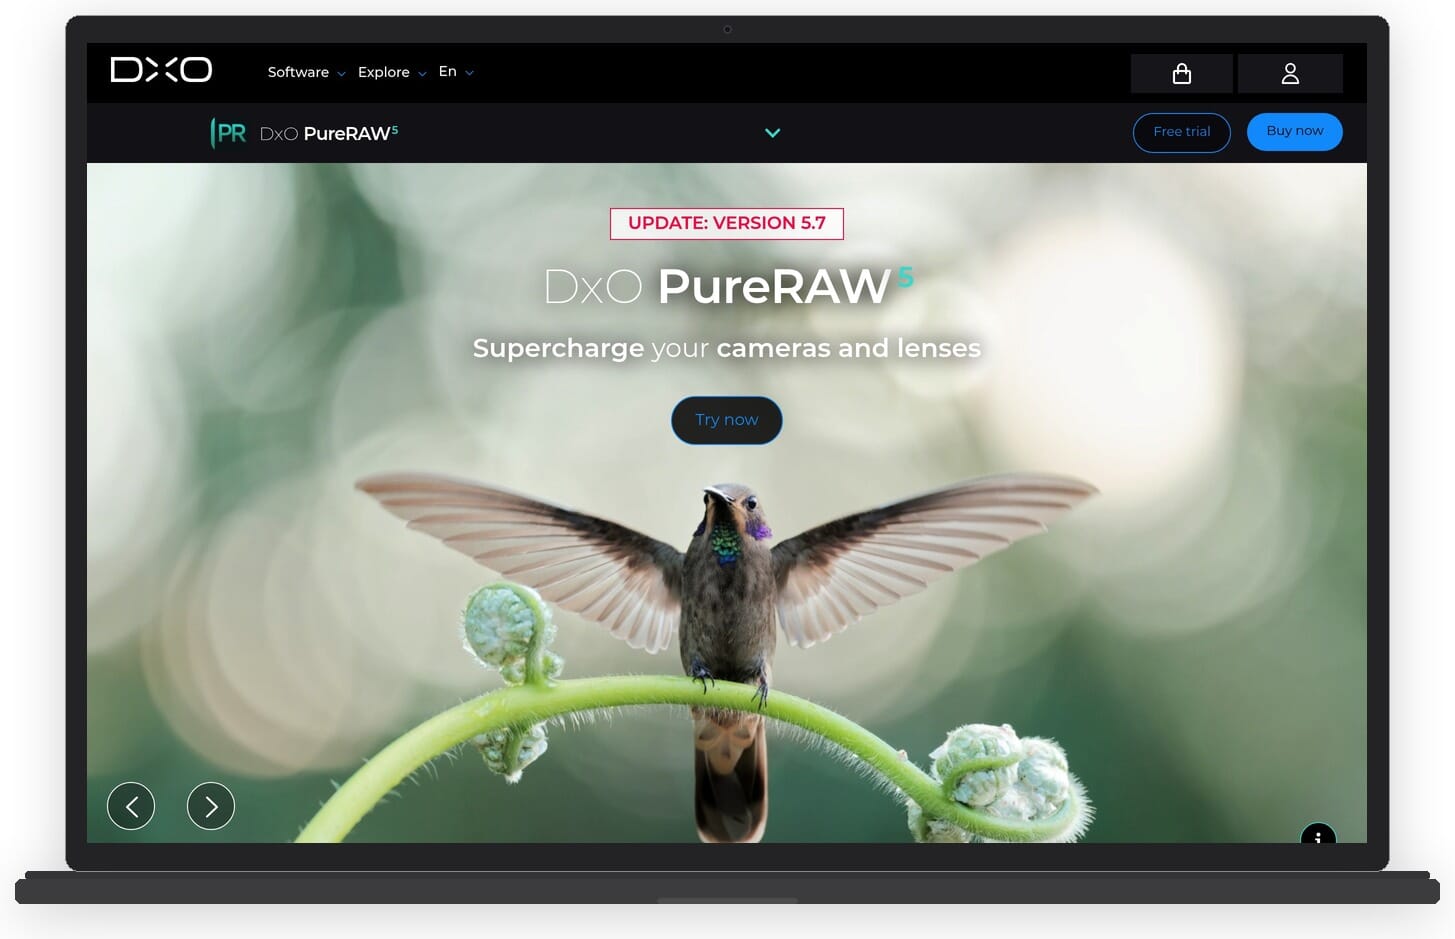
1. DxO PureRAW 5
DeepPRIME XD3 engine delivers class-leading noise reduction with a perpetual $129 license. Works as standalone app and Lightroom/Photoshop plugin. RAW files only.
Perpetual license – no subscription
DxO PureRAW 5 earns the top spot based on two factors: it produces the best pure noise reduction results available, and it does so with a one-time $129 perpetual license. In a market where competitors are moving to subscriptions, that pricing model is a genuine differentiator.
The star of version 5 is the DeepPRIME XD3 engine – the latest evolution of DxO’s neural network technology. Independent reviewers consistently rate it at the top for preserving fine detail while eliminating noise. Fstoppers called the previous DeepPRIME XD2s the “champion” for image quality, and XD3 pushes further with improved color accuracy and micro-detail retention at extreme ISOs.
New in version 5: local adjustments let you apply selective sharpening and denoising to specific areas of your image, custom presets for batch processing workflows, and processing speeds that are roughly 40% faster than PureRAW 4. There’s also a beta for XD3 X-Trans support, which is welcome news for Fujifilm shooters who have historically struggled with demosaicing artifacts.

The main limitation is that PureRAW only works with RAW files – no JPEG or TIFF processing. It’s also purely a noise reduction tool with no sharpening or upscaling capabilities. If you need an all-in-one solution, look at Topaz Photo below. But if you want the absolute best denoising results and prefer paying once, DxO PureRAW 5 is the clear winner.
Pricing
DxO PureRAW 5 costs $129 for a perpetual license – buy it once, use it forever with no recurring fees. Upgrades from PureRAW 3 or 4 are available for around $80. There is no subscription option, which many photographers consider a major advantage given the industry trend toward recurring payments.
Update: DxO PureRAW 6 has been released with DeepPRIME XD3 for all Bayer sensors, Hi-Fi DNG compression, and AI dust removal — a significant upgrade over version 5.
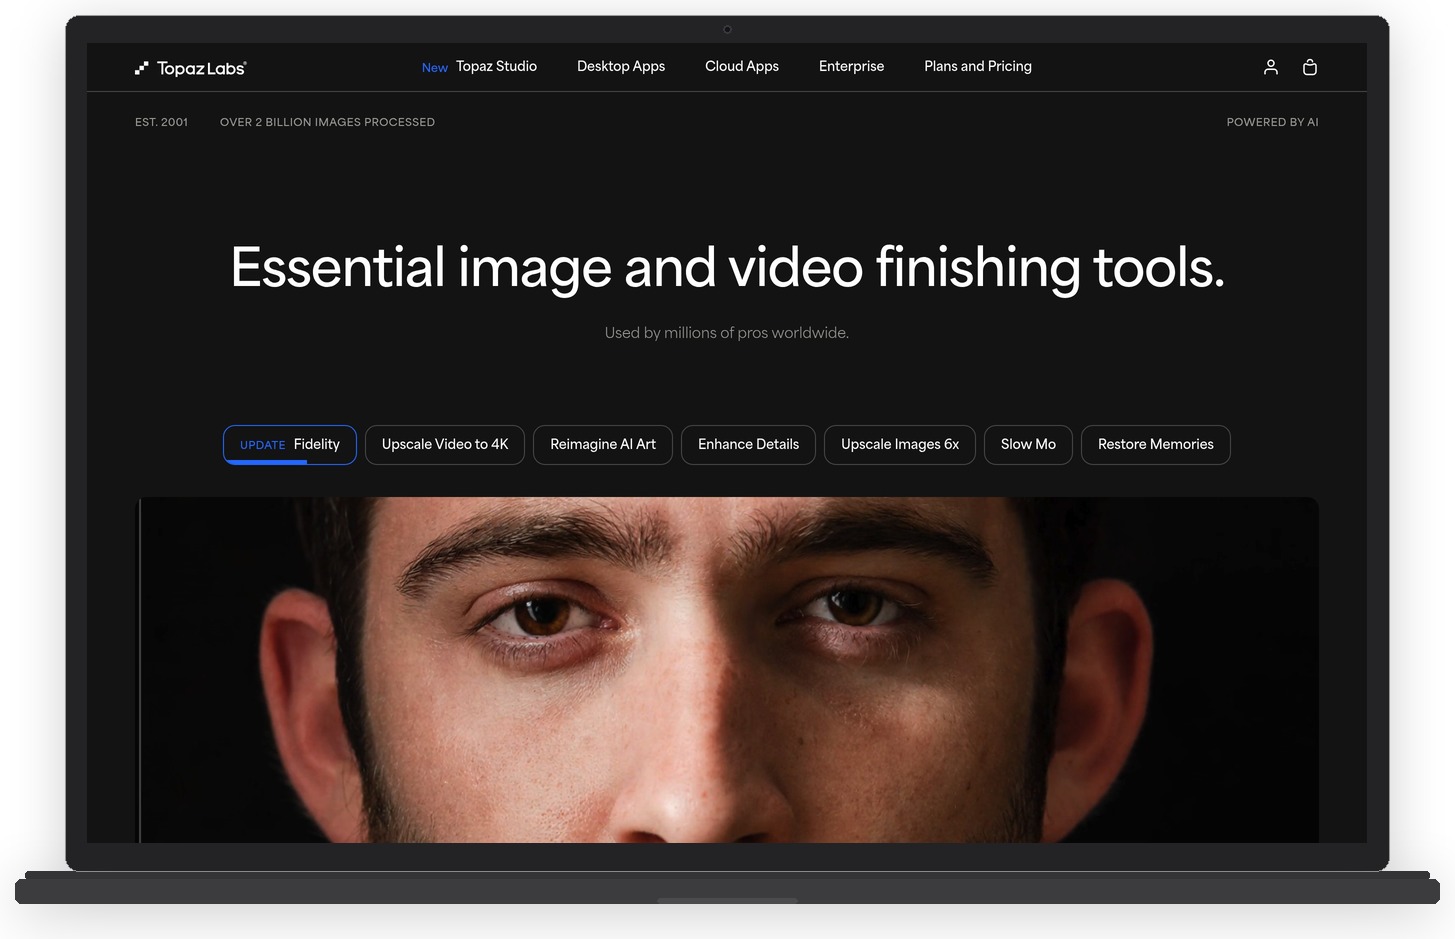
2. Topaz Photo
Industry-leading combined denoising, sharpening, and upscaling in one tool. Now subscription-only via Topaz Studio bundle at $399/year.
Subscription only since Oct 2025
Topaz Photo (formerly Photo AI / DeNoise AI) remains the best all-in-one tool if you need denoising, sharpening, and upscaling combined. Its AI models are among the most advanced available, and it handles RAW, JPEG, and TIFF files – unlike DxO’s RAW-only approach.
However, Topaz made a controversial move in October 2025: they eliminated perpetual licenses entirely and switched to subscription-only pricing through the “Topaz Studio” bundle. You can no longer buy just the denoise tool – you get everything (Photo, Video, Gigapixel, Bloom, Astra, Express, Mosaic) for $399/year or $69/month.
The community reaction was overwhelmingly negative. Many long-time users felt betrayed, especially those who had recently purchased perpetual licenses. From a pure quality standpoint, Topaz Photo’s denoising is still exceptional – arguably tied with DxO for top-tier results. But the pricing model now puts it at a significant disadvantage for photographers who prefer to own their tools outright.
If you’re already deep in the Topaz ecosystem or need the full suite of tools (especially Video AI and Gigapixel for upscaling), the subscription may be worth it. For noise reduction alone, DxO PureRAW 5 offers comparable quality at a fraction of the long-term cost.
Pricing
Topaz Studio subscription: $399/year (annual), $37/month (annual billed monthly), or $69/month (month-to-month). All plans include every Topaz app. There is no option to buy individual tools or a perpetual license.
3. Adobe Lightroom Classic
Lightroom’s AI Denoise feature delivers impressive results right inside your existing editing workflow. Included in the $9.99/mo Photography Plan with Photoshop.
Included in Photography Plan
If you already subscribe to Adobe’s Photography Plan ($9.99/month for Lightroom Classic + Photoshop + 20GB storage), you have access to a surprisingly capable AI Denoise feature at no extra cost.
Adobe’s AI Denoise uses machine learning to reduce noise while preserving detail, and it works non-destructively within your existing Lightroom workflow. The February 2026 update improved support for Ricoh and Pentax cameras, added an AI Edit Status button to track which images have been processed, and delivered general performance improvements.
The results are genuinely impressive – not quite at the level of DxO’s DeepPRIME XD3 in extreme high-ISO situations, but very close for most real-world use. The biggest limitation is the same as DxO: RAW files only. You can’t denoise JPEGs or TIFFs with this tool. Processing is also slower than dedicated apps like PureRAW, since Lightroom handles the computation alongside its full editing engine.

For photographers who live in the Adobe ecosystem, Lightroom’s built-in denoise is the most convenient option. Check out our guide to editing photos in Lightroom for more on getting the most from this tool.
Pricing
$9.99/month for the Adobe Photography Plan, which includes Lightroom Classic, Lightroom (cloud), Photoshop, and 20GB of cloud storage. AI Denoise is included at no additional cost. There is no one-time purchase option.
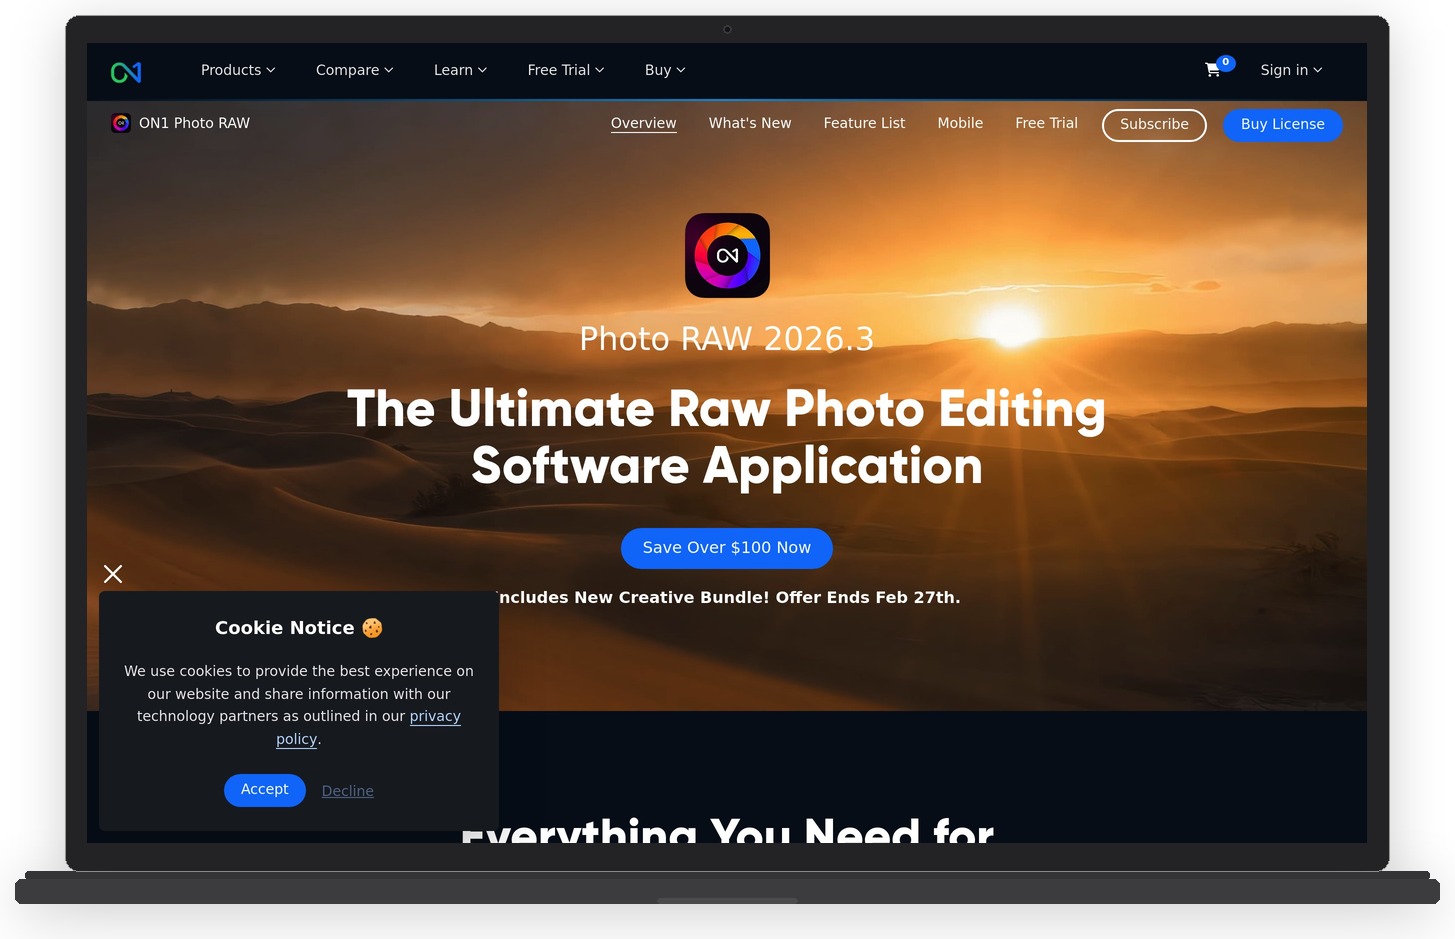
4. ON1 NoNoise AI 2026
Solid AI noise reduction as part of ON1 Photo RAW 2026. Available for just $49.99 (sale) with a perpetual license, making it the most affordable AI denoiser.
Perpetual license available
ON1 NoNoise AI 2026 is part of the ON1 Photo RAW 2026 suite, and it represents the best budget option for AI-powered noise reduction with a perpetual license. At $49.99 during sales (regular price $99.99), it’s significantly cheaper than both DxO and Topaz.
The 2026 version introduces AI masking for selective adjustments, Depth Lighting for atmospheric effects, Resize AI for upscaling, and DNG export for better compatibility. The noise reduction quality is genuinely good – not quite matching DxO’s DeepPRIME XD3 in side-by-side comparisons at extreme ISOs, but more than capable for the vast majority of real-world shooting scenarios.
Beyond noise reduction, you get a complete photo editing application with layers, masking, effects, and RAW processing. If you’re looking for a Lightroom alternative that owns its noise reduction capabilities, ON1 is worth serious consideration. Read our full ON1 Photo RAW review for more details.
Pricing
ON1 Photo RAW 2026: $49.99 (sale) / $99.99 (regular) for a perpetual license. The Max bundle with additional features is $169.99. A subscription option is available at $79.99/year for those who prefer always having the latest version.
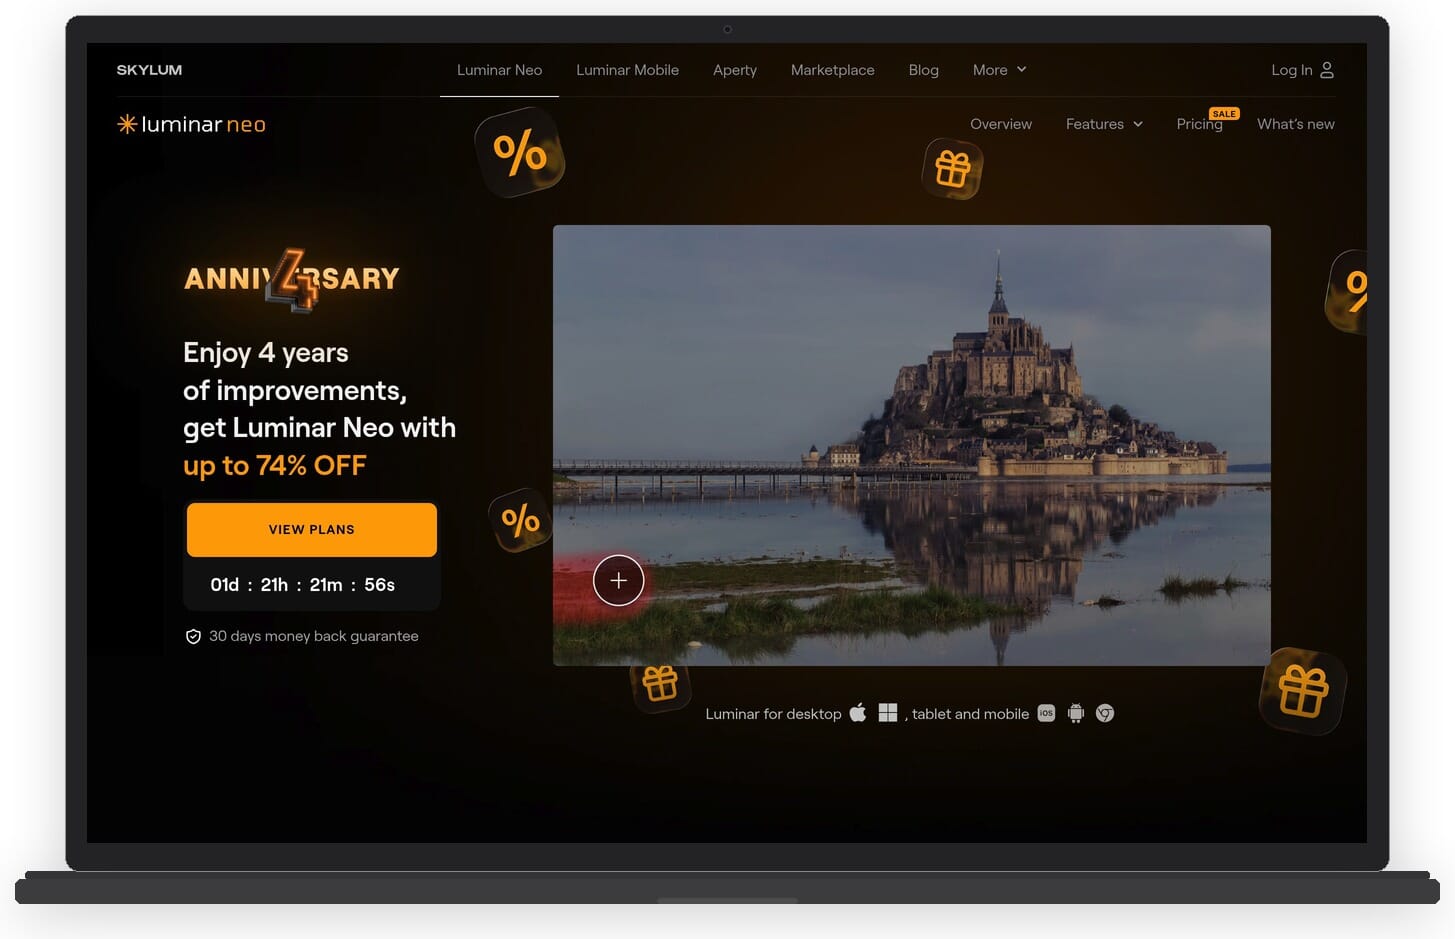
5. Skylum Luminar Neo
Luminar Neo combines AI noise reduction (Noiseless AI extension) with creative editing tools like sky replacement, relighting, and portrait enhancement.
Lifetime option: $199
Skylum Luminar Neo is best known for its creative AI tools – sky replacement, relighting, portrait enhancement – but it also offers noise reduction through its Noiseless AI extension. For photographers who want an all-in-one creative editor that also handles denoising, it’s a solid choice.
The noise reduction quality is decent but falls short of dedicated tools like DxO or Topaz. Where Luminar Neo shines is convenience: you can denoise, edit creatively, apply presets, and export all within a single application with a beginner-friendly interface.
One important caveat: lifetime license holders lost access to Generative AI tools after January 1, 2026. This doesn’t affect the Noiseless AI extension directly, but it signals Skylum’s shift toward prioritizing subscribers. The $99/year subscription retains full access to all features. Read our Luminar Neo review for a deeper look.

Pricing
Luminar Neo: $99/year subscription or $199 lifetime license. The Noiseless AI extension may require an additional purchase depending on your plan. Note that lifetime license users no longer have access to newer Generative AI features.
6. Nik Collection 8 (Dfine)

Dfine, part of the 8-plugin Nik Collection bundle, uses camera profiles for precise noise reduction with excellent control point technology for local adjustments.
8 plugins included
Nik Collection 8 includes Dfine, a noise reduction plugin with a unique strength: control point technology that lets you apply different levels of noise reduction to different parts of your image with precision. Want aggressive denoising on a dark background while preserving texture on a subject’s face? Dfine handles that elegantly.
Unlike the AI-powered tools higher on this list, Dfine uses camera-specific noise profiles rather than neural networks. This means its raw denoising power doesn’t match DxO or Topaz, but the local adjustment capabilities are among the best available. You’re buying 8 plugins (Silver Efex, Color Efex, Viveza, Analog Efex, HDR Efex, Sharpener Pro, Perspective Efex, and Dfine) for one price.

Pricing
Nik Collection 8: approximately $149 for a perpetual license covering all 8 plugins. Works as plugins for Lightroom Classic, Photoshop, and DxO PhotoLab.
7. Adobe Photoshop
Photoshop offers noise reduction through Neural Filters and Camera Raw, plus the ability to combine multiple approaches using layers and masks.
Included in Photography Plan
Adobe Photoshop isn’t a dedicated noise reduction tool, but it offers unique advantages for photographers who need fine-grained control. You can apply noise reduction through Camera Raw Filter, use Neural Filters for AI-powered denoising, and combine multiple approaches using layers and masks.
This layer-based approach is particularly useful for composite work or when different areas of an image need different treatment. Apply aggressive denoising to shadows on one layer, preserve detail in highlights on another, and blend them with masking. It’s more work than a one-click solution, but the control is unmatched.
If you already have the Photography Plan for Lightroom, you have Photoshop included. For a deep dive into what’s possible, see our guide to editing photos in Photoshop.

Pricing
$9.99/month as part of the Adobe Photography Plan (includes Lightroom Classic + Lightroom + Photoshop). Same subscription as Lightroom – you get both tools for one price.
8. Capture One Pro
Professional-grade RAW processor with excellent tethered shooting capabilities. Built-in noise reduction is functional but basic – no AI denoise available.
Perpetual option: $349
Capture One Pro is included on this list because many professional photographers use it as their primary RAW processor, and it does include built-in noise reduction. However, it’s important to be transparent: Capture One’s noise reduction is basic by modern standards.
The company has confirmed that AI denoise is “not a priority” for their development roadmap. If you’re a Capture One user who needs serious noise reduction, the best approach is to pair it with a dedicated tool like DxO PureRAW 5 – export your RAW files through PureRAW first, then continue editing in Capture One.
Where Capture One genuinely excels is tethered shooting, color science, and studio workflow. If those are your primary needs and noise reduction is secondary, it remains an excellent choice.

Pricing
Capture One Pro: $14.99/month subscription or $349 perpetual license. The perpetual license covers one major version with free updates within that version.
9. Neat Image v9.3
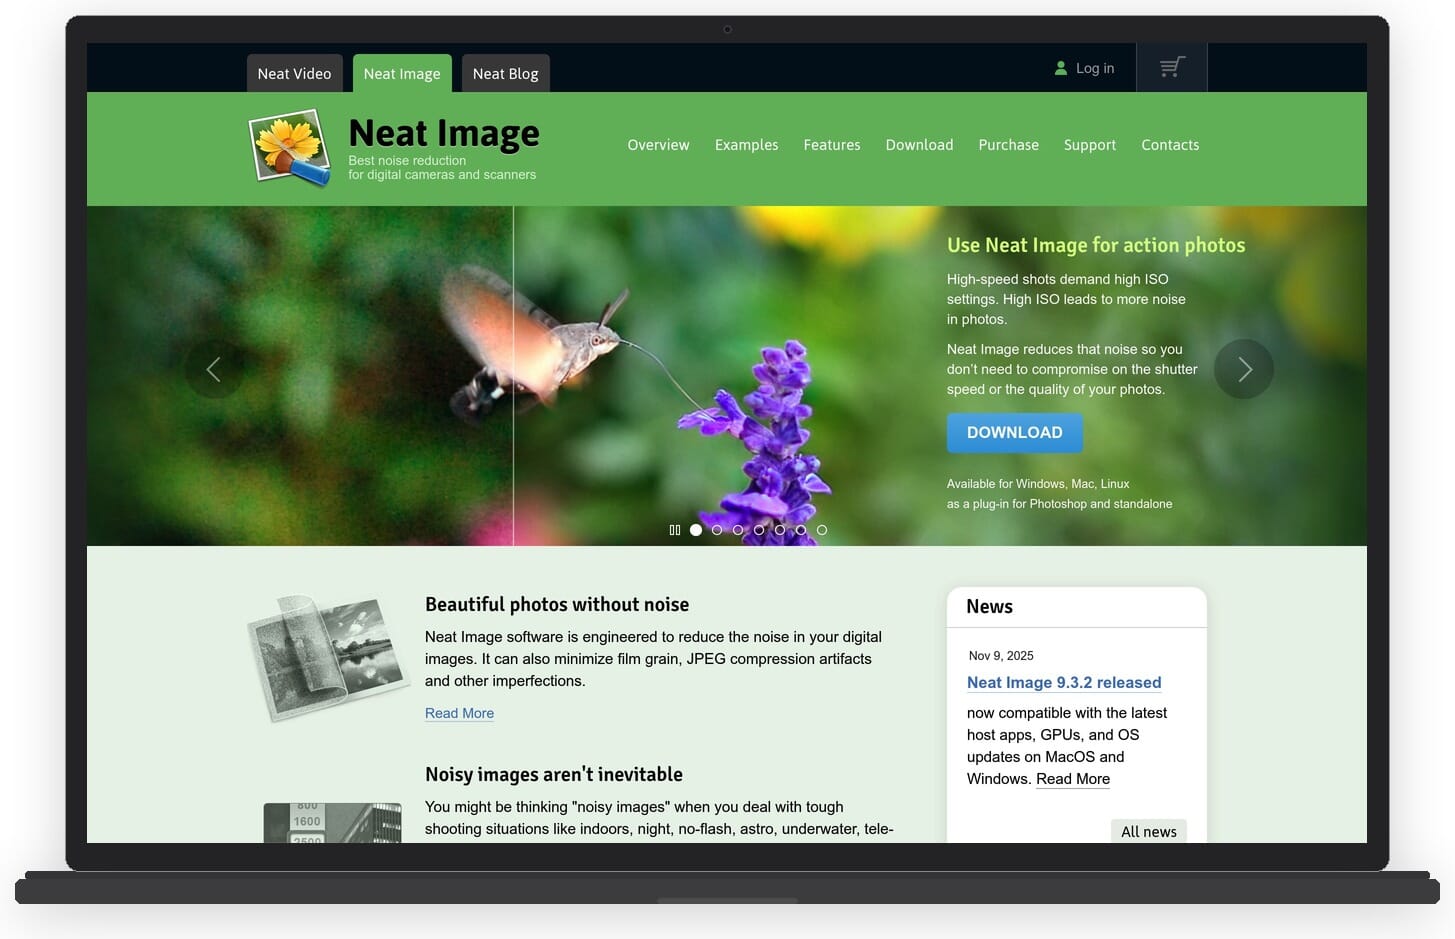
Affordable profile-based noise reduction with a perpetual license. Not AI-powered, but delivers reliable results through intelligent noise profiling.
Perpetual license
Neat Image v9.3 is the most affordable option on this list and a solid choice for photographers who prefer traditional noise profiling over AI-based approaches. It analyzes a sample area of your image to build a noise profile, then applies targeted reduction based on that profile.
The results are reliable and predictable, though they can’t match the detail preservation of modern AI tools like DxO or Topaz. Where Neat Image shines is simplicity and affordability: it works, it’s cheap, and it runs well on older hardware without requiring a powerful GPU.
For hobbyist photographers who shoot at moderate ISOs and want a capable denoiser without a big investment, Neat Image remains a practical choice.

Pricing
Neat Image: $39.90 (Home edition) or $79.90 (Pro edition with plugin support). Both are perpetual licenses with free minor version updates.
Choose the Best Noise Reduction Software
The right noise reduction tool depends on your workflow, budget, and how seriously you need to push high-ISO performance. Here’s a quick guide:
- Best overall quality + value: DxO PureRAW 5 ($129 one-time) – if you shoot RAW and want the best denoising results without a subscription.
- Best all-in-one tool: Topaz Photo ($399/year) – if you need denoise + sharpen + upscale and don’t mind the subscription.
- Best if you already use Adobe: Adobe Lightroom Classic ($9.99/mo) – no extra purchase needed if you’re on the Photography Plan.
- Best budget option: ON1 NoNoise AI 2026 ($49.99) – affordable AI denoising with a perpetual license.
- Best for creative editing: Luminar Neo ($99/year or $199 lifetime) – solid denoising plus creative AI tools.
- Best budget traditional: Neat Image ($39.90) – reliable and affordable without needing a powerful GPU.
For most photographers, DxO PureRAW 5 hits the sweet spot of exceptional quality and fair pricing. The one-time $129 cost pays for itself quickly compared to any subscription tool, and DeepPRIME XD3 consistently delivers the cleanest results in independent testing.
If budget is tight, ON1 NoNoise AI 2026 at $49.99 delivers surprisingly capable AI denoising along with a full photo editor. And if you’re already paying for Adobe, don’t overlook Lightroom’s built-in AI Denoise – it may be all you need.
