Editor’s Key Takeaways: Master Photo Printing Basics and Techniques

This comprehensive guide walks you through the essentials of printing photos, from selecting the right medium to ensuring the best quality prints. Here’s a concise summary of the blog post:
- Printing Materials: Explains the pros and cons of various mediums – canvas, acrylic, metal, and paper.
- Glossy vs. Matte: Discusses the differences and which to choose based on your project.
- Print at Home vs. Printing Lab: Compares the convenience and quality of printing at home versus using professional printing labs.
- Preparing Photos: Covers aspects of preparing your photos for printing, including ensuring color accuracy and selecting the proper resolution.
- File Types and Processing: Discusses the best file types for printing and how to process your photos to maintain quality.
The article also highlights the importance of printing your photos to better appreciate them and keep your memories in a tangible format. It emphasizes that printing does not have to be complicated and with the right knowledge, anyone can produce stunning prints effortlessly.
Introduction
Are you looking to print your photography, but you just don’t know where to start?
You’re not alone. Printing your photos can be a real struggle. There are so many questions to consider, including:
- What printing medium should you use?
- How do you prepare a file for printing?
- Should you print at home or order from a printing company?
And much, much more.
Fortunately, these questions aren’t quite as complex as they seem. And once you’ve gotten the hang of it, you’ll find that printing your photos is downright easy.
In this article, you’ll learn everything you need to know about how to print photos. You’ll come away with the knowledge to produce gorgeous prints – with very little effort.
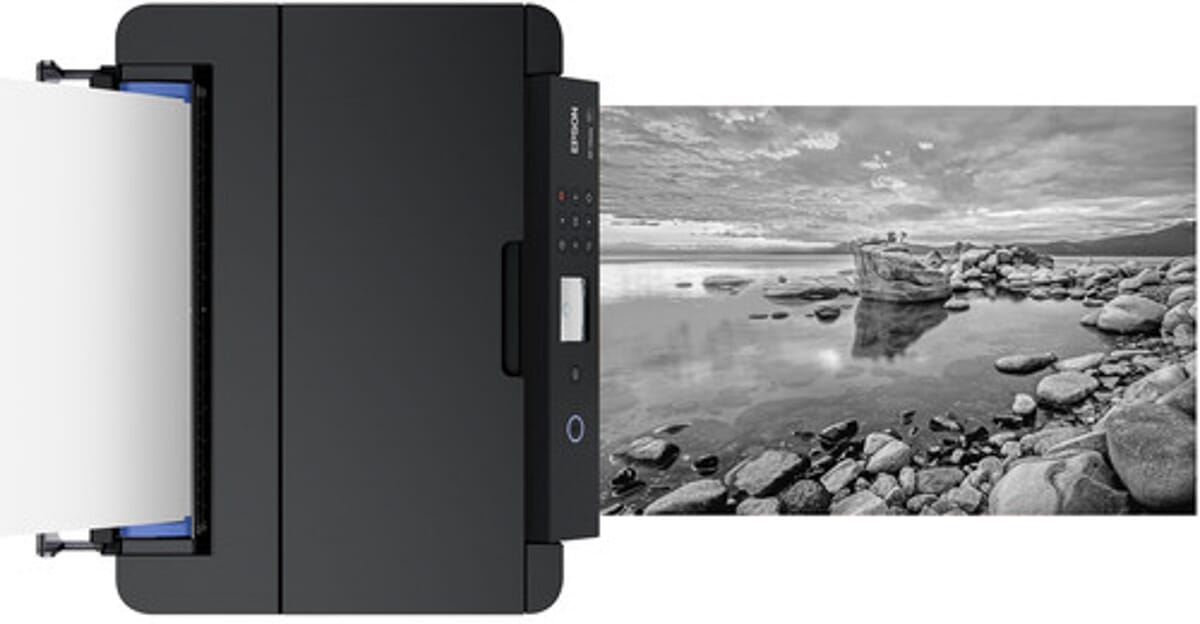
Are you ready to start printing your photos?
Then let’s go.
To skip to a specific section, go ahead and click the link below.
How to Print Photos:
Why Print Your Photos?
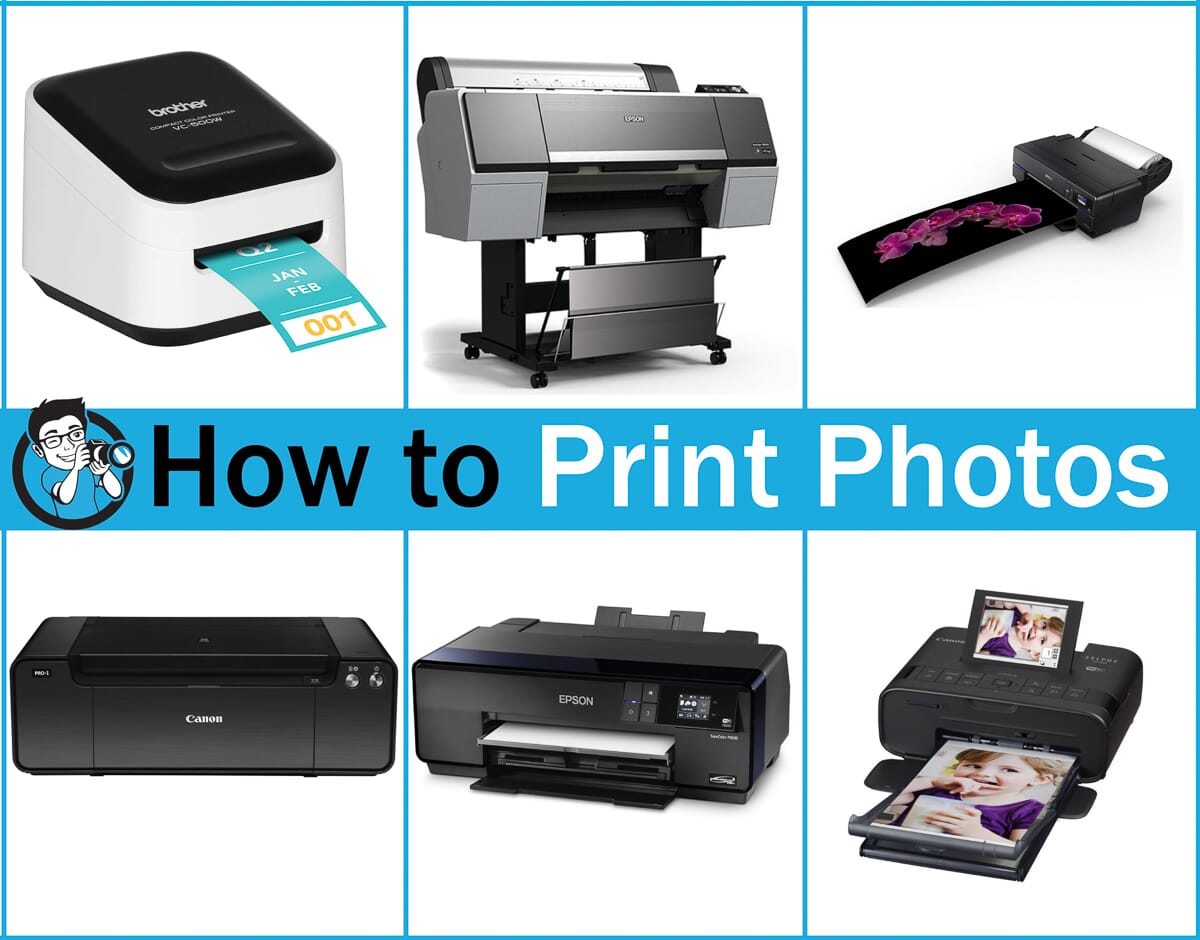
You might be asking yourself:
Why print your photos? What’s the point? Gone are the times when you had to go to the printer to see your photos. These days, you can just boot up your computer, and – voila! – your photos are there.
But despite the ease with which we can now view our photos, there are still compelling reasons to create prints.
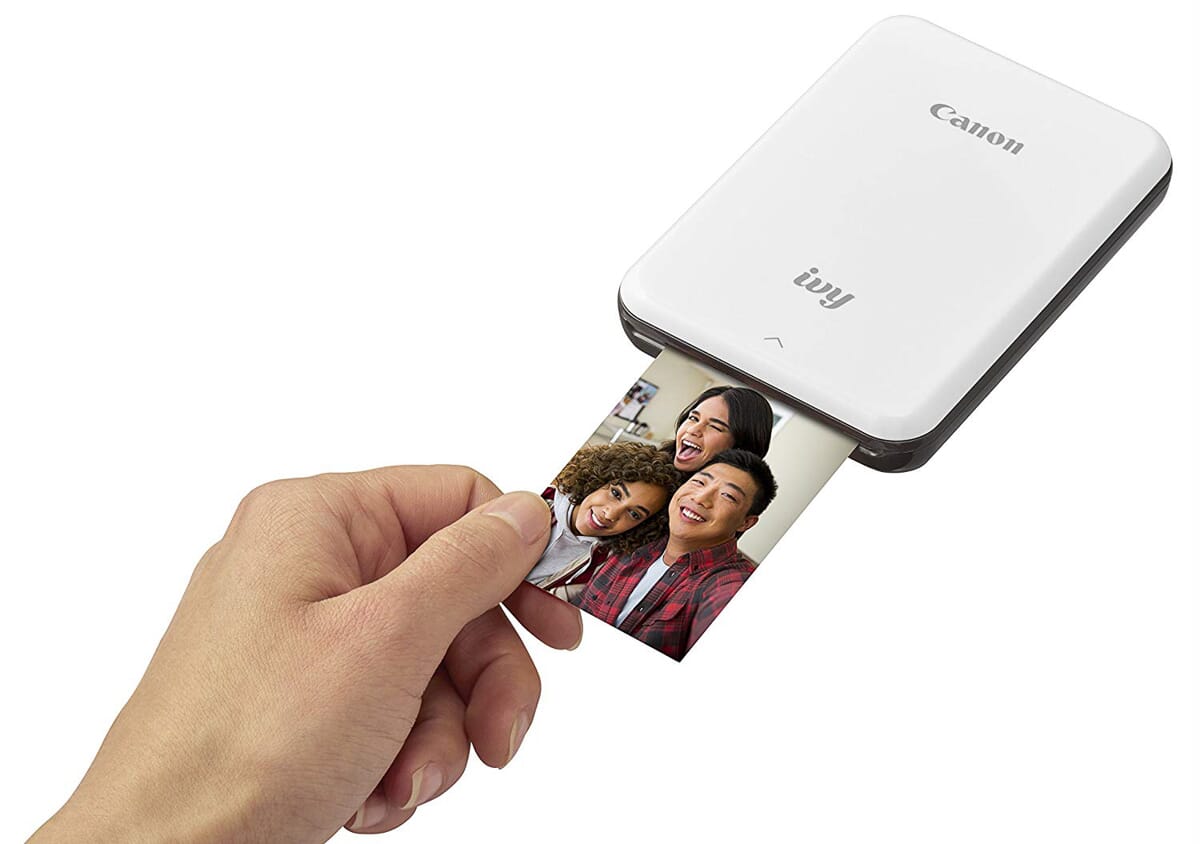
Starting with:
1. Printing Your Photos Lets You Appreciate Them More Fully
When you have thousands of photos on your computer, things can get… cluttered. Messy.
And it becomes hard to appreciate your best photos, when they’re kept among many other less interesting snapshots.
Plus, you can only view your photos when you’re on an electronic device. They’re right there – until you power things down for the day.
Wouldn’t you like to keep your photos on more permanent display? Wouldn’t you like to fully appreciate the best of the best, the shots that you’re proud of?
That’s where printing comes in.
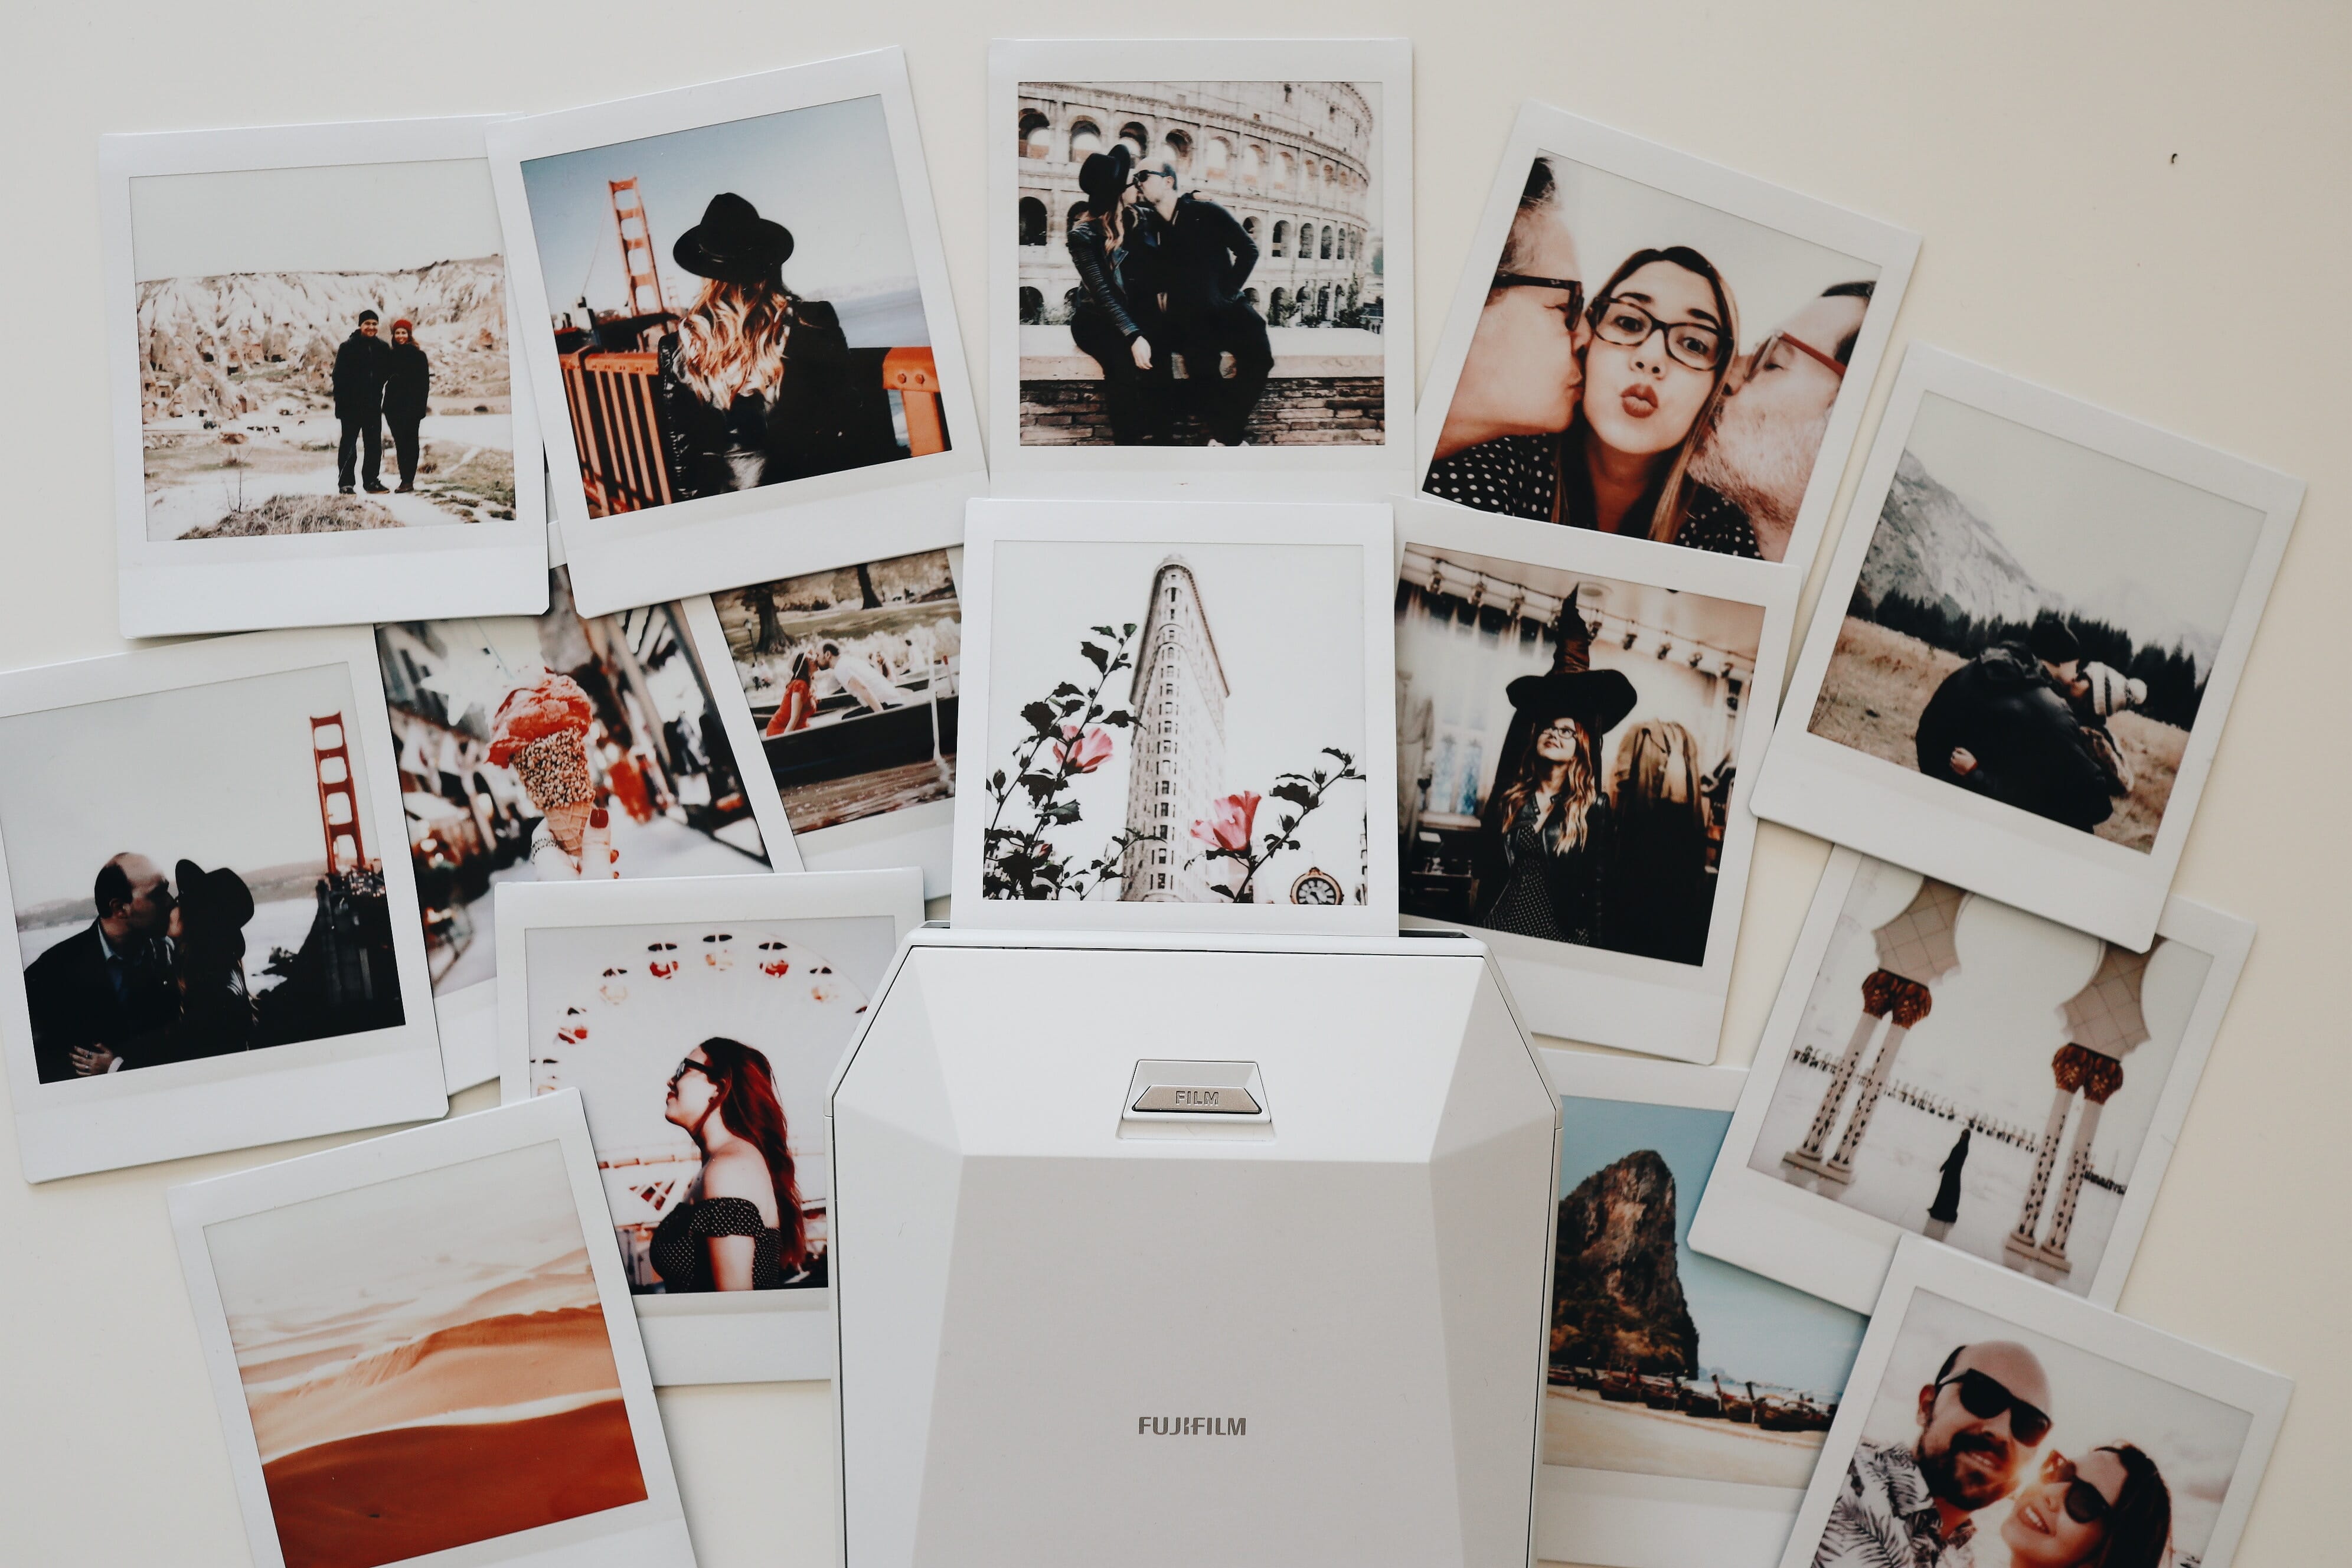
If you print your photos, you can hang them wherever you like – and they’ll always be there. They’ll be permanent. You can gaze at your printed photos and be proud of them.
2. Printing Your Photos Helps Keep a More Permanent Record
Here’s a problem with digital images:
Electronics fail. Accidents happen. Storage drives get lost.
And then your precious photos, the ones that took you years to create, are gone – in a heartbeat.
Unless you’ve printed them. Because prints are a permanent copy of your hard work. Prints can last for decades – even centuries.
The bottom line:
Once you’ve printed your photos, you don’t have to worry about losing them. Because you’ll always have them – in physical form!
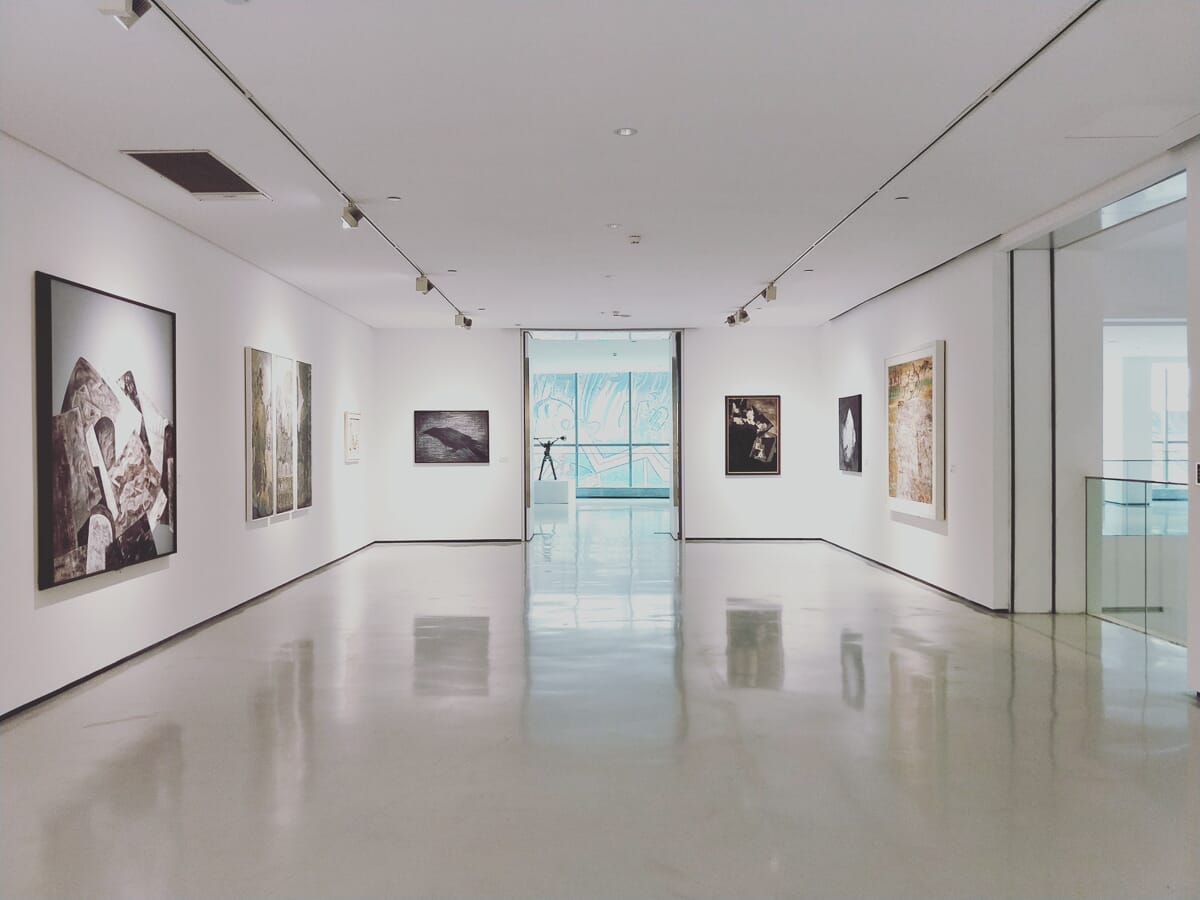
3. Printing Your Photos Allows You to Display Work at Galleries and Art Shows
If you’re looking to make money as a photographer, then printing your photos can make a lot of sense.
One of the ways photographers make money is through galleries and art shows. And you can’t participate if you don’t have prints!
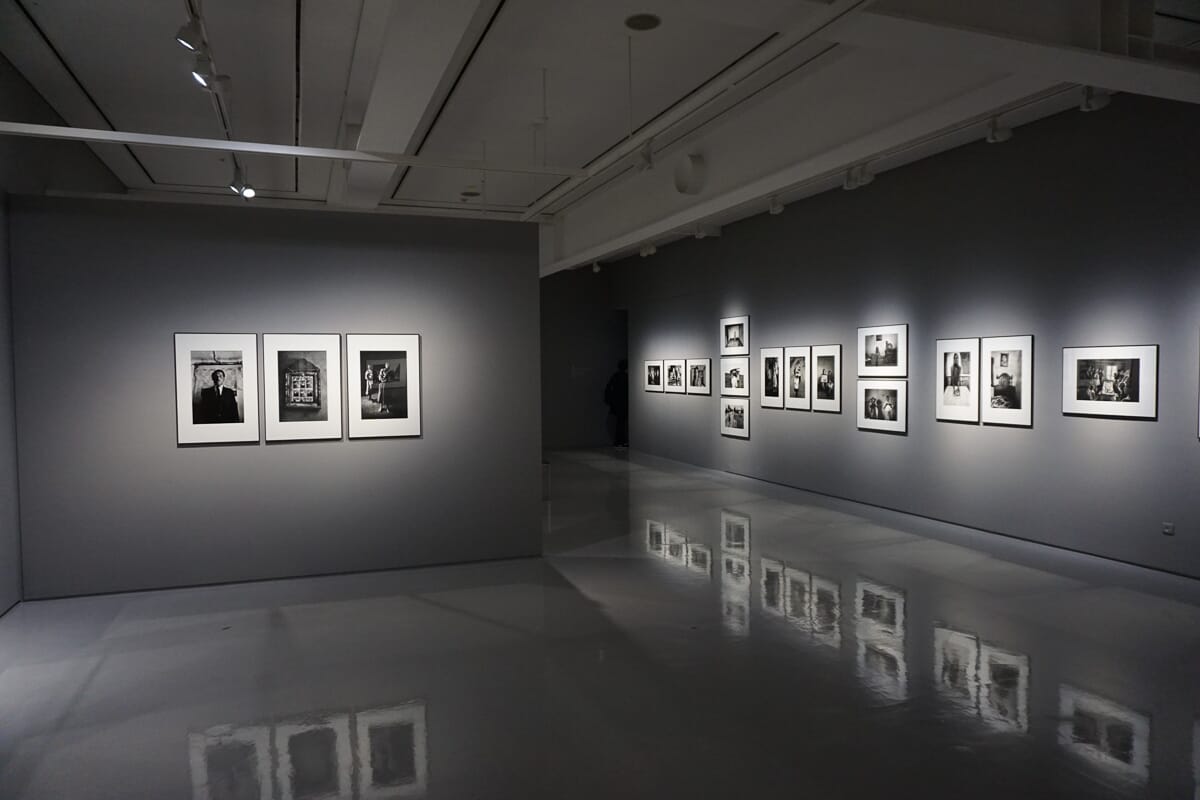
Of course, there are online options for making money with your photography (e.g., selling stock photos). But galleries and art shows are definitely something you should consider. And if you decide to try them out, then you’ll have to make some prints!
If you’re still not convinced that you should print your photos, watch this video:
You NEED to be printing your photos! Here is why
Why you need to print your photos by Peter McKinnon.
Which brings us to the next section:
Printing Materials: Canvas, Acrylic, Metal, or Paper?
Now that you understand the value of printing your photography, it’s time to ask yourself:
What printing medium should you choose?
You have a number of options. But here are the most popular choices:
- Canvas
- Acrylic
- Metal
- Photo paper
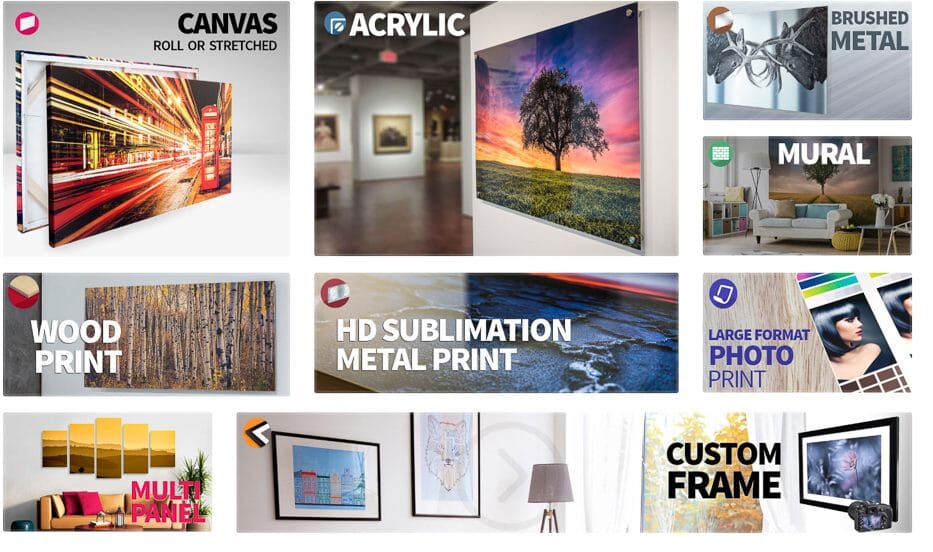
Now, each of these printing mediums comes with its own pros and cons. None is obviously better than the others. The key is to think about how you’d like to use your prints, and go from there.
To help you decide, I’ve prepared a brief rundown of each printing material:
Canvas Prints
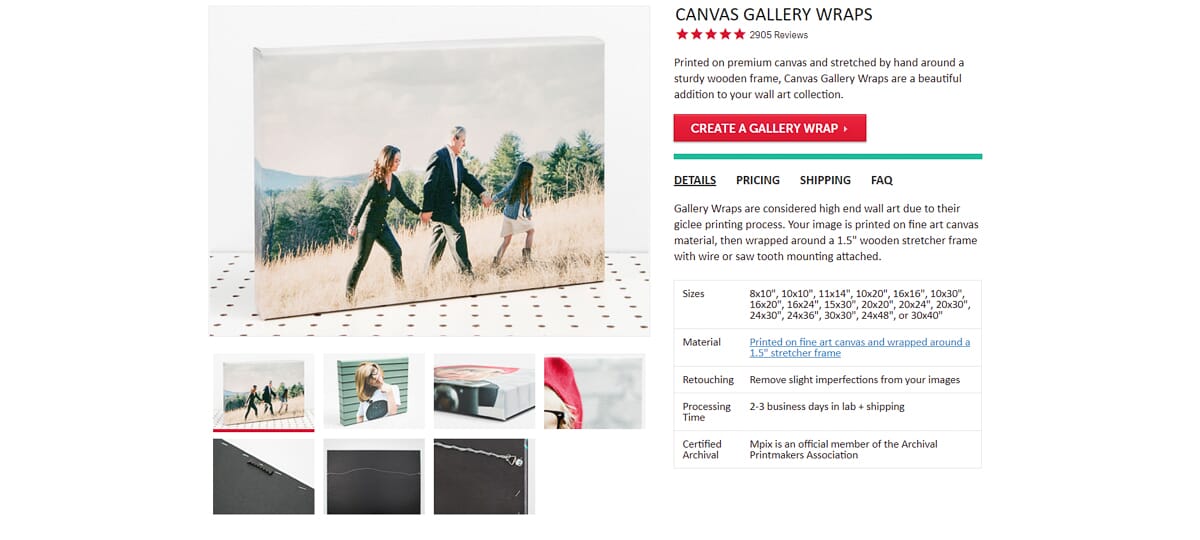
Canvas prints involve printing your images on canvas: a textured material used in traditional art (e.g., oil paintings). The canvas is then wrapped around a frame.
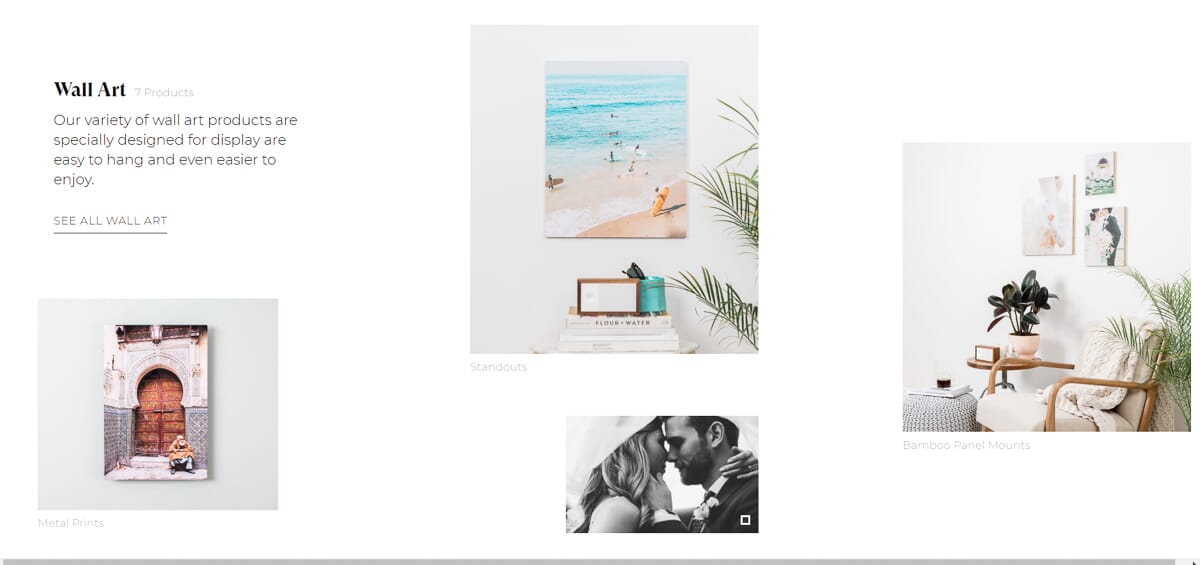
Canvas gives your photos a more subdued, stately look. It works great in just about every situation: galleries, art shows, and interior design.
Canvas produces slightly more textured prints, which is excellent for creating a more traditional look.
One of the wonderful things about canvas is that it requires no accessories for display. Once you’ve created a canvas print, you’re basically set; you don’t need a frame. You can just hang it on your wall.
Canvas prints are very durable, which makes them perfect for higher-humidity environments, such as bathrooms.
And while canvas prints aren’t cheap, they’re not the most expensive of the printing options. Plus, they may save you money in the long run, especially since they don’t require frames or mats (unlike traditional prints).
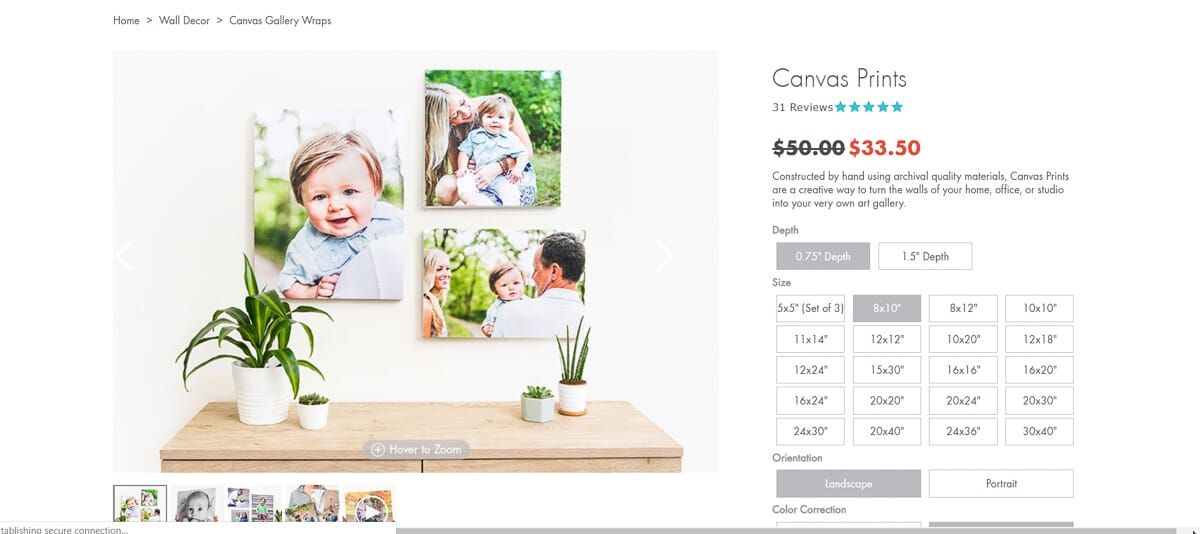
I recommend you choose canvas prints if you like:
- A more traditional-looking print
- Decent prices
- Less hassle (because you don’t have to choose mats or frames)
- A durable print without fingerprinting or glare problems
Acrylic Prints
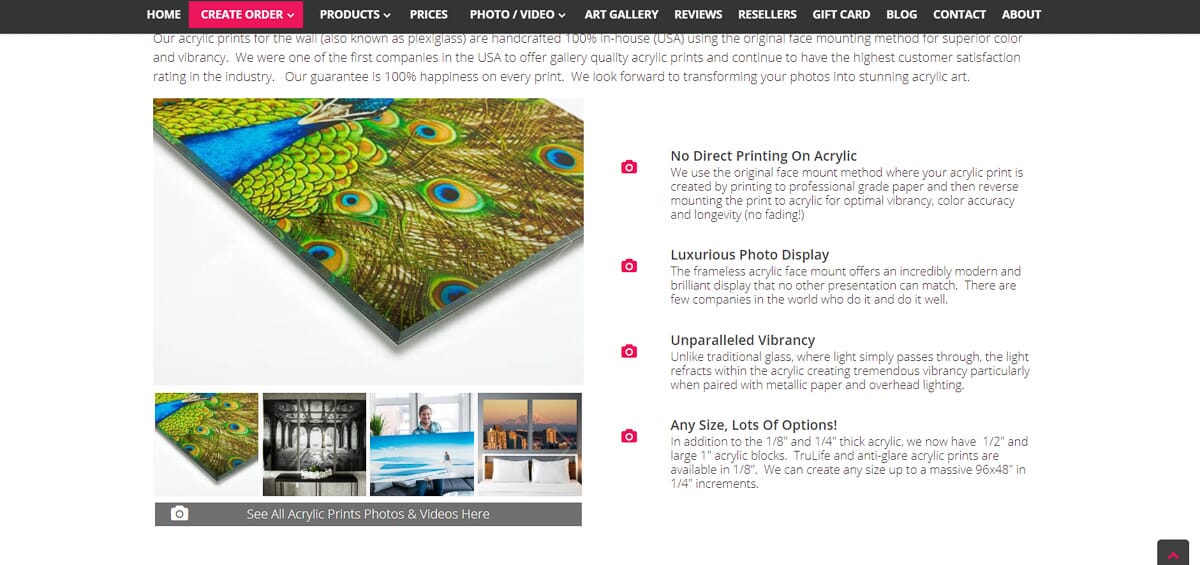
Acrylic prints involve embedding your image in acrylic (also known as plexiglass). This is done in two ways:
- Your photo is printed on paper and then acrylic is placed over the paper
- Your photo is printed onto the acrylic itself
Regardless of the method you choose, acrylic prints look sleek and modern. And acrylic is a great medium for featuring strong, bright colors. They look perfect in galleries, art shows, or a modern-style interior.
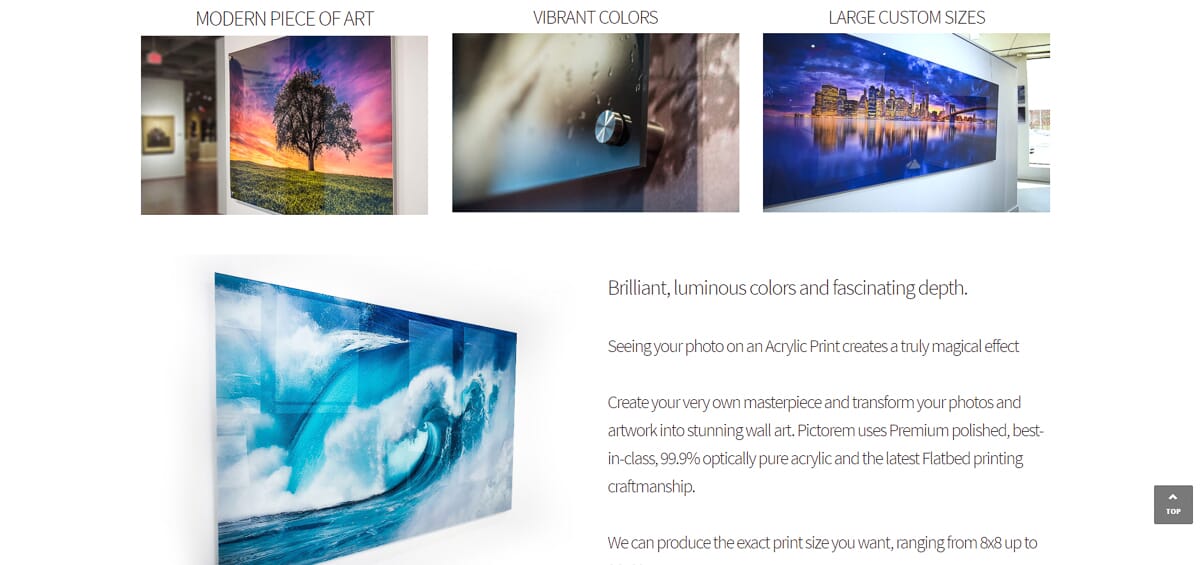
Like canvas prints, acrylic prints come ready to hang – no additional framing is necessary. This makes them a low-hassle, high-quality print option.
The main drawback of acrylic printing is the price: Out of the four options discussed in this article, acrylic tends to be the most expensive.
Choose acrylic if you’re looking for:
- Modern, sleek prints
- Medium to high prices (you don’t mind paying more for a modern look)
- Vibrant colors
- Display in a carefully lit environment (acrylic prints do have glare)
Metal Prints
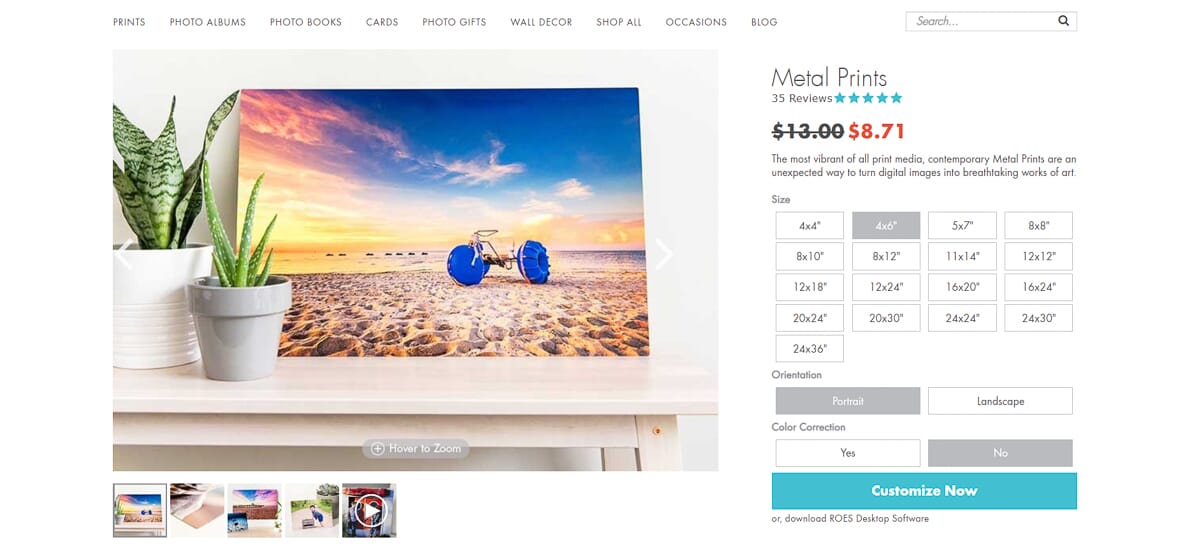
Metal prints involve printing directly onto a metal sheet – which (like acrylic) produces a sleek, modern, fine-art look.
Metal prints come ready for hanging. They’re also quite durable, able to handle high-humidity environments such as bathrooms and kitchens.
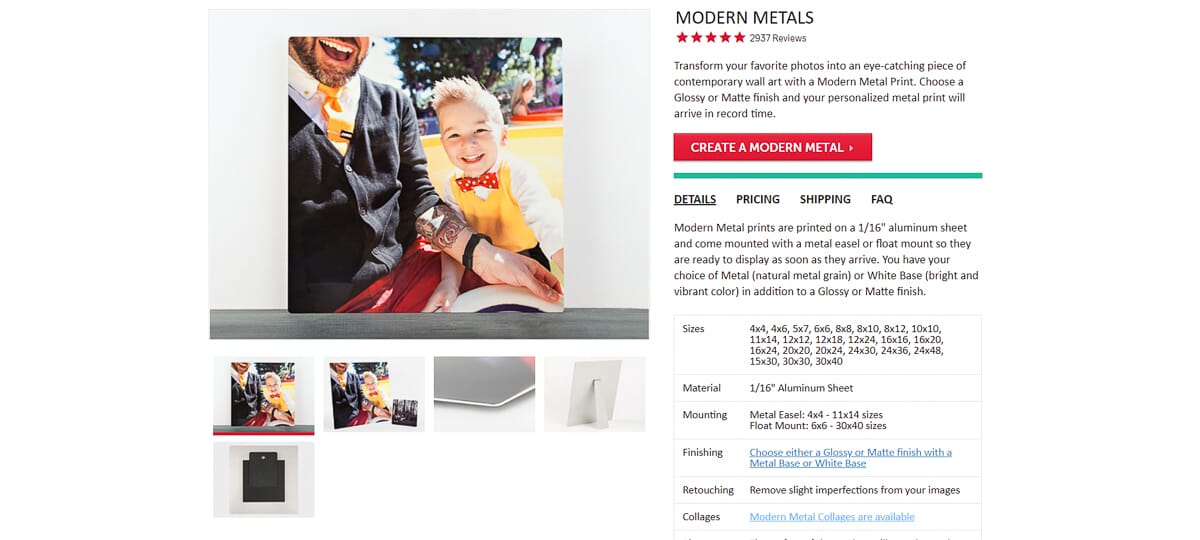
One of the great things about metal prints is their color: Metal produces a brighter look, which ensures that more vibrant tones stand out.
When it comes to price, metal prints are on the higher end. They tend to be a bit more than canvas, but less than acrylic, making them an excellent option for a more price-conscious, modern-looking home.
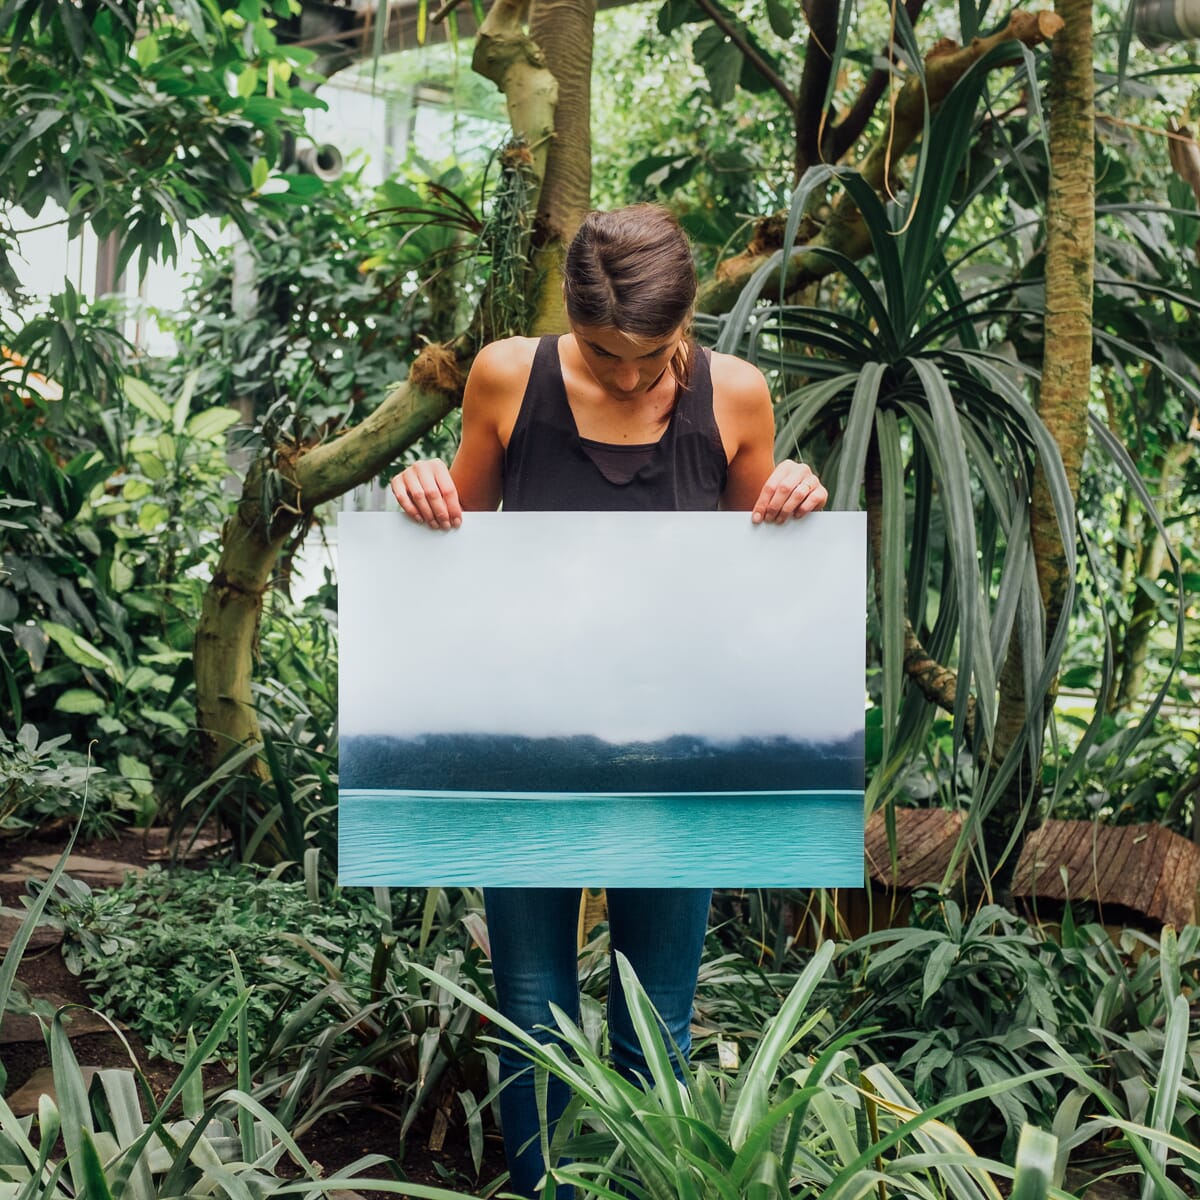
Choose metal if you’re looking for:
- A brilliant, lustrous print
- An ultra-modern look at a decent price
- Durability
Paper Prints
Paper is the most traditional photo printing method. It generally involves printing your images onto archival-quality paper (for longevity). Paper printing is used by artists all over the world.
While paper prints may not offer the same sleek, modern look of acrylic or metal, you do have a lot of flexibility when it comes to aesthetic. You can pick a sleek frame, a quirky frame, or a more traditional frame. And you can even change it over time so that a modern-looking print becomes something more subdued.
Unfortunately, the flexibility of a paper print is also its main downside:
Paper prints require some work before they can be displayed.
Once you have the print in hand, you generally have to mount it, mat it, and frame it – all of which require time and effort. This can add up, especially if you’re working with a large batch of prints.
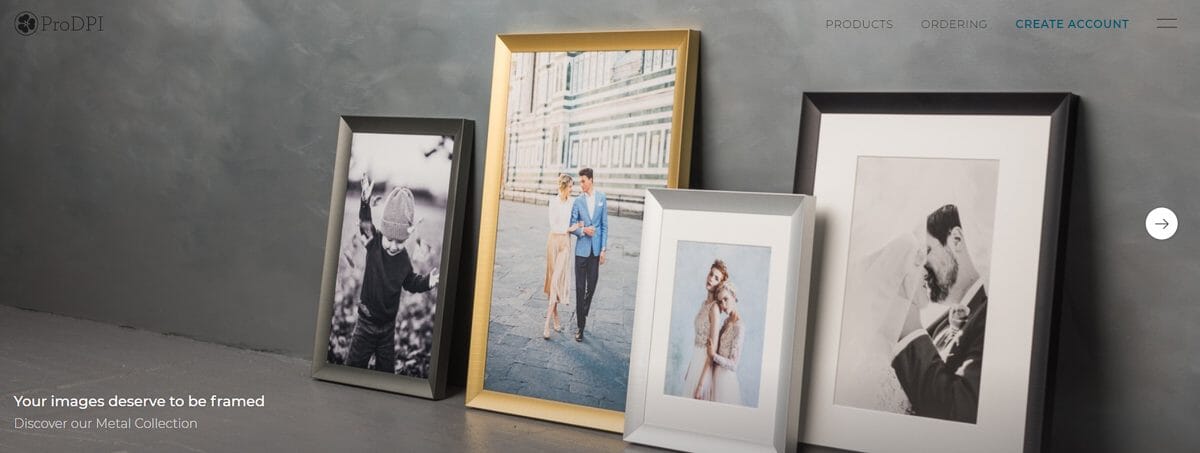
While paper prints are far cheaper than acrylic, metal, or canvas, there are hidden costs. Frames can be very expensive. And mats can add up, too.
That said, there are ways to keep the costs down; for instance, choosing less expensive frames and non-museum quality mats. Yes, this will decrease the overall look and longevity of your photos. But it’s a reasonable compromise if you’re on a strict budget.
Plus, not every print needs a frame. If you’re selling at an art show, you can mat numerous photo prints, but leave out the frame. Then you can put them in print bins for a lower-priced option. This is fairly standard; most people like to choose their own frames, and will remove any frame that you choose.
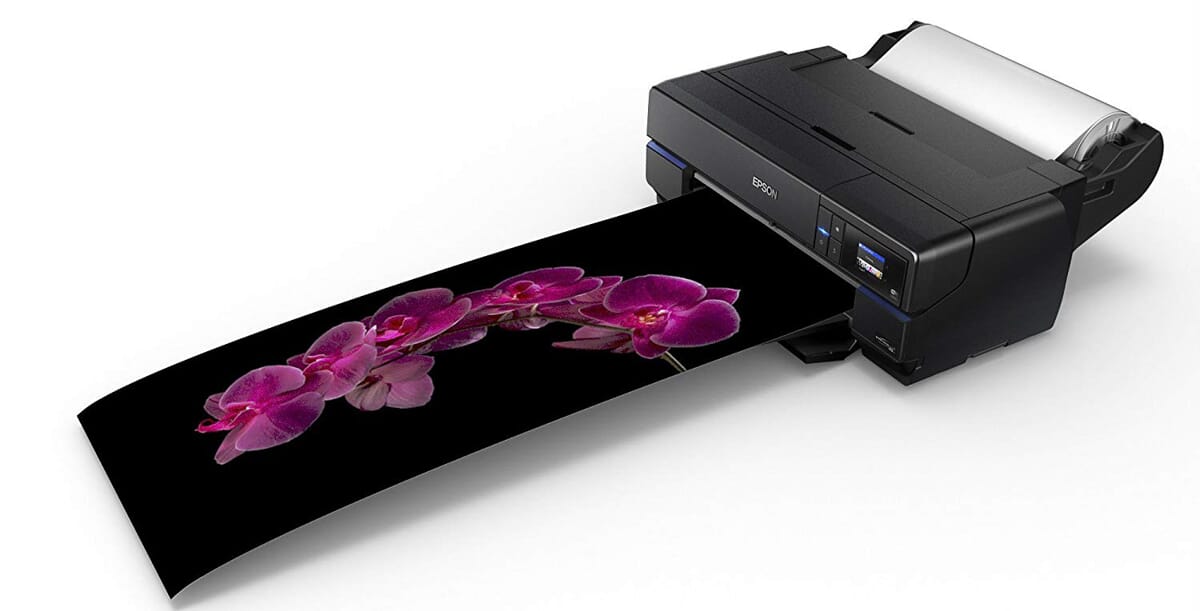
And going with paper makes a lot of sense if you’re looking to make smaller prints – for a photo album, a scrapbook, an art project, or even to stand up on your office desk. With canvas, metal, or acrylic, this would get pricey, fast, especially if you plan to make a lot of them. But with photo paper, you can make countless smaller prints for cheap (and you can add frames for cheap, too, if they’re small).
I recommend you go with photo paper if:
- You’re looking for a more traditional, classic aesthetic
- You’re on a budget
- You’re looking to make lots of smaller (e.g., 5×7 or 8×10) prints
- You don’t mind doing some extra work to hang the prints
Now, if you decide to go with paper prints, you have another big question to ask yourself:
Glossy or matte?
Glossy Versus Matte
Glossy and matte are the two main types of photo paper prints. Glossy prints are brighter and more reflective, whereas matte prints emphasize texture and offer a more subdued look.
So which should you choose?
In general, I recommend you go with matte – unless you have a specific reason to choose glossy. While glossy prints do look a bit more vivid, the glossy coating causes glare. And the textured, fine-art look of matte prints makes them ideal for art shows and photo exhibits.
Most professionals who use photo paper lean in this direction. If you go to a local art show, you’ll notice that most prints are matte, not glossy, for the reasons I’ve described above.
Should You Print from Home?
While discussing different printing mediums, I talked a lot about prices. And it’s important to note: Printing your photos, especially if you want larger-sized prints (i.e., bigger than 8×10) can get very pricey, very fast. This can be a serious problem if you’re looking to create large acrylic, metal, or canvas prints – and large paper prints aren’t cheap, either.
Which probably gets you wondering:
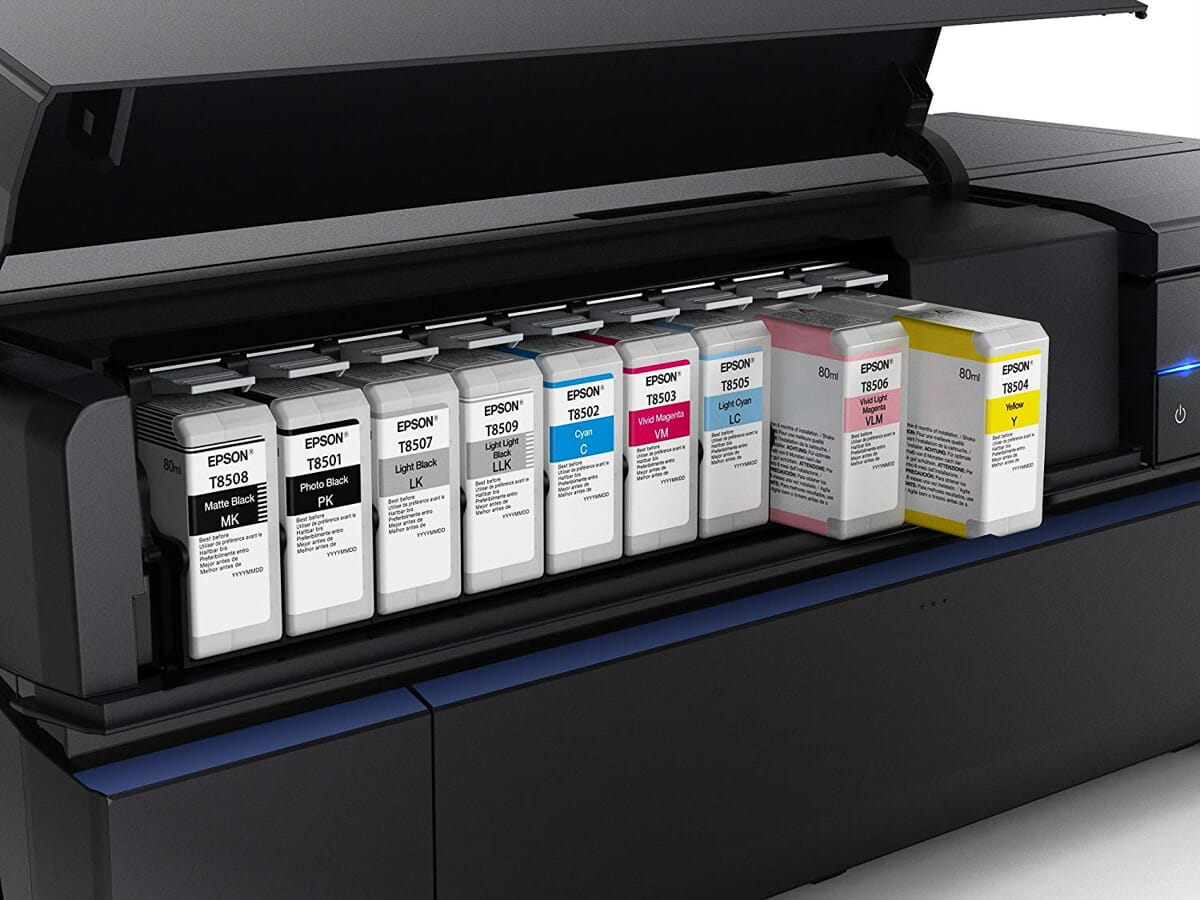
Would it be cheaper to print from home, e.g. with a cheap photo printer or even using one of the best inkjet photo printers?
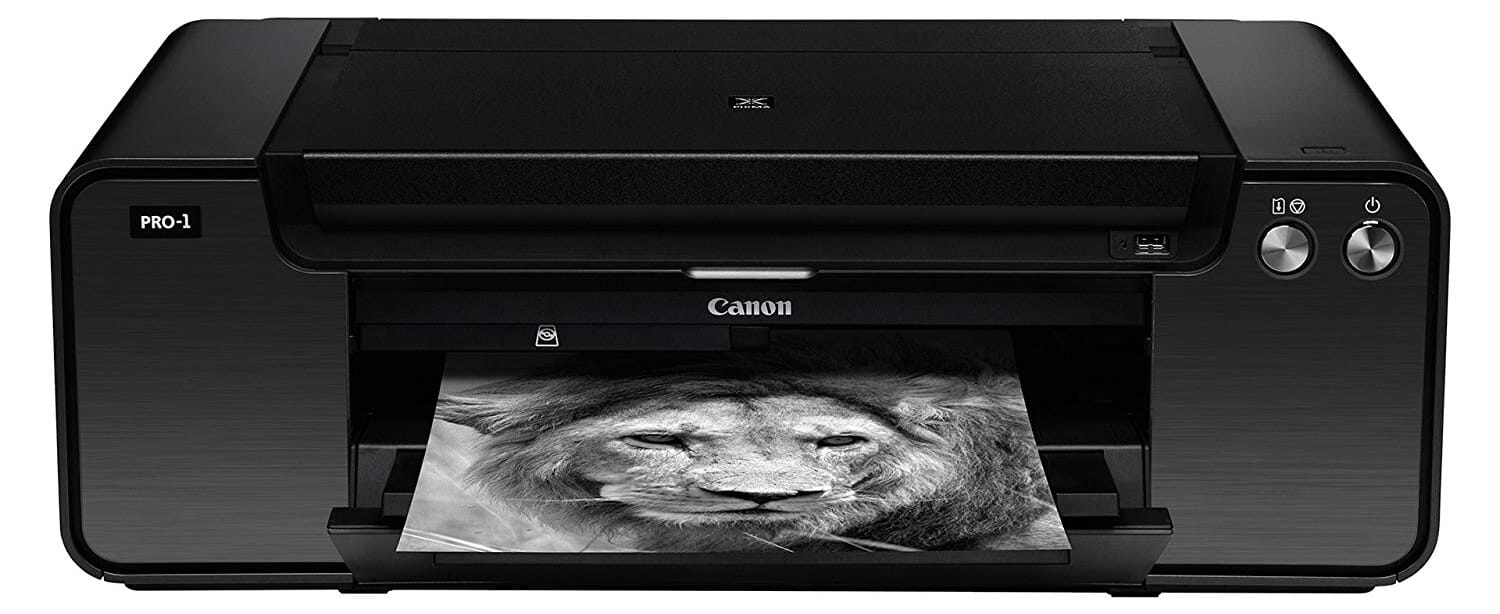
You probably know this, but I’ll say it anyway: If you want a metal, acrylic, or canvas print, then you should use a professional lab. The equipment and materials involved in these processes are technical, pricey, and dangerous.
If you want paper prints, then here’s my answer:
Print from a lab, unless you don’t mind very low-quality prints – or you’re planning on making a huge number of high-quality prints.
Why?
Unless you’re okay with very low-quality prints, you’re going to be much more satisfied with the results from a photo printing lab (and there are lots of great labs that you can find online, which I discuss in the next section). These days, small prints are quite cheap – and they’re going to look better than what you can get with your standard printer. I’m talking primarily in terms of sharpness, color accuracy, and even things like ink bleed.
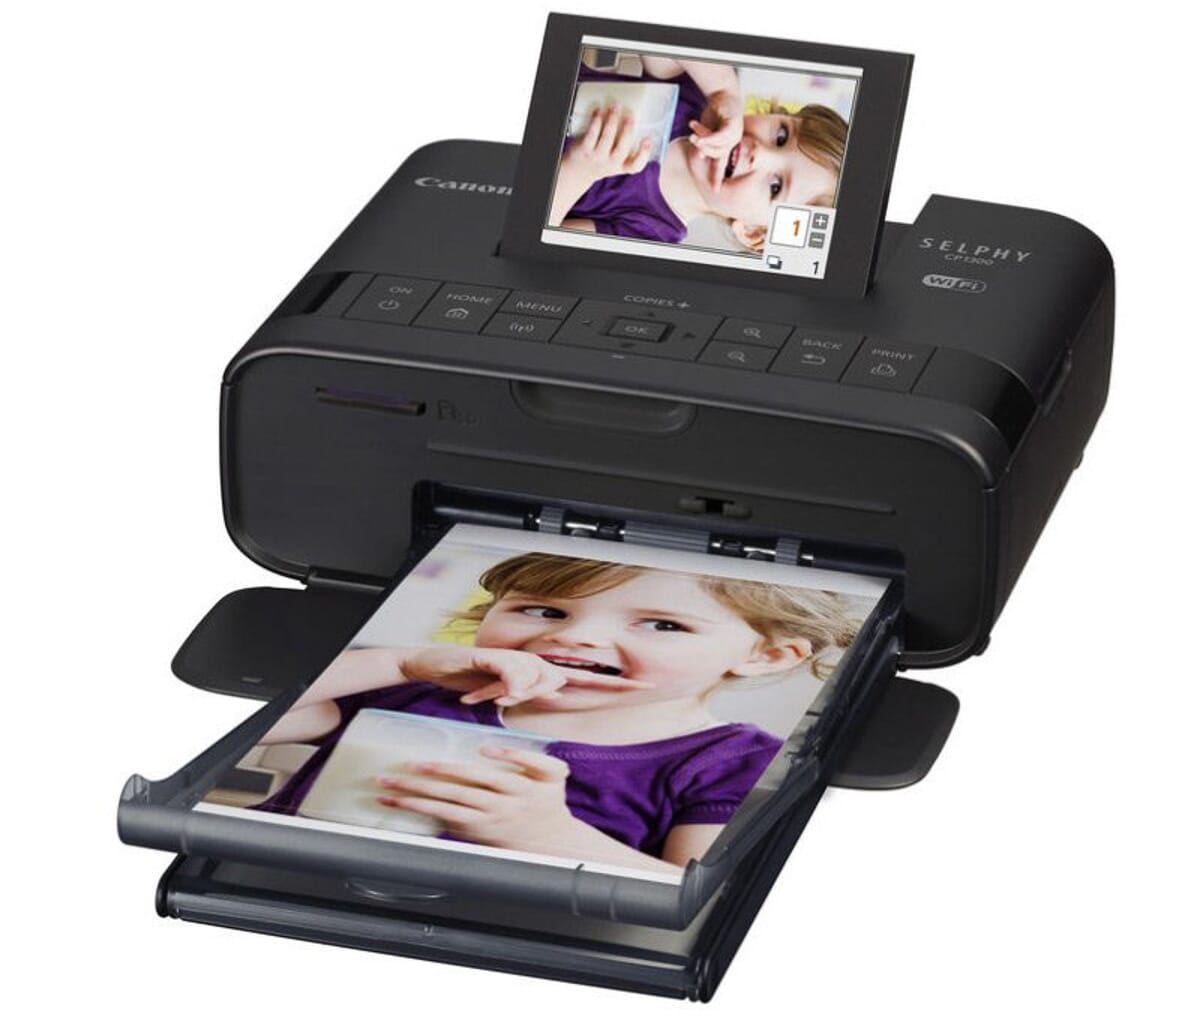
(Though it can definitely be fun to print on the fly with a good portable printer – straight from your phone. These prints won’t look amazing, but sometimes it’s not just about the quality.)
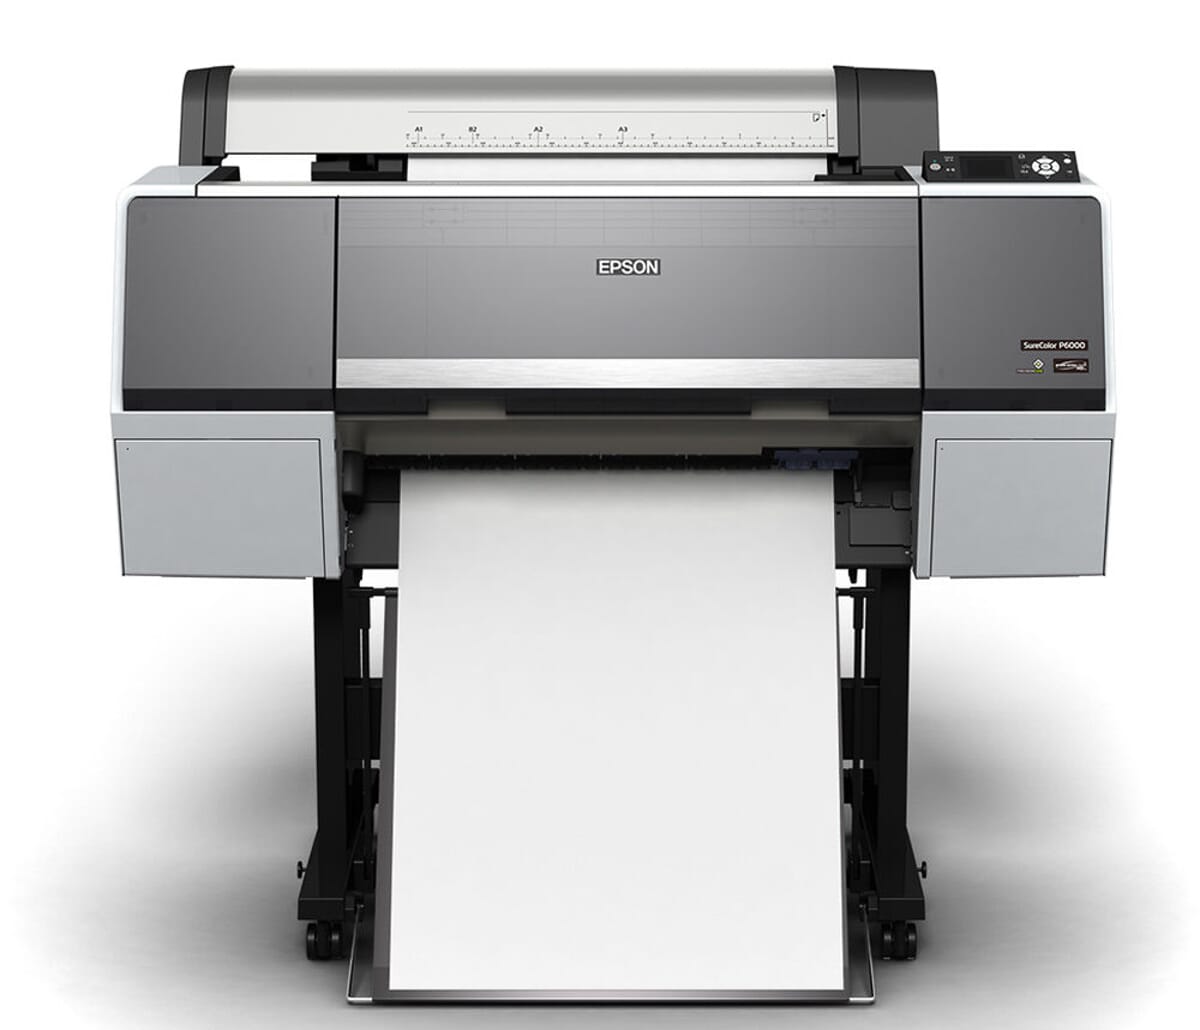
And unless you have access to a large format printer, you’re only going to be able to print up to around 8×10, which is fine for a few home prints but is rather small for any dedicated interior design, art show, or gallery.
On the other hand, printing from home does make sense if you’re a professional photographer who sells prints for a living. In that case, you should invest in the equipment you need to do high-quality, show-worthy prints. The up-front costs will be high, but you’ll probably save money in the long run.
Here’s the bottom line:
- If you’re looking to create acrylic, metal, or canvas prints, use a lab
- If you’re looking to create high-quality paper prints, use a lab
- If you’re okay with low-quality prints and want to save a bit of money, try using a home printer
- If you’re looking to create a huge number of high-quality prints and are willing to invest a lot of time and energy, buy a professional photo printer and work from home
Choosing a Printing Lab
If you decide to get your photos printed, then you’ve got another choice ahead of you:
What printing lab should you choose?
First, I recommend that you use an online printing lab – unless you need a lot of custom work done, in which case it might make more sense to discuss things with a local lab.
Many online printing labs are extremely professional and will give you amazing prints at a lower cost than local labs.
When choosing a printer, you should look for a few things.
First, good customer support. If there’s a problem with your print order, or you’re struggling to figure out a part of the order process, then this becomes essential. Labs with good customer support are so much easier to work with.
Second, high-quality prints. Technically, this involves sharpness, color accuracy, and some additional concerns. But this is a ‘you know it when you see it’ type thing. If the printing quality is bad, you’ll notice it immediately.
Third, shipping and processing. You want shipping to be decently priced, and you want it to be fast. You don’t want to wait for a month to receive your order.
While this might seem like a lot to consider, here at PhotoWorkout we’ve evaluated countless photo labs. And so we can easily recommend some of the best photo printing services available online. If you’re looking to create photo paper prints, go with:
If you’re looking to create canvas prints, go with:
- Canvaspop
- CanvasChamp
- CanvasDiscount (read our CanvasDiscount review)
If you’re looking to make metal prints, check out our review of the best metal prints.
If you’re looking to create acrylic prints, go with:
Preparing Your Photos for Printing
Now it’s time to get into the more technical (but still interesting) stuff:
How do you actually prepare your photos for printing?
It’s an important question – for a few reasons.
First, because you want to make sure that you prepare your photos at the right size. If you don’t, you’ll end up with prints that are okay from a distance, but look terrible up close.
Second, what you see on your monitor isn’t usually what you’ll get from a printing lab. And you don’t want to order a whole batch of prints, only to find them looking disappointingly drab, dark, or soft.
So let’s dive right in, starting with color accuracy.
How to Ensure Color Accuracy in Your Prints
This can be one of the most frustrating parts of creating prints if you don’t approach it carefully.
You see, every monitor will display the same photo slightly differently. This has to do with the monitor settings: the brightness, the saturation, and more.
This means that a photo might look amazing on your monitor. But when you receive the print, it could look desaturated and muddy.
So how do you ensure that your prints look the way you want?
There are two ways to do this: the involved way, and the quick and dirty way.
The involved way requires calibrating your monitor. This uses a monitor calibration tool and some monitor calibration software. The tool evaluates the colors on your monitor and shows you how to match them to a known standard (a standard that is used by all high-quality printing companies). This will make sure that the colors of your print are accurate and reflect the colors you see on your computer monitor.
Unfortunately, calibrating your monitor can be fairly expensive. That’s why you might be interested in the simpler method.
The quick and dirty method simply involves getting small proofs done of a few photos. Many printers will do these for free, or for very cheap.
When you receive the proofs, you can compare them to your monitor. Then you can compensate for the deficiencies of the photo in post-processing. That is, if your prints are undersaturated, you can add a bit of saturation, if your prints are too dark, you can brighten them, and so on.
If you’re going to be doing a lot of printing, it probably makes sense to just calibrate your monitor. The quick and dirty method is less convenient, and it won’t ensure total accuracy – it’ll just get you decently close to your desired outcome.
One thing to note is that monitor calibration will ensure color accuracy – but won’t necessarily ensure prints that are perfectly identical to your monitor. This is because different printing mediums have their own special look. Metal and acrylic prints look more vibrant, whereas matte and canvas prints tend to be more subdued. Plus, there are additional factors that affect the way your prints look, including color profile (which I discuss below).
How to Choose the Proper Printing Resolution
One question that people often ask:
How big can I print?
To answer this question, I want to briefly talk about digital and in-print resolution.
When you take a photo, your camera basically produces an image that is displayed in single dots of color, called pixels. Depending on the size of your camera sensor (that is, the megapixel count), your image will have more or fewer pixels. More pixels are generally better: The more pixels you have, the larger you can print.
Here’s why:
While digital devices display pixels, a photo print doesn’t use pixels. Instead, we talk about photo prints in terms of dots of color. The number of dots in a print is ultimately translated into dots-per-inch, or dpi. And dpi is the key metric used in printing photos.
This makes intuitive sense: A print has tiny dots of color, corresponding to the pixels in a digital image. Say that you use an image that is 900 pixels long. If you print that image, you’ll end up with an image that’s 900 dots long.
Now, if you decide to print that 900 pixel (or dot) photo at 3 inches long, that means it’ll have 300 dots-per-inch, or dpi.
But if you decide to print that 900 dot photo at 6 inches long, the print will only have 150 dpi.
So why is this important?
The higher your image’s dpi, the better the print will look. If you want to print a photo at giant sizes, you’re going to need to have a lot of pixels. Otherwise, you’re going to end up with a terrible-looking print where you can see every individual dot.
One more thing to consider is viewing distance. If you’re 20 feet away from a print, the dpi count can be low and the photo will still look okay. But if you’re a foot from that same print, it will look far worse.
So what resolution should you use for prints? And how big can you go?
This is something of a subjective question because some people don’t mind lower resolution photos, especially at larger viewing distances. And some people prefer to viewer prints from smaller distances than others.
But I’d recommend you use a standard of 300 dpi. 300 dpi is the industry standard for paper prints. If you can go higher, do it; 400 dpi can look slightly crisper.
If you’re using metal or canvas prints, you can get away with lower dpi, especially at larger sizes. And again, the greater the viewing distance, the lower the necessary dpi.
As a rule of thumb, once you’ve dropped below 300 dpi, use the highest dpi possible. There’s no reason to print at 200 dpi if you can print at 250 dpi.
Related Post: Photo Print Sizes: Common Sizes for Printing Photos
How Do You Calculate the Resolution for a Print?
Once you know how it works, calculating the proper resolution for printing is easy. All you have to do is take the desired dpi and multiply it by the desired number of inches on each side of the print. That will give you the resolution that you’ll need to print at that size.
If you want to print at 300 dpi, here’s the resolution you’ll need:
- For an 8×10 print, you’ll need 2400 pixels by 3000 pixels
- For an 11×14 print, you’ll need 3300 pixels by 4200 pixels
- For a 16×20 print, you’ll need 4800 pixels by 6000 pixels
Notice that your camera’s resolution will prevent you from going past a certain printing size. If you want an 11×14 print, you’ll need a camera with 3300×4200 pixels, or 13.86 megapixels.
If you want a 16×20 print, you’ll need a camera with 4800×6000 pixels, or 28.8 megapixels.
How to Enlarge Photos
What do you do if you want to create a print, but your image file is just too small?
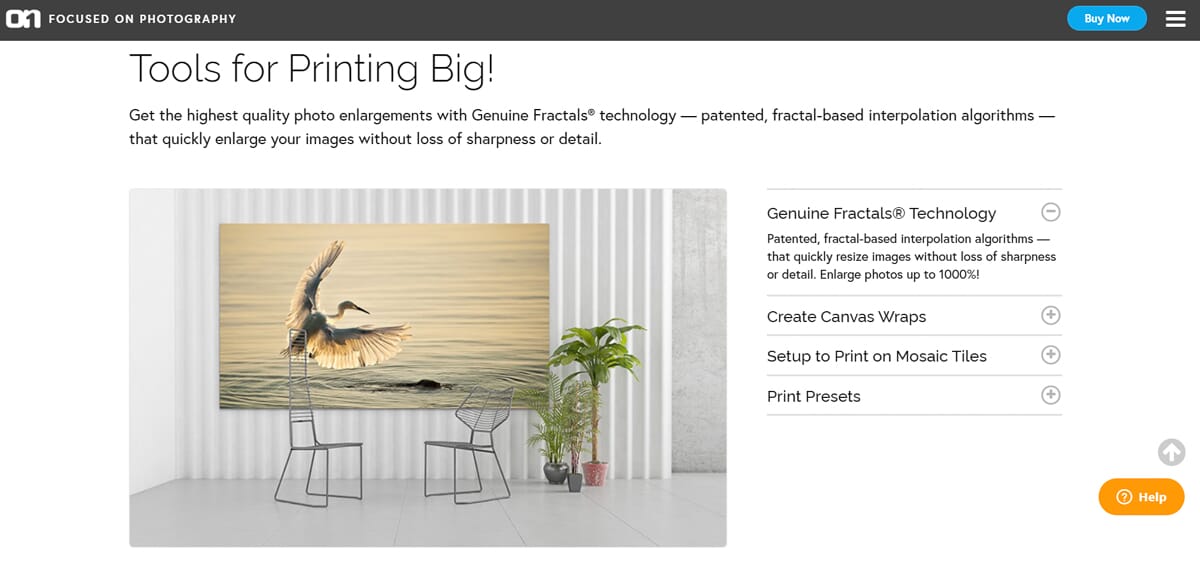
One answer is to enlarge your photo. Programs that enlarge your photos will use complex algorithms that add pixels to your image, and create a larger file.
You should be careful with enlarging your photos, however. An enlargement will never look quite as good as an original because no software is perfect. And if you do decide to enlarge your photos, make sure you use dedicated enlarging software, which will give you much better results.
A good option is ON1 Resize, which is designed for enlargements.
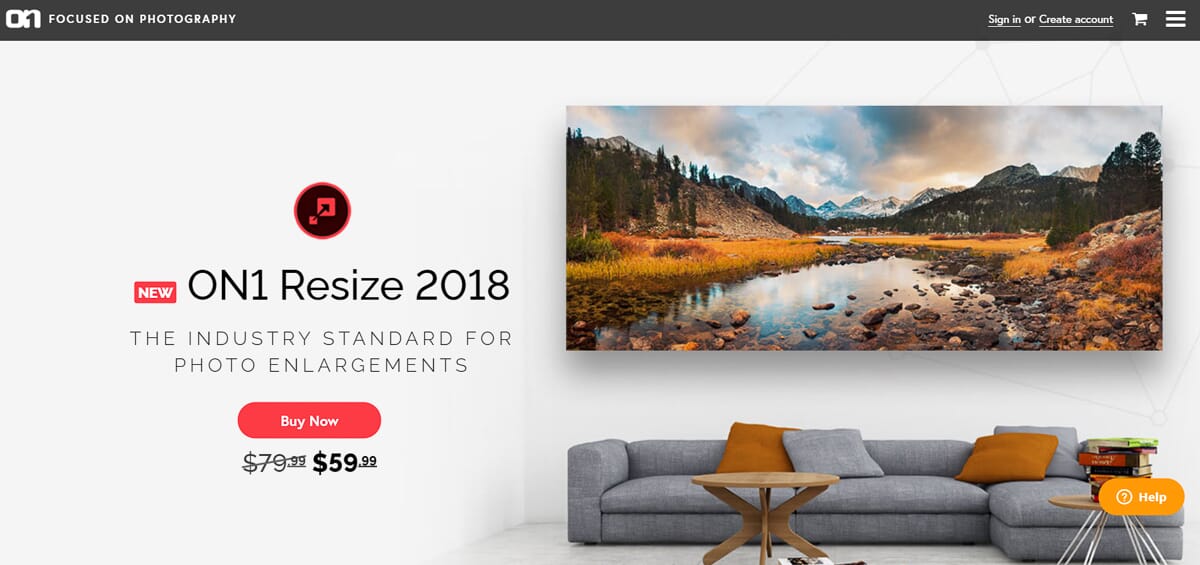
Take note: If you carefully enlarge your photos, the enlargement will look much better than simply printing at a reduced dpi. So enlargements do have their place – you just have to do it well.
The Best File Types for Printing
When you’re ready to export your photo for printing, you’ll run into the question of file format. Should you print a JPEG? A PNG? A TIFF file? Or something else?
In general, JPEGs work fine, especially if you’re not printing large. But if the quality is essential, I’d go with TIFF files – unlike JPEGs, TIFF files aren’t compressed. So a TIFF file will get you slightly higher quality than a JPEG.
To use TIFF files, however, you must start with an image in a TIFF or RAW file format. It makes little sense to convert a JPEG to a TIFF file – the JPEG will already be compressed, leading to an equally low-quality TIFF.
Processing Your Photos for Printing
As I’ve discussed above, the images you see on your computer monitor are not always the images you get as prints.
Even after you calibrate your monitor, there are two modifications you should make to your prints before sending them off to the printer.
First, you should heavily sharpen your image files. In fact, you should sharpen them to the point that they look a bit oversharpened on your monitor. When you receive the prints, they won’t look oversharpened; they’ll look just right.
Second, you should make sure you choose the right color profile.
Related Posts
Color profiles are fairly technical, but they basically make sure that the colors turn out the way you want them to. Most consumer printing services recommend the sRGB color profile, which is used for display on the web. However, if you’re going for perfection, use the Adobe RGB color space (and a printer that supports it). This will ensure a wider gamut of colors for your prints.
(If you’re unsure about which color space to choose, ask the printing service for a recommendation – different services support different color spaces.)
Keep the Medium in Mind: Setting the Final Size
Now you should have a good working knowledge of the steps involved in printing your photos. And you’re almost there!
However, there’s one more thing that you should know:
Depending on the printing medium you choose, you may need to tweak the final size of your image.
For instance, if you’re printing on photo paper, you should add a slight border to your photo, otherwise, the mat will clip the edges.
Just be mindful of these possibilities, and ask your printing service what they recommend. That way, you won’t end up printing a huge batch, only to become frustrated when nothing comes out the way you like.
How to Print Your Photos: Conclusion
Now that you’ve read this article, you should be pretty print-savvy.
Printing can be intimidating, but you have the knowledge to go out and start printing your own images.
So get printing!
Why should you print your images?
Printing your images is a great way to really take in the fruits of your labor. Printing allows you to fully appreciate images that will otherwise just sit on your computer hard drive. Printing is also important if you want to sell your images, or if you want to display them for others to view–you can print images to create gifts or to mount on your own wall (and others can appreciate them at dinner parties and such!). Printing is also a nice way to preserve photos; if you use the proper materials, a print can last for decades (or more).
Is it a good idea to print from home?
Printing from home can work, but you’ll want to make sure you have a printer that’s made for printing photos. If you use a standard printer, you’ll end up with poor colors and tones–prints that you’re just not happy with overall. If you’re set on printing from home, I’d highly recommend purchasing a printer designed for producing photos. You don’t have to spend a huge amount of money, but you should at least buy an option that’s well-reviewed by photographers. Alternatively, you can print from a lab, and there are plenty of high-quality, professional labs that’ll print your images for cheap!
What’s the best medium for printing photos?
That depends on what you’re after! Paper is the most traditional printing medium, and it can give you a variety of results, including fine-art matte looks or a glossy, modern finish. Canvas has become more popular recently, and while canvas prints are expensive, you can create very stately pieces with a nicely done canvas print. Make sure you use a quality canvas lab, though; it’s easy to order a canvas print and end up with truly subpar results. Finally, metal and acrylic prints are the most modern of the printing options, giving you a very futuristic, shiny look that’ll instantly attract attention. If you’re after an innovative way to display your photos, then either metal or acrylic is the way to go, though bear in mind that the price isn’t cheap!
What’s the best software for preparing photos for printing?
While there is dedicated software for printing, the average photographer doesn’t need it. Instead, I’d recommend using Adobe Lightroom Classic, which offers powerful printing options, both for printing from home and printing from a lab. With Lightroom, you can soft proof your photos, size them, apply printer and paper profiles, and more. In fact, the Lightroom Print module is actually quite advanced. So try it out and see what you think! If you’d prefer not to use Lightroom, another good option is Adobe Photoshop CC, which will give you more fine control over your printing (though it’s not as streamlined or user-friendly as Lightroom, especially when it comes to printing preparation).
Do you need a calibrated monitor to print your photos?
Not necessarily. I highly recommend you calibrate your monitor before printing (and I also recommend you use the right printer and paper profiles). However, you don’t have to calibrate your monitor; if you have a printer of your own, you can use a series of test prints to determine the necessary adjustments. Ultimately, you can get great results–even without a calibrated monitor!
What is soft proofing when printing photos?
Soft proofing refers to the process of simulating a printing output. In other words, by indicating the printer and paper you plan to use when printing, your printing program can generate the likely result (including how the colors and tones will shift when you use that particular printer-paper combination). Soft proofing is very useful because it allows you to adjust your file in advance to get your desired output when printing. Note that soft proofing isn’t perfect, and you’ll want to do hard proofing–where you create physical test prints–if you’re doing a large print order. But soft proofing is a great way to get started with prints that look like the original image file!
