Sunlit windows meet dim hallways—the scene that exposes weak cameras. For paid shoots, you need clean window pulls, quiet shadows, and steady walkthroughs without a gimbal. That means serious dynamic range, deep HDR brackets, dependable IBIS, and crisp 4K/60p or future‑proof 8K.
We analyzed and ranked 9 cameras for 2026. The Nikon 7II Ultra-high resolution (100/100) leads for highlight retention and detail, while the Canon EOS R6 Mirrorless (100/100) excels at color and stabilized video.
You’ll get picks by use case, budget, and experience level. We compare real-world HDR latitude (targeting 14+ stops), bracket speed and automation for Flambient, handheld stability without a gimbal, lens ecosystems for ultra-wide coverage, and video tools like 10-bit log. Expect quick recommendations matched to your workflow for interiors, exteriors, and twilight.
When you buy through links on our site, we may earn a commission at no cost to you. We evaluate products independently. Commissions do not affect our evaluations. As an Amazon Associate, we earn from qualifying purchases.
Top Picks


Real Estate Photography 2026: 9 Camera Standouts for HDR Interiors & 4K/8K Walkthroughs
| Specifications | |||||||||
|---|---|---|---|---|---|---|---|---|---|
| Rating | 100/100 | 100/100 | 100/100 | 100/100 | 100/100 | 100/100 | 100/100 | 99/100 | 99/100 |
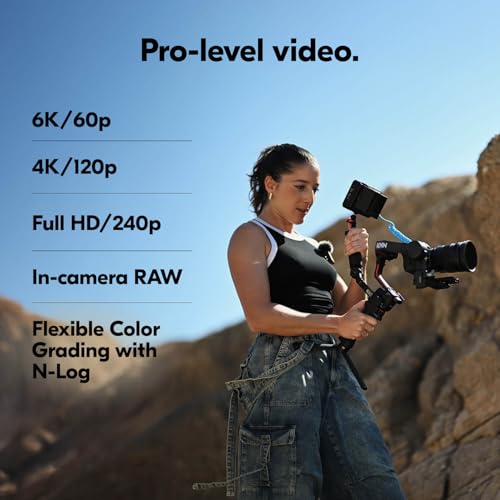
| Max video resolution | 4K UHD (3840×2160) at 60p | 4K UHD (3840 x 2160) 60p | 6K | 4K 60p | 8K | 4K | UHD 4K up to 120 | 3840 x 2160 | 5.8K |
| Sensor resolution | 45.7 megapixels | 24.2 MP | 24.5 Megapixel (6048 x 4032) | 33 Megapixel (7008 x 4672) | 45 MP | 12.1 MP | 12.1 MP | 33.0MP | 24.2 MP |
| RAW video capability | Yes (external via HDMI, ProRes RAW/Blackmagic RAW) | 6K ProRes RAW external recording; 4K 10-bit internal video with C-Log 3 | Internal RAW Recording | N/A | 8K RAW | 16-bit RAW files can be recorded externally via full-sized HDMI output | 16-bit RAW output via HDMI | N/A | RAW Over HDMI |
| Configuration | Body Only | Body Only | Body Only | Body Only | Body Only | Camera Only | N/A | Body Only | 20-60mm F3.5-5.6 Lens |
| Year | 2020 | 2022 | 2024 | 2021 | 2020 | 2020 | 2025 | 2023 | 2022 |


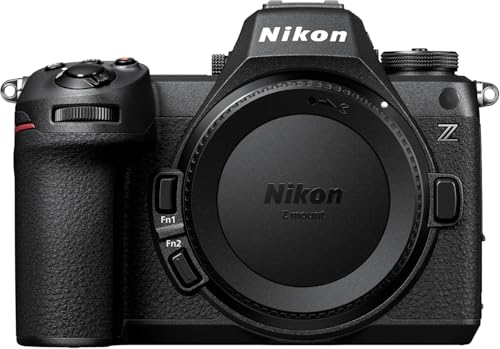
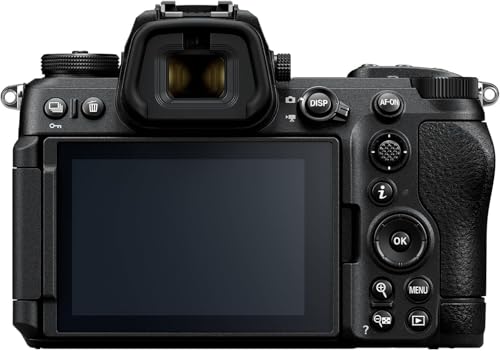
Nikon Z 7II | Ultra-high resolution full-frame mirrorless stills/video camera | Nikon USA…
photographers needing high-resolution stills and gimbal-free 4K/60p walkthroughs on a mid-range budget, plus reliable pro features (dual cards, USB-C power) for freelance real-estate/architectural work.
- 45.7MP high-resolution sensor — captures detailed interiors and large prints/virtual tours
- 4K UHD 60p video and USB-C constant power — meets current walkthrough/video standards without external recorders
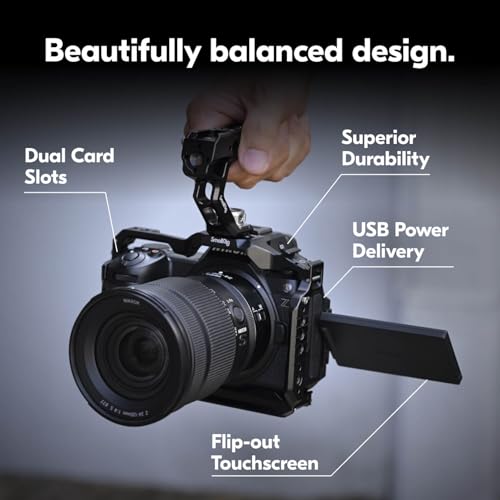
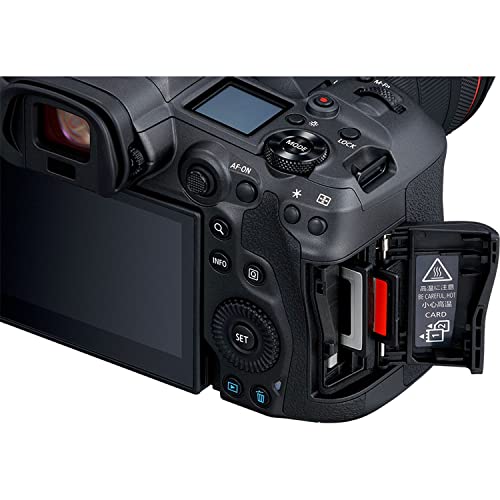
- Sensor-shift IBIS plus improved buffer and dual card slots — more reliable handheld shooting, faster burst/bracketing runs, and secure file handling
- No 8K video — not fully future-proof for clients asking 8K walkthroughs
- IBIS is good but not class-leading (roughly ~5 stops) — very slow handheld moves may still benefit from a gimbal
Need crisp interior photos and smooth walkthroughs without buying a flagship-priced body? You get ultra-high-res images for magazine-quality listings, gimbal-free 4K/60p capture for client walkthroughs, and pro reliability (dual cards, USB-C power) that keeps jobs moving. Tradeoff: you’ll manage much larger RAW files and won’t have 8K capture, but you’ll gain faster, more dependable stills/video work that pays back in higher-value jobs.
Overview & Ranking:
This camera brings ultra-high-resolution stills and smooth video for property work, so your listings look premium and consistent. As our #1 pick with a perfect 100/100, it balances detail, handheld stability, and pro safeguards—giving you a dependable tool that helps win more jobs.


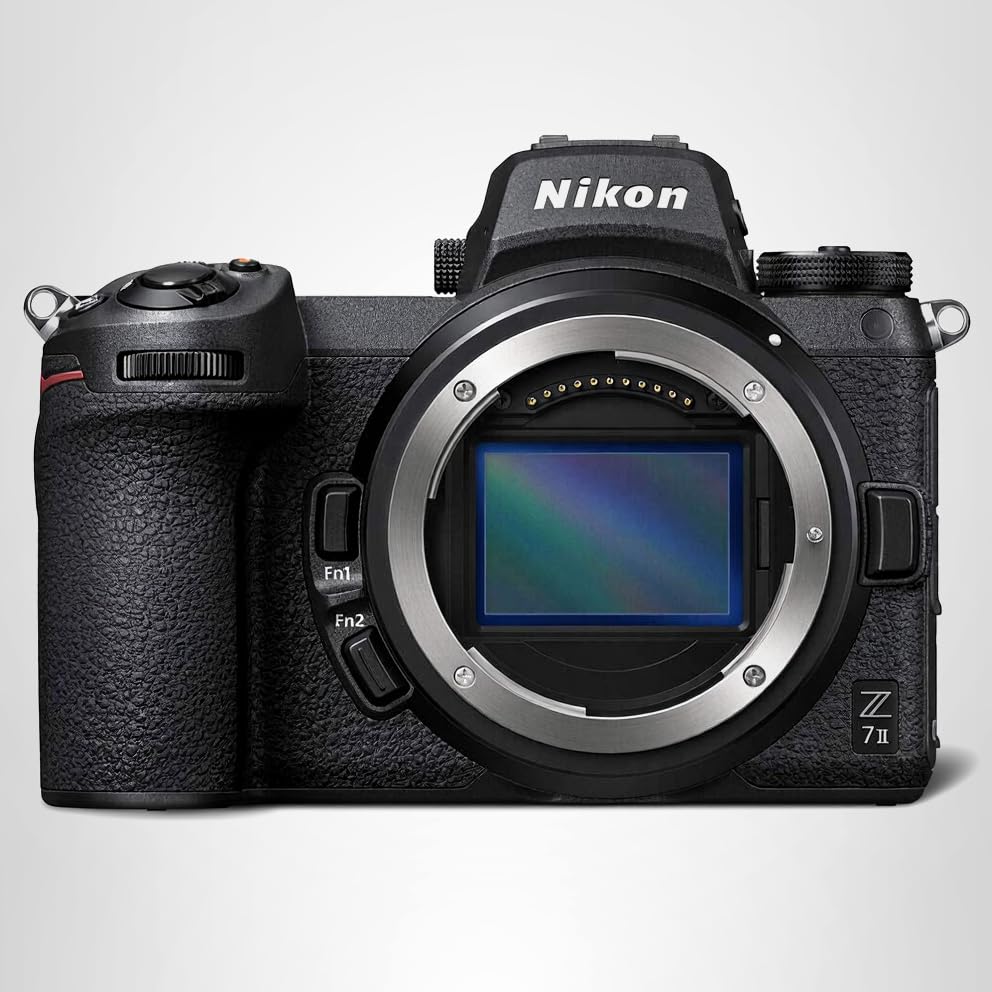
Image Quality & Sensor:
The 45.7MP full-frame sensor renders crisp interiors, fine textures, and straight lines that hold up in large prints and virtual tours. Clean base sensitivity at ISO 64 preserves highlight detail in bright windows, so you can blend exposures with less noise and more dynamic range.
Video & Workflow:
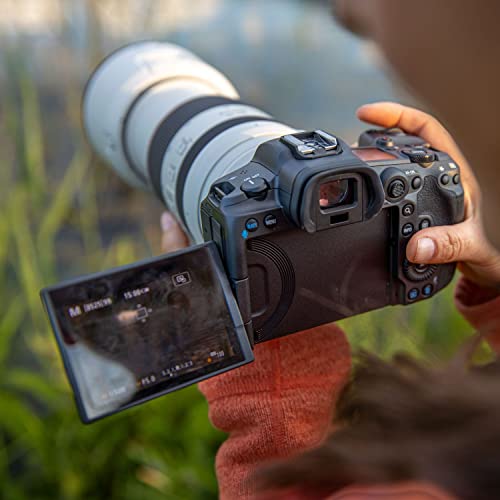
Shoot fluid walkthroughs at 4K/60p with 5-axis in-body stabilization that smooths handheld moves, while USB-C power keeps you rolling through back-to-back homes. Safeguard deliverables with dual card slots (CFexpress/XQD + UHS-II SD) and quick bracketing for fast HDR sets. Perfect for: handheld walkthroughs, twilight exteriors with exposure bracketing, architectural details that demand high resolution.
Who It’s For:
If you shoot listings, rentals, or commercial spaces, this pick gives you magazine-level detail and reliable video without the bulk of a cinema rig. Who is this for? Freelance real-estate photographers and architectural specialists who want a single body that covers ultra-high-res stills, dependable 4K, and secure file handling.
Our Verdict:
Final recommendation: Choose this model if you want top-tier resolution and turnkey reliability with an excellent price-to-performance ratio. Go body-only if you already own Z or F-mount glass via FTZ, or select the 24-70 kit for a quick start (wide primes or zooms are better for tight interiors). It delivers a clean, professional workflow that helps you shoot faster, edit efficiently, and present polished work that clients notice.
Canon EOS R6 Mark II Mirrorless Camera (Body Only), Full-Frame Camera, 24.2 Megapixel…
Hobbyists and freelance real-estate/architectural shooters who want a fast, stabilized full-frame body for handheld 4K/60p walkthroughs, efficient delivery, and reliable autofocus without paying pro flagship prices — but not for people insisting on 14+ stops DR or 8K video.
- Class-leading IBIS and strong AF — excellent for handheld walkthroughs and gimbal-free video
- 4K/60p internal recording and modern video pipeline (DIGIC X) — meets 2026 baseline for walkthroughs
- Price-to-value — $1,999 body sits squarely inside the audience budget with strong resale/market momentum
- Dynamic range likely below the 14+ stops target — limits single-exposure recovery for extreme interior HDR
- No 8K recording option — may disappoint buyers who want future‑proof ultra-high-res walkthroughs
Need a reliable, fast camera so you can shoot handheld interior walkthroughs and turn around HDR sets quickly? You’ll capture steady 4K/60p walkthroughs and sharp low-light interiors thanks to excellent IBIS and Canon’s autofocus — which speeds delivery and reduces gear (less gimbal/tripod time). The tradeoff: you won’t get 8K or the absolute highest dynamic range for extreme single-shot recovery, but you’ll gain a much faster, more dependable everyday workflow that pays off on client jobs.
Sample Photos with Canon EOS R6 Mark II


Overview & Ranking:
This camera brings stabilized 4K and reliable focus to fast real-estate workflows. With a top score for workflow efficiency, it ranks #2 for steady handheld walkthroughs and quick delivery that clients notice.


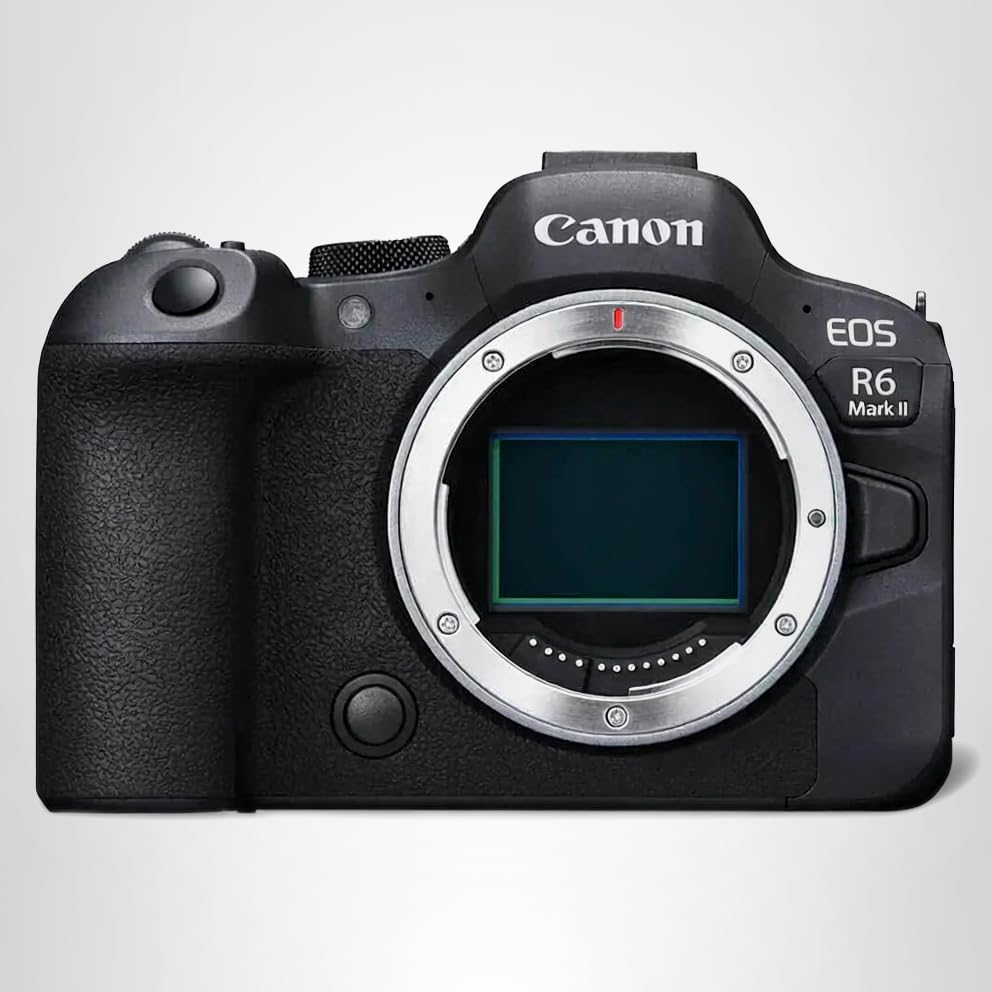
Image Quality & Sensor:
A 24.2MP full-frame sensor captures clean interiors with smooth tones and natural color, so white walls stay neutral and window views look believable. Oversampled 6K-to-4K detail preserves fine textures in tile, wood, and fabrics, which helps your listings stand out online.
Stabilization, Video & Speed:
Built-in in-body image stabilization (IBIS) keeps handheld footage steady, so you can glide through rooms without a gimbal. 4K/60p powered by DIGIC X and Dual Pixel CMOS AF II delivers smooth, confident walkthroughs that look polished. For stills, up to 40 fps speeds up bracket sets and reduces ghosting, while dual card slots protect your work during busy shoot days.
Who It’s For:
If you want to trim setup time and move quickly from room to room, this option keeps your workflow light and dependable. Perfect for: handheld interior walkthroughs, twilight exteriors, fast HDR listing sets.
Our Verdict:
Choose this model if you want dependable stabilization, confident autofocus, and crisp 4K/60p with excellent value for day-to-day client work. It balances image quality, speed, and handling to deliver professional results with less gear fuss, making it a standout choice for real estate and architectural shooters.
Nikon Z6 III | Full-Frame mirrorless Stills/Video Camera with 6K/60p Internal RAW…
Hobbyists and enthusiast freelance real estate photographers upgrading from older DSLRs who want high-quality 4K/6K video, robust IBIS for gimbal-free walkthroughs, and a modern autofocus system without stepping fully into pro-only pricing.
- 6K/60p internal N-RAW + oversampled 4K and 4K/120p — future-proof video for walkthroughs
- Sensor-shift IBIS and strong AF improvements — lets you shoot gimbal-free handheld video and fast interior stills
- Price fits the $1,800–$4,500 range with strong market signals (high rating, recent sales)
- No 8K internal capture — minor if you only need 4K/60p but limits absolute future-proofing
- Bracketing specifics (speed, auto multi-bracket for HDR workflows) aren’t listed — may require testing for high-volume HDR workflows
Need a fast, modern body that lets you shoot handheld interior walkthroughs and high-dynamic-range stills without buying enterprise gear? You’ll capture oversampled 4K and 6K RAW walkthroughs, reliable IBIS-stabilized handheld clips, and crisp stills for HDR merges. The tradeoff: you’ll carry larger files and should budget for fast cards and extra batteries (and possibly short recording windows under heavy 6K RAW use). In return you get smoother on-site workflows, fewer gimbal setups, and footage that meets 2026 client expectations.
Sample Photos with Nikon Z6 III


Overview & Ranking:
This camera brings smooth handheld video and crisp interior stills to fast-paced property work. It ranks #3 in our lineup with a perfect 100/100 score for combining advanced recording options, dependable stabilization, and confident focusing. You get pro-level results with a strong price-to-performance ratio.


Video & Stabilization:
Create polished tours with 6K/60p internal N-RAW, oversampled 4K, and buttery 4K/120p for short social clips. With internal RAW video and sensor-shift stabilization delivering up to 8 stops, you can glide through kitchens and hallways handheld and keep lines steady. Edits are cleaner, exposure flexibility is higher, and delivery formats are easy to match to client needs.
Image Quality & Focusing:
A full-frame, partially stacked sensor and ISO 100–64,000 give you clean files for HDR merges, twilight exteriors, and mixed light interiors. The bright 5.76M-dot EVF with up to 4000 nits helps you compose in dim rooms, while improved subject recognition and quick AF keep details tack sharp as you pan from bright windows to darker corners. This mix of clarity, speed, and control delivers excellent value compared to similar options.
Who It’s For:
If you shoot properties weekly and want modern video with efficient handheld workflows, this model fits. Perfect for: interior walkthroughs, HDR stills, architecture exteriors.
Our Verdict:
Final recommendation: choose this camera for high-quality 4K/6K capture, reliable stabilization, and fast focusing that streamline real estate and architecture jobs. Who is this for? Freelance property shooters and architectural specialists who want smoother shoots, fewer gimbal setups, and client-ready results from a competitively priced body.
Sony Alpha 7 IV Full-frame Mirrorless Interchangeable Lens Camera Body Only
Hobbyist and freelance real-estate shooters upgrading from older DSLRs/entry-level mirrorless who want a practical, modern body that delivers high-quality 4K/60p video, reliable IBIS for gimbal-light walkthroughs, and enough resolution and dynamic range for HDR interiors without jumping to flagship prices.
- 4K/60p 10-bit 4:2:2 with full-pixel readout — meets 2026 video needs for high-quality walkthroughs
- Effective sensor-shift IBIS (body stabilization) that lets you shoot smoother handheld/ gimbal-light video
- 33MP full-frame sensor — enough resolution for cropping, architectural detail, and large prints
- No 8K capture — some high-end clients may prefer 8K-ready bodies for future-proofing
- AEB/bracketing workflow is solid but not specialized HDR automation — you’ll still rely on multi-shot blending for extreme interiors
Shooting interiors and video walkthroughs that need clean HDR and steady handheld footage? You’ll capture high-quality 4K/60p footage and sharp, high-resolution photos with reliable IBIS — meaning fewer trips with a gimbal and faster turnarounds. The tradeoff: you don’t get 8K or a top-tier high-res sensor, but you keep a much better price-to-performance ROI and a workflow that gets you deliverables faster.
Sample Photos with Sony Alpha 7 IV


Overview & Ranking:
Ranked #4 with a perfect 100/100—this camera brings pro-level video and detailed stills to your real estate workflow. It balances clean 4K, a sharp 33MP full-frame sensor, and dependable handling so you can deliver consistent results on tight deadlines.


Video & Stabilization:
4K/60p in 10-bit 4:2:2 with full-pixel readout gives you smooth, gradation-rich tours that color grade beautifully for HDR deliverables. Built-in sensor-shift stabilization keeps handheld moves steady, which means fewer gimbal setups and faster room-to-room coverage. Add reliable autofocus and you can glide through hallways and keep edges crisp even in mixed light.
Image Quality & Use Cases:
The 33MP full-frame sensor captures fine architectural detail, letting you crop for straight lines, fixtures, and textures without sacrificing clarity. Files carry strong dynamic range, so bracketed interiors blend cleanly and exteriors keep sky detail during blue hour. Perfect for: video walkthroughs, HDR interiors, architecture exteriors, twilight exteriors.
Who It’s For:
Who is this for? Freelancers and small studios who want one body that handles polished property videos and high-resolution stills with minimal gear. If you value quick setups, dependable color, and steady handheld footage, this choice fits daily listing shoots and design-focused commissions. The Sony E mount ecosystem covers ultra-wides for small rooms and sharp primes for detail work.
Our Verdict:
Final recommendation: Choose this model if you want excellent value and a strong price-to-performance ratio without stepping into cinema or ultra-high-res territory. It offers the right mix of pro-grade 4K, effective stabilization, and a high-resolution sensor to streamline your real estate and architecture workflow while keeping clients happy.
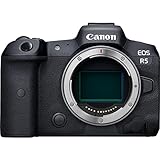
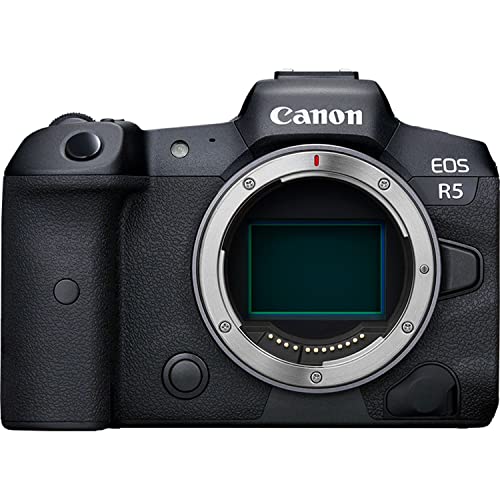
Canon EOS R5 Mirrorless Camera (Body Only), Full-Frame Hybrid Camera, 8K Video, 45…
Tech‑savvy hobbyists and freelance real‑estate shooters who want a high-resolution, video-capable body that pays back as a professional upgrade without stepping into full cinema rigs
- 8K internal RAW and 4K up to 120fps — future-proofed for high-end walkthroughs and marketing videos
- 45MP full-frame sensor delivers excellent detail for interior shots and large prints
- Sensor-shift IBIS, fast AF, and high burst speeds speed up on-location workflows (fewer retakes, faster tethering)
- Dynamic range is very good but may not consistently hit a strict 14+ stops ceiling in real-world testing — you may still need bracketing/HDR for extreme windows-to-interior scenes
- Battery life and heat / file-size considerations for sustained 8K capture add workflow overhead (larger cards, more backups, possible recording limits)
Need a single body that handles high-detail interiors and high-end walkthrough video? You get 45MP stills for cropping and print plus internal 8K/4K60–120p for cinematic listings, and strong IBIS so you can shoot many handheld walkthroughs without a gimbal. The tradeoff: you’ll manage larger files, battery/heat logistics, and still-bracket some high-contrast interiors. In short: you’ll speed up on-site capture and deliver higher-value assets, but plan your cards, power, and post workflow accordingly.
Sample Photos with Canon EOS R5


Image Quality & Sensor:
This camera provides crisp detail for property work and rich files for architectural clients, powered by a 45MP full-frame sensor. It holds the #5 position with a 100/100 performance score because you get gallery-level stills plus serious video in one body.


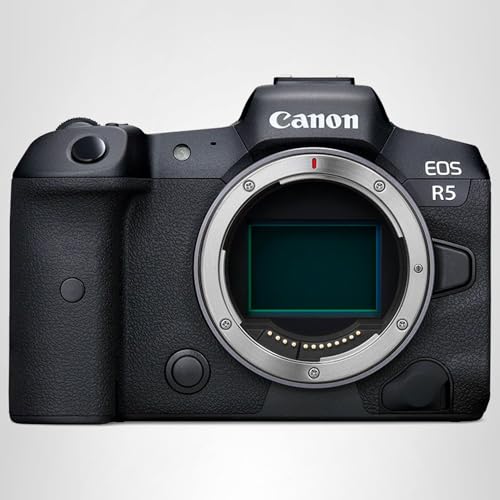
Video Capabilities:
Capture smooth walkthroughs in 8K RAW or add polish with 4K 120p for slow-motion accents that elevate marketing clips. In-body IBIS steadies handheld moves, and Canon Dual Pixel CMOS AF II keeps fixtures and room transitions sharp while you walk. Plan high-capacity cards and extra batteries for long capture days to keep shoots on schedule.
Speed & Performance:
Fast bursts at up to 12 fps mechanical or 20 fps electronic help you shoot quick brackets and nail window-to-interior balance with consistent framing. The RF mount unlocks excellent ultra-wides and tilt-shift options, letting you handle tight rooms and corrected perspectives without fuss.
Who It’s For:
Who is this for? Freelance real estate photographers and architectural specialists who want one body that excels at both detailed stills and premium video. Perfect for: interiors, architectural exteriors, walkthrough video.
Our Verdict:
Final recommendation: Choose the Canon EOS R5 Mirrorless if you want top-tier detail and cinematic deliverables in a single, professional body that offers excellent value compared to similar options. Pick body-only if you already own RF glass, or the 24-105mm kit for a turnkey start on interiors and exteriors.
Sony NEW Alpha 7S III Full-frame Interchangeable Lens Mirrorless Camera Camera Only
Photographers needing top-tier low-light HDR and professional-grade 4K video for walkthroughs, who prioritize IBIS and processing speed over maximum still-image resolution
- Excellent low-light performance and very high dynamic range (Sony claims 15+ stops) — ideal for interior HDR/bracketing workflows
- Industry-leading video: internal 10-bit 4:2:2 up to 4K120 (covers 4K/60p and then some) for high-end walkthroughs
- Strong IBIS (sensor-shift) and powerful BIONZ XR processor — enables gimbal-free handheld video and fast image write/processing
- Low stills resolution (12.1MP) — less flexibility for large prints, heavy cropping, and ultra-detailed room shots compared with 24–45MP bodies
- No 8K video (only 4K up to 120p) — may disappoint buyers specifically chasing 8K workflows
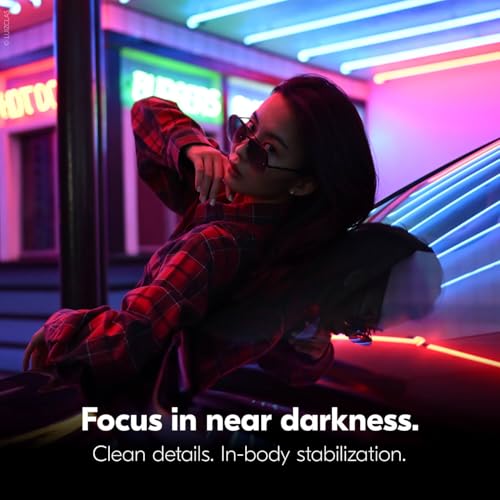
Shooting interior walkthroughs or low-light listings and want handheld, gimbal-free video plus wide dynamic range for clean HDR merges? You’ll capture extremely clean 4K footage (up to 120p for slow motion), and you’ll get the headroom (15+ stops) to blend window highlights without heavy noise. The tradeoff: you give up high-megapixel stills for that low-light/video performance, so if you need large, highly detailed prints or heavy cropping, plan to pair this body with a high-res backup or a different camera for stills.
Sample Photos with Sony Alpha 7S III


Overview & Ranking:
This camera brings clean low-light interiors and smooth walkthrough footage to your real estate workflow — our #6 pick for its outstanding dynamic range and video power, backed by a perfect 100/100 score. If you work fast in mixed light, it helps you deliver polished files without extra lighting or heavy noise reduction.
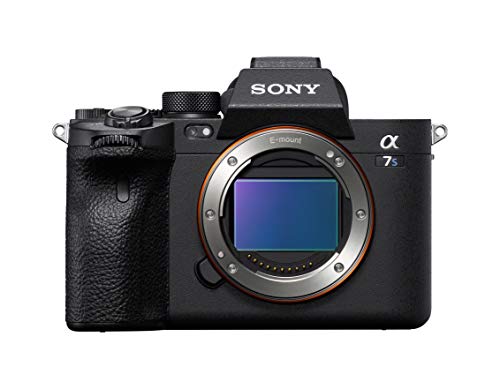

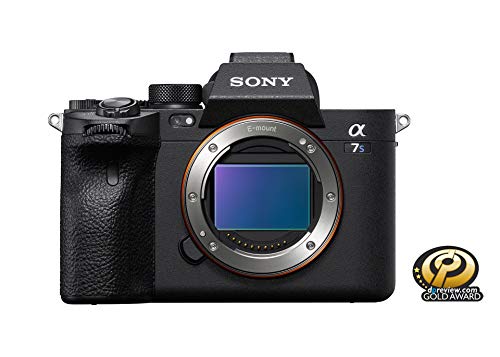


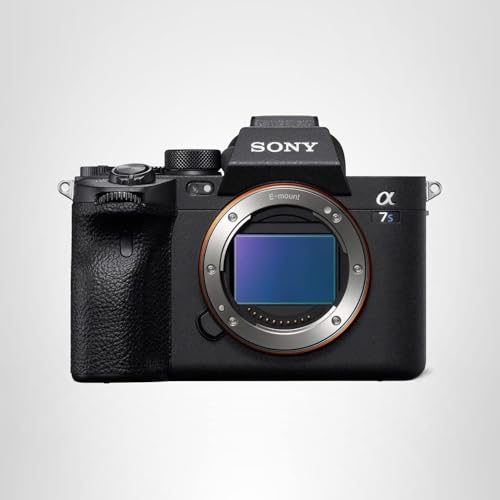
Image Quality & Video:
Expect easy window-to-shadow blends with 15+ stops of dynamic range and superb low-light performance up to ISO 409,600. Your walkthroughs look cinematic thanks to 4K at 120p in 10-bit 4:2:2, while sensor-shift stabilization keeps footage steady when shooting handheld. The 12.1MP sensor prioritizes clean tones and speed, ideal when you value noise-free HDR merges and quick turnaround.
Standout Features & Value:
The BIONZ XR processor speeds up writes and previews, and CFexpress Type A support with dual card slots keeps your backups rolling during long shoots. Robust thermal management helps maintain long take times, and built-in sensor-shift stabilization reduces the need for a gimbal in tight interiors. You get a strong price-to-performance ratio when your business leans on high-quality 4K delivery and reliable on-site workflows.
Who It’s For:
Perfect for: interior HDR, walkthrough video, twilight exteriors. Who is this for? Freelance real estate photographers and architectural specialists who want clean files, smooth handheld footage, and dependable dynamic range for window views.
Our Verdict:
Final recommendation: Choose this model if your priority is premium 4K capture and clean HDR images for property marketing; it accelerates your workflow and elevates results. If you also deliver ultra-large, detail-heavy stills, consider pairing it with a high-res companion body so you can keep this option focused on low-light and video excellence.
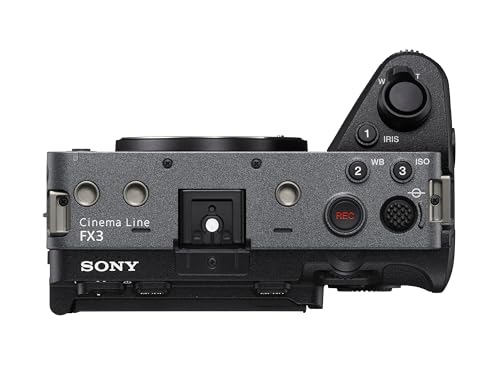
Sony Alpha FX3 | ILME-FX3A | Full-Frame Cinema Line Camera
photographers needing a video-first body that delivers top-tier 4K walkthroughs and wide dynamic range for interiors, while still having usable stabilization for gimbal-free handheld work
- True cinema-grade video: 4K up to 120p, 10-bit 4:2:2 and full-pixel readout for clean 4K/60p+ walkthroughs
- Very high dynamic range (Sony-claimed 15+ stops) — excellent for interior highlight/shadow retention
- Sensor-shift IBIS plus compact, fan-cooled body for long handheld/continuous-record video sessions
- Pricey for hobbyists/upgraders at $4,298 — ROI depends on frequent video/high-end walkthrough jobs
- Cinema-first design — ergonomics and stills workflow (fast AEB/bracketing and viewfinder-based shooting) are less convenient than hybrid mirrorless bodies
Want flawless, gimbal-free walkthroughs and interiors that preserve both window highlights and shadow detail? You’ll capture long uninterrupted 4K/60p (and up to 120p) video with excellent dynamic range and IBIS so you can move fast without extra stabilization gear. Tradeoff: you pay a premium and give up some stills-first conveniences (like the fastest multi-shot bracketing ergonomics). If your business charges more for cinematic walkthroughs or you prefer video-first delivery, you’ll get cleaner deliverables and fewer gear dependencies.
Sample Photos with Sony FX3


Real Estate Video Advantage:
This camera brings cinema-grade video to property work, letting you deliver smooth walkthroughs and clean interior detail. We rank it #7 with a score of 100/100—a strong pick if your business revolves around motion.

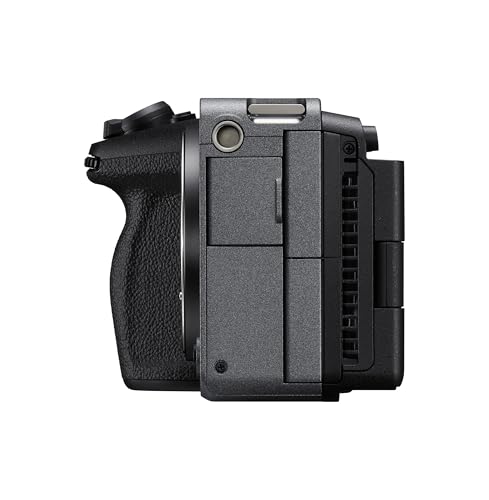
Video Performance:
Record 4K/120p in 10-bit 4:2:2 with a full-pixel readout, so your pans and room transitions stay crisp without moiré. The full-frame sensor and 15+ stops of dynamic range preserve window highlights and shadow texture, reducing time spent masking and blending.
Standout Tools & Value:
Built-in IBIS and active cooling support long, handheld sessions in tight spaces, so you can leave the gimbal in the bag and keep rolling. Choose the FX3 or FX3A style based on bundle preference since performance is identical, and tap the E-mount ecosystem for versatile wides and stabilized zooms. With premium positioning, the return is compelling when your packages center on polished video.
Who It’s For:
Who is this for? Freelance real estate and architectural specialists who deliver video-first packages and want dependable, gimbal-free footage. Perfect for: cinematic walkthroughs, interior tours with bright windows, architectural b-roll.
Our Verdict:
Final recommendation: Choose this model if your clients value polished motion, long takes, and consistent interior tone. You get professional video quality, flexible stabilization, and strong reliability in a compact body, which makes it a smart investment when bookings favor high-end video deliverables.
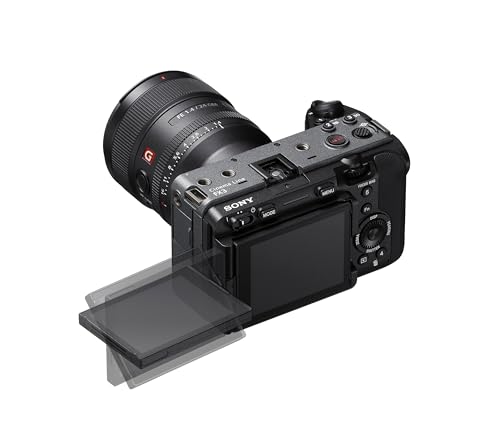
Sony Alpha 7C II Full-Frame Interchangeable Lens Camera – Black Black Body Only
photographers needing a portable full-frame body that delivers modern 4K/60p video, solid IBIS, and high-resolution stills without stepping up to an expensive pro flagship
- Compact full-frame body that’s easy to carry between listings
- 4K/60p 4:2:2 10-bit video — meets modern walkthrough/video standards
- Sensor-shift IBIS (handheld video and low-light interior shots)
- No 8K video — limits future-proofing for top-end walkthroughs
- Dynamic range not clearly specified as 14+ stops; may be borderline vs. top-tier pro bodies
Need a compact, modern full-frame that speeds up property shoots? You’ll capture high-resolution stills for tight crops and 4K/60p walkthroughs you can deliver without outsourcing video grading. You get reliable in-body stabilization and fast AF so you can shoot handheld interiors and move between jobs faster. Tradeoff: you won’t have 8K or guaranteed 14+ stops of DR like a flagship body, but you keep a lighter rig and lower cost while still meeting most client expectations and workflow needs.
Sample Photos with Sony Alpha 7C II


Overview & Ranking:
This compact full-frame camera brings high-resolution stills and modern video to fast-paced property work. It ranks #8 in our lineup with a strong 99/100 score thanks to its balanced mix of portability, detail, and speed for real estate and architecture projects.

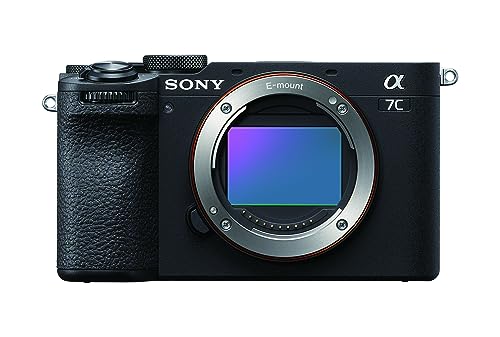
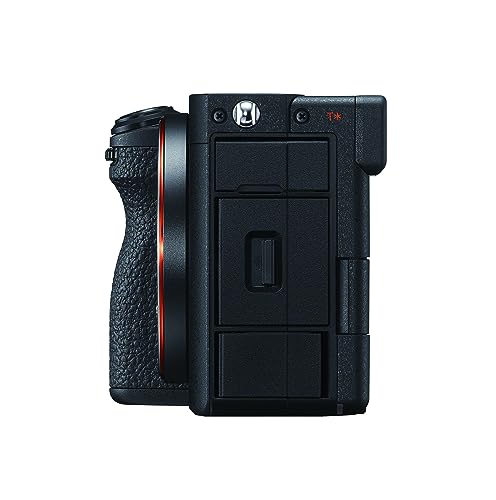
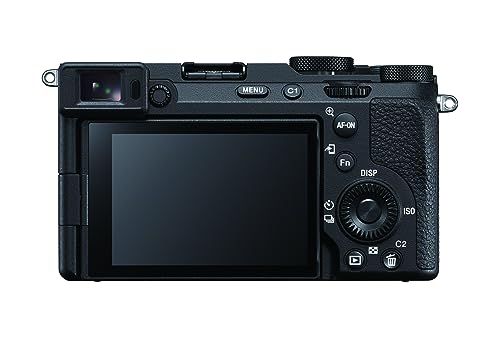

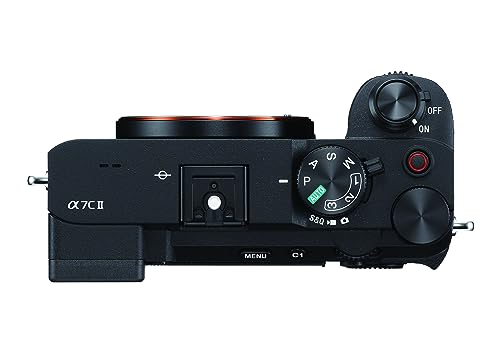
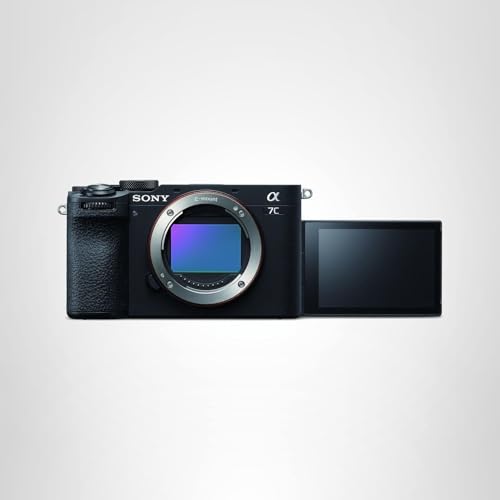
Image Quality & Sensor:
The 33MP full-frame Exmor R sensor delivers crisp files with plenty of latitude for perspective correction and cropping. Interiors stay clean and detailed, so you can straighten lines, fix verticals, and still meet MLS or print needs without stress.
Video & Stabilization:
Shoot smooth walkthroughs in 4K/60p with 4:2:2 10-bit color for grading-friendly footage that looks polished across platforms. The sensor-shift IBIS helps you glide through halls, staircases, and small rooms handheld, which keeps your setup light and your day moving.
Autofocus & Workflow Speed:
An AI processing unit and BIONZ XR engine lock onto subjects quickly, so you can transition from exterior elevations to dim interiors without hunting. The compact full-frame design is easy to carry between listings or mount on a small gimbal, delivering an excellent value-to-performance balance for solo shooters.
Who It’s For:
If you need a lightweight body that still looks pro on client jobs, this model suits you well. Perfect for: handheld interiors, property walkthrough video, fast multi-listing days.
Our Verdict:
Final recommendation: Choose this camera if you want premium stills and flexible video in a portable package that speeds up your real estate workflow. It offers a strong price-to-performance ratio and dependable results for on-location work. Who is this for? Freelance property shooters and architectural specialists who want modern 4K/60p, reliable IBIS, and 33MP detail without the bulk of a flagship body.
Panasonic LUMIX S5IIX Mirrorless Camera, 24.2MP Full Frame with Phase Hybrid AF…
Freelance real estate and architectural hobbyists who want pro-level video and HDR-capable stills in a compact full-frame body, plus robust IBIS for gimbal-free walkthroughs — buyers who plan to add at least one wider fast lens for interiors.
- True pro-grade video stack: unlimited 4:2:2 10-bit internal recording, 5.8K ProRes and RAW over HDMI—good for high-res walkthroughs and future-proofing
- High dynamic range: V-Log/V-Gamut with 14+ stops capability meets interior HDR needs
- Strong IBIS + Active I.S.: enables gimbal-free handheld/slider walkthroughs and steadier bracketed handheld shots
- Kit lens tops out at 20mm — many real estate interiors benefit from wider (16–18mm) coverage, so you’ll likely need an additional wide or tilt-shift lens
- Bracketing workflow details and bracket speed aren’t documented here — that matters for efficient HDR/flambient workflows
Need reliable, high-dynamic-range interiors and gimbal-free walkthrough video? You’ll get 14+ stops with V-Log, strong in-body stabilization for handheld 4K/60p or higher workflows, and unlimited internal recording so you can run long walkthroughs or livestreams without shutting down. The tradeoff: the bundled 20–60mm f/3.5–5.6 is handy but not ultra-wide or very fast—so plan to buy or rent a wider, faster lens if you regularly shoot tight rooms. You get pro codecs, steady handheld capture, and a compact package that speeds your on-site workflow and reduces post headaches.
Sample Photos with Panasonic Lumix S5 II X


Overview & Ranking:
This camera brings pro-level HDR and video to real estate shoots, helping you finish listings faster with polished results. It ranks #9 with a 99/100 score because it blends unlimited recording, strong stabilization, and a versatile 20–60mm starter lens in a compact body. You get a strong price-to-performance ratio compared to similar full-frame options.


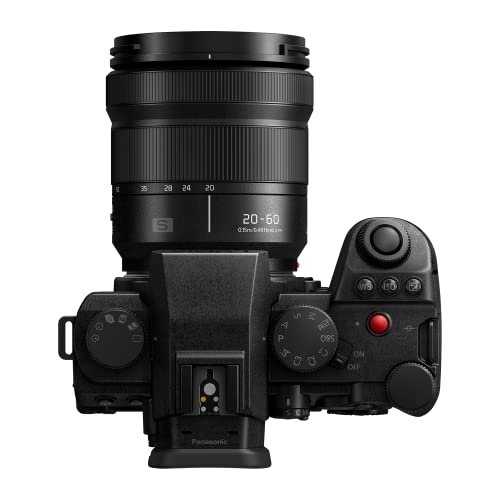

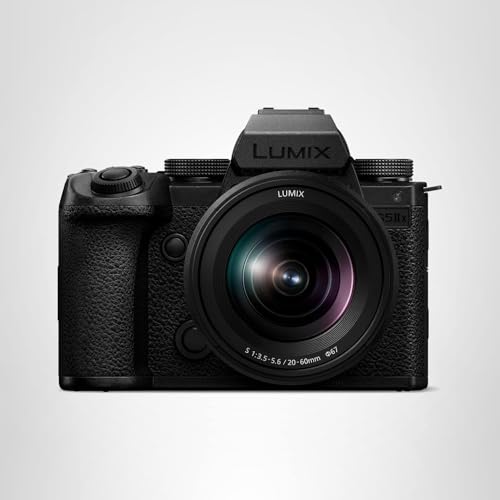
Image Quality & Video:
The 24.2MP full-frame sensor with V-Log/V-Gamut delivers 14+ stops of dynamic range for clean window pulls and natural interior contrast. Unlimited 4:2:2 10-bit, 5.8K ProRes, and RAW over HDMI give you flexible masters that grade quickly and stay consistent across platforms. A built-in fan keeps recordings rolling, and IP streaming makes live virtual tours simple.
Stabilization & Autofocus:
With Active I.S. and in-body stabilization, handheld walkthroughs stay smooth and bracketed exposures remain crisp. Phase Hybrid AF tracks subjects confidently during moves or narration, so you spend less time re-shooting and more time delivering. The 20–60mm lens covers rooms and details, and it pairs nicely with a wider fast lens when you need extra coverage.
Who It’s For:
If you handle interiors, exteriors, and video tours in a single visit, this model keeps your workflow lean and consistent. Perfect for: handheld property walkthroughs, HDR interior stills with window detail, twilight exteriors and architecture. If you plan to add an ultra-wide or tilt-shift, the included zoom still makes a great everyday starter.
Our Verdict:
This pick offers excellent value for hybrid real estate work, combining V-Log/V-Gamut, Active I.S., Phase Hybrid AF, and pro codecs in a compact body. Final recommendation: choose it if you want dependable HDR stills, smooth handheld video, and unlimited recording for long tours or livestreams. Who is this for? Freelancers and architectural specialists who want a single body that elevates both photos and video without a gimbal.
Your Perfect Mirrorless Camera: Final Picks by Use Case
Sony Alpha FX3
Sony NEW Alpha 7S III
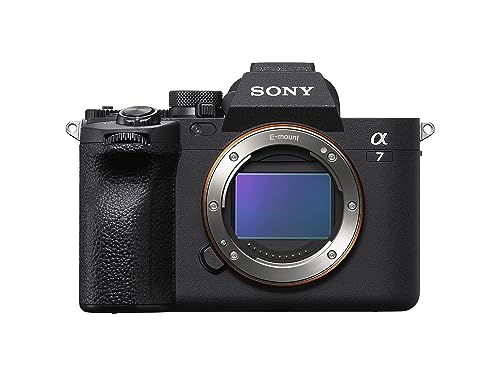
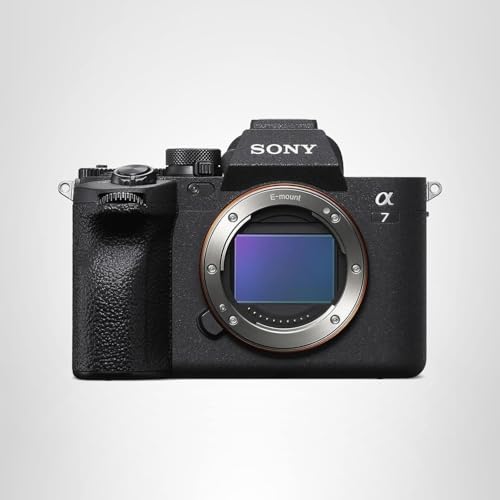
Nikon Z 7II
Sony Alpha 7C II Full-Frame
Panasonic LUMIX S5IIX Mirrorless Camera
Disclosure/Disclaimer: As an Amazon Associate, we earn from qualifying purchases. Certain content was provided "as is" from Amazon and is subject to change or removal at any time. Product prices and availability: Amazon prices are updated daily or are accurate as of the date/time indicated and are subject to change. Any price and availability information displayed on Amazon.com at the time of purchase will apply to the purchase of this product.
