Editor’s Key Takeaways: Essential Macro Photography Settings Guide

This blog post by macro photographer Jaymes Dempsey offers a comprehensive guide for mastering macro photography settings, ensuring well-exposed and artistically refined shots. Key points include:
- Aperture Priority Mode or Manual Mode: Essential modes for perfect exposures by controlling aperture, shutter speed, and ISO.
- Wide Aperture: Use for a shallow depth of field effect, resulting in beautiful soft-focus backgrounds.
- Fast Shutter Speed: Critical at macro magnifications to prevent camera shake and ensure sharp images.
- Lowest ISO: Aim for the lowest possible to reduce noise and maintain quality.
- Auto White Balance: Use this setting, with corrections in post-processing as needed.
- Manual Focus: Recommended for precise focus, especially when shooting at a 1:1 ratio.
These settings are tried-and-true methods used by the author in their macro photography practice, promising stunning results for your close-up shots.
Introduction
Are you struggling to determine the right settings for beautiful macro photos? Do you want a clear and simple guide you can use for well-exposed, artistic shots?
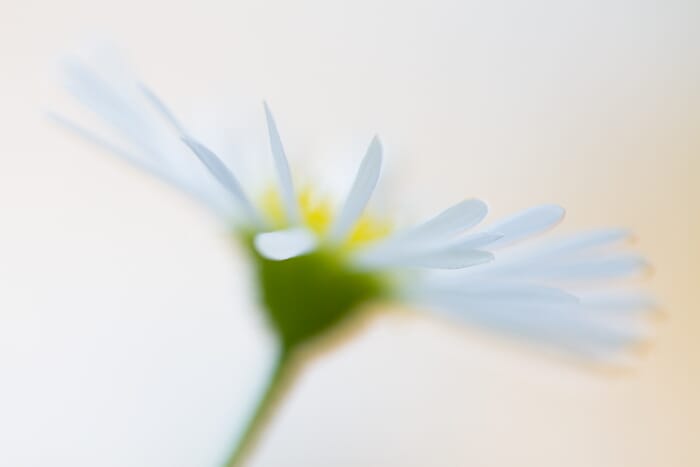
In this article, I’m going to share my favorite macro photography settings, including:
- The perfect aperture for beautiful soft-focus backgrounds
- Why shutter speed is especially important at macro magnifications
- How to consistently nail focus, even when shooting at 1:1
- The ISO you should aim for in all your macro photos
- Much, much more!
In fact, these are the exact settings I use in my own macro photography, and they’ve never let me down. So if you’re ready to discover the perfect settings for your close-up photos, then let’s get started.
Best Macro Photography Settings:
1. Use Aperture Priority Mode or Manual Mode for Top-Notch Exposures
A good macro photo starts with good exposure. In other words, you want to have your subject nice and bright, without clipped shadows or blown-out highlights, like this:
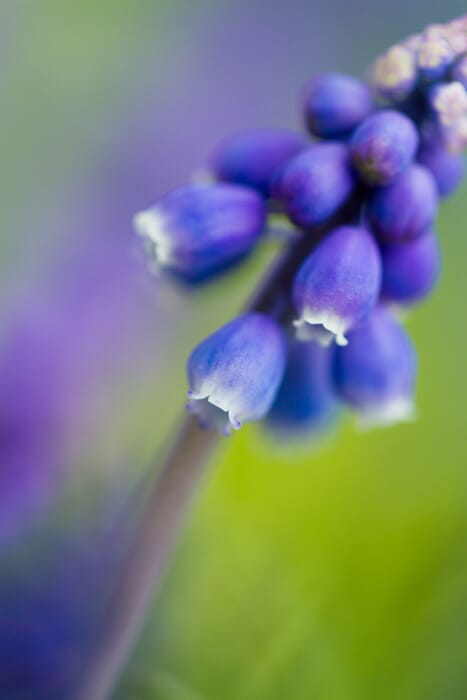
So what’s the secret? How do the pros consistently nail exposure across dozens of different lighting conditions?
It’s actually quite simple. It’s just about taking control of your exposure variables – the aperture, the shutter speed, and the ISO. That’s where Aperture Priority mode and Manual mode come in.
You see, Aperture Priority mode lets you dial in a particular aperture and ISO, while your camera chooses a corresponding shutter speed for a beautiful exposure. You then take a test shot, and if the image looks great, then that’s it, you’re done. If the image doesn’t look quite right (e.g., it’s too muddy and dark), you can use exposure compensation to make the necessary adjustments.
Manual mode takes camera setting control a step further. Instead of letting you choose some settings while your camera chooses other settings, Manual mode gives you complete control over settings, so that you choose the aperture, the shutter speed, and the ISO all at the same time.
(Yes, it can get a bit overwhelming at first, but you get used to it!)
Note that you’re not flying blind here. Your camera will offer some sort of exposure bar, which you can see in the viewfinder. And by adjusting your aperture, shutter speed, and ISO, you can ensure the exposure bar falls smack-dab in the middle of the scale. Usually, this is enough to create a well-exposed shot, but in cases where the exposure needs work, you can make manual adjustments.
Honestly, whether you decide to use Aperture Priority mode (plus exposure compensation) or Manual mode is all down to personal preference. Both options give you a huge amount of control, and both options are popular among professionals.
The key is to avoid your camera’s Auto mode, which lets your camera do all the work and will frequently result in failed opportunities.
2. Use a Wide Aperture for a Shallow Depth of Field Effect
I’d like to start this section with a couple of important definitions:
Aperture refers to a hole (i.e., a diaphragm) in the lens, which opens and closes depending on your f-stop setting. The lower the f-number, the wider the aperture, and the smaller the plane of sharpness in the scene (known as the depth of field). And the higher the number, the narrower the aperture, and the deeper the plane of sharpness.
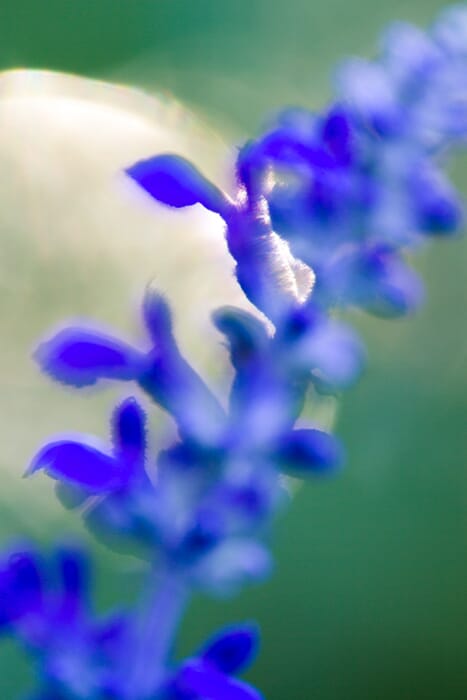
So with a low aperture setting such as f/2.8, you’ll often get a narrow plane of sharpness and therefore a heavily blurred background, like this:
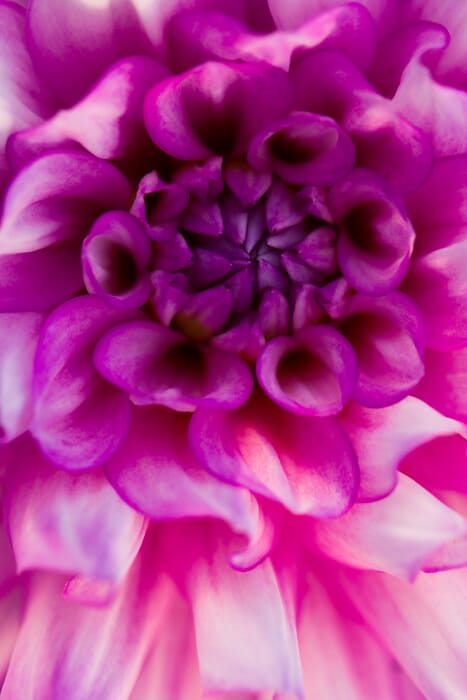
And with a high aperture setting such as f/16, the plane of sharpness will stretch throughout the scene and the background will remain (relatively) crisp:
In macro photography, there’s no single best approach to aperture and depth of field. A narrow aperture can look great and will give you plenty of sharp, detailed photos that’ll keep you satisfied. But lots of macro photographers love the shallow depth of field approach because it produces images like this:
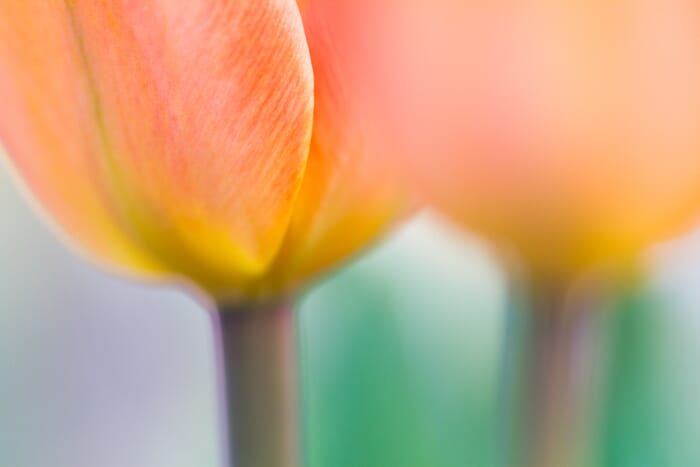
Which is why, if you’ve never tried using a wide aperture for macro photography, I highly recommend it. Simply dial in your lens’s widest aperture setting, then have fun setting your point of focus on your subject and creating beautiful, bokeh-filled backgrounds.
(Pro tip: If your backgrounds aren’t blurry enough, even with an aperture of f/2.8, try increasing the distance between your subject and the background.)
Personally, I’m a big fan of the shallow depth of field look. But if you try it and decide that it’s not your cup of tea, that’s completely fine – increase your aperture and see whether you prefer a deeper depth of field effect.
Unfortunately for photographers who love detail and sharpness, the closer the lens is to the subject, the shallower the depth of field. So at high magnifications, even an f/16 image will have a pretty narrow plane of focus. (That’s where techniques such as focus bracketing and a good focus stacking software come in handy, which will let you keep your files sharp throughout while avoiding insanely narrow apertures such as f/32.)
By the way, widening the aperture won’t just narrow the depth of field; it’ll also increase the amount of light hitting the camera sensor, which will in turn increase the exposure of the image (all else being equal). So if you’re in a situation where your shots keep turning out too dark, try decreasing your f-number while leaving your shutter speed and ISO constant.
3. Use a Fast Shutter Speed to Prevent Camera Shake
Many photographers don’t know this, but a higher lens magnification is a recipe for camera shake disaster – unless you take specific steps to combat it.
You see, as the lens gets closer to the subject, it magnifies detail, but it also magnifies problems such as camera shake. So while you can often handhold a portrait shot at 1/80s, try it with a macro lens at 1:1 magnifications and you’ll end up with consistently blurry photos.
What do you do?
Well, you have two real options:
- You can stabilize your camera by using a tripod (and probably a macro focusing rail, too, for added convenience).
- You can continue to handhold while increasing the shutter speed.
I find tripods to be restrictive and cumbersome, so I tend to go with the second option, but it’s really up to you; if you like the idea of slow, deliberate macro photography, grab a tripod and see how it goes.
If you prefer to handhold, then you’ll need to carefully adjust your shutter speed until you get a sufficiently sharp shot. The specifics will depend on your level of magnification, but I’d recommend a shutter speed of at least 1/250s when photographing from 1:2 magnification to 1:1 magnification. Step back a bit, and you can drop to 1/160s without too much trouble.
Related Posts
Note that these numbers will change if your camera or lens has some form of image stabilization (with the right stabilization, you can often get away with significantly slower shutter speeds than listed above).
Also, if you’re shooting in Manual mode, you’ll find adjusting the shutter speed incredibly easy (just tweak a dial on your camera). But if you’re using Aperture Priority, things will be a little trickier. You’ll need to increase your ISO until the shutter speed is automatically bumped up to your desired value.
And speaking of ISO:
4. Use the Lowest ISO You Can Get Away With
ISO is often referred to as your camera’s sensitivity to light, and while this isn’t quite correct, it’s good enough for our purposes.
Increase your ISO, and the image will get brighter; decrease your ISO, and the image will get darker.
Why is this useful?
Well, by increasing the ISO, you can adjust your exposure for the best overall result while adjusting your aperture and shutter speed. So if you want a faster shutter speed but you like the existing brightness, you can simply boost the ISO while also increasing the shutter speed. And if you want a wider aperture while maintaining the current exposure, you can widen the aperture while lowering the ISO.
In other words, the ISO balances out adjustments made to your other settings, so that you can reap certain artistic benefits without becoming restricted.
But ISO comes with a major drawback:
The higher your ISO, the noisier (i.e., grainier) your image will become. Noise looks like tiny speckles in the scene, and it almost always hurts a photo. So whenever you decide to boost your ISO for a higher shutter speed or a narrower aperture, you’re sacrificing image quality in return for a sharp, well-exposed image.

In some cases, the increased noise is well worth it. If you need a high ISO to ensure a reasonable shutter speed for handholding, you should always go with the ISO increase, because it’s better to capture a sharp shot with noise than a blurry shot that’s totally clean.
But you should not be increasing your ISO without reason, and I highly recommend you set your camera to its base ISO – often ISO 100, though sometimes ISO 50, ISO 160, or ISO 200 – and leave it there whenever possible.
That way, you’ll get the lowest noise levels while (hopefully) still achieving a reasonable exposure.
5. Use Auto White Balance (and Make Corrections in Post-Processing)
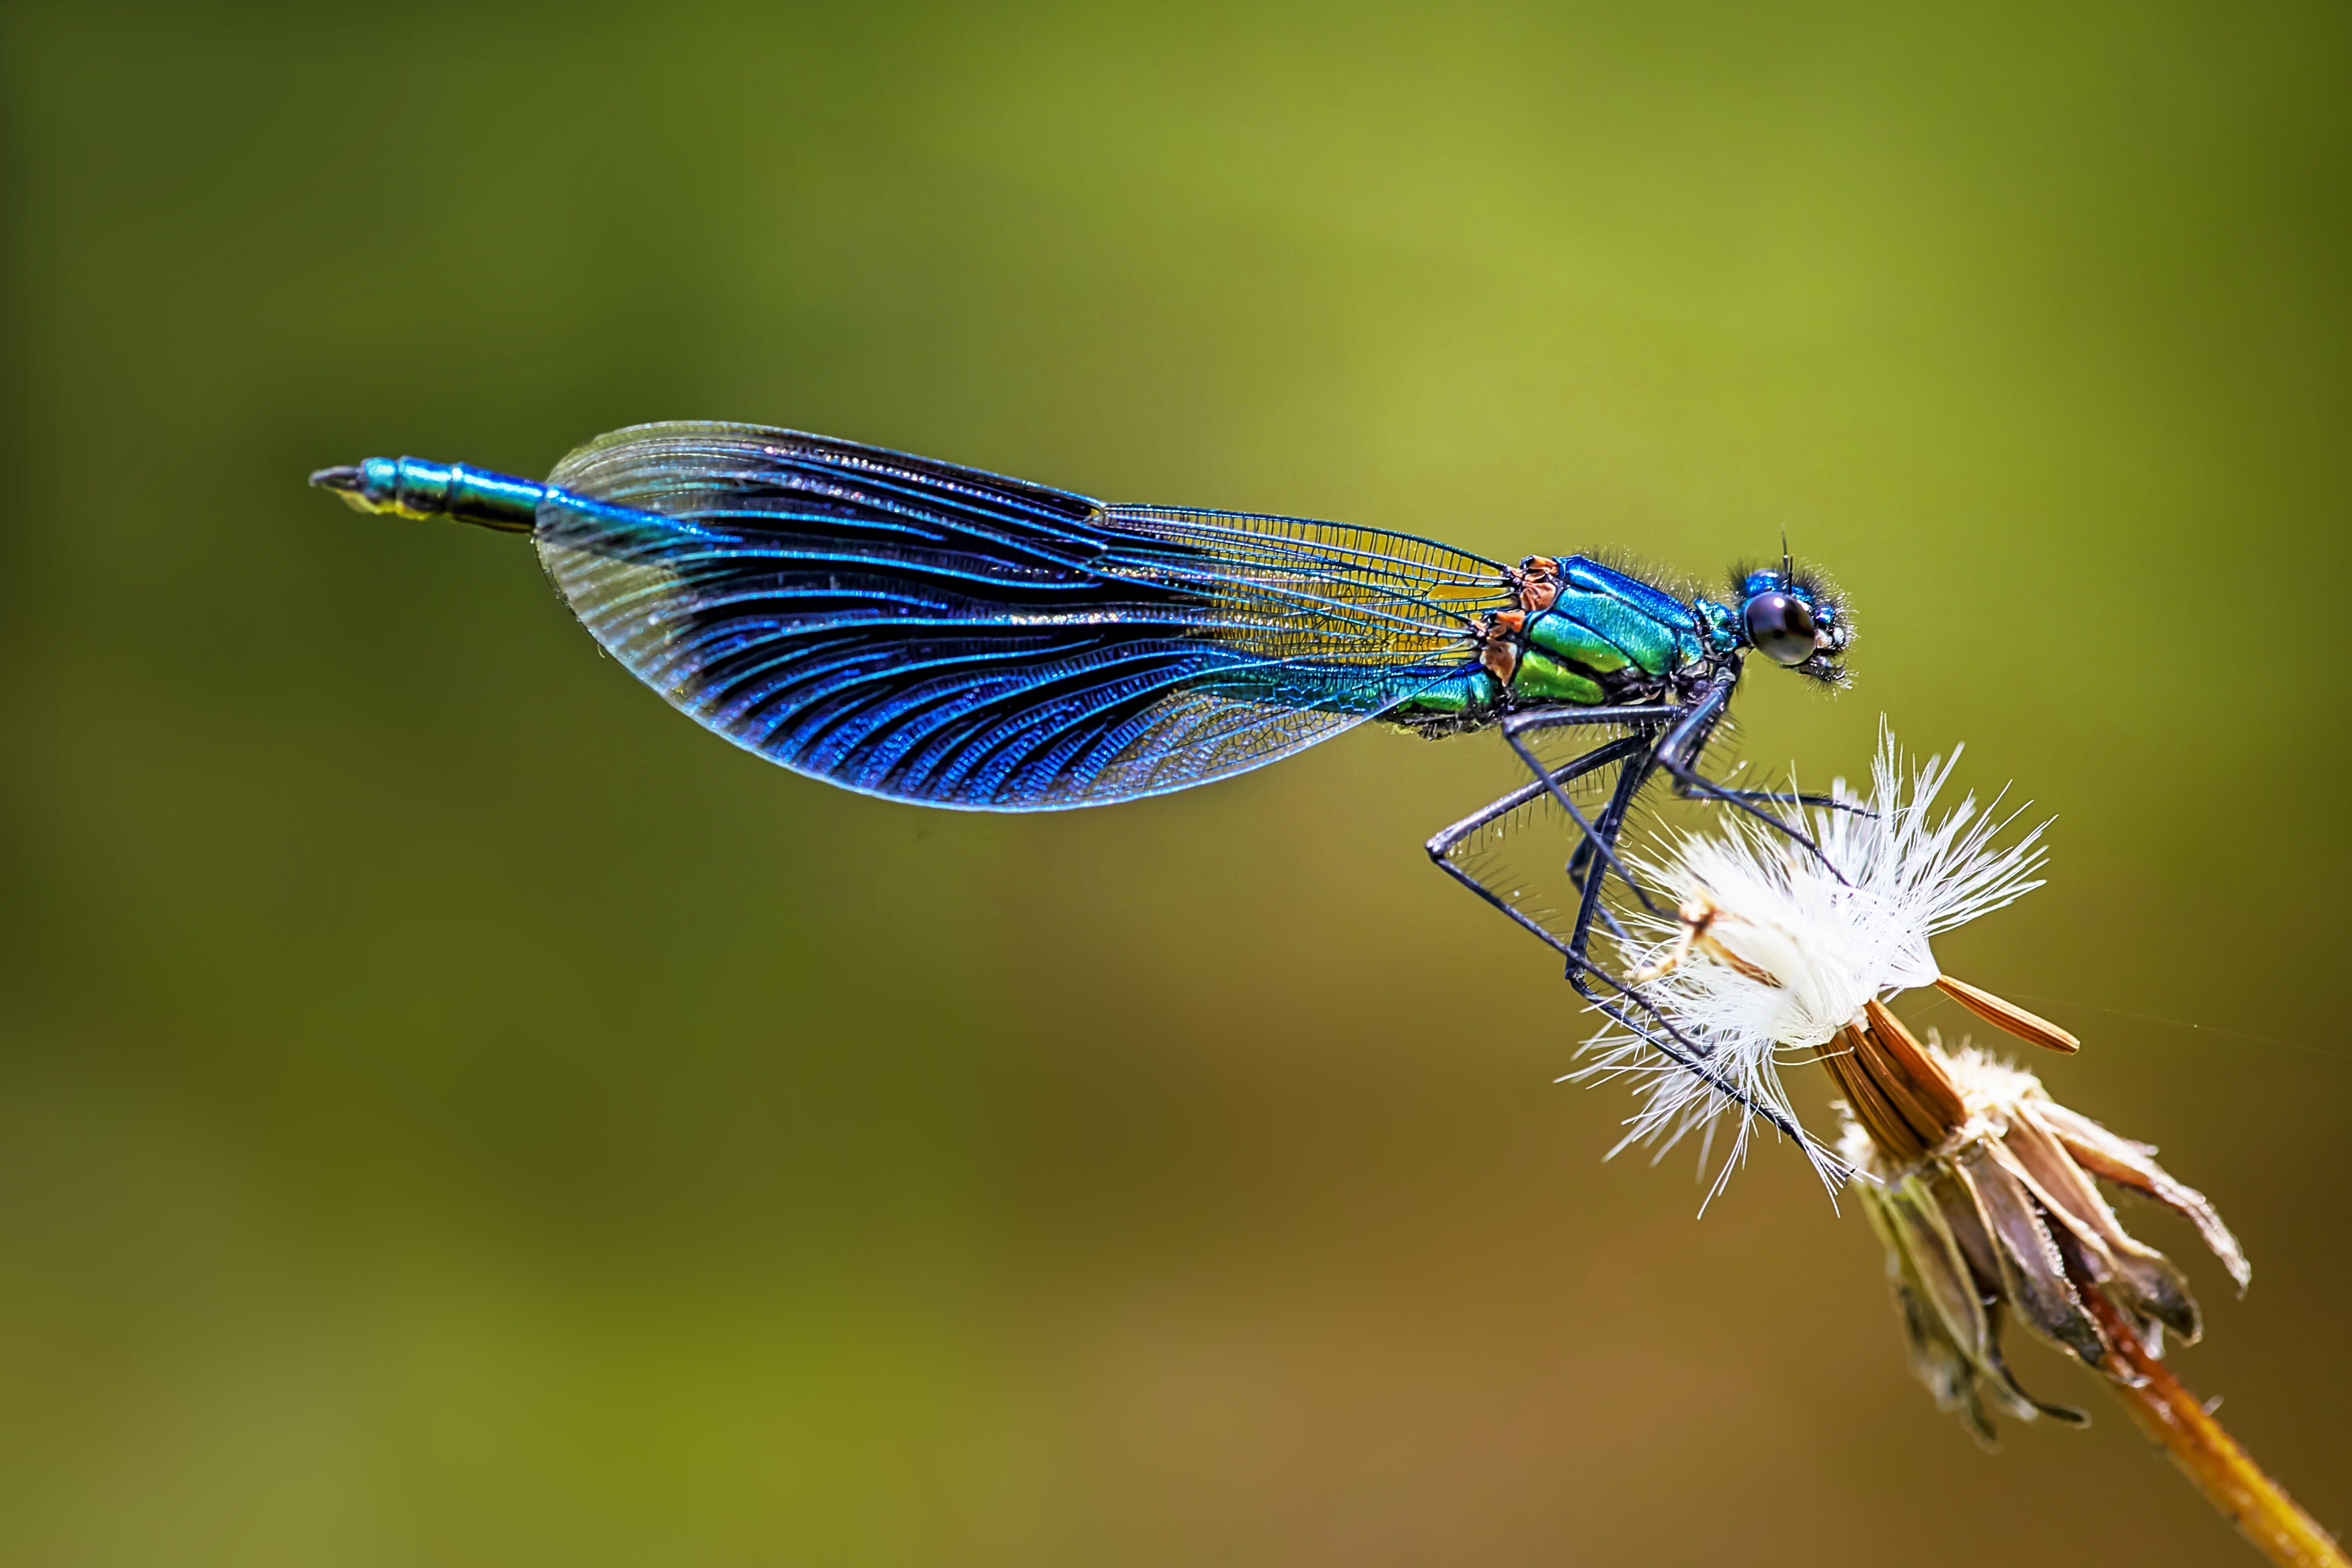
White balance refers to the process of counteracting color casts in your images. A blue color cast can be balanced out by a warm temperature, a green color cast can be balanced out by a magenta tint, etc.
Here’s a dragonfly photo with a severe blue color cast:
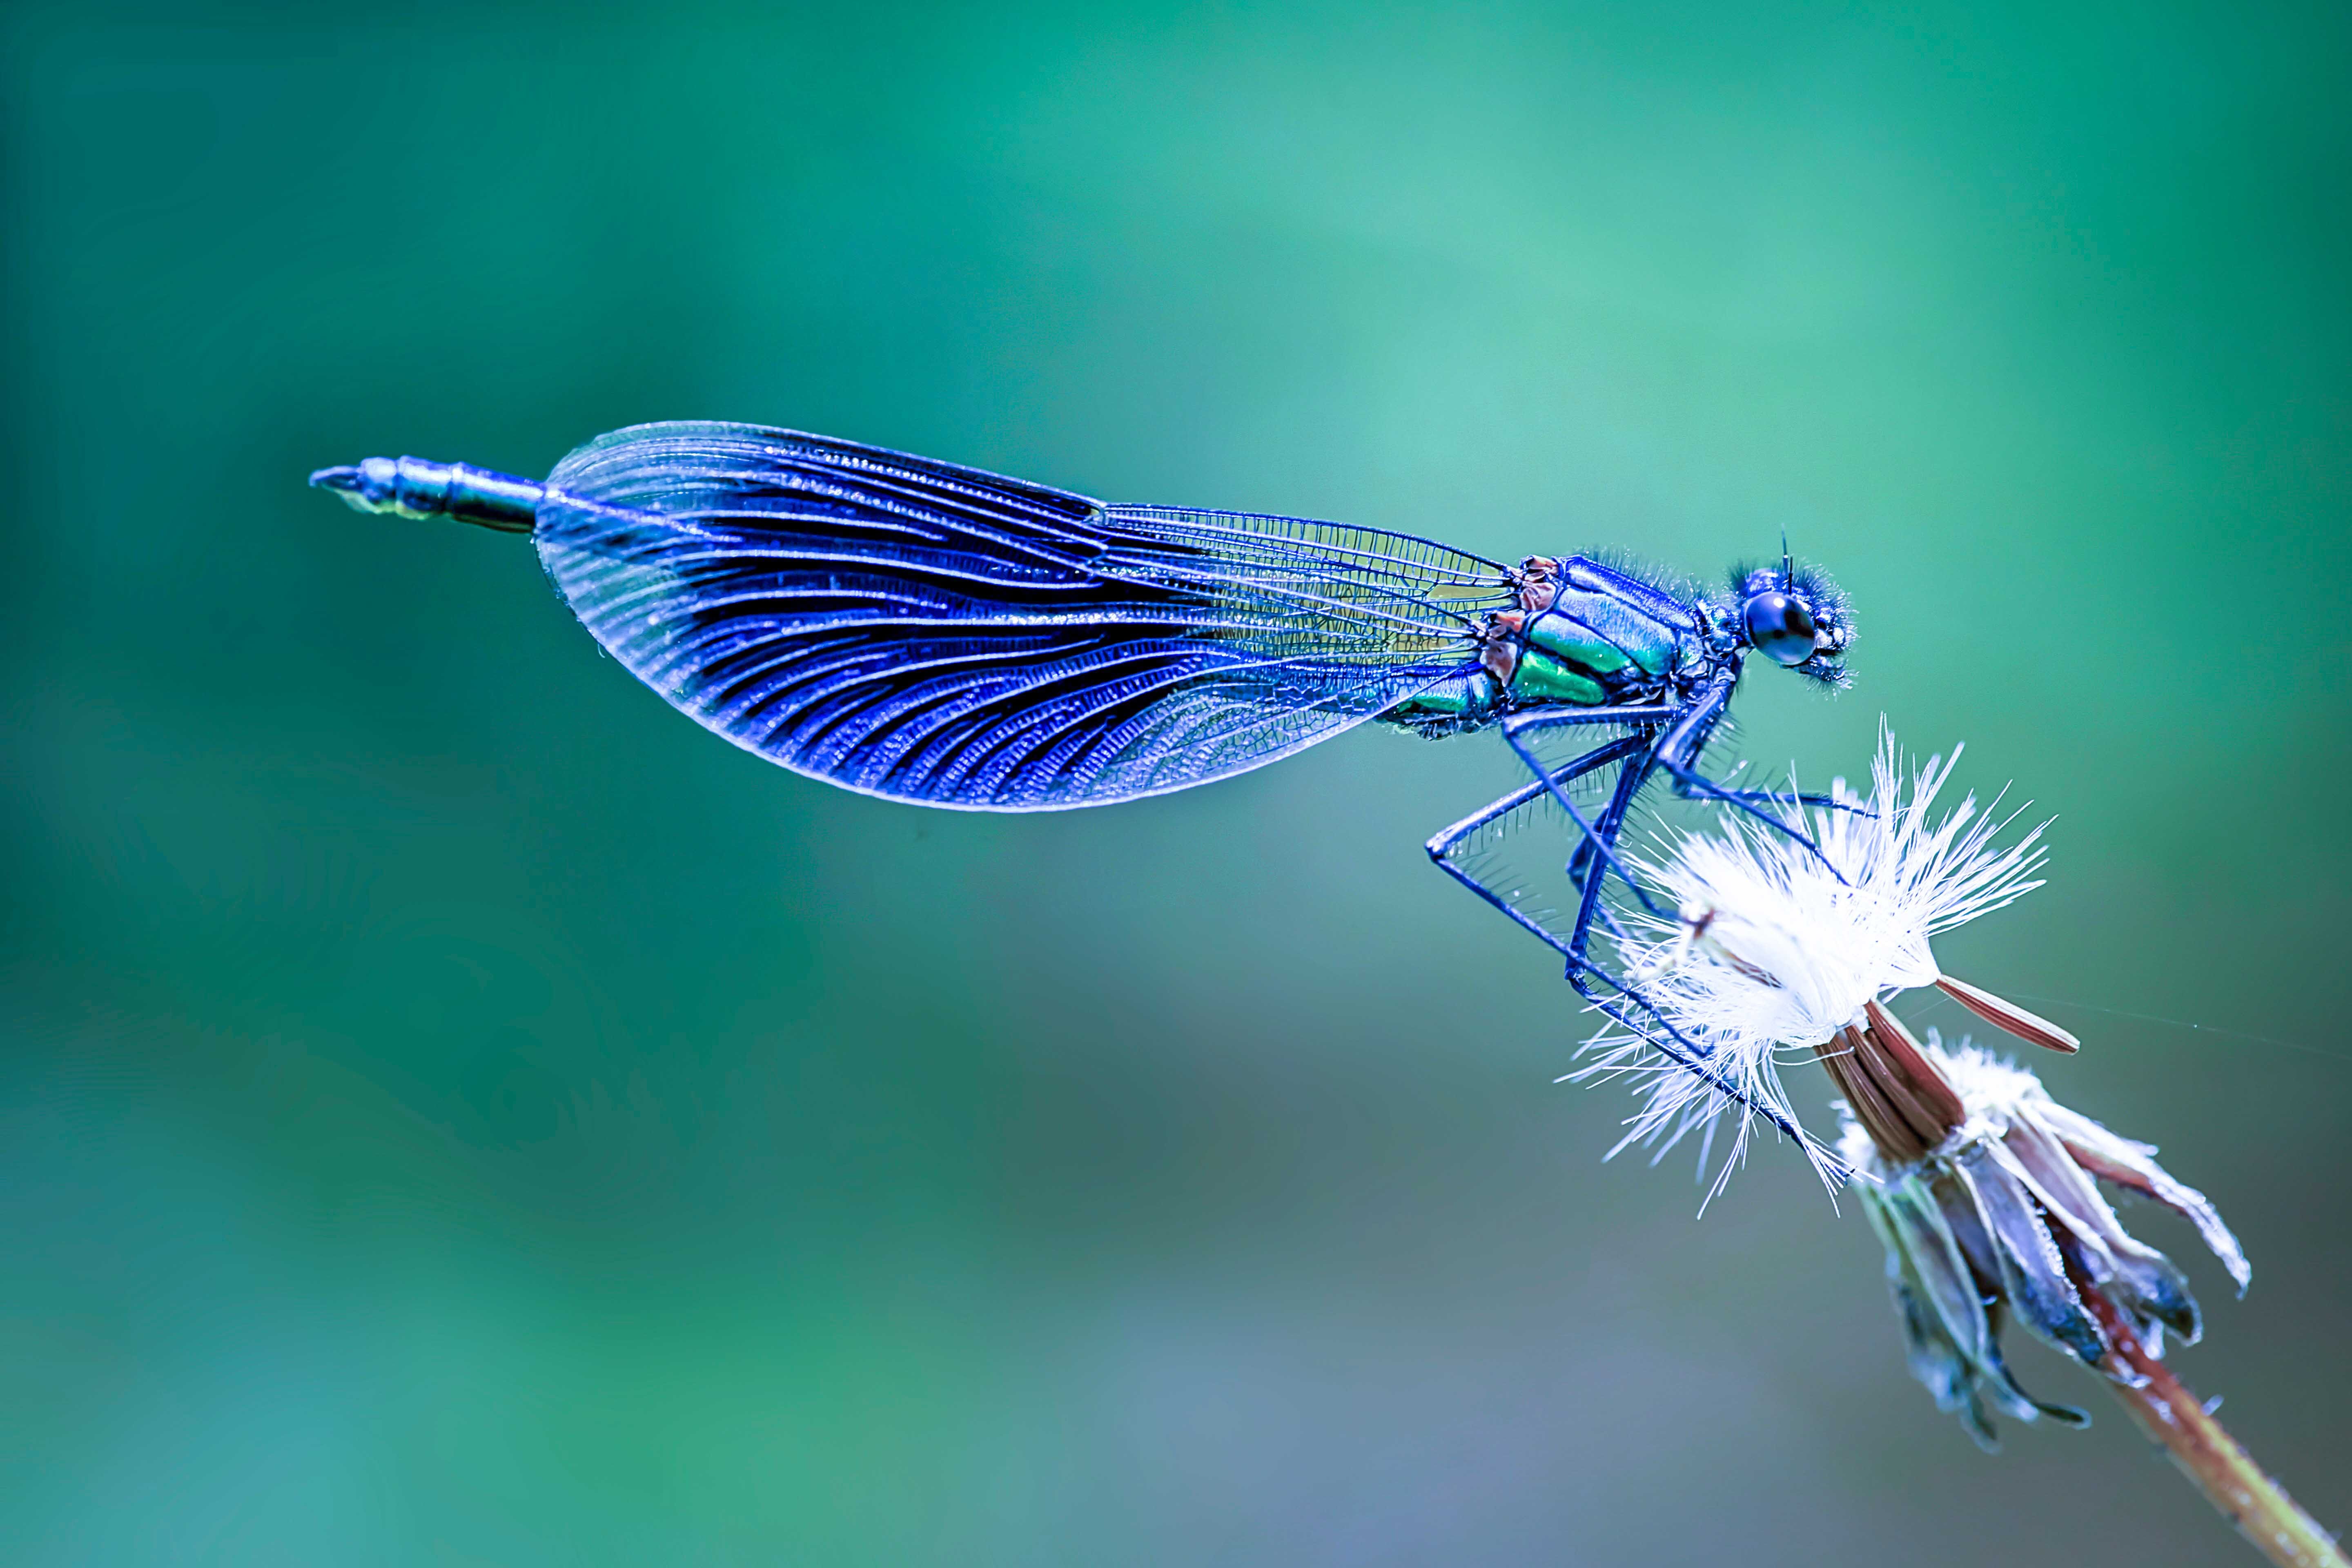
Compare it to this next photo, which has been color corrected (via white balance adjustments):
Now, as a macro photographer, you have two options:
- You can deal with the white balance in-camera (as you’re shooting).
- You can deal with the white balance during post-processing.
Some photographers prefer to deal with the white balance in-camera; that way, they’re able to get a consistent look from the very start, plus there’s less post-processing to do, so it saves time in the long run.
But the vast majority of photographers – including macro photographers – simply use their camera’s Auto White Balance setting when actually shooting, then make any necessary corrections in post-processing after the fact.
A key fact here is that the white balance is completely adjustable in post-processing, as long as an image is shot in RAW. So if your camera’s Auto White Balance function gets the color all wrong, that’s okay; you can make all the tweaks you want without causing problems.
(Of course, you do need to be shooting in RAW. If you’re not already doing this, I urge you to start right this instant. Seriously – go grab your camera and switch the quality setting over to RAW. You won’t regret it.)
This approach – use Auto White Balance in the field, then make changes later – is what I do, and it’s never let me down. Yes, you do have to spend some time in Lightroom, Capture One, or Luminar fiddling with the white balance tools, but it’s not a big deal and takes a few seconds per photo at most. And it frees you up to focus on lighting and composition when actually shooting, which requires a lot of brainpower!
6. Use Manual Focus to Keep Your Macro Photos Sharp
These days, everyone loves autofocus.
But here’s the problem:
Autofocus is really, really bad at focusing up close.
Try it, and you’ll see what I mean: the lens’s focusing mechanism will hunt back and forth, and it’ll eventually stop in the wrong area (or, even worse, it’ll never stop!).
Which is why I highly recommend switching your lens over to manual focus. That way, you can carefully determine your point of sharpness by turning the focus ring on your lens – not by trying to (hopelessly) get your lens to lock focus on a close subject.
I use manual focus in macro photography almost exclusively, and it’s now essential to my workflow. Without manual focus, I would be missing shots left and right; it’s just that important!
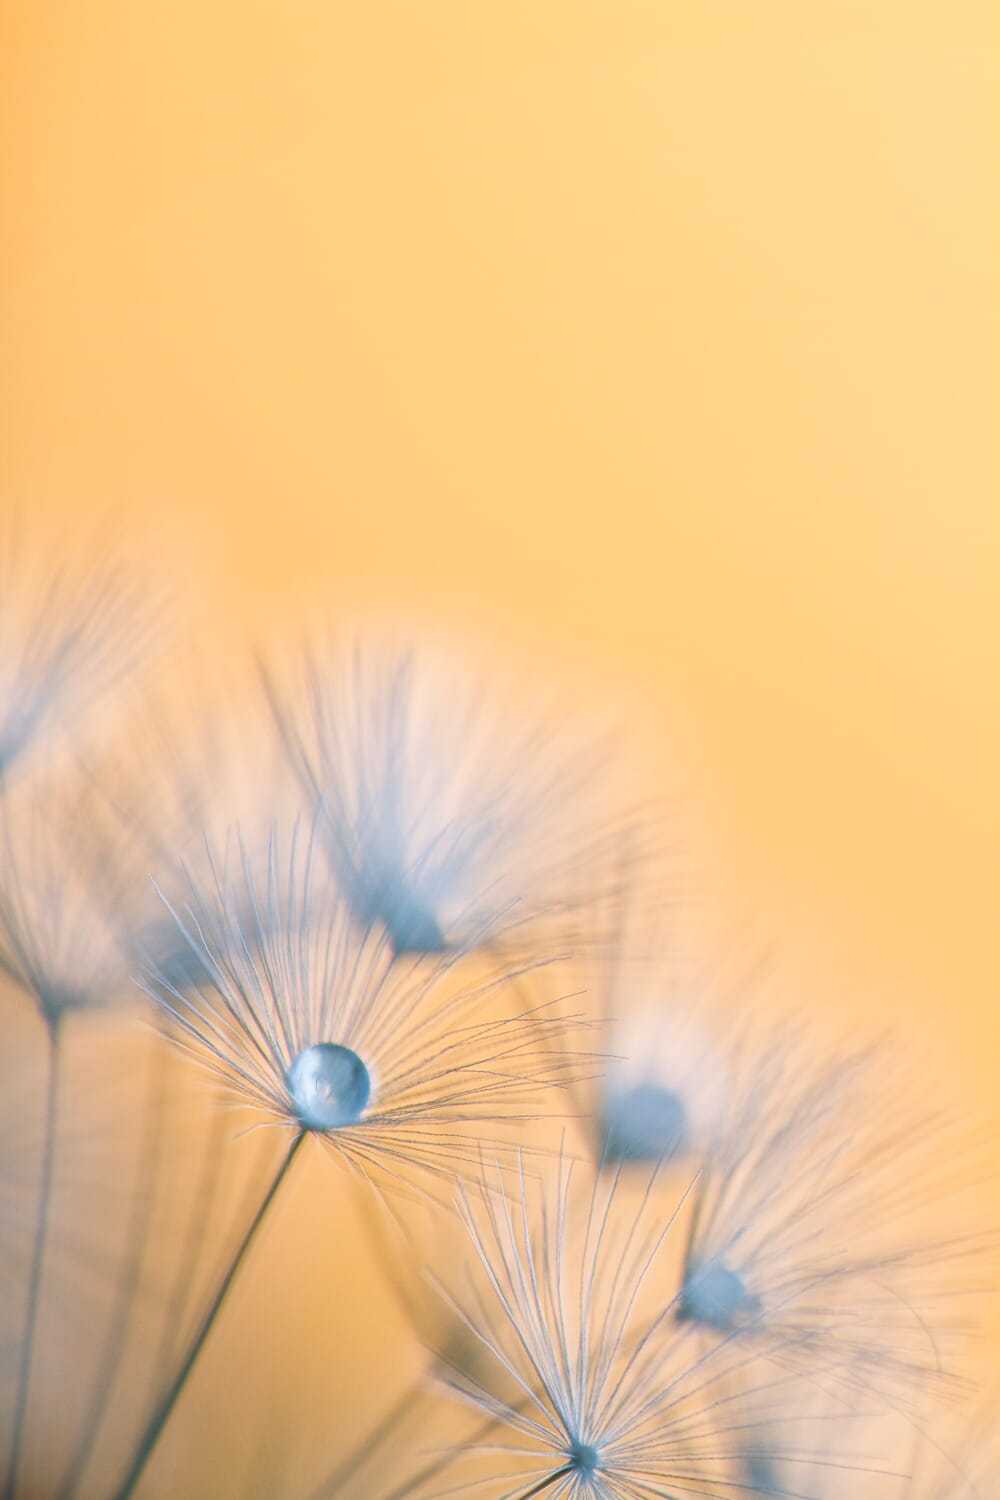
Fortunately, dedicated macro lenses are designed with manual focusing in mind, so they tend to feature large focus rings and slow, precise focusing movements. But you may need to spend some time practicing until focusing manually feels natural (and pretty soon, you won’t believe you ever shot macro photos with autofocus!).
At ultra-high magnifications, such as 1:1, it often helps to set your focus in advance. Then you can rock back and forth, watching through the viewfinder for the perfect point of focus – and when everything aligns, you hit the shutter button.
Macro Photography Settings: Conclusion
Now that you’ve finished this article, you know all about the key settings for amazing macro photos, including recommended shutter speeds, aperture, ISO, and more.
So the next time you’re out shooting, reference these suggestions. Use them to jumpstart your macro photography. You’re bound to get stellar results!
