Editor’s Key Takeaways: Defying Gravity: The Art of Levitation Photography

Levitation photography involves creating the illusion of people or objects floating or flying in defiance of gravity. This style of photography, though relying on an imaginative and experimental approach, doesn’t actually require photographers to make things levitate. Instead, with a touch of creativity and proficiency in Photoshop, this effect can be easily achieved.
- What is Levitation Photography?: This genre of photography is based on creating images of subjects seemingly suspended in mid-air.
- How To Take Levitation Photos: To capture such shots, you’ll need a camera, a reliable tripod and something to “hold” your object up. Respective platforms or connectors for human subjects and smaller inanimate objects are also needed.
- Staging the Scene: Choosing an ideal subject to float and appropriate staging are the initial steps. Human subjects can be posed on a stool or chair, while smaller inanimate objects can be suspended with a string or similar connector.
Introduction
Seeing an object defy gravity forces any audience to stop and stare for obvious reasons. So, it shouldn’t come as much of a surprise to learn that levitation photography has garnered a strong following.
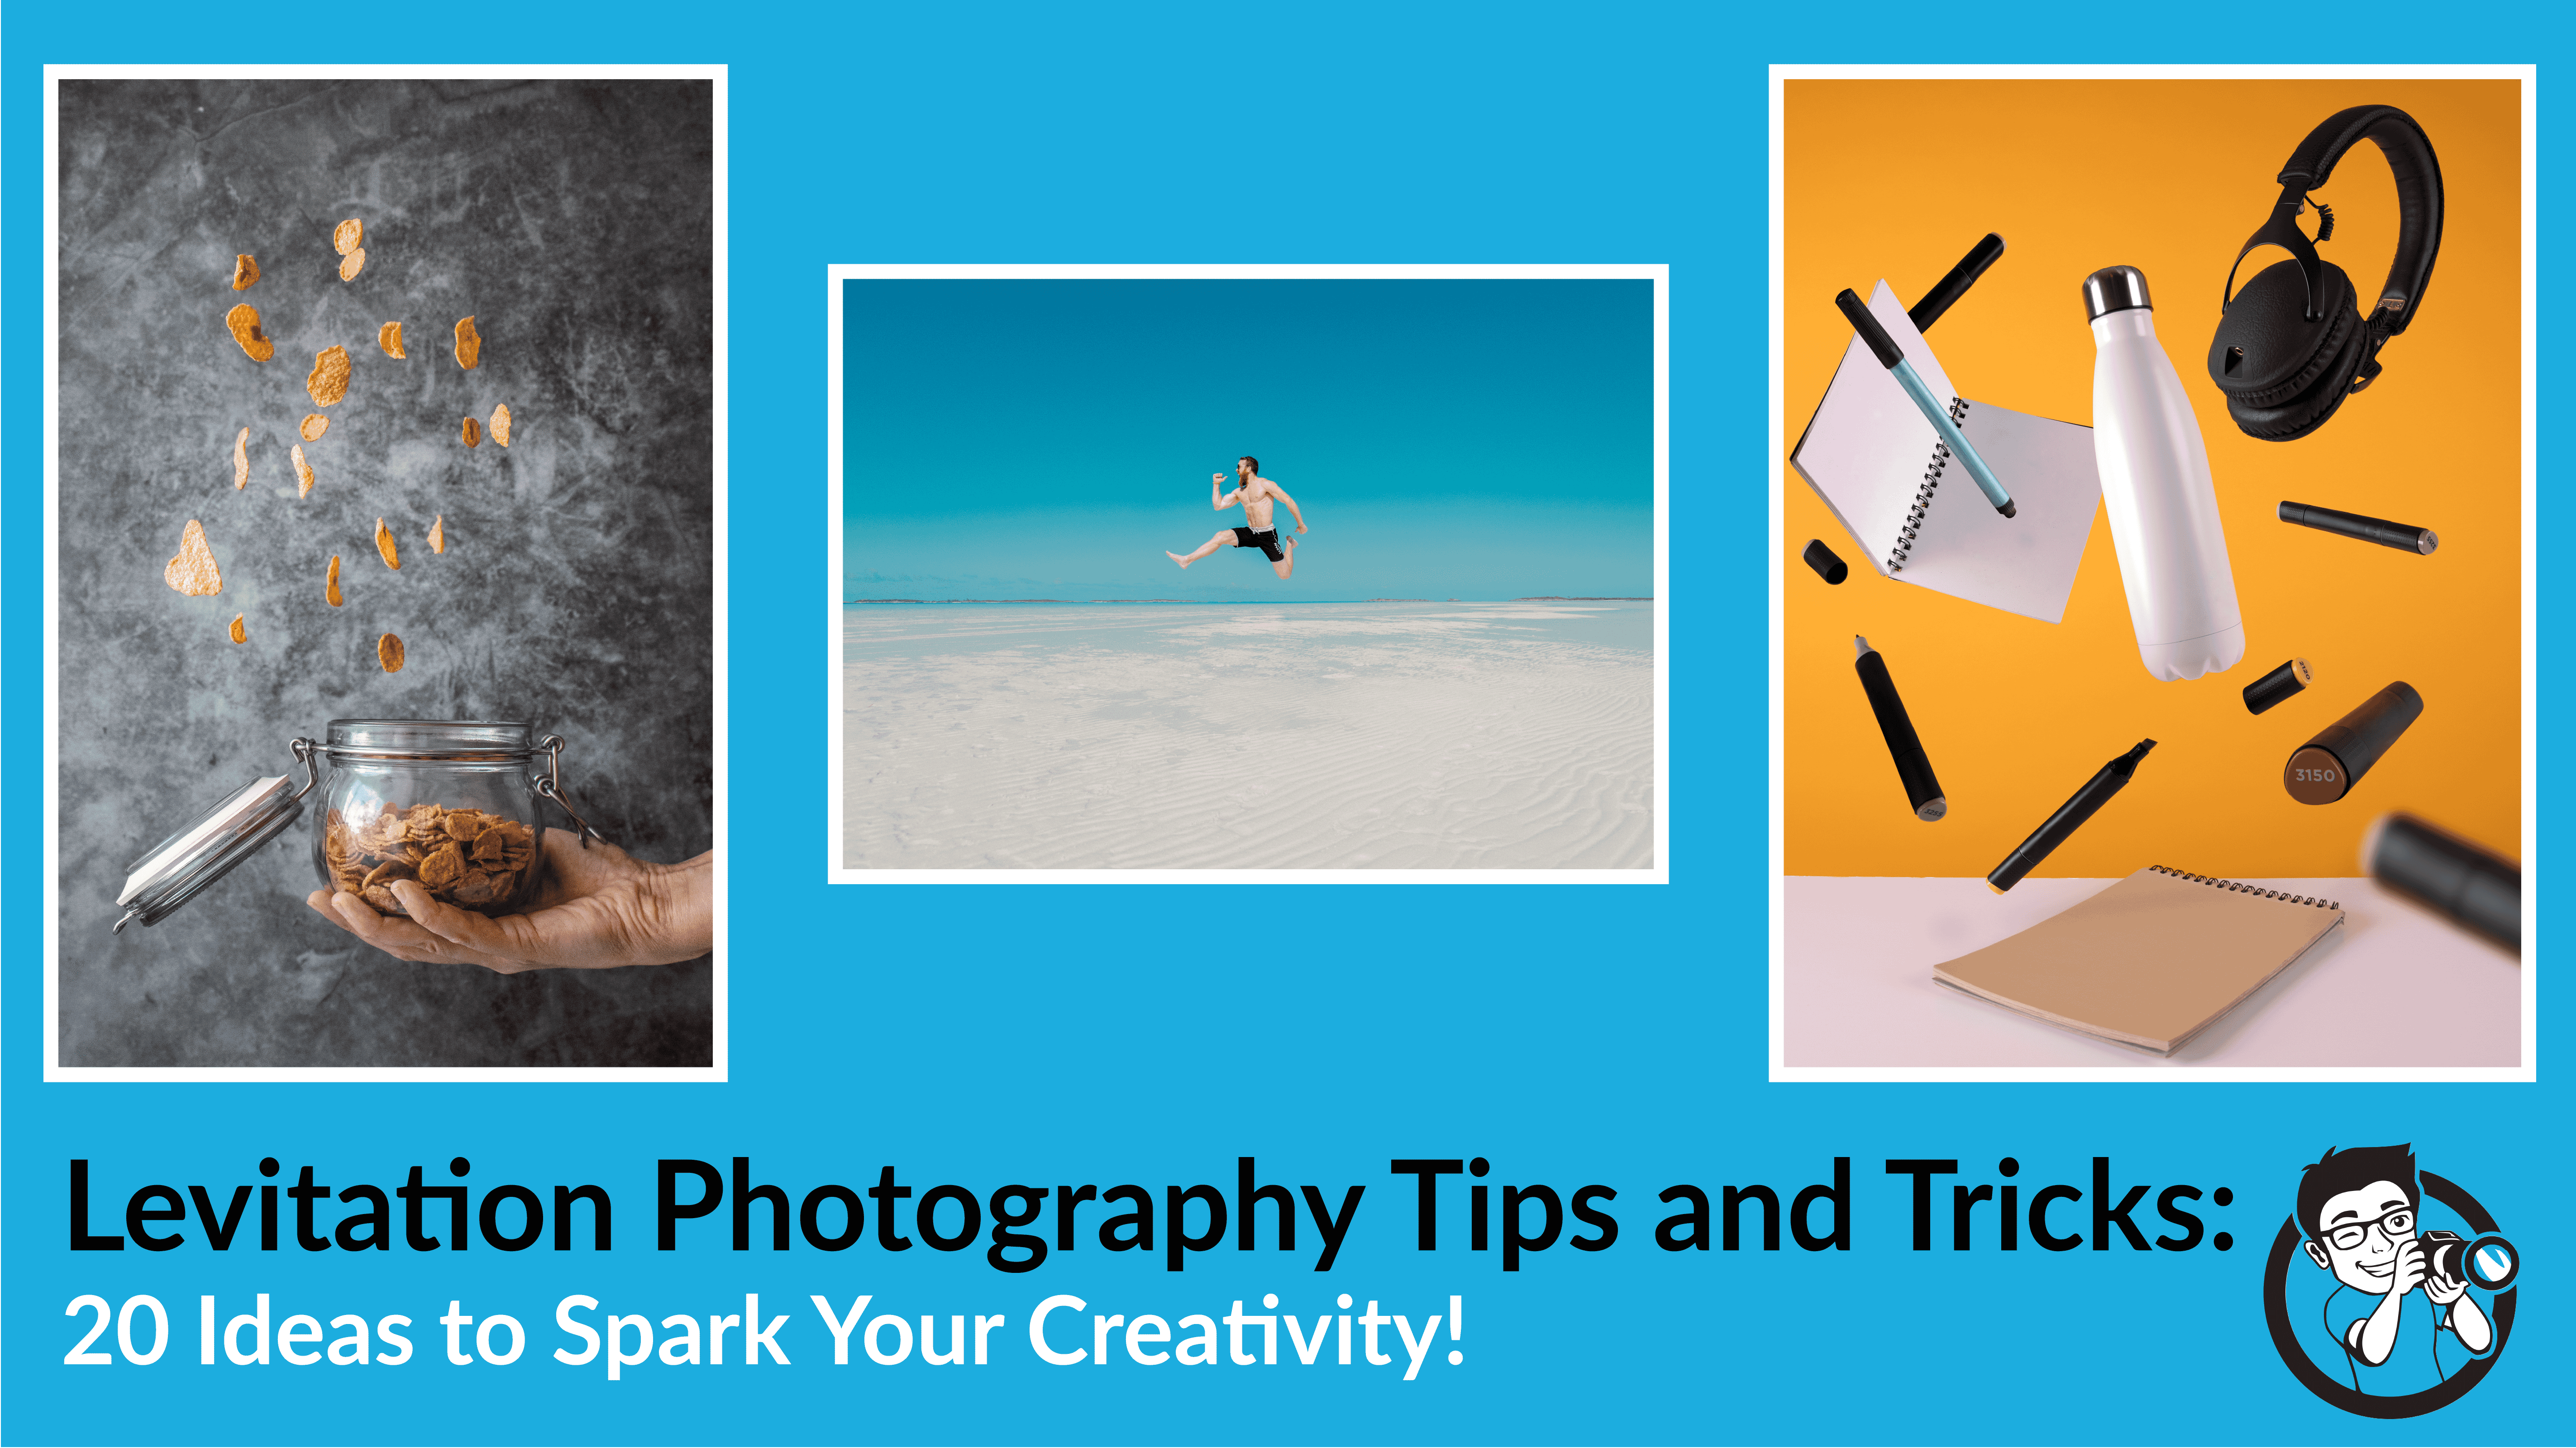
But how, exactly, is this illusion possible? What goes into creating levitation photography?
To answer your questions, let’s talk about how to create your own photographic magic. Read on for our best levitation photography tips, tricks, and ideas!
Levitation Photography Tips & Ideas:
Levitation Photography Tips
What is Levitation Photography?
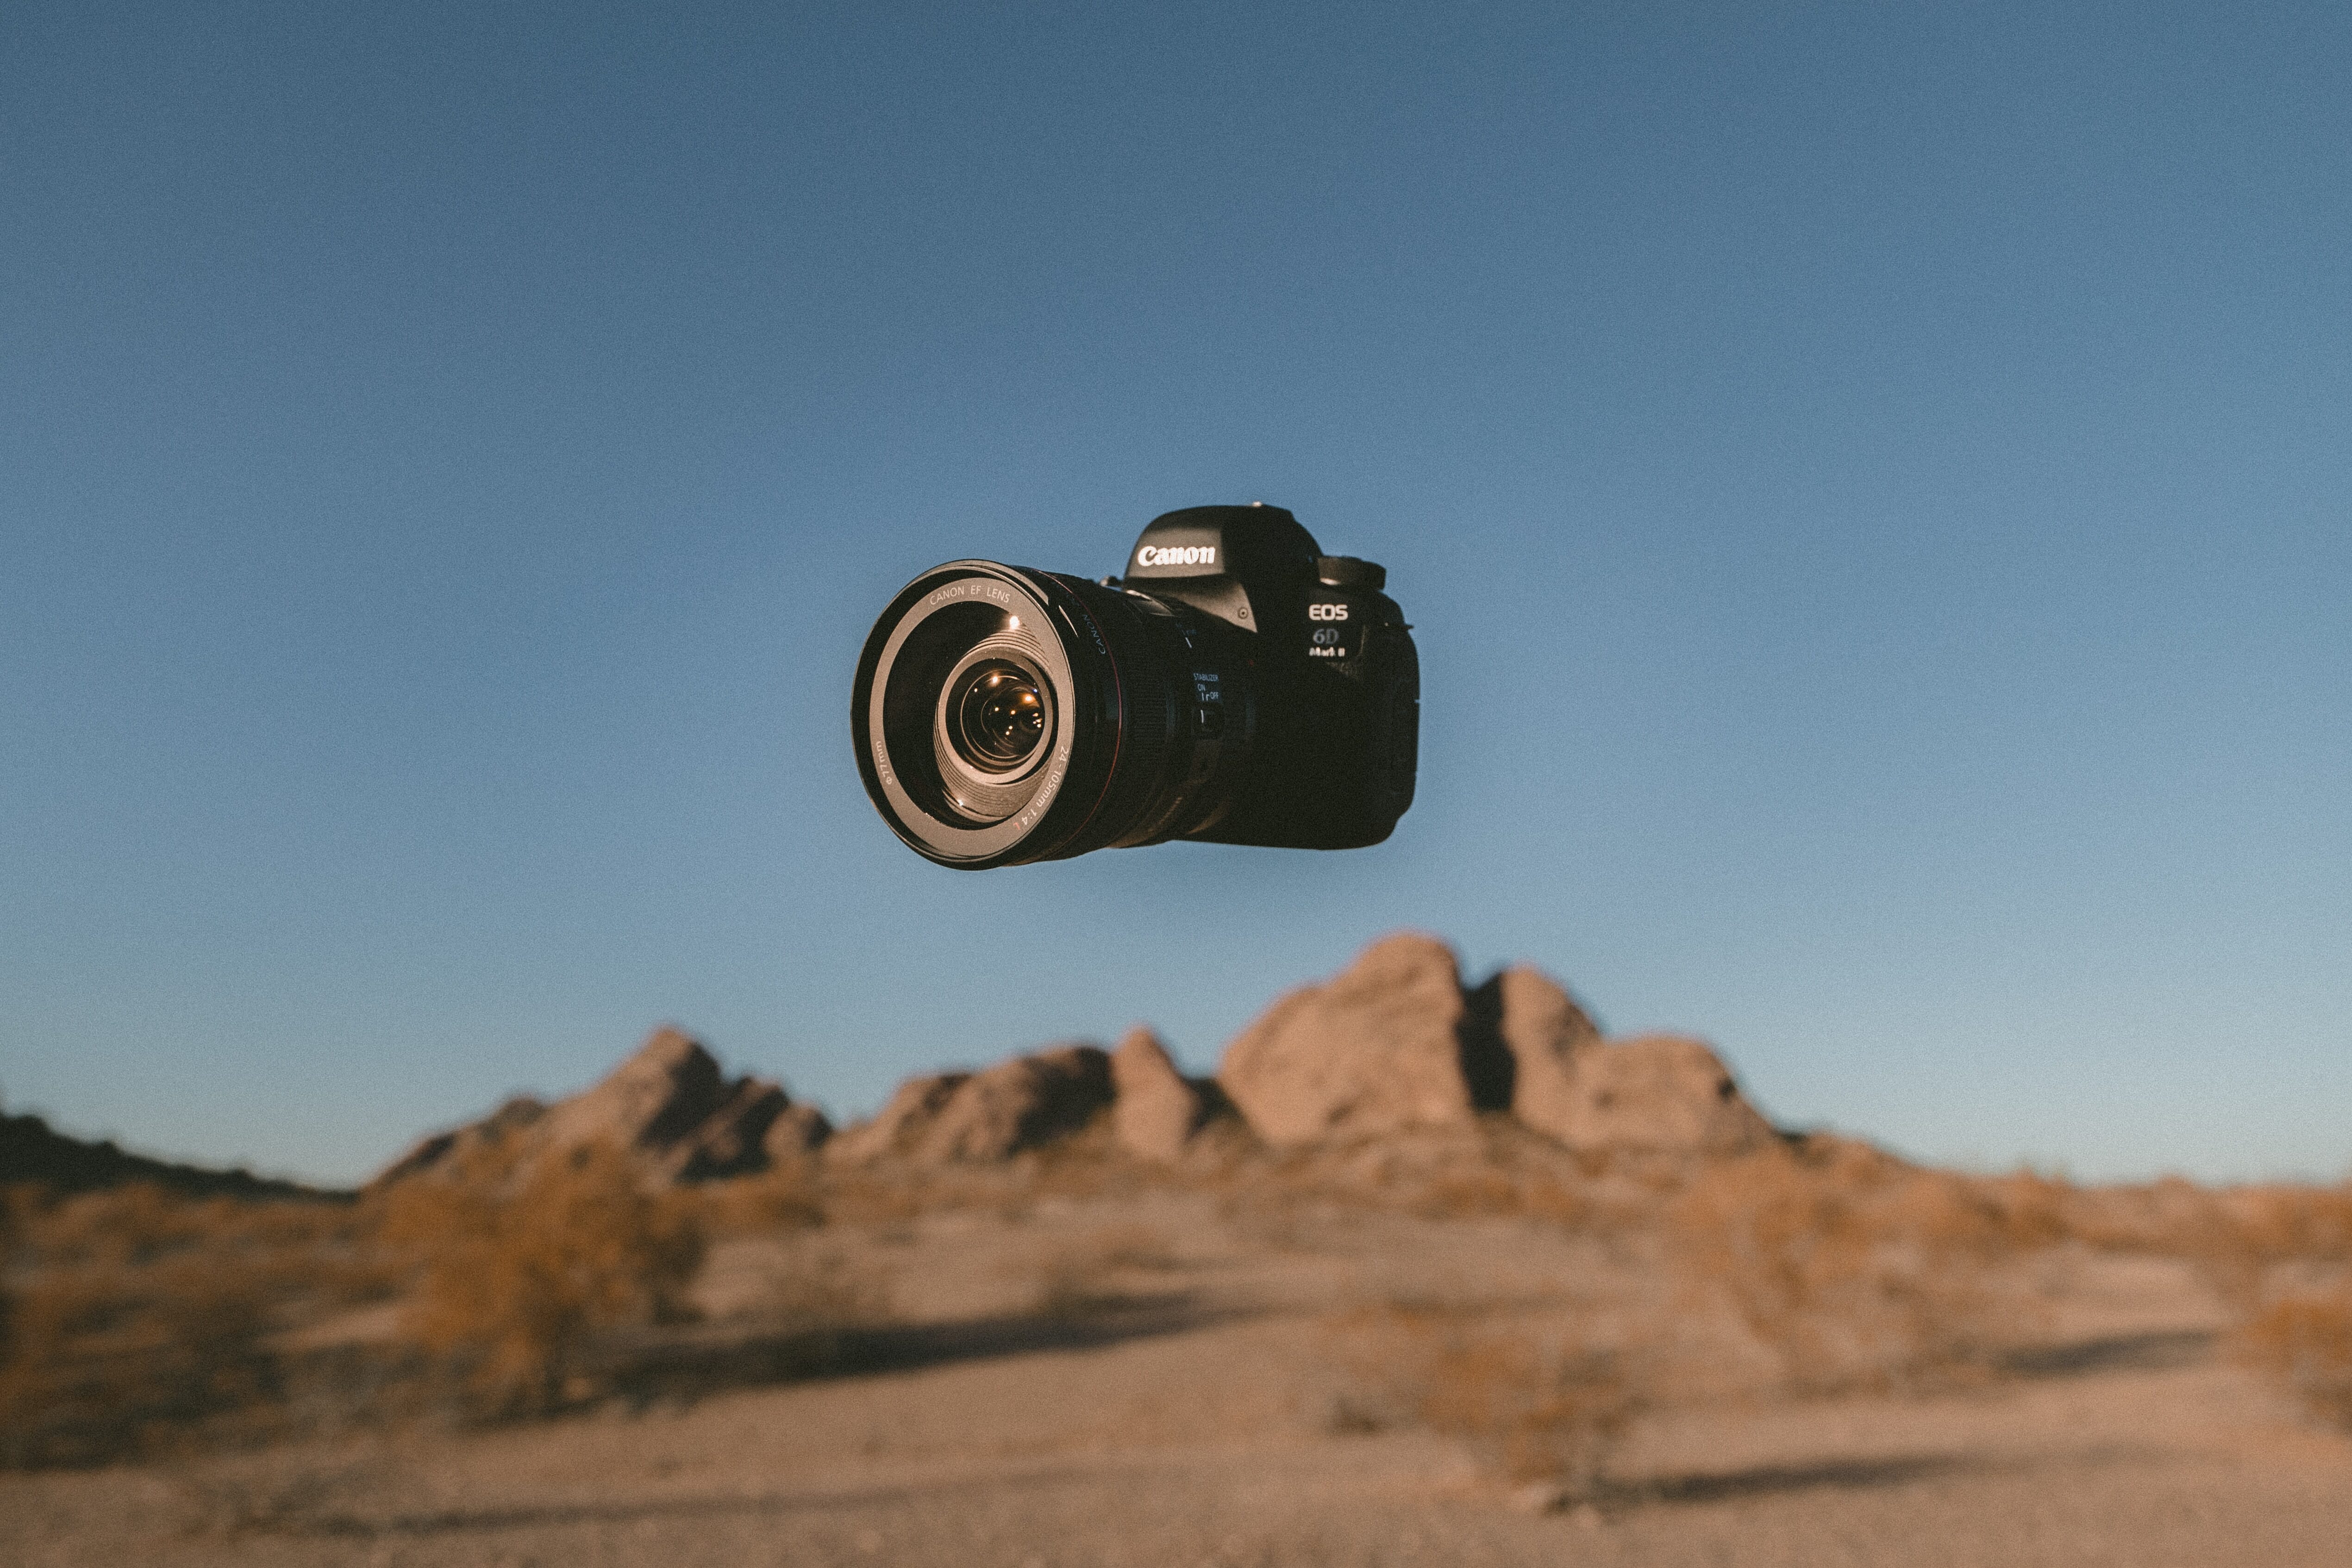
Levitation photography encompasses any image featuring a person or object floating or flying. Defying the laws of gravity, these photographs seem to show subjects suspended mid-air.
Of course, photographers don’t actually have the power to deviate from reality and make things levitate. What you’re seeing is an illusion rather than a display of superhuman ability. With a lot of ingenuity and a bit of effort in Photoshop, the effect is actually pretty easy to recreate!
Related Post: How to Edit Photos
How To Take Levitation Photos
To help you crack the code and master levitation photography, we want to explain how to go about capturing these images. Levitation photography allows you to be creative, imaginative, and experimental. Once you understand the basic concepts that make this style possible, the possibilities are endless!
What you’ll need…
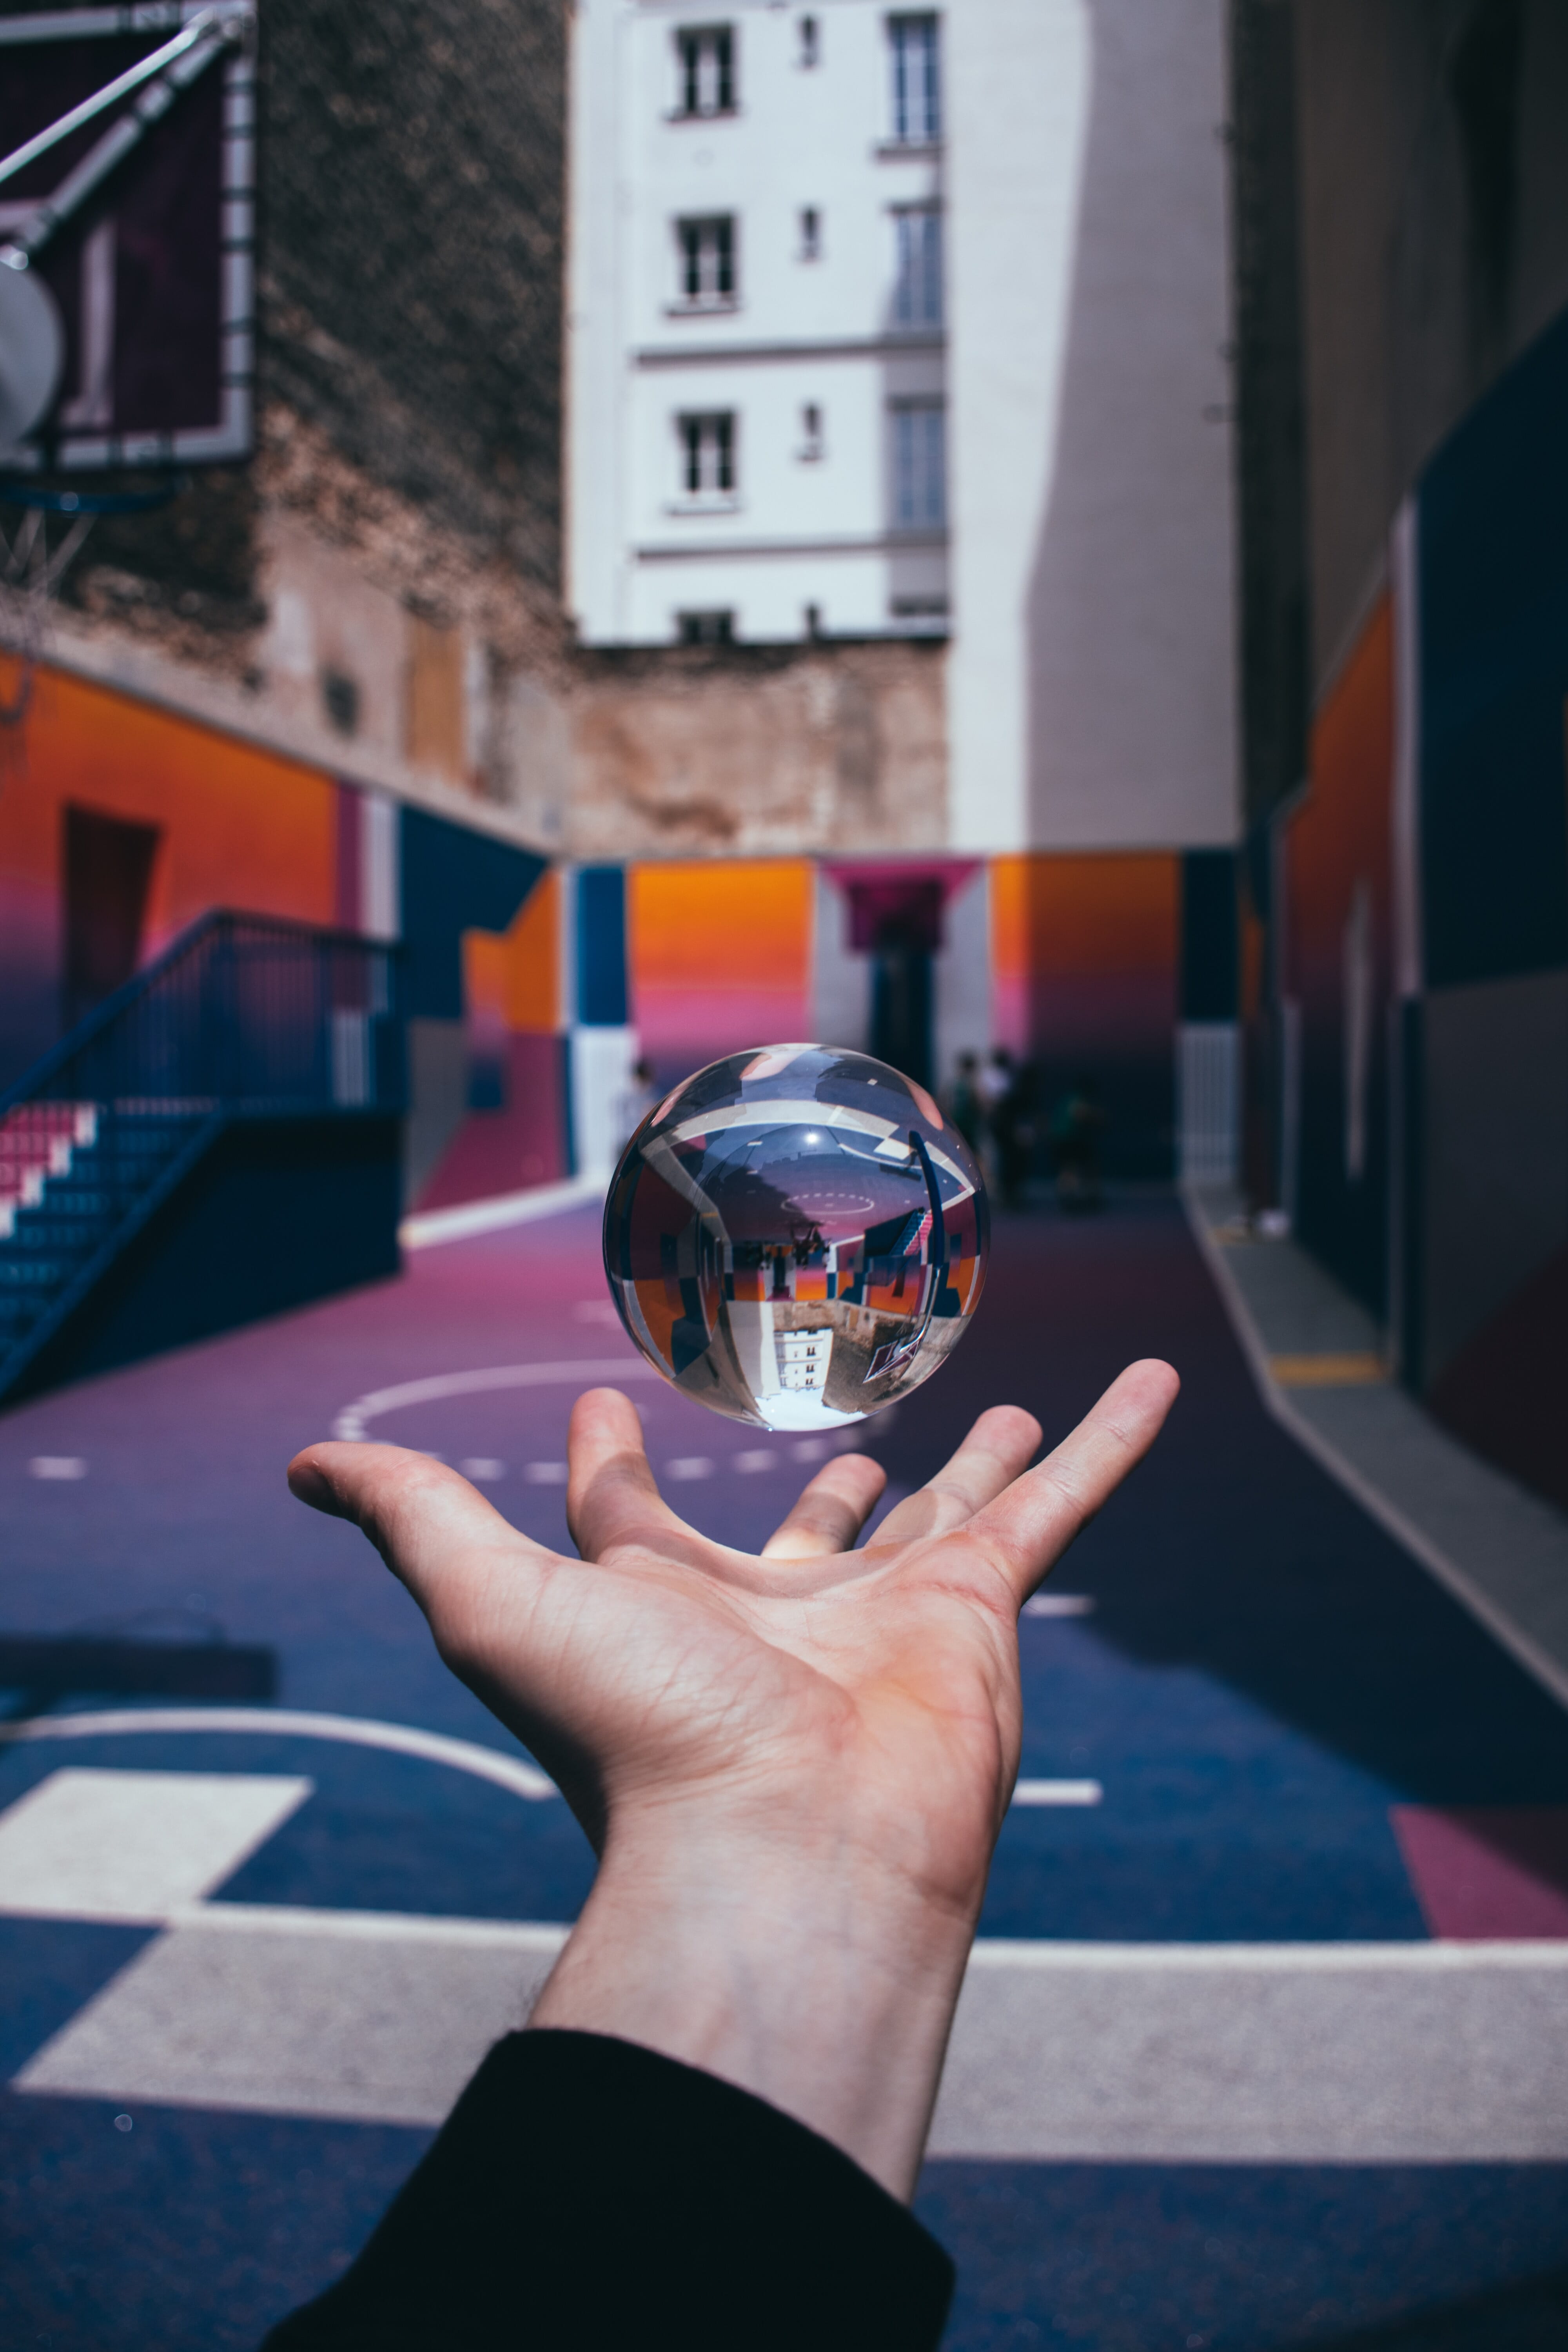
To create levitation photography, you’ll need a few things:
- Your camera gear
- A reliable tripod
- Something to “hold” your object up
- Human subjects can use a stool, chair, or similar balancing platform.
- Smaller inanimate objects can be suspended with a string or other connector
Staging the Scene
The first thing to determine is what you’d like to have floating around in your photographs.
For people, try posing your subject on a stool, chair, ladder, or anything else that gives them a little height off the ground. Part of “selling” the illusion comes from giving your subject the ability to balance. Providing some sort of stable platform for your model to sit or stand on does just that.
For levitating products, you can adopt a somewhat different approach. As long as you have a solid foundation to attach one to the other end, you can actually hang inanimate objects. String, rope, or wiring will get the job done.
Regardless of which method you use, you’ll need to make two separate exposures:
- The first should feature the levitating person or object within the scene.
- The second should feature the background on its own, without the subject.
It’s important that the two images that you make are virtually identical, aside from the presence of the subject.
Use a tripod to ensure that your position or shooting angle doesn’t shift between exposures.
For best results, be sure to utilize a fast shutter speed. This will eliminate any motion blur and further add to the illusion that your object is “frozen” in mid-air.
Once you’ve got your images, you can start editing to really bring the illusion to life!
Processing in Post
Once you’ve imported your shots, bring them into Photoshop or a similar post-processing tool. For this step, you’ll want to create a layered composite. Essentially, you’ll want to mask out any undesirable details that give
Photographer Peter McKinnon has a great video outlining the techniques he uses to create levitation images. Check it out below:
FLOAT YOURSELF
Tips and tricks to make exceptional levitation photos.
Of course, every photographer has their own tailor-made techniques that they swear by. But once you’ve nailed down the basics, you’ll be able to customize to suit your own unique style!
Levitation Photography Ideas
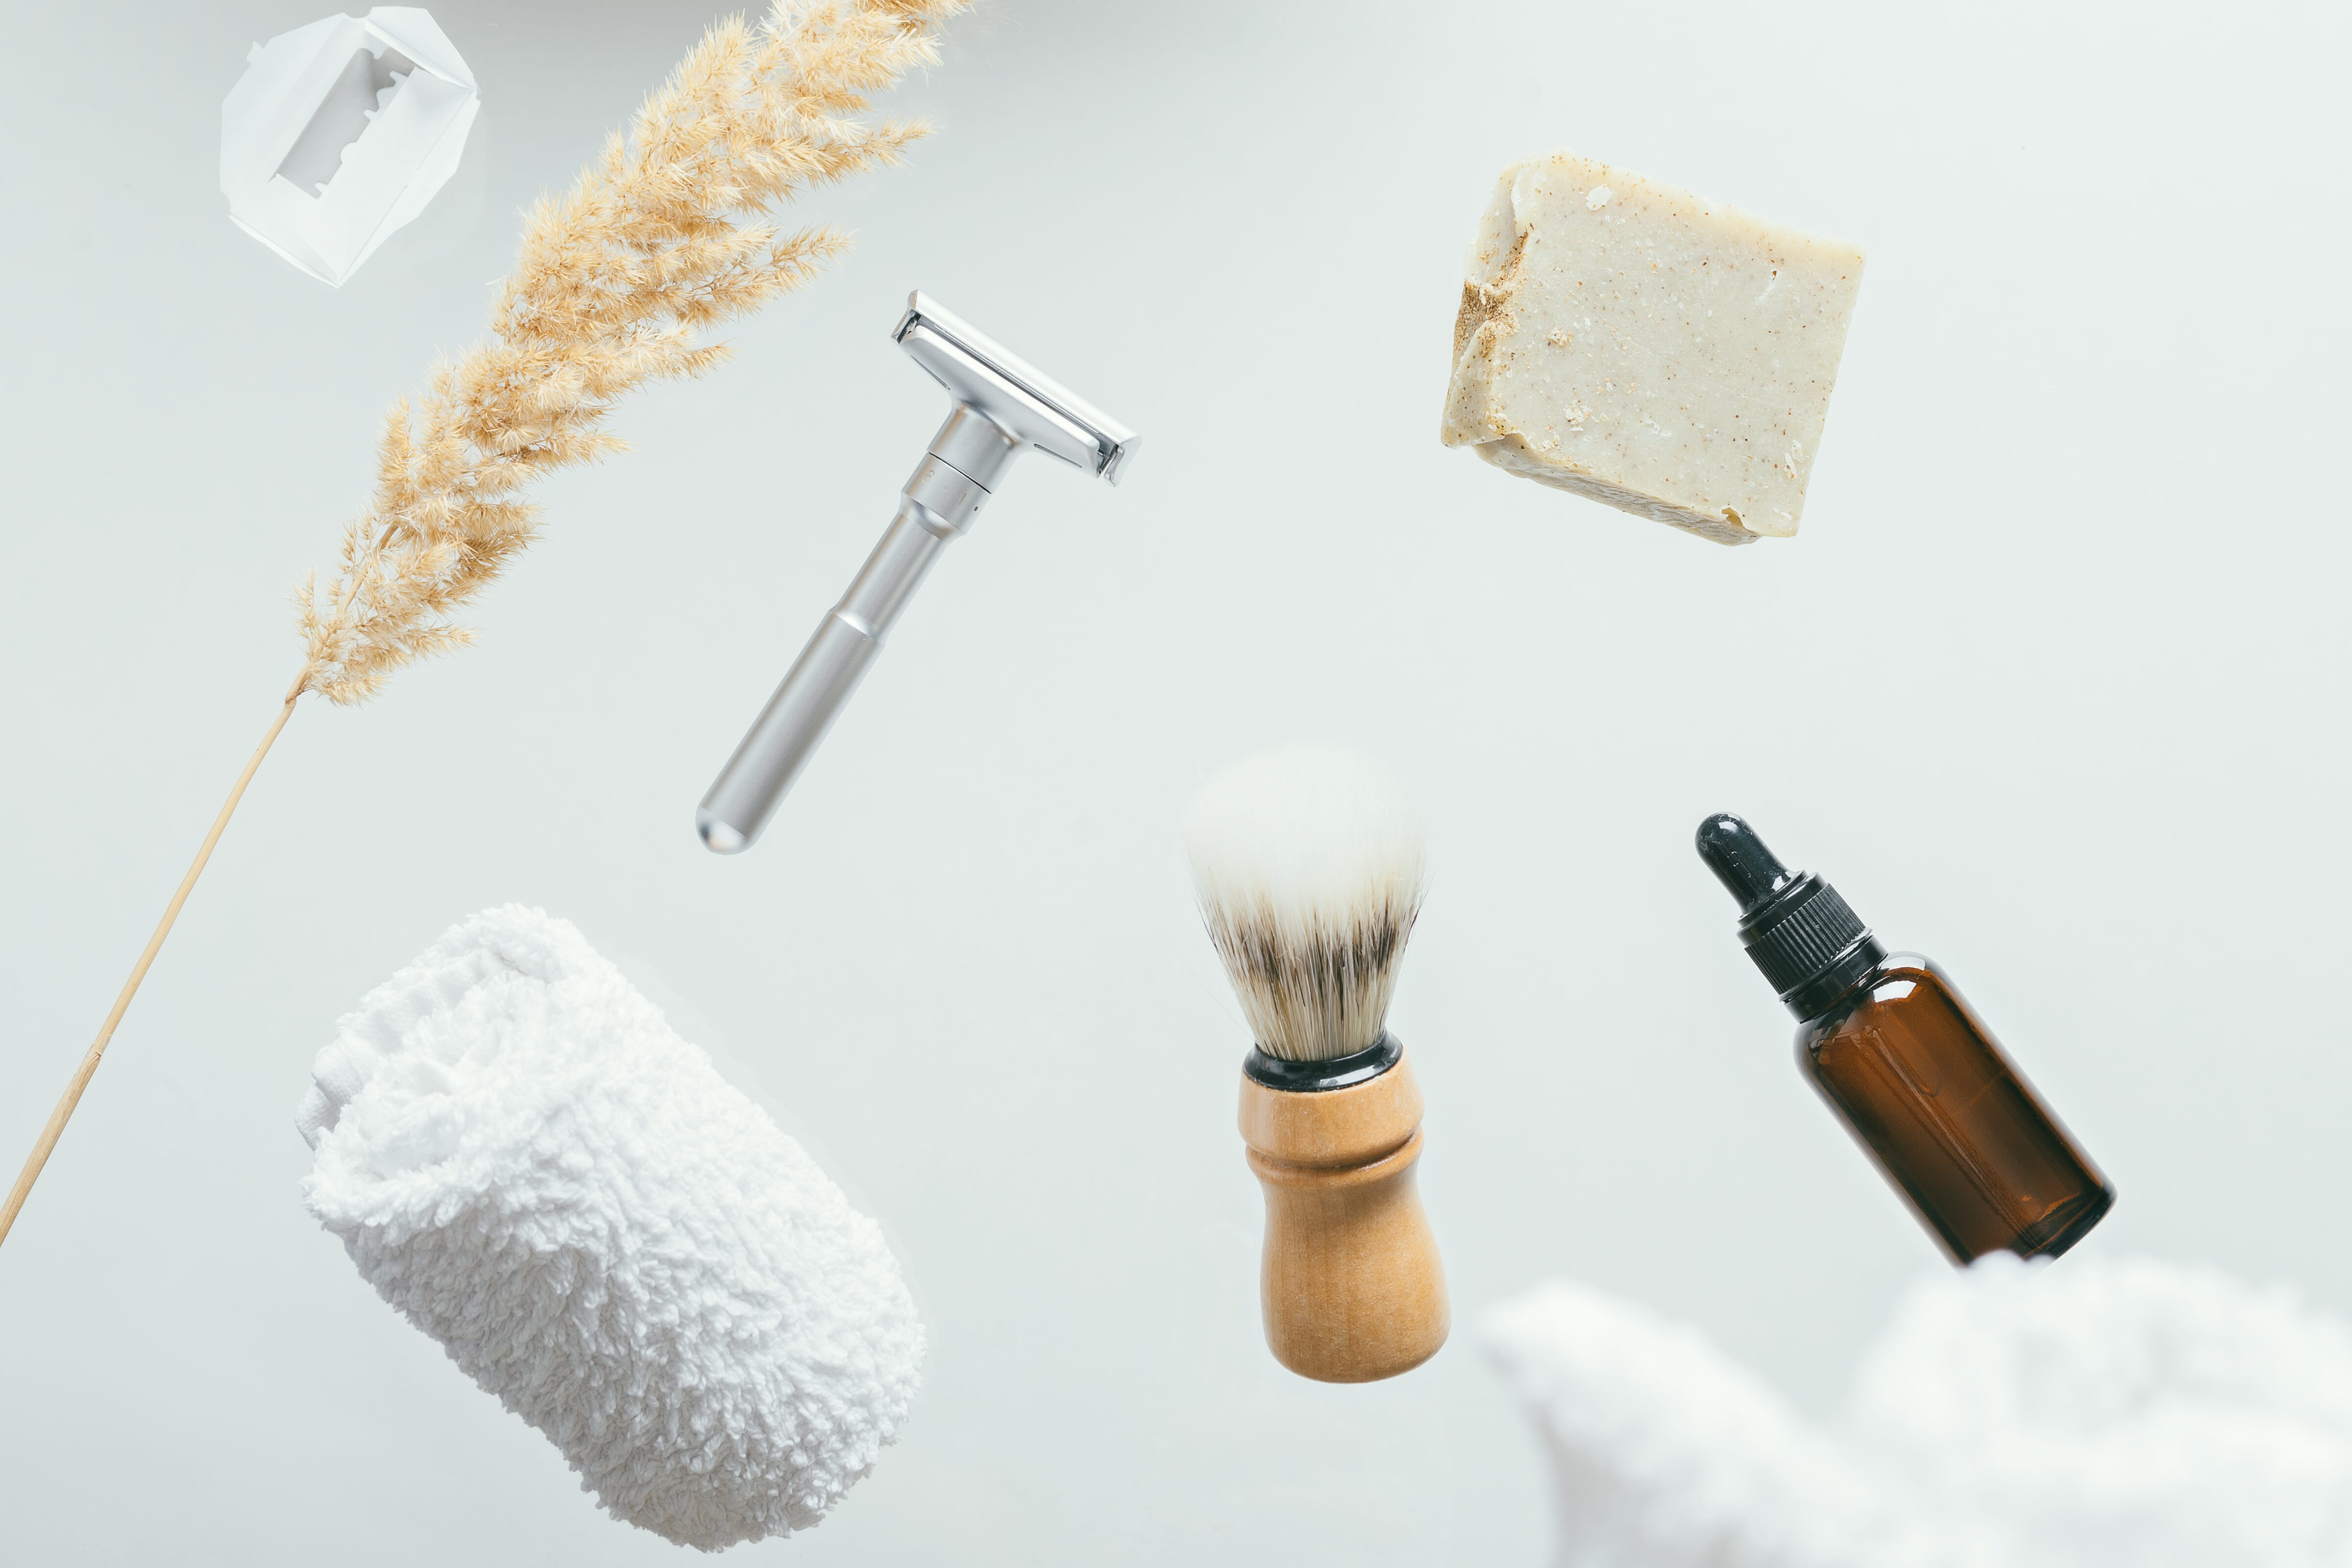
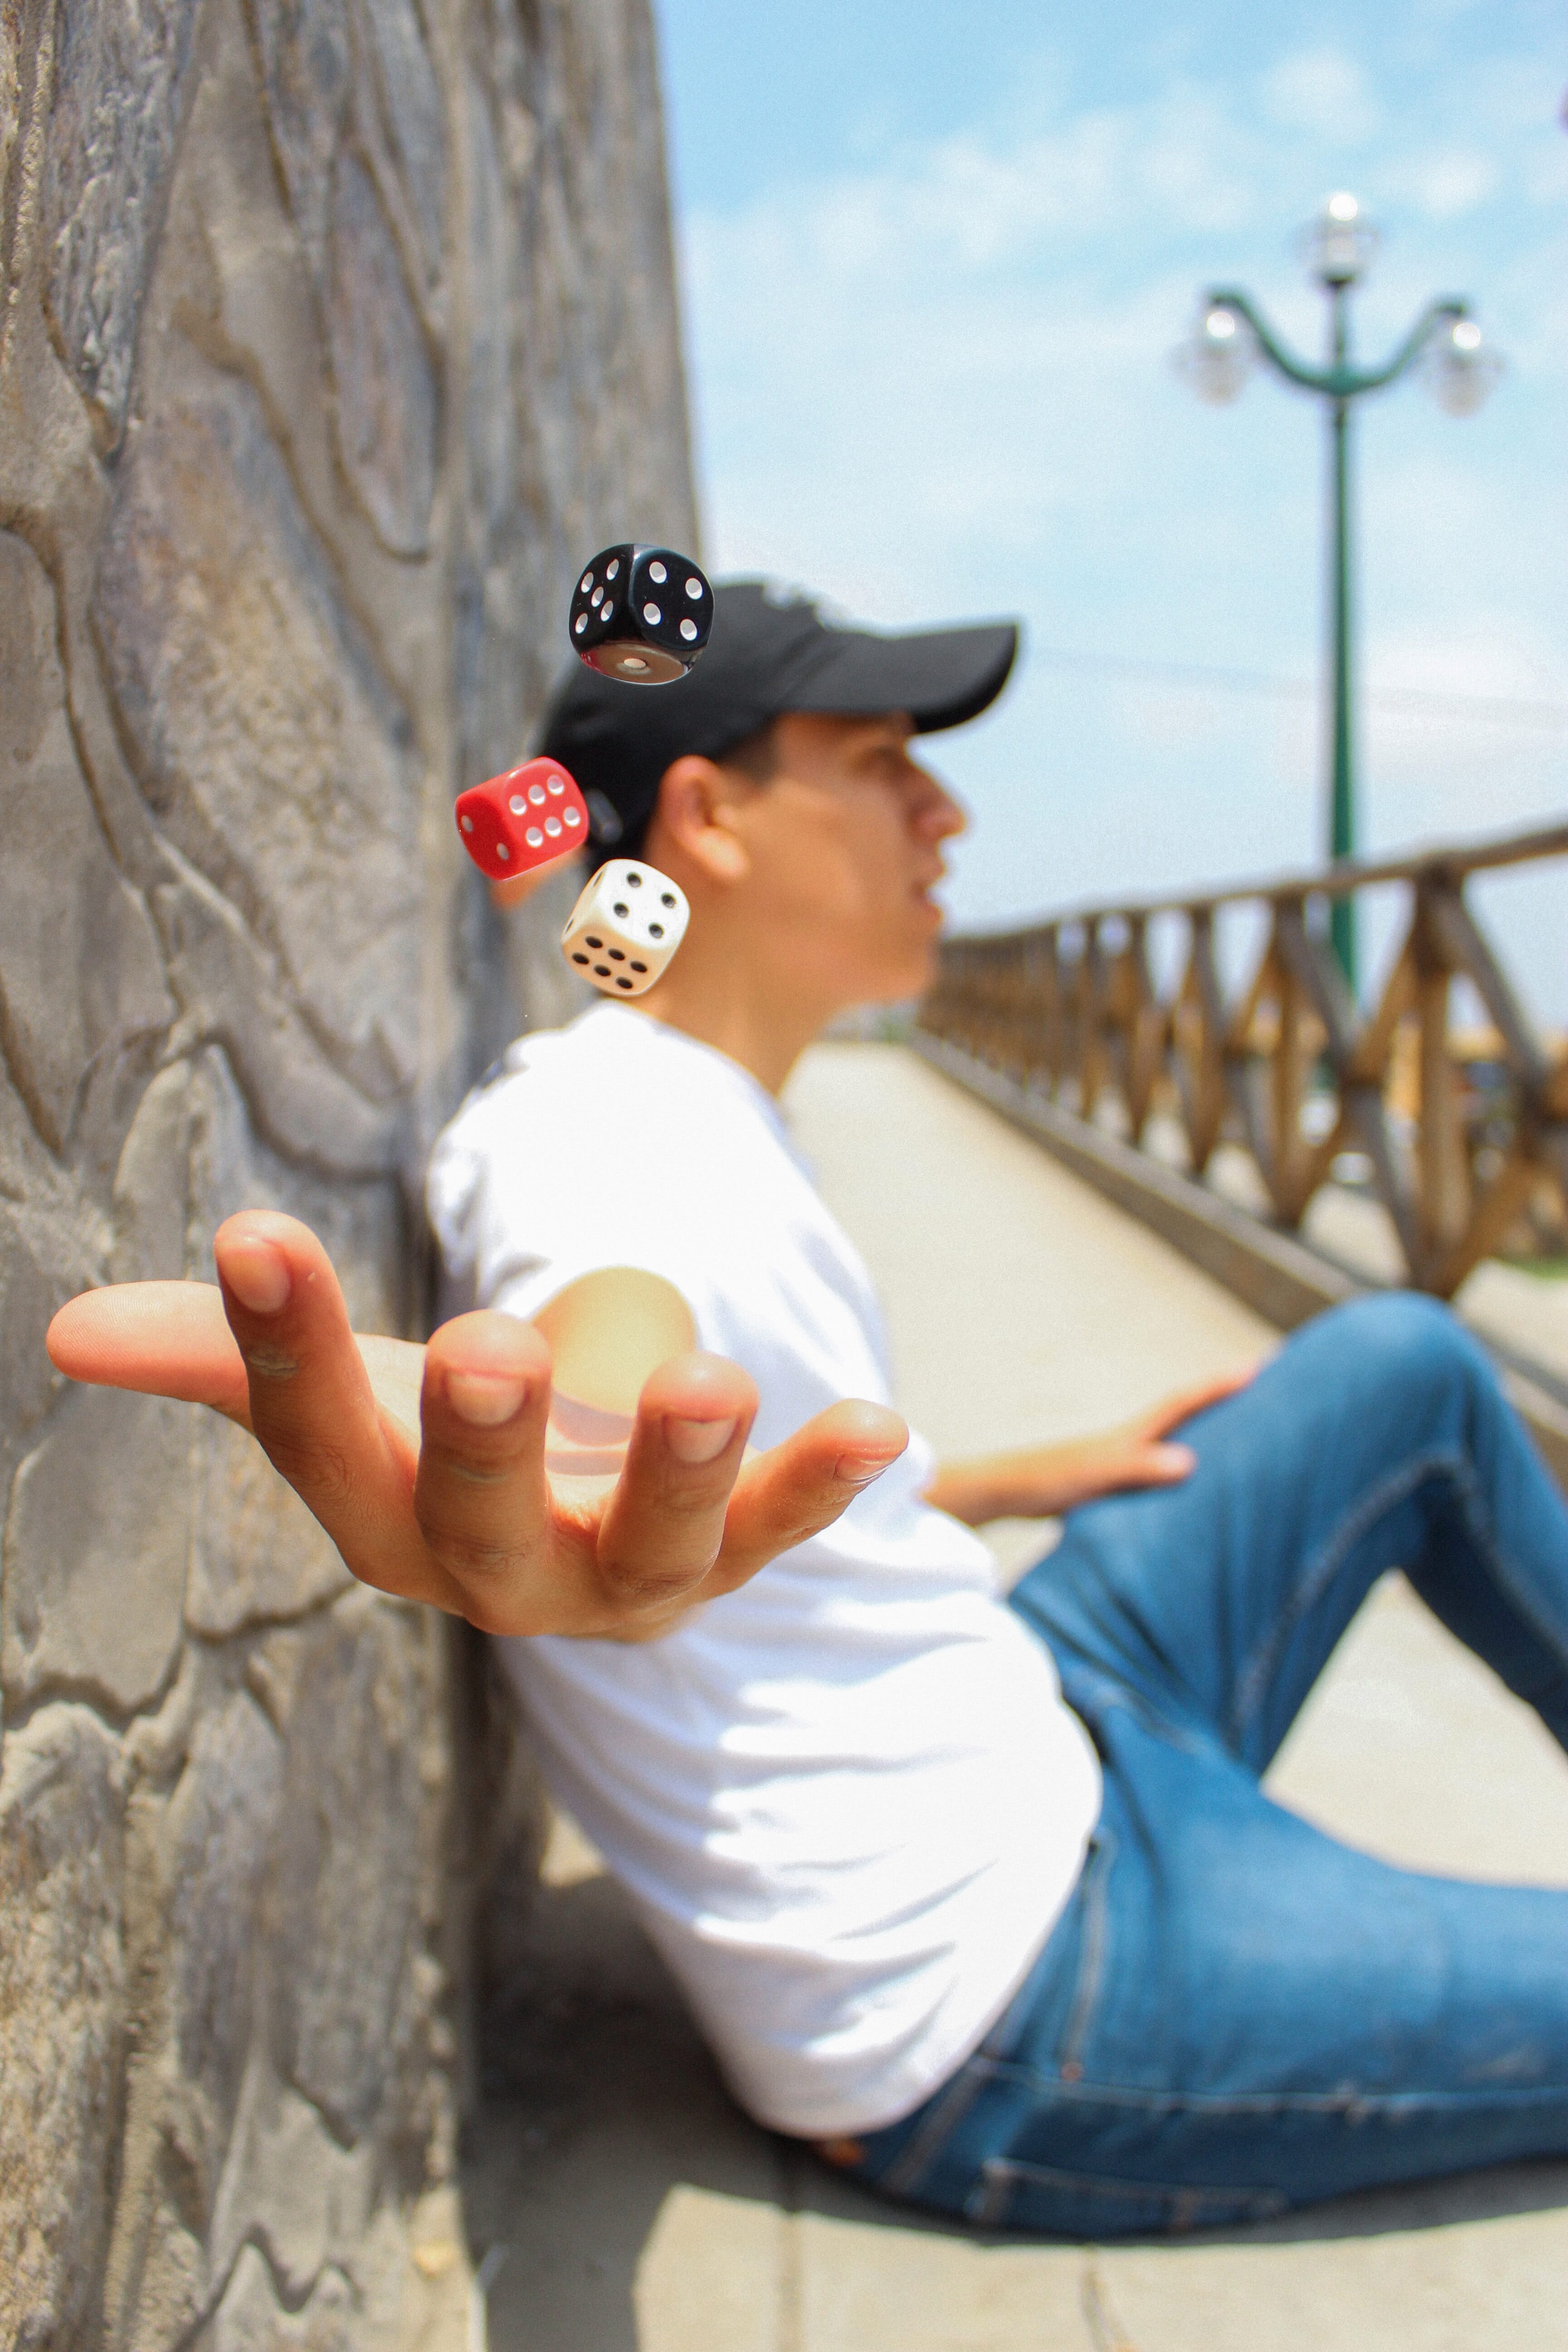
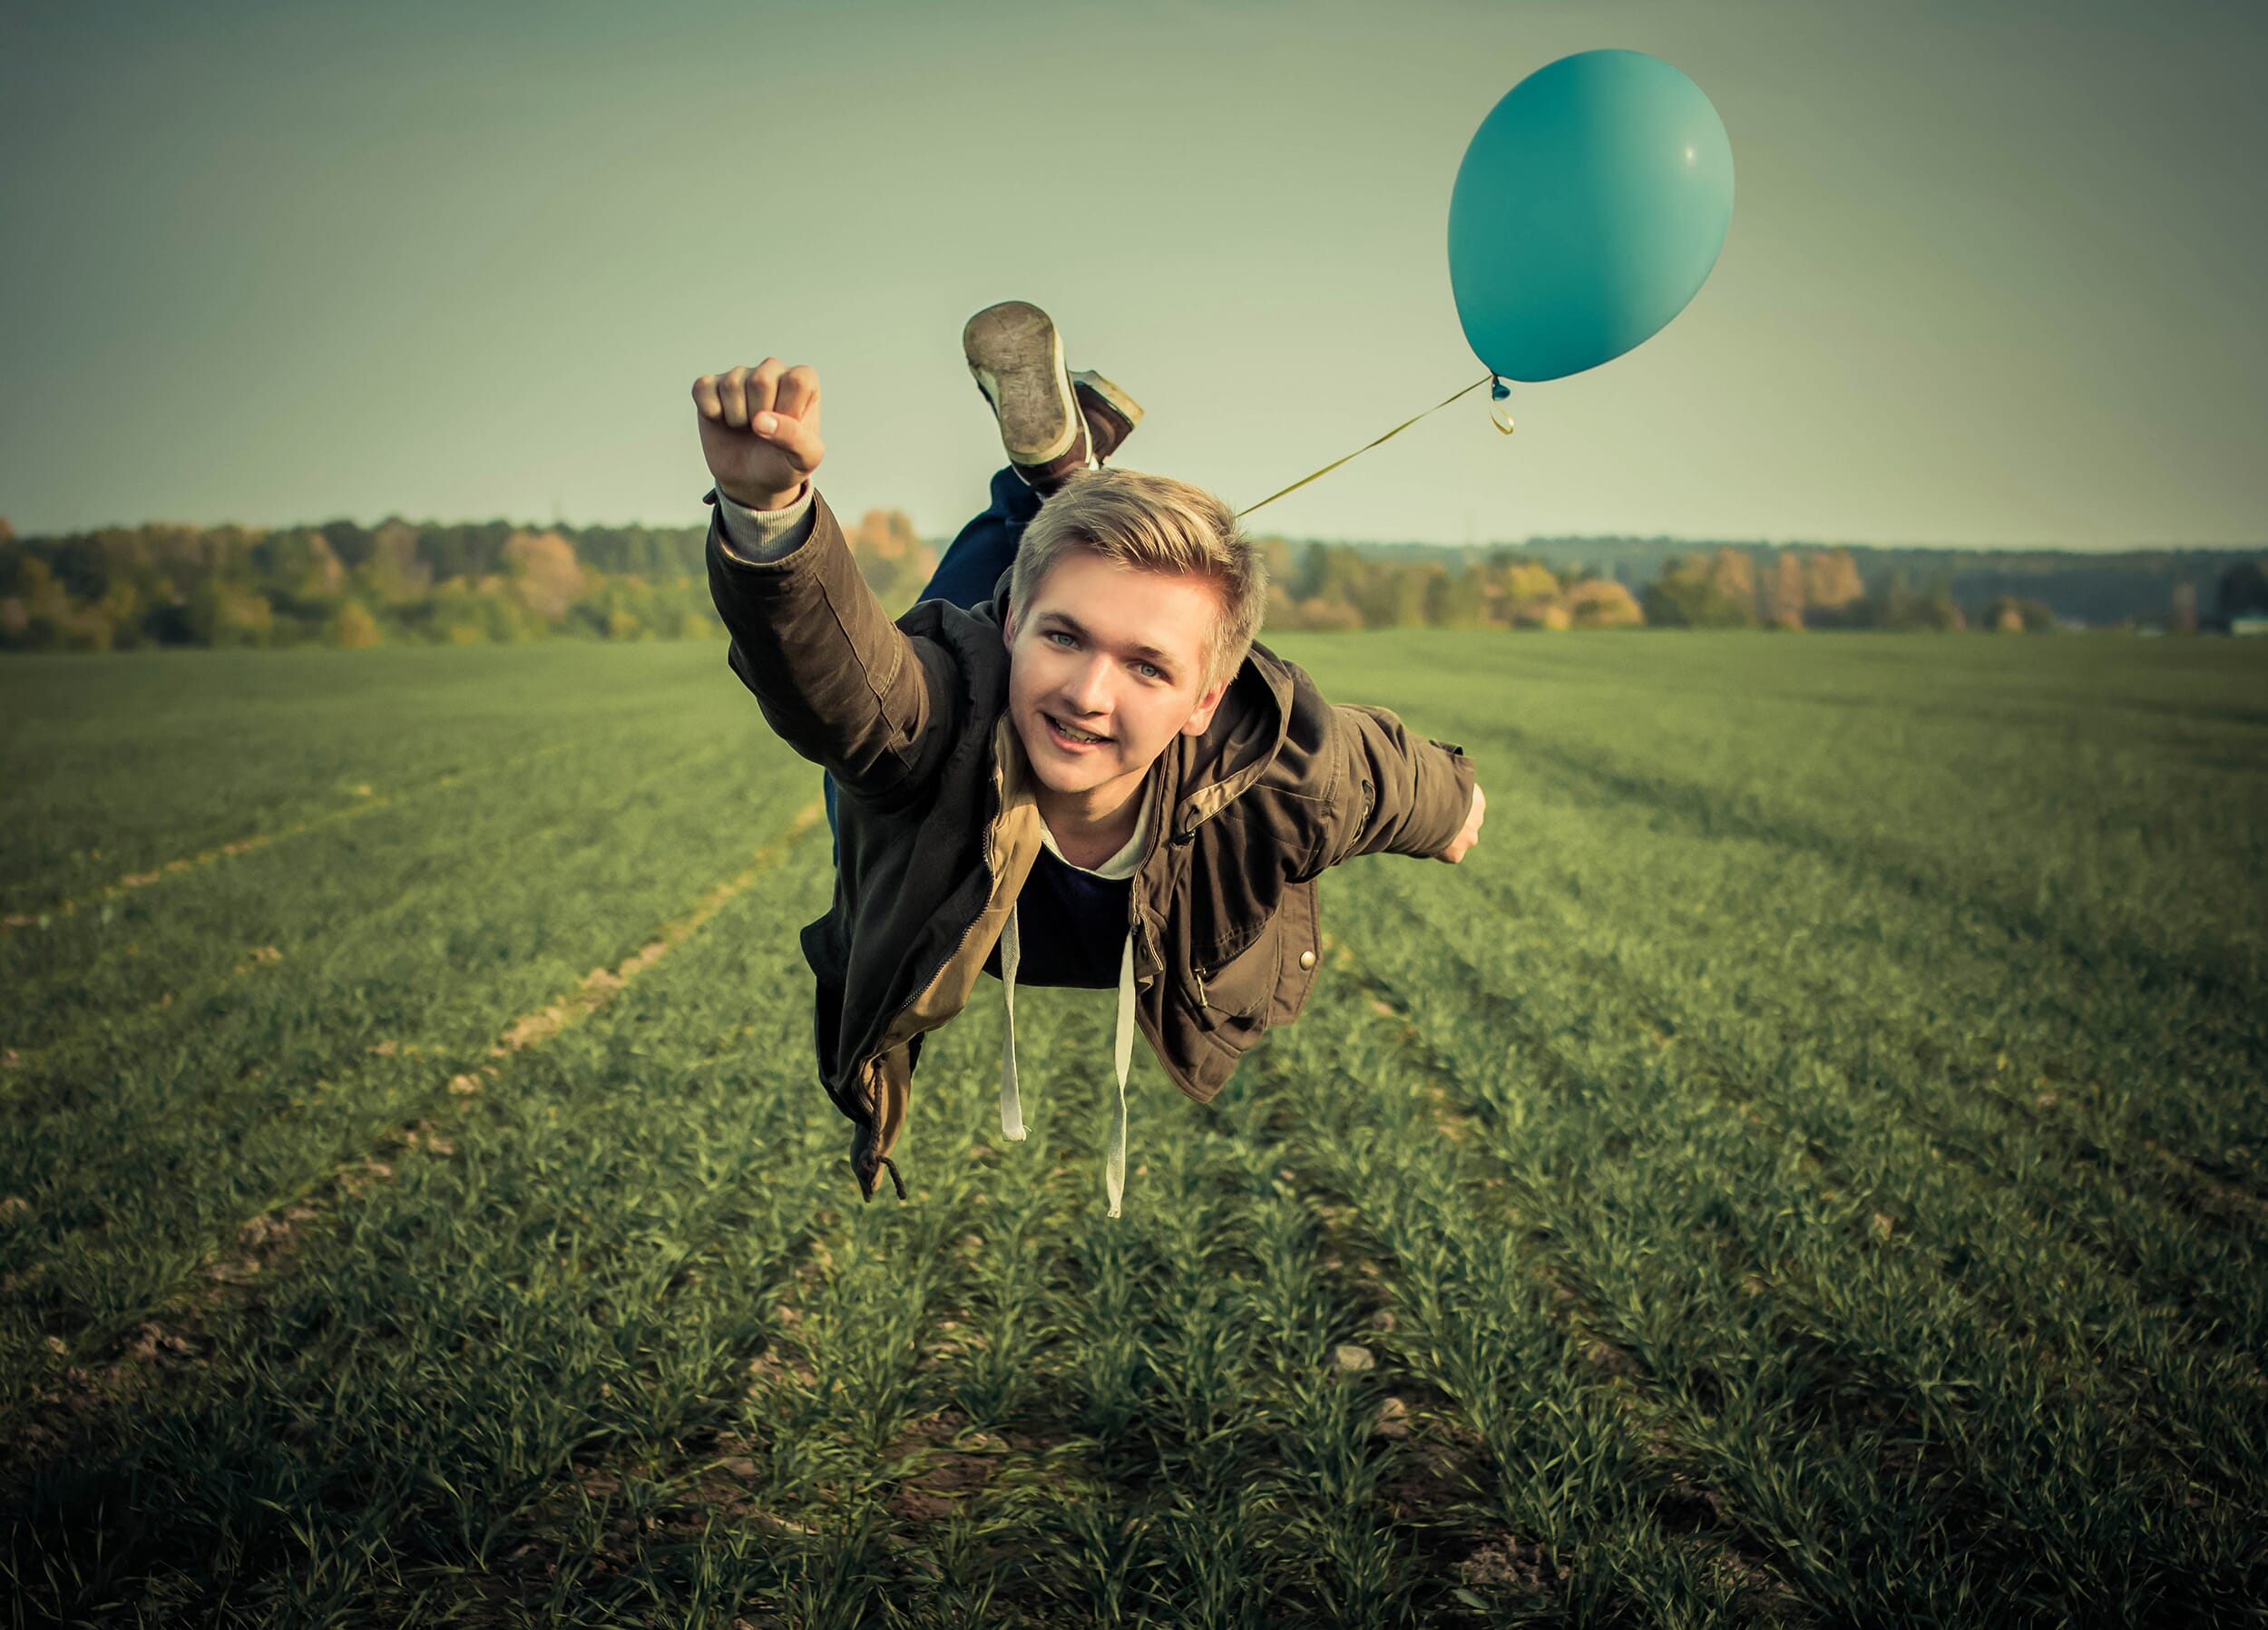
Now that we’ve shown how levitation photography is made, it’s time to get creative. Here are a few examples to help inspire your personal work.
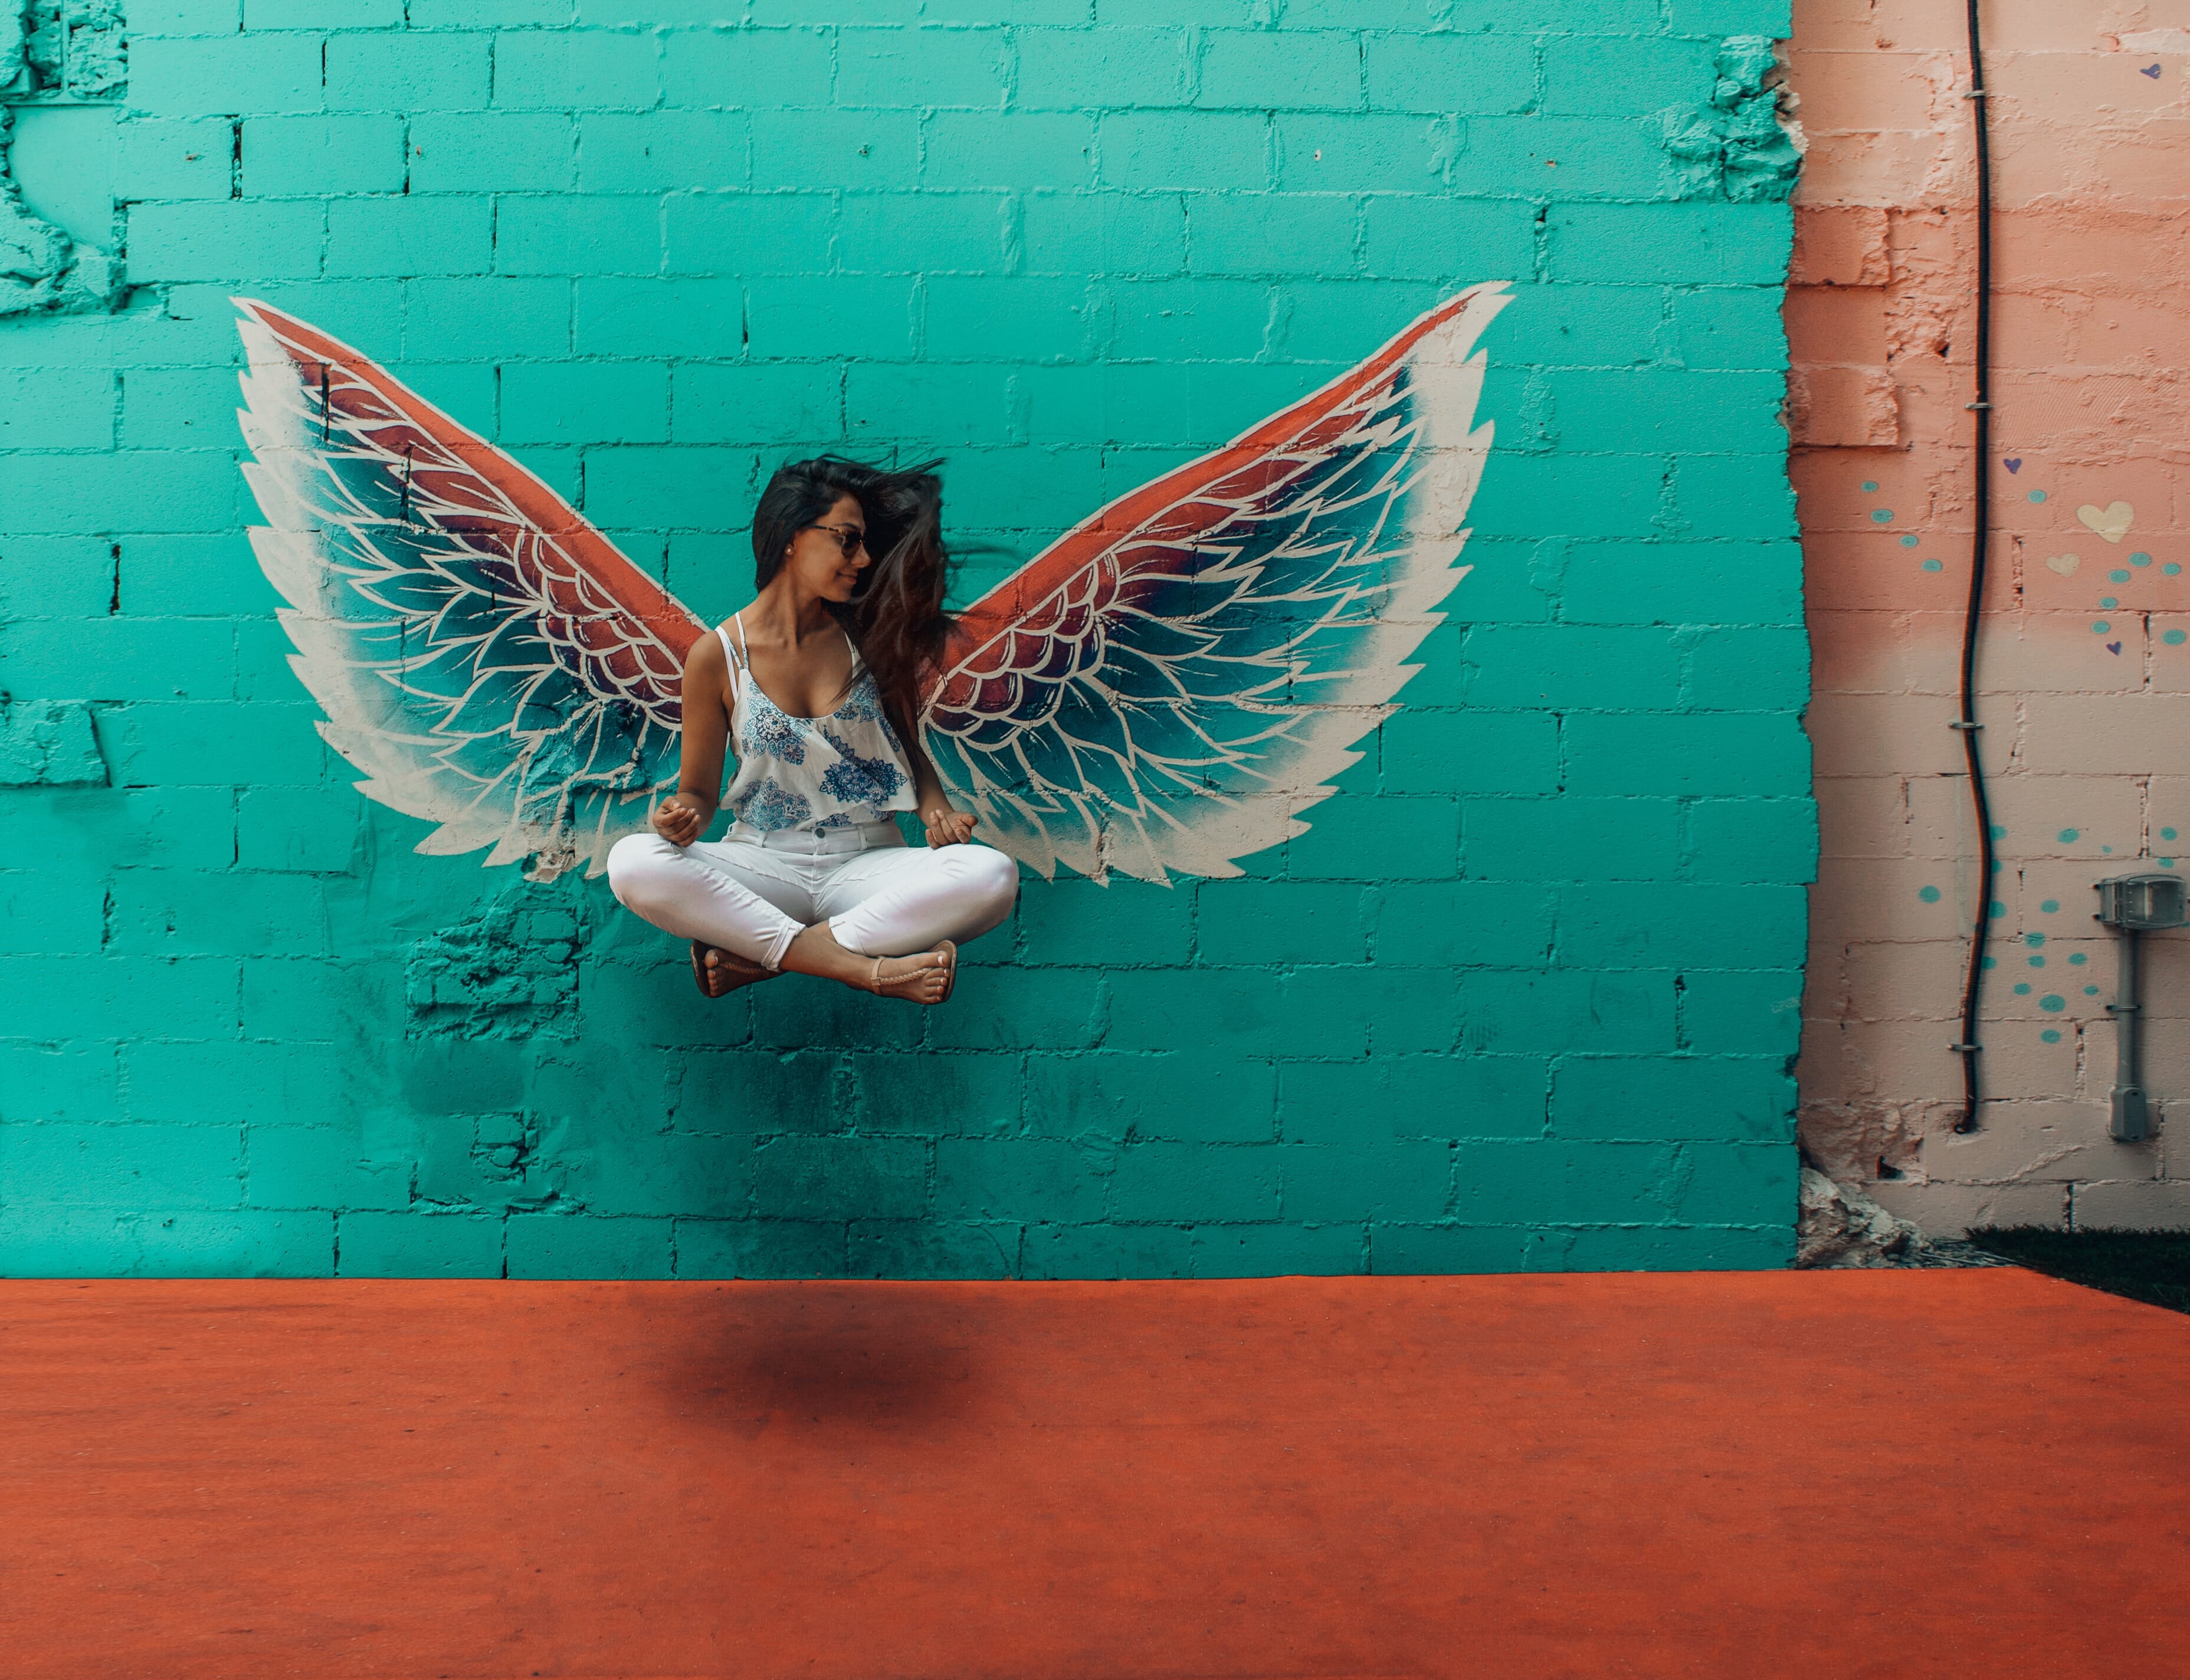
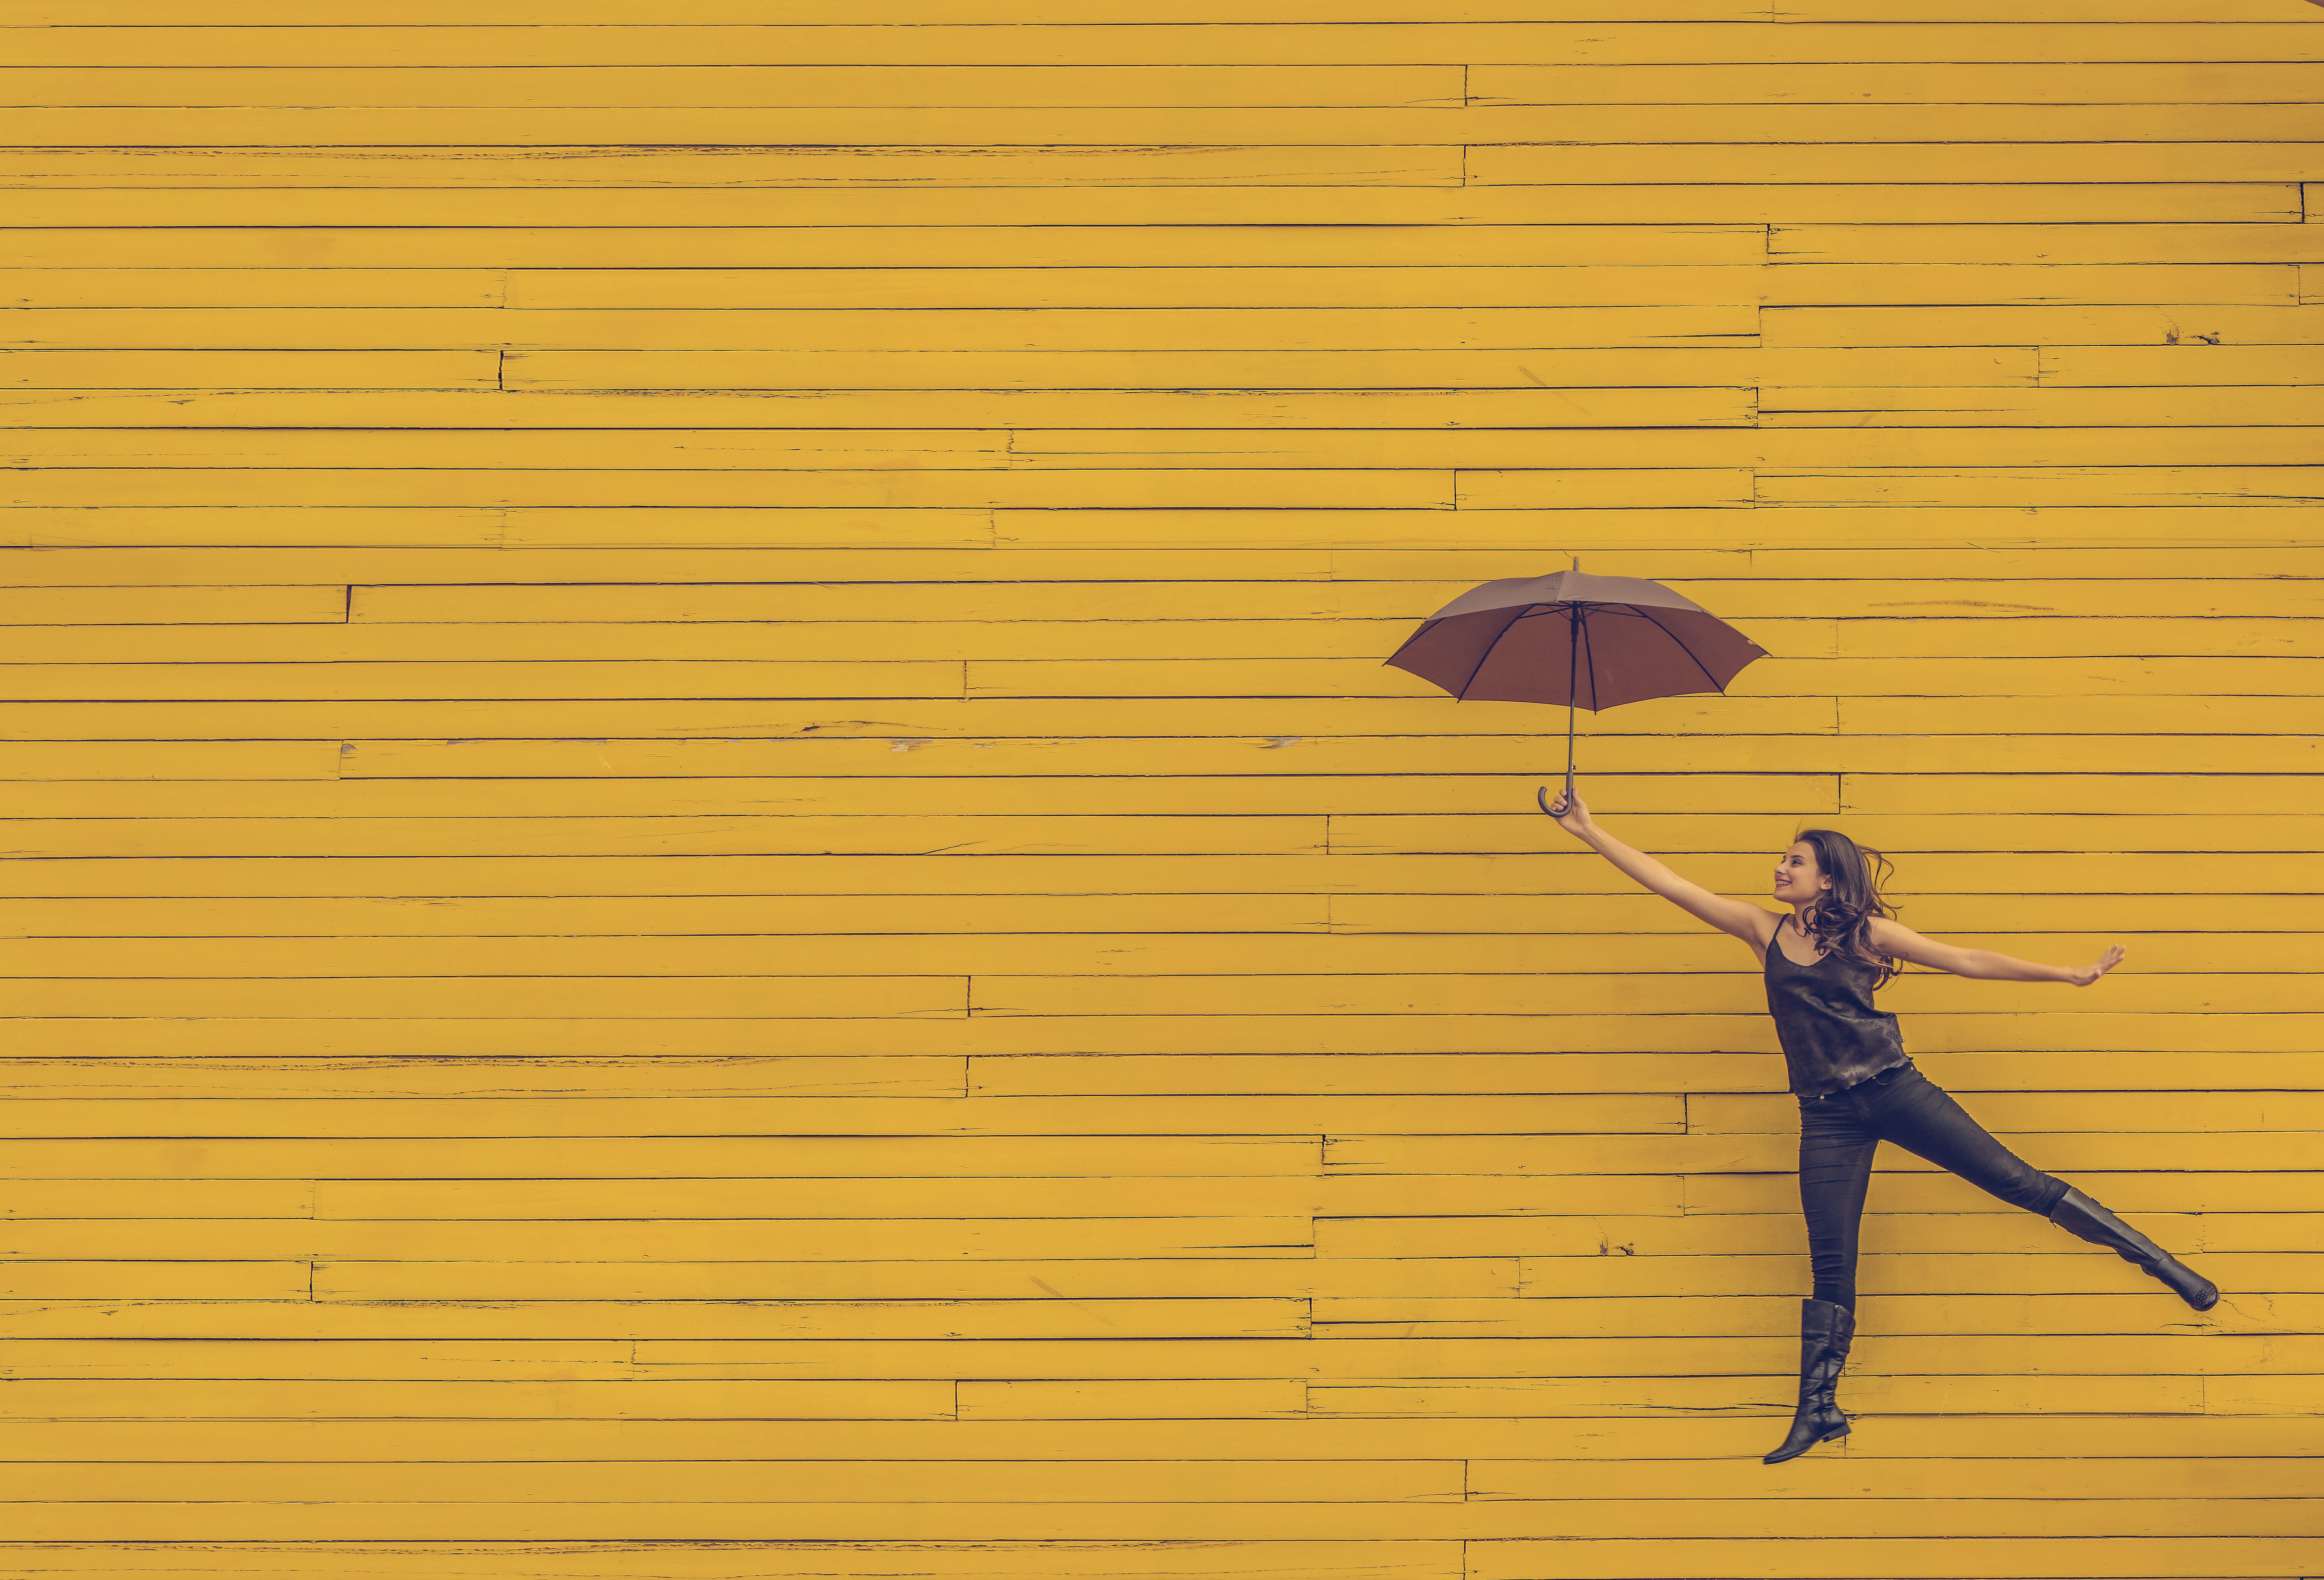
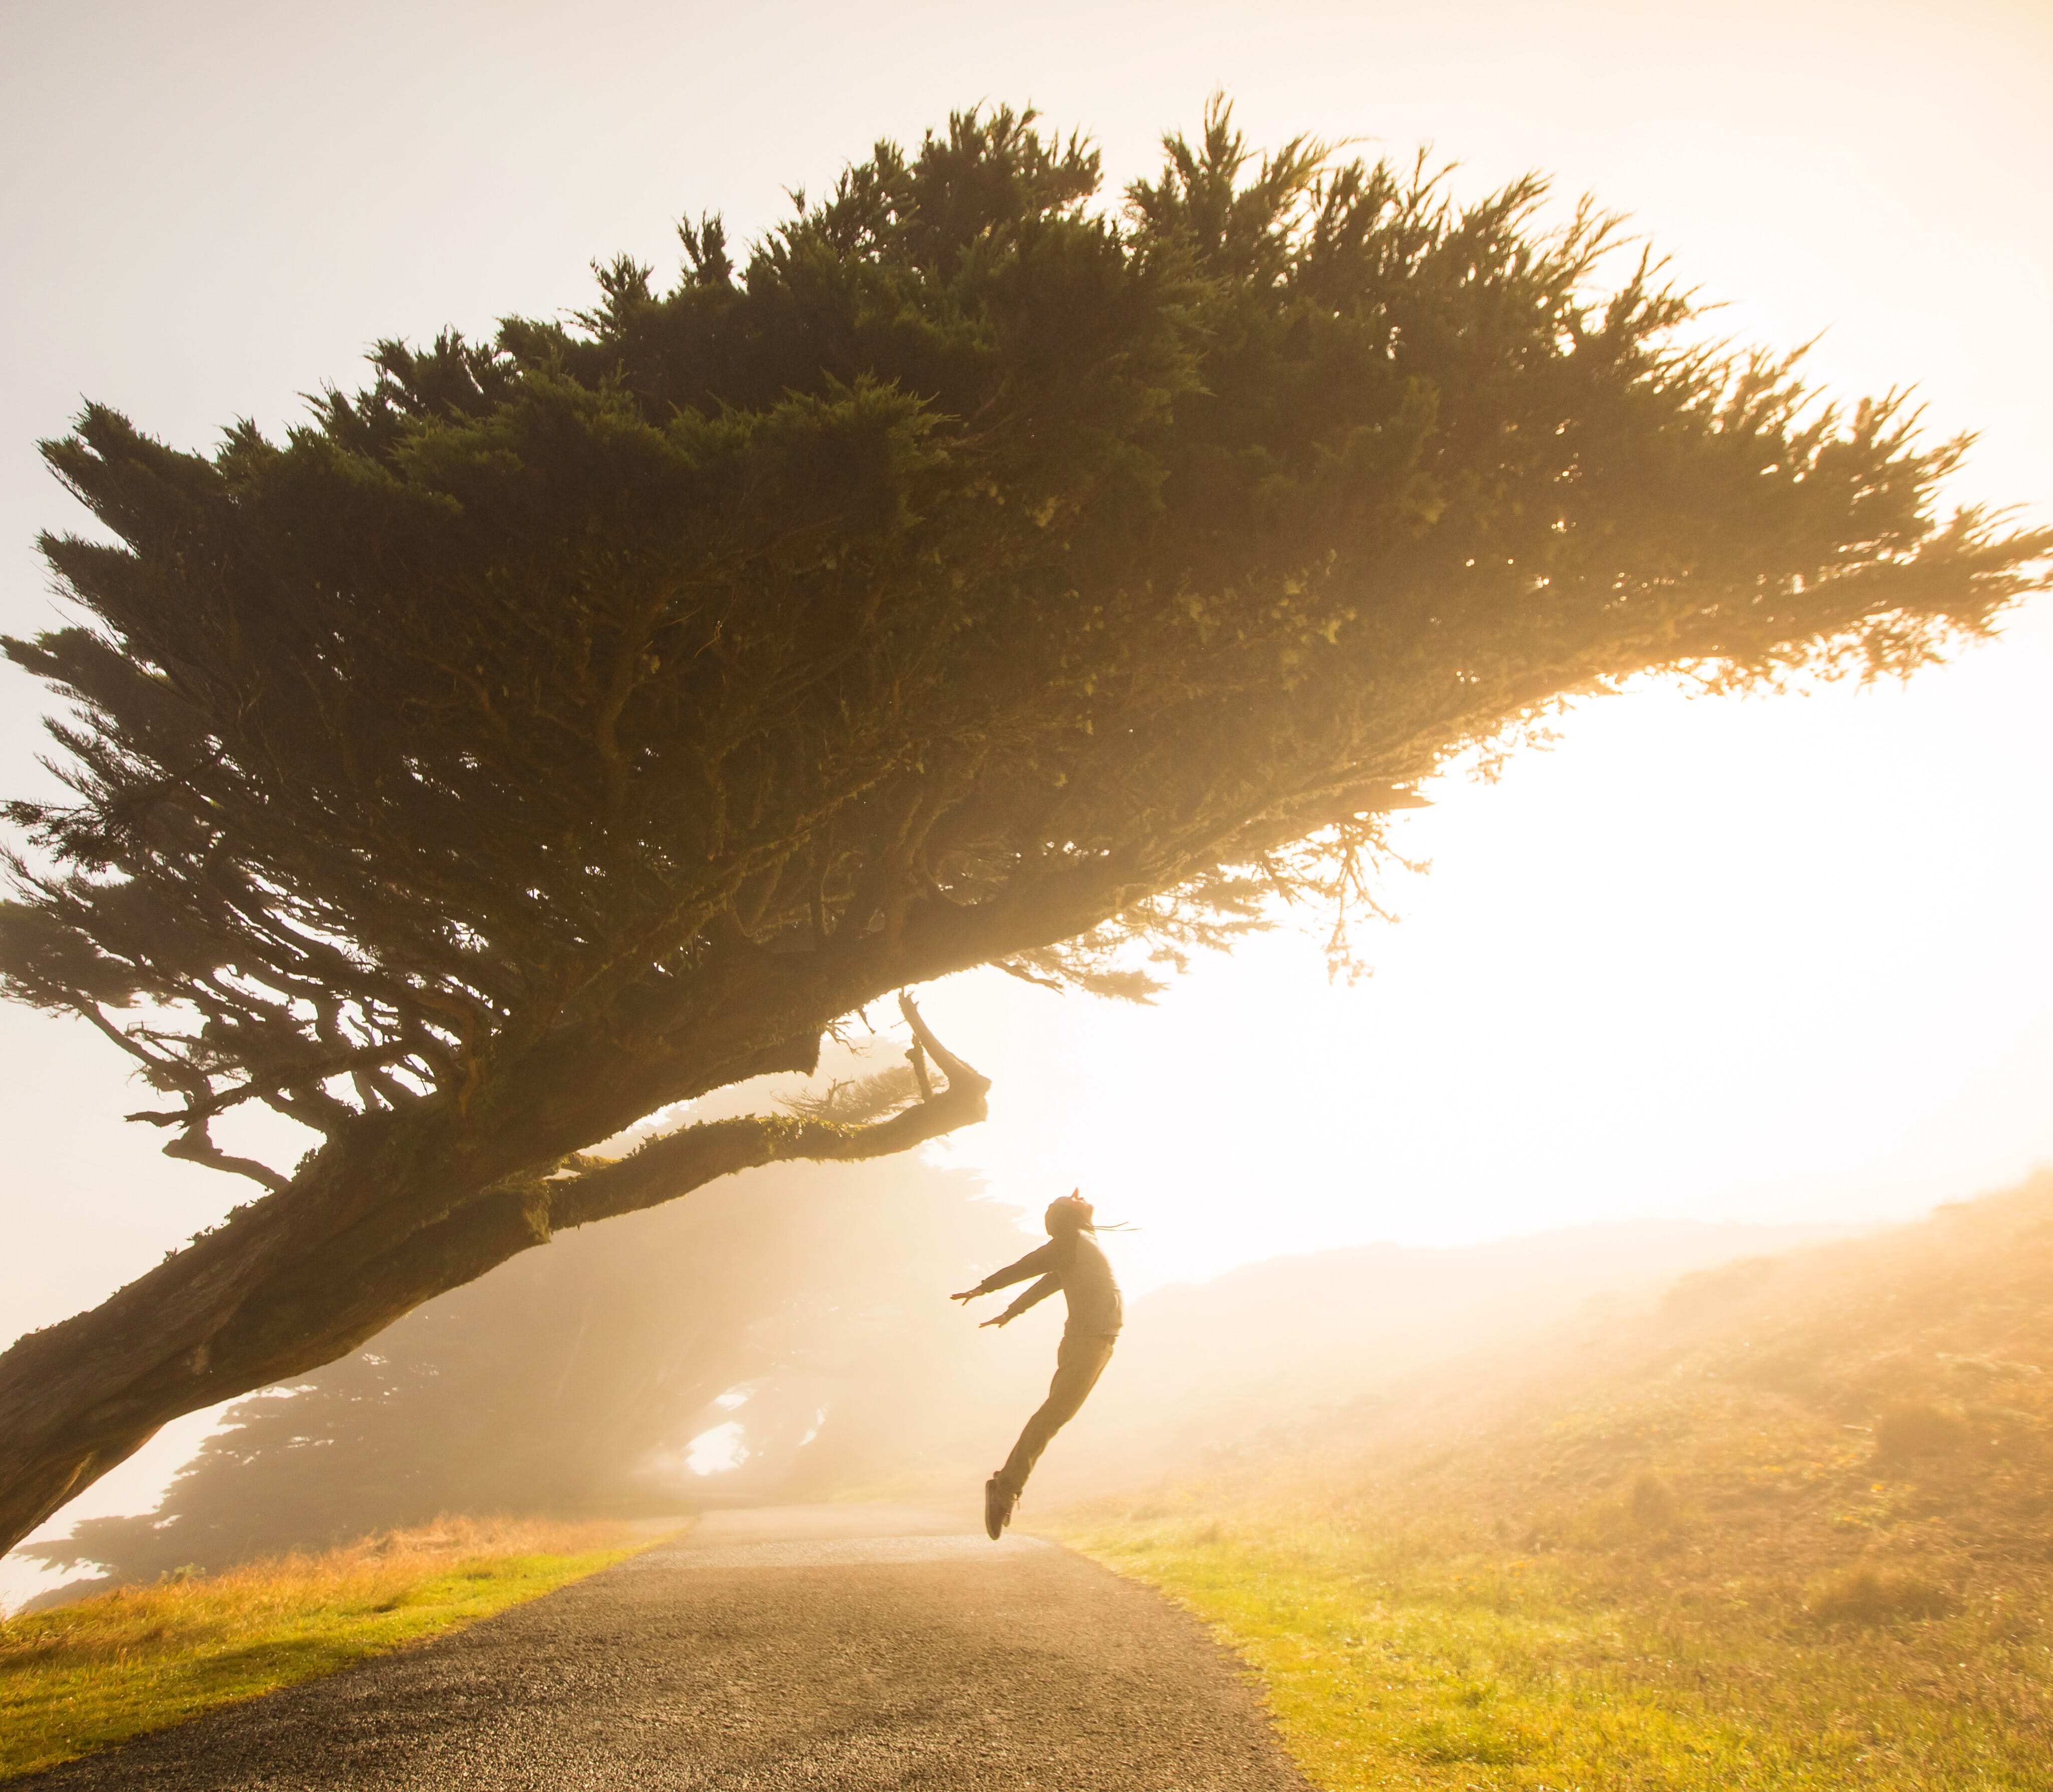
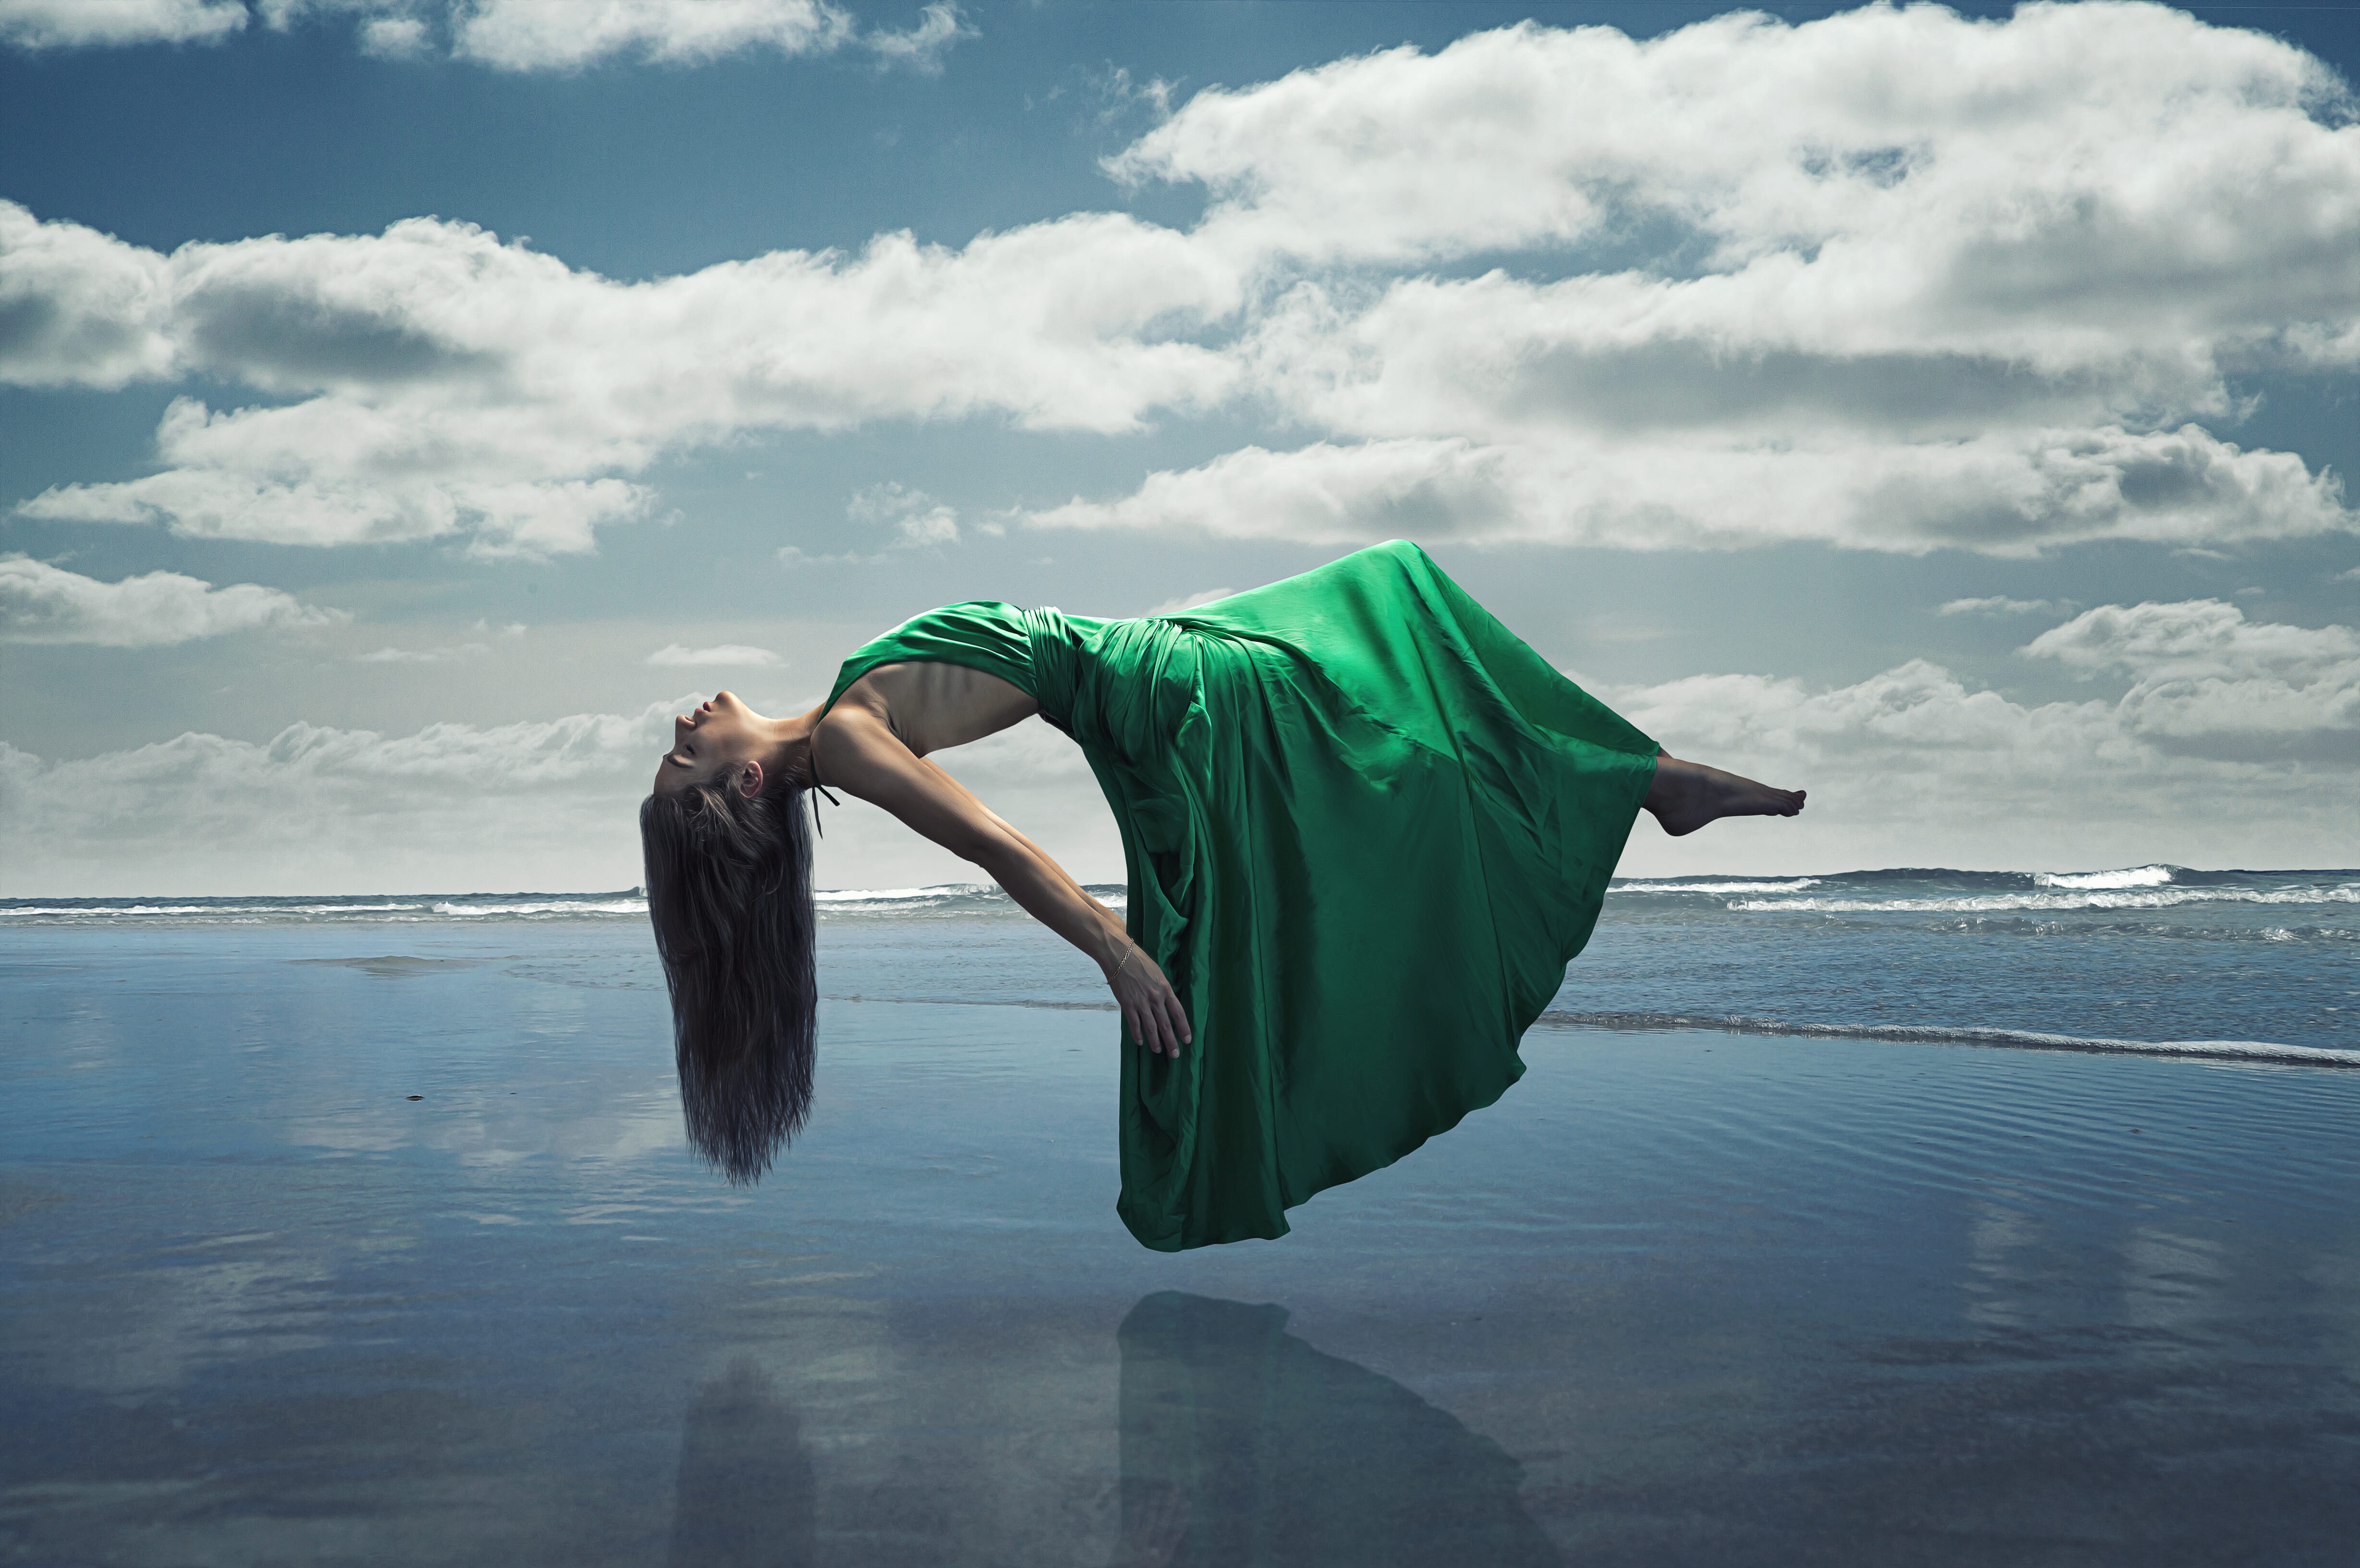
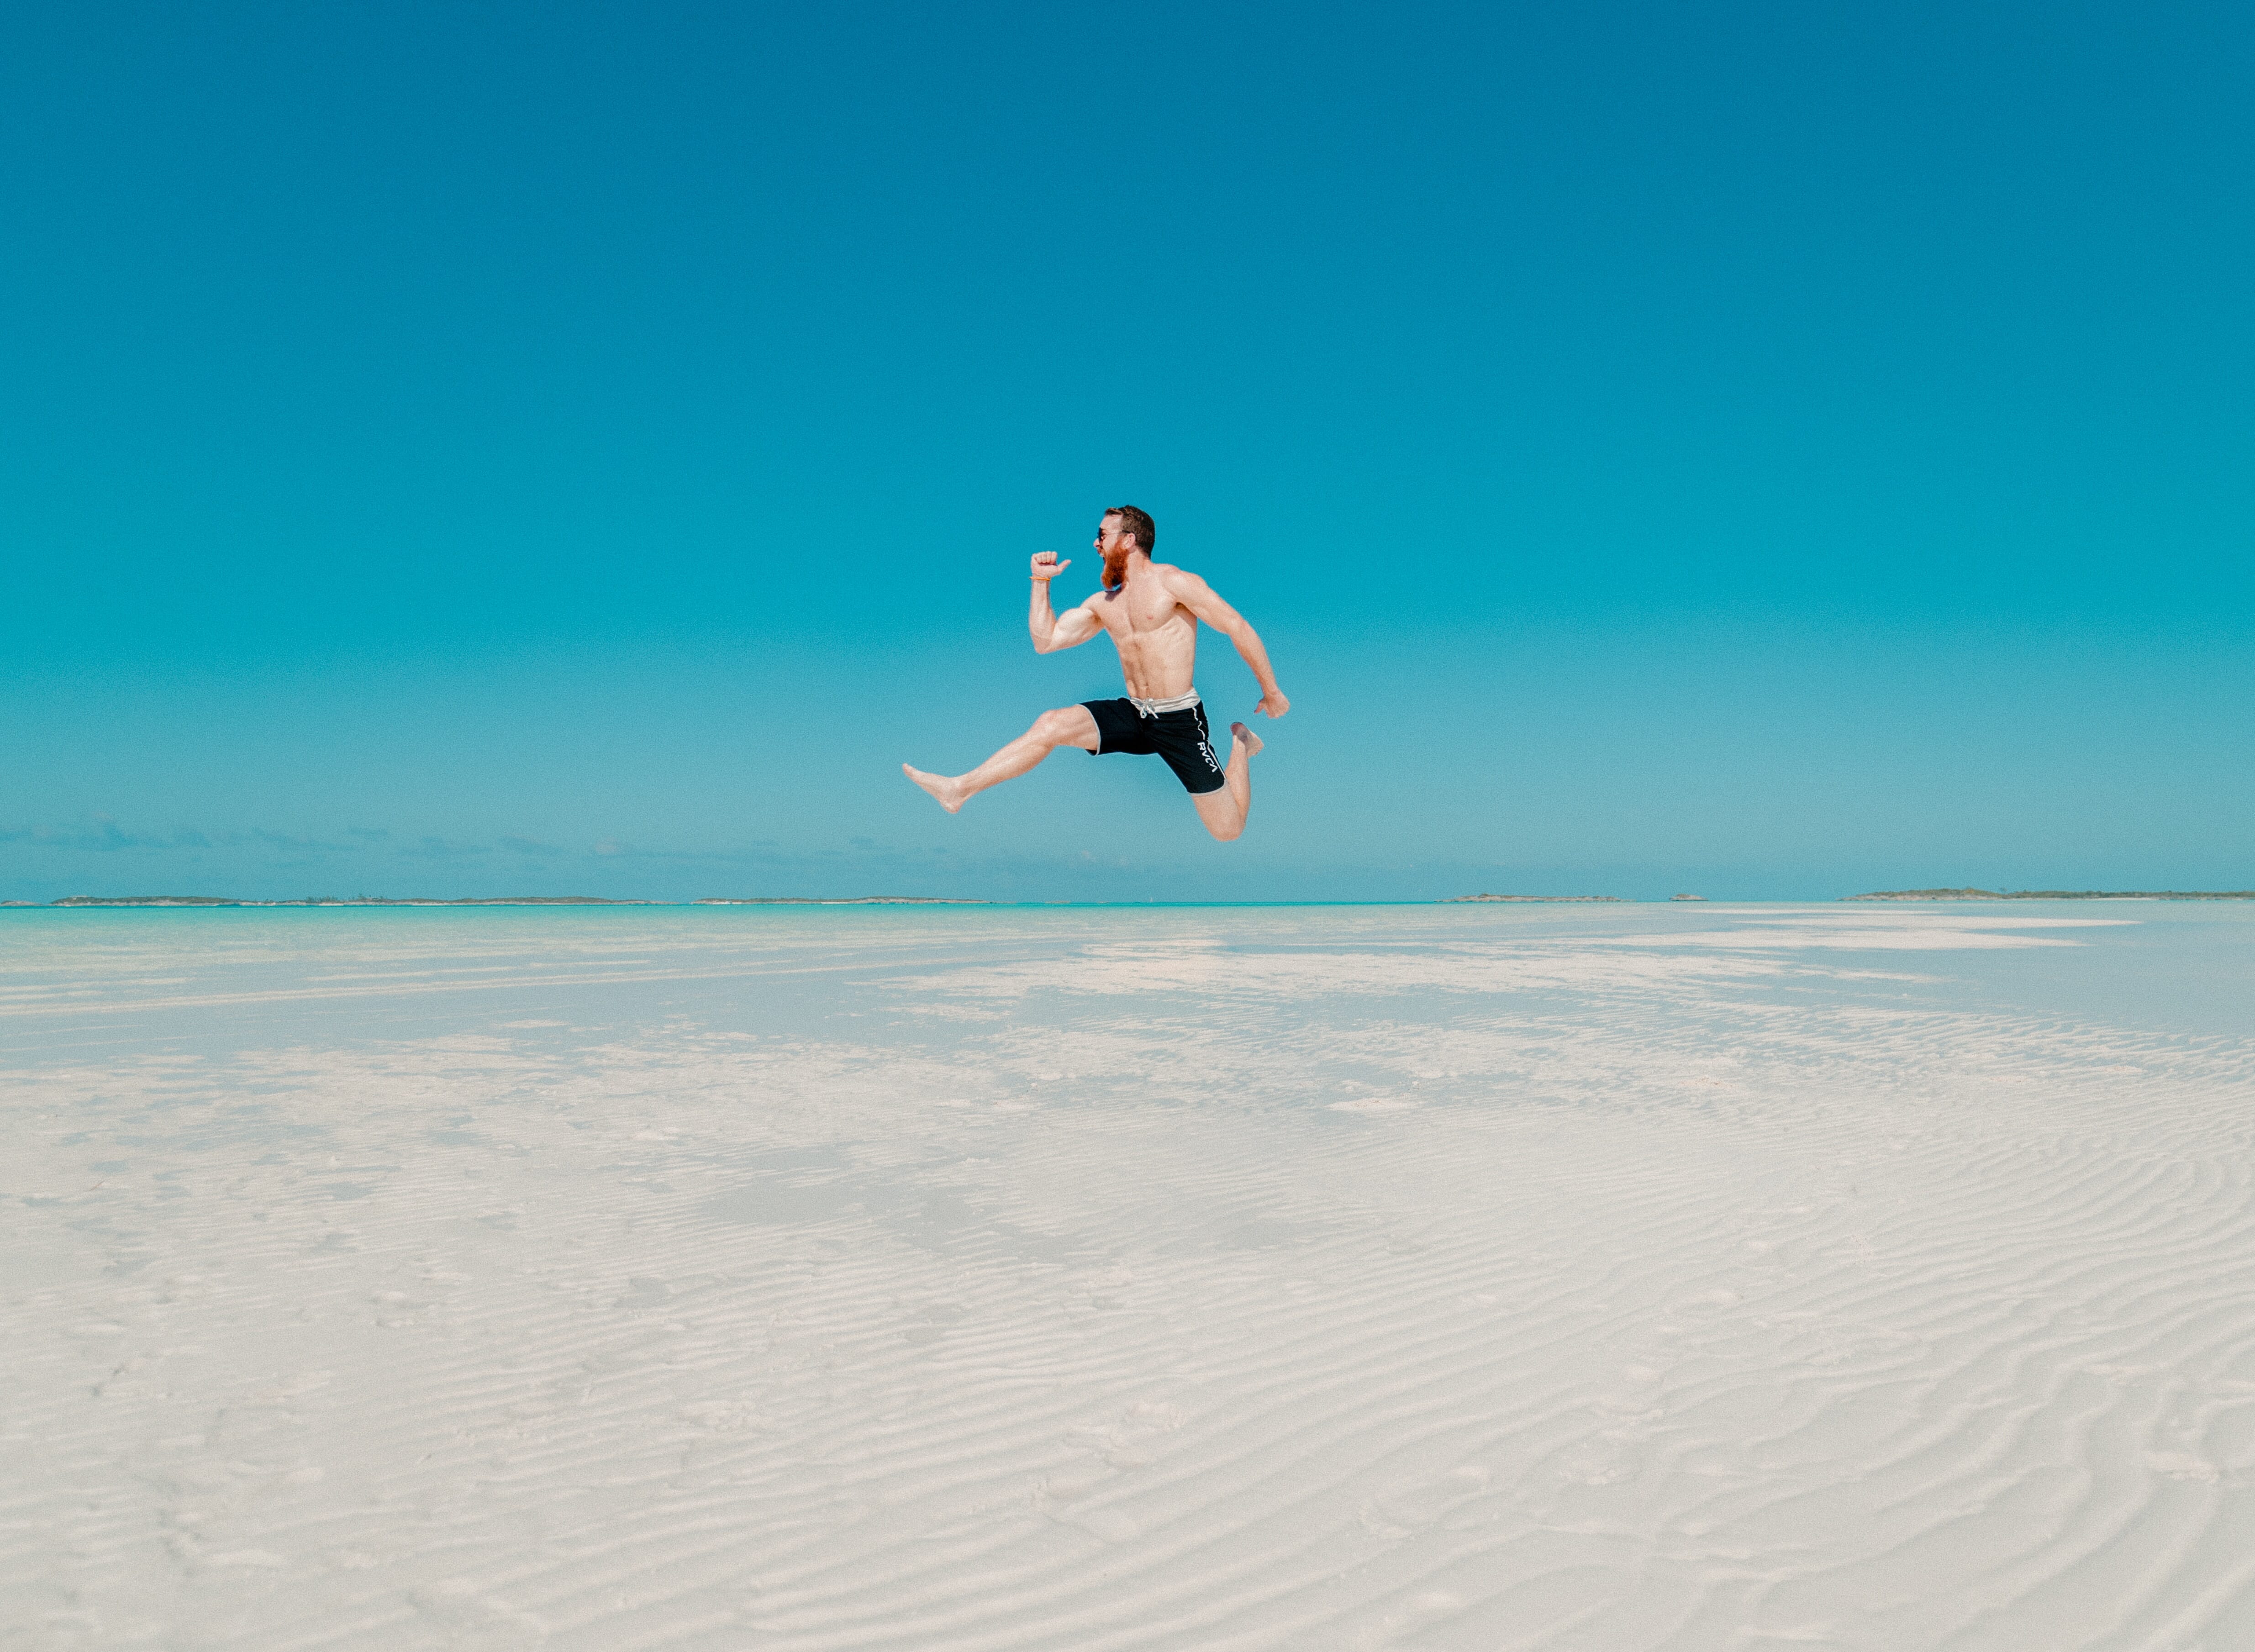
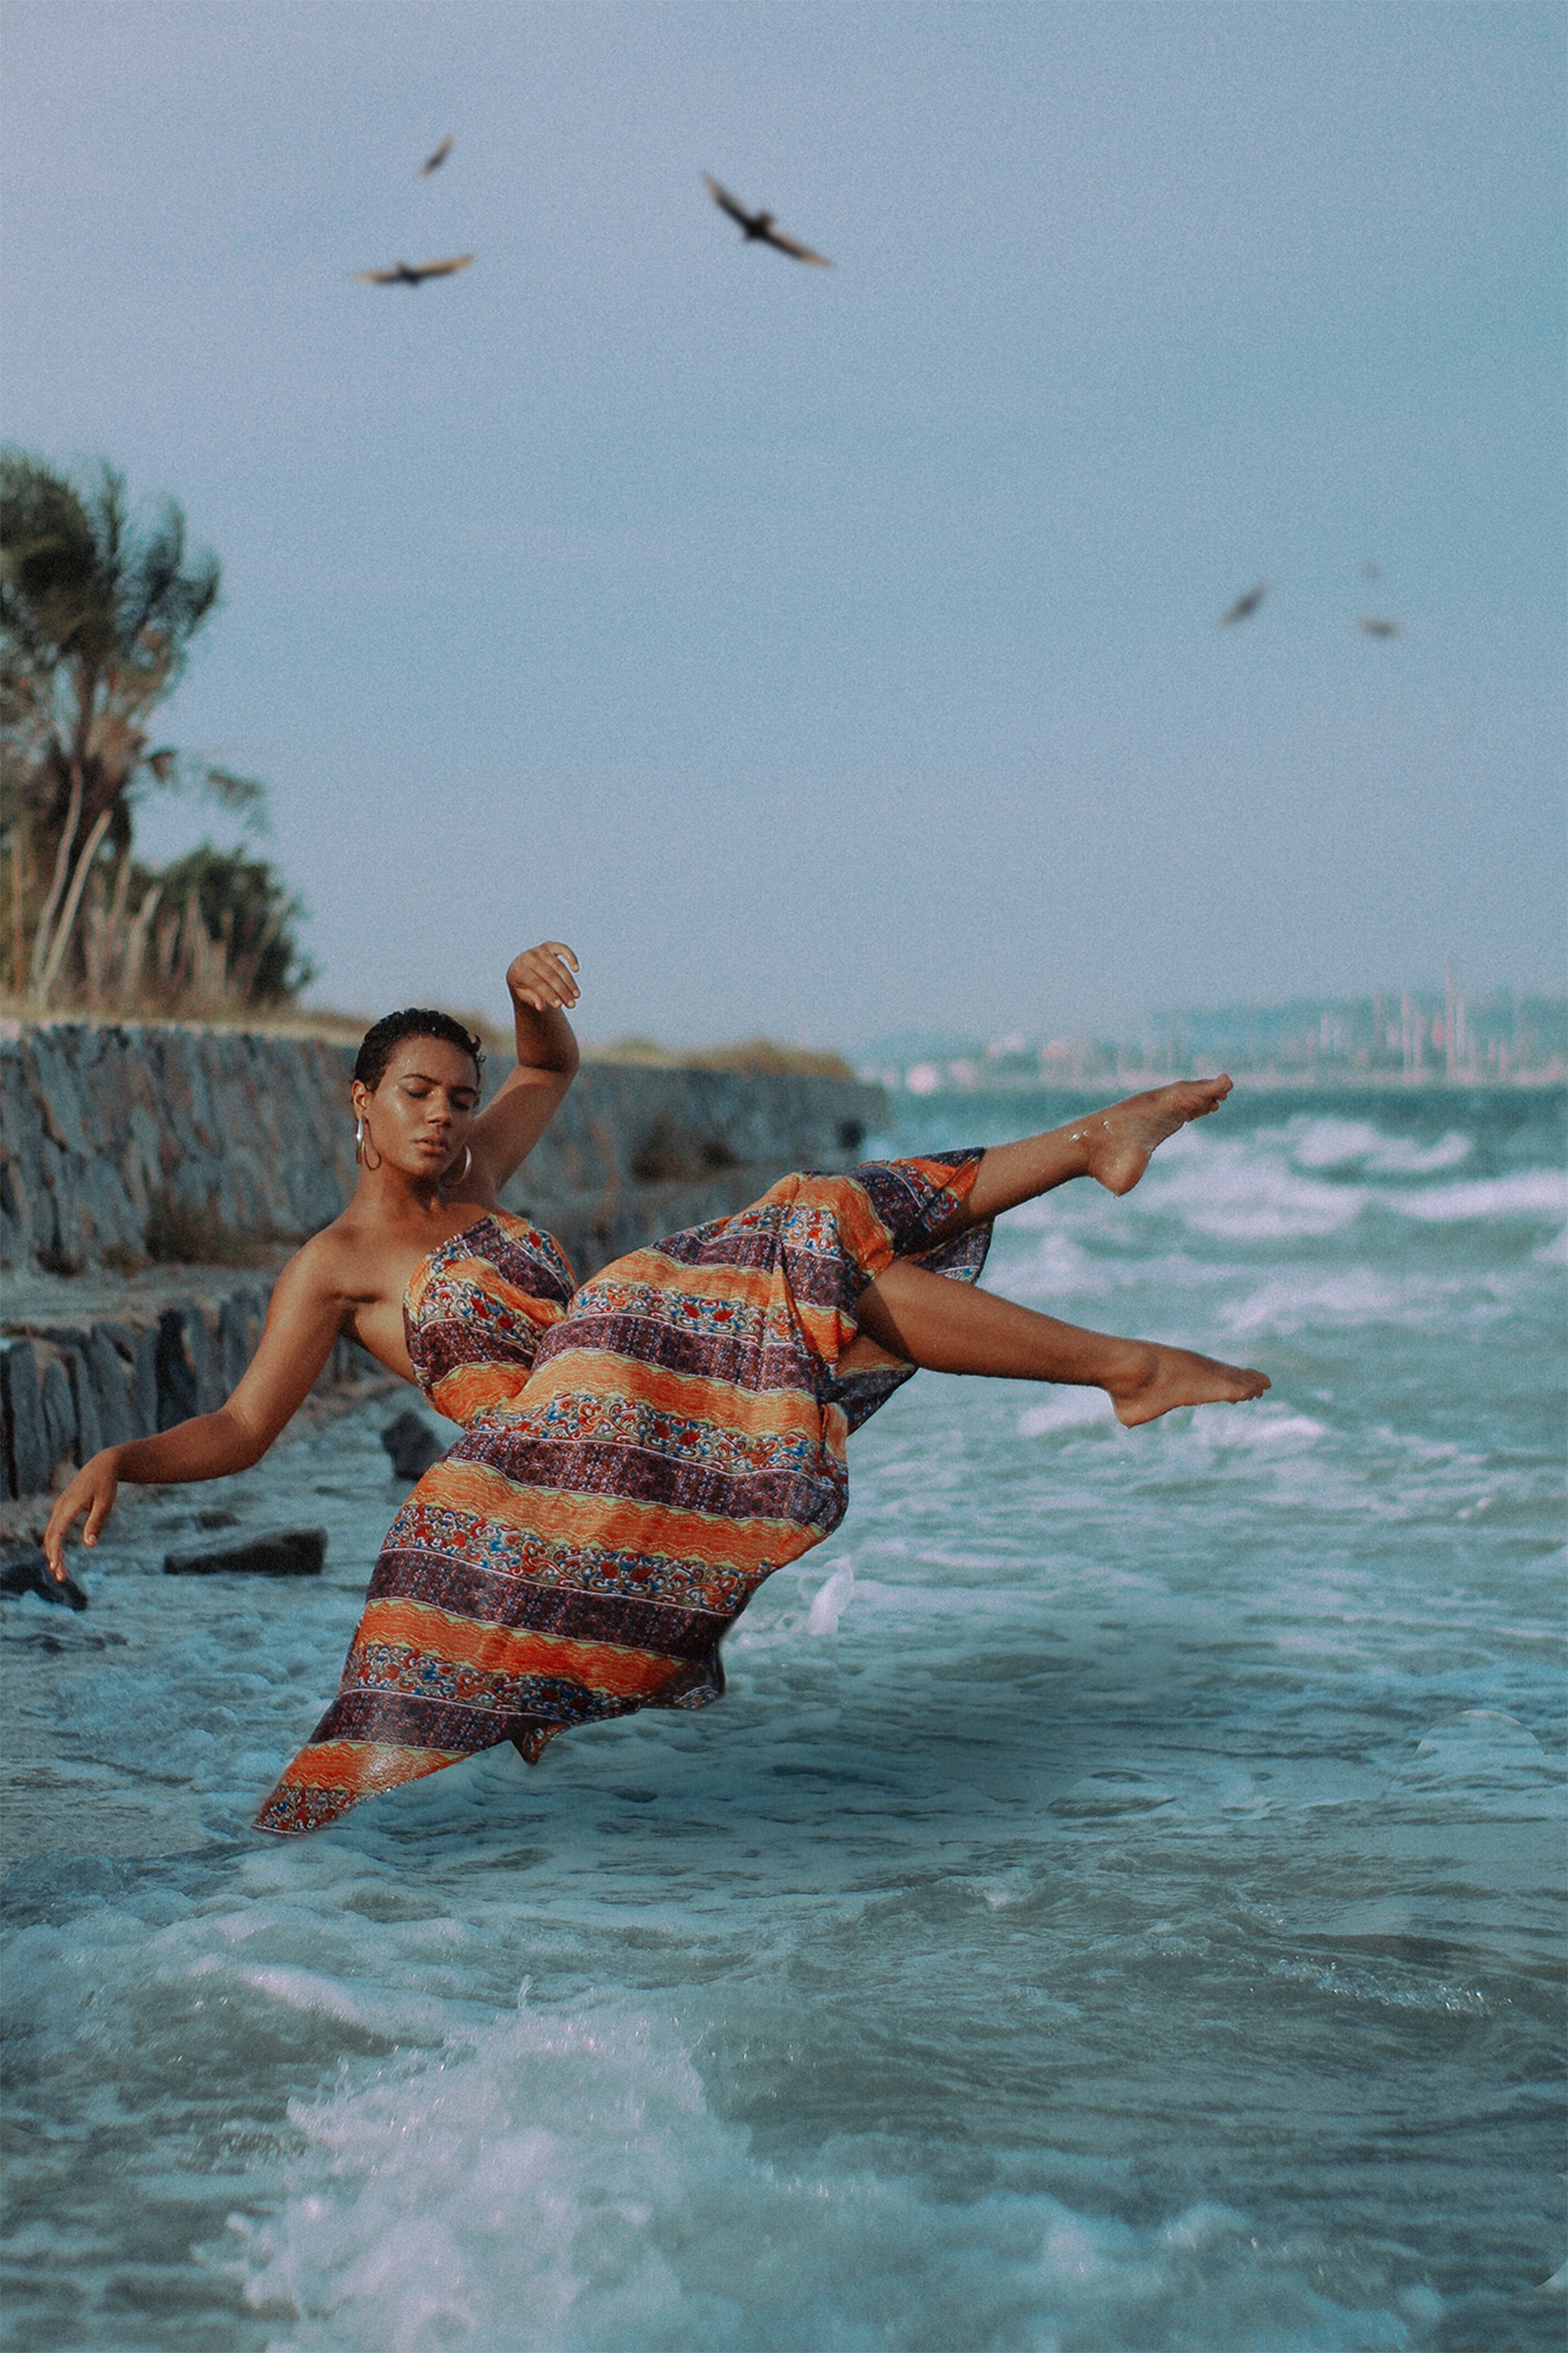
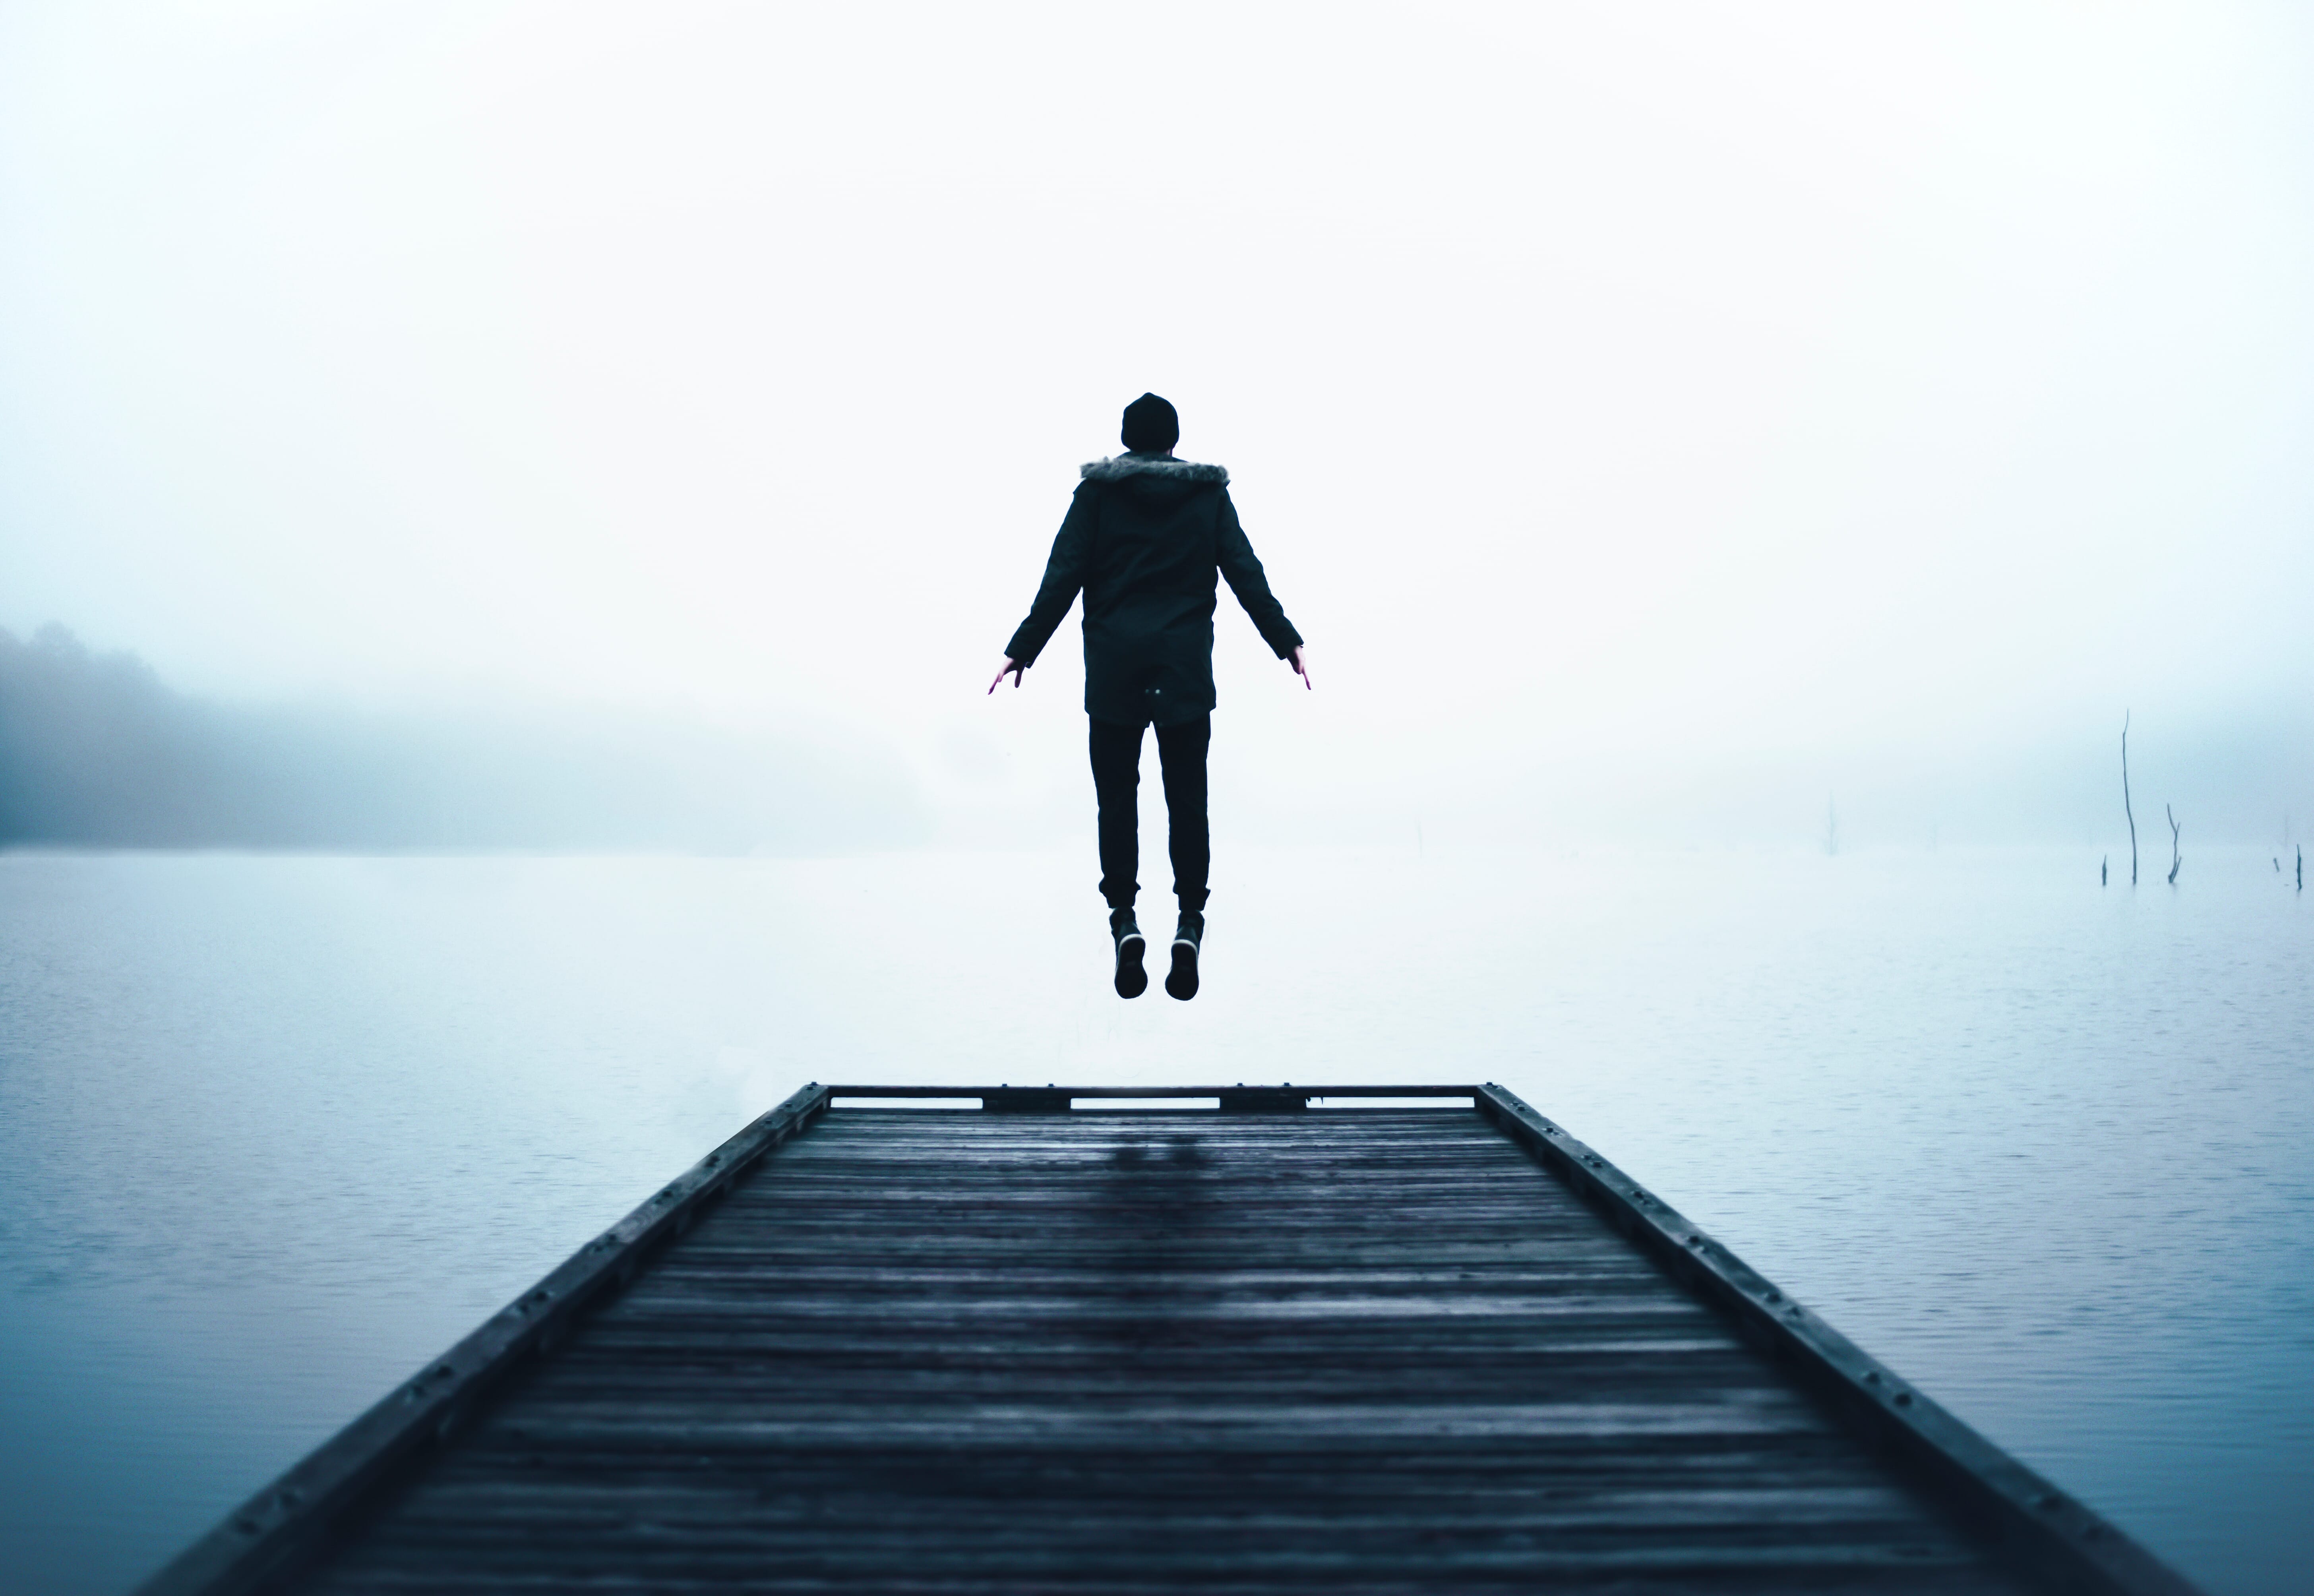
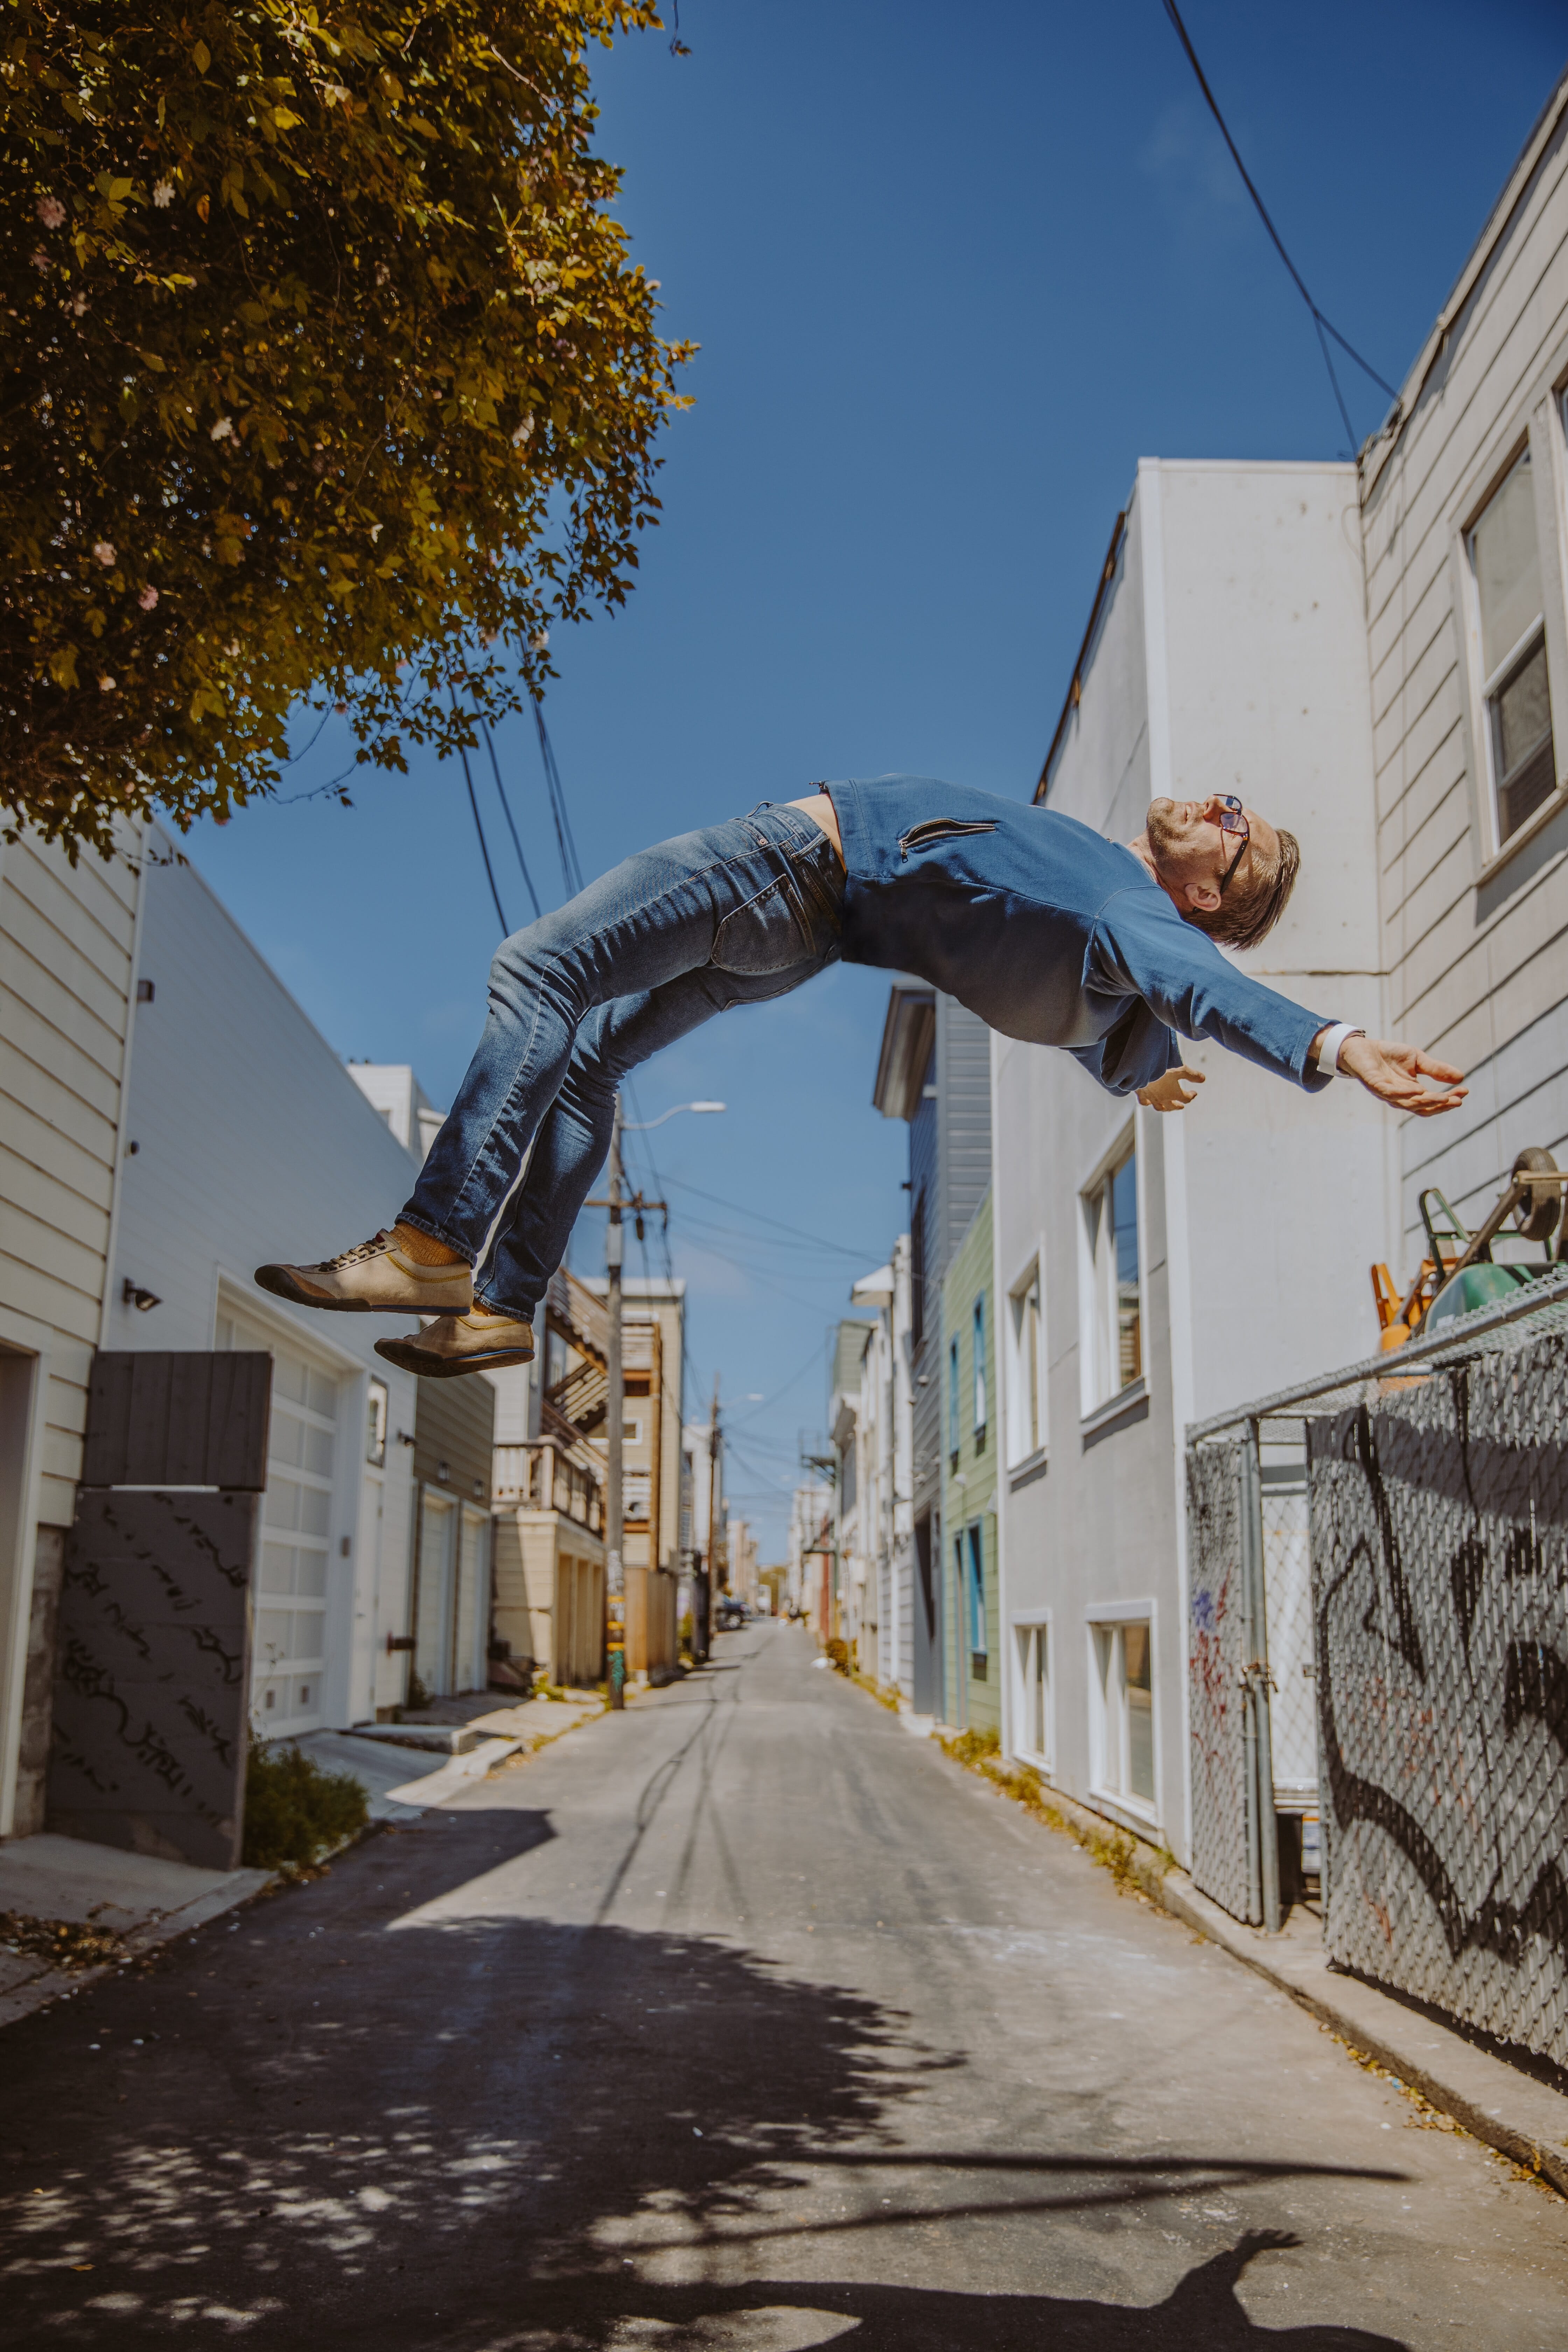
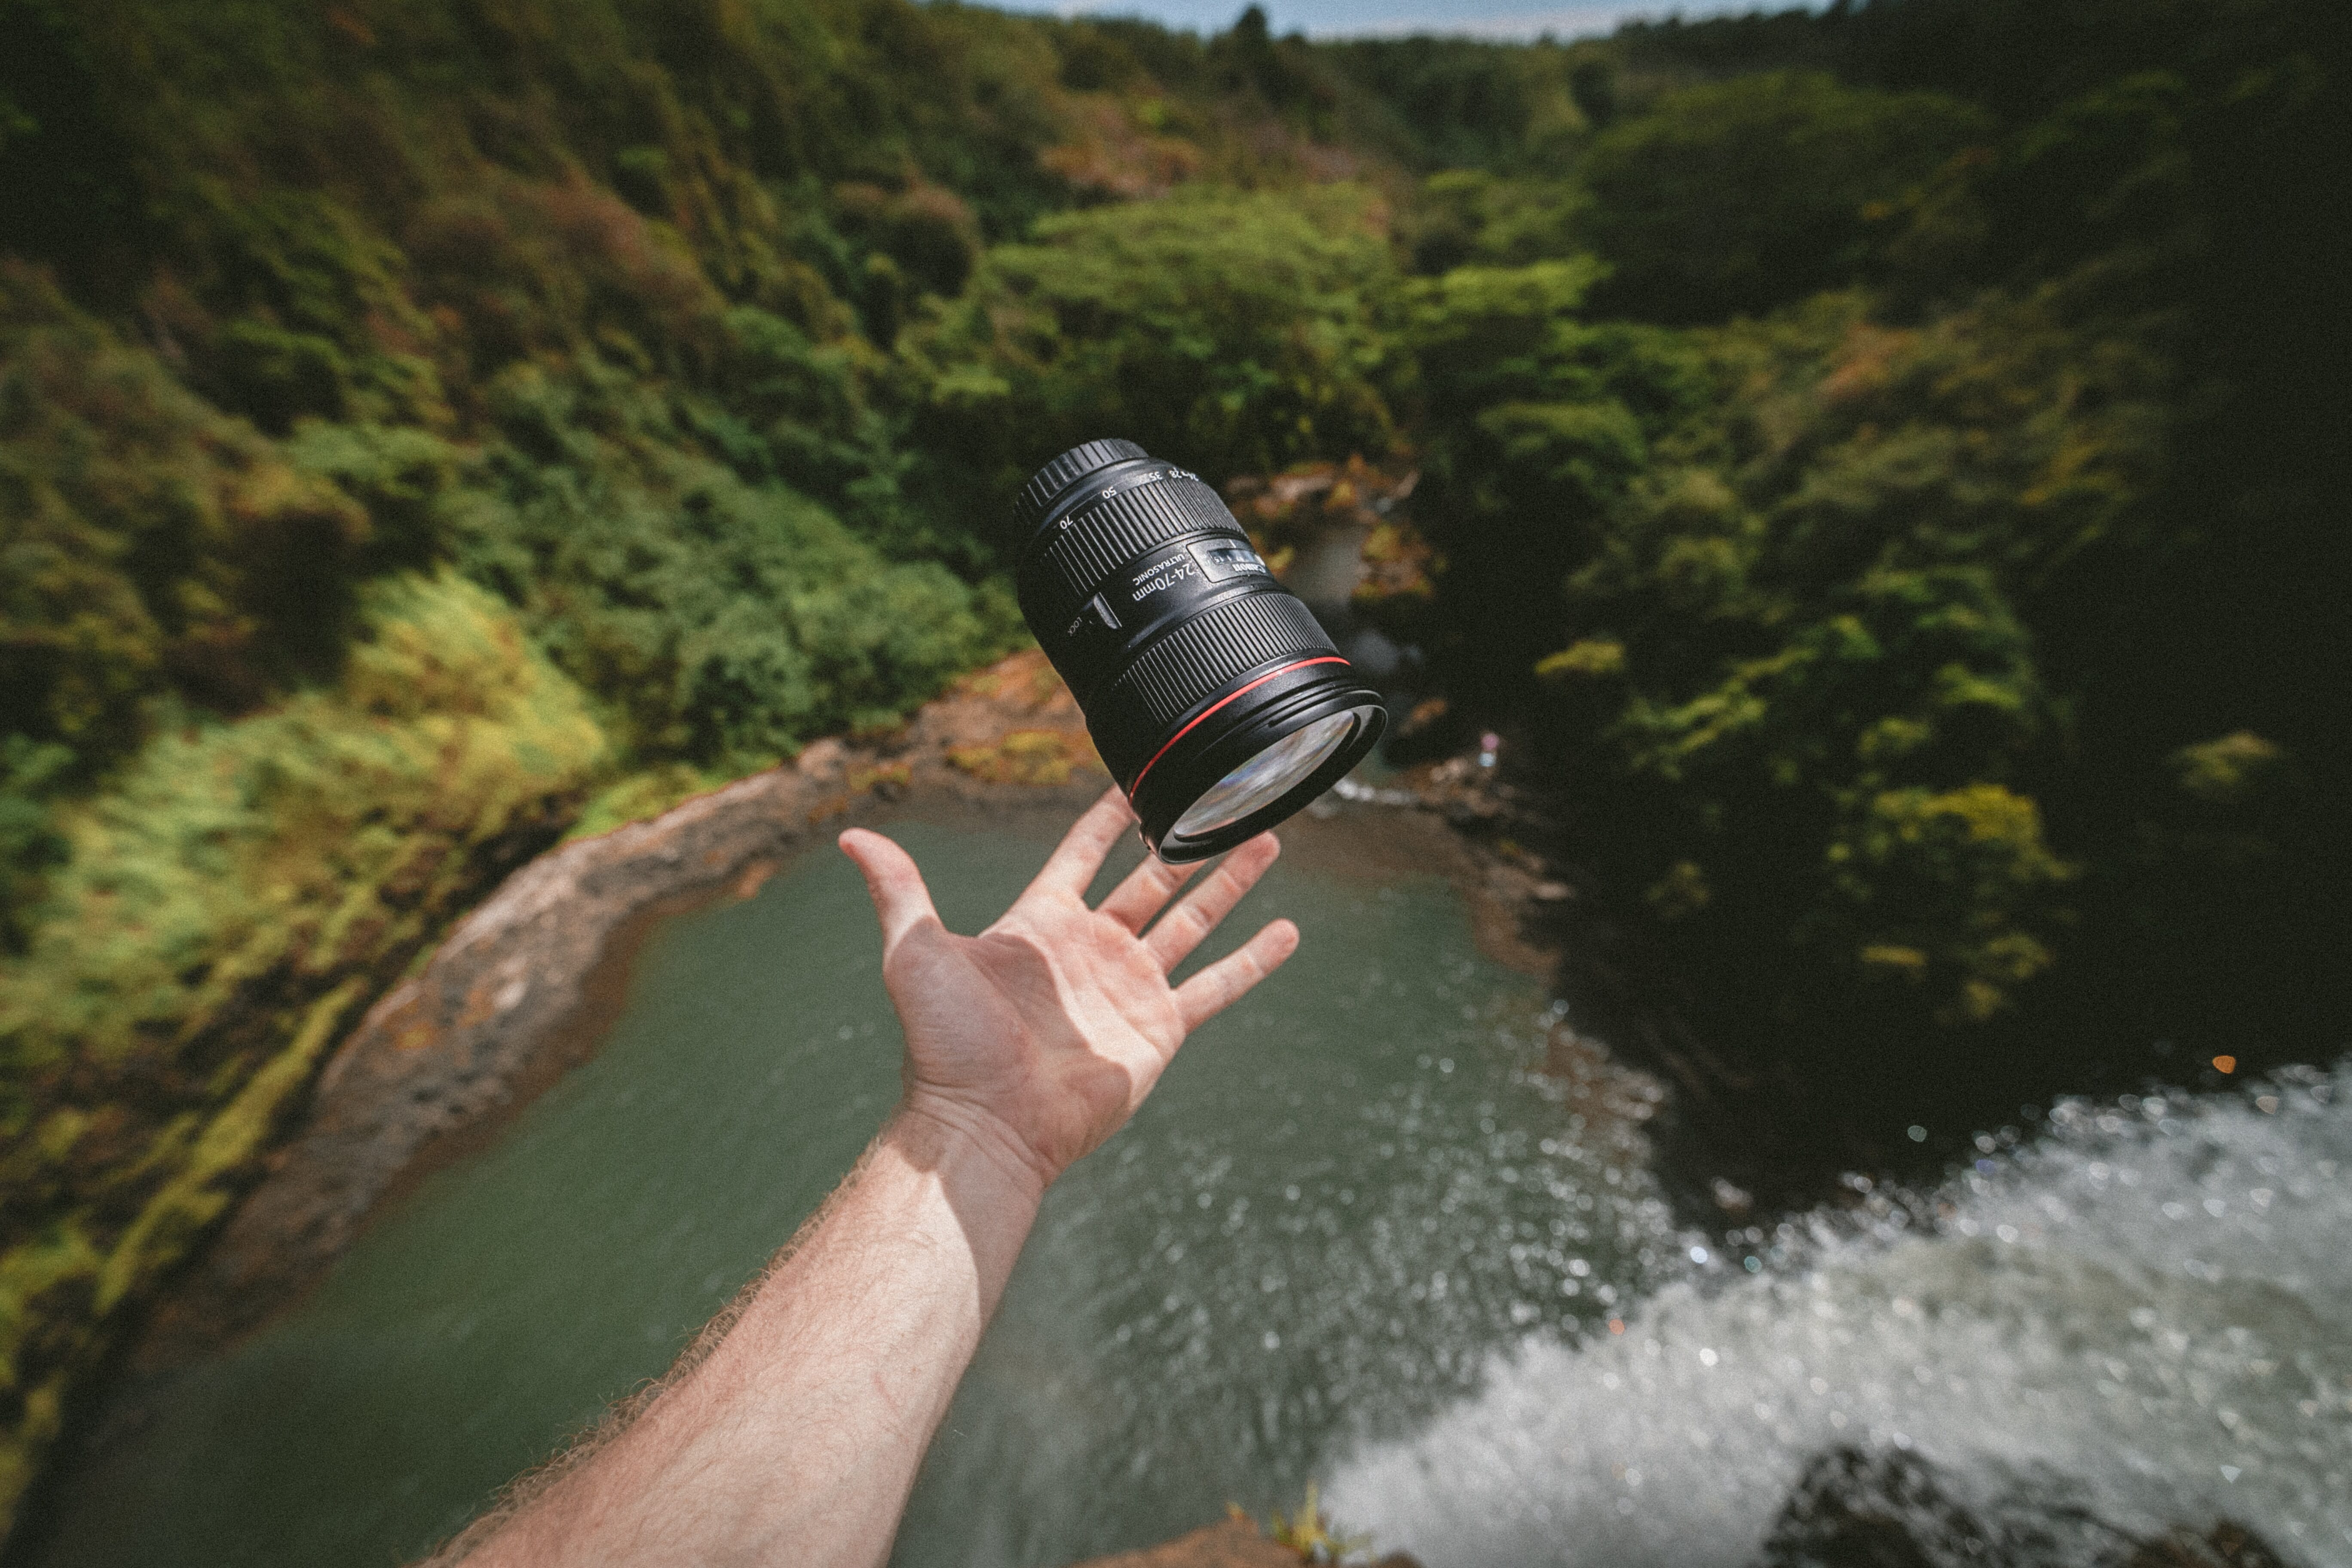
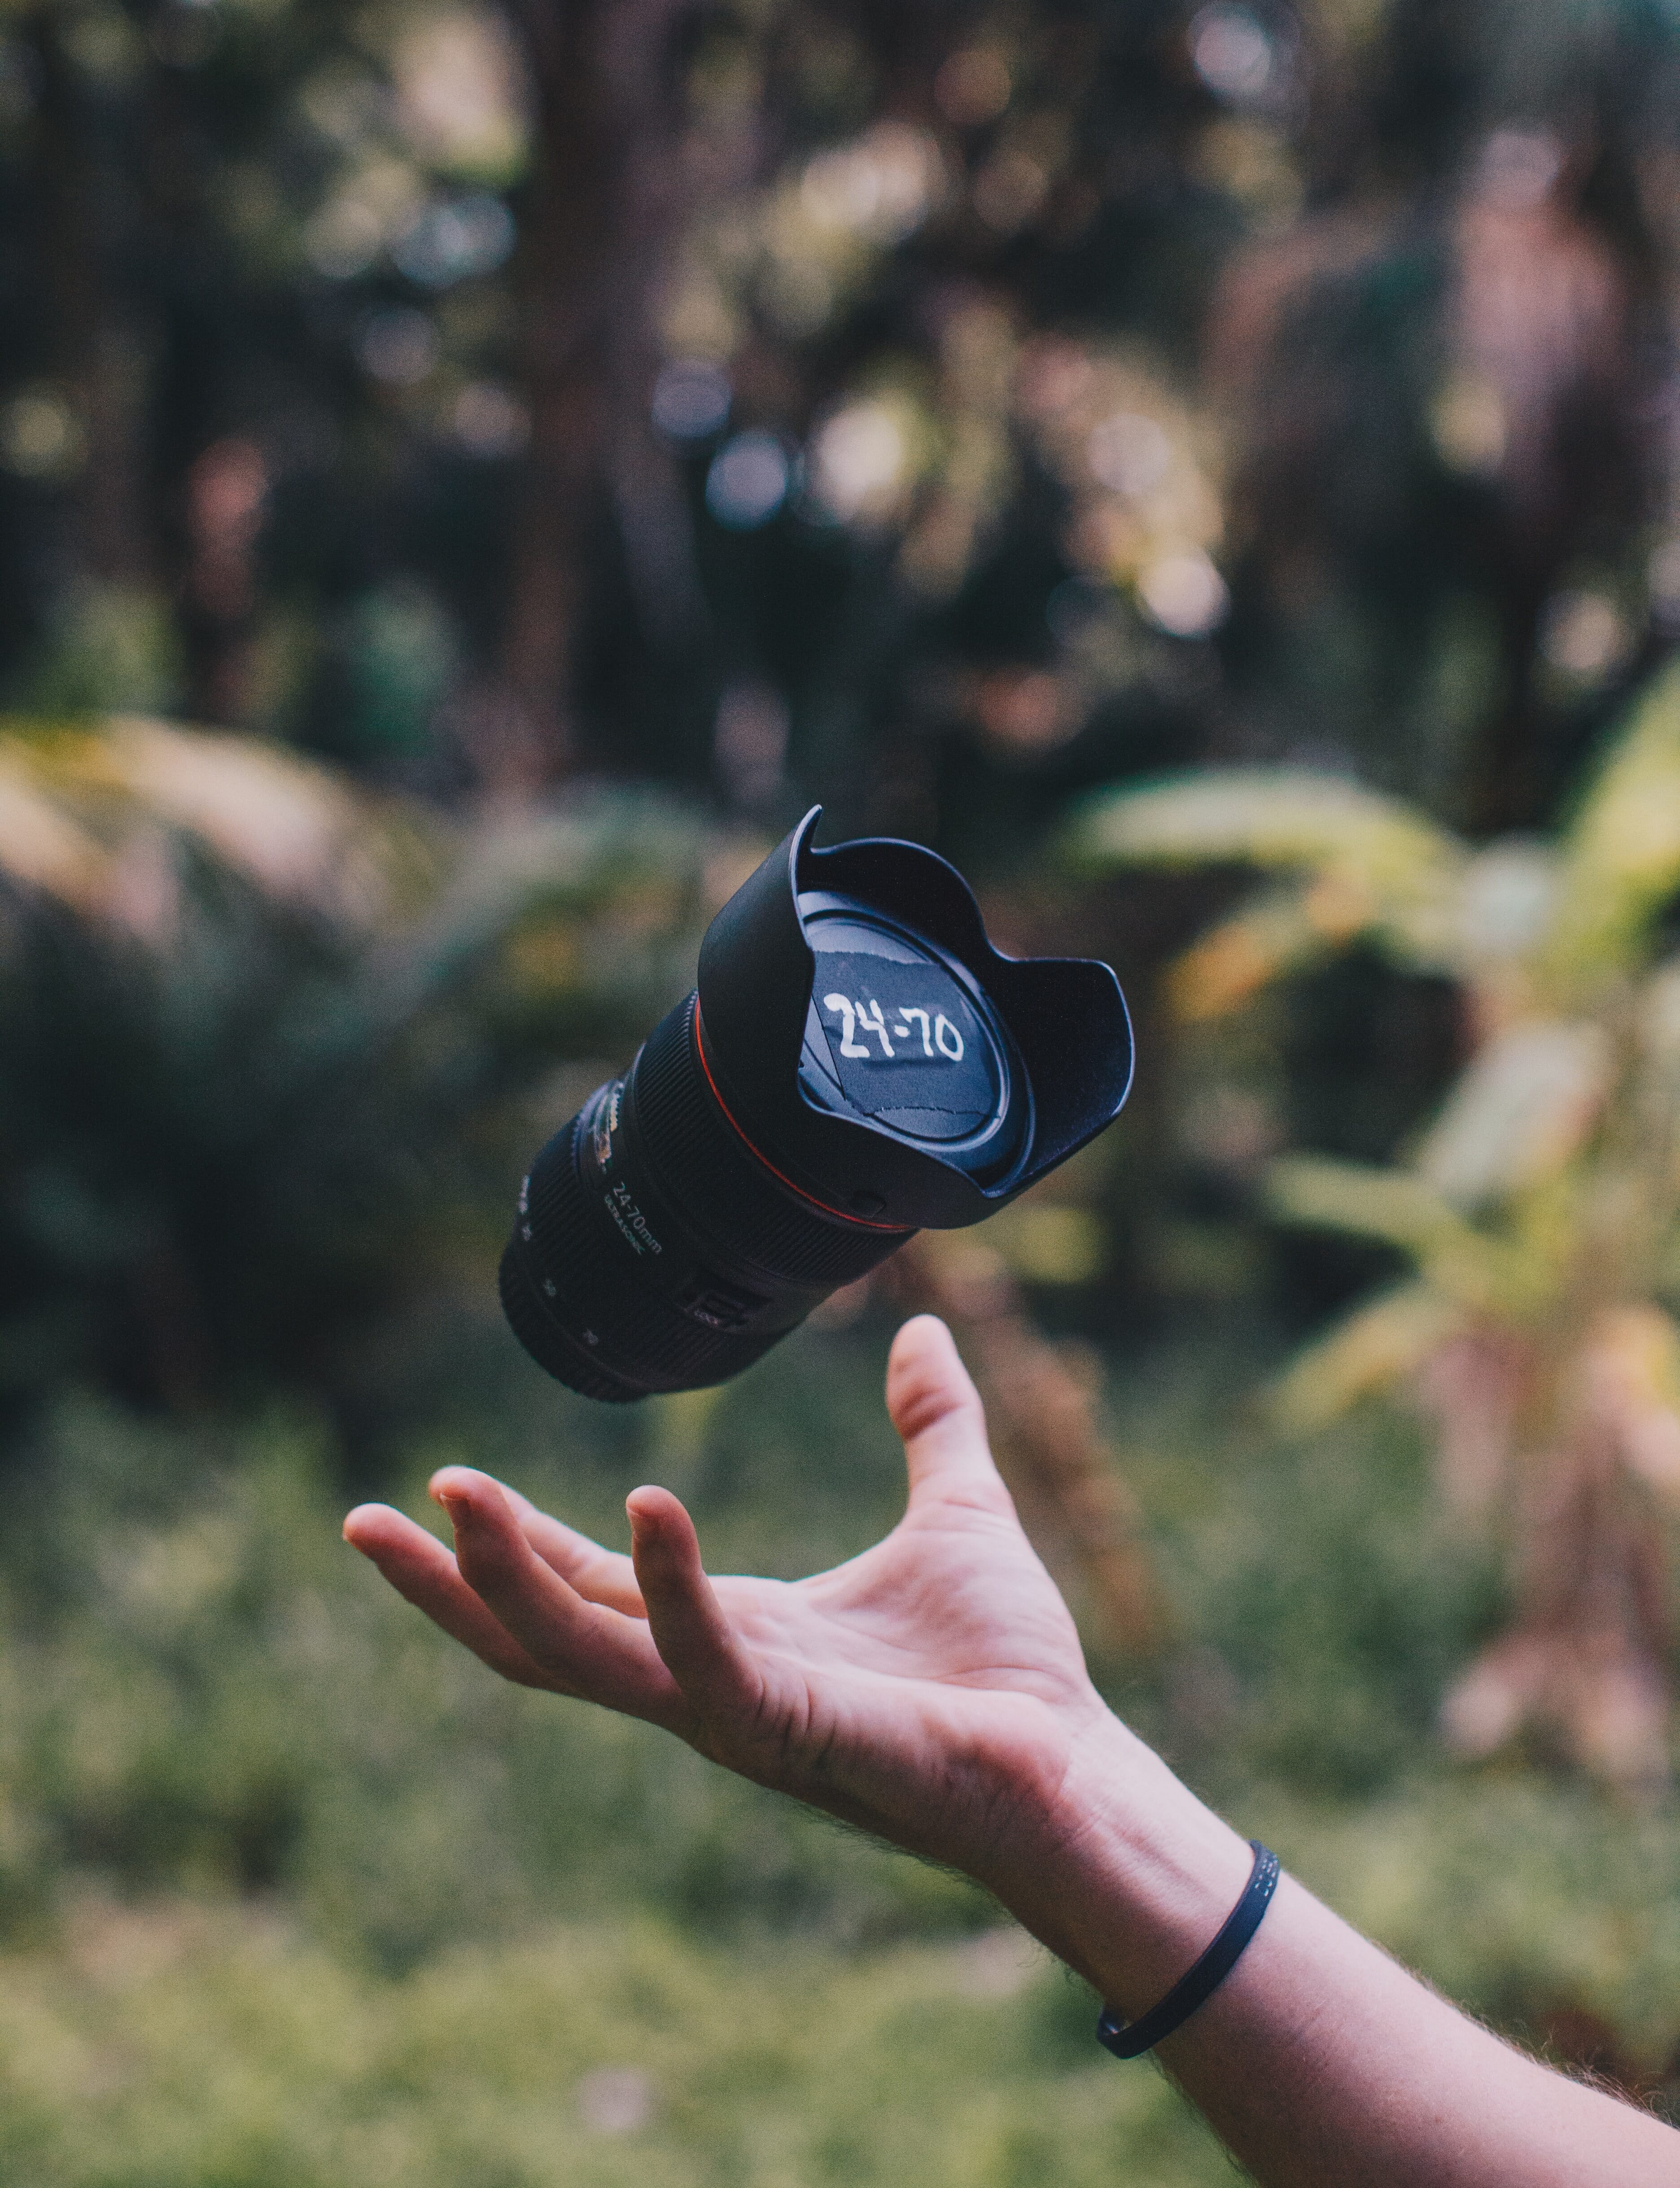
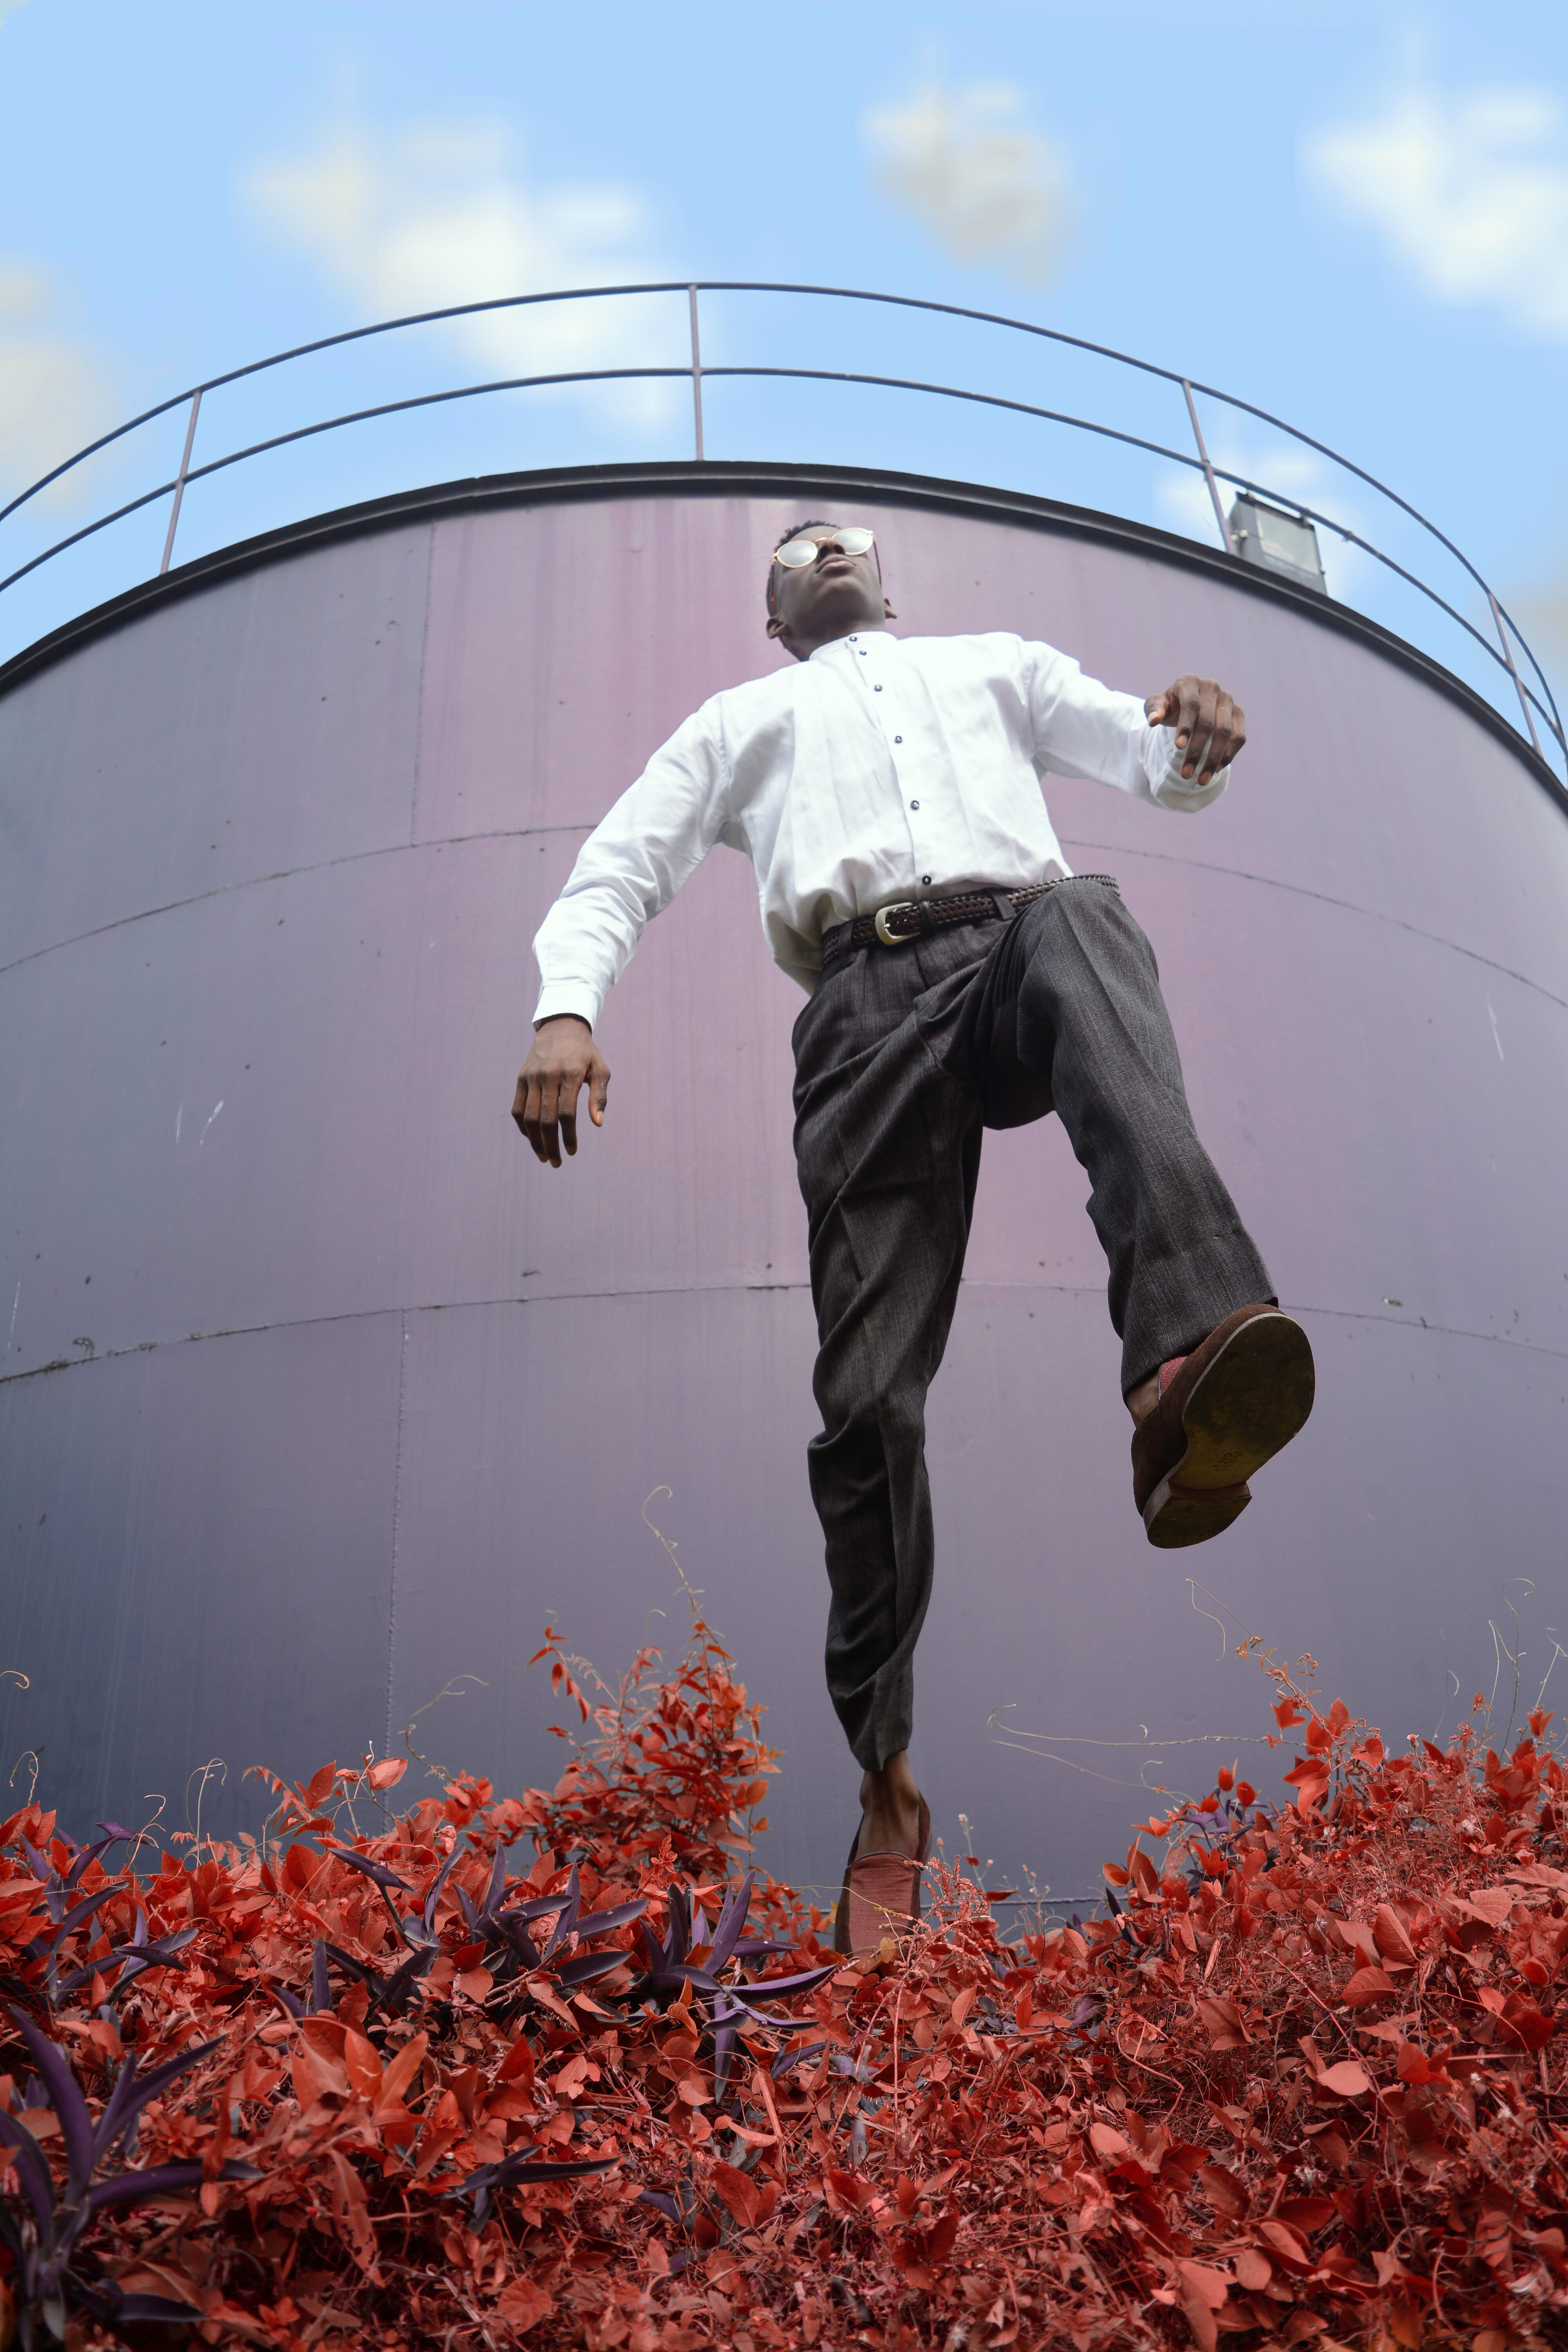


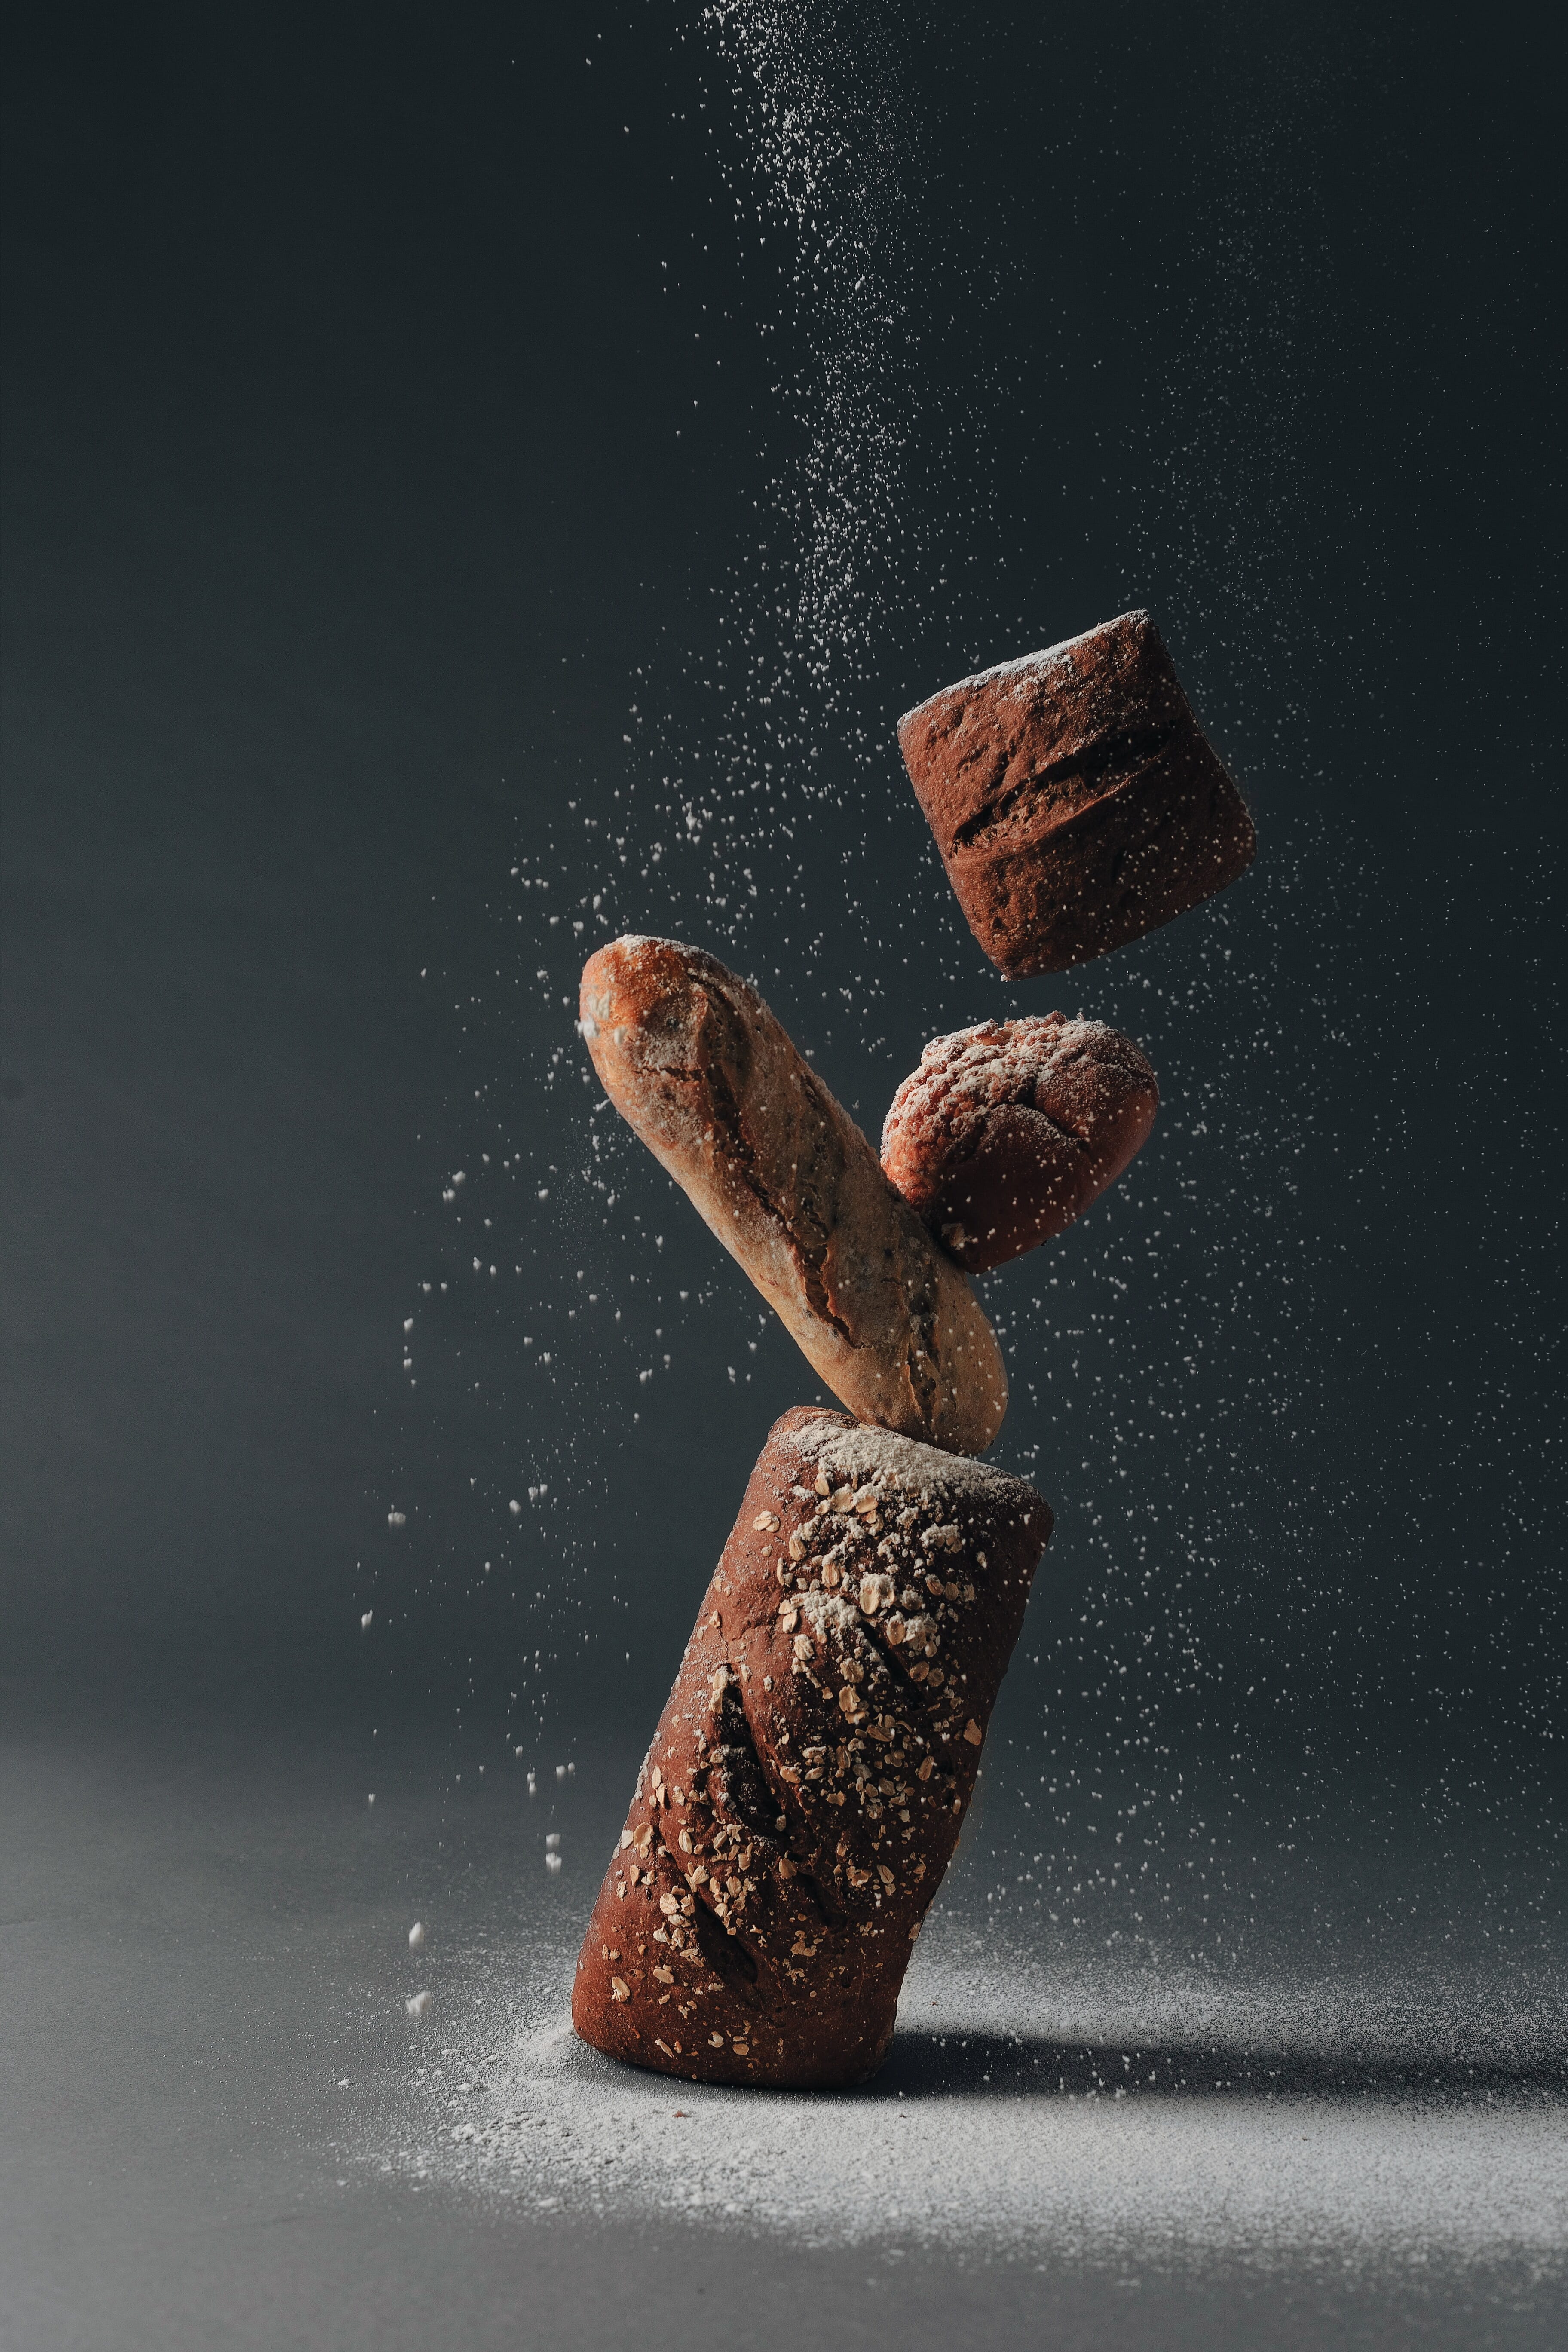
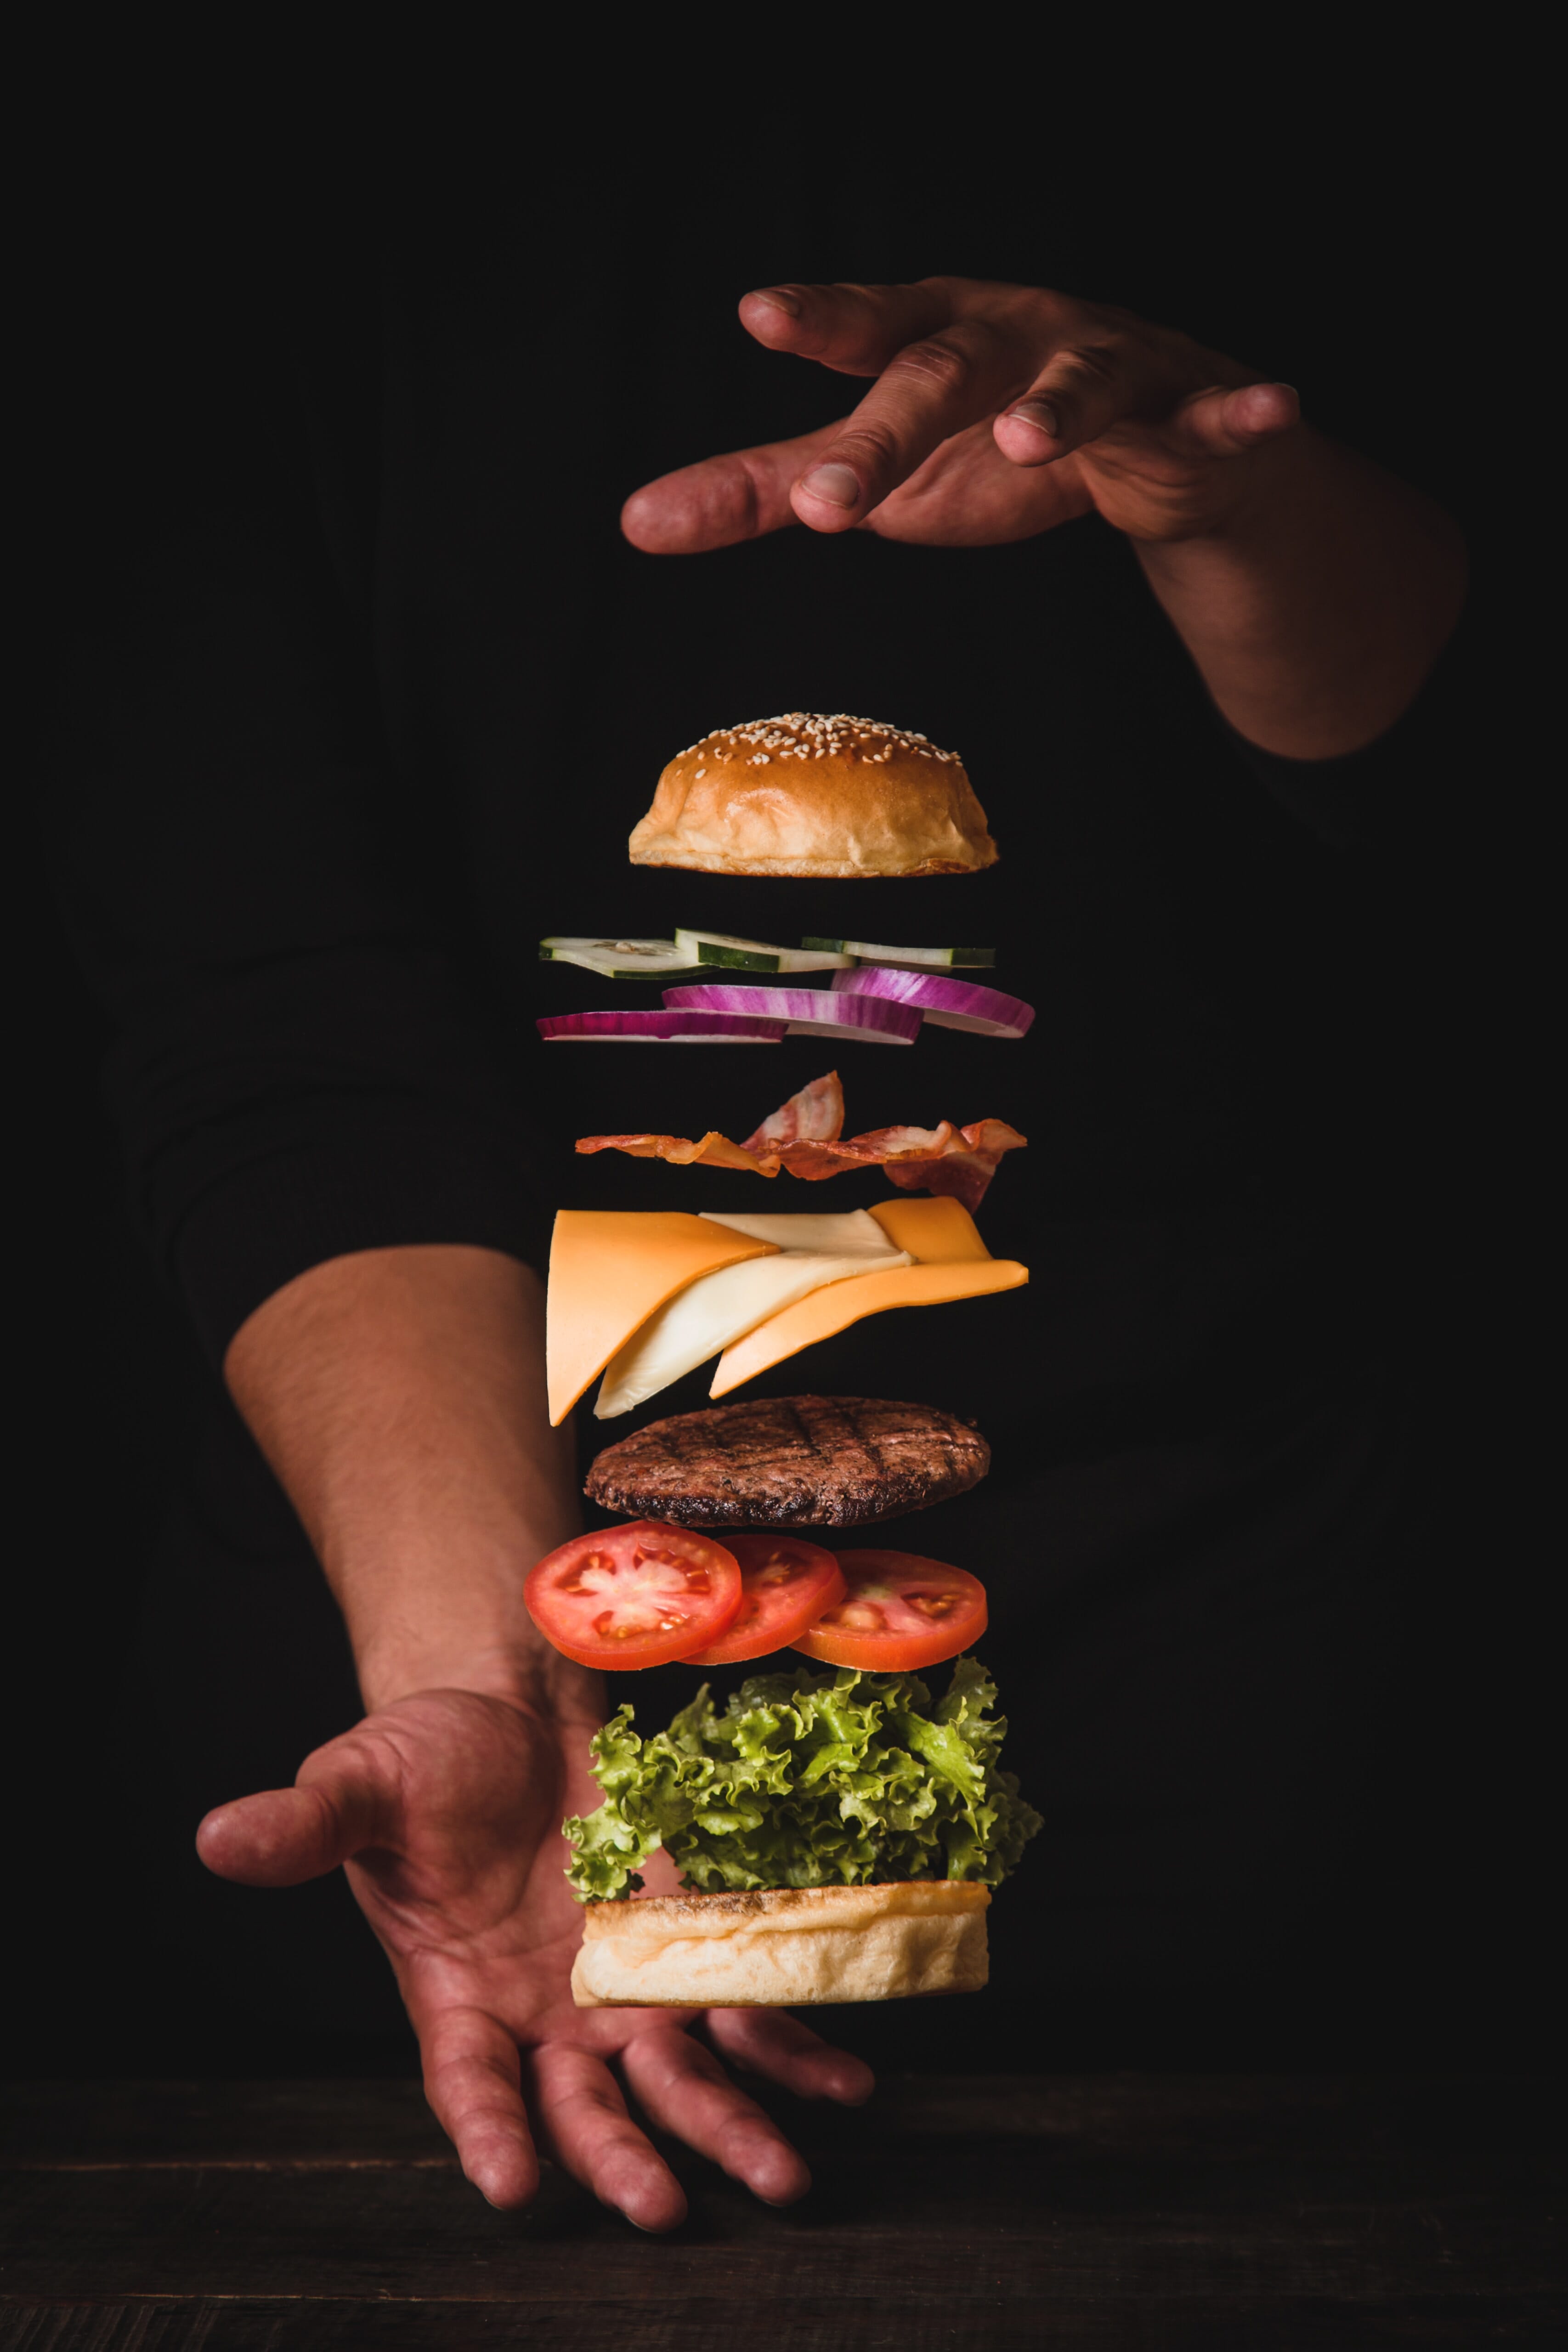


Levitation isn’t just a cool trick. This technique opens up an inventive new way of viewing photography. We hope that our levitation photography tips have challenged you to rethink all that you and your camera is capable of!
Have you ever created levitation images of your own? Share your experience with us in the comments below!
