Full-body portrait photography involves a lot of work compared to simple headshots. All portrait photography comes with certain considerations, such as posing and choosing the right lens, camera angle, and lighting, but these factors are amplified in full-body photoshoots because you must think about the subject’s entire body, not just the head and torso.
Therefore, if you want to capture excellent full-body shots, it’s important that you carefully gain an understanding of the nuances and techniques involved in this photographic approach. Below, we offer a deep dive into full-body shooting and provide vital tips together with some lens recommendations.

How to Shoot Full-Body Portraits:
When you buy through links on our site, we may earn a commission at no cost to you. We evaluate products independently. Commissions do not affect our evaluations. As an Amazon Associate, we earn from qualifying purchases.
How to Shoot Full-Body Portraits: A Step-By-Step Guide
I’ve created a simple, six-step system for capturing full-body portrait photos. Each section has clear instructions so you can start producing great images as soon as possible.
Step 1: Choose the Location
Before thinking about lighting, posing, and camera settings, you need to choose your portrait photoshoot location. This is the first step and will depend on the type of photography you want to create.
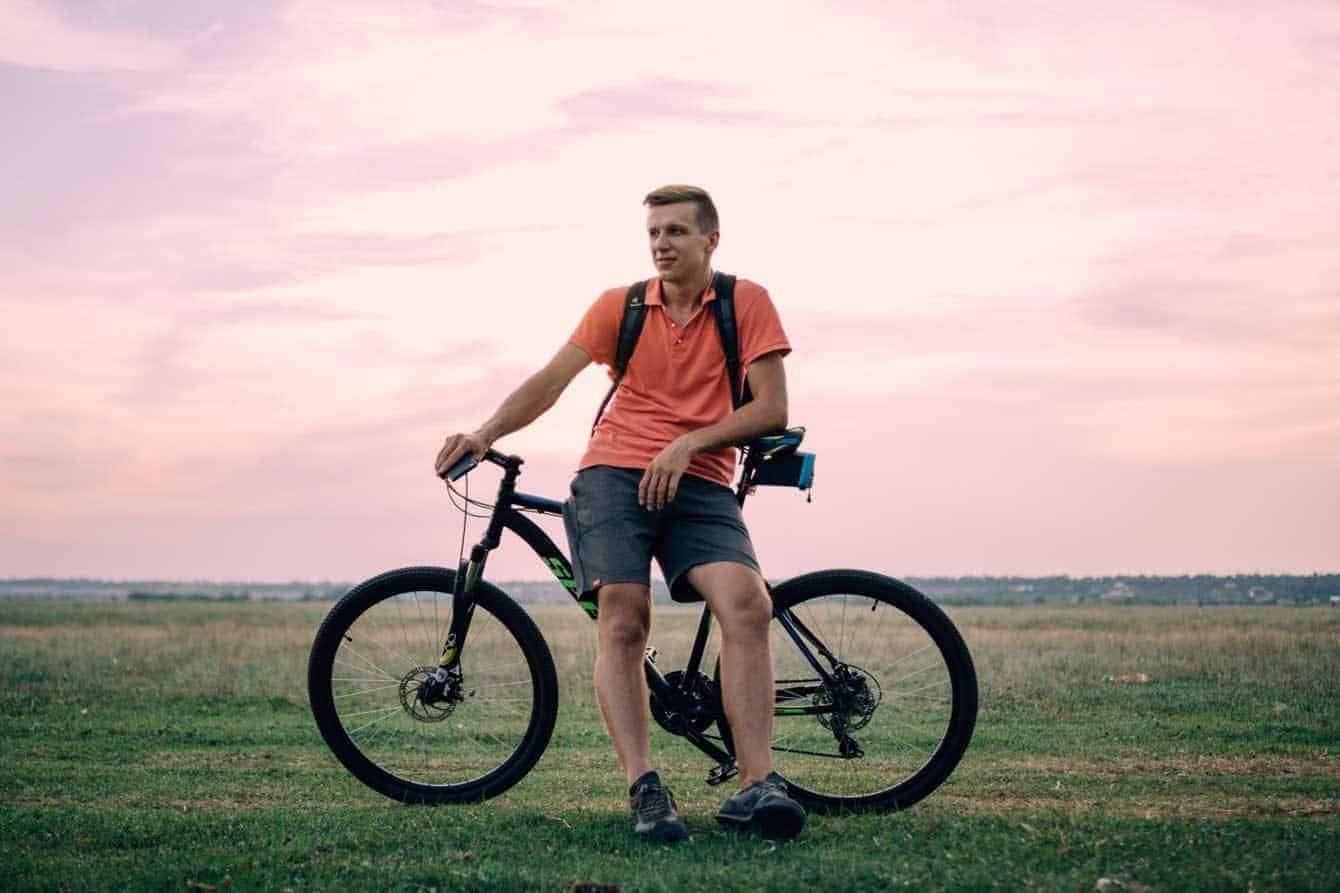
Full-body portraits can be done in a studio, indoors, or outdoors. Studio locations with a blank backdrop are great for things like family photos and business images. Indoor (non-studio) locations add more background variety and can help tell a story or create a theme. Lastly, outdoor locations display the greatest variety of backgrounds and allow you to capture interesting interactions between the model and their surroundings.
Think about the type of photos you want to create. You should then be able to choose a suitable location that fits the theme/style/purpose. I recommend scouting outdoor locations in advance to find (and fix) any potential problems. And with indoor locations, don’t be afraid to move objects and swap out furniture if you think it would create better photos!
Step 2: Use the Correct Lighting
Once your location has been chosen, you can then consider the lighting. This is a crucial aspect of full-body portraits, and you should handle the lighting either before you pose your model or at the same time.
Size up your location. What natural light is available? Is there enough natural light to avoid the use of lighting equipment? If not, what accessories do you need and where do they need to be positioned to light your model? With lighting, you ideally want to create an even light across the subject so that there are no areas of excess shadow or washed-out regions.
With these considerations in mind, let’s look at specific lighting equipment for indoor and outdoor locations.
Indoor Lighting
For full-body portraits, you need to be able to light the whole body. Working with one small flash and a diffuser will be tough. I’d really recommend more powerful lights, preferably studio strobes. And make sure to modify them with softboxes.
You see, softboxes help to reduce the intensity of bare strobes for a softer effect. They also expand the coverage of smaller flashes so your subject is nicely lit from all angles.
Strip boxes are my favorite type of softbox for lighting models in the studio. They’re long and thin, so they do a great job of covering the subject’s entire body.
For instance, the Profoto RFi 1' x 4' is capable of lighting an adult model from head to toe and is therefore perfect for full-body photoshoots.

This softbox is an ideal choice for indoor full-body portrait photography due to its impressive light output and high-efficiency silver lining.
While you can use just one strip box to produce the necessary effect, I’d recommend using two. Position them so they fire from the right and left, just out of view of the camera. Use one as the main light to illuminate the side of the subject facing the camera. Use the other to produce a bright edge that separates the model from the background. (That light should be positioned slightly behind the model.) Additionally, the intensity of the two lights should be different to ensure that the image is very three-dimensional.
I encourage you to raise the light a few inches above the camera and point it slightly downward for a bigger coverage area. At the same time, there will be some light falloff; after all, the light must travel a greater distance to reach the model’s feet. If you have one available, position a third light to illuminate the lower part of the subject’s body. (If you don’t have a third light, then use a reflector instead.)
Outdoor Lighting
When shooting portraits outdoors, I would recommend mixing artificial lights – like the strobe offered in the Westcott FJ400 Backpack kit – with ambient light.

This softbox kit has almost everything you need to effectively light your models outside.
Let the ambient light illuminate the background, then use the artificial light on your model.
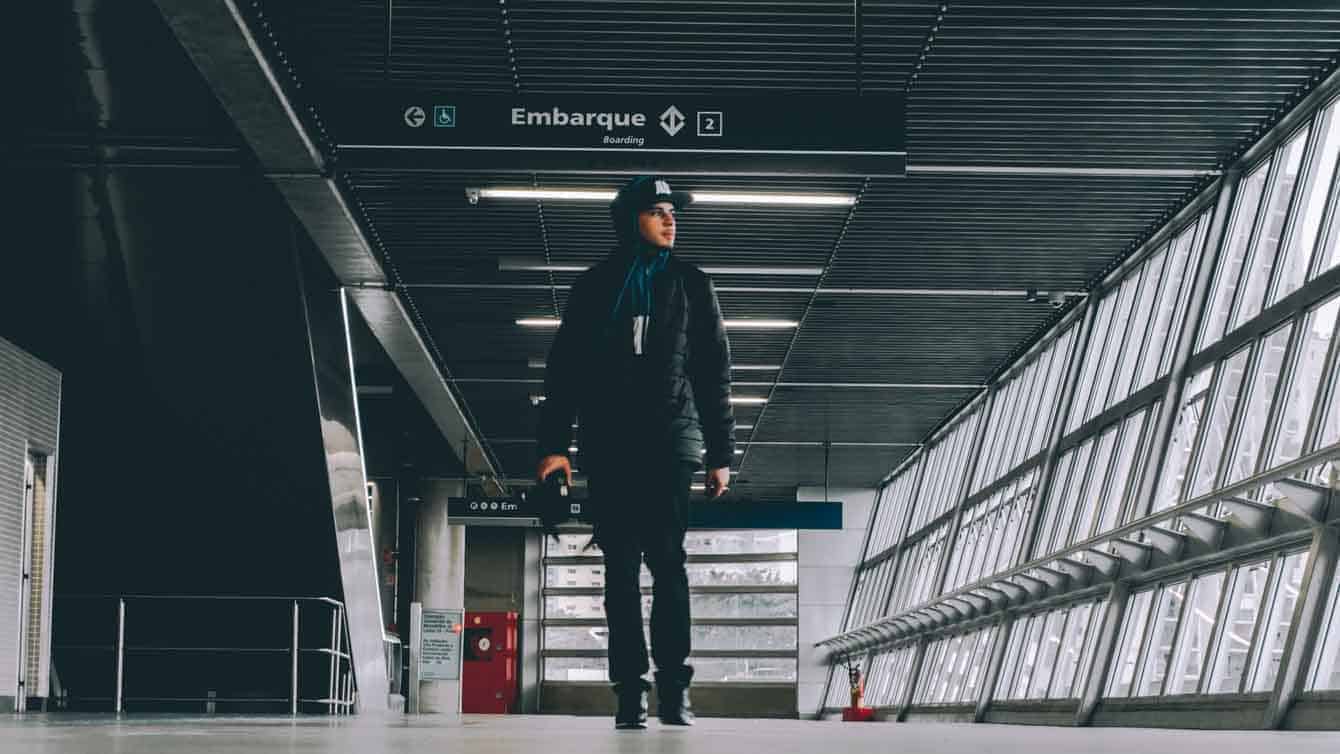
The sun is the biggest source of available light. Unfortunately, it’s not a soft light, and unless you’re shooting around sunrise or sunset, you’ll end up with high-contrast photos featuring deep shadows and raccoon eyes. While artificial lighting can go a long way toward reducing the problem, it’s often best to shoot in areas with plenty of shade.
And if no shade is available, you can always have a friend or assistant hold a reflector over the head of your model!
Step 3: Pose Your Model
Your model’s pose is one of the most important elements in portrait photography. At this point, you’ve handled the location and the lighting, so you must then direct your subject. You should consider various factors: where they should stand, how they should be aligned in relation to your camera, and the position of every part of their body.
Work with your model to create a pose that fits the type of photo you want to capture. It’s important that you give specific instructions and are clear about what you want them to do.
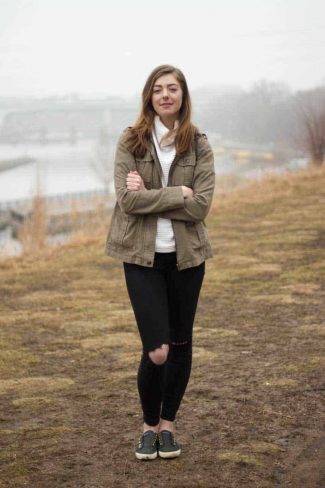
The positioning of the hands is a key part of full-body portrait posing. This is because most people have limited modeling experience and feel awkward with their hands. They don’t know what to do with them and thus often leave them dangling at their sides.
Posture is also important; if someone slouches or positions their head the wrong way, you’ll get a stiff, awkward-looking image.
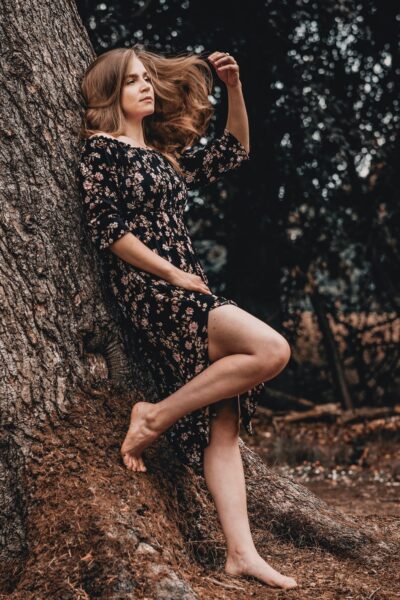
Consider the position of the model’s legs, too. Ideally, their weight should be on the back leg. They can then move the front leg as required to create a dynamic pose.
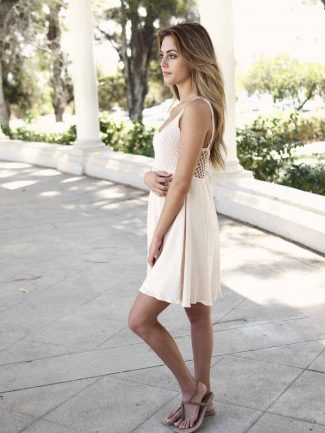
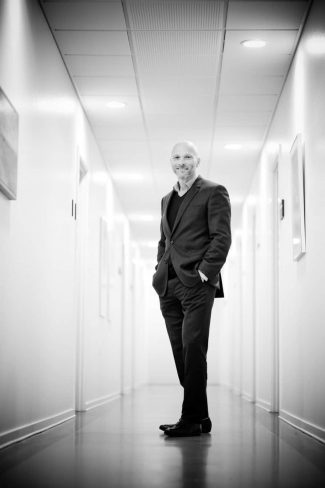
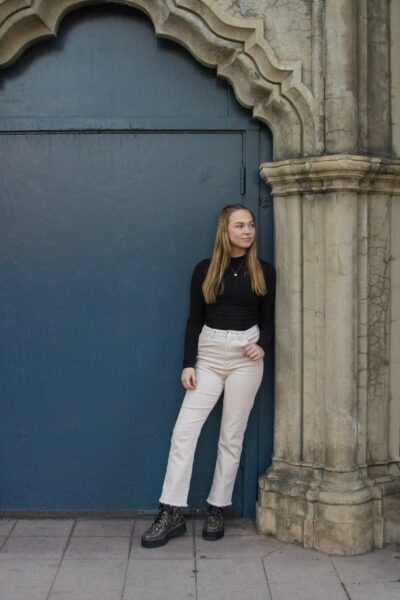
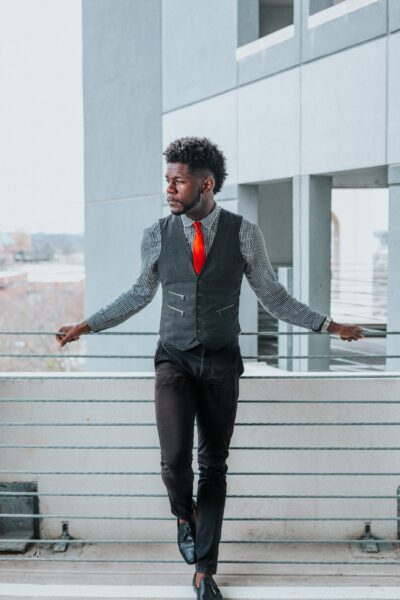
Women are often instructed to form an S-shape with their bodies, which helps accentuate the feminine form. In contrast, men are instructed to lean against a wall and/or turn to face the camera at an angle. At the end of the day, however, posing is about personal preference. You don’t need to follow trends to get a good image!
For inspiration, I recommend checking out popular fashion magazines; these feature a huge range of full-body poses that you can use in your photos.
Step 4: Create the Look
Once you’ve positioned your model, it’s time to prepare their look and facial expression. Think about the theme, mood, and style you want to create, then direct your model in a way that works with your overall approach.
Related Posts
Once again, you must communicate clearly with the subject. Explain how they should position their head, where they should look, and the facial expressions they should have. Make sure you constantly preview the images on your camera’s LCD so that you can see how minor facial adjustments affect the overall shot.
Facial expressions play a key role in the composition and feel of your full-body portraits. You should generally stay away from a bland, emotionless look, which will add nothing to your photos (unless that’s the style you want to create!).
Even subtle expressions – a slight smile, an off-camera look, or pursed lips – make a huge difference. They help produce full-body portraits that are visually appealing and show more character.
The model may be nervous, which can lead to awkward smiles and facial expressions. So when you first start a session, break the ice, give them clear directions, and help them settle into the photoshoot. Remember that 80% of a session is about preparing the model, and only 20% involves taking photos!
Step 5: Frame the Subject
At this stage, your model should be posed and ready to go. They should know how you want them to stand and how they should act. It’s time for you to do the work and frame them using an appropriate camera angle.
So simply move around with your camera and experiment with different angles and compositions until you get the desired effect. This is really all about being adventurous; the more you test out different options, the more successful you’ll be.
Note: While the camera angle is hugely important, framing is also affected by your choice of lens (which is discussed below).
The best portrait photographers use space to their advantage. Don’t stay in one spot – instead, move your model and move your camera. Some general guidelines to follow include:
- If you’re using a wide-angle lens, don’t shoot too close to the subject.
- Don’t shoot from a top-down angle with a wide-angle lens as this will make the model’s body look unnaturally proportioned.
- Start so that your lens is level with the model’s eyes.
Whatever angle you choose, make sure your subject still looks proportionate and that their body doesn’t seem elongated or squashed.
Step 6: Select the Right Aperture
Last, you must deal with your portrait camera settings. You generally want to choose a low ISO, and shutter speeds are not as vital because the subject should be standing still, so the aperture is probably the most important element to consider.
Most full-body portrait photography uses a wide aperture (e.g., f/2.8). This creates fantastic subject and background separation, and when done with the right lens and a careful approach, it can create a professional bokeh effect.
That said, you can also use a smaller aperture (such as f/5.6). You’ll get more in focus, so the technique is ideal if you want to put emphasis on both the model and the surroundings.
Best Lenses for Full-Body Portraits
Before you spring into action and follow this step-by-step guide, it’s important to consider your lens selection. You’ll want to handle this far in advance (long before you head to your photoshoot location).
For full-body portrait photography, wide-angle lenses are generally not the best choice. They can result in distortion, and they can also reduce the emphasis put on your subject.
Instead, I’d recommend a lens with a focal length of 50-70mm. When shooting in this range, you can focus on the model while still showing some of the background. Great options for Nikon, Canon, and Sony cameras include:

This powerful zoom lens gives you the perfect focal length range for full-body portrait photography.

This L-series Canon lens is sharp, easy to use, and offers consistent performance in every lighting situation.

The Sony FE 24-70mm f/2.8 GM II features a compact design that makes it ideal for outdoor full-body portrait photography in different locations.
All three of these lenses are incredibly versatile and can handle both indoor and outdoor full-body portrait photoshoots.
Start Your Full-Body Portrait Photography Today
As you can see, full-body portrait photography requires a slightly different approach compared to standard headshots and head-and-shoulders portraits. It’s important to understand the differences and to make sure you know how to frame your subject, create the right look, and utilize the right equipment to get the best end results.
So good luck with your portraits! As long as you follow my step-by-step strategy, you’ll get some great images.
Disclosure/Disclaimer: As an Amazon Associate, we earn from qualifying purchases. Certain content was provided "as is" from Amazon and is subject to change or removal at any time. Product prices and availability: Amazon prices are updated daily or are accurate as of the date/time indicated and are subject to change. Any price and availability information displayed on Amazon.com at the time of purchase will apply to the purchase of this product.