Editor’s Key Takeaways: Mastering Artificial Light: Enhancing Your Photography Skills
In this blog post, Jaymes, the author, discusses the importance of mastering artificial light in photography. Emphasizing the control and flexibility it provides, Jaymes highlights the limitations of natural light, which can be unpredictable and hard to manipulate.
The concept of artificial light encompasses any light source not naturally produced like sunlight or moonlight. While city lights during the night could be considered artificial, photographers often allude to controllable sources such as speedlights, studio strobes, and incandescent lamps when referring to artificial light.
The usage of artificial light proves vital for continuity in production, ability to shoot regardless of external conditions, and the potential to create specific looks or moods in the images. Jaymes suggests that proficiency in handling artificial light can significantly improve a photographer’s capabilities. Jaymes further elaborates on different types of artificial lights, their characteristic traits, and modifiers that can be used in tandem.
Introduction
If you want to capture stunning photos of portraits, products, still lifes, and more, you have to master artificial light.
Artificial light will give you so much freedom as a photographer–and it’ll ensure you can get beautiful images no matter where you are.
So if you’re looking to maximize your photographic capabilities, read on.
Artificial Light in Photograph Tutorial:
What Counts as Artificial Light in Photography?
Artificial light refers to any light that’s not produced naturally. It’s generally contrasted with natural lighting such as sunlight or moonlight.
Technically speaking, if you capture shots of a city at night, you’re using some form of artificial lighting (e.g., streetlamps). But the truth is that most photographers think of artificial light as controllable light sources, such as speedlights, studio strobes, incandescent lights, and more.
Plenty of photographers use artificial lighting at one time or another. It has quite a few advantages, as I explain in the next section:
Why Should You Master Artificial Light?
The biggest reason to understand artificial lighting is control.
If you shoot using natural light, then you’re completely at the whim of the elements. When it gets too dark, tough luck; you have to pack up or raise your ISO. When it gets cloudy in the evening, you don’t have many options. When it gets bright and sunny at midday, you’re stuck with unpleasant, harsh, contrasty light to work with.
Plus, you can’t direct natural light, nor can you modify it easily. Natural light generally comes from the sun, which means that it moves across the sky during the day, and won’t listen if you ask it to hit your subject from a particular angle. Instead, when you’re using natural light, you have to work with it, not the other way around.
Oh, and there are times when shooting with natural light will simply never work, because natural light doesn’t penetrate every area of interiors, and it certainly doesn’t keep all areas bright enough to allow for good, well-exposed images.
So, understandably, there are plenty of photographers who turn to artificial light, seeking to free themselves from the unflexibility of natural lighting.
Here’s what artificial light offers:
Control over the intensity of the light. Which means that you can shoot all day and all night, as long as you have the energy for it. You don’t have to turn off your camera when the light gets too low, and you certainly don’t have to stop shooting when you head into dark interiors.
Control over the quality of the light. Which means that you can create soft, flattering light at will, or hard, intense light at will, which will in turn allow you to be experimental and creative and all around better.
Control over the direction of the light. Which means that you can create the type of shadows you want. And the more control you have over the shadows, the better, because they’re what you use for dramatic photos, or moody photos, or glamorous photos, or many, many other types of photos that you might want to capture.
As you can see, artificial lighting has quite a lot of benefits, which is why I recommend pretty much everyone experiment with it at some point in time.
Now, artificial lighting does come with a few drawbacks. In particular, it’s less portable than natural light (as you might expect!), because even the smallest methods of artificially lighting your subject will at least require a speedlight-sized object.
(Technically, you can light your subject with a built-in pop-up flash, but this is almost never a good idea, with the exception of a particular style of “heightened” flash photography.)
Artificial lighting can also be expensive. While you can grab some cheap incandescent lighting setups or even speedlights, studio strobes tend to sit in the $1000+ dollar range, so you have to really want one before buying.
All in all, artificial lighting is worth it for plenty of photographers. But I recommend you work up to a full lighting kit, rather than spending thousands on lighting at once.
Continuous Vs Strobe Lighting
Artificial lighting is divided up into two main categories:
Continuous lighting sources.
And strobe lighting sources.
Continuous lights work, well, continuously. You turn them on and they illuminate an area until you turn them off again.
Whereas strobe lights work in bursts. A strobe will only fire when you fire it (which is hopefully when you’re pressing the shutter button on your camera!).
As you can imagine, there is plenty of debate over the pros and cons of continuous and strobe lighting sources. But here are the key differences to know:
Because continuous lights work for long periods, you can easily see how they’ll affect your images.
This is in contrast to strobe lights, which only reveal how they’ll affect the subject when you go to fire them (and even then, it’s only for a split second).
Now, some strobe lights do have “modeling” lights built in, which are weaker continuous lights that allow you to preview the effect, and this can be useful, but it’s also expensive.
On the other hand, strobe lights tend to be far more powerful than continuous lights, which is good for situations where you want to overpower the ambient light and get certain effects (such as shadows in particular places, or a pitch-black background).
For this reason, I recommend you use strobes when first starting out. While it’s useful to preview the lighting effect in advance, you can take test shots with strobes and make adjustments on the fly.
Personally, I started out with strobes, then purchased some continuous (LED) lights. But they never really made it into my primary setup, because they’re not powerful enough to get rid of ambient lighting.
That said, if you frequently do photography and videography, continuous lighting will allow you to create flattering setups for both types of work, whereas strobe lighting can only ever work for photography. So that’s one last thing to bear in mind!
What’s the Best Artificial Light for Your Photography?
Now that you’re familiar with the difference between continuous lights and strobes, let’s take a quick look at the types of lighting available on the market.
Bear in mind that there’s not really one best form of artificial light; instead, there’s different types of artificial light designed for different purposes (and you can capture gorgeous photos with any one of them).
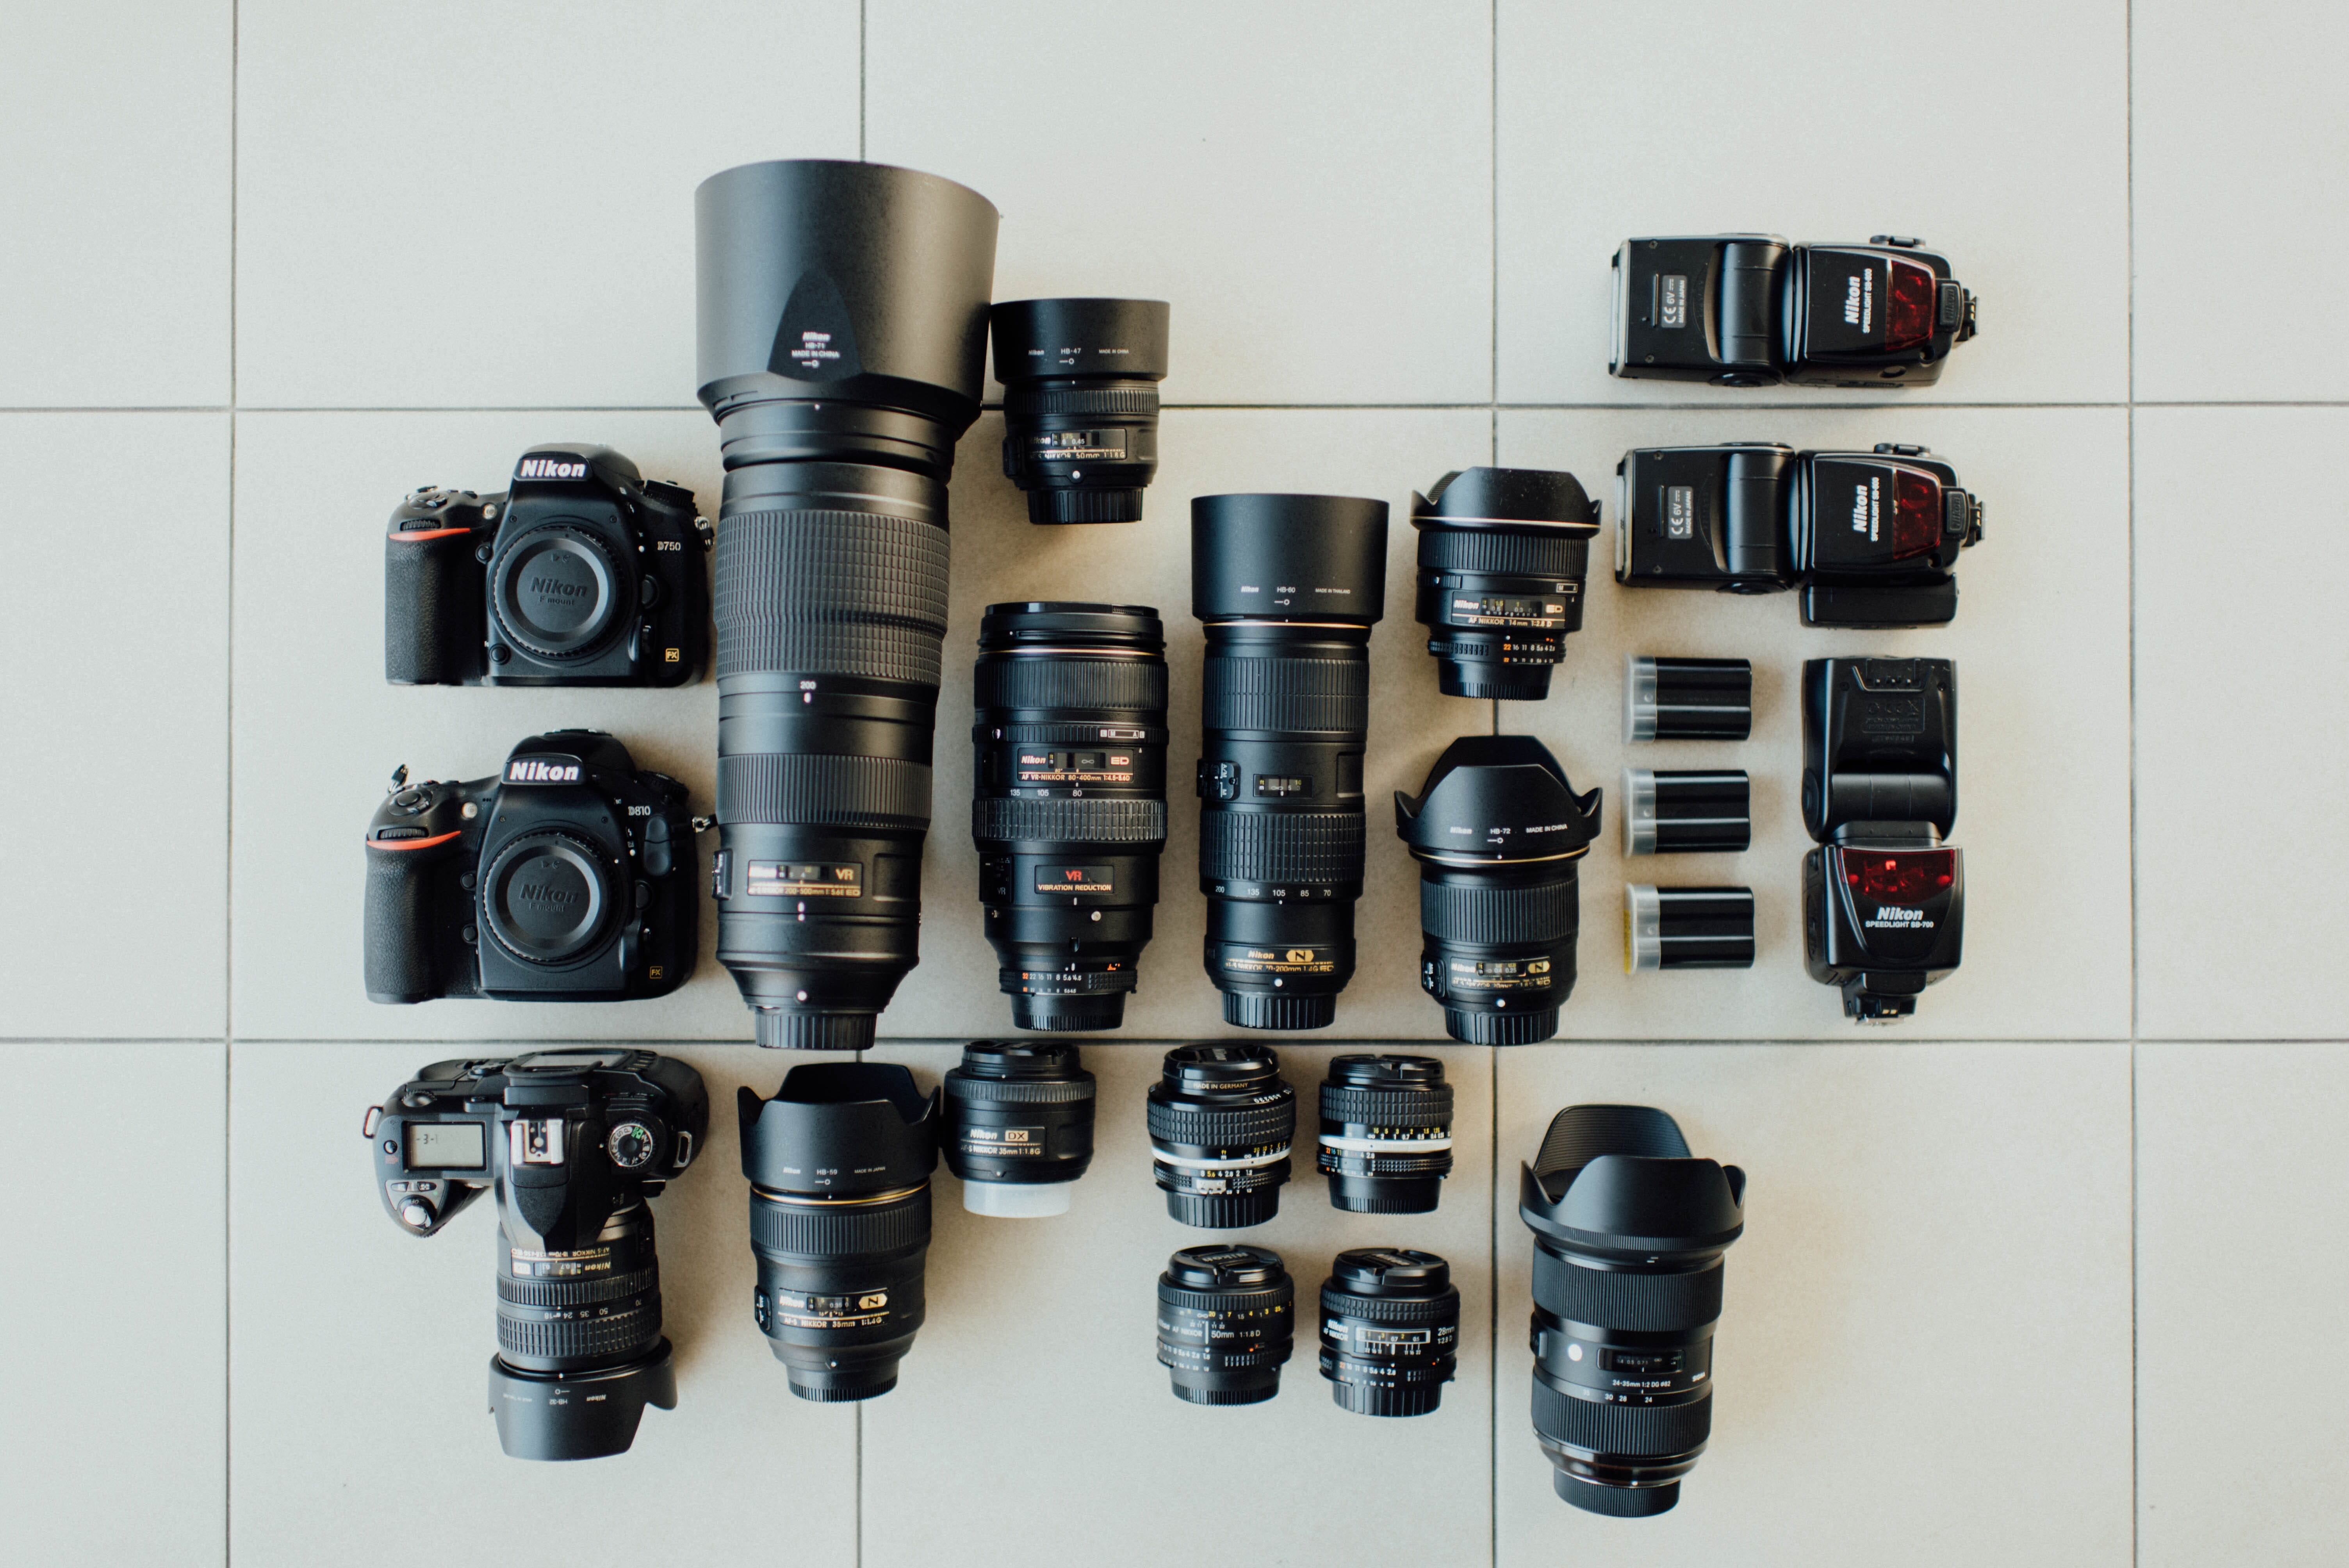
Speedlights
Speedlights are a type of strobe lighting, and look like this:
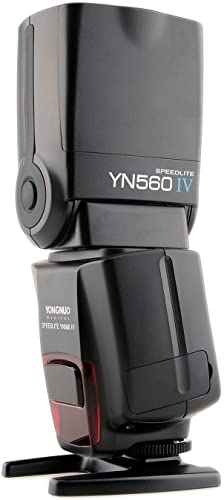
They’re small, they’re portable, and they can be mounted on top of your camera or on a light stand.
Strobes also offer plenty of accessories (such as modifiers, as I discuss below).
And you can grab them for pretty cheap.
That’s why I recommend speedlights as the best type of strobe light source for beginners. I’d suggest grabbing two or three, if possible, but you can do a lot even with a single speedlight.
Studio Strobes
Studio strobes are big and heavy, which means that you can’t take them on outdoor photoshoots. But they’re also incredibly powerful, which gives you further flexibility when it comes to dealing with ambient light or lighting large groups of people.
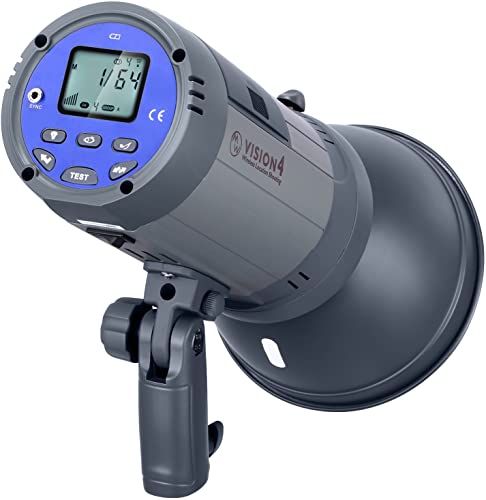
As I mentioned above, some studio strobes also include modeling lights, so you can preview the lighting effect before you take a shot. And they also offer fast recycle times, which means that you don’t have to wait long seconds between each shot.
The biggest issue with studio strobes is how expensive they are; the studio strobes used by professionals cost thousands of dollars, and the studio strobes made for amateurs aren’t much cheaper.
These days, LED lights (which are affixed into a panel) are a popular form of continuous lighting. They’re relatively bright, plus they offer a lot of control in terms of colors and temperature because you can adjust both of these characteristics on the spot.
LED Lights
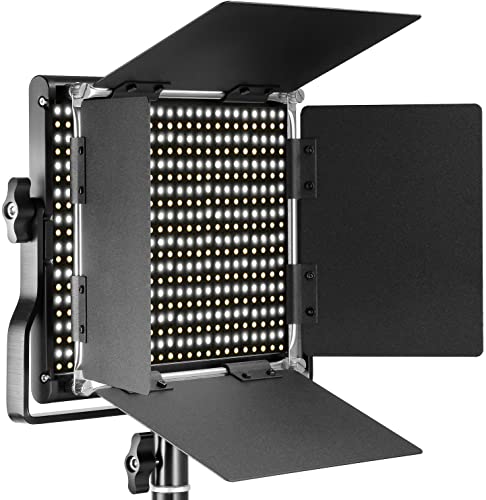
If you’re going to purchase some form of continuous lighting, I recommend LEDs.
Incandescent Lights
These are the types of light you find in many houses, which produce a (relatively harsh) warm glow. They’ve been used in plenty of movies, but they’re not especially bright and offer very little control, which is why I’d recommend you choose a different option if you’re serious about artificial lighting.
(Also incandescent lights grow very hot very quickly, so you have to be careful about leaving them on.)
Characteristics of Artificial Light
Once you’ve chosen a form of artificial light, it’s time to get down into the nitty-gritty of working with strobes or continuous lighting.
You should know that any artificial light has four basic qualities, but these are adjustable depending on the features the lighting setup offers.
Light Intensity
This refers to how strong or weak the light source is. Continuous lights are weaker than strobes, while speedlights are weaker than studio strobes.
The stronger the light, the brighter the areas that are lit by that light, which means that you can boost your artificial light intensity to light your main subject and let the background fade to black.
Also note that you can increase light intensity by simply moving your light closer to the subject, rather than turning up the light’s power.
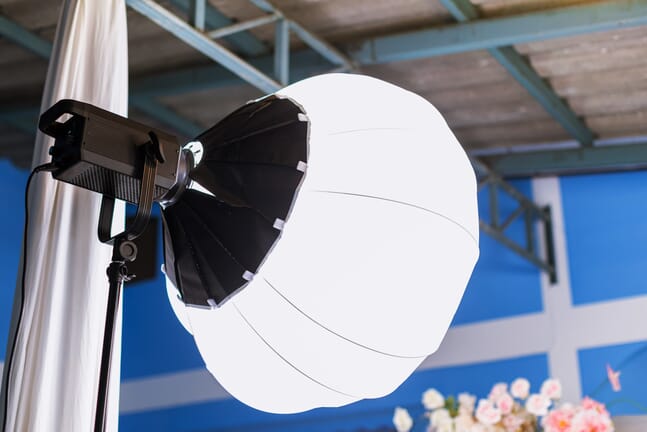
Light Quality
Light quality refers to the softness or hardness of a light.
In other words:
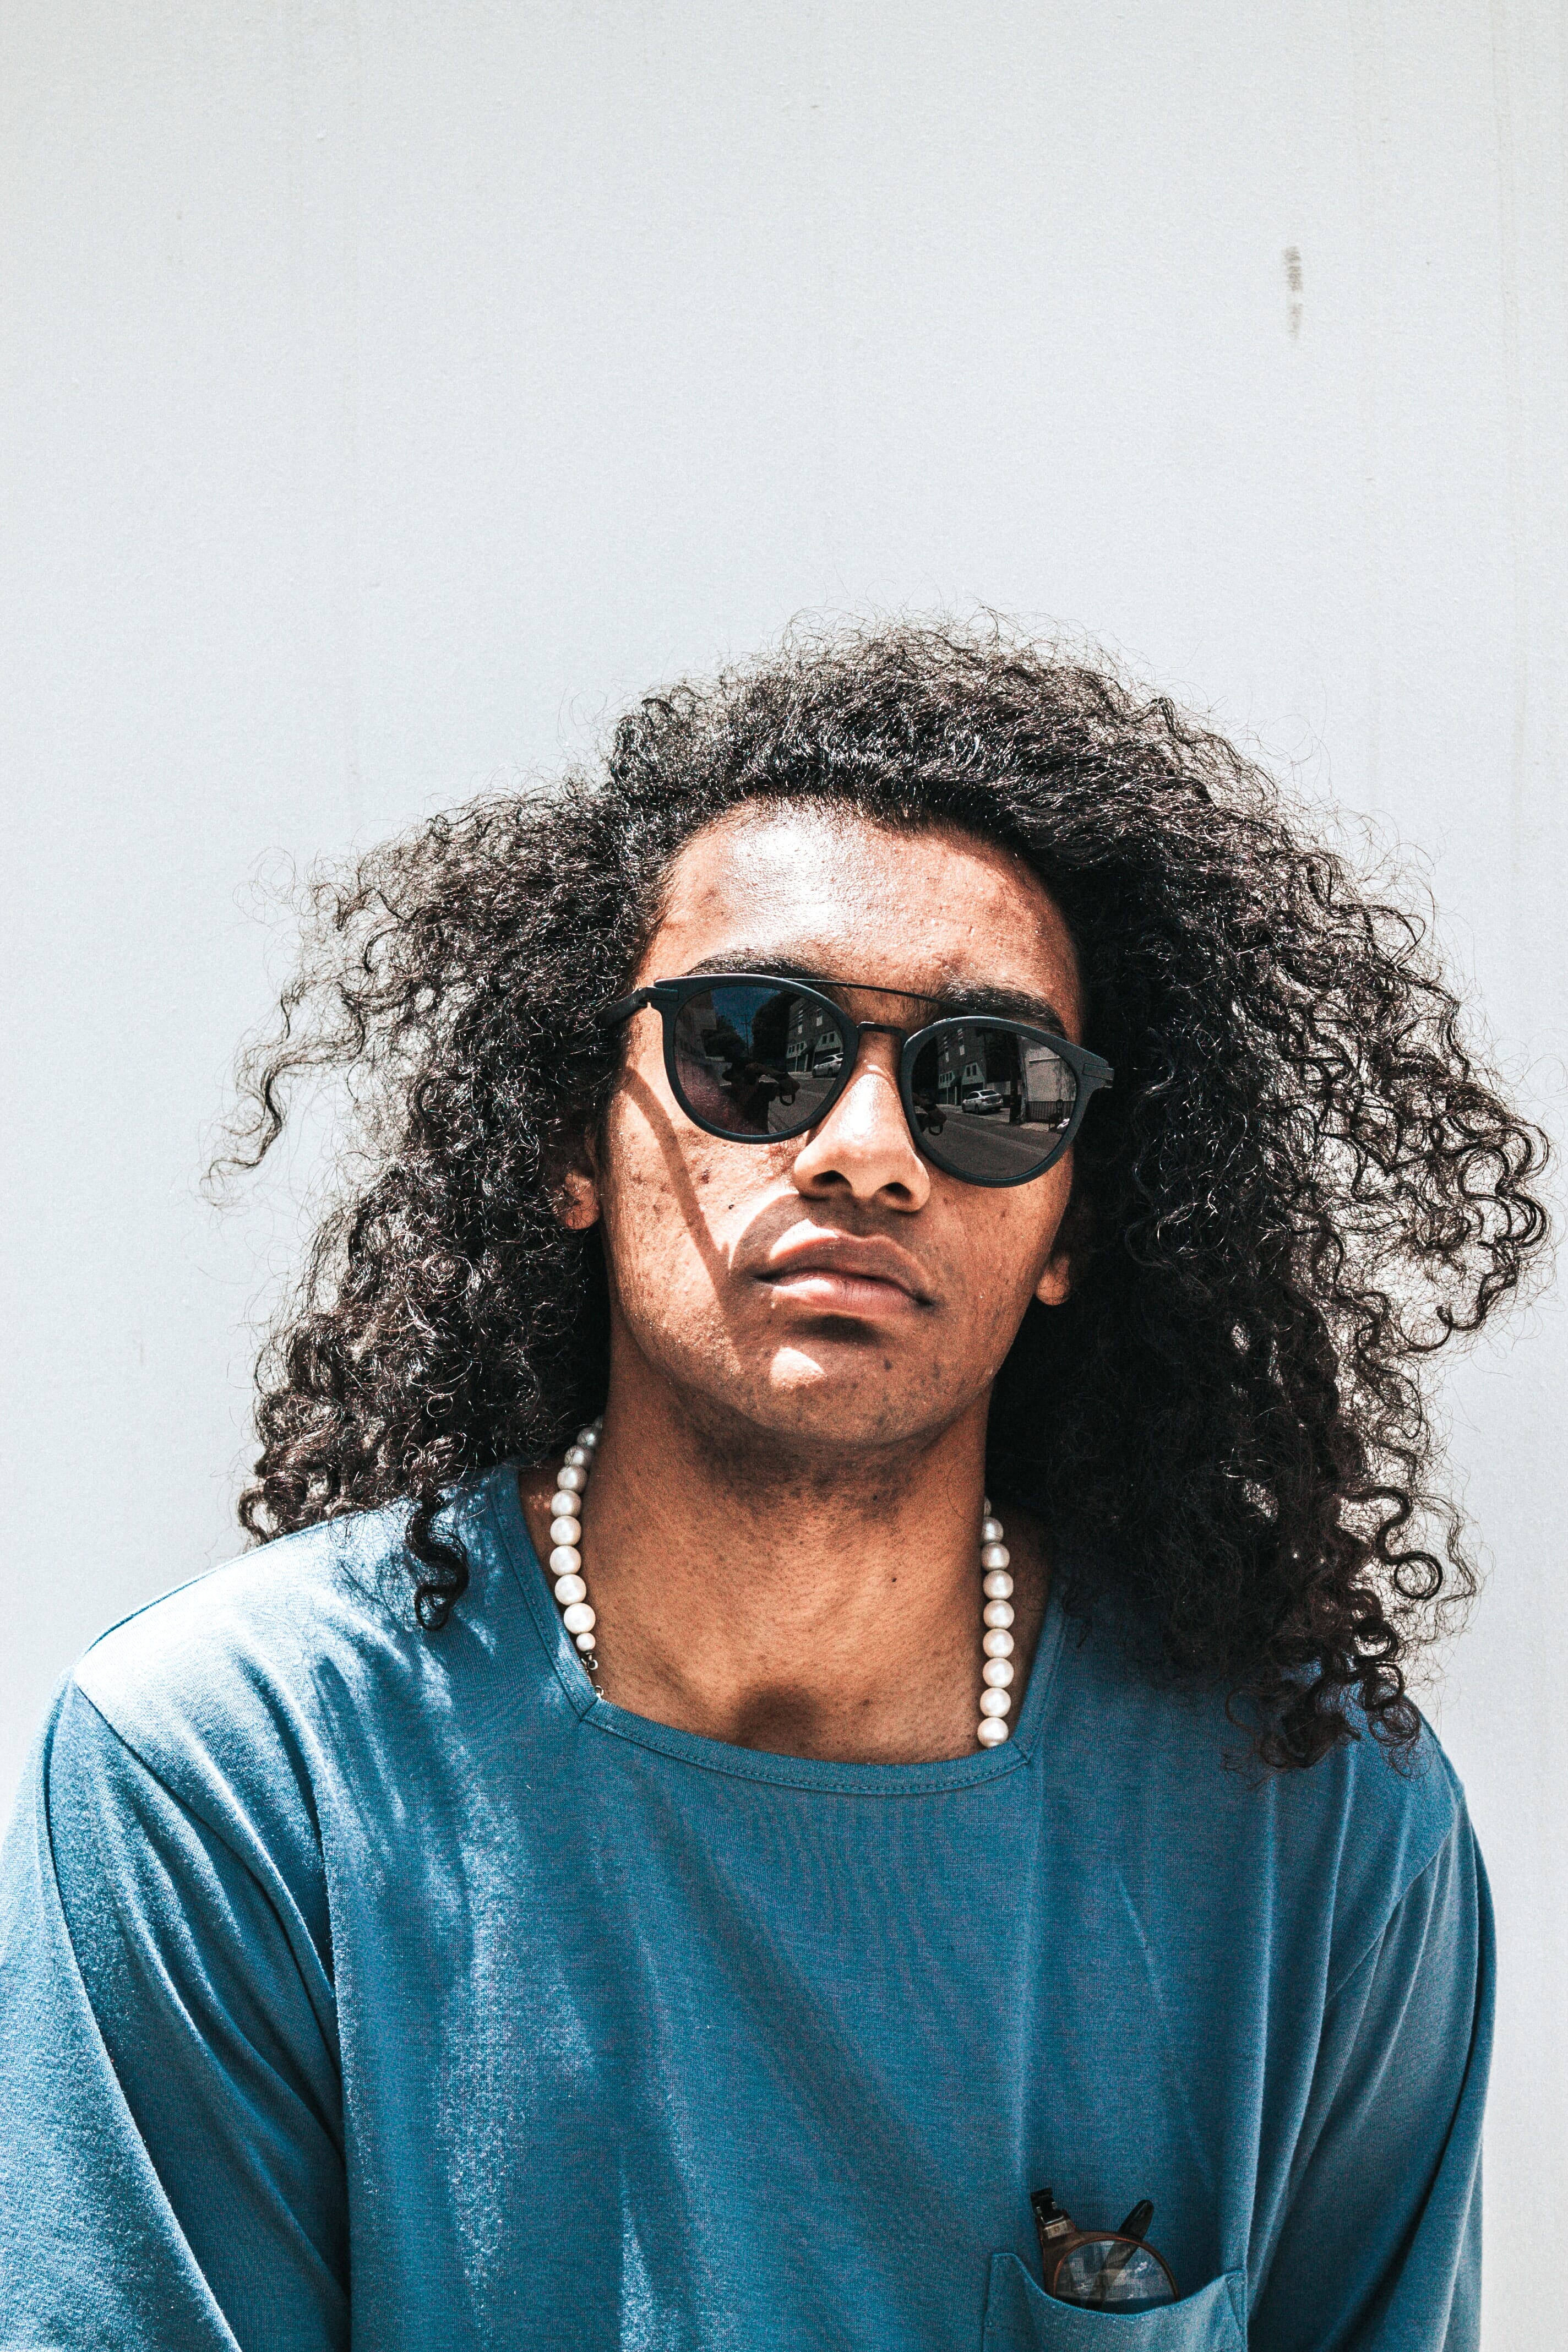
Does the light produce sharply transitioning, contrasty images?
Like this:
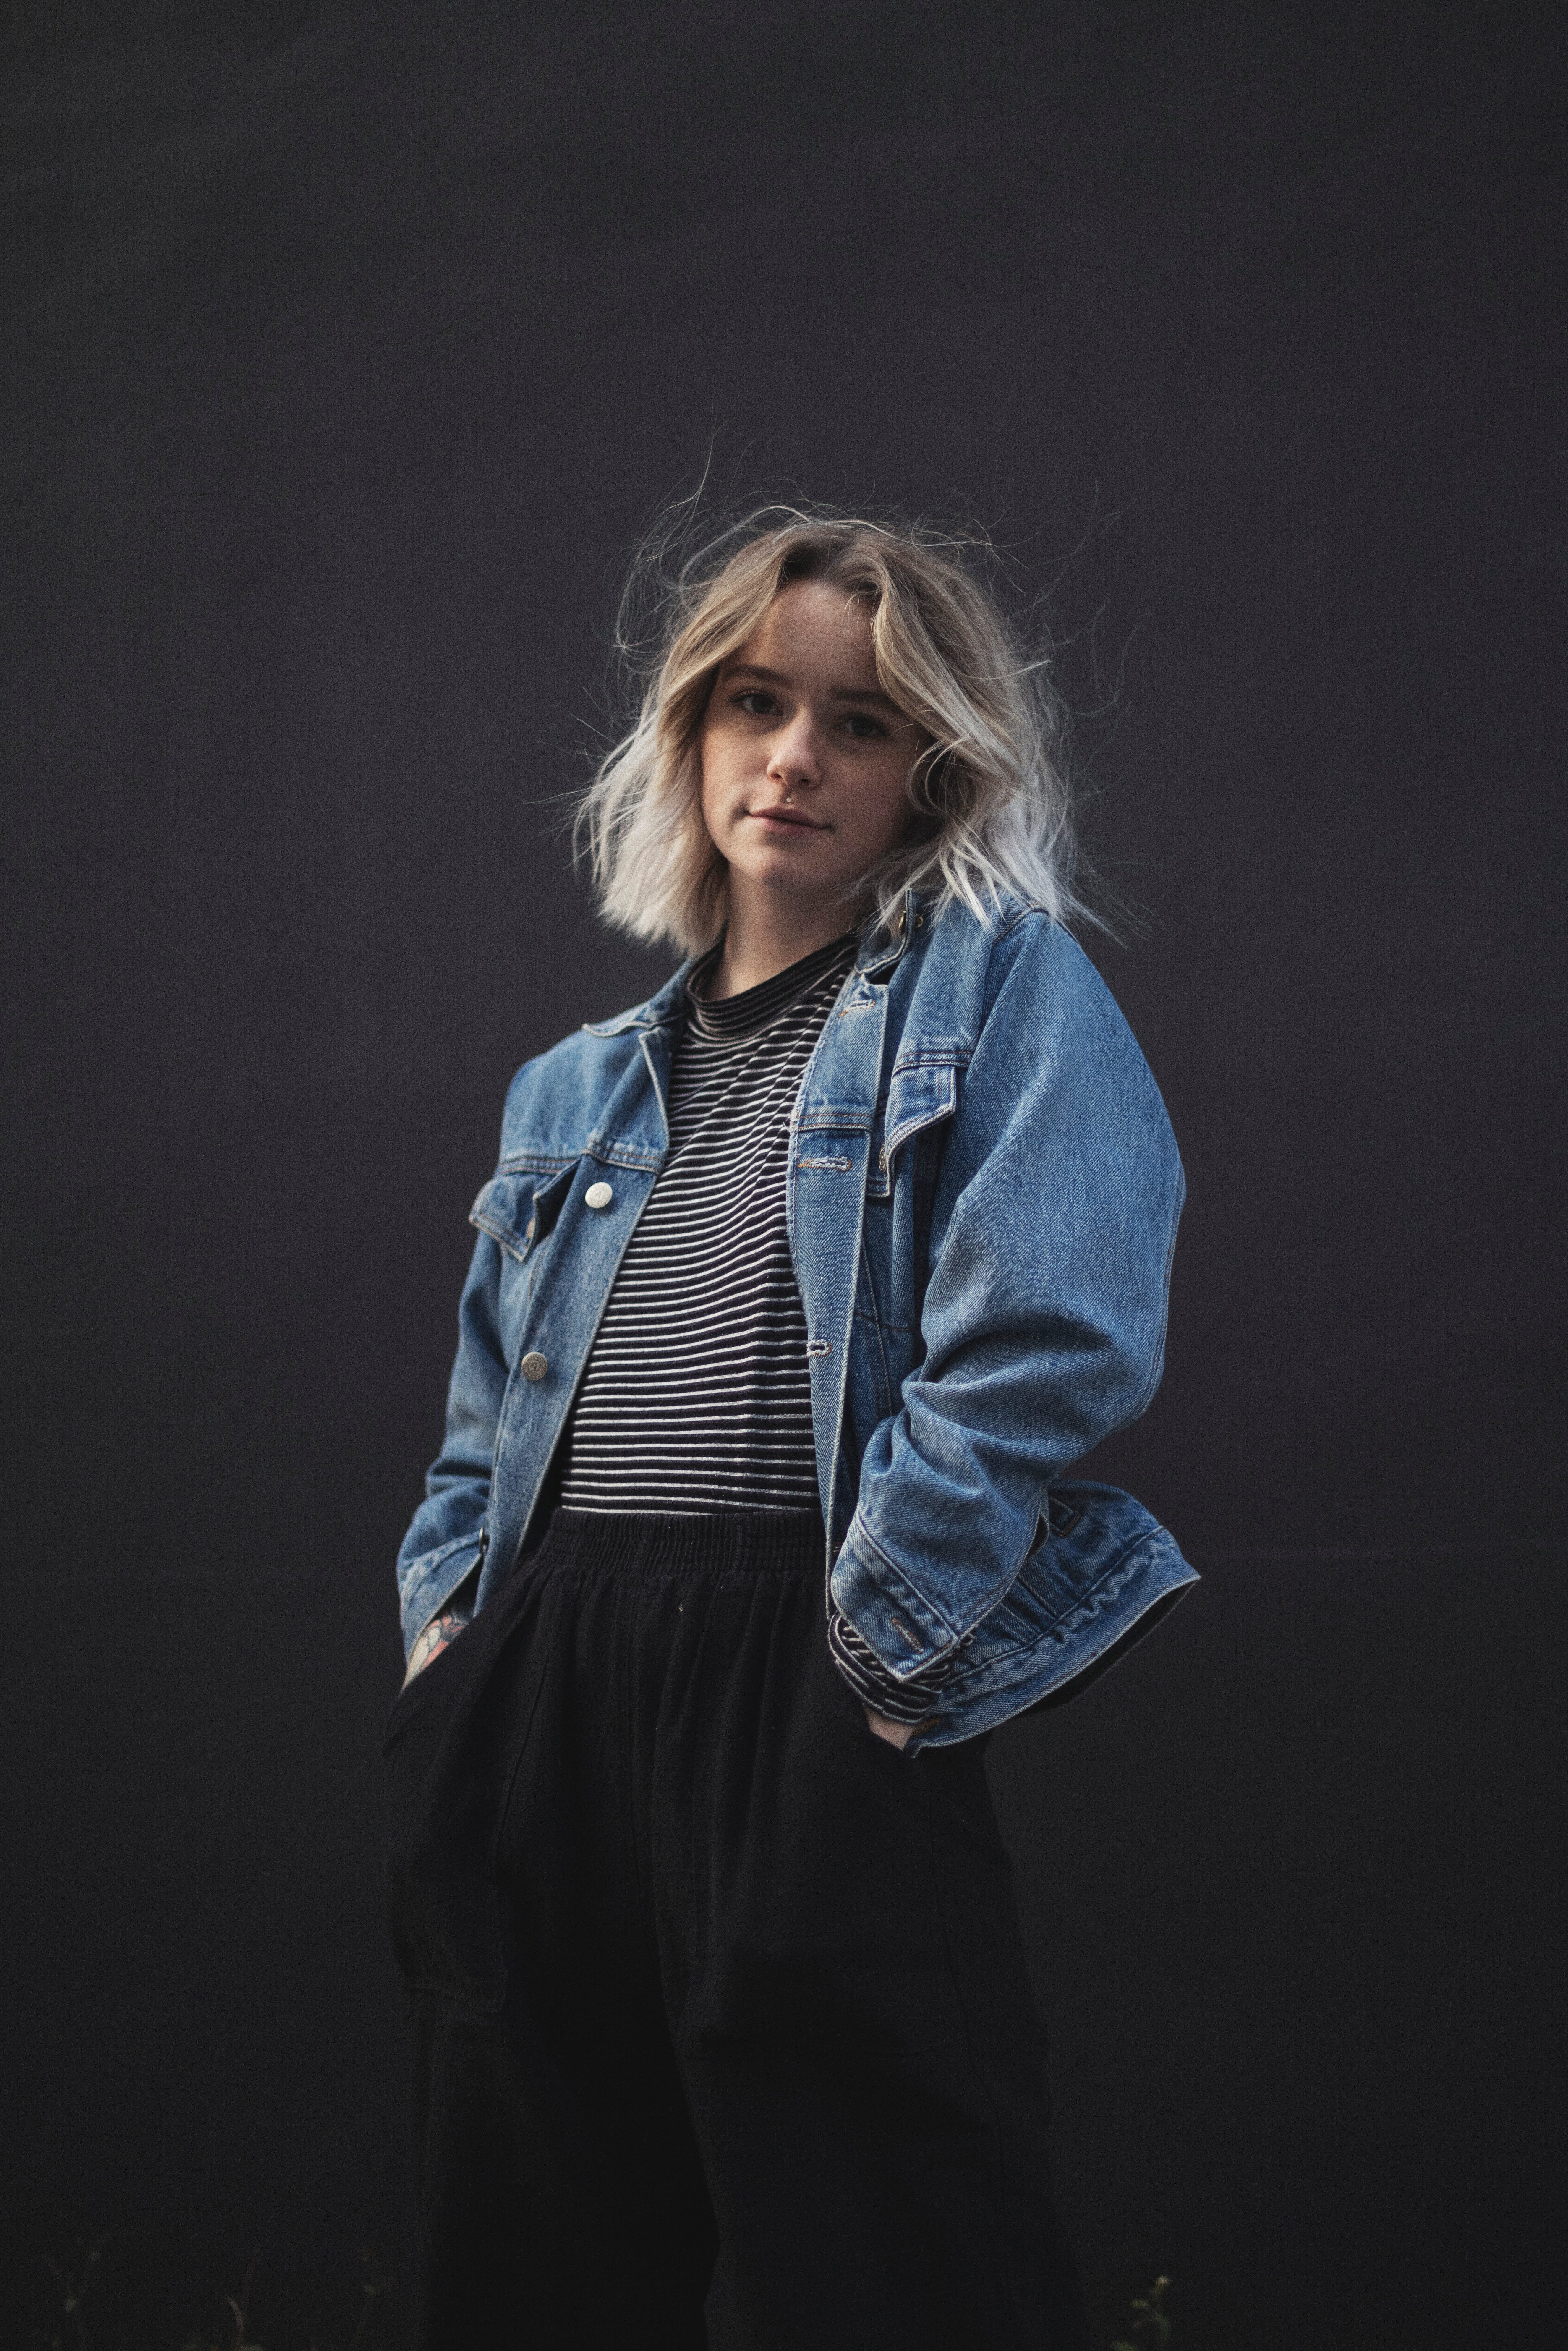
Or does the light produce soft, flattering photos?
Like this:
While there is a place for sharp, contrasty shots, most photographers prefer to work with soft lighting, which is why the goal is generally to produce gentle light that flatters subjects of all kinds.
Now, there are a few ways to achieve softer lighting.
First, you can move the light closer to the subject. You see, the closer the light, the softer it becomes.
Second, you can add a light modifier, which will broaden the beam of light for a softer effect. This is a very common way to deal with harsh lighting, and it’s why you’ll often want to have a modifier of some sort on hand (though, in a pinch, you can bounce the flash off a wall!).
Light Direction
Light direction is an essential part of your images, and–depending on the angle of the light–you’ll end up with a bright image, a moody image, a three-dimensional image, a flat image, etc.
Now, there are books solely on the subject of light direction, so I’m not going to rehash all that today.
But be aware of the fact that producing shadows in different places gives different effects. For instance, you can use Rembrandt lighting for a flattering, somewhat moody effect, or butterfly lighting for a glamorous effect, or loop lighting for a bright effect.

Light Color
Photographers often forget about the color of light, but it is important, especially in situations where you’re dealing with mixed light sources.
What do I mean by all this?
First of all, every light has a color of some sort. Most lights lie somewhere along the blue/yellow spectrum, where blue makes for a colder result and yellow makes for a warmer result.
(Note that there are some lights that sit smack-dab in the middle of this spectrum and therefore appear completely neutral, but they’re rare.)
Because our eyes automatically compensate for light color, it’s not something that you’ll notice unless you really look for it. But cameras don’t automatically compensate for light color, so photos with blue lights look very blue, while photos with warm lights look very yellow.
And it’s your job, as a photographer, to neutralize this color cast to prevent it from making your photos look unnatural.

One way to do this is by setting your camera’s white balance. But you can also deal with white balance in post-processing, provided you shoot RAW.
That said, there is one situation that cannot be resolved by properly setting your white balance, and it’s this one:
Mixed lighting.
When you have a scene that’s lit by multiple light sources with different color temperatures, you can never balance out the shot for a perfectly neutral image (unless you do some careful local editing, that is).
So you need to make sure that all of your light sources match up! That way, you can avoid this problem, and end up with natural-looking images.
Artificial Light Modifiers
As I mentioned above, modifiers adjust the light, generally to make it broader and softer, such as in the case of umbrellas, softboxes, and diffusers.
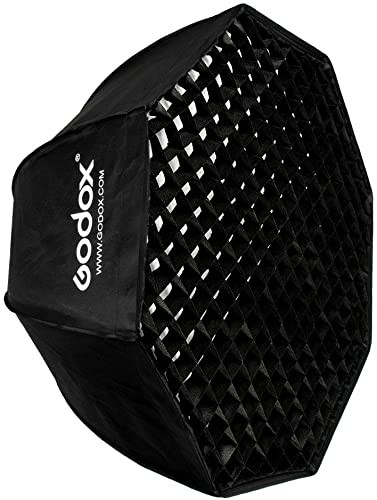
These are great for when you want more flattering images, and I recommend that everyone start out with at least an umbrella; these are easy to use for great results!
Note that some modifiers don’t soften the light, but instead modify it in other ways. Snoots, for instance, concentrate the beam for a very sharp, well-defined look.
And barn doors let you block the light in certain areas but not others.
It really depends on what you’re after–and if you can imagine an effect, there’s probably a modifier that can do it for you!
Artificial Light in Photography: Conclusion
If you’re looking to take your photography to the next level, learning to use artificial light is crucial.
Artificial light allows you to gain tremendous control over your images–and will ensure that you get the best possible results, consistently.
So don’t be intimidated by artificial light! Instead, recognize that it can help you a lot, and embrace its power.
Do I need to understand artificial lighting?
Artificial lighting is very helpful, and it can really enhance your photos. But you can also capture beautiful natural light images, so it’s up for you to decide what works and what doesn’t.
Does light direction matter?
Yes, light direction is essential! By shifting the direction of the light, you can end up with photos that are dramatic, or two dimensional, or flattering, or uplifting, or anything in between.
Do I need light modifiers?
It’s a good idea to have at least an umbrella or two, because this will allow you to substantially soften the light and create very flattering images.
Should I get continuous lighting or a strobe?
I’d recommend going with a strobe, unless you’re going to be using the lights for video, as well. Strobes are far more powerful than continuous lights (generally speaking), so they give you a lot more bang for your buck.