
- A vantage point is the position and angle from which a photograph is taken — the most important composition decision most photographers never think about.
- Five core vantage points cover almost every photograph: eye-level, high angle, bird’s-eye, low angle, and worm’s-eye. Each changes how the subject reads.
- Drones turned the once-inaccessible bird’s-eye view into an everyday option. A DJI Mavic 2 Pro or Air 2S makes aerial framing a 15-minute skill.
- The right vantage depends on the subject: eye-level for portraits, bird’s-eye for flat-lays, low angle for architecture, worm’s-eye for drama.
- This guide covers all five vantage points plus 30 curated examples from photographers across Sony, Canon, Nikon, Fujifilm, and DJI systems.
Vantage point — the position and angle from which a photograph is taken — is the single most important compositional decision in photography, and it is the one beginners think about the least. A small change in where the camera sits can transform a dull scene into a striking one.
This guide covers all five core vantage points, explains when each one works, and shows how drones have expanded the photographer’s toolkit in 2026. It closes with 30 curated examples across the full range of perspectives, sourced from photographers shooting on Sony, Canon, Nikon, Fujifilm, and DJI systems.
What Is a Vantage Point?
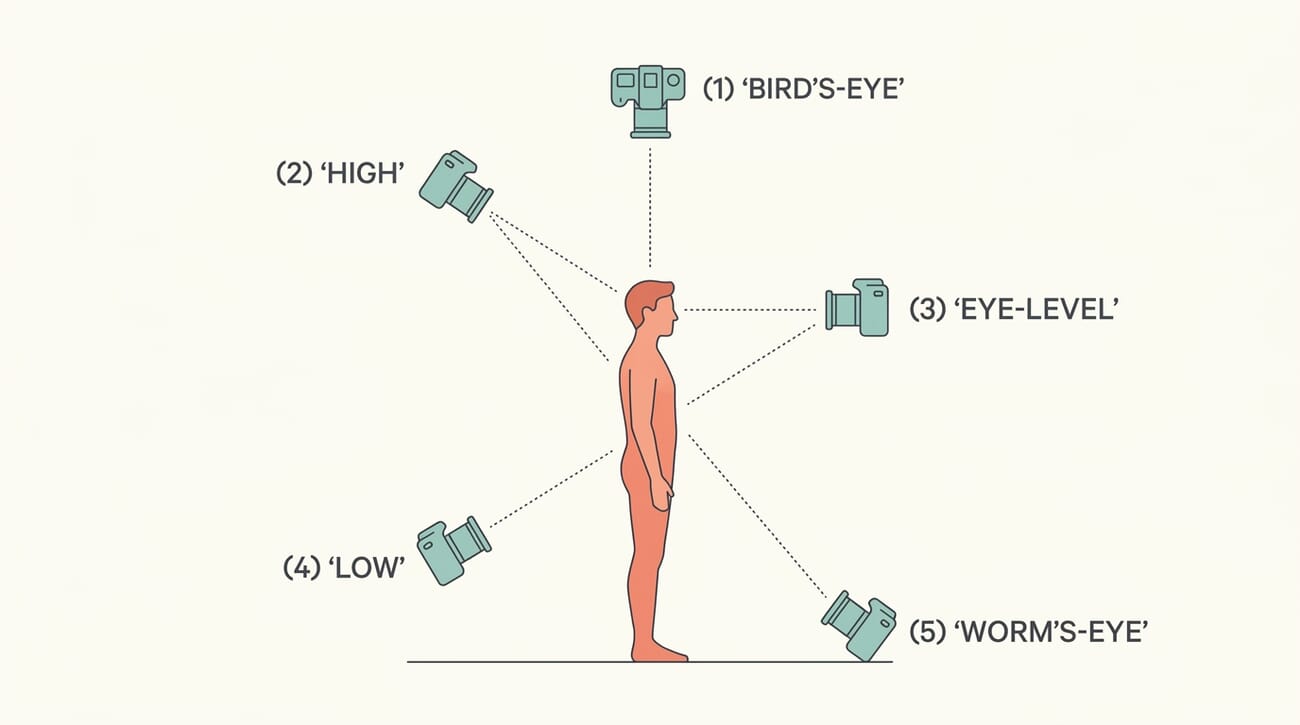
A vantage point is simply the camera’s position relative to the subject — a combination of height (above, at, or below eye level) and angle (pointing down, level, or up). The five canonical vantage points in photography are:
- Eye-level — the camera sits at the subject’s eye height, pointing level. The default, and the most natural.
- High angle — the camera is raised above the subject, pointing down. Flattering for portraits, clarifying for scenes.
- Bird’s-eye — the camera is directly above the subject, pointing straight down. Abstract, often map-like.
- Low angle — the camera sits below the subject, pointing up. Dramatises, heroifies, makes subjects look larger.
- Worm’s-eye — the camera sits at ground level, pointing straight up. Rare, extreme, instantly recognisable.
Why Vantage Point Matters
The same subject, shot from two different vantage points, can produce two completely different emotional responses. A building photographed at eye level looks ordinary; the same building shot from a low angle looks monumental. A child photographed from above looks small; the same child shot at eye level looks confident.
Most photographers default to eye-level because it is the position the camera sits in when held naturally. That default is rarely the best choice — and that is the opportunity. Deliberately picking a vantage point is one of the fastest ways to separate a photograph from everyone else’s version of the same scene.
Composition guides like the rule of thirds and leading lines are often the first thing beginners learn, but vantage point is more powerful. A well-chosen vantage turns both of those into automatic effects — and a badly-chosen vantage flattens any composition.
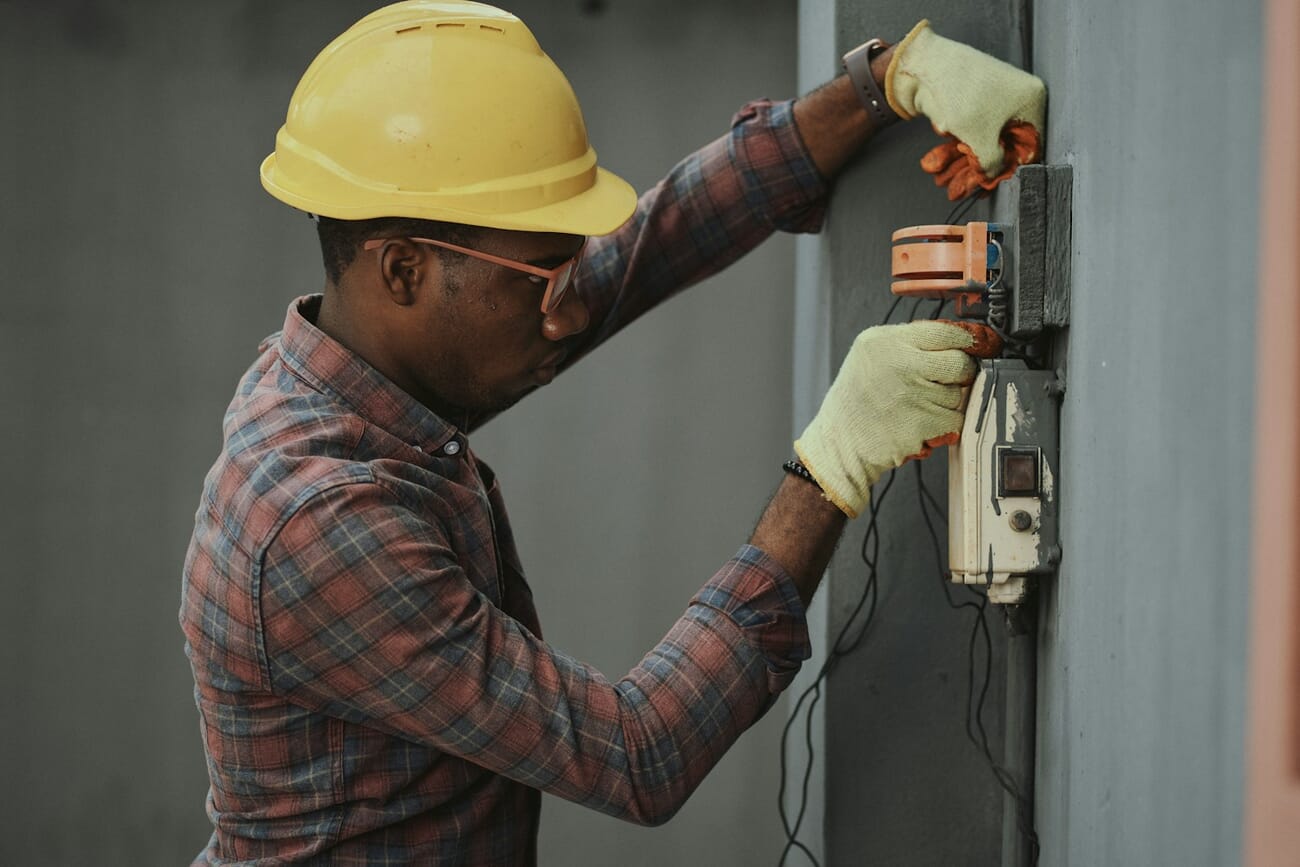
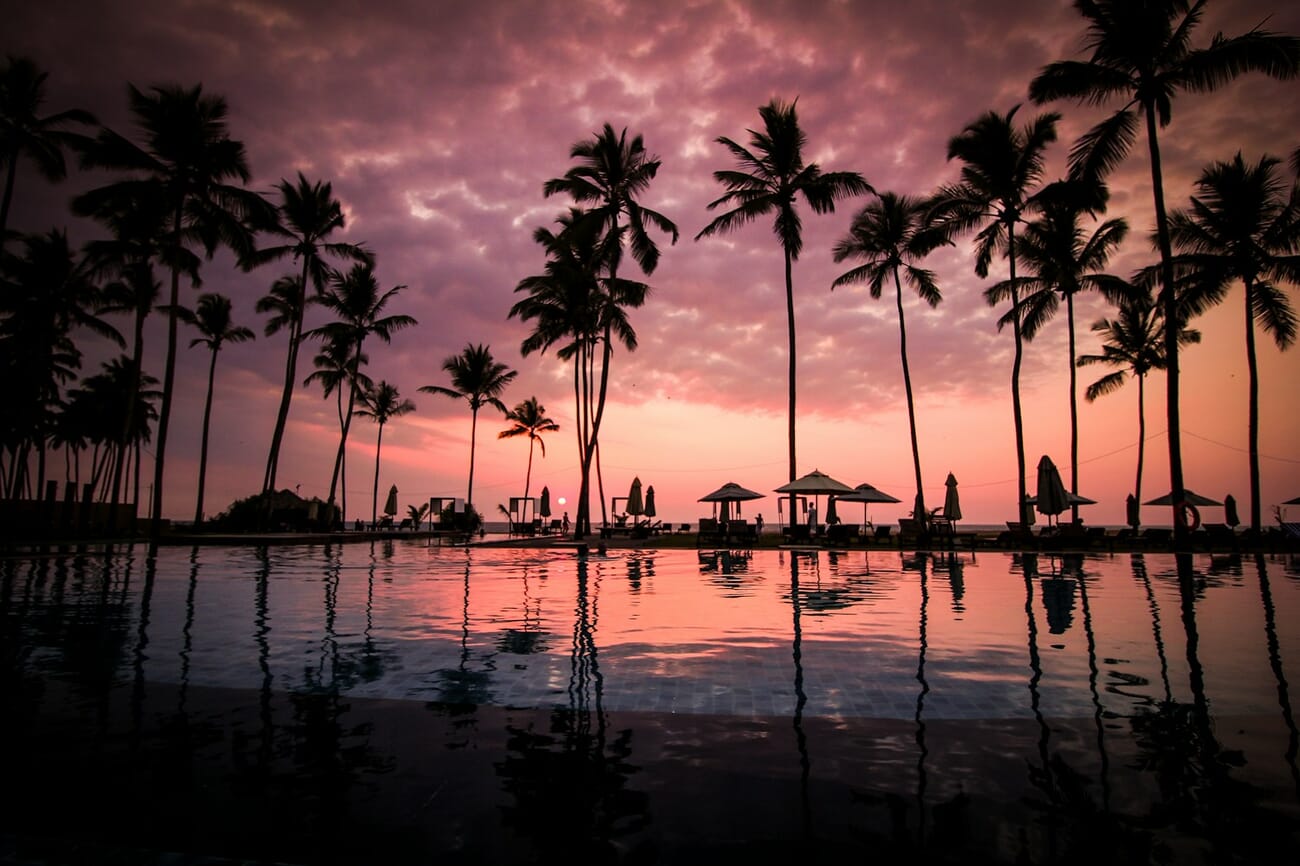
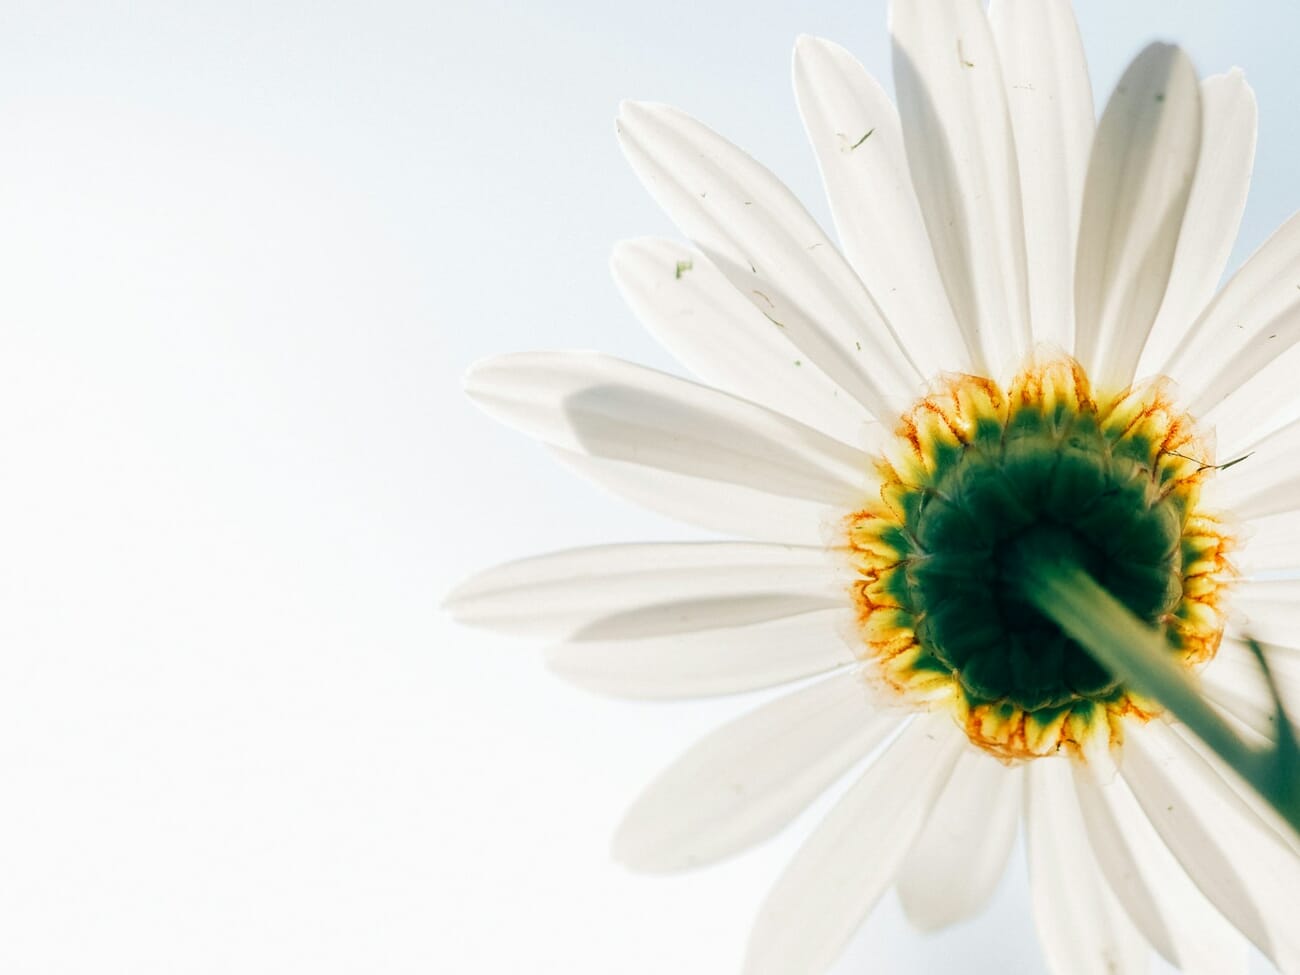
Eye-Level: The Default Perspective
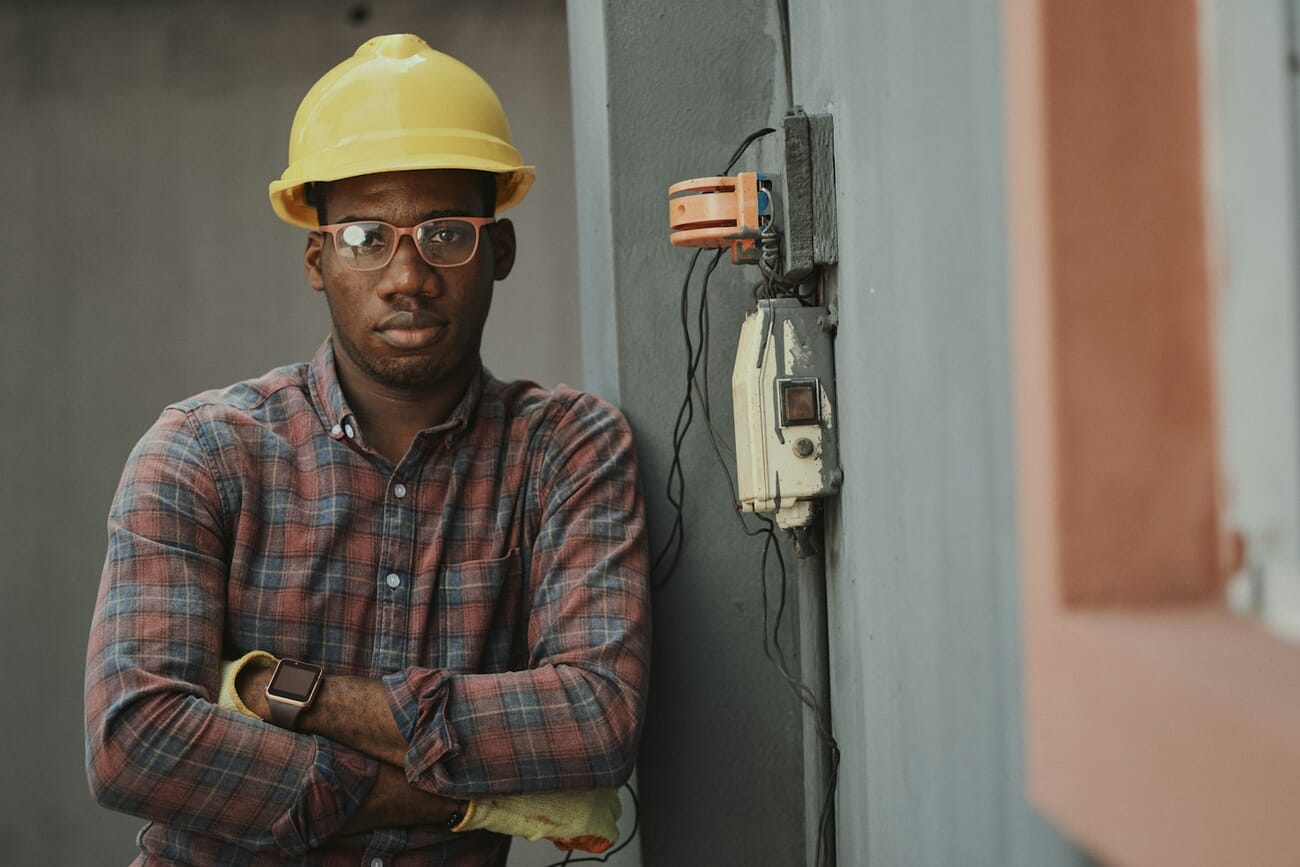
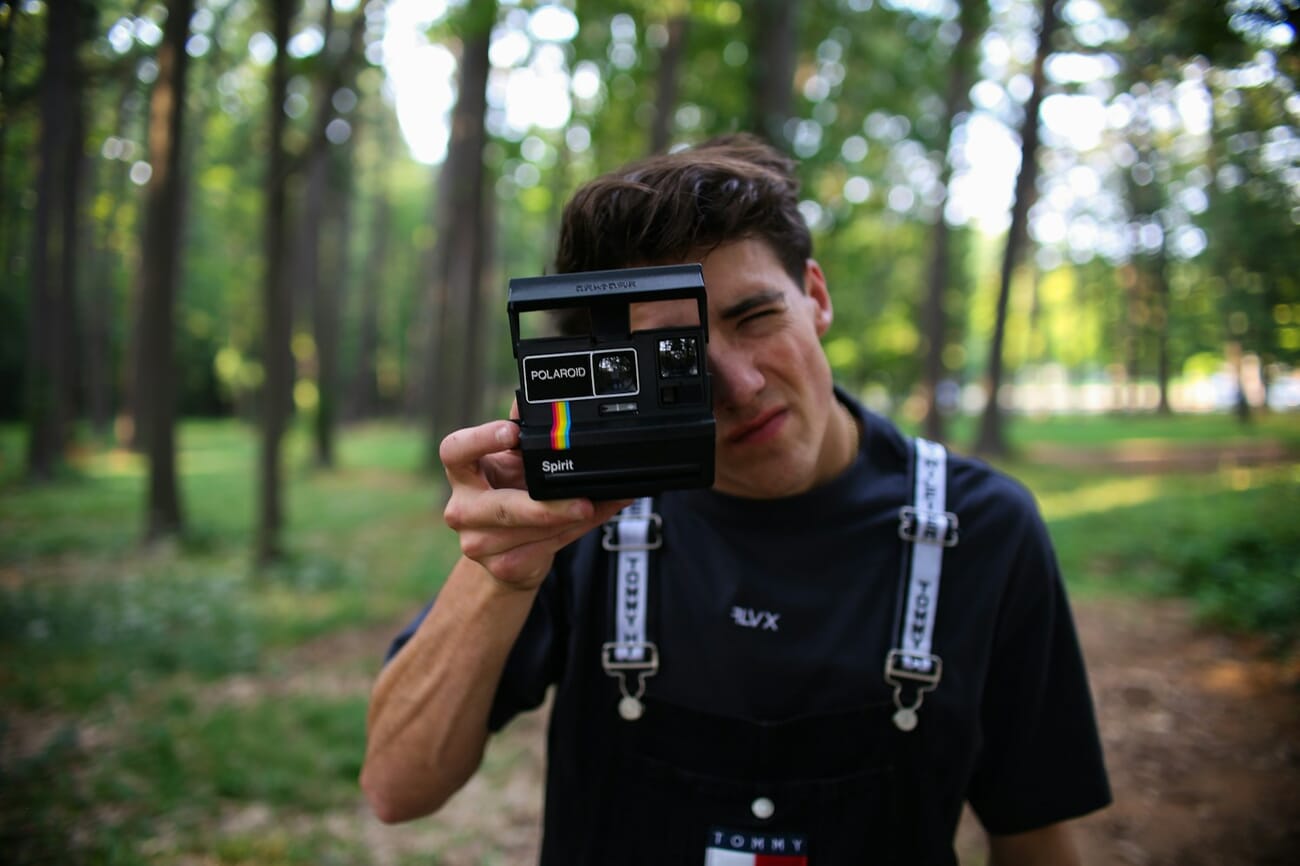
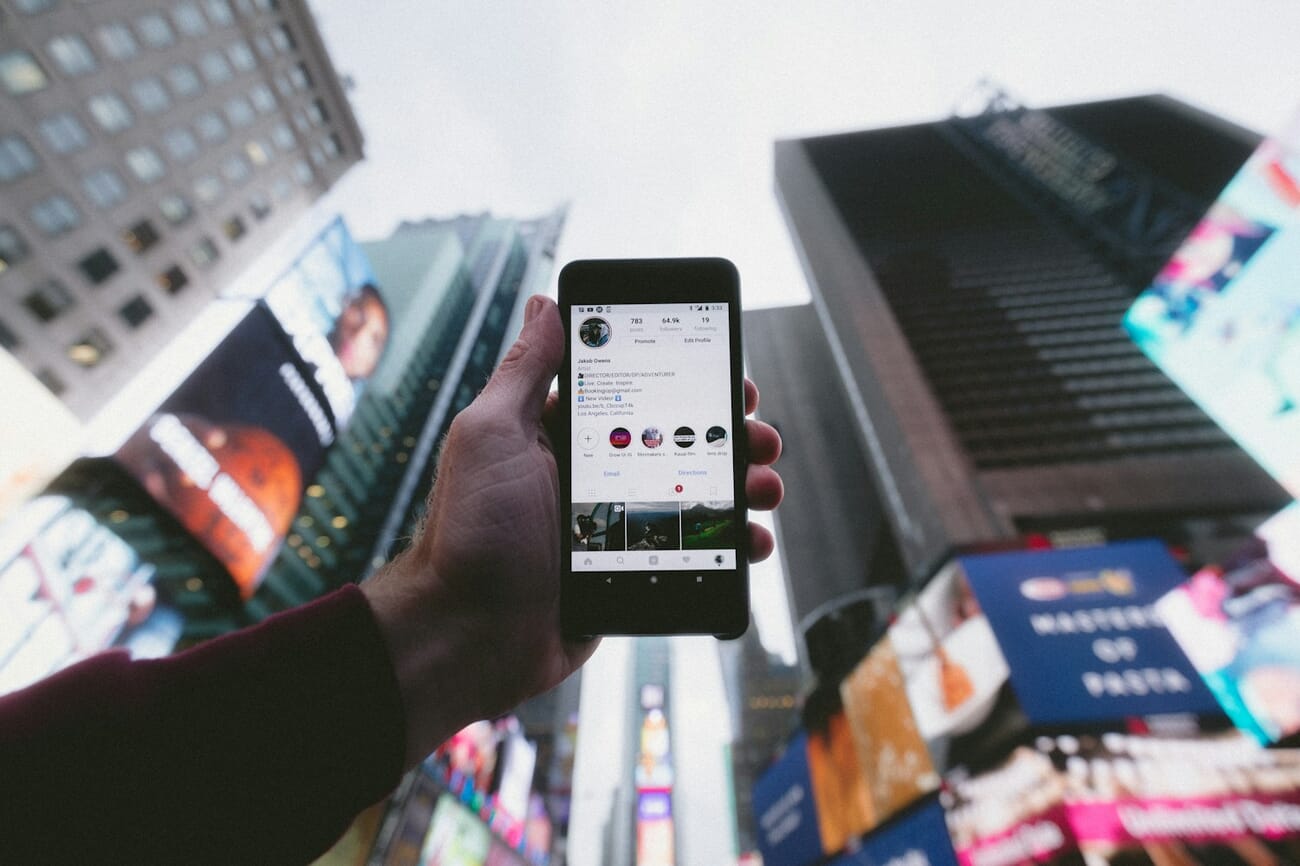
Eye-level is the vantage every photographer knows by instinct. The camera meets the subject at their own height, showing the world as they see it. For portraits, street photography, and documentary work, eye-level builds the strongest viewer-subject connection.
High Angle: Looking Down Without Flattening
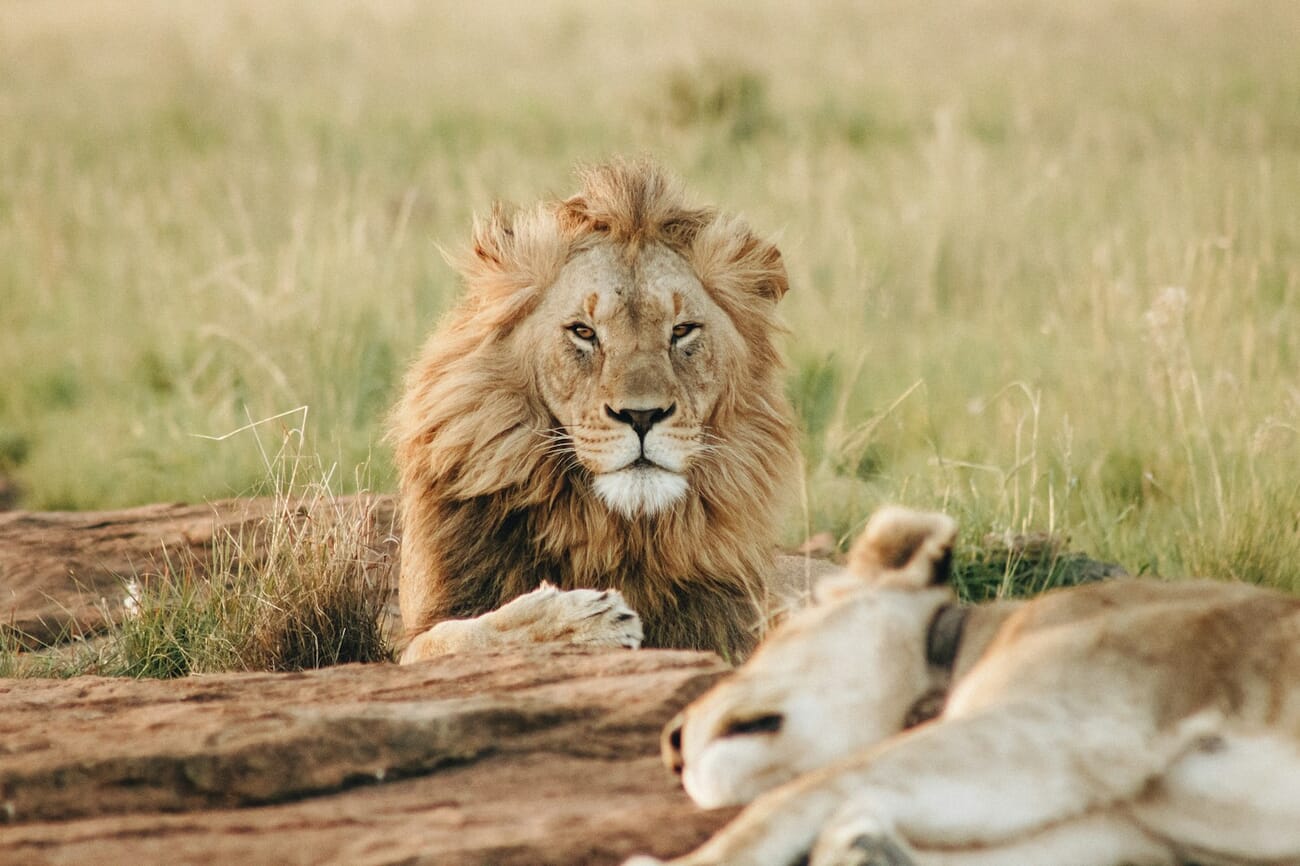
A high angle positions the camera above the subject while keeping some horizontal component to the framing — not fully overhead, but tilted down. It flatters faces (the classic “selfie angle”), tidies up messy scenes, and de-emphasises the environment in favour of the subject.

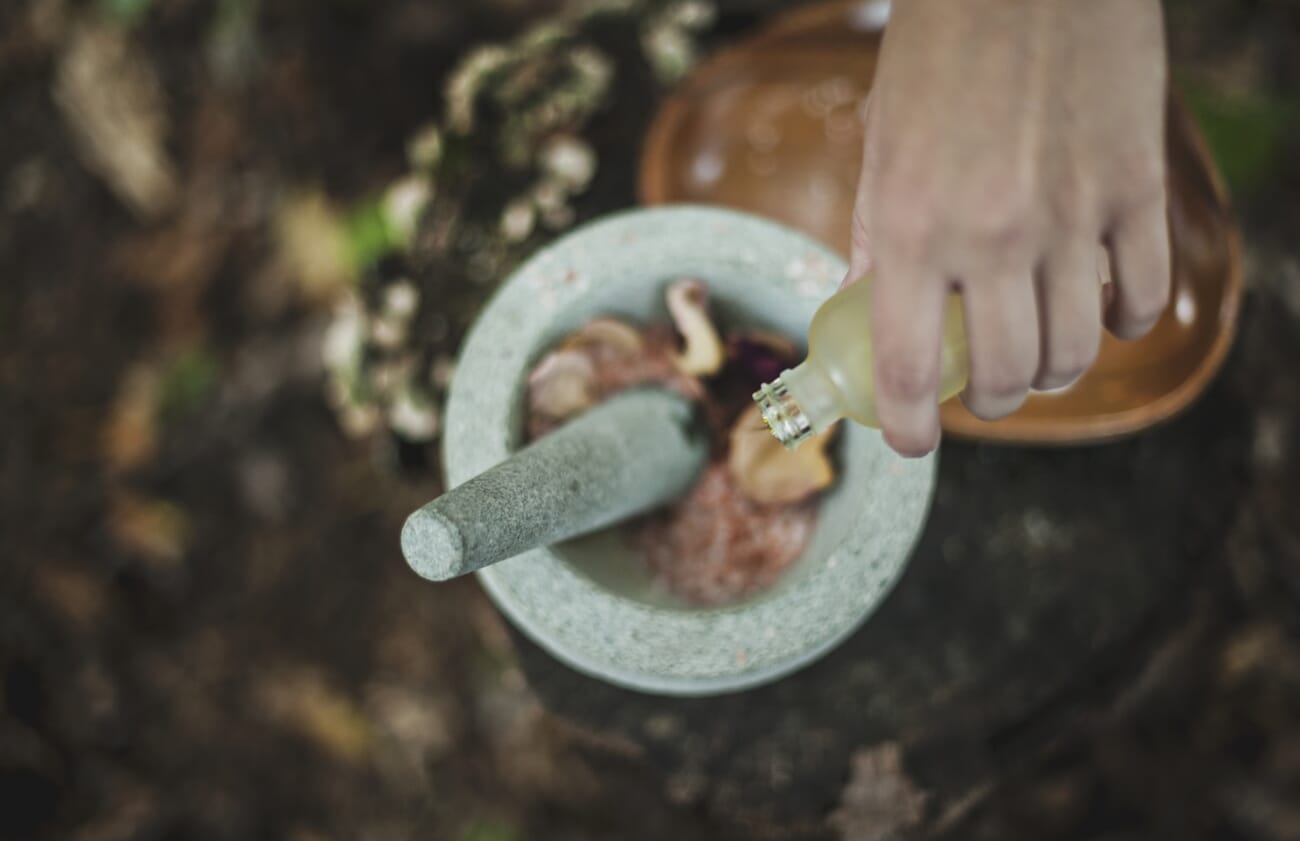
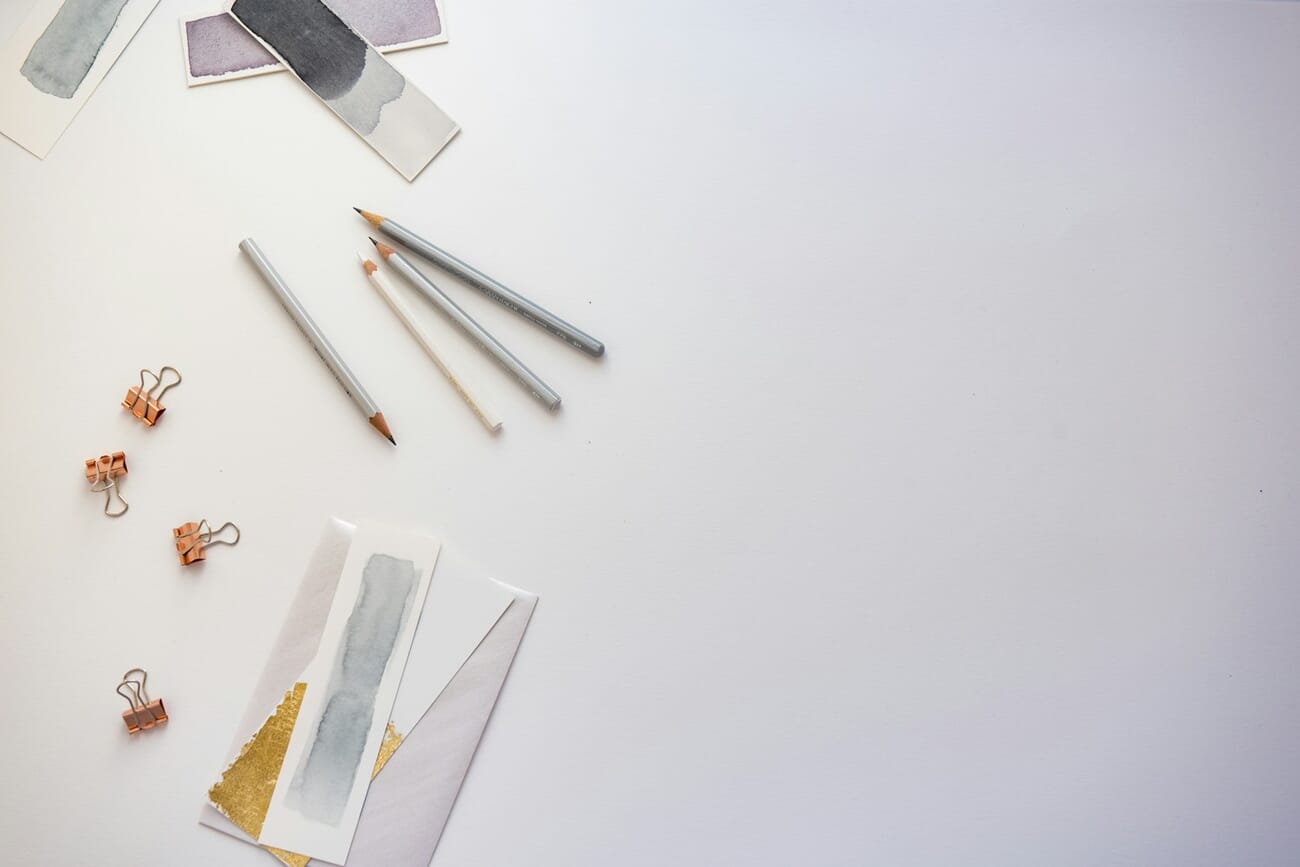

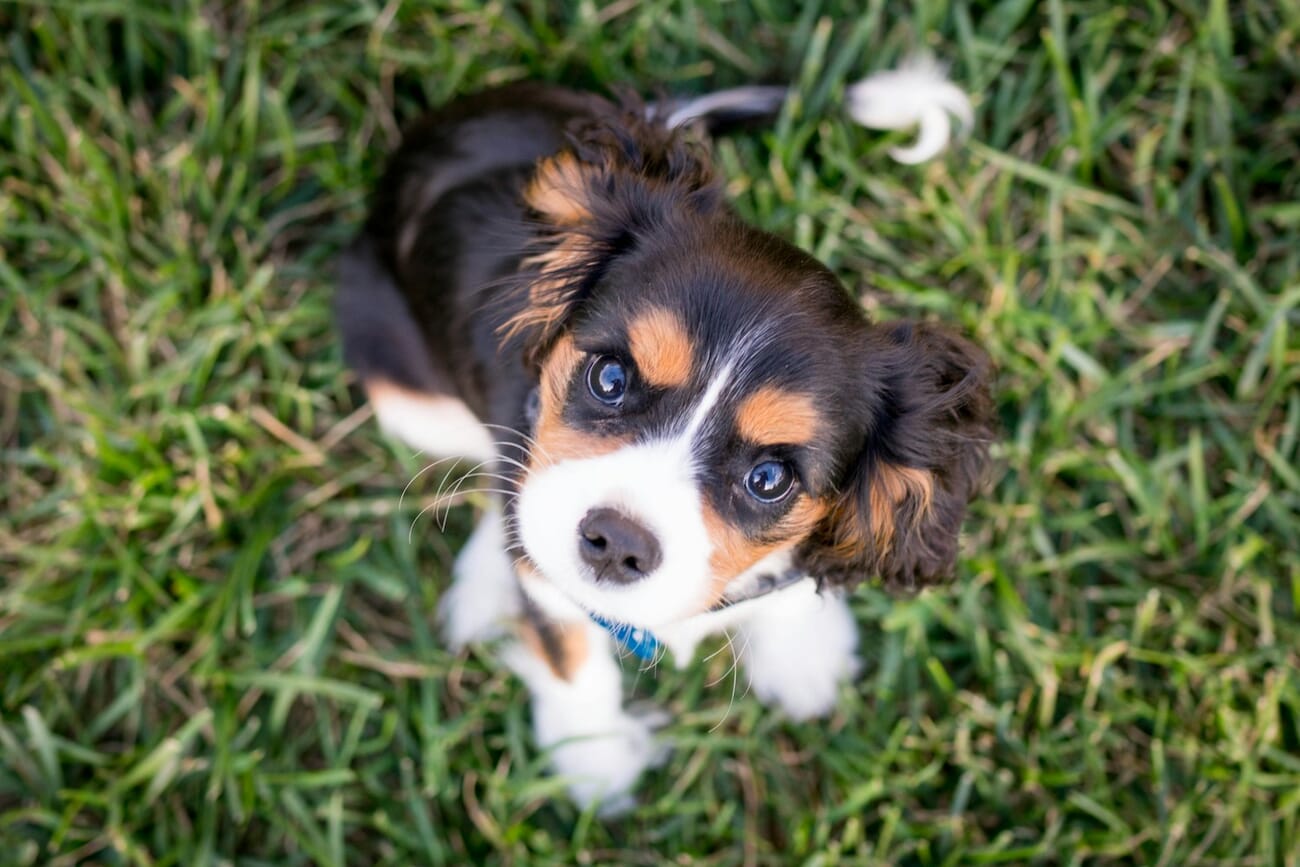
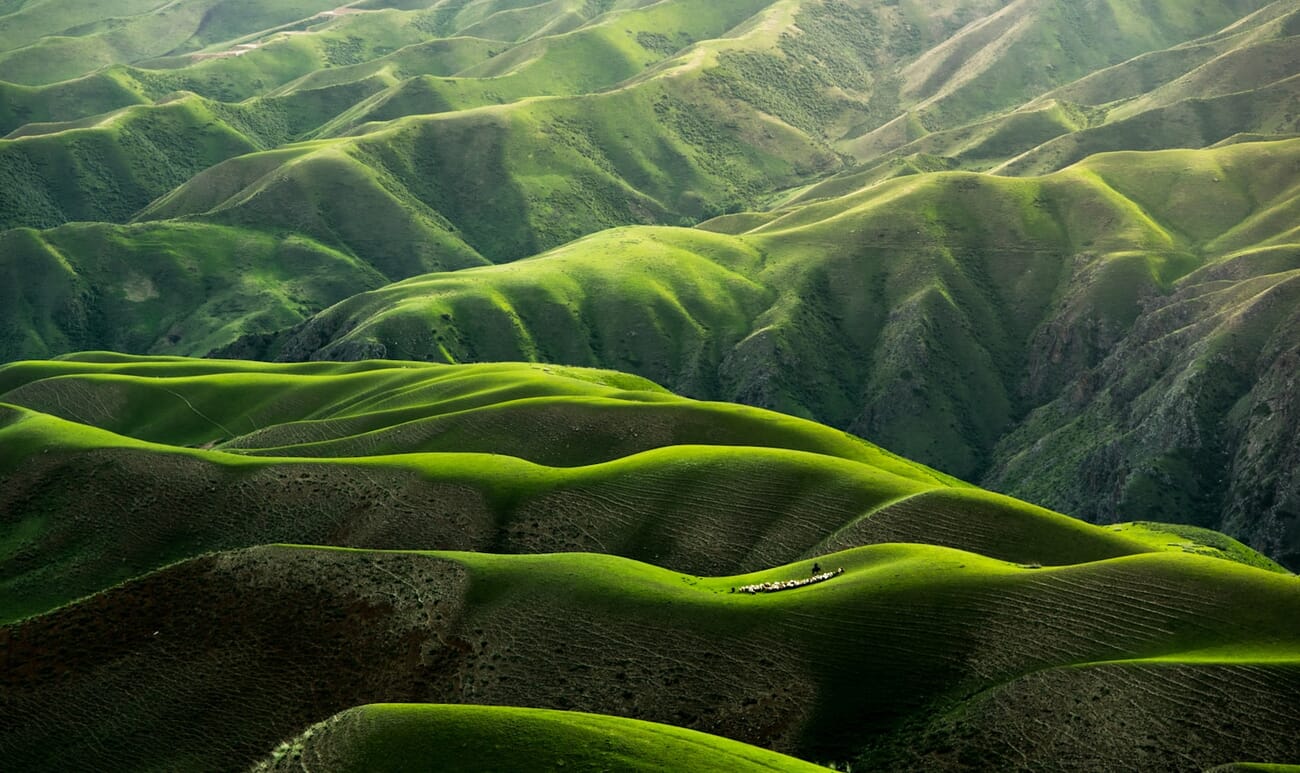
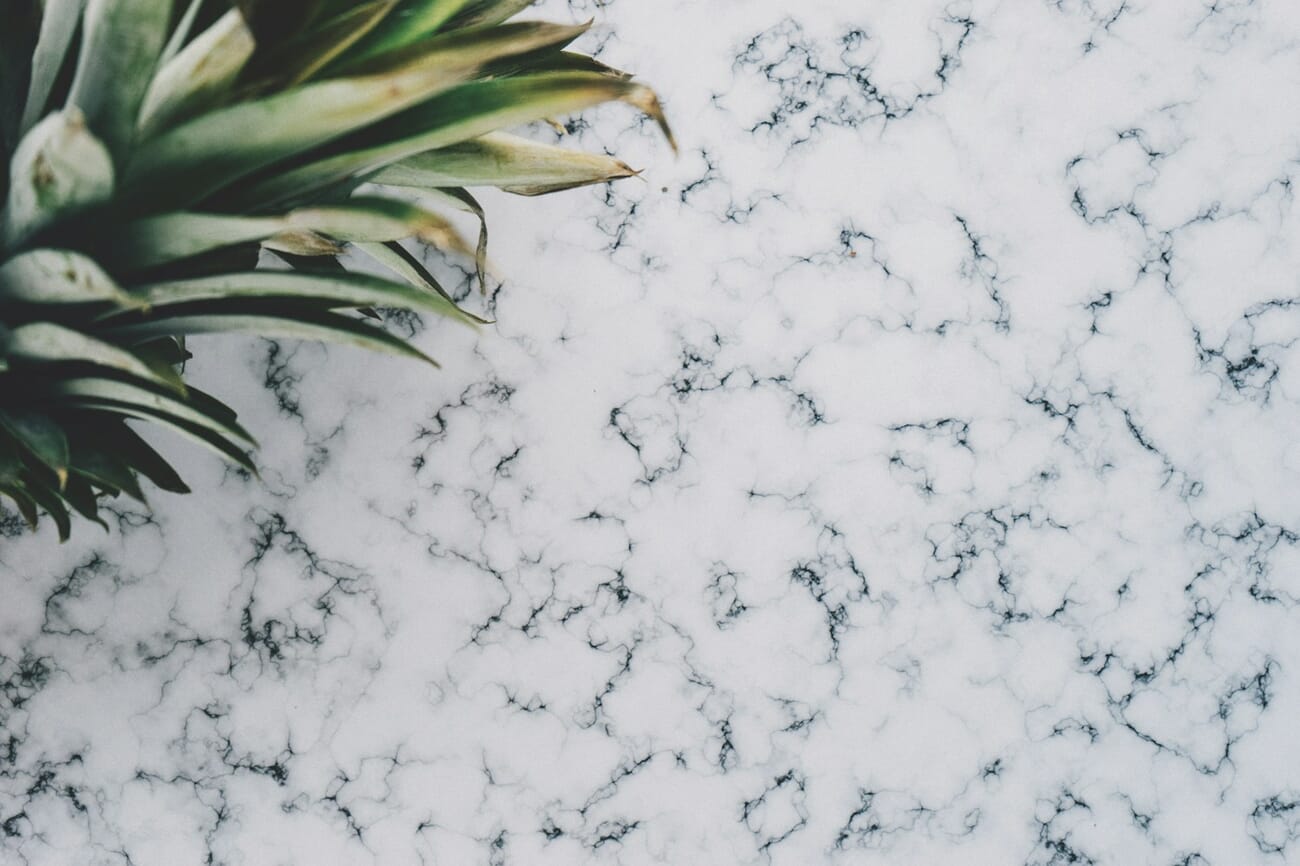
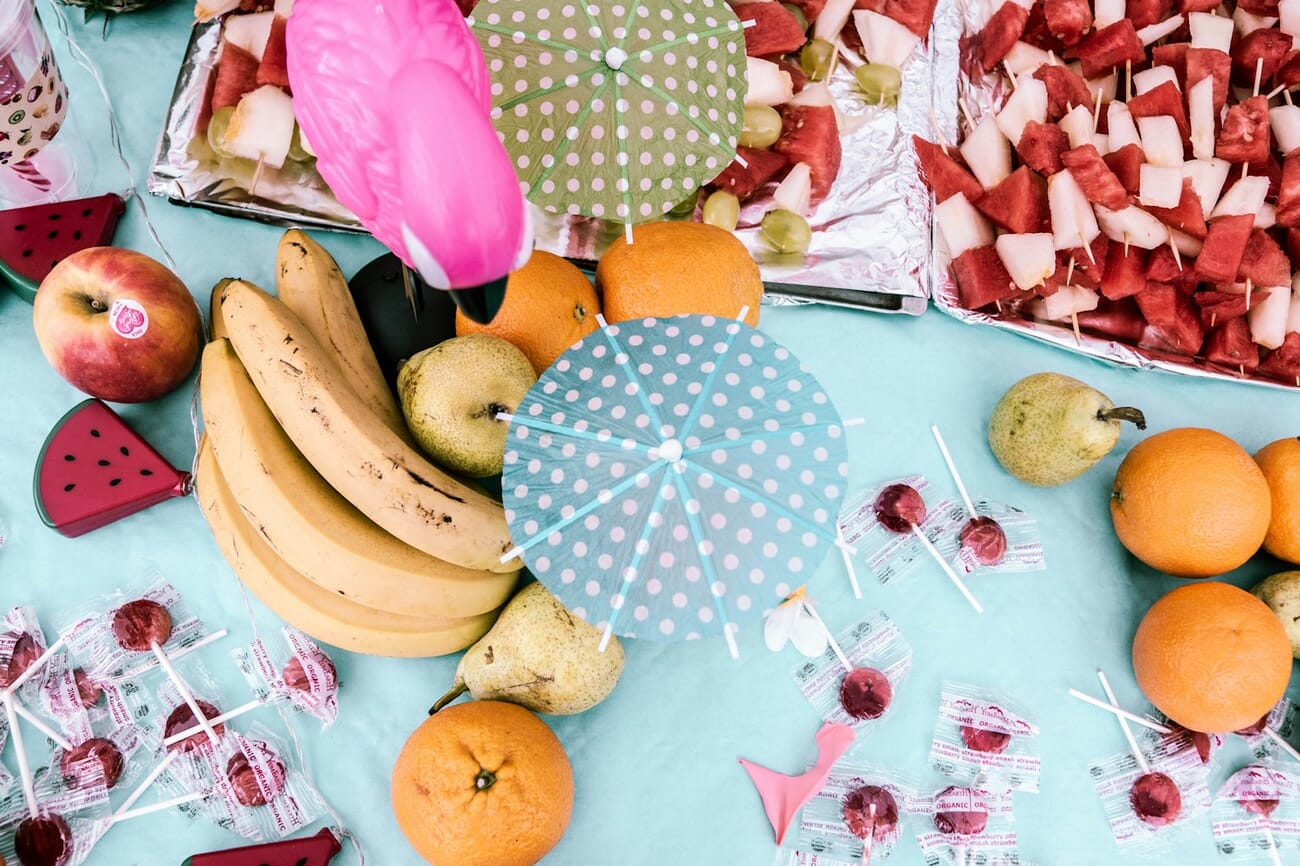
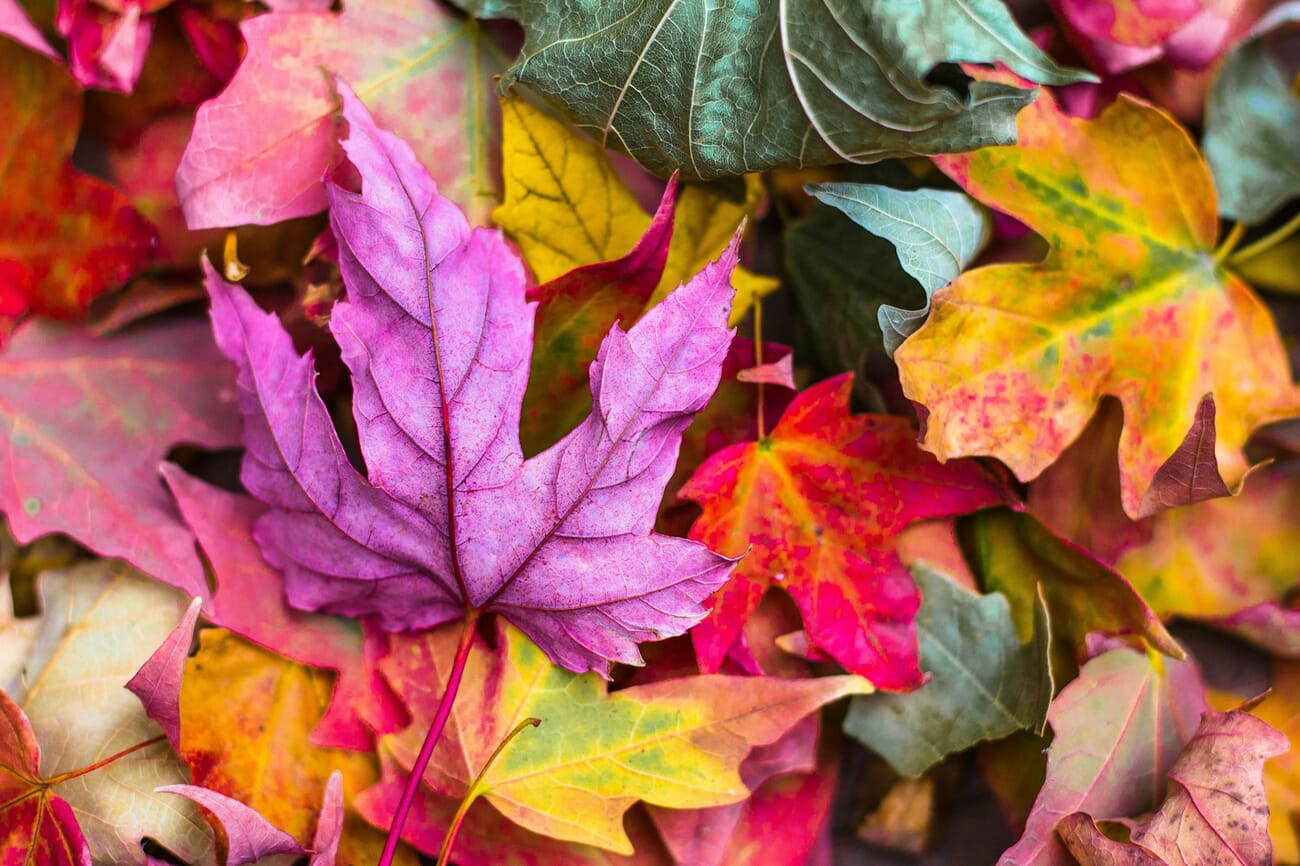
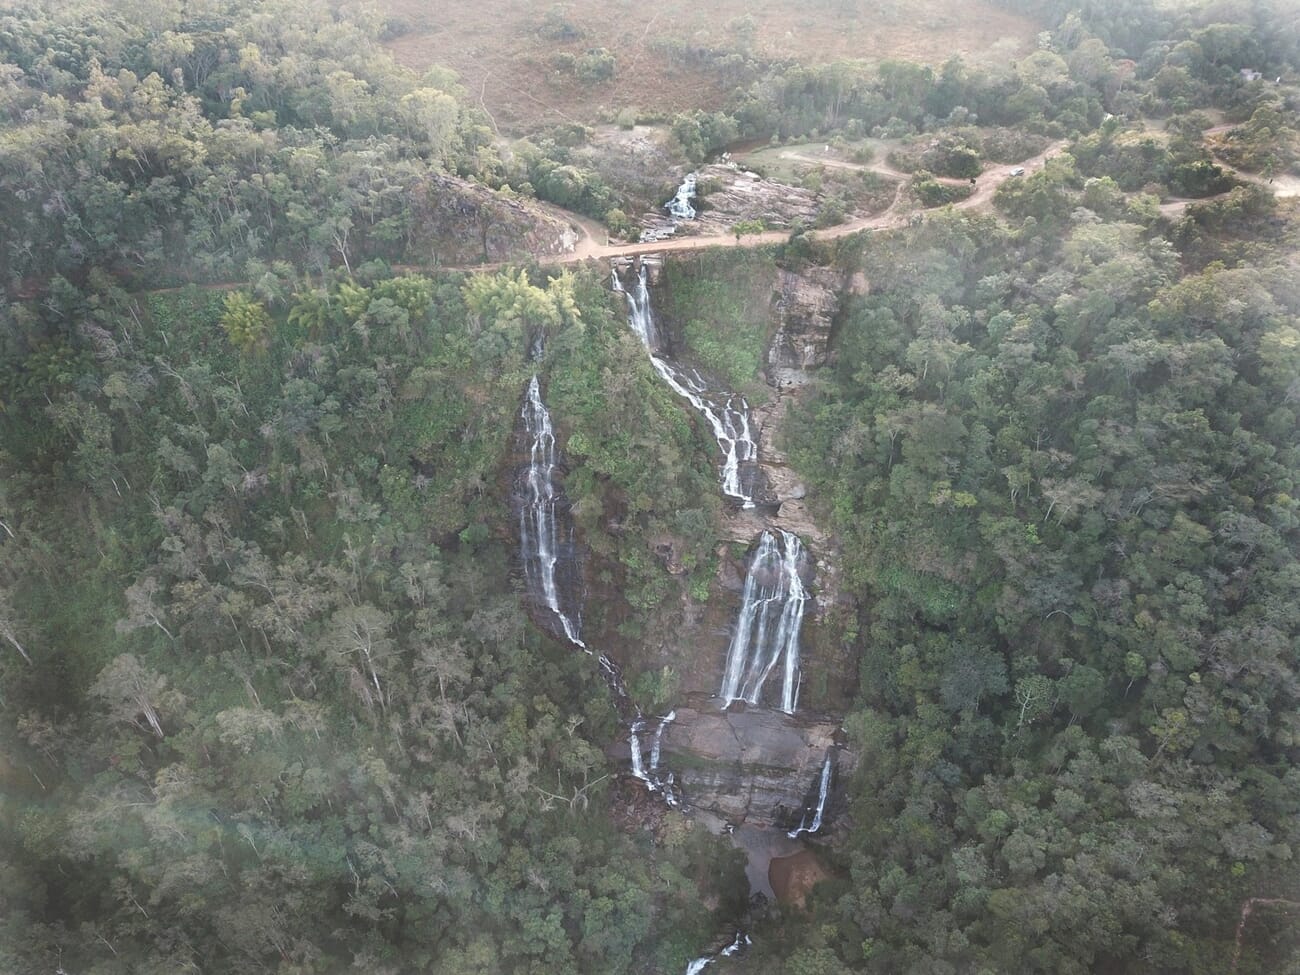
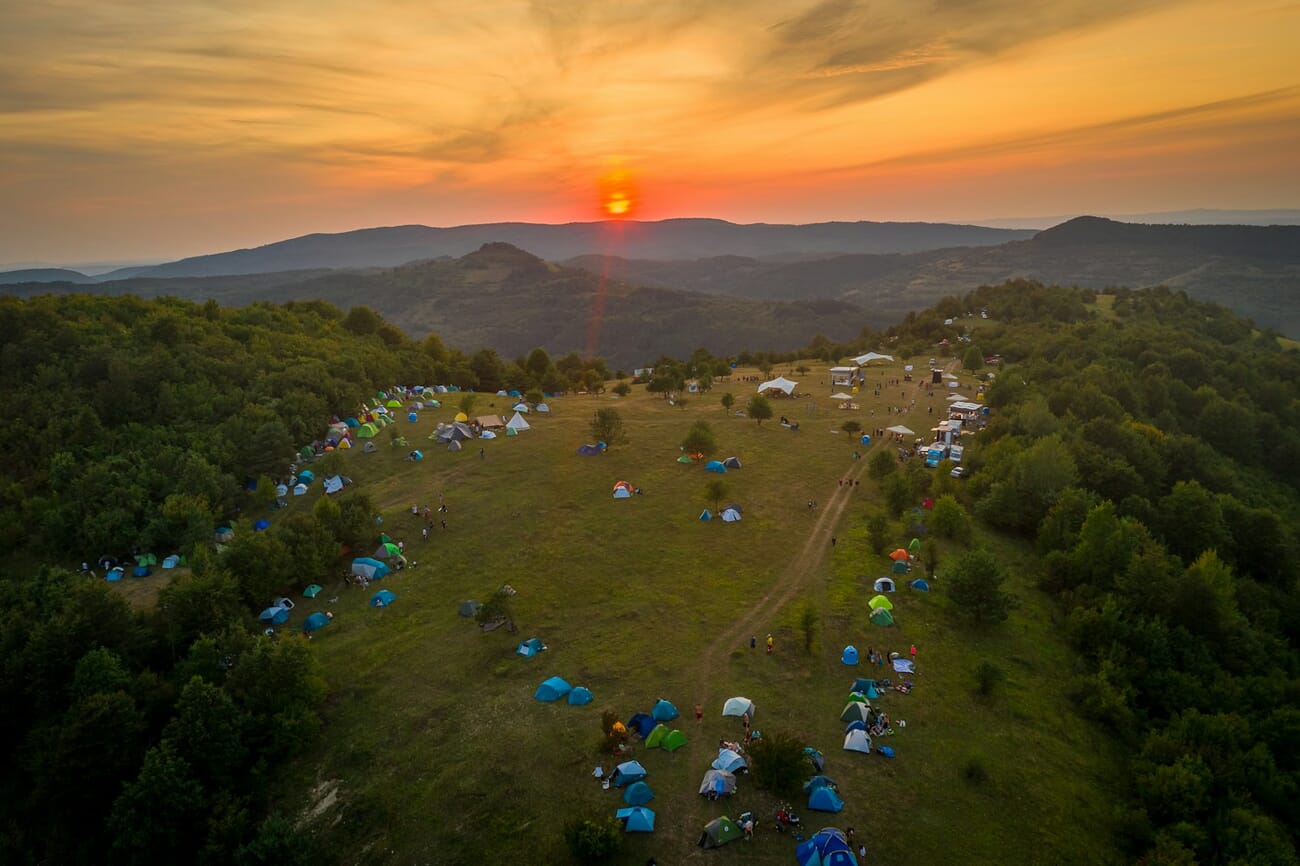
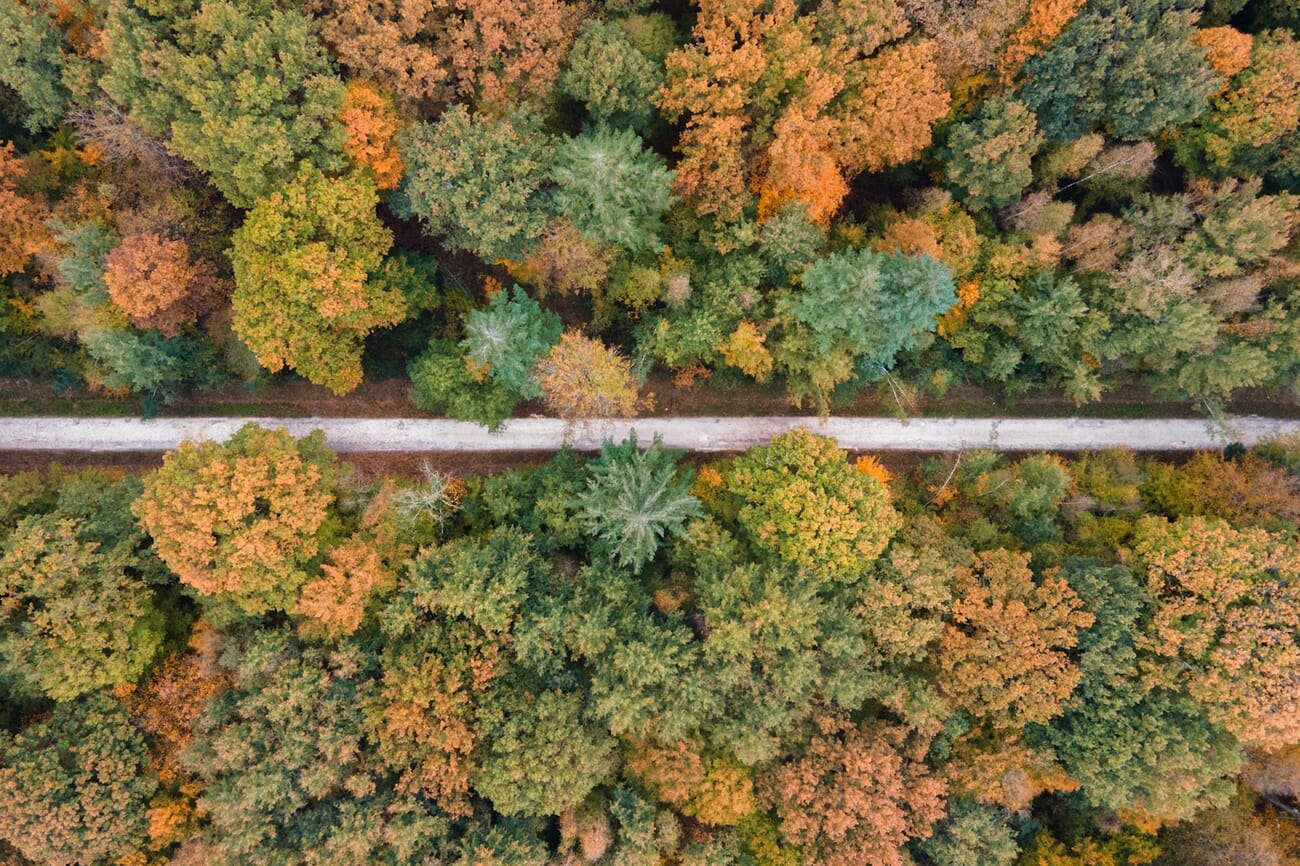
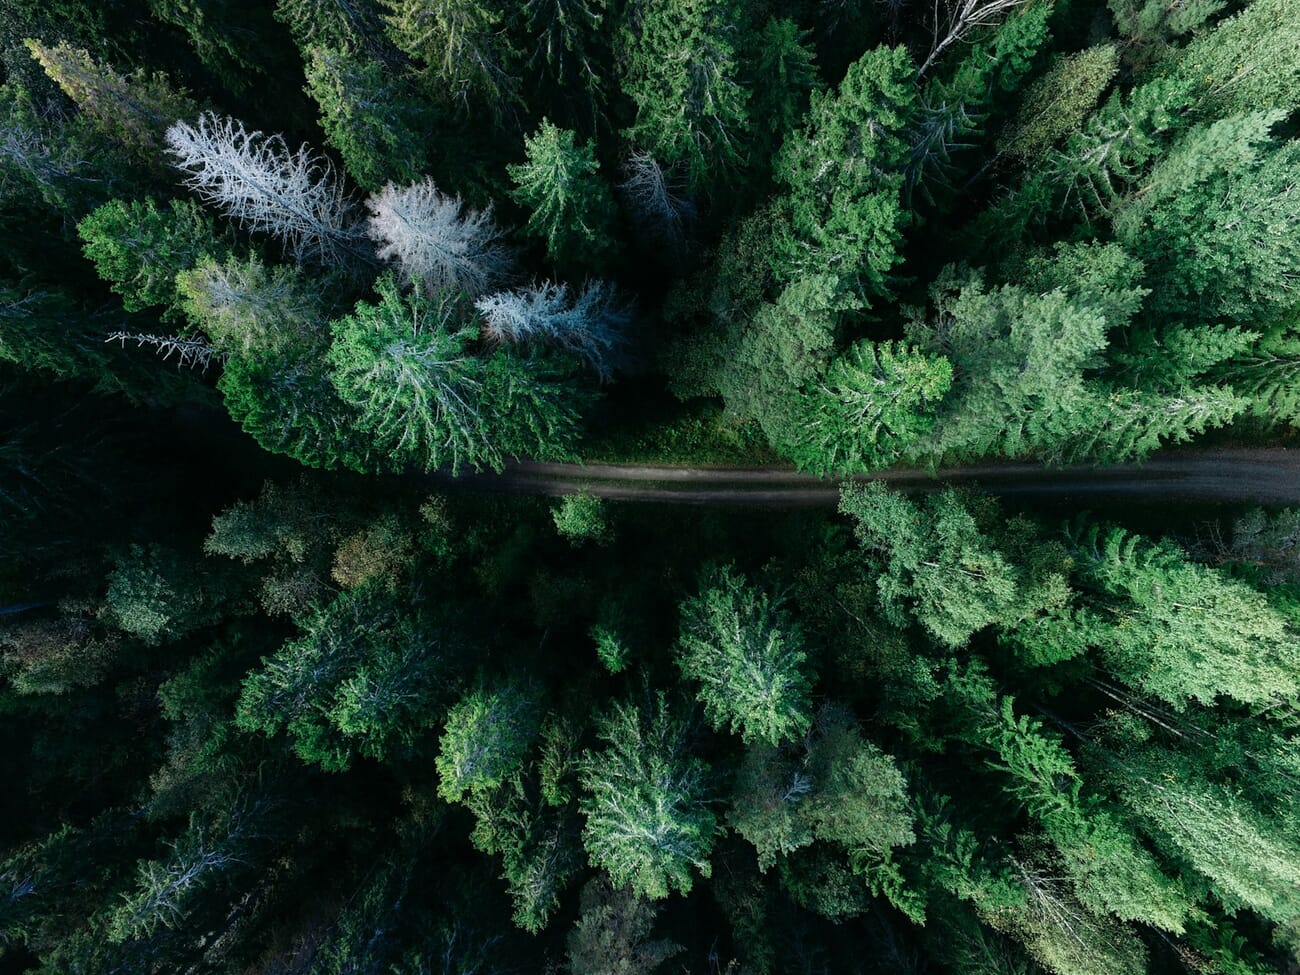
Bird’s-Eye: Straight Down, Pattern and Abstraction
Bird’s-eye framing looks straight down at the subject. It removes depth almost entirely, collapsing the scene into pattern. The best bird’s-eye shots work because the subject itself has compelling two-dimensional structure — a tablescape, a field, a city block.

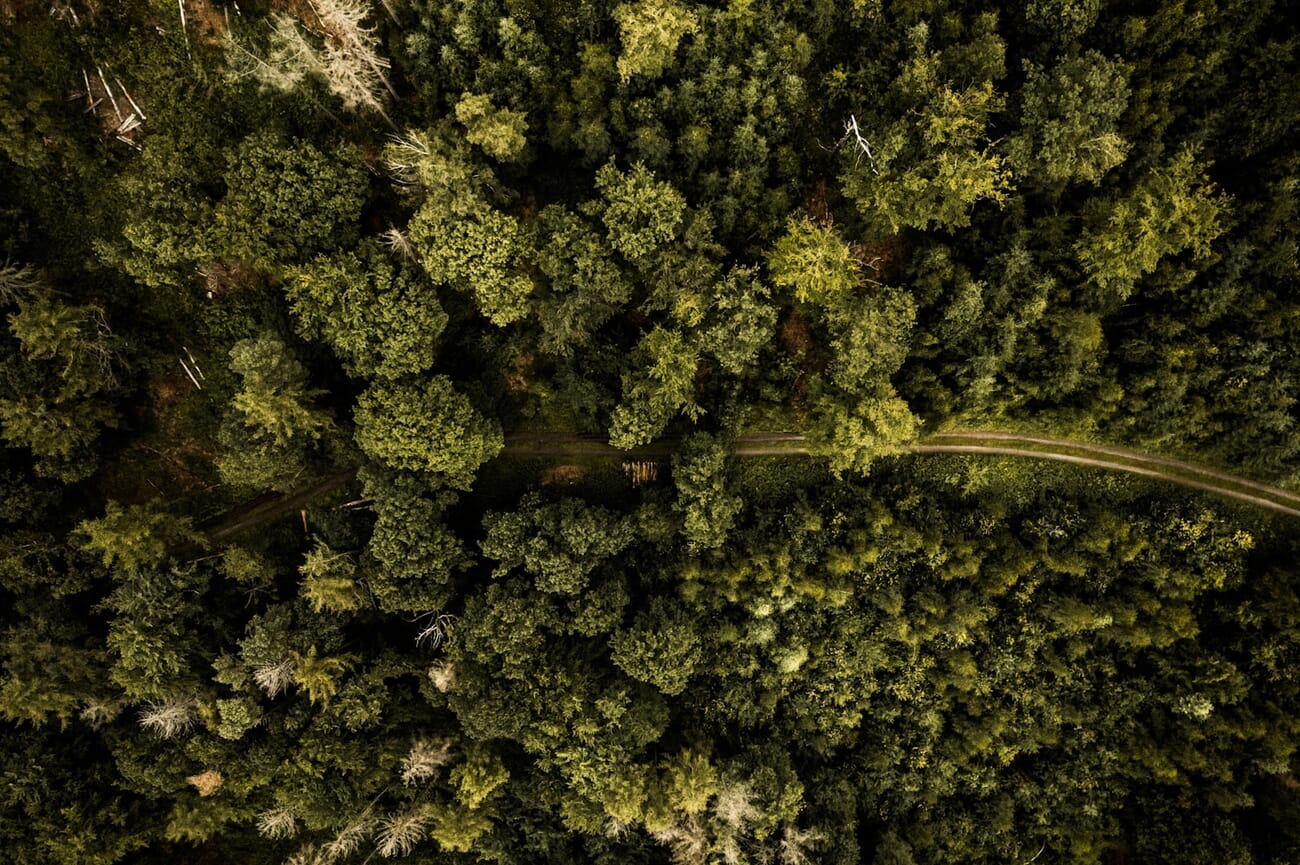
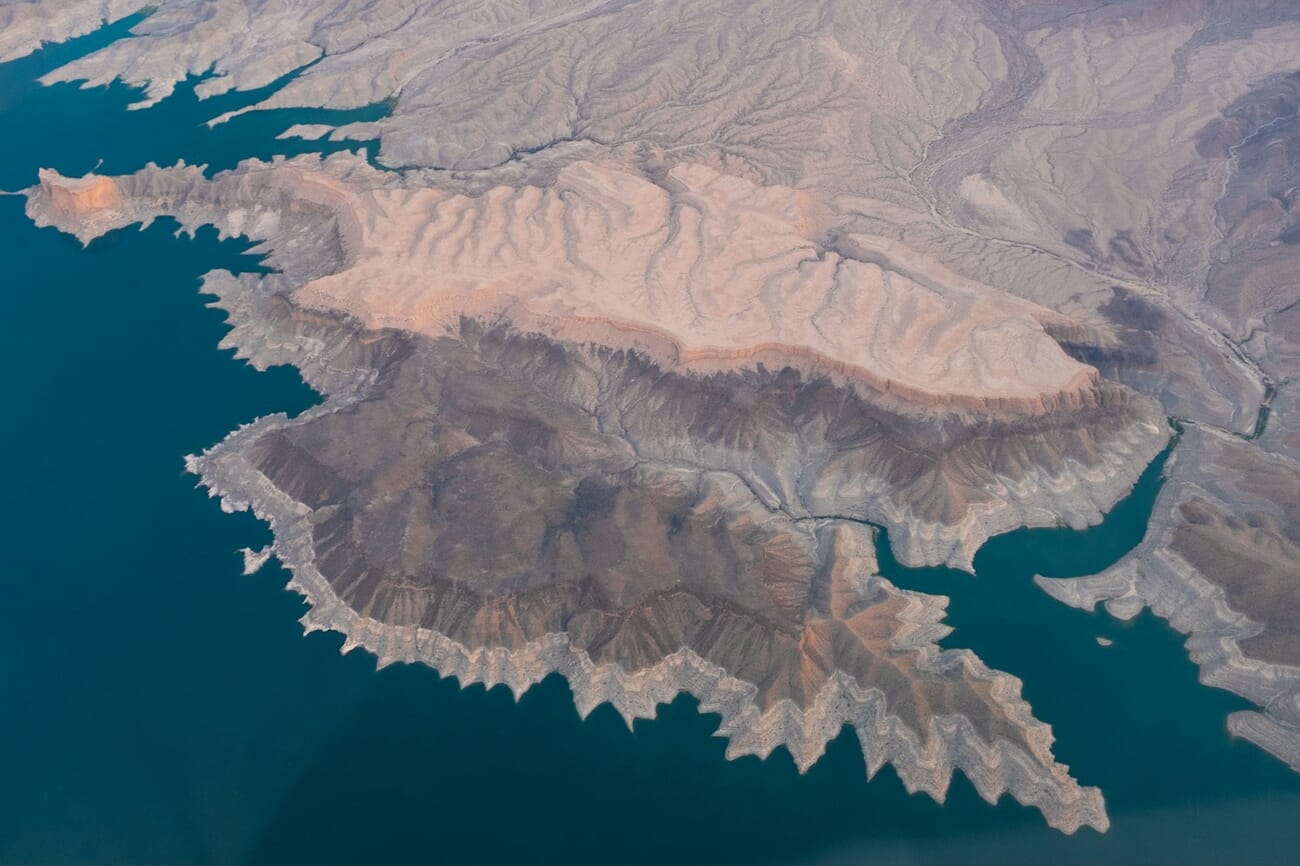
Drone Vantage Points in 2026
Drones turned bird’s-eye photography from a specialty (helicopter hire, scaffolding, stepladders) into an accessible tool any photographer can learn in an afternoon. In 2026, the current-generation consumer drones all produce genuinely publishable images: the DJI Mavic 3 and Air 3S lead for hybrid creators, the Mavic 2 Pro remains excellent if used, and the compact Mini 4 Pro is the answer for photographers flying sub-250g in places with strict weight regulations. Practical tips: fly 15 to 30 metres above the subject for the most interesting framing, shoot RAW, and favour golden hour for the shadows.
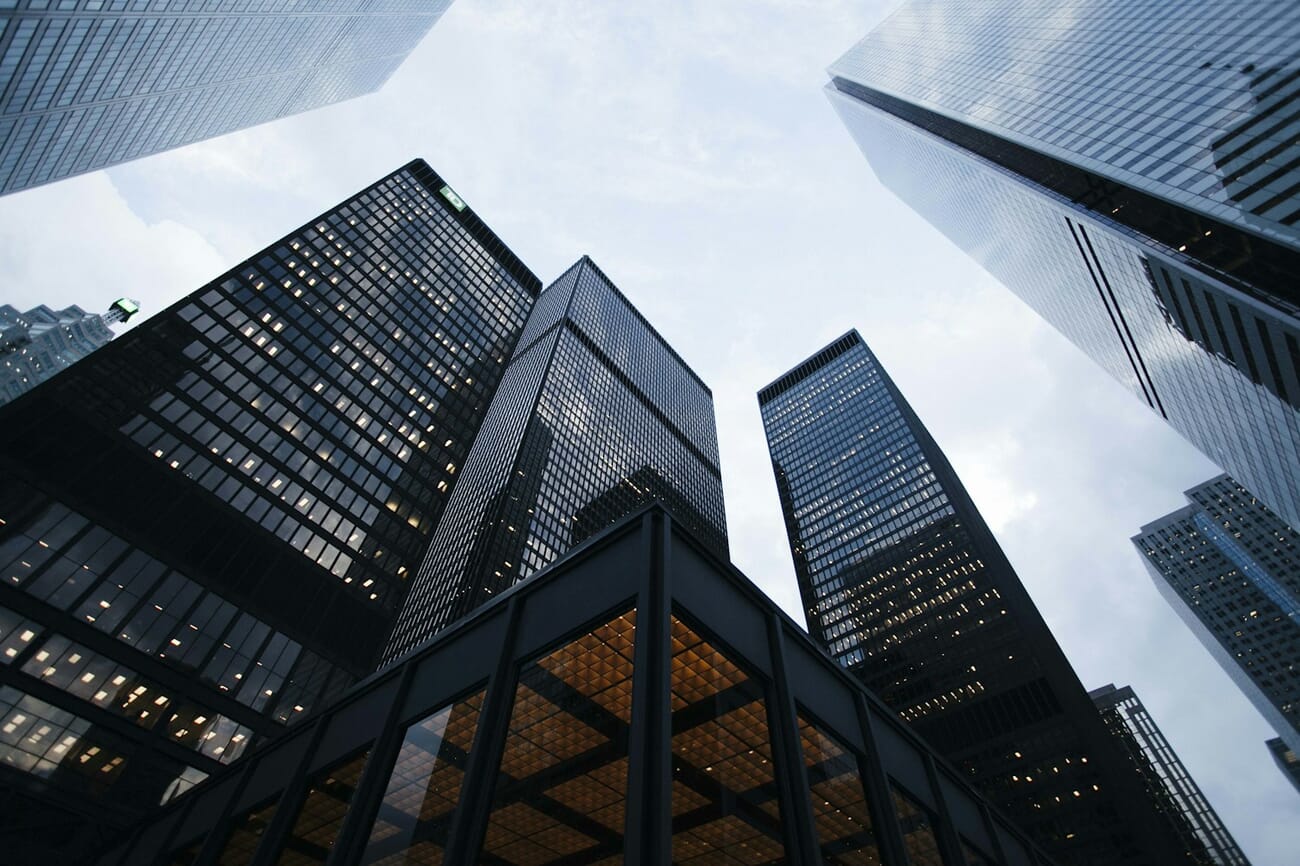
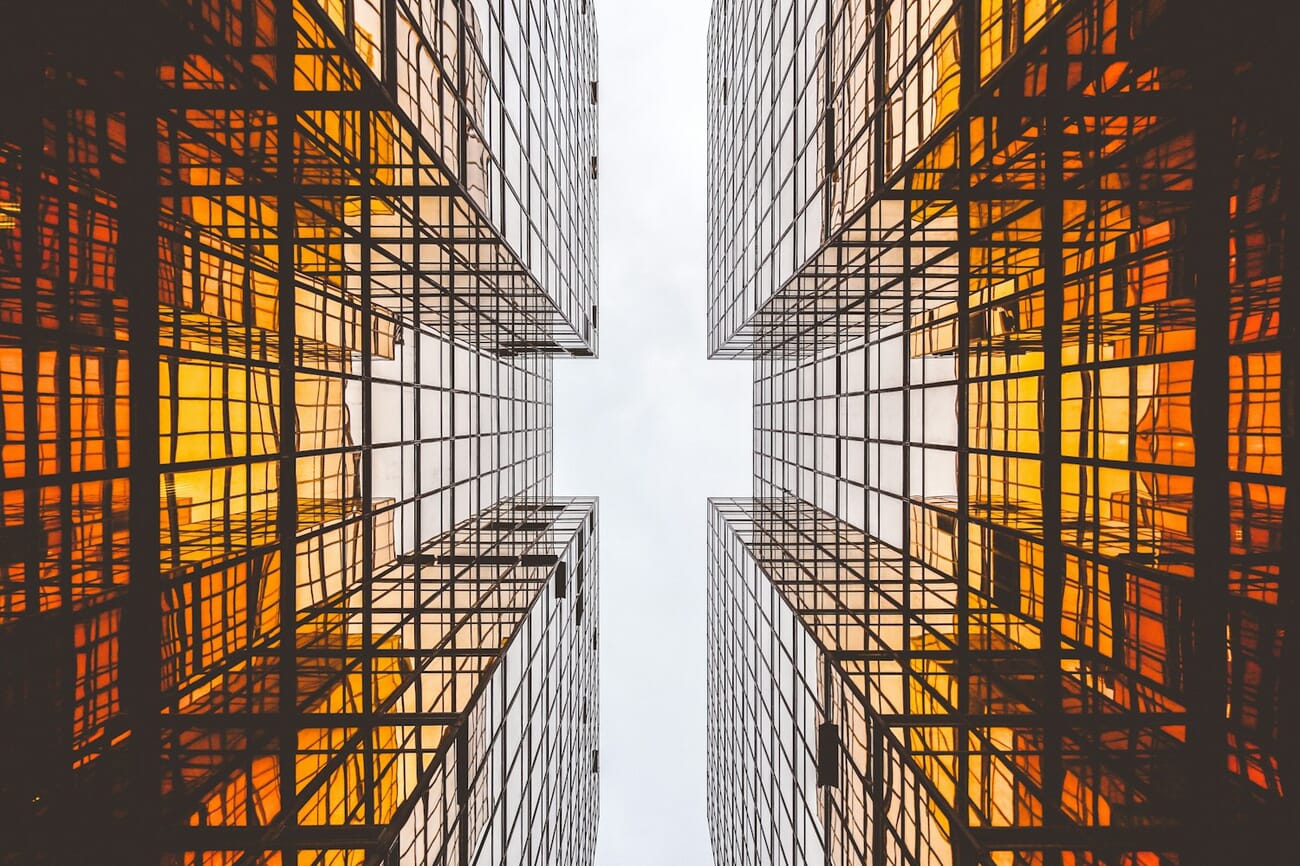
Low Angle: Making Subjects Monumental
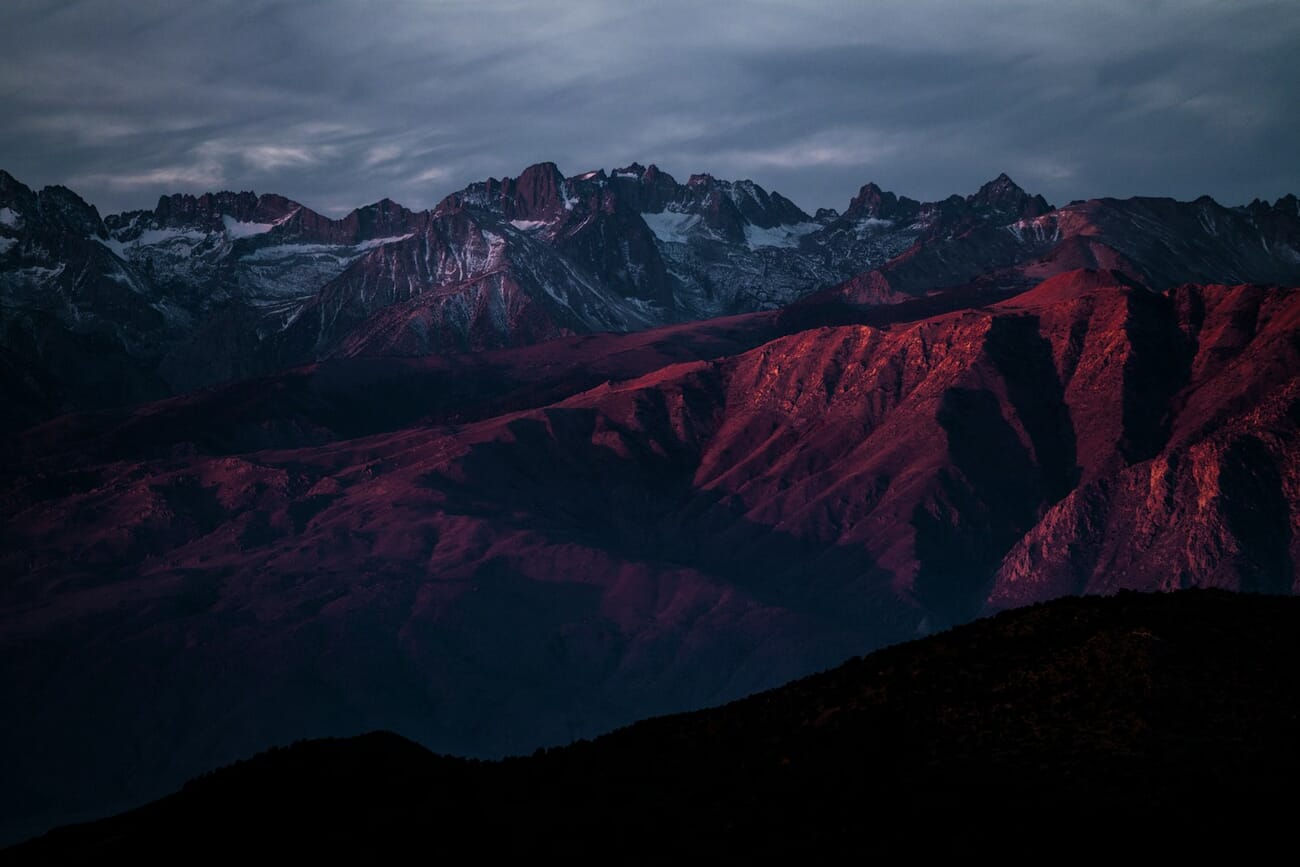
A low angle puts the camera below the subject and tilts upward. The effect is dramatic — subjects gain height, architecture becomes imposing, and vanishing lines reach toward the sky. Low angle is the default for hero shots of buildings, cars, and anything meant to feel larger than life.
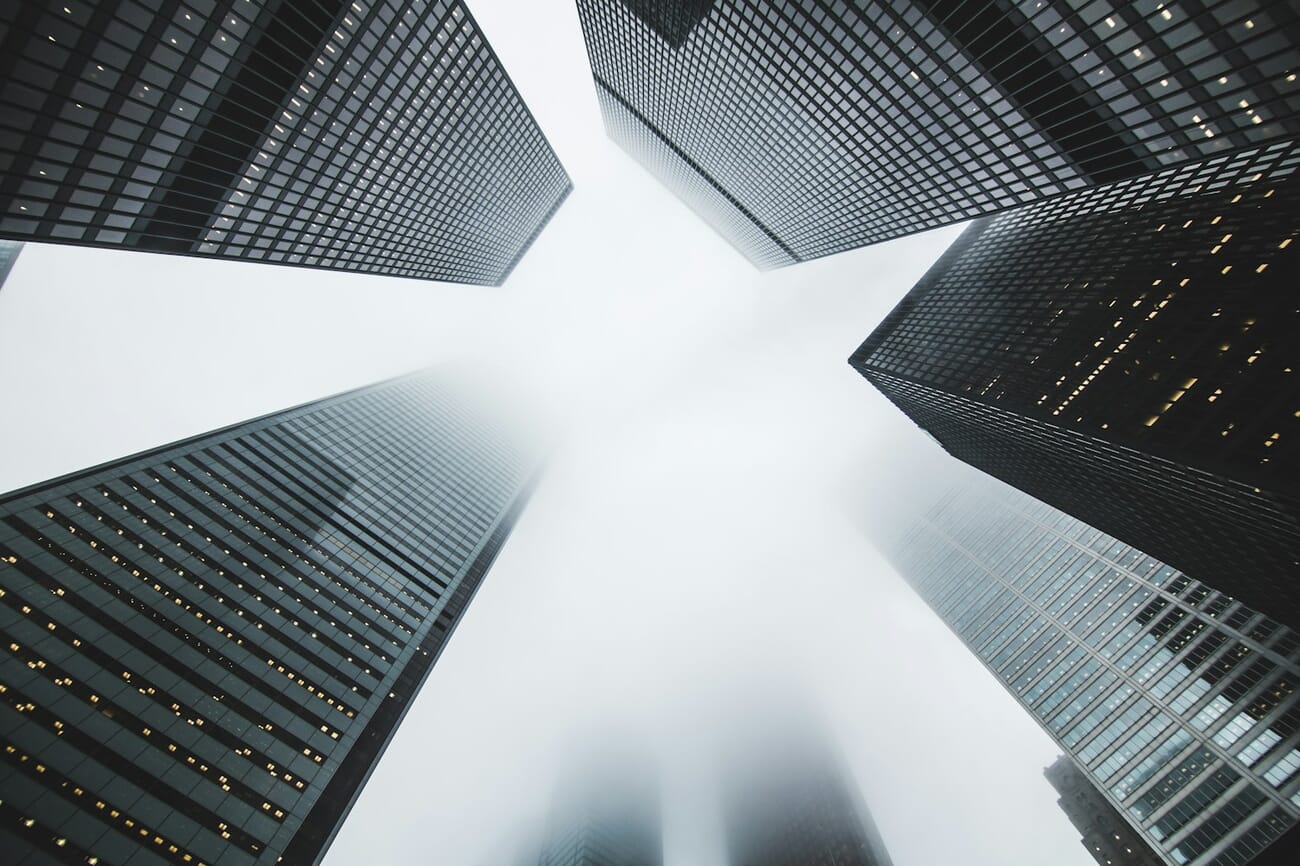
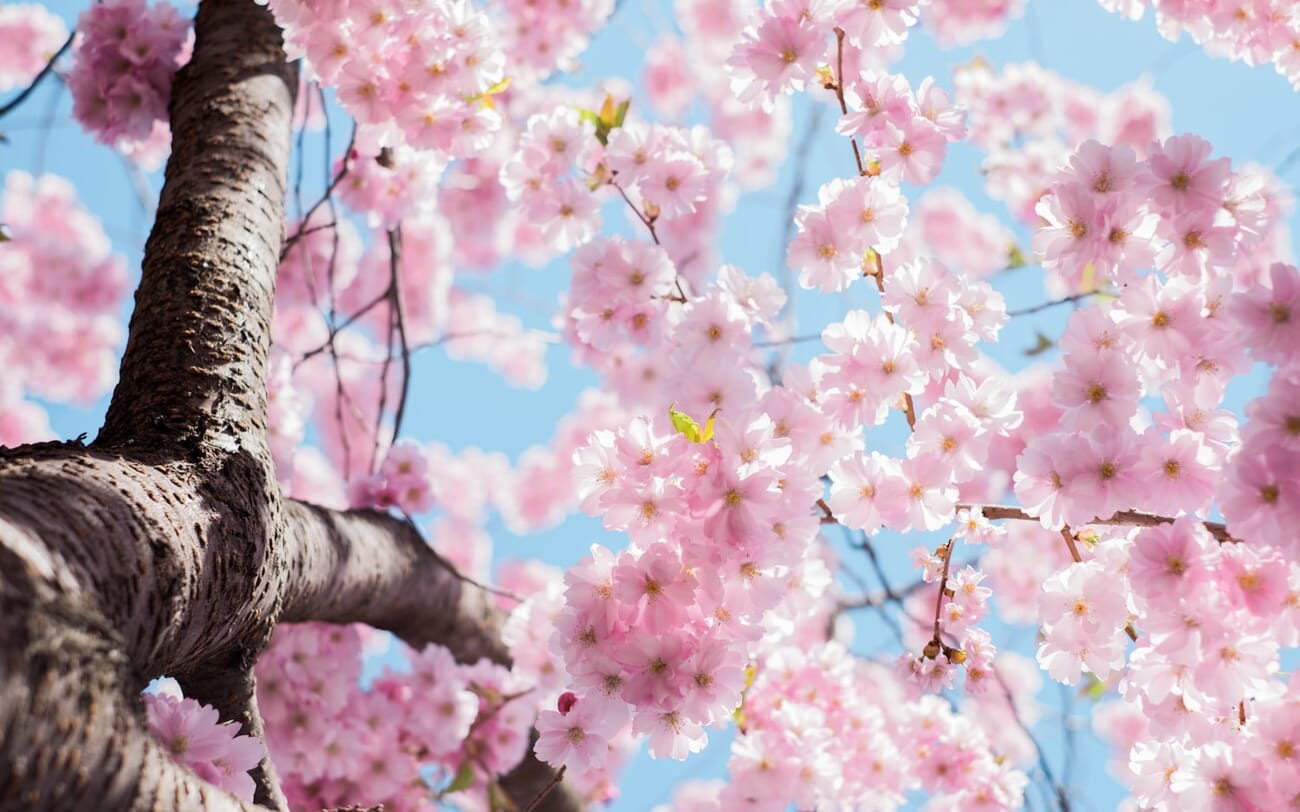
Worm’s-Eye: The Extreme Low Vantage
Worm’s-eye framing sits the camera at ground level, lens pointing directly up. It is the most extreme vantage, rarely useful on its own but striking when the scene has strong verticals — trees, columns, buildings — that pull the frame upward. Use wide-angle glass and accept that everything will look distorted.


Vantage Point in Photography: Final Words
Vantage point is the composition decision most photographers never consciously make — which is exactly why making it consciously works so well. On any given shoot, the first question worth asking is not “what lens?” or “what aperture?” but “where is the camera?”
The five canonical vantages — eye-level, high, bird’s-eye, low, worm’s-eye — cover almost every situation. Drones have made the bird’s-eye view accessible for the first time. Getting low — or getting on the ground — requires nothing but willingness. The cost of any vantage experiment is a squat, a climb, or a lens cap.
Vantage Point FAQ
What is a vantage point in photography?
A vantage point is the camera’s position and angle relative to the subject. The five core vantage points are eye-level, high angle, bird’s-eye, low angle, and worm’s-eye. Each changes how the subject reads on the viewer’s eye.
What is a low vantage point?
A low vantage point means the camera is positioned below the subject and tilted upward. It is used to dramatise subjects, make them appear taller or more imposing, and emphasise vertical lines. Classic uses include architecture, trees, and portraits meant to feel heroic.
What is a bird’s-eye view in photography?
A bird’s-eye view looks straight down at the subject from directly overhead. It is the vantage behind flat-lay product photography, overhead food shots, and many aerial landscape images. Drones have made the true aerial bird’s-eye view accessible to photographers without helicopter budgets.
What drone is best for vantage-point photography?
For image quality at a reasonable price, the DJI Mavic 3 and Air 3S are the strongest picks in 2026 — both shoot 20MP RAW on a 1-inch sensor. The DJI Mini 4 Pro is the best option where sub-250-gram weight limits apply (many cities, many national parks). The older Mavic 2 Pro is still excellent used if budget is tight.
When should I shoot at eye level?
Eye-level works best for portraits, street photography, and documentary work — any scene where the goal is for the viewer to feel like they are standing next to the subject. It is the most neutral and relatable vantage, which is precisely why it is the right choice for work that emphasises connection over drama.
Further reading:
Image credits: photos by JOHN TOWNER, Austin Kirk, Emmanuel Ikwuegbu, Wade Lambert, Charles DeLoye, Greyson Joralemon, Katherine Hanlon, Jakob Owens, Joanna Kosinska, Doug Zuba, Qingbao Meng, Pineapple Supply Co., kevin Baquerizo, Corinne Kutz, Jeremy Thomas, Chris Kursikowski, Chris Lawton, Luiz Felipe S. C., Lucian, Cédric VT, Matthew Henry, Sean Pollock, Arno Smit, Geranimo, Recal Media, Joshua Sortino, Alex wong, Aaron Burden, kazuend, and Luca Bravo via Unsplash, all curated on SampleShots. Vantage-point infographic generated by PhotoWorkout.
