


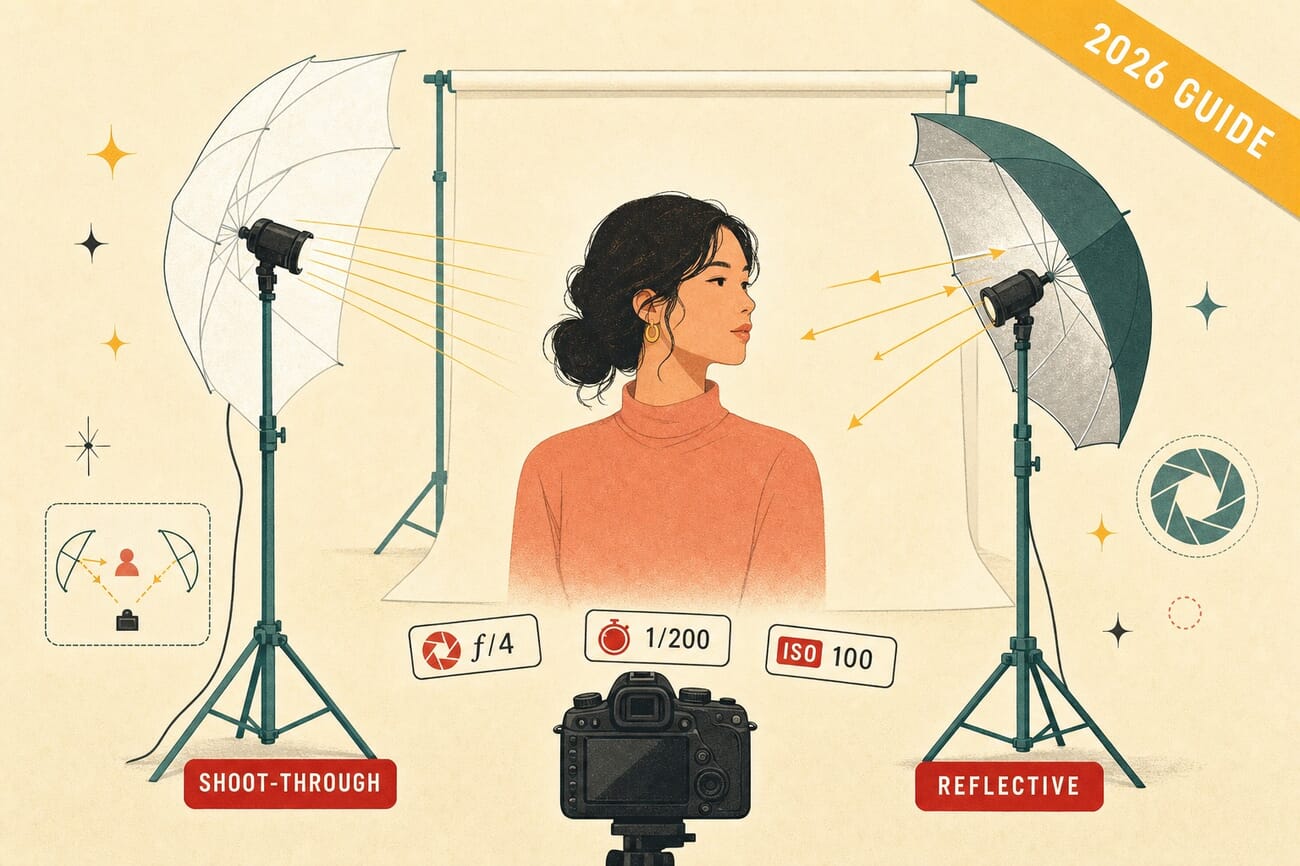
- Two umbrella types matter: shoot-through (light passes through; soft, scattered, ~1.5-2 stops loss) and reflective (light bounces back; controlled, ~1 stop loss). Convertibles do both for a small price bump.
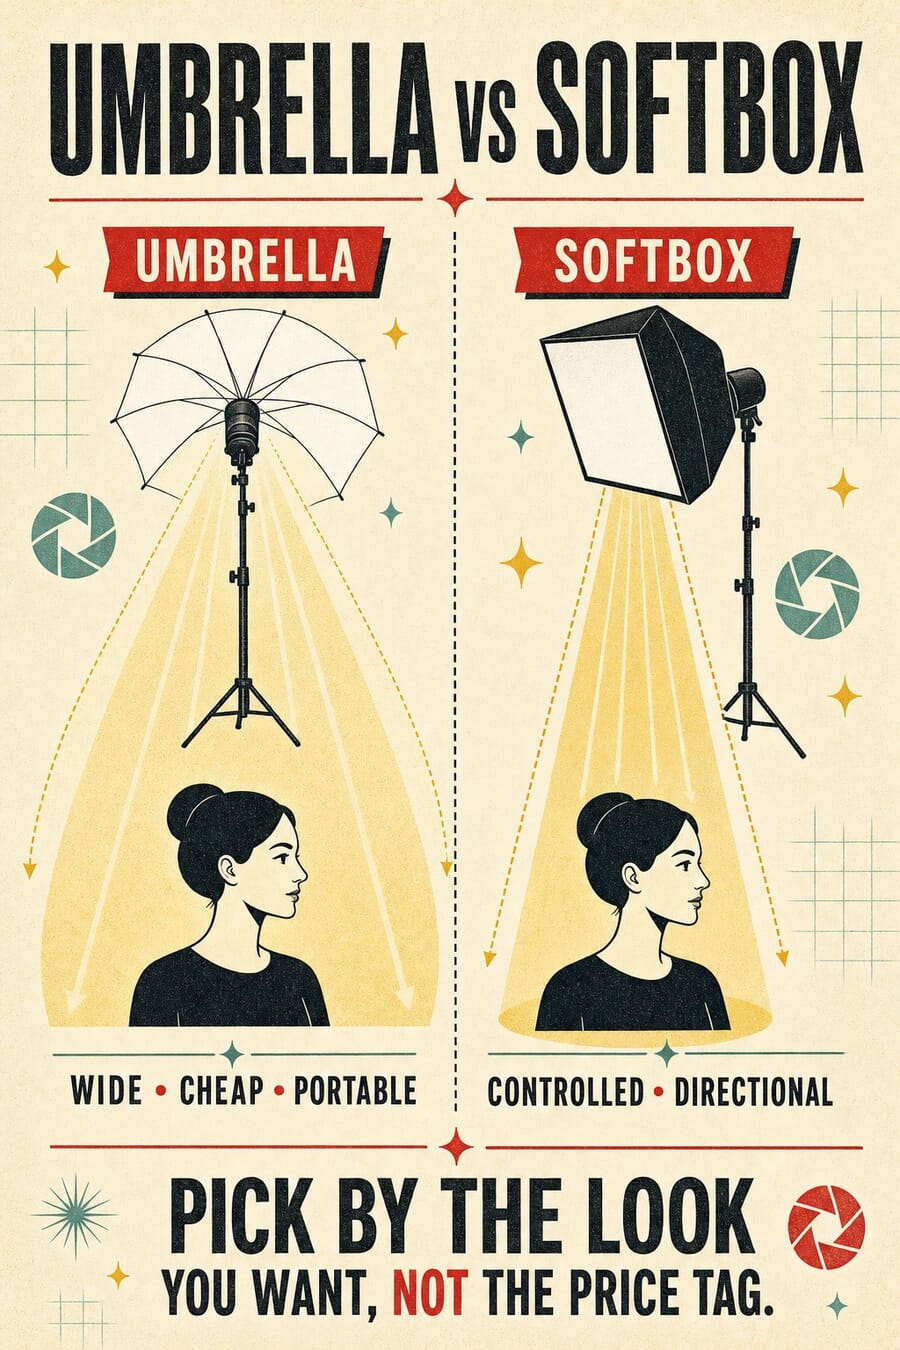
- Umbrella vs softbox: umbrellas are cheaper, more portable, wider spread; softboxes give more directional light with controllable spill. Most studios end up with one of each.
- Setup is dead simple: mount on a stand, attach the strobe or speedlight, position 2-3 ft from subject at 45°, fire test shots. Most issues come from being too close or too far, not from gear.
- Application matters: portraits work with 43-60″ white shoot-through at 45°; product shots need a smaller silver reflective at a tighter angle; real-estate exteriors use a parabolic outdoors with a heavy stand.
- 2026 gear picks: Westcott FJ250 ($400) for the strobe + Westcott 43″ white shoot-through ($26) is the working-portrait kit. Neewer’s 3-umbrella kit ($52) covers all three colors for hobbyists.
Introduction
With so many different lighting options available for studio photographers, it can be overwhelming to figure out what to use. Umbrellas are coming to your rescue!
The most commonly seen item in a studio, photography umbrellas help you light up your subject beautifully with ease – lessening the headache of more complex lighting equipment.
Here is our ultimate guide on how to set up umbrella lighting for photography, granting you all the knowledge to take stunning photographs!
When Should You Use Umbrellas in Photography?
With so many lighting modifiers on the market today, from softboxes to beauty dishes, where do umbrellas come into play? Everywhere!
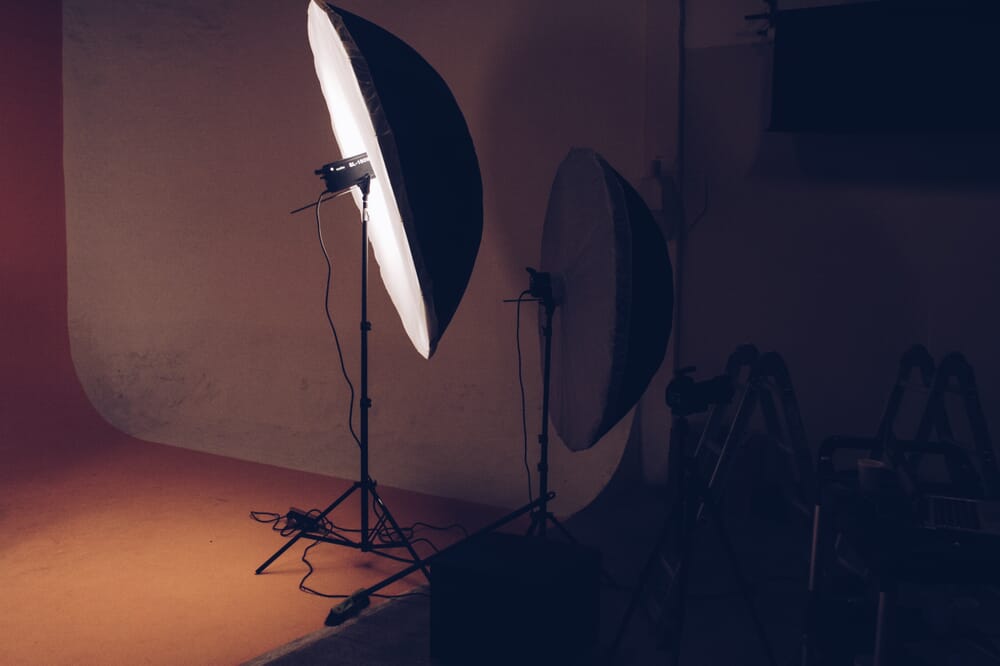
Umbrellas are great to soften the light of an external flash and help modify it. Modifying light refers to being able to control how the light comes out. Umbrellas help ensure that your flash isn’t super harsh and instead looks nice and evenly spread.
Umbrellas are the least expensive option of all of the flash and strobe lighting modifiers and they are also the most portable. Opening and closing like your standard rain umbrella, this product is easy to store and carry.
The con to umbrellas is that they’re really just a one-trick pony; they don’t provide a lot of options. For example, softboxes can be paired with grids to prevent light from spilling into an area you do not want. But having been built for just one purpose, they do that purpose well.
You can use an umbrella anywhere – from capturing studio portraits to outdoor photographs at dusk.
Which Type of Umbrella Is Best?
Photography umbrellas come in three distinct variations, each with its own purpose.
Shoot-Through Umbrellas
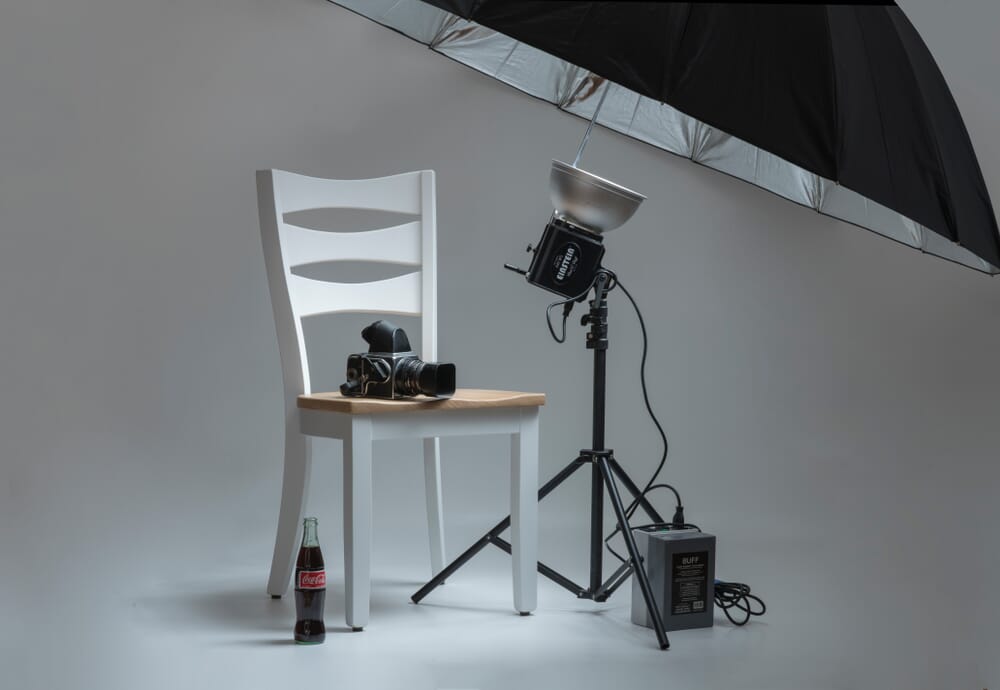
As the name implies, these are umbrellas in which your light source is shot through the umbrella itself and the light that comes out is softened and spread. The umbrella acts as a diffuser, being placed between your subject and the light source that is being aimed at your subject! These umbrellas are completely white, consisting of a fabric that lets light pass through but isn’t completely translucent.
Reflective Umbrellas
Reflective umbrellas help direct the light instead of softening its output. They are solid black on the outside with a silver reflective material on the inside. With this umbrella, the light source is pointed into the umbrella so that it bounces out of it. The umbrella is placed in such a way that the light source is not actually shooting towards the subject, instead, it’s shooting into the reflective part of the umbrella to then bounce the light back onto the subject!
Convertible Umbrellas
Best for photographers that are constantly adapting their light on the spot (or those that are unsure what umbrella to use) convertible umbrellas are the hybrid between shoot-throughs and reflectives. These types of umbrellas have a black cover that can be taken off and put back on; off for a shoot-through and on for a reflective. The caveat is that when using this umbrella on its reflective side, it will not be as powerful a light bouncer as a true reflective umbrella.
Neither is better than the other, they’re just different! Many photographers actually use different types of umbrellas simultaneously. As to which one you should use, that depends entirely on what subject you are capturing and what you’re looking to accomplish.
For product or still life photographers, most prefer the shoot-through umbrella. This is because the light simply needs to be softened and evened rather than offering a heavy illumination. Plus, shoot-through umbrellas also need to be placed fairly close to the subject, which is much easier to do with objects that won’t sprout legs and run away.
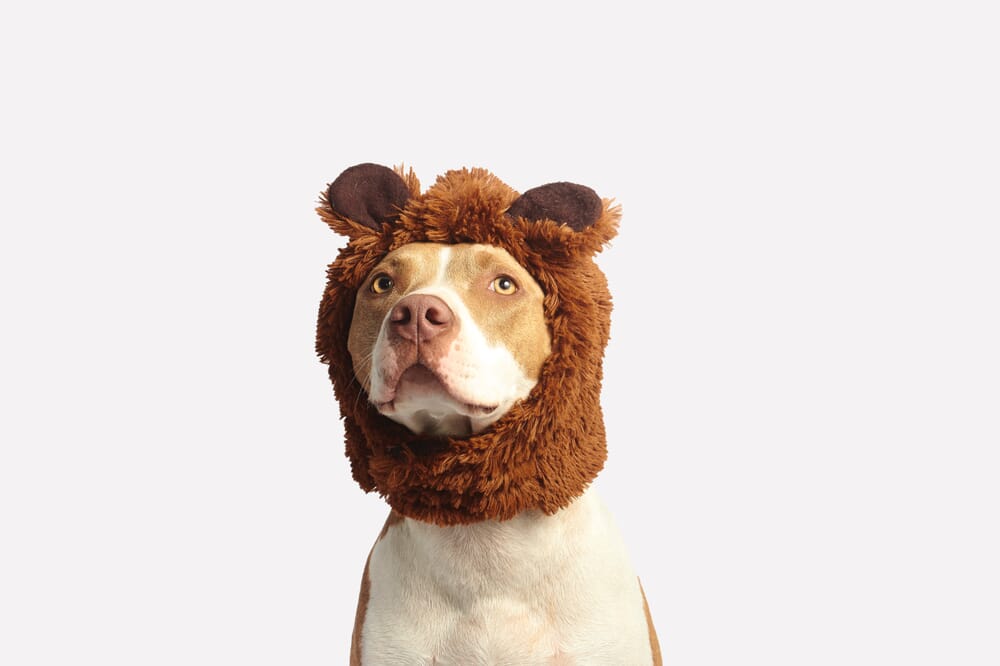
For those that capture portraits of living subjects, such as people or pets, reflective umbrellas tend to be commonplace. Reflective umbrellas direct and spread the light significantly, which allows the umbrella to be placed further away from the subject. This is great for pet photography where having something too close to the animal might be problematic. That being said, if you’re looking to take portraits of people with a softness or glow to them, shoot-through umbrellas are a great choice.
How to Set Up Umbrella Lighting: Step By Step
Setting up umbrella lighting isn’t rocket science – trust me, you can do it!
Step 1: Mount the Umbrella
First things first, set up the umbrella! Many studio lights (strobes and even continuous lights that hold bulbs) have a little hole in them known as the umbrella receptacle. You slide the umbrella shaft into the hole after opening the umbrella and it’ll hold it.
Also, if you are using a light that does not have the receptacle in it, such as a flash unit, you can buy a shoe mount bracket with a built-in umbrella receptacle. A shoe mount bracket looks like the same mount that exists on the top of your DSLR or mirrorless camera that the flash slides into, for those that aren’t familiar with the terminology!
Of course, this all sits on top of a tripod.
Optional Step: Mount Your Light Source to the Umbrella
If you’re using a shoe mount bracket, you’re going to need to attach your light source to your mounted umbrella. You want the light pointed into the umbrella, not pointing out of it, regardless of whether you are using a shoot-through or reflective umbrella.
Step 2: Position the Umbrella Relative to Your Subject
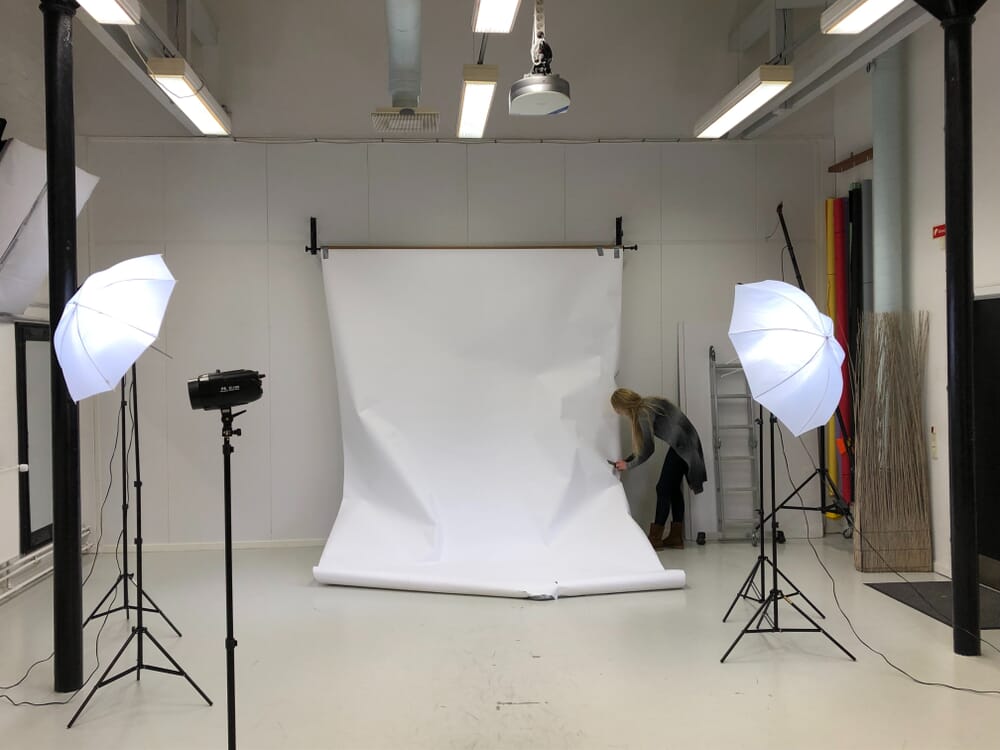
Now it’s time to actually do your lighting arrangement! Depending on the type of umbrella you are using, place it as needed in relation to your subject.
For reflective umbrellas, you’re going to want the umbrella opening (the side where all the silver stuff is) pointed towards the subject.
For shoot-through umbrellas, you’ll want the opposite – the opening of your umbrella needs to be pointed away from the subject.
Additionally, the distance between the umbrella and your subject depends on the look you want to achieve and the intensity of the light you are going to use from your light source.
Bonus tip: for lights that flash and strobe, turn on the Modeling Lamp option to see where the light will be directed. This helps position your umbrella!
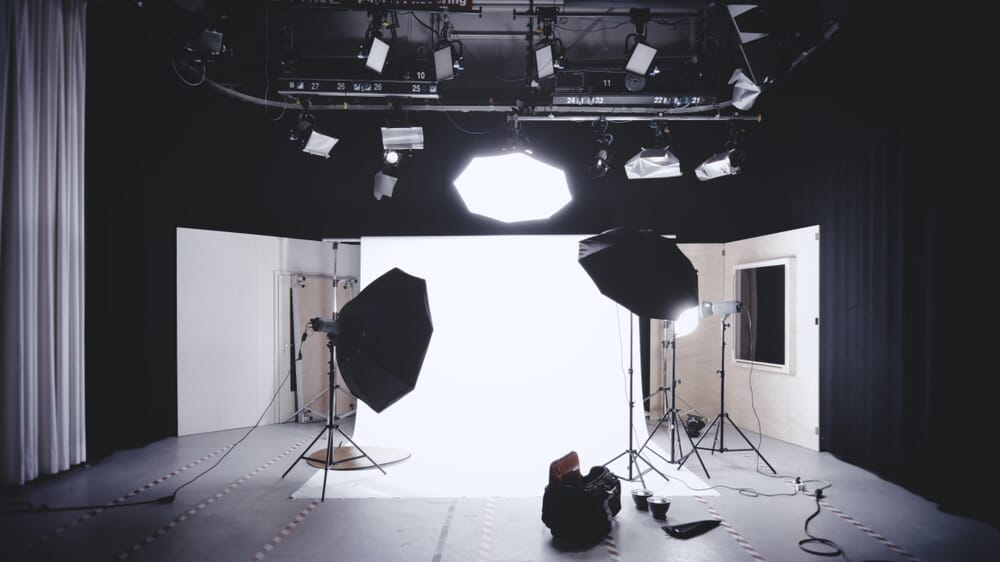
The “One Overhead” Arrangement
The one overhead umbrella is a simple way to capture great portraits – just have one umbrella mounted taller than your subject (so extend that tripod up!) pointed down at your subject in an approximately 45-degree angle. You want the light directly in front of your subject, with you essentially positioned under it.
The Triangle Arrangement
The triangle arrangement requires three lights. Place one umbrella in front of the client and two umbrellas on either side of them. Aim all of the umbrellas at the subject. The one overhead provides uniform illumination, whilst the ones on either side form a nice rim around your subject and offer separation from the background!
Related Posts
Step 4: Get Your Camera Settings in Order and Take the Shot!
Next, adjust your camera settings relative to the light you’re working with. Fire off some test shots if you need to. Then, press down on that shutter and capture your image!
Tips for Working with Umbrellas
Now that you’ve mastered the set-up, here are some helpful tips to keep in mind.
Tip 1: Know What Size Umbrella You Need
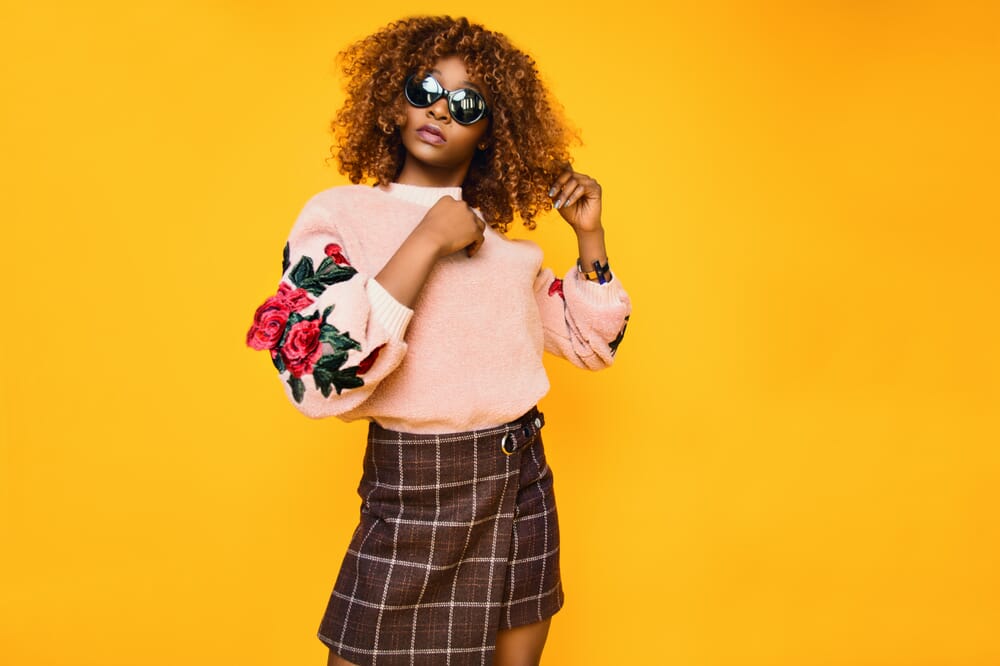
The size of the umbrella affects how the light travels! Depending on the look you’re wanting to create, the size of the umbrella will make a great impact.
The larger the umbrella, the wider the spread, the softer the shadows and light. You can also, of course, illuminate more subjects with a larger umbrella. Smaller umbrellas allow the light to be more fixated on a specific area and are a little easier to manage with light spills.
Umbrellas range in size from very small for tabletop product photography all the way to 7+ feet for full-body model photoshoots.
Tip 2: You Can Use an Umbrella to Soften Harsh Outdoor Light
Did you know that if you find yourself stuck shooting outdoors at high noon with the sun blazing, you can use a photography umbrella to help you out?
Grab a shoot-through umbrella and either mount it on a tripod or have an assistant hold it above your subject. It’ll soften the light from the sun and calm down those dark shadows and ultra bright highlights!
Tip 3: Use Umbrellas to Illuminate Your Backdrop
Umbrellas don’t just have to be used for your subject. You can take two reflective umbrellas, place them on either side of the backdrop at a diagonal, and use them to light up your backdrop evenly! You can even gel the light from the umbrellas to change the color of your backdrop.
The benefit of using umbrellas for backdrop lighting is that the light will be nice and even. This helps separate the subject from the background in those cases where the background plays a role or you don’t want a rim light around your subject.
Tip 4: Experiment with Angles and Catchlights
At the end of the day, photography is all about experimentation; get creative! Play around with different angles and options. Photography umbrellas are very easy to maneuver, so you have every opportunity to place them anywhere.
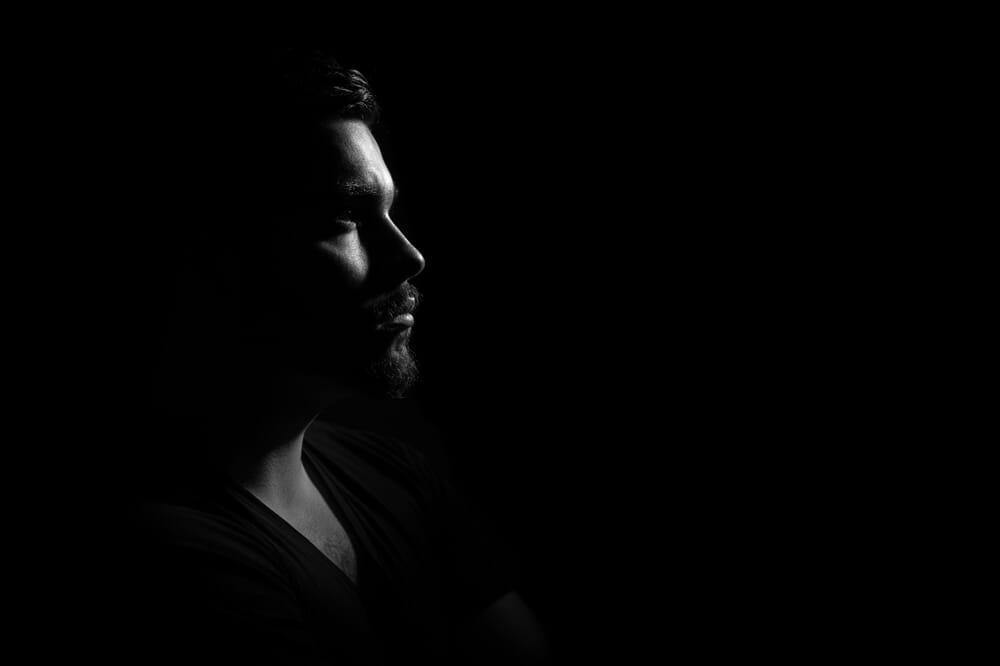
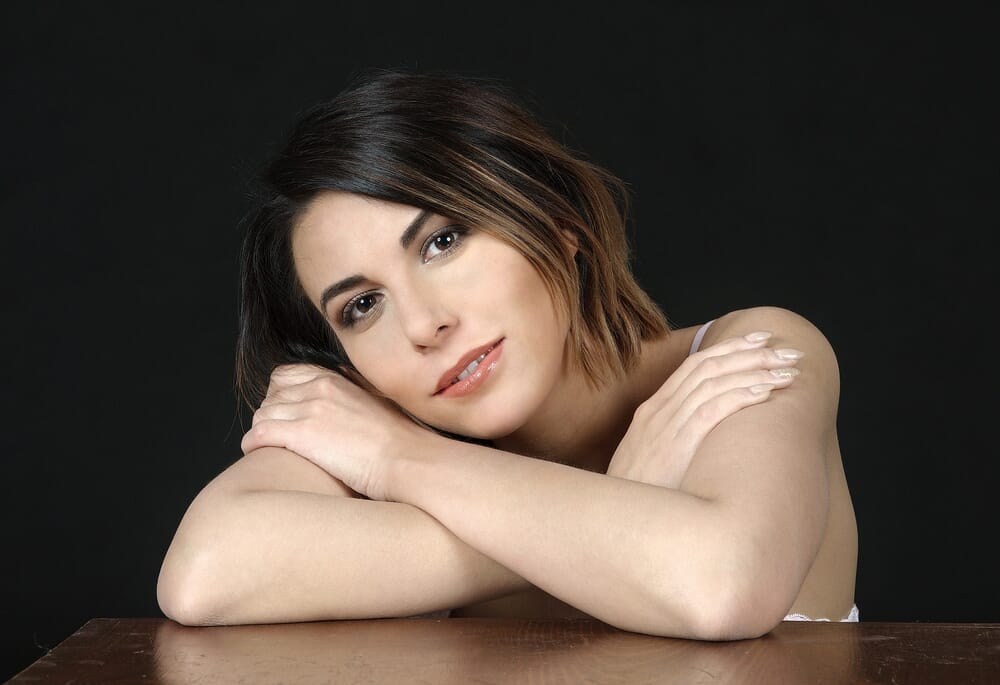
Depending on where you place your umbrella, you will impact the catchlights in your subject’s eyes. Catchlights refer to the reflection of light in the eye, a fun trick that brings attention to that part of your subject’s portrait.
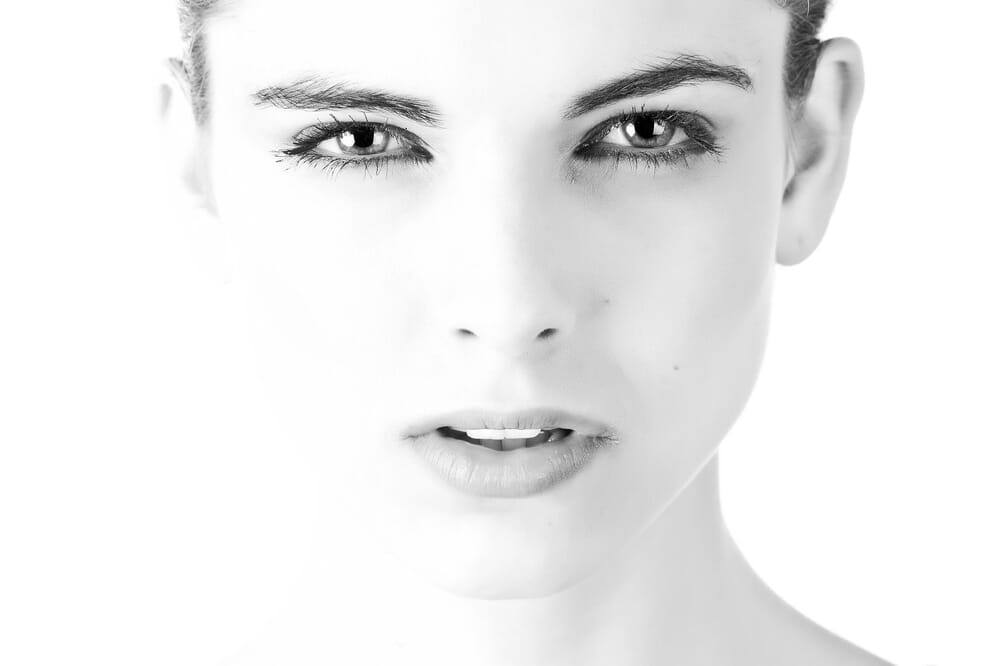
Because catchlights rely on your light source for their reflection, you can play with different umbrella positions to move the catchlight around. Because umbrellas are round, the catchlight will look more natural and attractive to the viewer of your photograph.
Reflective vs Shoot-Through Umbrella: A Direct Comparison
The single most-asked question photographers have about umbrellas is which type to buy first. The honest answer is: they do different things, and most working studios end up owning both. But if you’re picking just one, the decision comes down to how much control you want over where the light actually lands.
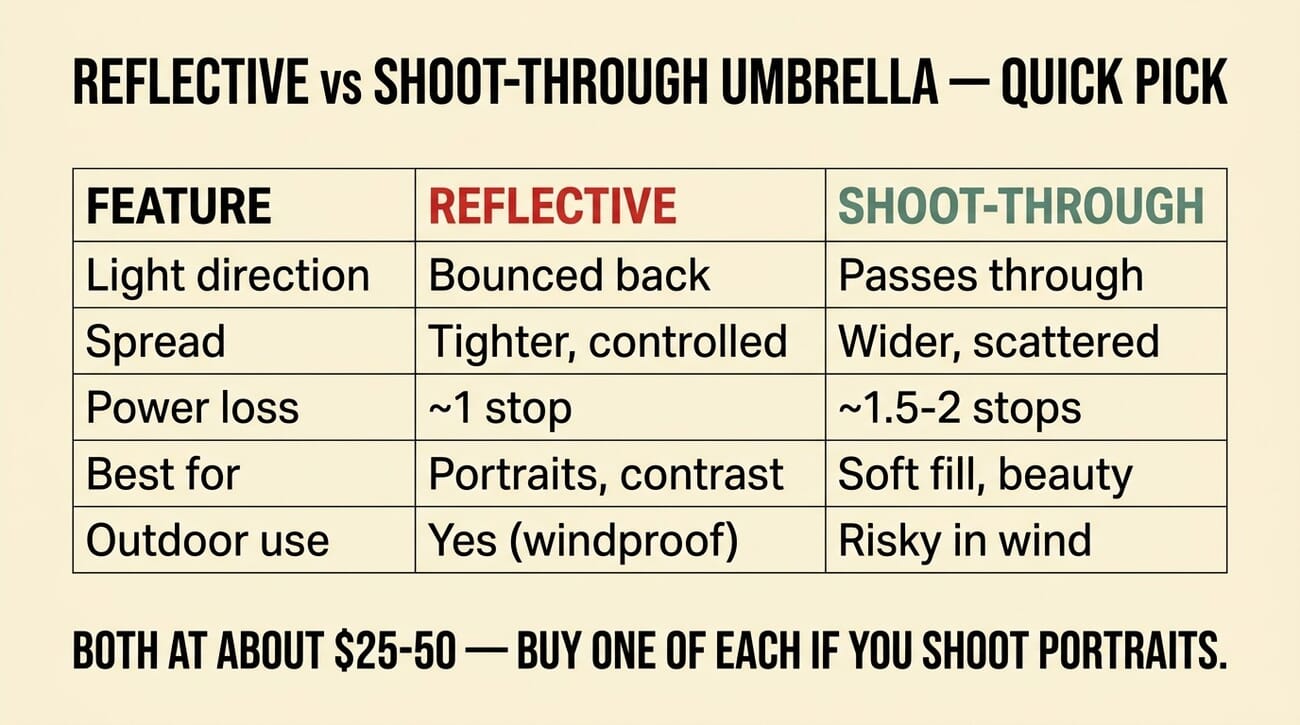
Pick a shoot-through umbrella if: you want very soft, very wide spread (great for wrapping a subject in fill light); you’re shooting beauty / fashion where soft skin tones matter; you don’t mind losing 1.5-2 stops of power; you can keep the umbrella indoors (they catch wind badly).
Pick a reflective umbrella if: you want more directional light with predictable falloff; you’re shooting environmental portraits where controlling spill matters; you’re working outdoors (the closed back blocks wind better than a translucent shoot-through); you want to preserve light output (only ~1 stop of loss vs the shoot-through’s 1.5-2 stops).
If you can only buy one: a 43-inch convertible umbrella ($35-40) gives you both modes via a removable black backing. The Westcott Convertible Compact is the studio standard here — buy this if you’re not sure which you’ll use more.
Umbrella vs Softbox: Which Should You Choose?
Umbrellas and softboxes both soften light, but they do it in noticeably different ways. The Reddit thread that gets posted in r/photography every other week — “do I need a softbox or is an umbrella enough?” — is asking the right question, just slightly wrong. The accurate framing: which look do you want, and how much spill control do you need?
- Umbrella: $25-50, sets up in 10 seconds, scatters light wide, no edge control. Ideal for fast portraits, beauty, weddings, travel.
- Softbox: $80-300+, takes 2-5 minutes to assemble, directional light with hard edge control via a recessed front diffuser. Ideal for product photography, controlled studio portraits, environmental shoots where the light needs to NOT spill.
- Catchlight shape: round (umbrella) vs rectangular (softbox). Rectangular catchlights look more natural in a portrait — they read like window light. Round catchlights are clearly studio-lit.
- Travel and outdoor: umbrellas win every time. They fold to nothing and weigh almost nothing. Softboxes need rigid rods and a heavier stand.
- Light output efficiency: softboxes lose roughly 1-1.5 stops; reflective umbrellas lose ~1; shoot-through umbrellas lose 1.5-2. Negligible if you’re using strobes; matters for continuous LED setups where every stop counts.
Recommended path for most photographers: start with a 43-inch convertible umbrella (~$40) and a single strobe. After 6-12 months of shooting, you’ll know whether you actually need the spill control of a softbox or whether the umbrella’s wider, faster setup is what you keep reaching for. For 80% of portrait shooters, the umbrella becomes the daily driver and the softbox stays in the closet.
Application-Specific Setups: Portraits, Products, Real Estate
Generic “set the umbrella at 45° and fire” guides miss that the specific use case changes the umbrella size, type, and angle. Three setups that actually map to what photographers shoot:
Portrait Photography Setup
Gear: 43-60″ white shoot-through OR convertible umbrella, single strobe (Westcott FJ250 or Godox AD300 Pro), heavy-duty light stand. Position: 45° to subject, umbrella front edge 3-4 ft from subject’s face, light source ~6 ft off the ground tilted down. Settings: f/4-5.6, 1/200 sync speed, ISO 100. Why it works: the soft scattered light wraps the face and reduces the texture-emphasizing shadows that smaller modifiers create. Add a reflector camera-right to fill the shadow side for a beauty-style look.
Product Photography Setup
Gear: 30-43″ silver reflective umbrella (smaller for tighter control), strobe or high-output continuous light, plus a second small reflective umbrella as fill. Position: key umbrella at 45° above the product, fill umbrella opposite side lower angle. Both at 1.5-2 ft from the product. Settings: f/8-11 for sharper focus across the product, 1/125-1/200, ISO 100. Why it works: silver reflective gives the directional light needed to define edges and texture (which a shoot-through would soften away). Smaller umbrella = harder light = product details pop.
Real Estate / Interior Setup
Gear: 60″ parabolic reflective umbrella (Godox UB-105S works), single strong strobe, heavy-duty stand (real-estate work involves cramped corners). Position: umbrella high and angled to bounce light off the ceiling for ambient fill, OR pointed directly down a hallway to brighten an entryway. Settings: f/5.6-8, 1/100, ISO 200-400; blend with available daylight in post. Why it works: reflective umbrellas spill less than shoot-throughs, which matters in tight rooms where uncontrolled fill would blow out windows. The parabolic shape gives a tighter beam than a standard reflective.
Best Umbrella Lighting Kits in 2026
Three tiers of umbrella-lighting setups for May 2026. Prices verified on Amazon US the day this guide was updated:
Hobbyist Tier (~$60-80 total)
Neewer 3-Umbrella Kit (33″) ($52) — includes white shoot-through, silver reflective, and gold reflective in one kit. Pair with any speedlight you already own (or a $25 Neewer flash). The 33-inch size is small for portraits but works fine for product photography. The whole setup costs less than a single Profoto modifier.
Working-Portrait Tier (~$425 strobe + umbrella)
Westcott FJ250 ($400) + Westcott Convertible Compact 43″ umbrella ($38) — the working-portrait studio standard. The FJ250 is a touchscreen 250Ws strobe with TTL/HSS, enough power for any indoor portrait and viable outdoors at ISO 200-400. The convertible umbrella switches between shoot-through and reflective modes via a removable black backing — one umbrella, both looks. PhotoWorkout’s off-camera-flash guide covers the trigger setup if you’re new to strobe work.
Pro / Outdoor Tier ($1,800+ for the strobe + parabolic)
Profoto B10X ($1,795) + Godox UB-105S 41″ parabolic reflective ($70) — pro-grade location kit. The B10X is battery-powered (250Ws, TTL, HSS) and weighs under 4 lbs — matched with a parabolic reflective umbrella, you get cinema-grade quality light anywhere. The UB-105S’s deeper parabolic shape gives a tighter beam than a standard reflective, which is what you want when working outdoors with mixed lighting.
Budget Pick: Just the Umbrellas
If you already own a strobe and just need umbrellas: the Westcott 2001 43″ Optical White ($26) is the studio-standard shoot-through and the Godox UB002 40″ Black/Silver Reflector ($20) is the cheapest reliable reflective. $46 total gets you both umbrella types — under the cost of a single name-brand softbox.
Frequently Asked Questions
What size umbrella should I buy first?
43 inches for general portrait work — large enough to soften light meaningfully for a single subject, small enough to fit in most rooms and break down for travel. Go bigger (60″+) only if you regularly shoot two-person portraits or need to fill a larger area. Go smaller (30″-33″) only for product photography or beauty close-ups.
Can I use a regular umbrella for photography?
Technically yes; practically no. Rain umbrellas are not optically calibrated — the fabric is thicker and less neutral, the inside isn’t reflective enough for a true reflective umbrella, and the rib spacing creates uneven hot spots. Photo umbrellas cost $25-50, so the savings aren’t worth the headache. Buy a real one.
Do I need a separate flash, or will my speedlight work?
A standard hot-shoe speedlight (Godox V860, Yongnuo YN686, etc.) works perfectly fine through a 43-inch umbrella for most portrait work. Where speedlights start to struggle: large umbrellas (60″+), high-key setups that need lots of fill, or any work where you’re trying to overpower the sun outdoors. For those, you want a 250-400Ws strobe like the Westcott FJ250 or Godox AD300 Pro.
How far should the umbrella be from my subject?
2-3 feet for soft wrap-around portrait light. Move it closer (~1 ft) for headshot beauty work where you want maximum softness. Move it further (5-6 ft) for environmental portraits where you want the light to look more directional. The umbrella needs to be larger than your subject (relative to its distance) for the light to read as soft — that’s the inverse-square law in everyday studio terms.
Can I use umbrellas with continuous LED lights?
Yes, but watch the heat — cheap LED panels above 50W can warp the inner fabric of a shoot-through umbrella over time. Brand-name LEDs (Aputure 120D, Godox SL-200) are designed with cooling that keeps the front element cool enough to use safely. For continuous-light setups, prefer reflective umbrellas; they distance the light source from the fabric.
Why do my umbrella shots look flat or grey?
Three usual culprits: (1) White balance is off — umbrella fabric is rarely perfectly neutral; set a custom WB or shoot RAW and correct in post. (2) The umbrella is too far from the subject, which kills the inverse-square fall-off that creates depth — move it closer. (3) You’re not using any negative fill — placing a black flag or board on the side opposite the umbrella adds shadow contrast. If everything is lit evenly, the image reads flat.
Conclusion
In conclusion, umbrellas are an excellent option for photographers; from being easy to use and carry to keeping the wallet happy. Just keep in mind what type of umbrella is used for what purpose and you’ll be solid!
Manufacturer Spec References
- Westcott — FJ250 Touchscreen Strobe – Manufacturer specifications for the working-portrait-tier strobe recommended above.
- Westcott — Convertible Umbrella line – Specs for the 43" convertible umbrella (shoot-through + reflective in one).
- Godox — UB-105S Parabolic Reflective Umbrella – Parabolic deep reflector specs for the pro / outdoor tier.
Tutorial References
- SLR Lounge — Studio Lighting Application Guides – Application-specific lighting guides referenced for the portrait/product/real-estate setup framing.
Some product links above are Amazon affiliate links: PhotoWorkout earns a commission if you purchase through them at no extra cost. Recommendations are independent.


Disclosure/Disclaimer: As an Amazon Associate, we earn from qualifying purchases. Certain content was provided "as is" from Amazon and is subject to change or removal at any time. Product prices and availability: Amazon prices are updated daily or are accurate as of the date/time indicated and are subject to change. Any price and availability information displayed on Amazon.com at the time of purchase will apply to the purchase of this product.