
- Texture in photography refers to the visual quality of a surface — how rough, smooth, gritty, or soft it appears in a two-dimensional image.
- Side lighting (especially during golden hour) is the single most effective way to emphasize texture, as it creates shadows that reveal surface detail.
- Texture works as both a compositional element and a standalone subject, particularly in abstract and macro photography.
- Combining contrasting textures (smooth vs. rough, organic vs. geometric) adds visual tension and depth to any composition.
- Post-processing tools like the Texture, Clarity, and Dehaze sliders in Lightroom can dramatically enhance or subdue textural detail.
- Filling the frame with texture eliminates distractions and transforms ordinary surfaces into compelling abstract images.
What Is Texture in Photography?
Texture in photography describes the visible surface quality of an object — the roughness of weathered wood, the smoothness of polished marble, or the intricate detail of woven fabric. It is one of the seven core elements of photographic composition, alongside line, shape, form, color, space, and pattern.
Unlike sculpture or painting, photography compresses three-dimensional surfaces into a flat image. Texture bridges that gap. A well-captured texture makes viewers feel like they could reach into the frame and touch the surface — sensing the grit of sandstone, the softness of moss, or the cold hardness of rusted iron.
There is an important distinction between visual texture and tactile texture. Tactile texture is physical — the actual feel of a surface. Visual texture is how the camera interprets and presents that surface through light, shadow, and detail. A skilled photographer manipulates light to translate tactile reality into a compelling visual experience.
Texture is everywhere: peeling paint on a barn door, the ridged skin of a cantaloupe, cracked mud in a dried riverbed, the weave of a linen shirt. Training the eye to notice texture is the first step toward using it intentionally in compositions.
Why Texture Matters in Photography
Texture does more than add visual interest — it shapes the entire mood and narrative of a photograph. Here is why it deserves deliberate attention:
It creates depth and dimension. A flat image with no textural variation feels lifeless. Texture provides visual “grip,” giving the viewer’s eye something to latch onto and explore. The interplay of highlights and shadows across a textured surface mimics the way humans perceive three-dimensional form.
It evokes emotion. Rough, decaying textures suggest age, abandonment, or grit. Smooth, polished textures convey elegance, calm, or modernity. A portrait shot against a crumbling brick wall tells a fundamentally different story than one shot against satin fabric — even if the subject and pose are identical.
It strengthens composition. Texture works alongside patterns and leading lines to guide the viewer through an image. A textured foreground in a landscape photograph anchors the composition and leads the eye toward the background. Without that texture, the foreground becomes dead space.
It adds narrative context. Textures carry information. The worn leather of a baseball glove tells a story of hundreds of catches. The smooth, unblemished surface of a new car suggests luxury and precision. Photographers who pay attention to texture embed richer stories into their images.
It separates good photography from great photography. Many beginners focus solely on subject and exposure. Intermediate photographers learn to work with light and composition. Advanced photographers also consider texture — and it shows. Images that leverage texture feel more immersive, more professional, and more emotionally resonant.
Types of Texture in Photography
Not all textures are alike. Understanding the major categories helps photographers seek out and contrast different textural qualities in their work.
Natural vs. Artificial Texture
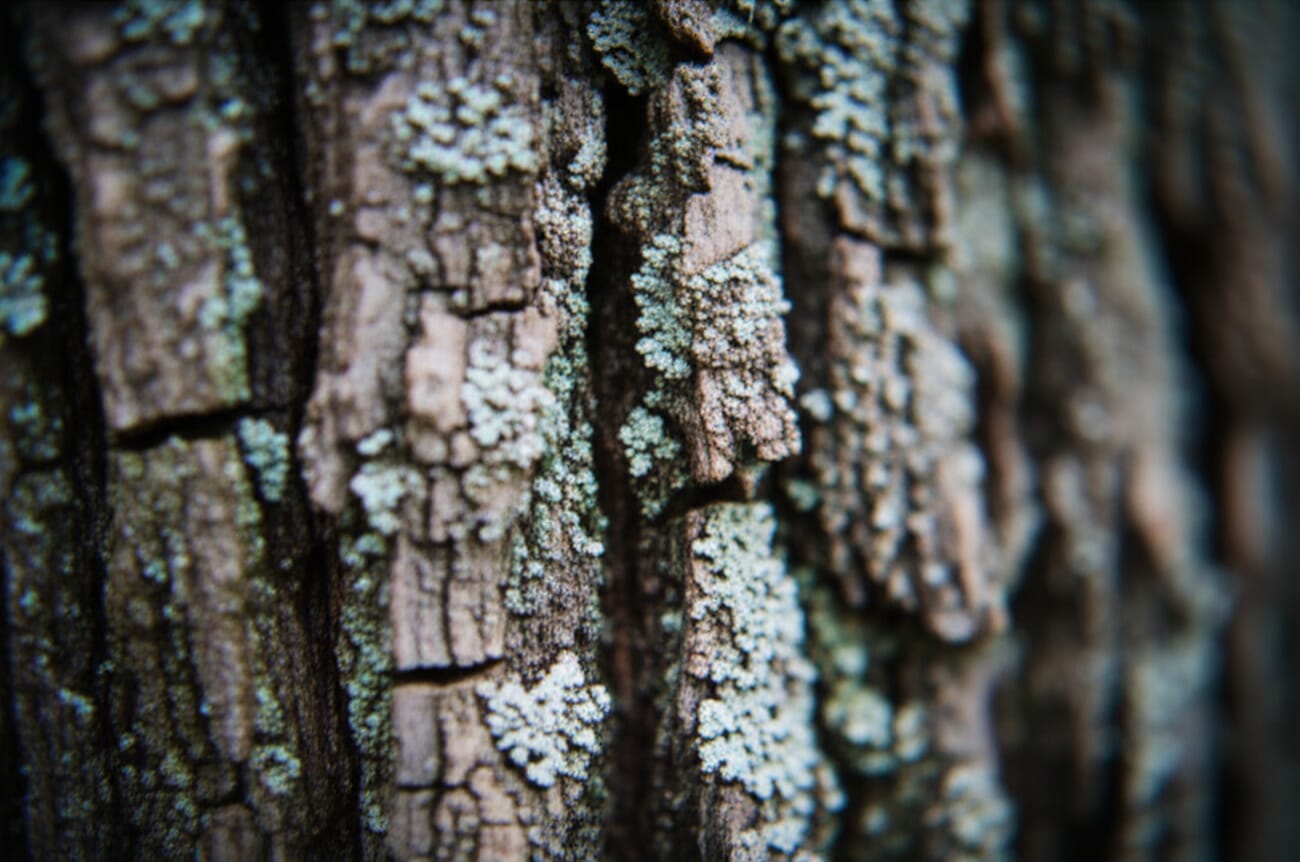
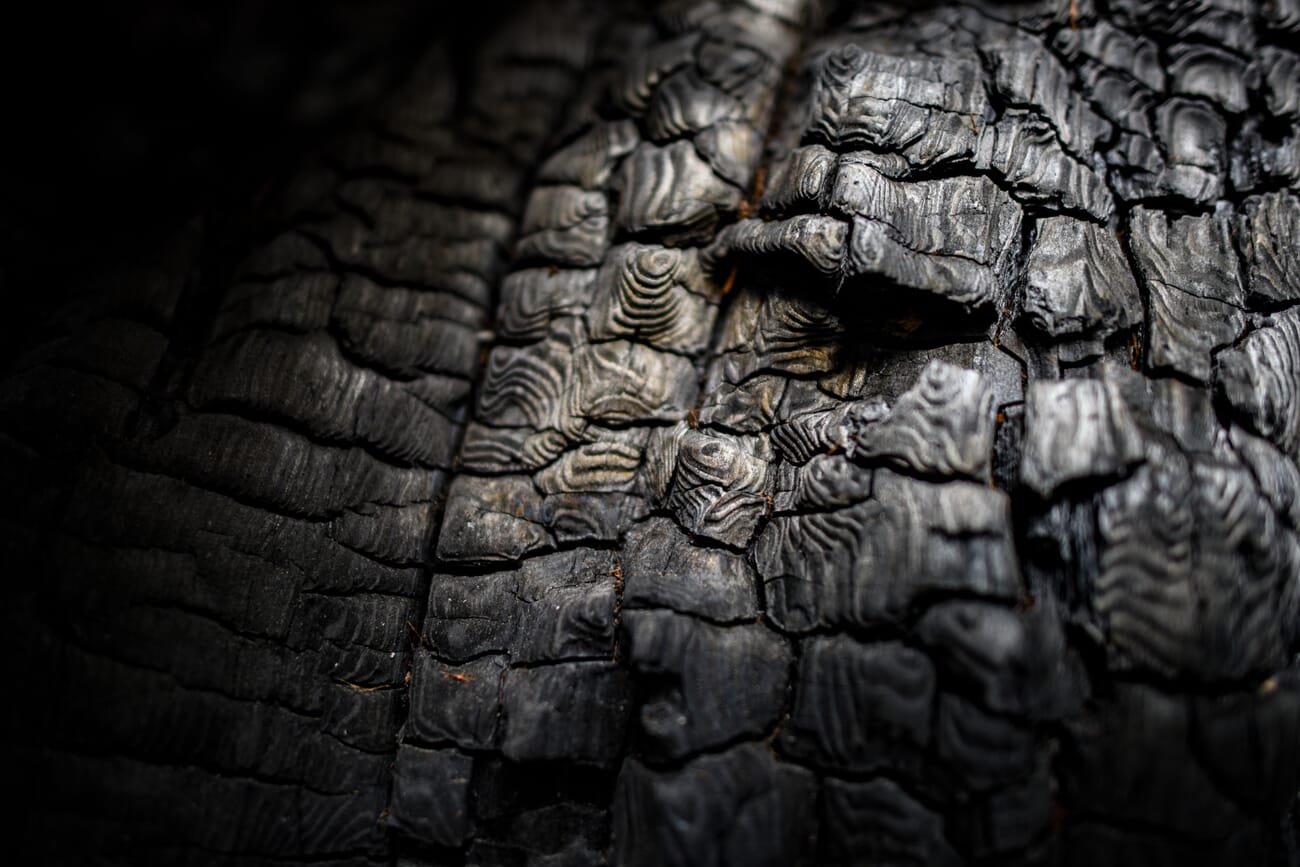
Natural textures come from the organic world: tree bark, rock faces, sand dunes, flower petals, animal fur, ocean waves, ice crystals. These textures tend to be irregular, complex, and full of subtle variation. No two patches of bark look exactly the same.
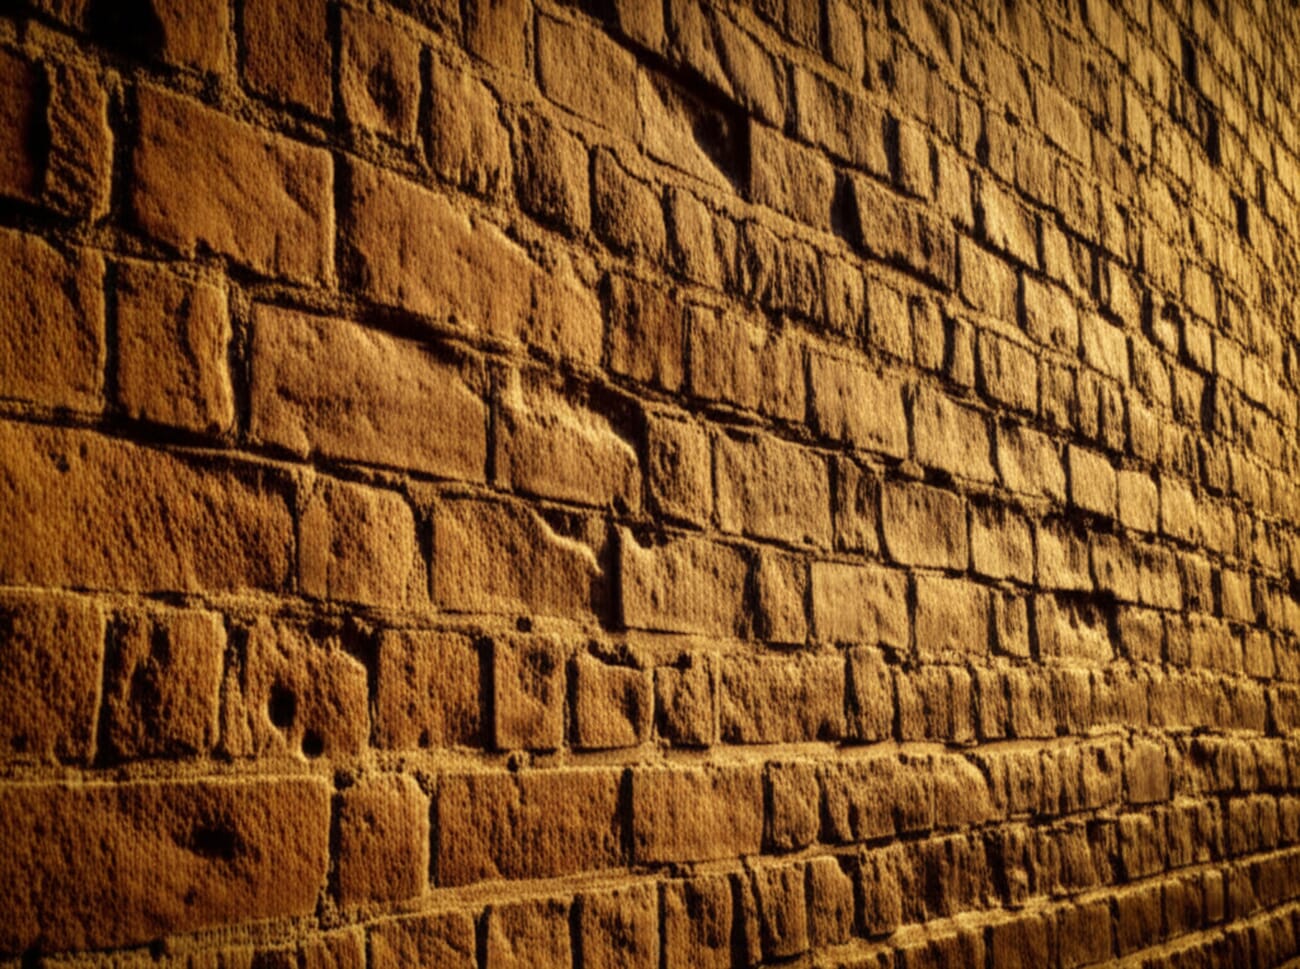
Artificial textures are human-made: brick walls, concrete, woven fabric, brushed metal, corrugated steel, ceramic tile. These textures often feature more regularity and repetition, though weathering and wear introduce organic randomness over time.
Combining natural and artificial textures in a single frame — ivy growing over a concrete wall, rust bleeding across painted steel — creates compelling visual tension.
Organic vs. Geometric Texture
Organic textures feature flowing, irregular forms: the ripple of sand, the curl of dried leaves, the crackle of dried mud. These textures feel alive and dynamic.
Geometric textures feature repeating, structured forms: the grid of a chain-link fence, the hexagons of a honeycomb, the parallel lines of a plowed field. These textures feel ordered and intentional.
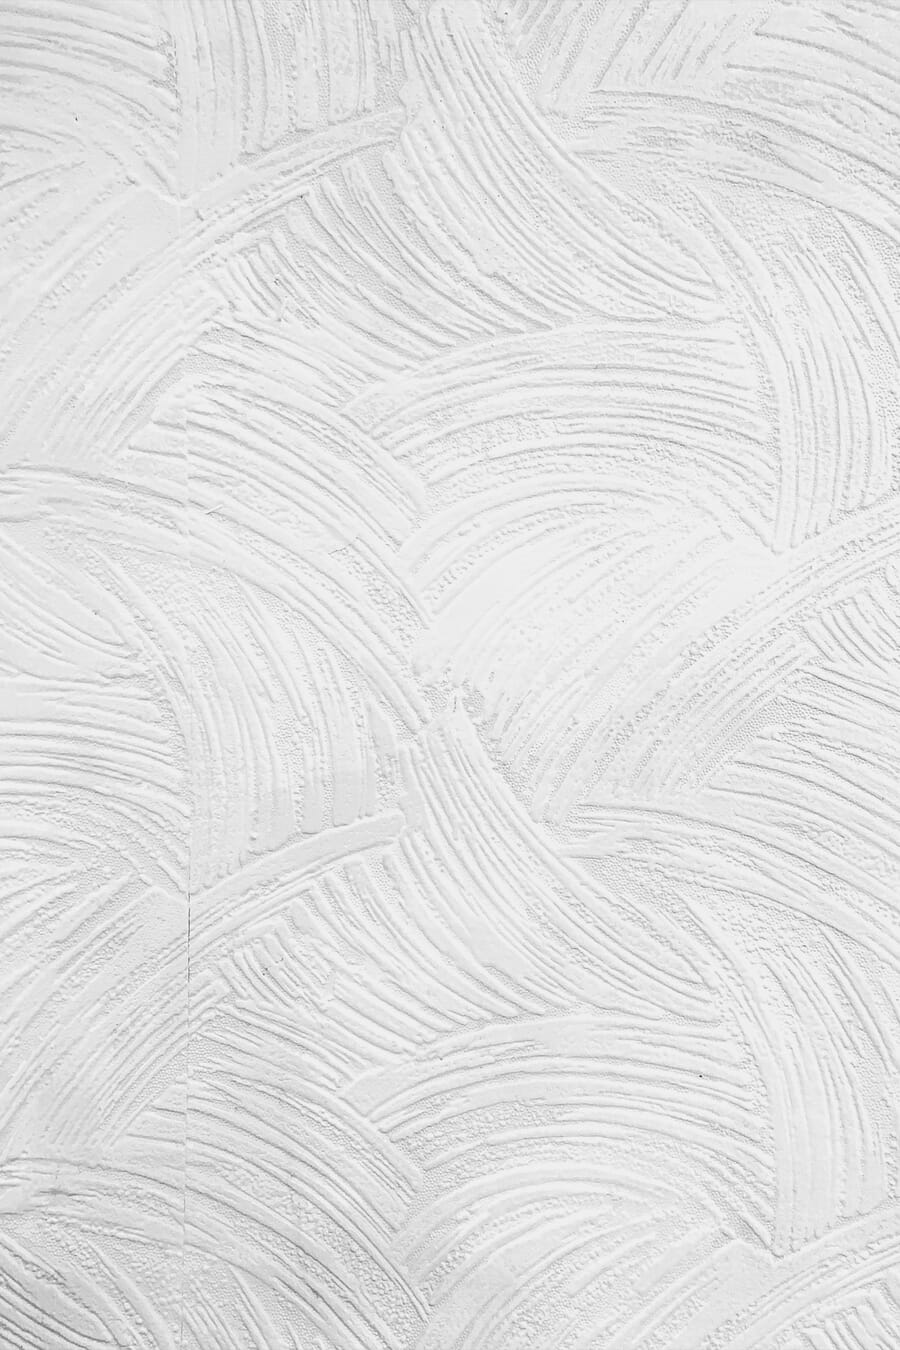
Rough vs. Fine Texture
Rough textures — gravel, tree bark, cracked earth, stucco — are high-contrast and visually aggressive. They demand attention and work well as primary subjects or bold backgrounds.
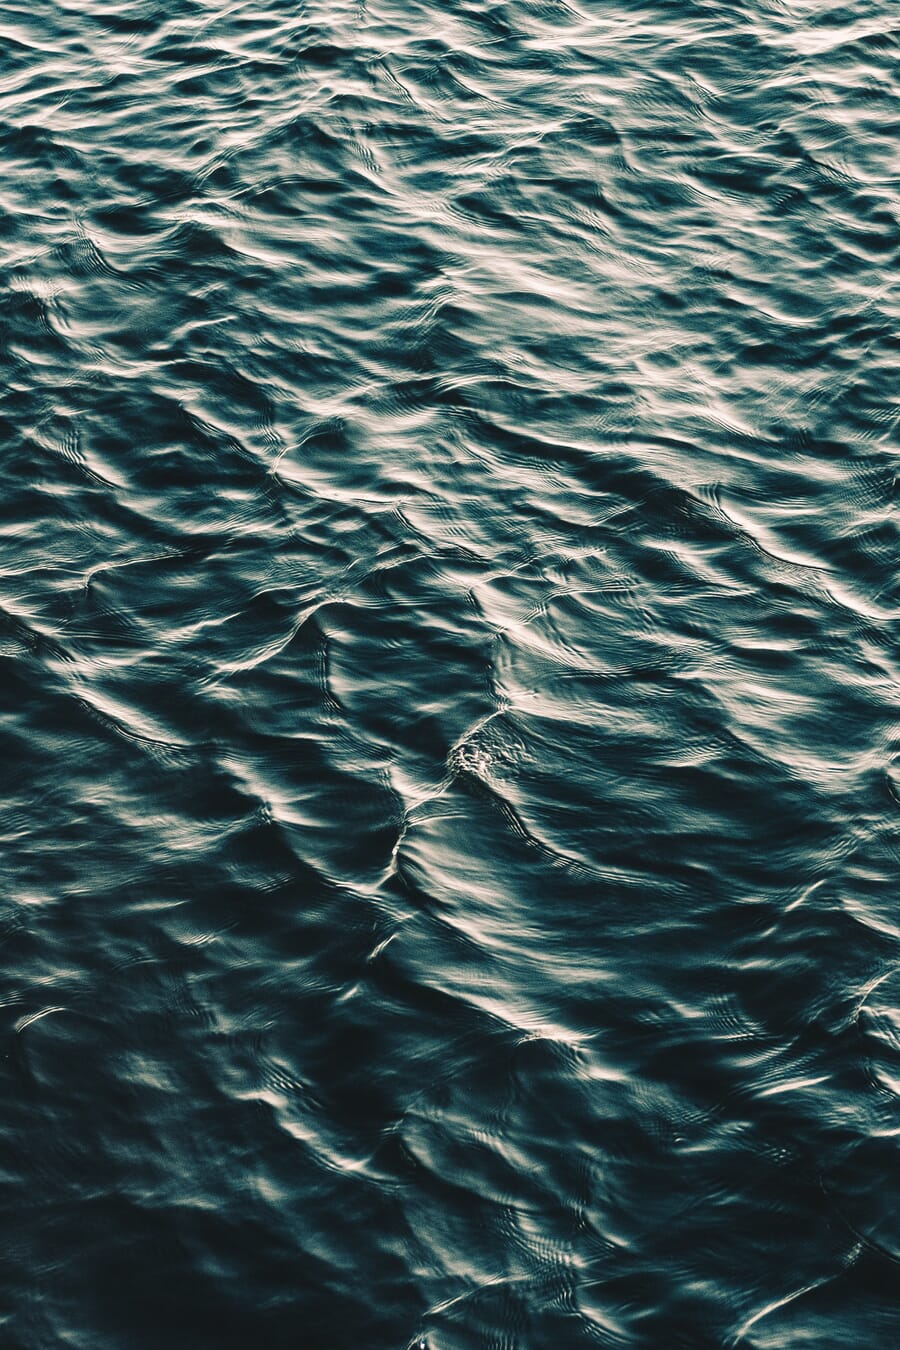
Fine textures — silk, polished wood, smooth skin, still water — are subtle and require careful lighting to reveal. They often serve as counterpoints to rougher textures in a composition.
Common Texture Examples by Genre
Landscape Photography
Landscapes are packed with texture: the ridged surface of sand dunes, the jagged edges of mountain rock, the ripple of wind across a wheat field, the cracked surface of a dry lakebed. Texture in landscapes often appears in the foreground, providing a strong anchor that draws the eye into the scene.
A common technique is to use a wide-angle lens close to a textured foreground element — like cracked mud or lichen-covered rocks — while keeping a distant mountain or sky in the background. This creates layers of texture that pull the viewer through the entire frame. Getting low to the ground and shooting at a slight upward angle maximizes the visible surface area of the foreground texture.
Street and Urban Photography
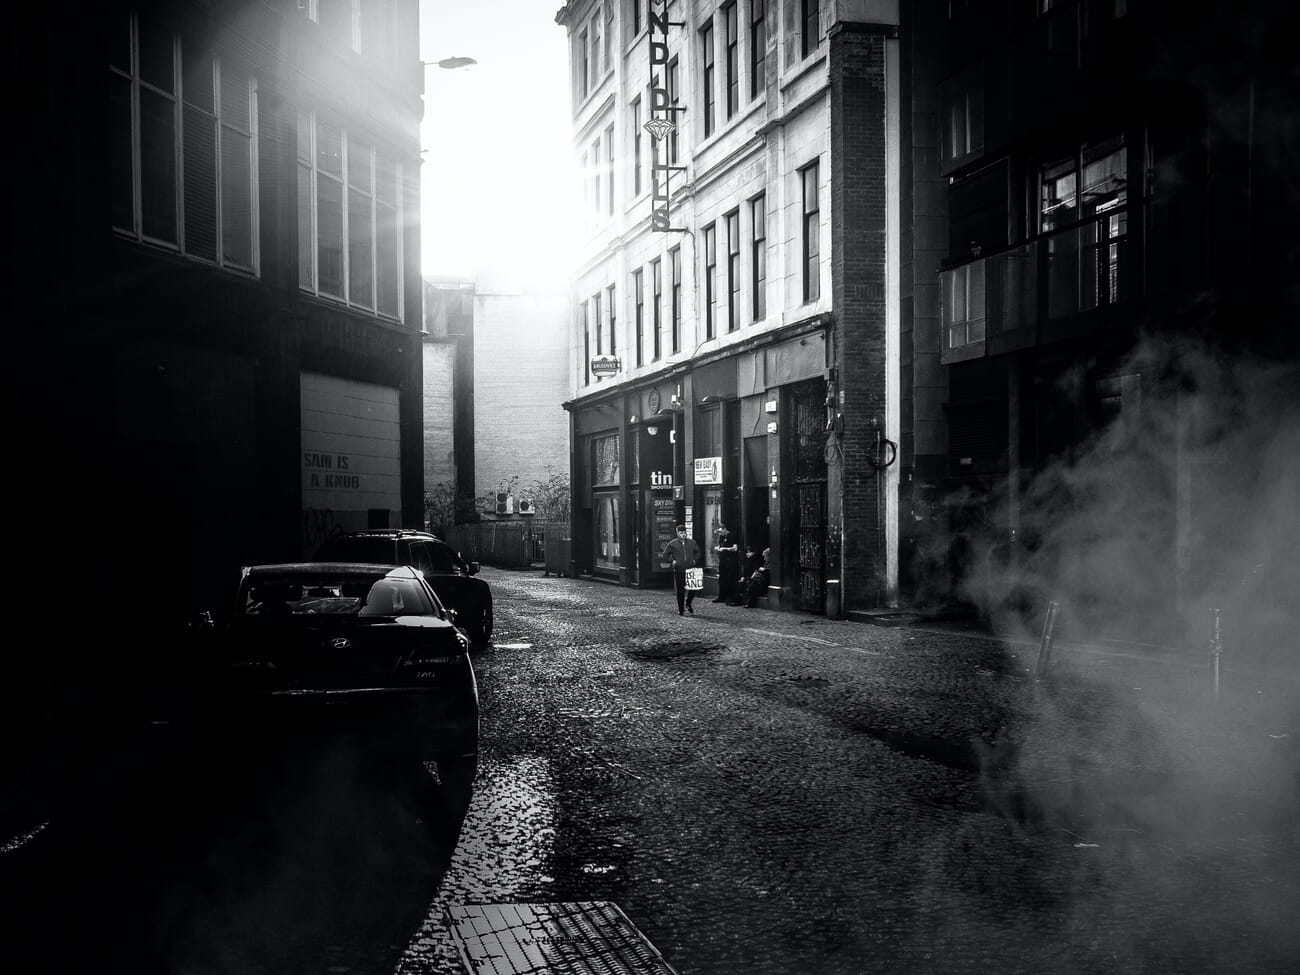
Cities are texture playgrounds. Peeling posters on brick walls, cracked asphalt, rusted fire escapes, the grain of old wood doors, graffiti layered over corrugated metal — urban environments offer an endless supply of textural subjects.
Street photographers use texture to set the scene and convey atmosphere. A portrait against a graffiti-covered wall communicates something entirely different from one against polished glass. The texture becomes part of the story. Look for walls with multiple layers of paint, weather-worn signage, and surfaces where natural decay meets human activity.
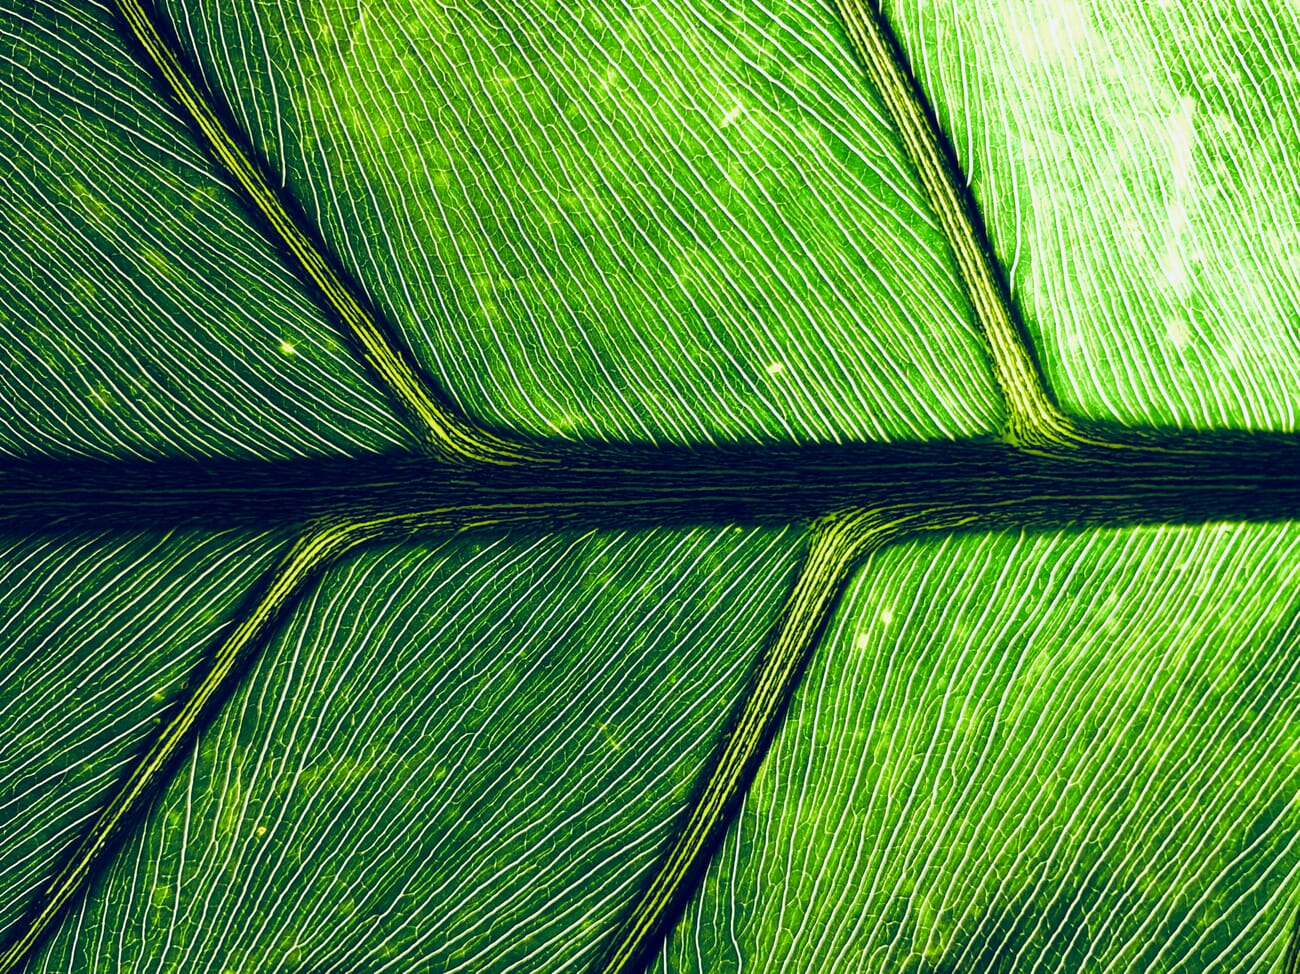
Macro Photography
Macro photography is perhaps the most natural home for texture. At high magnification, ordinary surfaces become extraordinary landscapes. The scales of a butterfly wing, the veins of a leaf, the crystalline structure of sugar — macro lenses reveal textures invisible to the naked eye.
The key challenge in macro texture photography is depth of field. At close focusing distances, the depth of field becomes razor-thin. Focus stacking — capturing multiple frames at different focus points and merging them in post-processing — solves this problem and delivers tack-sharp texture from front to back.
Portrait Photography
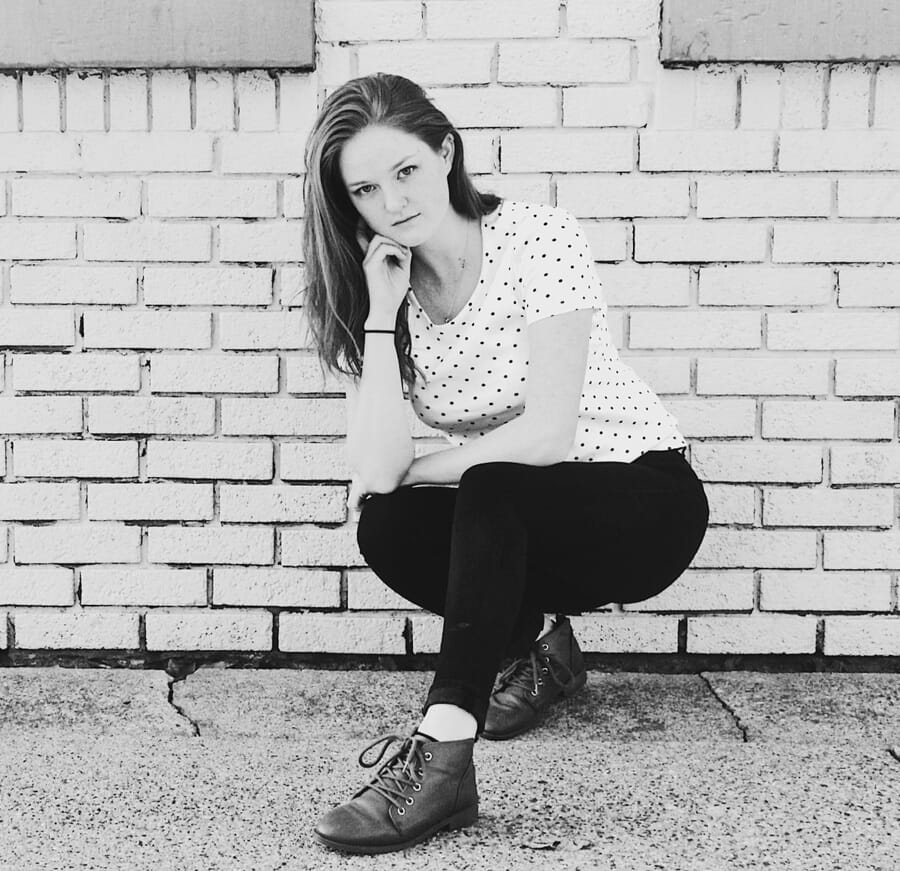
Texture plays a dual role in portraits: the texture of the background and the texture of the subject. A weathered brick wall behind a subject adds character and grit. Smooth, creamy bokeh behind a subject directs all attention to the face.
The texture of skin itself is a powerful element. The lined face of an elderly fisherman tells a lifetime of stories. The freckled skin of a child conveys youth and innocence. Rather than always smoothing skin in post-processing, consider embracing its natural texture — wrinkles, pores, and scars all add authenticity and emotional weight.
Clothing texture matters, too. Knitted wool, leather jackets, silk scarves — each fabric adds a different visual and emotional layer to a portrait.
Using Texture for Contrast
One of the most powerful compositional techniques involving texture is textural contrast — placing smooth and rough surfaces side by side. This juxtaposition creates visual tension that immediately grabs the viewer’s attention.
Examples of textural contrast include:
- A smooth river stone resting on a bed of rough gravel
- A silk ribbon draped over weathered wood
- Calm, glassy water reflecting a rugged cliff face
- A polished glass building beside a crumbling brick facade
- A baby’s smooth skin against a rough wool blanket
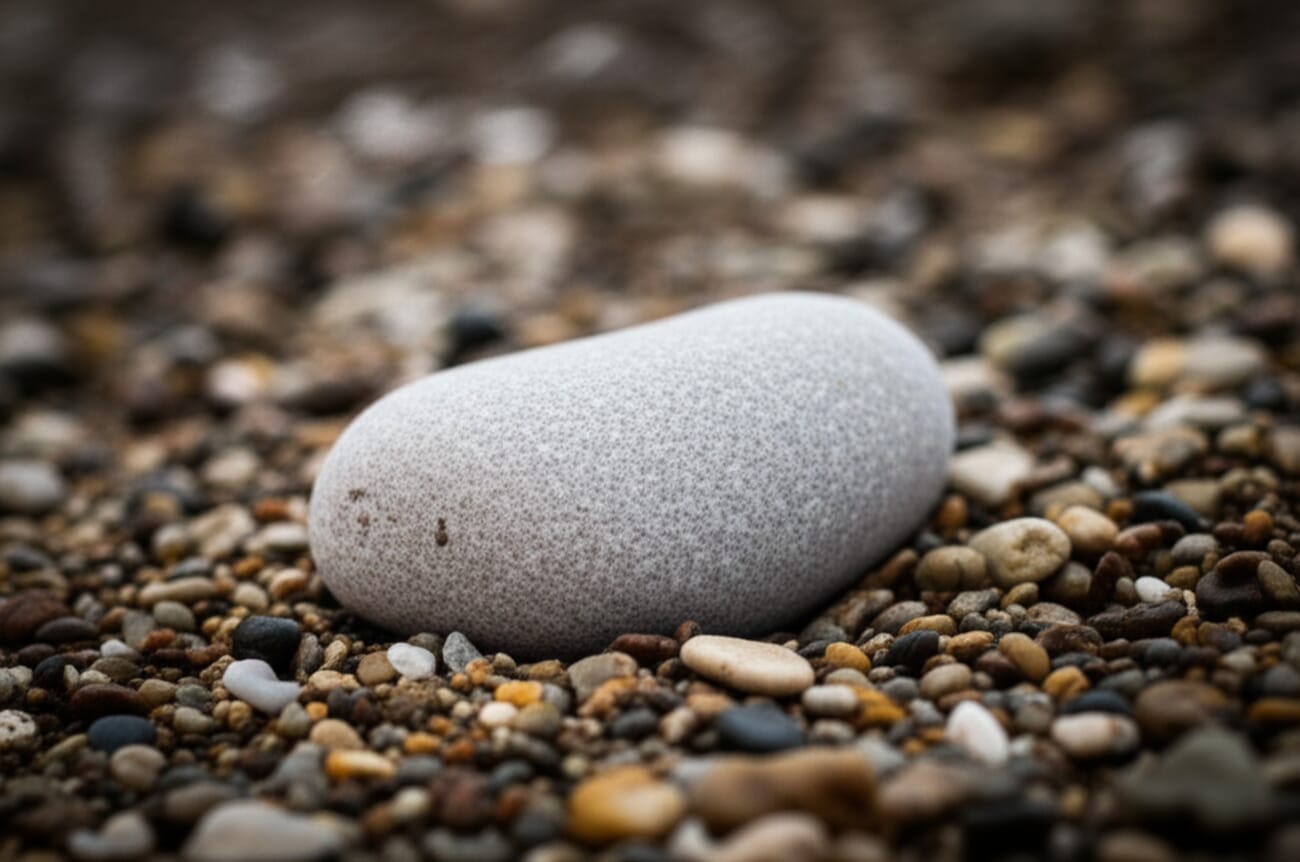
The principle works because the human eye is naturally drawn to contrast. Just as tonal contrast (light vs. dark) creates drama, textural contrast creates tactile drama. The smooth element “pops” because it is surrounded by roughness, and vice versa.
To maximize textural contrast, ensure both textures are well-lit and in focus. Sidelighting helps reveal the rough texture’s character, while the smooth surface may benefit from a slight specular highlight to emphasize its polished quality.
Texture Overlays and Compositing
Beyond capturing texture in-camera, photographers can add or enhance texture through post-processing and compositing. This ranges from subtle adjustments to full creative overhauls.
Texture Overlays in Photoshop
Texture overlays involve layering a texture image (paper grain, film grain, scratches, fabric weave) over a photograph using blending modes like Overlay, Soft Light, or Multiply. This technique is popular in fine-art photography, adding a painterly or vintage quality to images.
The workflow is straightforward: open the base image in Photoshop, place the texture file as a new layer, set the blending mode, and adjust opacity until the effect looks natural. Use layer masks to apply texture selectively — for instance, adding grain to the background while keeping the subject’s face smooth.
Lightroom Texture Slider
Adobe Lightroom includes a dedicated Texture slider that targets mid-frequency detail — exactly the kind of surface detail that defines texture. Sliding it to the right enhances skin pores, fabric weave, rock grain, and similar details without introducing halo artifacts. Sliding it left smooths these details, which is useful for softening skin or water.
The Texture slider differs from Clarity (which affects mid-tone contrast more broadly) and Sharpening (which targets edge contrast). For texture-focused photography, the Texture slider is the most precise tool. It can also be applied locally using radial filters, graduated filters, or the brush tool — allowing selective enhancement of a textured wall while leaving a portrait subject untouched.
AI Masking and Generative Fill
Modern tools have made texture compositing faster and more precise. Lightroom’s AI masking can automatically select subjects, skies, or backgrounds, making it easy to apply texture adjustments to specific areas. Photoshop’s Generative Fill can extend or replace textures entirely — filling in a torn section of a textured wall, for example, or generating a seamless continuation of a fabric pattern.
These AI-powered tools lower the barrier to creative texture work, but the best results still come from starting with strong in-camera texture capture and using post-processing to enhance rather than create from scratch.
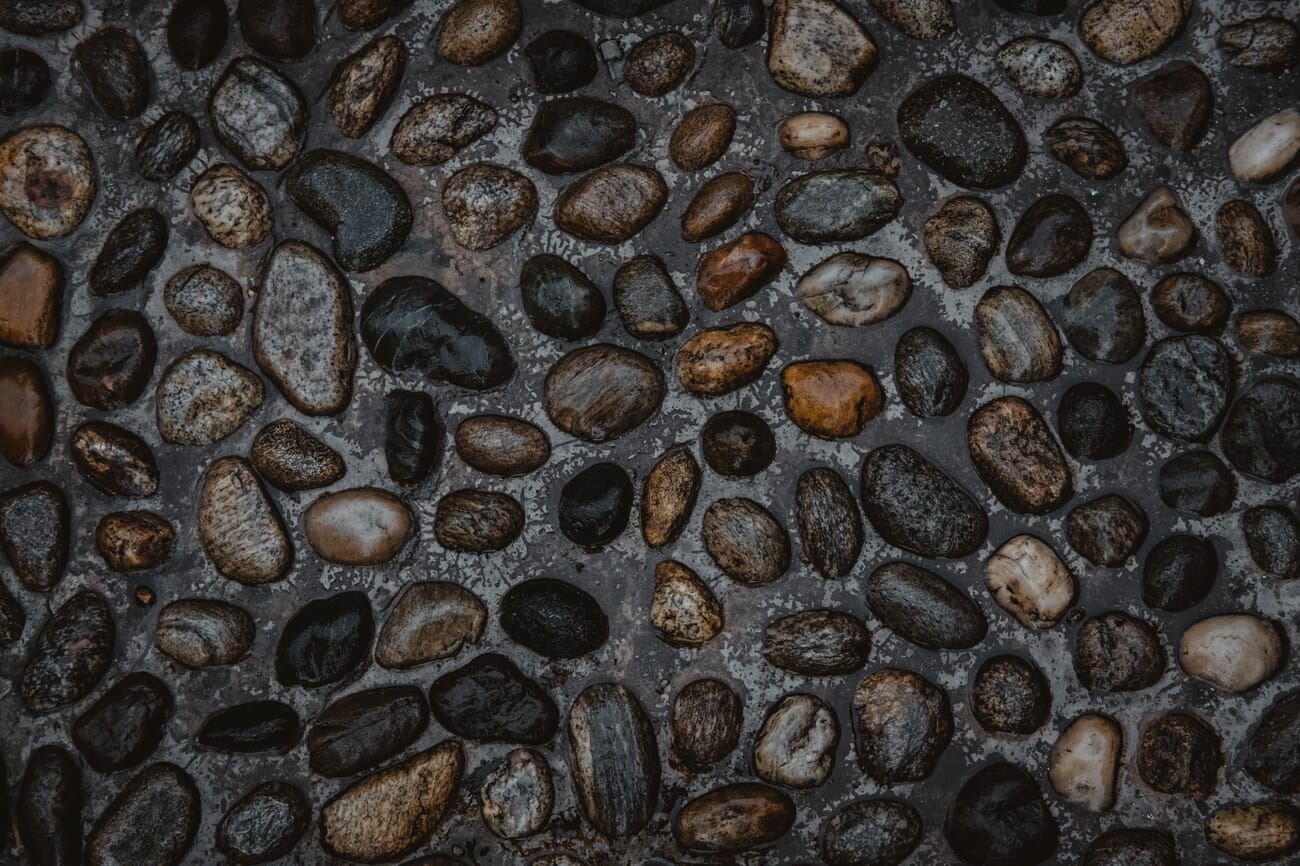
Texture as the Main Subject
Texture does not always need to play a supporting role. Some of the most striking photographs feature texture as the sole subject — no identifiable object, no horizon line, just pure surface detail filling the frame.
This approach falls squarely into the realm of abstract photography. By filling the frame with texture and removing all context clues, the photographer transforms the familiar into the unfamiliar. A close-up of rust on steel becomes an alien landscape. The grain of sandstone becomes a topographic map. Ice crystals on a window become a galaxy.
Tips for shooting texture as the main subject:
- Fill the frame completely. Leave no negative space. The viewer should see only texture.
- Use sidelight. Raking light across the surface reveals every ridge and valley.
- Shoot flat-on or at a slight angle. Perpendicular angles keep the entire surface in focus; slight angles add depth.
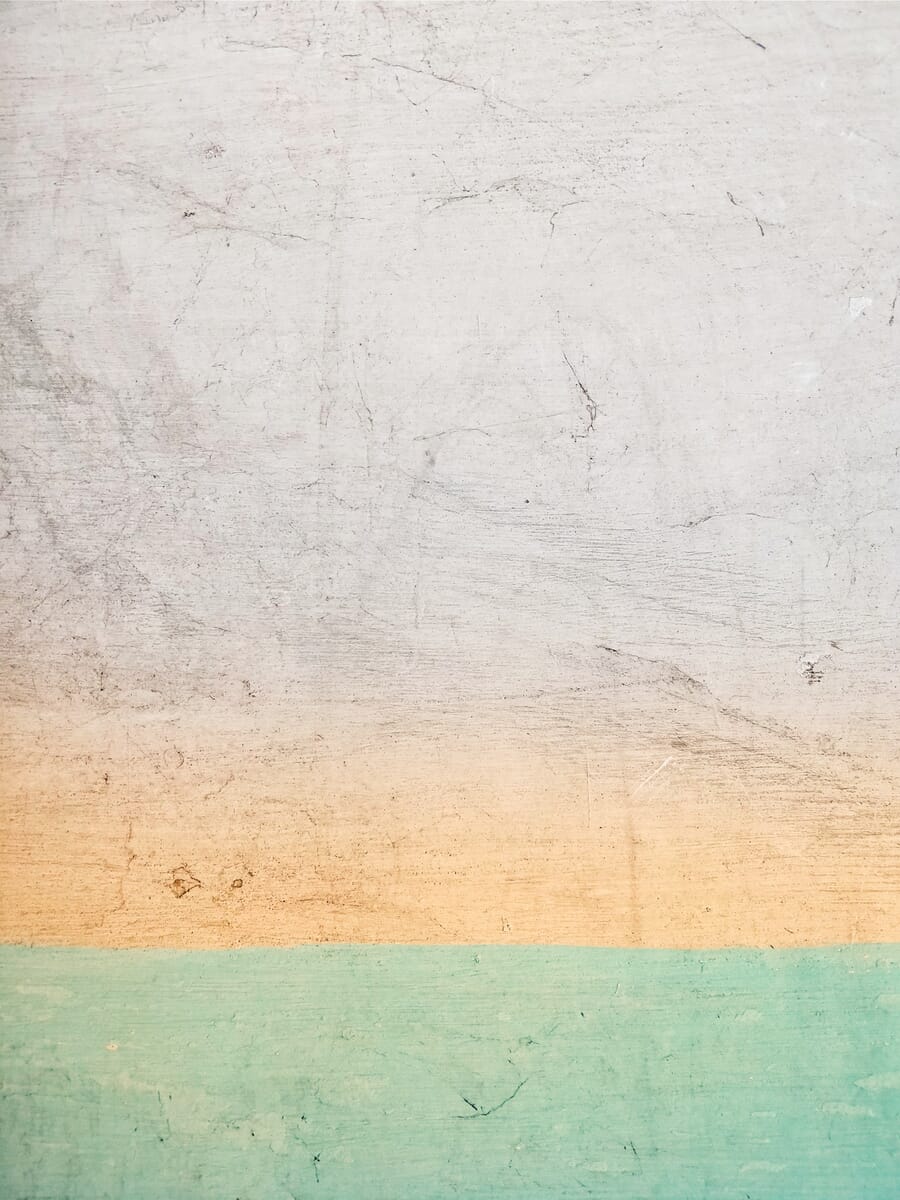
- Look for color and tonal variation. Monochrome textures can feel flat. Surfaces with color variation (lichen-stained rock, oxidized copper, painted wood) are more engaging.
- Consider black and white. Converting to monochrome strips away color distractions and puts all emphasis on the textural detail itself.
How to Edit Textures in Post-Processing
Capturing good texture in-camera is essential, but post-processing can take it further. Here are the key editing techniques for maximizing textural impact.
Texture, Clarity, and Dehaze Sliders
In Adobe Lightroom and Camera Raw, three sliders directly affect how texture appears:
- Texture (+25 to +60): Enhances mid-frequency detail. This is the go-to slider for revealing surface grain, fabric weave, and stone roughness without introducing artifacts.
- Clarity (+10 to +40): Increases mid-tone contrast, which deepens shadows in textured areas and adds a sense of depth. Use sparingly — high clarity can look harsh.
- Dehaze (+5 to +20): Cuts through atmospheric haze and boosts contrast across the tonal range. Useful for landscape textures shot in misty or hazy conditions.
Apply these globally for texture-focused abstract shots, or locally (using masks) when only part of the image needs enhancement. For example, boost texture on a stone wall background while leaving a portrait subject’s skin smooth.
Dodging and Burning for Texture Emphasis
Dodging (lightening) and burning (darkening) specific areas is a classic technique for sculpting light in post-processing. For texture work, burn the shadow areas between ridges and grooves to deepen them, and dodge the highlights on the raised portions to make them pop. This manually amplifies the sidelighting effect, even if the original light was flat.
In Lightroom, use the Brush tool with a small feather and low exposure values (+/- 0.3 to 0.5 stops) for subtle, natural-looking results. In Photoshop, create a dodge/burn layer (50% gray, Overlay blend mode) and paint with white (dodge) or black (burn) at 5-10% opacity.
Black and White Conversion for Texture
Color can compete with texture for the viewer’s attention. Converting a texture-heavy image to black and white removes that competition entirely, forcing the eye to focus on form, tone, and surface detail.
For the best results, do not simply desaturate. Use Lightroom’s B&W mix panel or Photoshop’s Black & White adjustment layer to control how individual colors convert to gray tones. Darkening blues and greens while lightening yellows can dramatically alter how a lichen-covered rock face renders in monochrome.
Adding a subtle grain effect after conversion can further enhance the tactile quality of a black-and-white texture photograph. (Learn more in the complete guide to editing photos.)
Smartphone Texture Photography
Modern smartphones are surprisingly capable texture cameras. The small sensor size actually provides an advantage: deeper depth of field keeps more of a textured surface sharp without needing to stop down to f/11 or beyond.
ProRAW and ProDNG
Apple ProRAW (iPhone) and various Android DNG options capture far more tonal data than standard JPEG processing. This extra headroom is critical for texture photography, where subtle shadow detail and highlight nuance define the quality of the image. Shooting in RAW allows full control over texture, clarity, and sharpening in post without degrading image quality.
Macro Mode
Many recent smartphones include dedicated macro modes (or ultrawide lenses that focus extremely close). These modes are ideal for capturing fine textures: fabric weave, leaf veins, wood grain, and similar subjects that benefit from close focusing distances. The key is to keep the phone steady — even slight motion at macro distances causes blur. Use a small tripod or brace the phone against a solid surface.
Computational Photography Advantages
Smartphone computational photography — HDR stacking, noise reduction, and multi-frame merging — can actually enhance texture capture in tricky lighting. HDR processing preserves shadow detail in deep crevices while retaining highlight detail on bright surfaces. Night mode allows texture capture in low light that would require a tripod with a dedicated camera.
The trade-off is that aggressive noise reduction can smear fine texture detail. Shooting in RAW bypasses most computational processing and preserves the raw textural information for manual editing.
Techniques for Photographing Texture
Knowing that texture matters is one thing; consistently capturing it well requires specific techniques. These methods apply whether shooting with a professional camera body or a smartphone.
Use Sidelight (the #1 Texture Technique)
Sidelighting — light hitting the surface at a low, raking angle — is the most important technique for revealing texture. When light skims across a surface, every bump casts a tiny shadow, and every groove becomes a dark line. This shadow detail is what makes texture visible and dramatic.
Front lighting (light coming from behind the camera) flattens texture by eliminating shadows. Overhead midday sun does the same. For maximum texture, shoot during golden hour when the sun is low, or use an artificial light positioned at a 45- to 90-degree angle relative to the surface. Indoors, a window provides excellent sidelight — position the textured subject near a window and observe how the shadows change as the angle shifts.
Fill the Frame
Filling the frame with texture eliminates distracting elements and forces the viewer to engage with the surface detail. Move closer, zoom in, or crop in post until the texture occupies the entire image. This technique works especially well for abstract texture photography, where the goal is to isolate the visual quality of a surface without revealing what the object actually is.
Get Low and Change Angles
Shooting from a low angle across a textured surface — a cobblestone street, a sandy beach, a cracked sidewalk — compresses the perspective and exaggerates the texture. The surface stretches away from the camera, and the texture appears to intensify as it recedes. This is a powerful technique for landscape foregrounds and street photography.
Experiment with extreme angles: shoot straight down onto a textured surface for a flat, graphic quality. Shoot at a steep diagonal for maximum depth. The same surface can produce dramatically different images depending on the angle of approach.
Focus on Details
Wide shots include texture as one element among many. Tight, detail-oriented shots make texture the star. Use a macro lens or macro mode to isolate small sections of a larger surface. The bark of a single tree contains dozens of potential detail shots, each with different textures, colors, and patterns.
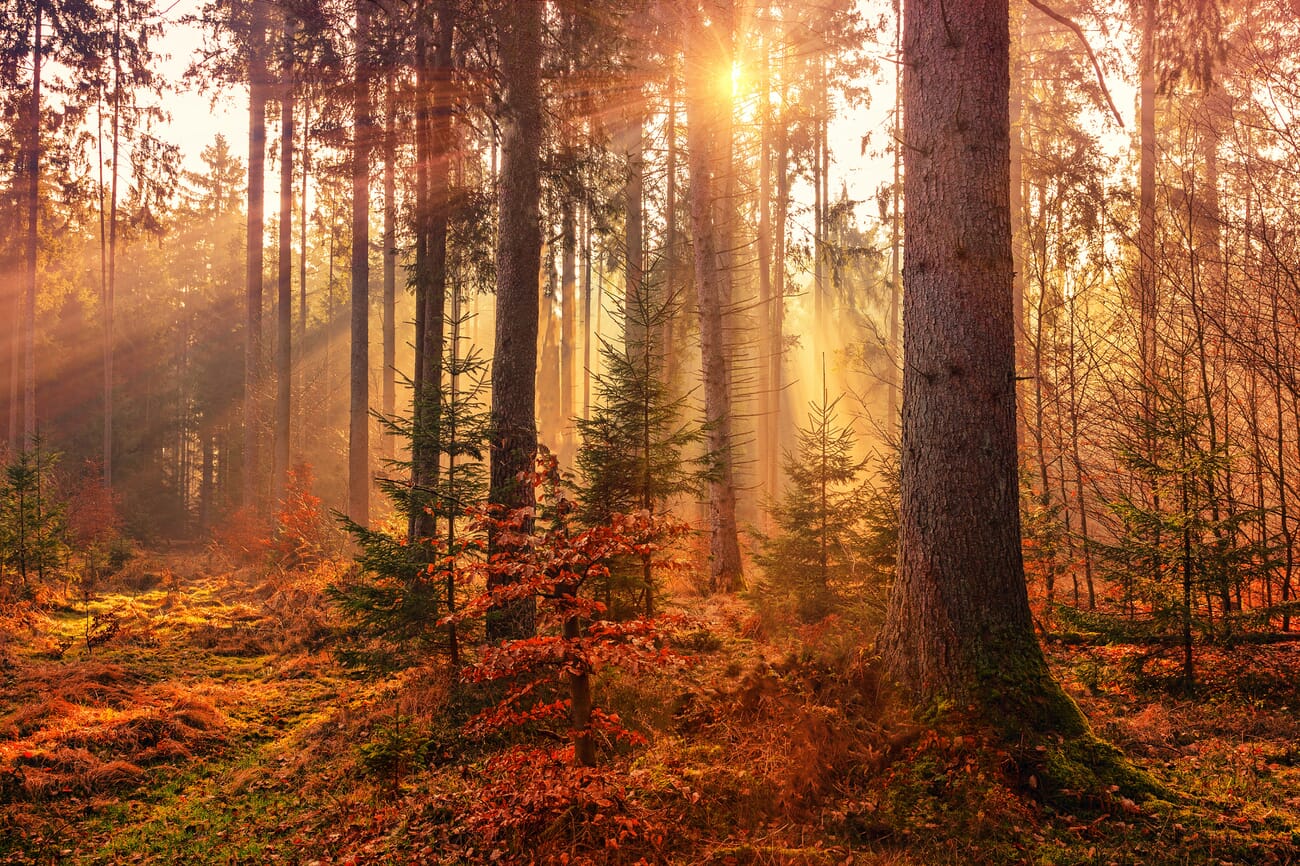
Shoot During Golden Hour
Golden hour (the first and last hour of sunlight) provides naturally low-angle sidelight that is warm, soft, and perfect for texture. The warm color temperature adds richness to earthy textures like wood, stone, and brick. The low angle creates long shadows that emphasize every surface irregularity. If there is one time of day to prioritize for texture photography, golden hour is it.
Use Weather to Your Advantage
Rain, frost, and snow transform textures. A rain-soaked cobblestone street reflects light differently than a dry one, adding a glossy sheen that contrasts with the rough stone. Frost outlines every leaf vein and blade of grass in white crystals. Fresh snow smooths some textures while creating new ones on tree branches and rooftops.
Overcast skies also have their place. While they lack the dramatic sidelighting of golden hour, they provide even, shadowless illumination that reveals the true tonal range of a texture without harsh highlights or deep shadows. This is ideal for documenting textures where accuracy matters more than drama.
Use Manual Mode for Full Control
When texture is the priority, manual mode provides full control over the exposure triangle. Choose a low ISO (100-400) to minimize noise that competes with fine texture detail. Select an aperture of f/8 to f/11 for maximum sharpness across the frame. Adjust shutter speed to compensate — and use a tripod if needed. Automatic modes may overexpose bright textures or underexpose dark ones; manual mode ensures the texture is captured exactly as intended.
Related Posts
Frequently Asked Questions
What is the best lighting for texture photography?
Sidelight at a low angle is the single best lighting setup for texture photography. When light rakes across a surface at roughly 45 to 90 degrees, every ridge and groove casts a shadow that reveals the texture. Golden-hour sunlight provides this naturally. For indoor work, position a single light source (a window or studio light) to the side of the textured surface and experiment with the angle until the shadows look most dramatic.
How do you take sharp texture photos?
Use a tripod, shoot at f/8 to f/11 (the sharpest aperture range for most lenses), keep ISO low (100-400), and use a remote shutter release or timer to eliminate camera shake. For macro texture work, focus stacking merges multiple shots at different focus distances for edge-to-edge sharpness. In post-processing, apply moderate sharpening and use the Texture slider in Lightroom to enhance surface detail.
Can you photograph texture with a smartphone?
Absolutely. Smartphones excel at texture photography thanks to their deep depth of field and macro capabilities. Shoot in ProRAW or DNG format for maximum editing flexibility. Use the phone’s macro mode for close-up textures. Pay close attention to lighting — sidelight from a window is just as effective with a phone as with a professional camera. Brace the phone against a stable surface to prevent motion blur at close distances.
What settings work best for texture photography?
For maximum texture detail, shoot in manual mode at ISO 100-400, aperture f/8-f/11, and adjust shutter speed for proper exposure. Use a tripod if the shutter speed drops below 1/focal length. Shoot in RAW format to preserve the most tonal data for post-processing. Set white balance manually if shooting under mixed lighting to ensure accurate color representation of the texture.
What is the difference between texture and pattern in photography?
Texture describes the surface quality of an object — how rough, smooth, or detailed it appears. Pattern describes the repetition of elements — shapes, colors, or forms that repeat in a predictable way. A brick wall has both: the rough, gritty surface of each brick is texture; the repeating grid of bricks and mortar lines is pattern. Texture is about touch; pattern is about rhythm. The two often coexist and complement each other.
