Aperture Priority: Key Takeaways
- Aperture Priority lets you choose the aperture and ISO, while your camera chooses the shutter speed
- Aperture lets you control both the exposure and the depth of field (i.e., the amount of your photo that’s in focus)
- Use Aperture Priority when you want to use your aperture for a specific artistic result
- You can also use Aperture Priority when the light is changing quickly
- Avoid Aperture Priority when you want control over your shutter speed
Do you want to know what Aperture Priority mode is? And how you can use it to capture beautiful images?
Then read on.
Aperture Priority Mode:
Because in this article, I’m going to tell you everything you need to know about Aperture Priority mode.
By the time you’ve finished, you’ll be an expert — and you’ll know the perfect way to use it for gorgeous photos!
Let’s dive right in.

What Is Aperture Priority Mode?
Aperture Priority is one of the basic camera modes that allow you to take control of your camera settings.
Specifically, Aperture Priority allows you to select an aperture and an ISO, while your camera selects the shutter speed.
This is in contrast to Auto mode, where your camera selects all settings and you simply press the shutter button, and Shutter Priority mode, where you select the shutter speed and ISO and your camera selects the aperture.
But why is aperture actually important? What does it actually do?
Why Aperture Matters
Aperture refers to a diaphragm inside your lens.
The wider the diaphragm, the more light it lets in.
And the narrower the diaphragm, the less light it lets in.
Which is why the most basic function of aperture is to brighten or darken your photos.
Widen your aperture, and you’ll end up with an image like this:

Narrow your aperture, and you’ll end up with an image like this:

Make sense?
In other words: By restricting the amount of light let in by the lens, your images experience a shift in exposure.
Now, aperture is referred to using some very basic terminology:
F-numbers.
They look like this:
f/1.8, f/2.8, f/5.6, f/8, f/16, etc.
The smaller the f-number, the wider the aperture, and the brighter your photos will turn out (all else being equal).
So a photo taken with an aperture of f/1.8 will be brighter than a photo taken with an aperture of f/2.8, which will be still brighter than a photo taken with an aperture of f/5.6.
In other words:
The aperture influences the overall exposure.
But the aperture isn’t just important because of the exposure. It also matters for another big reason:
Depth of field.
What Is Depth of Field?
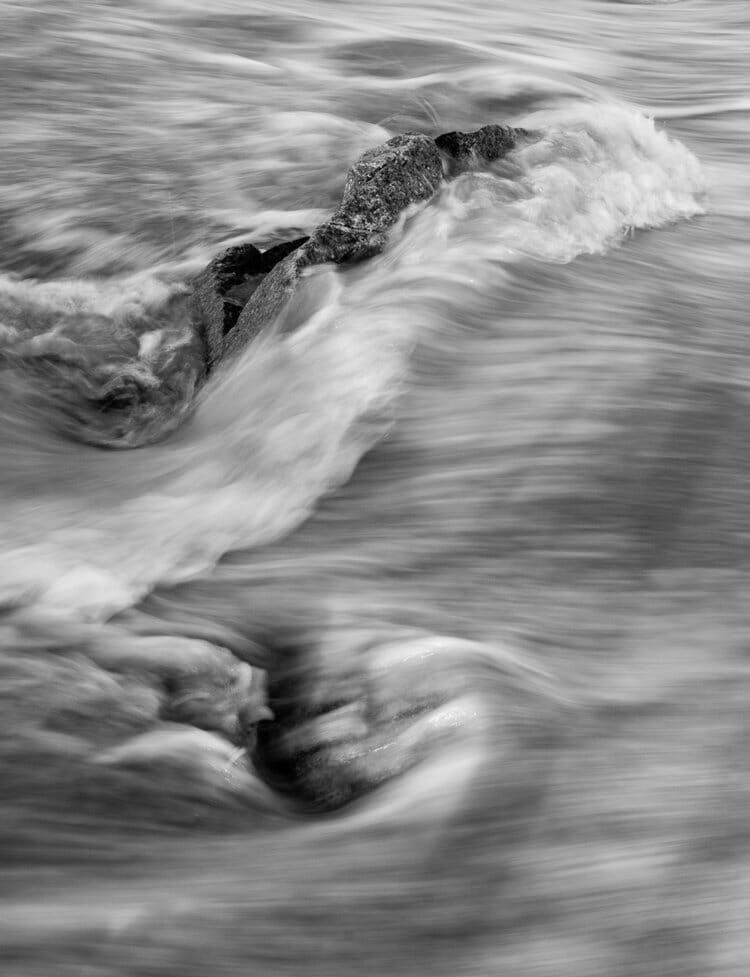
Depth of field refers to the amount of your scene that’s sharp.
So when you have a deep depth of field, the entire scene will be sharp throughout:
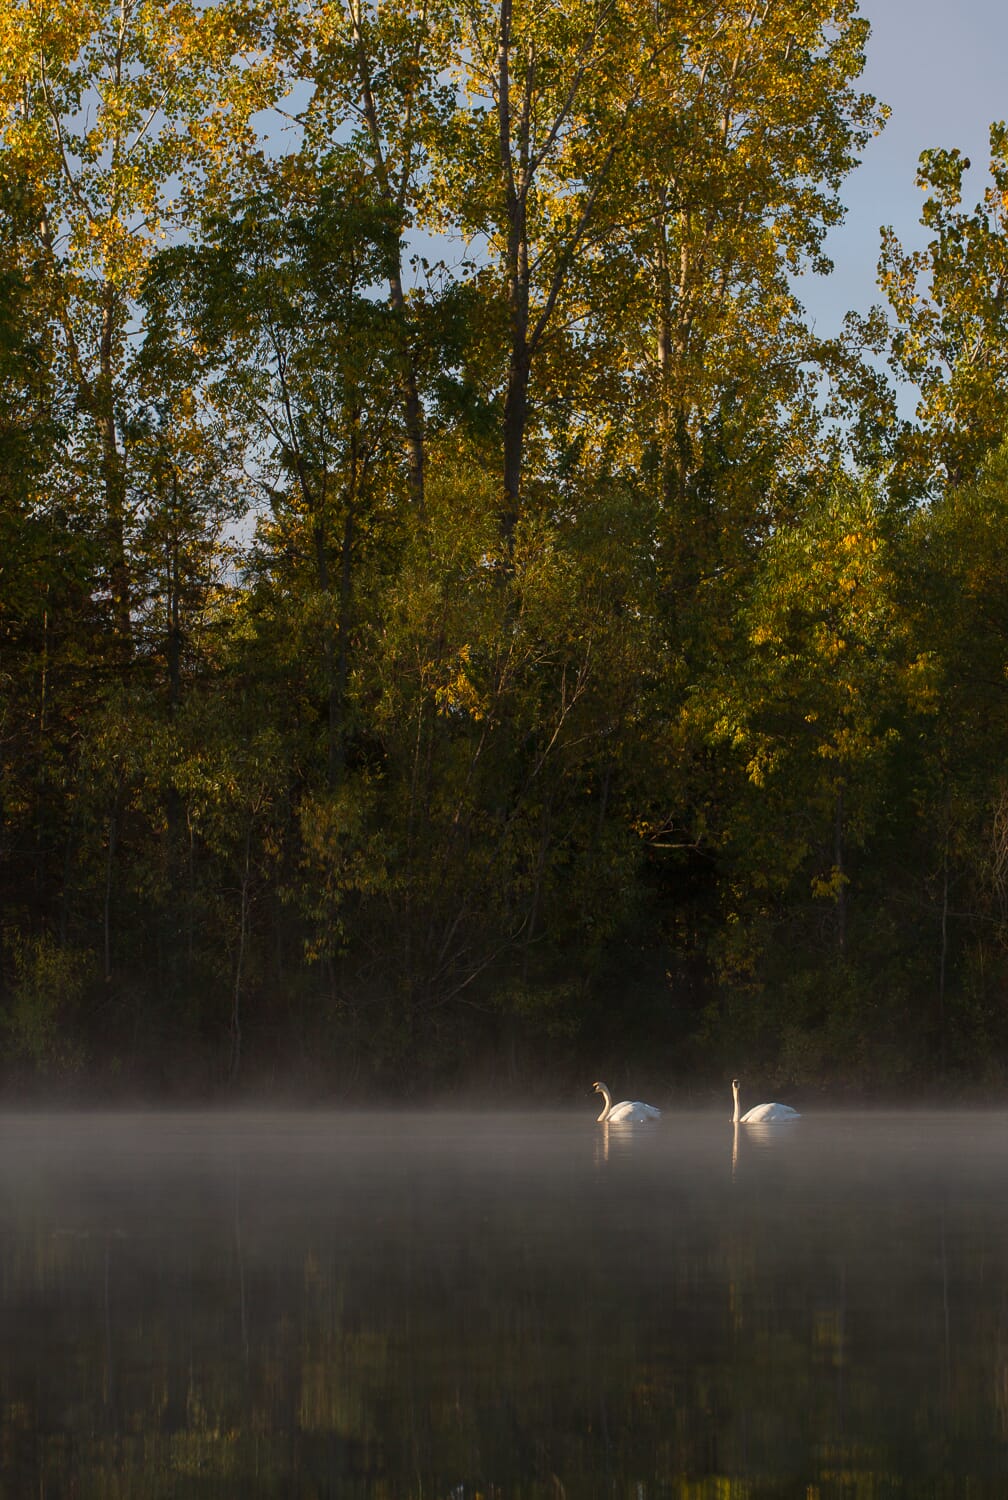
Whereas when you have a narrow depth of field, only a sliver of the scene will be sharp:

This is important for artistic reasons. A narrow depth of field will give you a very detailed scene, one that feels very realistic–whereas a wide depth of field will result in an artistic look that really makes your subject pop.

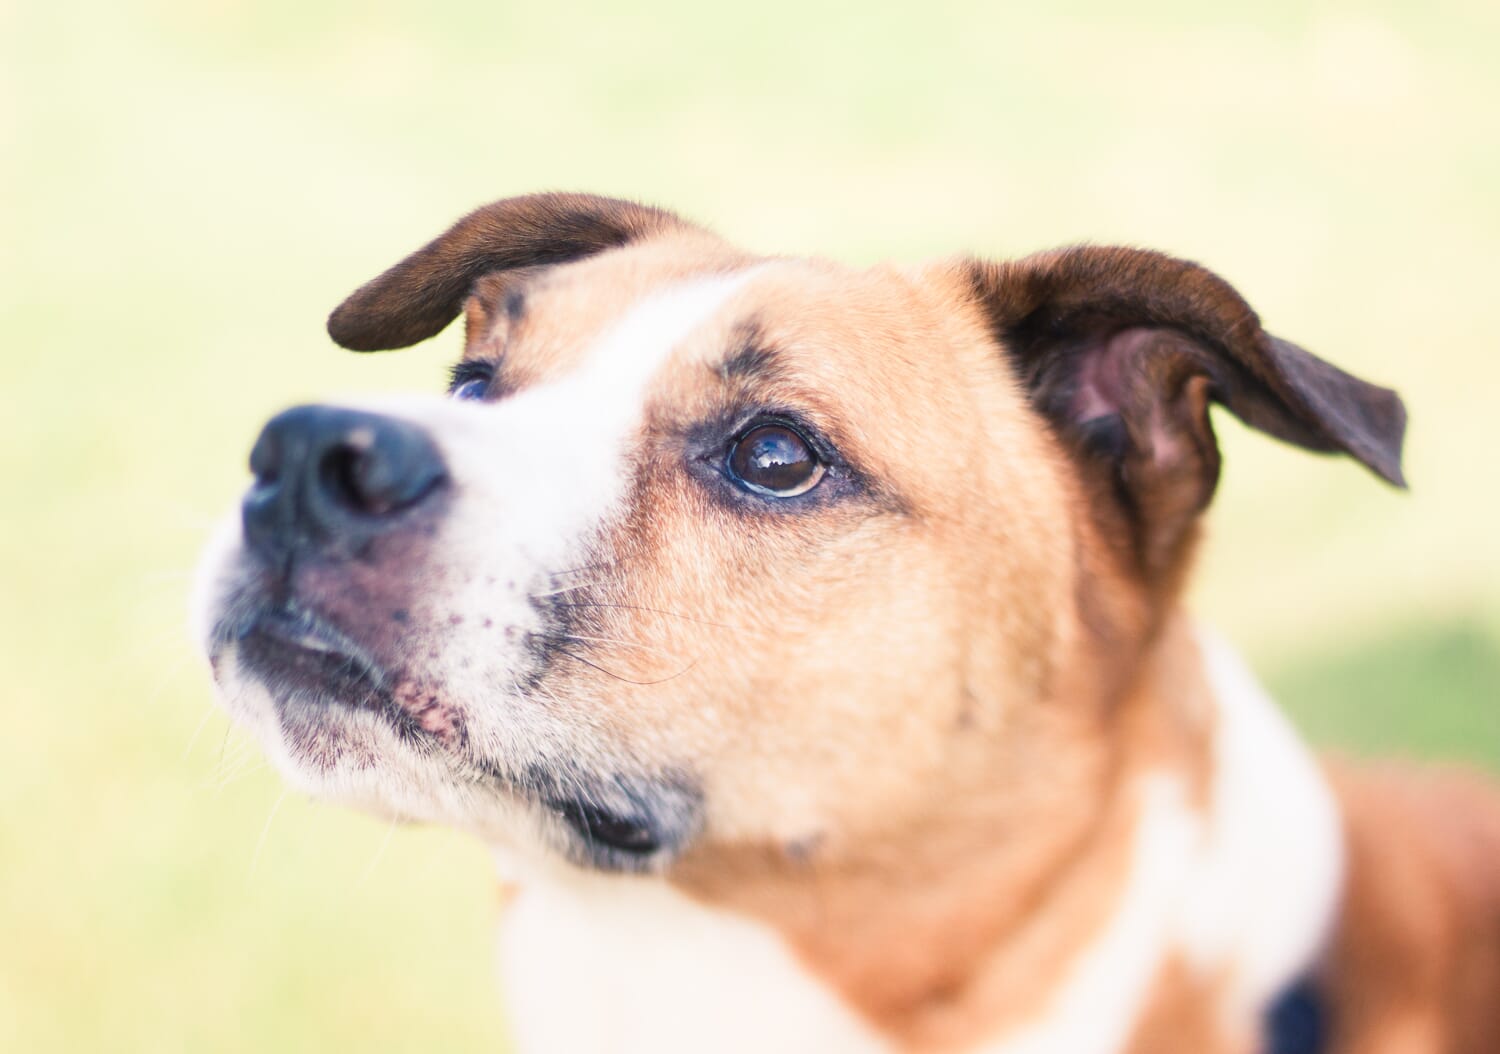
Now, the lower your f-number, the narrower the depth of field.
So an f-number of f/1.8 will result in a photo like this:

Whereas a higher f-number (e.g., f/16) will result in a photo that’s sharp throughout, like this:

Make sense?
That’s where Aperture Priority becomes especially powerful.
Because you can use it to determine your aperture–and hence your depth of field.
You can use Aperture Priority to create an artistic photo, like this:

Or a landscape image, like this one:
Or anything in between!
Nice, right?
Aperture Priority and ISO
Aperture Priority doesn’t just let you choose the aperture; it also gives you control over your ISO.
Fortunately, ISO is a very simple setting to understand:
The higher the ISO number, the brighter the exposure (all else being equal).
And the lower the ISO number, the darker the exposure (again, all else being equal).
Because, technically speaking, the ISO is like a brightness amplifier.
The higher you set it, the more it boosts camera brightness.
Unfortunately, raising the ISO comes with an unpleasant side effect:
It increases image noise.
Noise looks bad and grainy, like lots of little spots on your photo.
So while it can be very useful to boost the ISO to brighten up your images, you should do it very carefully.
Boost the ISO too much, and you’ll end up with a very noisy image.
How to Use Aperture Priority: A Step-By-Step Walkthrough
Now that you know all about the power of Aperture Priority, it’s time to look at how it should be used for the best possible images.
You have three goals when working with your camera settings:
Get a good exposure.
Create the artistic result you want.
And keep the image as high quality as possible.
Fortunately, in Aperture Priority mode, your camera takes care of exposure for you.
You set the aperture and ISO–and your camera will set a shutter speed that will balance things out for a nice, even exposure.
This often works well. But when your camera fails and gives you an image that’s too bright or too dark, you can always fix things with exposure compensation (which allows you to brighten or darken your images at will).
Anyways:
While your camera deals with exposure, you still have two priorities:
Get the right artistic result, and keep the image at a high quality.
So here’s what I recommend you do.
Step One: Set your aperture to achieve your desired depth of field.
In other words, decide whether you want a shallow depth of field:

Or a deep depth of field:

And set your aperture accordingly. Bear in mind that a shallow depth of field often works well when you have a distinct subject that’s separate from the background, whereas a deep depth of field works well when everything in the image is important.
Next, set your ISO to your camera’s native option. This is usually ISO 100, but can be ISO 160, ISO 200, or something else entirely.
At this point, your camera will have selected a shutter speed based on its exposure reading. So take a test shot to make sure that everything looks good–and if the exposure seems off, dial in a bit of exposure compensation to fix things.
Then, last of all:
Look at the camera’s selected shutter speed.
Ask yourself:
Is it fast enough to capture your subject and prevent any blur?
If you’re photographing a fast-moving subject, you’ll want a shutter speed of at least 1/500s (and often even higher).

If your subject is completely still, you can get away with a shutter speed of around 1/100s, but you’ll want to keep your camera as steady as possible.

If your shutter speed is fast enough, then you can go ahead with your photos. But if it isn’t fast enough, you’ll need to either boost the ISO or widen the aperture–because this will cause your camera to raise the shutter speed.
Why does it work this way?
Remember, your camera is trying to create a good, detailed exposure. So when you increase the ISO or widen the aperture, you effectively brighten the image. To compensate (and keep the image at its previous exposure level), your camera will boost the shutter speed.
In general, I start by widening my aperture a little–and if that doesn’t do the trick, I raise my ISO. But if you have a camera that doesn’t produce noise at higher ISOs, go ahead and start there; ultimately, it’s really all about weighing the tradeoffs so you can come away with the best possible image.
When Should You Use Aperture Priority Mode?
Aperture Priority mode is very popular among photographers, and for good reason:
It allows you to set the most artistic part of your images (the depth of field) with care, while choosing the shutter speed that will get you a good exposure.
It’s especially good for situations where the aperture is very important–for instance, when you’re doing portrait photography and want to keep the aperture wide, or when you’re doing architectural photography and want to keep the aperture narrow.

Aperture Priority is also very good when the situation is fast-paced and the light is changing rapidly. Because your desired aperture will rarely change, but the different lighting scenarios will require different shutter speeds to keep things looking bright and detailed.
On the other hand, Aperture Priority isn’t always ideal when it’s critical you maintain a certain shutter speed; here, you might prefer to use Shutter Priority, where you can dial in the shutter speed you need, and let your camera select the best aperture for a good exposure.
Aperture Priority can also be a frustrating mode when you need to have control over every variable–aperture, shutter speed, and ISO. You can still arrive at the same result via exposure compensation, but it can be less intuitive; this is why many landscape and macro photographers will often work in Manual mode.

Related Posts
Aperture Priority Mode: The Next Step
Now that you’ve finished this article, you should know all about Aperture Priority mode.
And you should be able to confidently get beautiful exposures!
Just do a bit of practice to cement the ideas, and your results will look great–I guarantee it!

What is Aperture Priority mode?
Aperture Priority mode is a basic camera mode that allows you to control the aperture–while your camera selects the perfect shutter speed for a good exposure. You can also adjust the ISO when shooting in Aperture Priority mode, though you’re often also able to set it to Auto ISO (but I generally don’t recommend this).
Is Aperture Priority mode the best way to get good exposures?
Aperture Priority is a good way to get well-exposed images, but it’s not the only way, and it’s not the best way in every situation. There are times when you’ll want total control over your settings, which is when Manual mode is the better option–and when the shutter speed is especially important, you might want to consider Shutter Priority mode.
Does Aperture Priority mode allow you to change your ISO?
Yes! You can change your ISO when in Aperture Priority mode. You also have the option to set it to Auto ISO, but I’m not a huge fan of this setting. It can be useful, however, if you’ve identified the maximum ISO that you’re comfortable with, and you dial that in as an ISO limit.
When should you use Aperture Priority mode?
I recommend using Aperture Priority mode whenever the depth of field is important from an artistic perspective–for instance, you need to achieve a particularly deep depth of field for an architectural photo, or a particularly narrow depth of field for a portrait shot. You can also use Aperture Priority mode in situations where the light is changing rapidly, because it will allow you to quickly achieve the correct exposure (without having to fiddle with other camera settings).