Photography Tips for Beginners: 22 Techniques That Actually Work
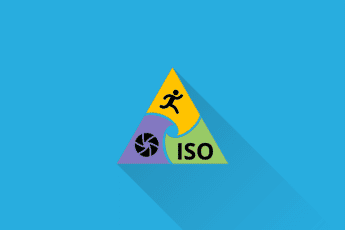
Master the fundamentals of photography with 22 actionable beginner tips covering light, composition, the exposure triangle, smartphone photography, editing, and more. Practical techniques for mirrorless cameras, DSLRs, and smartphones — with visual examples and a printable cheat sheet.