Editor’s Key Takeaways: Unlocking the Power of Light in Photography

The post provides an in-depth analysis of the importance of light in photography, highlighting its critical role in successful outcomes. It works through the properties of light, including how it varies by source and color, and provides practical guidance on how to make use of different types of light.
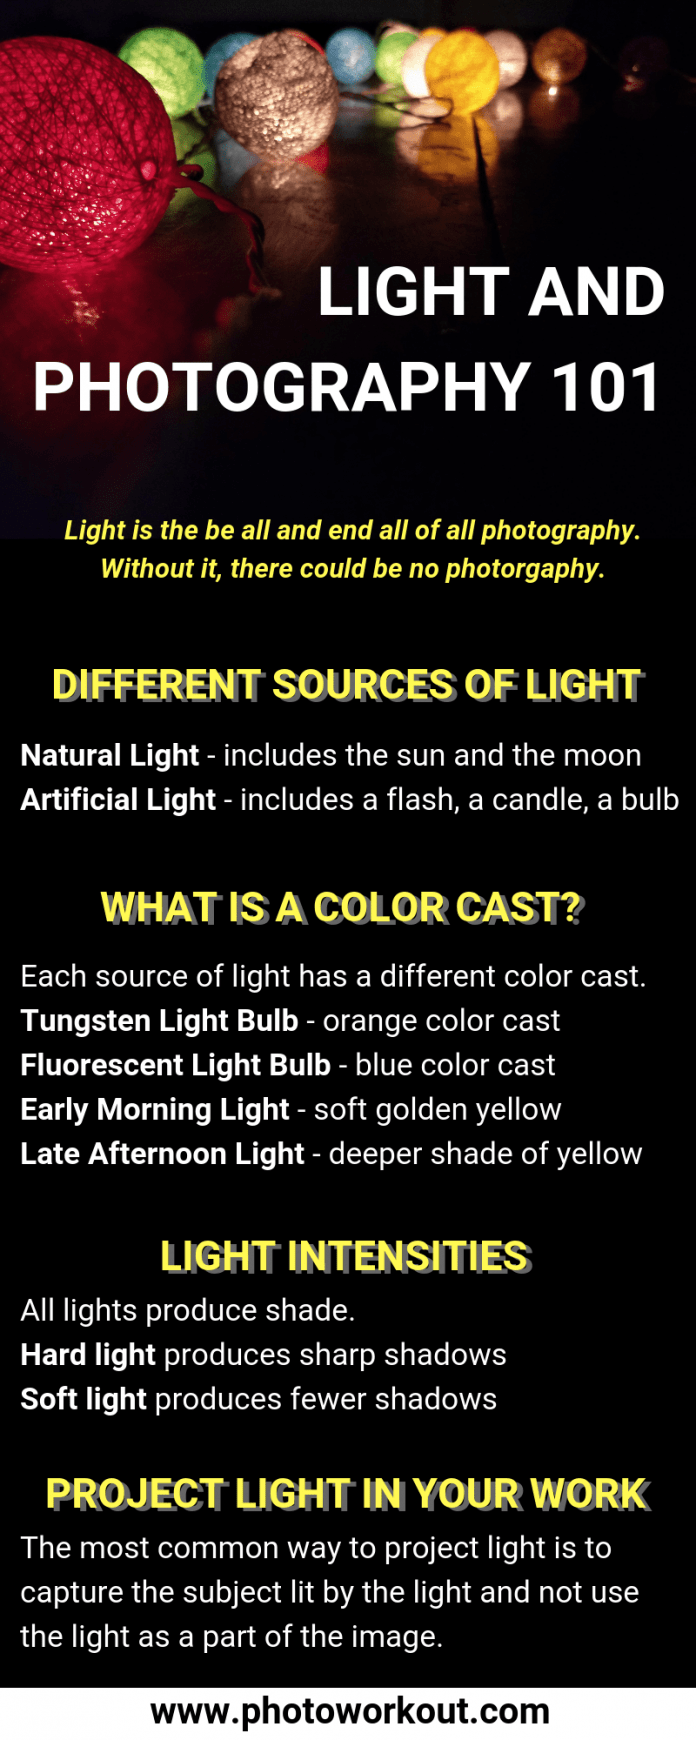
- Different Sources of Light: The post mentions two primary sources: natural (e.g., the sun, the moon), and artificial (e.g., flash, candles, tungsten bulbs). Both types of light can lend themselves to unique photographic styles and effects, and are used based on individual preferences and the specific photo style that is being pursued.
- Light Varies in Color: The color of the light, also known as color cast, depends on its source. For example, a tungsten light bulb produces an orange color cast, which gives pictures a distinct orange saturation. This color cast can be used creatively to achieve a specific look and feel in photos.
The post also delves into more advanced topics, such as how to project light in one’s work and how to use artificial lights, including key and fill lights, effectively in photowork.
Introduction
What is the most important aspect of photography?
- Some would say it is the camera or the lens.
- Others would say it is the ‘photographic sense’ something that is acquired by most over years of practice while a rare few are born with it.
- And some would even say traveling because that is how you can experience moments that are worth capturing.
I feel it is the light that assumes critical importance in photography.
Light is the be all and end all of all photography. Without it, there could be no photography. Thus, seeing the light, and more importantly, understanding it is the first critical step in your journey as a photographer.
Importance of Light in Photography:
Different Sources of Light
There are two sources of light that we photographers talk about and work with all the time.
Natural and artificial.
- Natural sources of light include the sun and the moon.
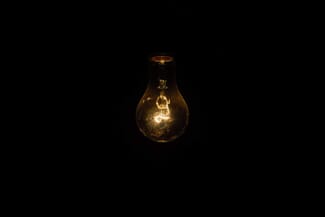
- Artificial sources of light include a flash, a candle, a tungsten bulb, etc.
Photographers use both these types of light. There are however preferences based on the style or the type of photography that an individual practices.
Both of these sources of light have their advantages and disadvantages. We will learn about one such comparative advantage under the section “Soft Light.”
Light Varies in Color

Each source of light has a particular color cast that it imparts.
Color cast is what is known as the color of the light. A tungsten light bulb, for example, has an orange color cast. That is why when you shoot under a tungsten light bulb, your images have a distinctly orange saturation.
Of course, unless your camera has been set to adjust for the right white balance and therefore compensates for the color cast.
Similarly, a fluorescent light bulb imparts a typically blue color cast to anything that it illuminates.

Early morning light has a soft golden yellow hue. The late afternoon light is a deeper shade of yellow, close to orange. When it is overcast, the light tends to be blueish.
Color cast invariably brings into the equation the need for color correction. In the above example, we cited a tungsten light bulb imparting an orange color cast. The process of color correction involves removing the color cast so that the final light appears white.
Photographers talk about adjusting for color cast all the time. But it is not always necessary to do so. I mean, adjust for color cast.
One aspect of seeing the light is to realize what works and what does not regarding color cast.
Light Varies in Intensity
Light intensity denotes how deeper the shadows the light produces. All lights create shade.
There are two distinct levels of intensity – hard and soft.
Hard light produces sharp shadows.
When you select a small source of light in respect to the subject or place the light source at a much greater distance than usual, then we are talking about “soft light.” Once we move the subject closer to the light source, it can turn into “hard light.”
Thus, the same light source can be both a hard light or a soft light, depending on its distance from the subject.
This, as a result, is another important parameter of seeing the light.
Related Light Lessons
Some Examples of Hard Light
A small, bright light bulb is a source of hard light. A flash, set-up about 10’ from a subject, is another example.
Our sun, especially when it is high up in the sky, such as during noon time, is another example.

Hard light has its uses. It is the preferred lighting for Hollywood cinematographers when they want to inject a sense of suspense and mystery into a scene.
Hollywood lighting styles used by cinematographers in various motion pictures are a good way to learn how to work with light in your photography.
It is not always necessary to use a lot of light for creating a brightly lit scene. Shadows or dark areas in your images draw the audience’s attention too.
Soft Light

Soft light, on the other hand, produces fewer shadows. It wraps around the subject and is flattering. Such light is ideal for portraiture, flower, food and other types of photography.
Related Post: Portrait Photography Lighting Basics
Natural light goes through a series of changes in intensity depending on the conditions. Light during early morning and late afternoon is a lot softer than when the sun is much straighter in the sky. The latter being an example of hard light.
You should avoid the clear-day, mid-day sun shining right on top of you as it is not suitable for any photography (there are however some tricks you can apply, e.g. shoot under a tree).
Professional photographers tend to shoot using artificial light because “fake” light is more predictable.
Artificial light gives you a constant source of light to work with for extended periods of time. Having said that, technically no light can be called unsuitable. Each type of light has its applicability.
Projecting Light in Your Work
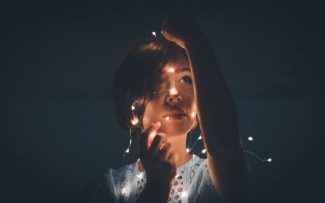
By projecting light in your images, I mean choosing whether to show the source of light within the frame. There is an interesting way to project light in your photos.
Let’s say you are making a candle-lit portrait. The subject in your image is lit by a hard light and is going to have a strong color cast.
The strong color cast wouldn’t be a problem because you can always correct that in post-processing using simple adjustments in Lightroom or Photoshop.
However, the face of the subject will be lit by a hard light and with it will be the deep shadows. This is something that cannot be avoided, and you have to take that into the equation.
If you choose to keep the candle in the image, it would be a nice way to project the source of light in the picture. The candle is the source of light in the image. But unlike other sources of light, it is very much in the frame.
The most common way to project light is to capture the subject lit by the light and not use the light as a part of the image. The above being an exception. There are of course other ways to do that.
How to Use Artificial Lights in Your Photography
Artificial light sources have been detailed above. The reason for the popularity of these light sources has also been detailed above. Artificial lights such as strobes and flash units can be gelled, modified and shaped to produce a highly personalized set-up. You can also use multiple artificial lights and even combine multiple sources of light to produce the desired effect.
Related Post: Best Continuous Lighting Kits
How to Use Multiple Sources of Light in Your Images
Two or more sources of light, both artificial and natural, construe a multi-light setup. For keeping this discussion easier, I will only refer to multiple artificial light sources.
A classic example can be a photographer using two flash units to light a scene.
One used as a key light, lighting the subject from the front, and the other as a fill light, lighting the subject from an angle and fired in from behind.

Key Light
The key light is the main light used in the image. There is a beginner misconception that the key light should always be in front of the subject. It is not true. The key light can be at an angle and even be positioned behind the subject.
Fill Light
The second light source will work as a fill light or in any other capacity as the photographer chooses. Fill light denotes a light source that is primarily targeted at filling in the shadows in a frame.
You don’t have to fire the key light and the fill light at the same intensity. Usually, the ratio of the two lights is different. This creates some dark areas in the areas that are opposite to the key light and gives depth and dimension to the composition.
Summary Infographic: Light 101