


- You don’t need new gear or exotic locations to improve — deliberate practice on a specific skill beats aimless shooting every time.
- Composition drills: shoot one subject 20 ways, work the rule of thirds, and fill a frame with ordinary objects at home.
- Consistency drills: photograph the same subject every day for a month, and run a no-agenda photowalk in your own neighbourhood.
- Confidence drills: take a street-portrait challenge and turn the camera on yourself for a self-portrait.
- Editing drills: edit a single RAW five different ways, and edit other photographers’ shots to break your own habits.
- Storytelling: pull a set of linked images into a photo essay. Most exercises work just as well on a phone as a camera.
Introduction
Learning photography can be tough. Where do you start? What type of photos do you take? But don’t worry; there are plenty of easy ways that you can improve your skills immediately — and they pair well with our beginner photography tips. To give you some direction, we have created a list of 10 photography exercises for beginners that anyone can do.
These exercises are easy to complete, and they require minimum gear. Many of them can be done in your local area without traveling. By having fun with these photography exercises, you can enjoy your hobby, but you can also improve your knowledge, skill, and creative eye!
1. Choose One Subject and Shoot It 20 Different Ways
There is a tendency for beginners to take the same types of photos. This is understandable. You stick with what you know and what you feel comfortable with.
However, to break free from this familiarity, choose a single subject. This could be a pet, an ornament, a plant or flower, or a person. The aim of this exercise is to photograph the subject in 20 different ways.

This may seem like an impossible task, but it’s not! You have to be creative and think about the subject. Let’s say you choose your dog as the subject. Potential ideas include a macro shot of the eyes, a portrait shot of the face, and a wide-angle photo of the dog playing in the garden.
Stuck for angles? Work through this quick checklist on a single subject: extreme close-up, full wide context, shoot from above, shoot from ground level, backlit, side-lit, through a foreground object, reflection, shallow depth of field, deep focus, fast shutter, intentional motion blur, tight crop, negative space, low angle looking up, top-down flat lay, silhouette, detail texture, with a person for scale, and a different white balance. That’s 20 without moving the subject.
This will help you see subjects in different ways. It will also expand your repertoire and your eye for composition — try pairing it with techniques like filling the frame.
2. Shoot the Same Subject Multiple Times for a Month
You can also take multiple photos of the same subject over an extended period of time.
Sticking with the subject of a pet: Take photos of the pet each day at different times and in different locations. This variation will further improve your creativity and imagination.
Also, by using different locations and times, you’re forced to think carefully about your compositions. You’ll find different lighting conditions and color palettes to work with, too.
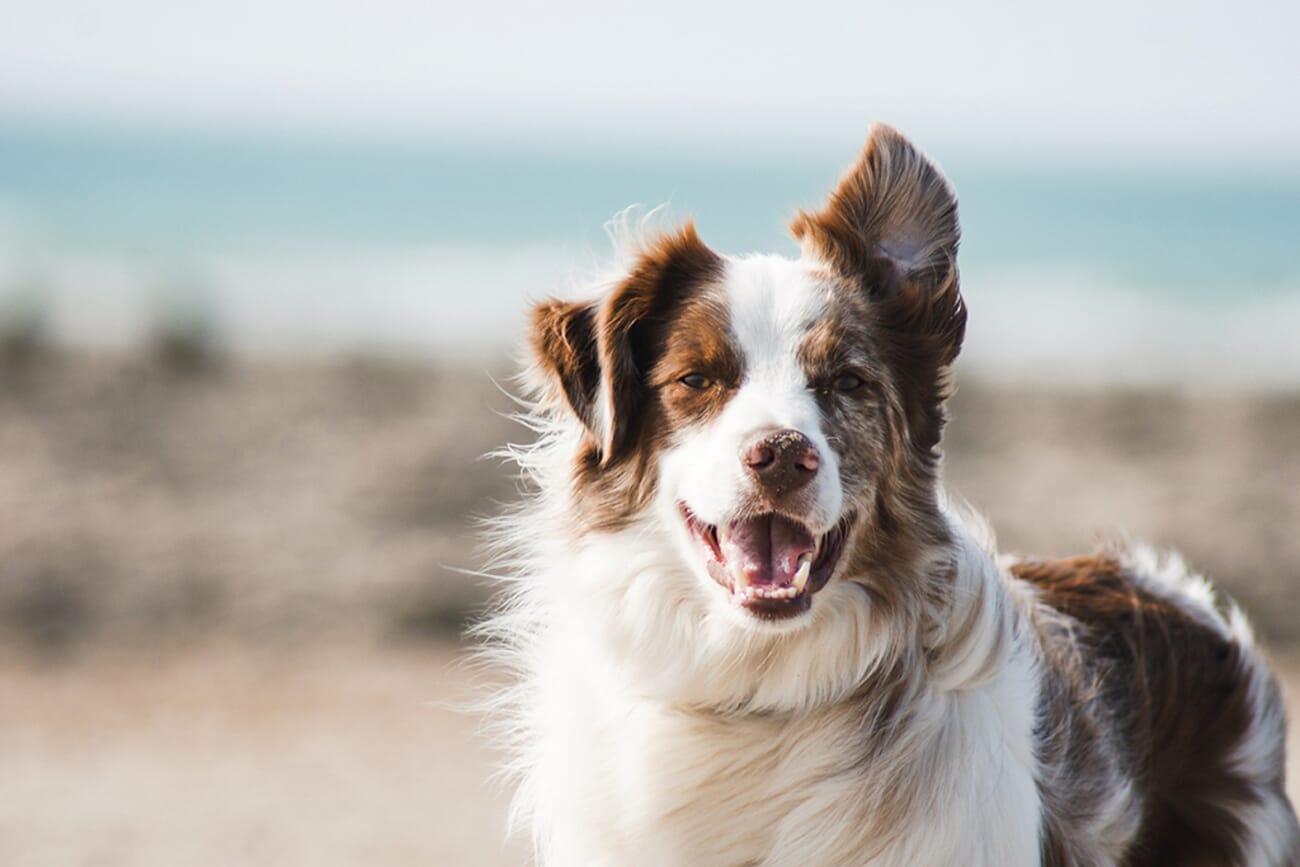
People are great subjects for this exercise, too. If your subject is willing, you could easily travel to lots of locations and take photos at a variety of times.
3. Do a Photowalk in Your Local Area
Photography doesn’t always have to involve traveling to exotic places or using an entire studio setup.
Instead, take your camera, head outside, and walk into your local community. This could be a high street, a shopping center, a city center, or a town square. Pick somewhere within a walking distance that is usually filled with the hustle and bustle of daily life.
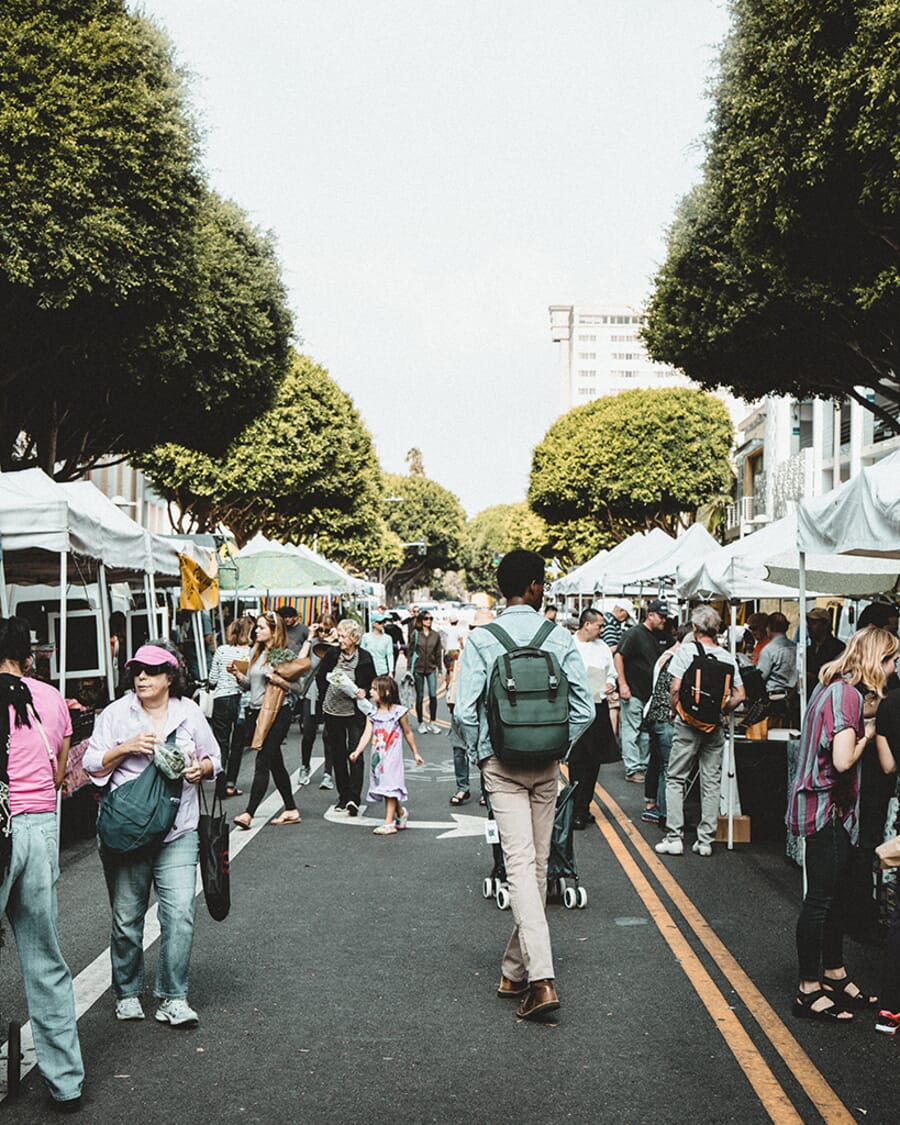
As you walk, take photos! There doesn’t have to be a pattern or reasoning behind your shots. Just take in your surroundings and photograph what you find interesting.
This is a great way to train your eye and improve your creative skills — it’s the foundation of urban photography. It’ll also improve your awareness and your ability to quickly adapt to different situations.
4. Street Portrait Challenge
The street portrait challenge is a fun photography exercise for beginners. It can also be pretty daunting.
This is a challenge where the aim is to photograph random people in the streets (with their permission, obviously!).
The challenge helps develop a number of skills. It primarily improves your portrait skills — your framing, and your command of portrait settings and lighting. A compact, quiet body helps; see our best street photography cameras.
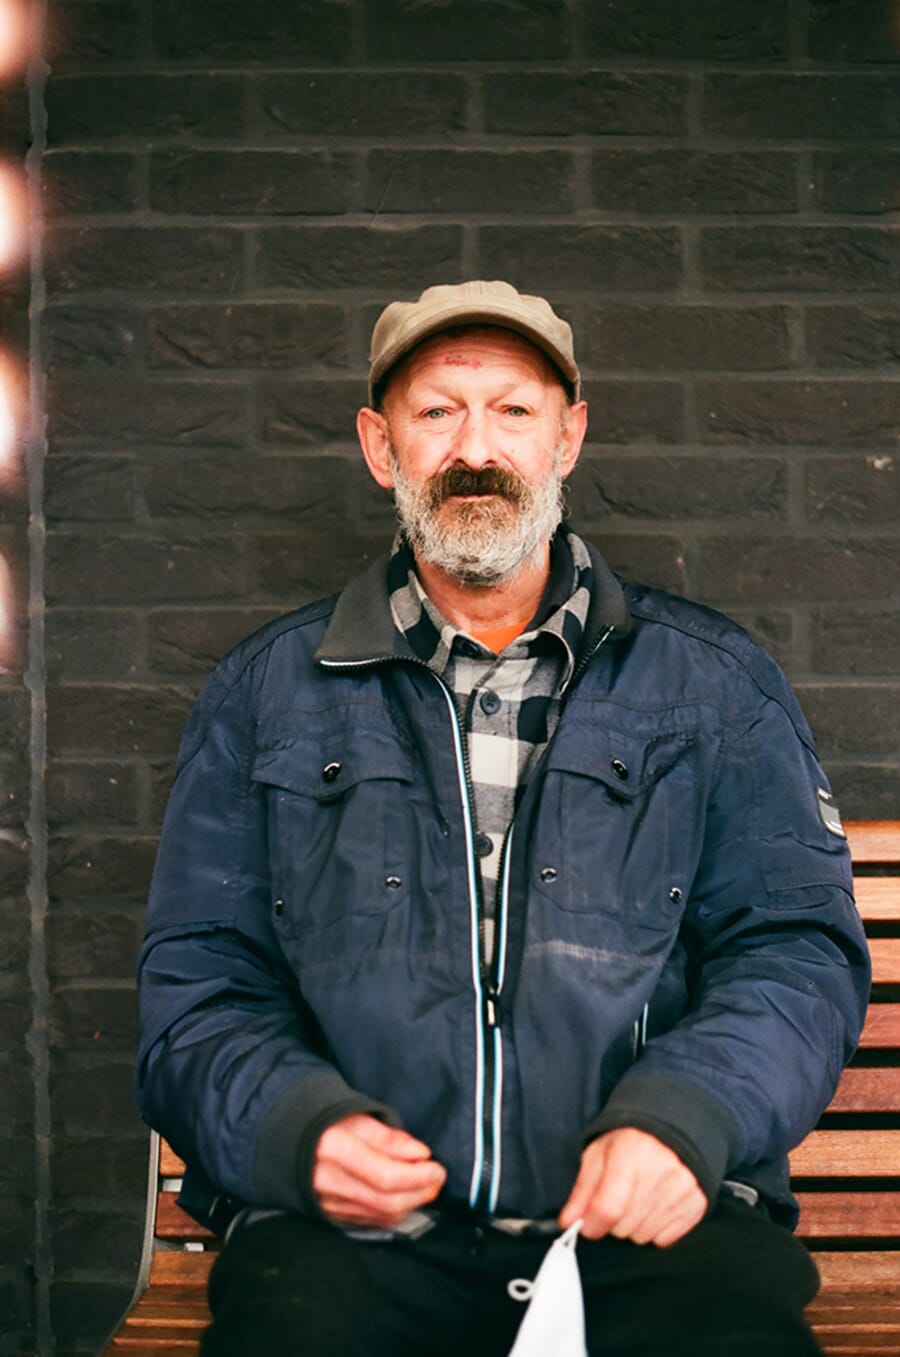
Second, this challenge will help build your confidence as a photographer. It is difficult to approach a complete stranger and ask to take their photo! But for the most part, people are welcoming and will enjoy the idea.
5. Edit Other People’s Photos
Analyzing your photography is a great exercise. However, you can have a biased view of your work. Therefore, a great photography exercise for beginners is to edit other people’s photos.
You do not have an emotional attachment to other people’s work. As a result, you can look at the photo objectively and edit it in an unbiased way.
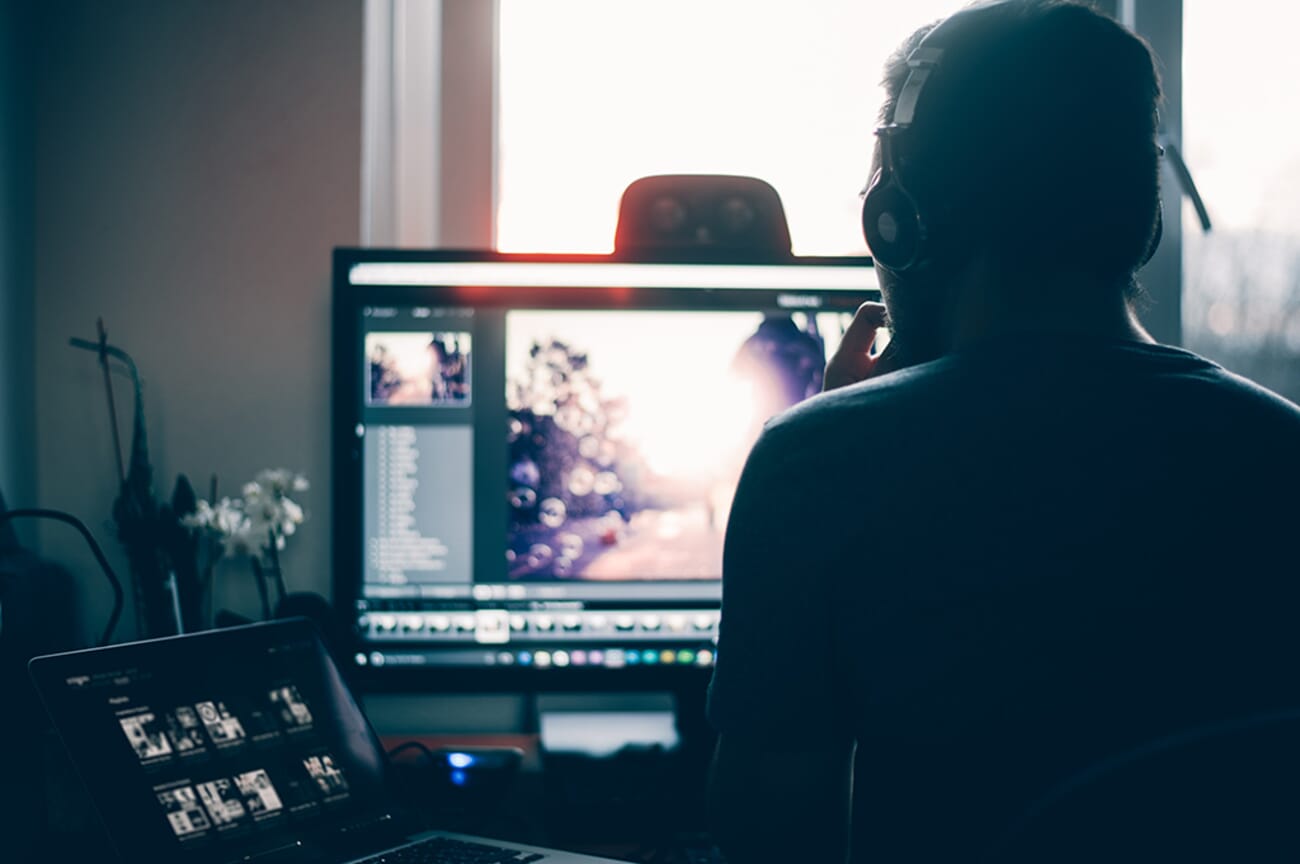
There are plenty of free stock photo websites with thousands of photos that you can download for editing. Examples include Unsplash, Pixabay, and Pexels. Select a handful of photos from these websites. Then import them into your favourite editor — our best AI photo editors guide covers the strongest options.
Once imported, spend time analyzing them. What makes the photo good? Are there any areas for improvement? Next, try editing the photo using your editing software. See if you can improve the shot!
6. Practice Using the Rule of Thirds
The rule of thirds is one of the first photography rules you should learn. It states that your main subject should not be centrally aligned in your photo. Instead, it should be positioned in either the top, bottom, left, or right third of your photo.
This positioning of your subject creates a far more pleasing and professional photo. You can see in the example below that the tower of the bridge is aligned with the left and bottom third of the photo. This looks much better than if the tower were centralized.

This doesn’t even have to be a dedicated exercise. Instead, you can try it whenever you frame a shot. And once it’s second nature, learn when to break it.
7. Photograph Objects in Your Home
Oftentimes, you don’t even have to step out of your home to practice photography! Your home is full of interesting objects that you can photograph.
The possibilities are endless. Spend a little time searching through each room in your home. You could use interesting ornaments, clothing, furniture, or your pets, for example. You can experiment with large apertures and try to create backgrounds with bokeh.
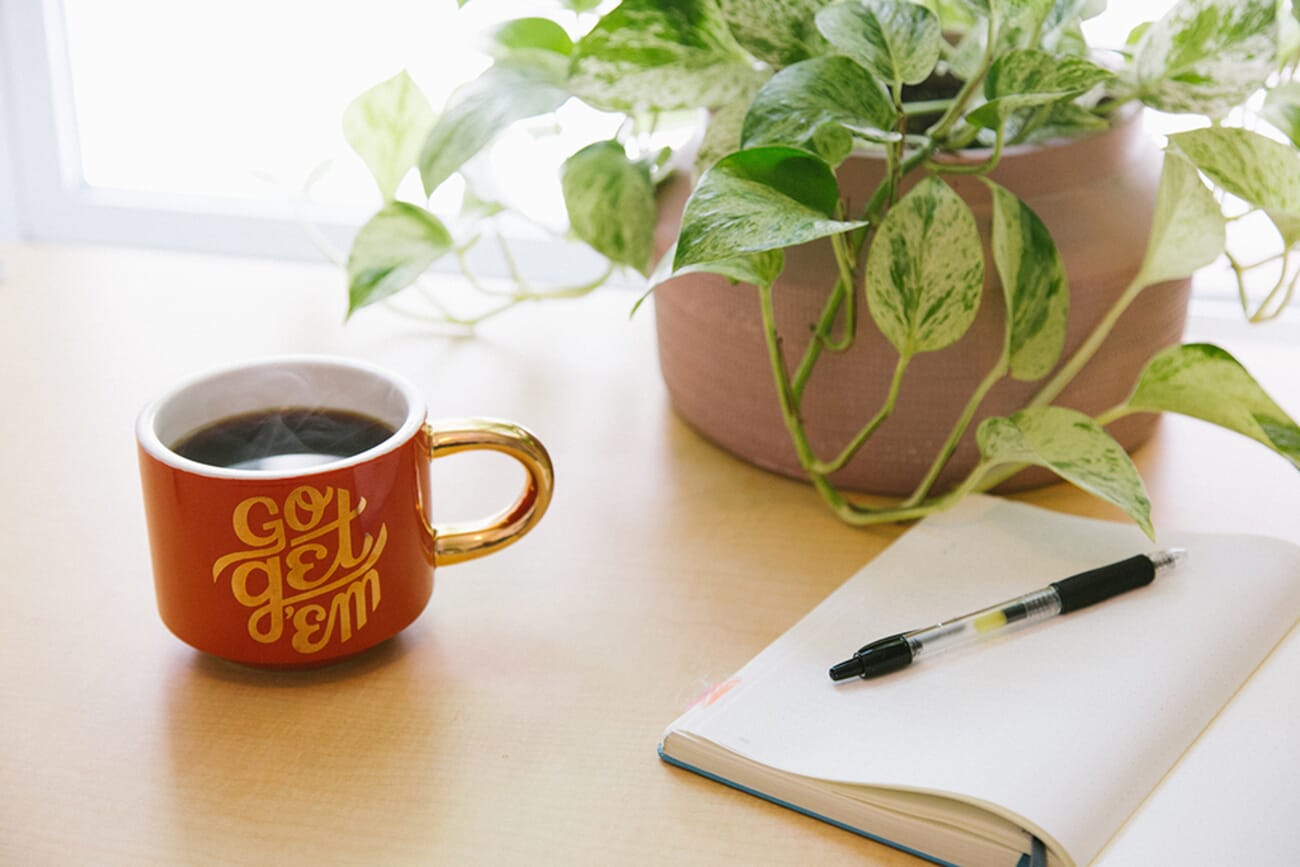
You can practice real estate interior photography, too. These are photos of rooms that help show the space, light, and structure. Plus, taking photos inside your home will help develop your understanding of natural light and shadow. It’ll also help improve your knowledge of ISO and low-light photography.
8. Edit a Photo Five Different Ways
Post-processing is an important part of photography, and editing software primarily helps improve your image quality. You can adjust the image characteristics and make a bland photo look fantastic.
Editing can also help increase your creativity and understanding of different photo techniques. That’s why a great photography exercise for beginners is to edit a single photo in five different ways.
Take a photo. Create four copies in your editing software (in some software you can create virtual copies, too). Then edit each photo in a completely different style. You will have to use your imagination and creativity to think of different styles, of course!
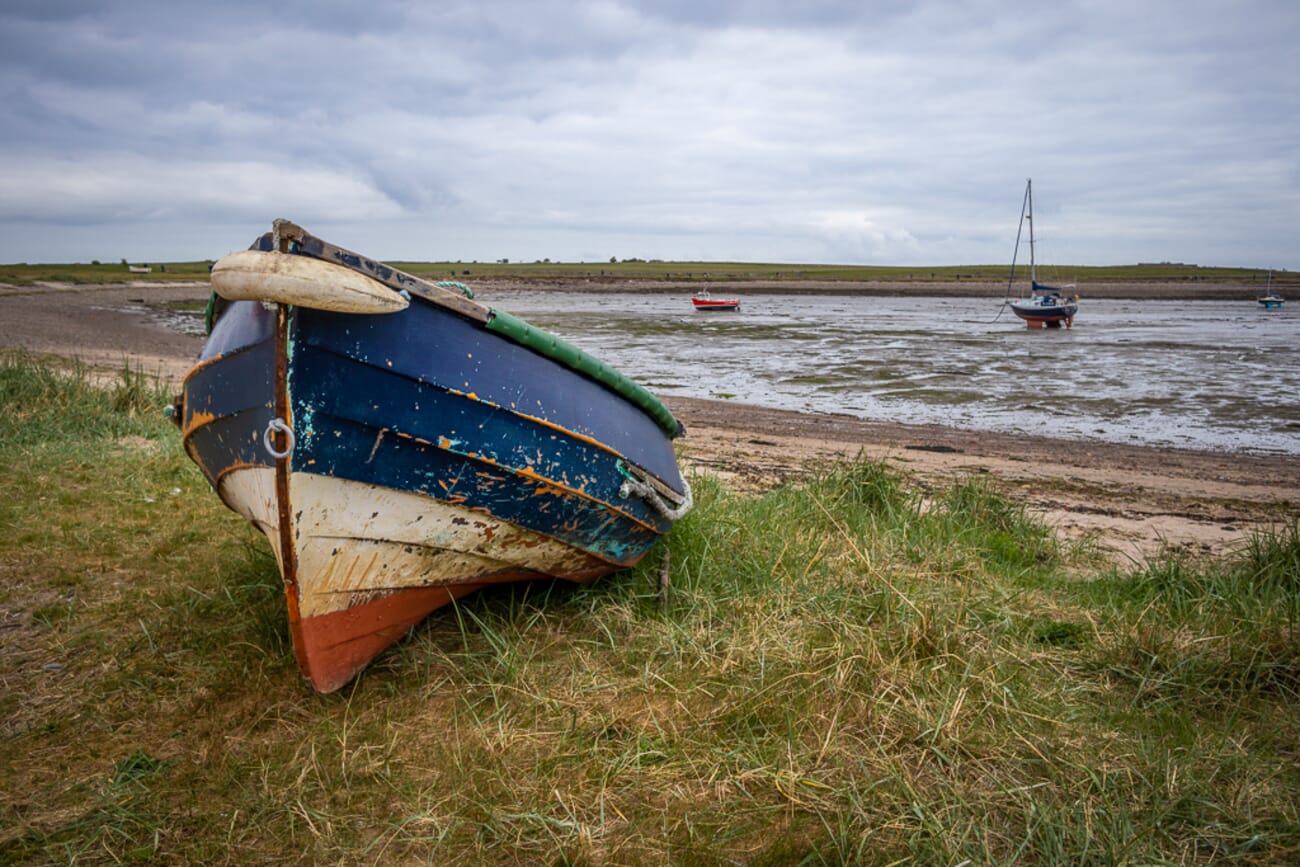
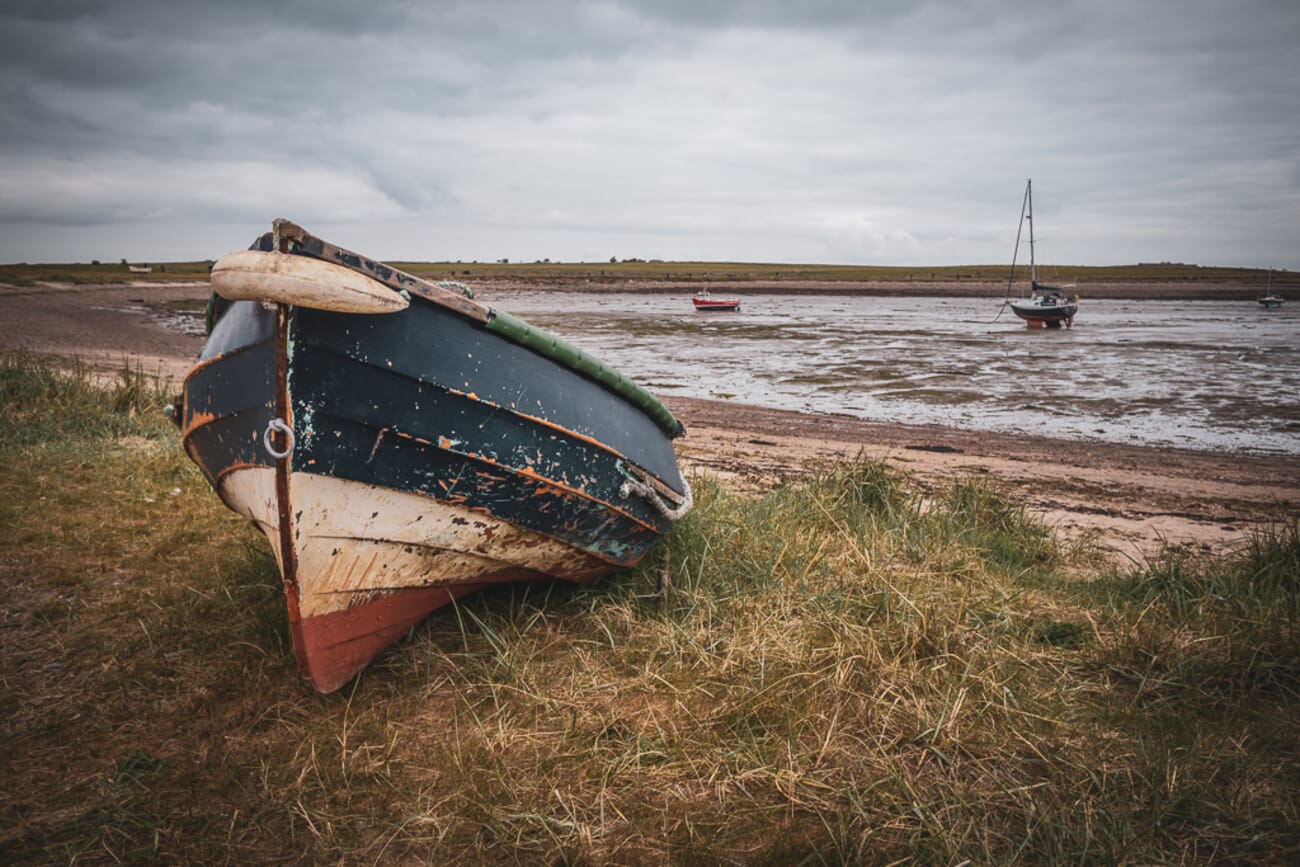
In the examples below, I edited this simple photo of a boat in three different ways. The first image featured a simple edit to improve the image quality. The second edit gave the photo a retro feel, while the third edit created a high-contrast black and white.
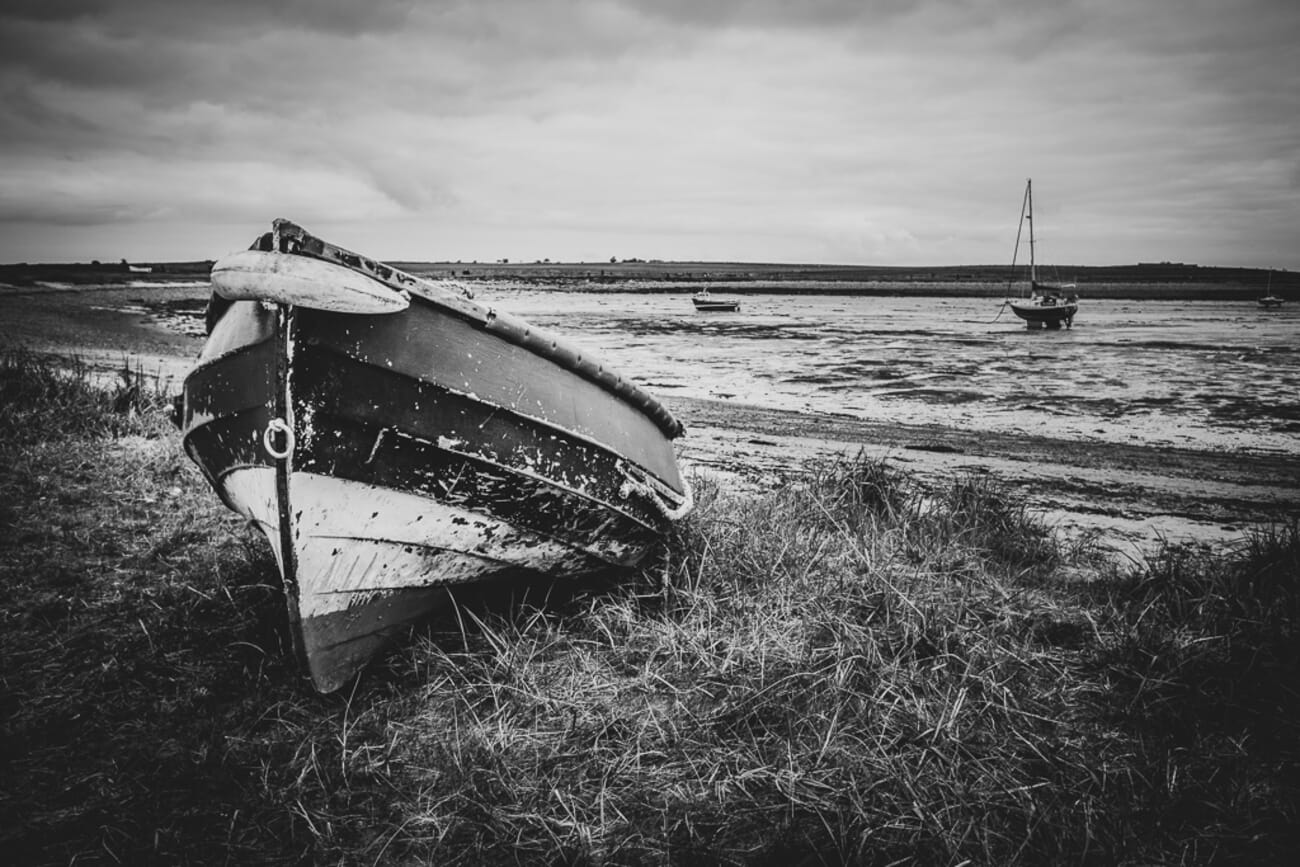
By doing this exercise, you can improve your understanding of editing techniques, and you can also gain a greater understanding of how different parameters like saturation and clarity affect each photo.
9. Create a Self-Portrait
A self-portrait is something that every photographer can do. It can be done anywhere and doesn’t require specialist equipment. To take an effective self-portrait, you may need a tripod and a remote shutter — you can even use your AirPods as an iPhone camera remote. However, you could simply hold the camera in reverse or balance it on a solid surface!
You can have fun with self-portraits. For example, you could try a range of unusual poses and faces and see what ridiculous photos you can create. You could try different outfits and position yourself against different backgrounds.
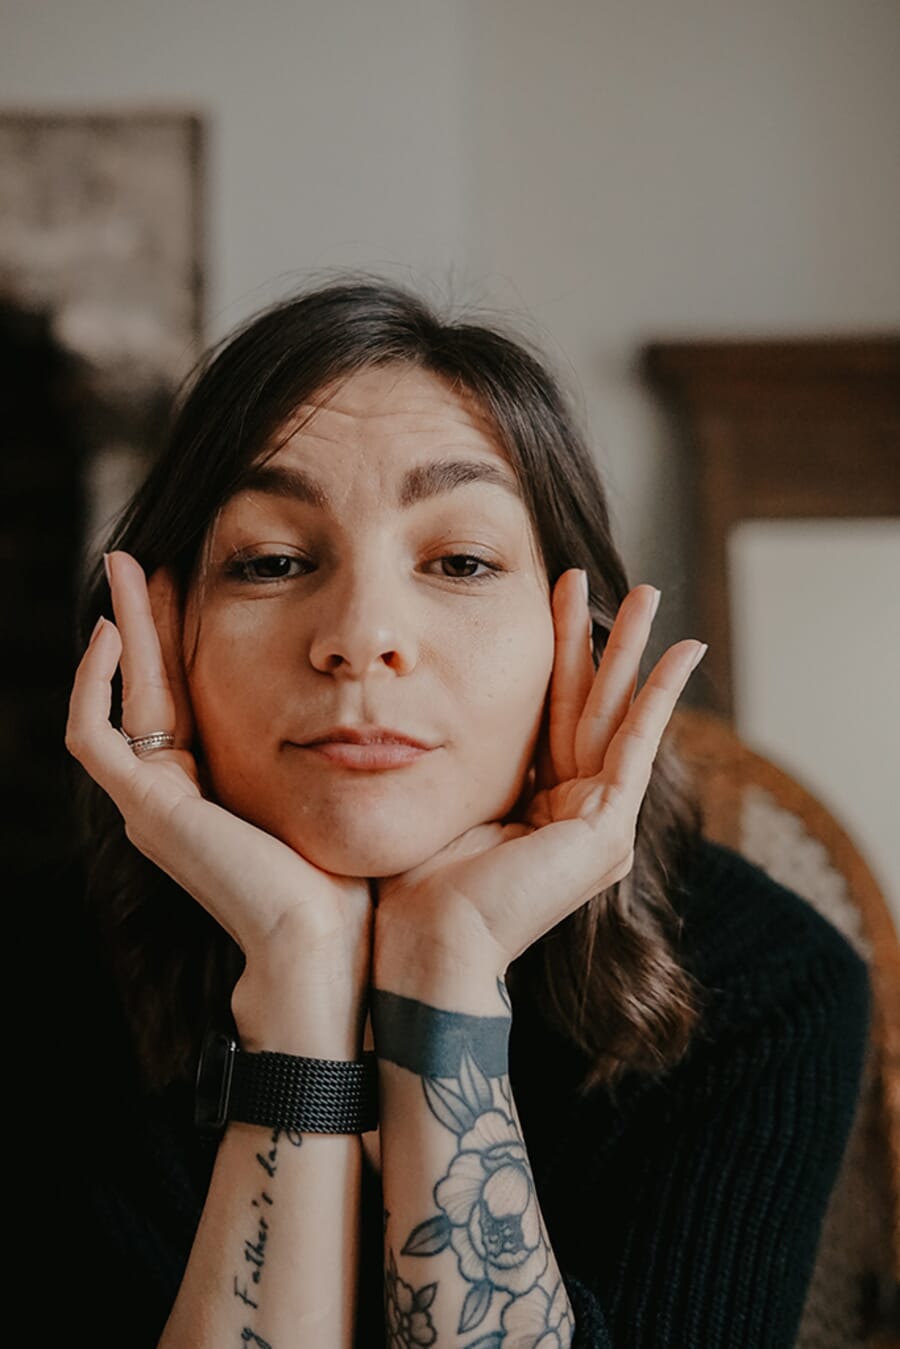
This photography exercise for beginners is a great way to improve your portrait photography skills. It also helps build your self-confidence if you don’t particularly like having your photo taken!
10. Create a Photo Essay
A photo essay is a series of photos that tells a story. Each photo should be linked in some way and show the progression of the story or the underlying theme.
For example, you could create a photo essay of a walk through your local community. Each shot could show a different part of the city or the people you meet.
The possibilities for photo essays are endless. You can have fun thinking of different themes and stories. This exercise helps improve your imagination. It also helps improve your ability to use photography to tell a story!
Frequently Asked Questions
What’s the best photography exercise for a complete beginner?
Start with “one subject, 20 ways” and the rule of thirds. Both are free, need no special gear, and build the two skills beginners lack most: seeing past the obvious shot, and composing deliberately.
Do I need an expensive camera for these exercises?
No. Every exercise here works on a smartphone. The point is to train your eye, your timing and your editing — skills that transfer to any camera you upgrade to later.
How often should I practise?
A little and often beats occasional marathons. A short daily drill — even ten minutes photographing one object at home — compounds faster than a once-a-month all-day shoot. The 30-day same-subject exercise is built around exactly that habit.
How do these exercises actually make me better?
They turn vague “practice more” into deliberate practice — each one isolates a single skill (composition, consistency, editing, confidence or storytelling) so you get focused reps and clear feedback instead of just accumulating random photos.
Try These Photography Exercises for Beginners!
If you’re looking to improve your skills, these photography exercises for beginners are a great place to start! They give you focus and clear goals to work toward. They’re also fun, which is always important! While learning is essential, photography should be something you look forward to. It should never be a chore. Therefore, make sure enjoyment and fun are always a priority.
References and image credits:
Image Sources
- Exercise illustrations + cheat-sheet + pin — PhotoWorkout – In-house images; infographic + pin created with gpt-image-2